Hola a toda la comunidad de hive, es de mi agrado desearles un feliz inicio de semana para todos, en esta oportunidad quise traerles una de las mejores solución para los problemas de impresión a Toner cabe destacar qué hay distintos y variados tipos de toner que tienen distinta modalidad de mantenimiento y soluciones.
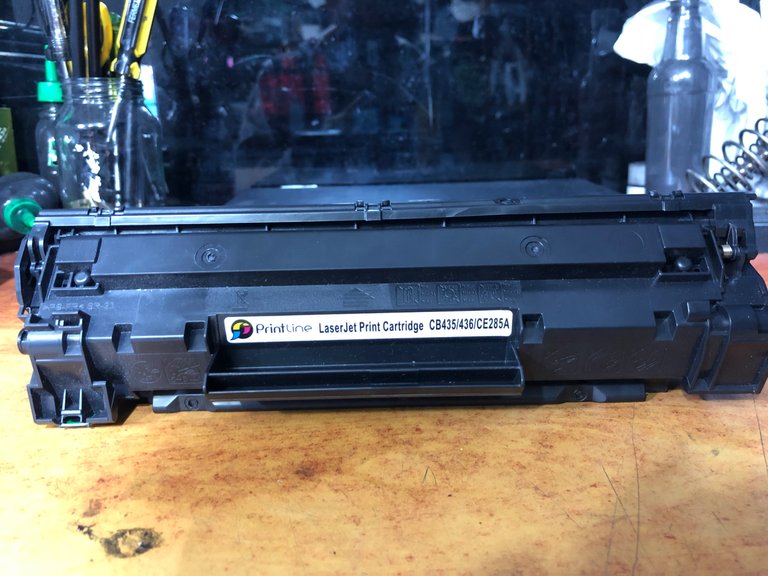
En esta oportunidad Mi calidad de impresión es un poco distorsionada debido al mal funcionamiento del rodillo de carga del toner marca print line 85A.
Hello to the entire hive community, it is my pleasure to wish you all a happy start to the week, this time I wanted to bring you one of the best solutions for Toner printing problems, it should be noted that there are different and varied types of toner that they have different mode of maintenance and solutions On this occasion, my print quality is a little distorted due to the malfunction of the print line 85A toner charging roller.
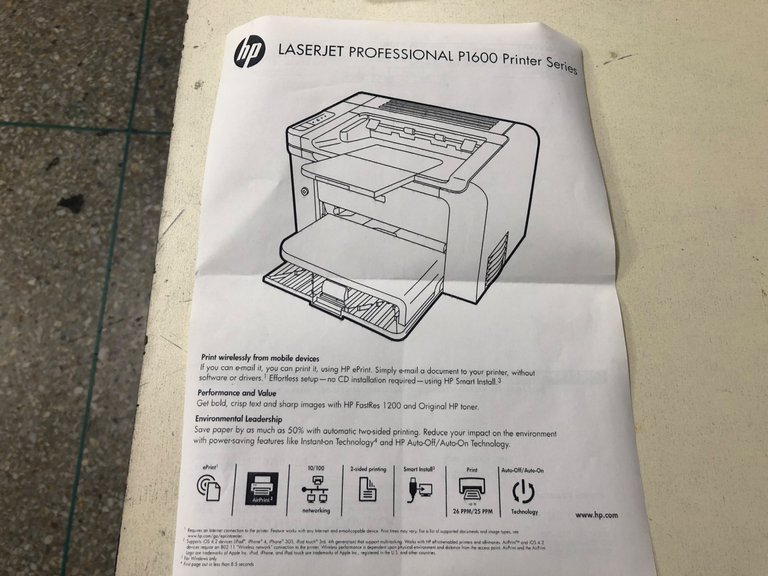
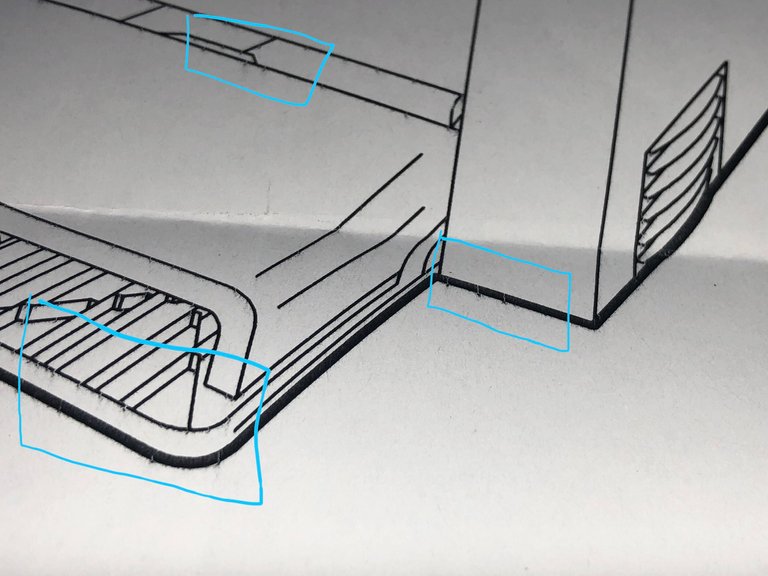
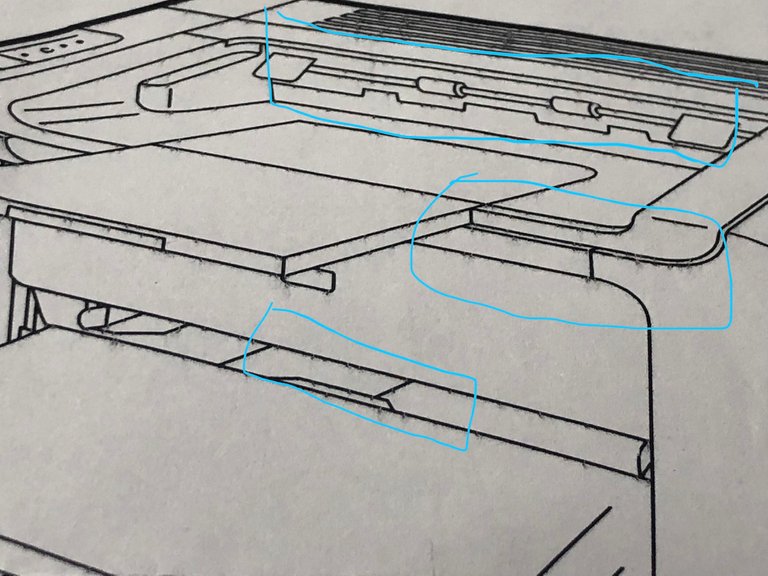
Aquí podemos notar a nivel de detalles la distorsión por los bordes y líneas delgadas, eso quiere decir que el rodillo de carga no está dando la suficiente presión para que la impresión salga al 100%.
Here we can notice at a level of detail the distortion by the edges and thin lines, that means that the charge roller is not giving enough pressure so that the print comes out at 100%.
Comenzaremos quitando los broches de seguridad que tienen a un lado el toner [ojo cabe destacar que no todos los toner tienen estos broches solo 2 tipos de toner lo poseen] Y en esta oportunidad se los retiramos.
We will start by removing the safety pins that the toner still has on the side [note it should be noted that not all toners have these pins, only 2 types of toner have them] And this time we remove them
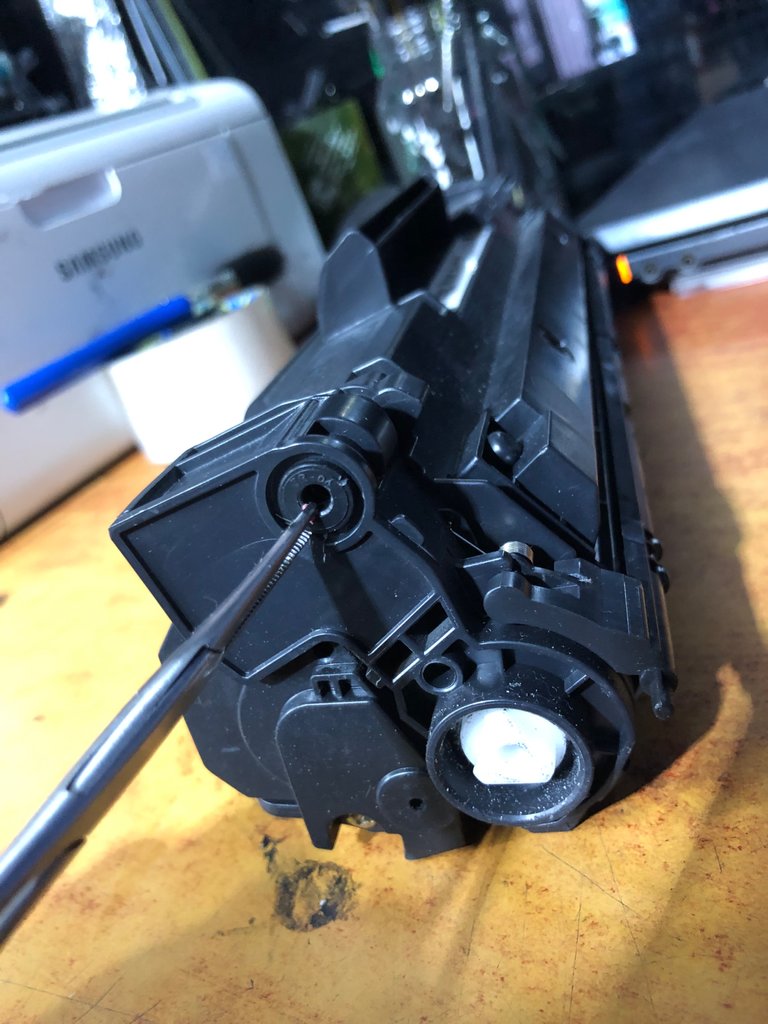
Al retirar los broches el toner se abrirá a la mitad, se toparán con las partes más esenciales de la impresora y del toner obviamente, que serían: el cilindro, la cuchilla, rodillo magnético y rodillo de carga
When removing the clips, the toner will open in the middle, they will run into the most essential parts of the printer and the toner, obviously: the cylinder, the blade, the magnetic roller and the charging roller.
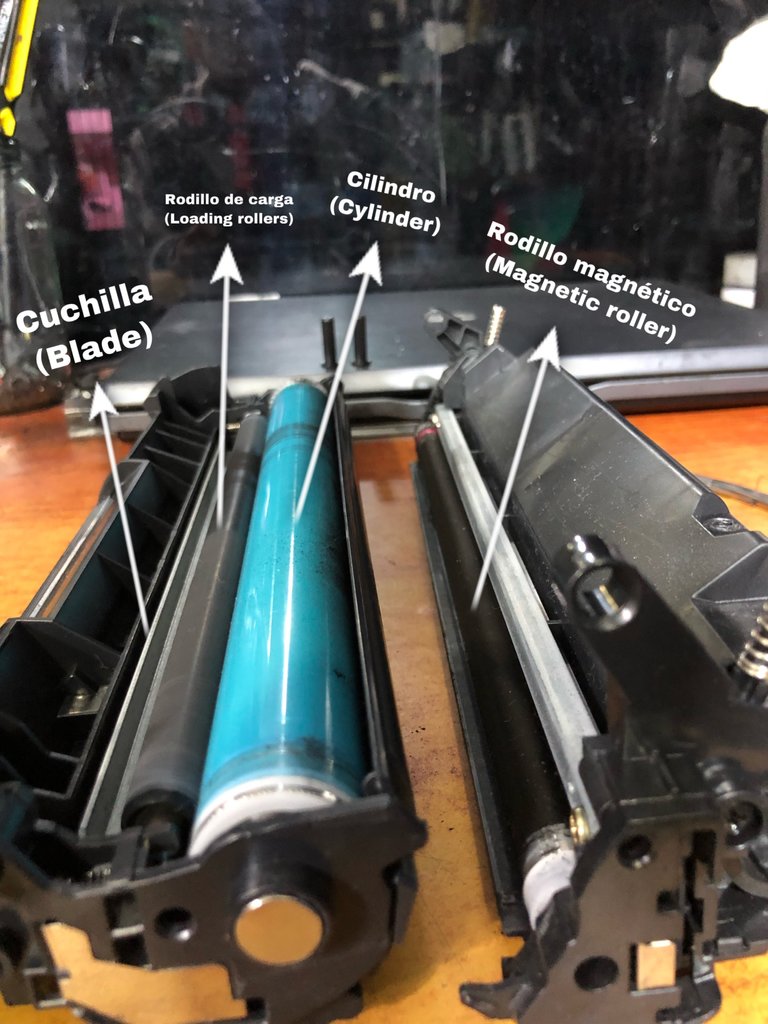
Vamos a proceder a sacar el cilindro (ojo tienen que tener mucho cuidado al manipular el cilindro, no pueden tocar lo azul con las manos descubiertas) ya que el cilindro es el encargado en soltar la buena calidad de copia y podría salir las huellas, rayones , golpe entre otros. En la parte del lado izquierdo donde no está el engranaje tiene un seguro de metal podrán sacarlo haciendo presión y empuje hacia afuera con un destornillador de pala
We are going to proceed to remove the cylinder (eye you have to be very careful when handling the cylinder, you cannot touch the blue with your bare hands) since the cylinder is responsible for releasing the good quality of the copy and fingerprints, scratches could come out , blow among others. In the part of the left side where the gear is not, it has a metal lock that can be removed by pressing and pushing it out with a flat screwdriver.
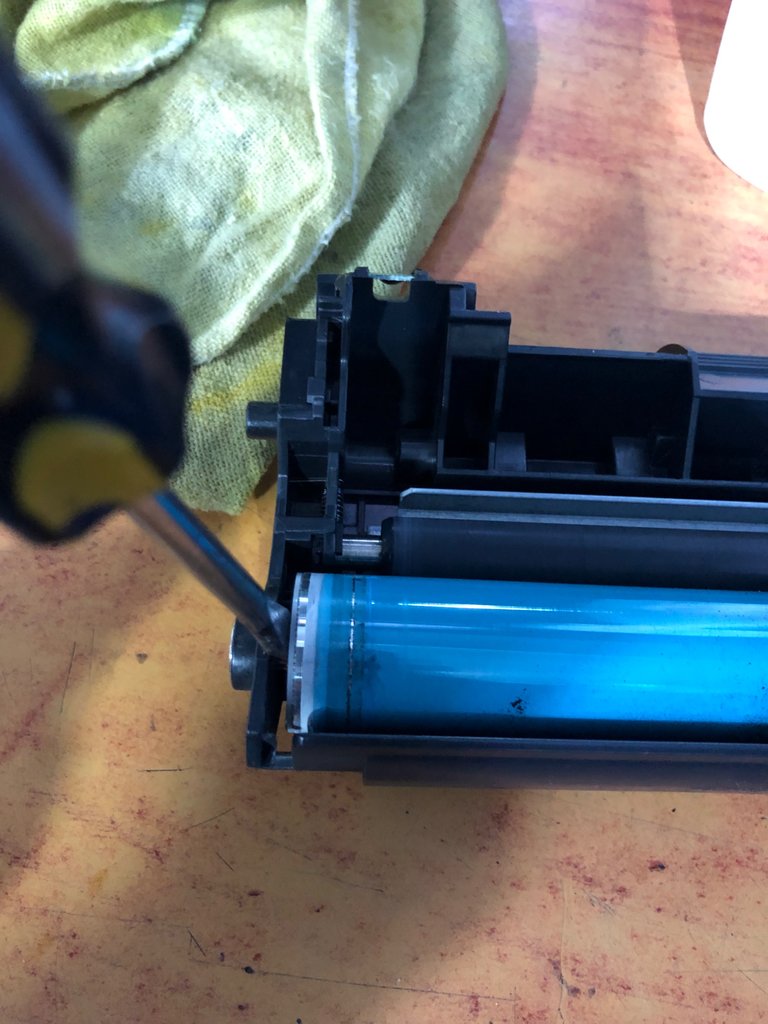
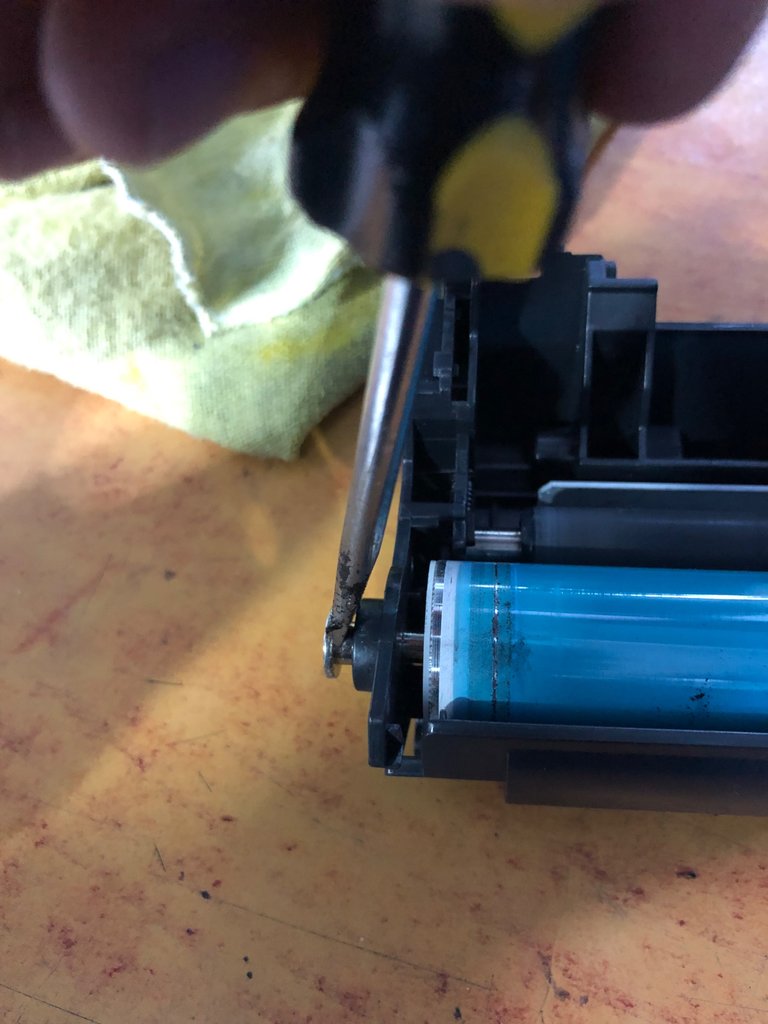
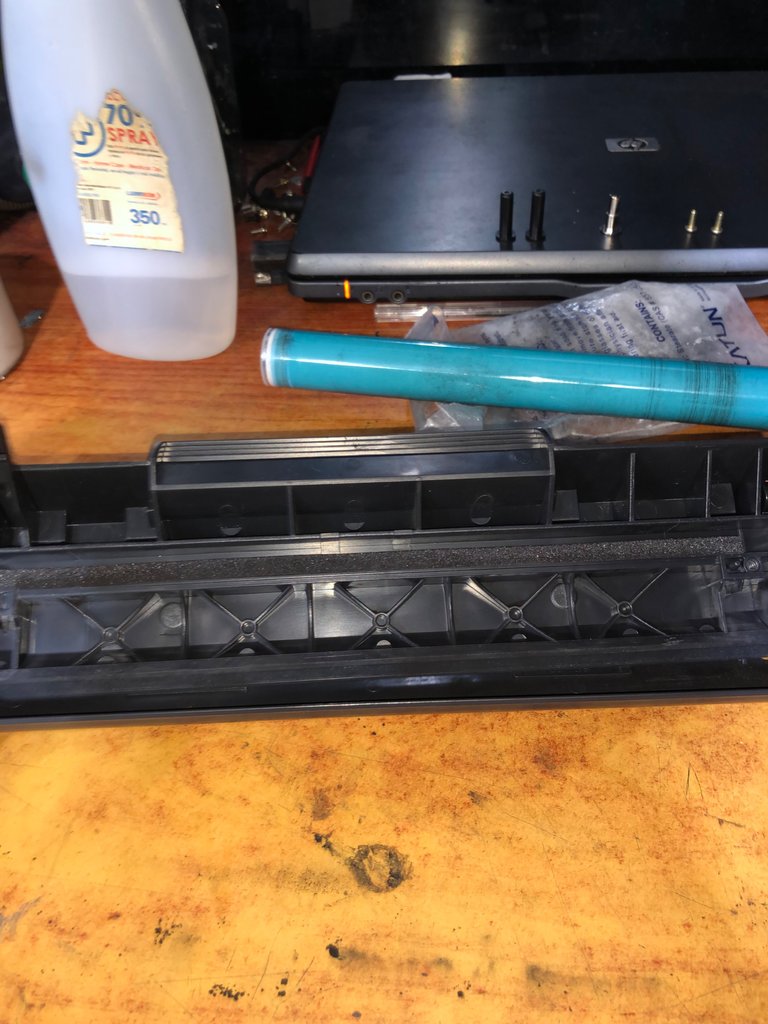
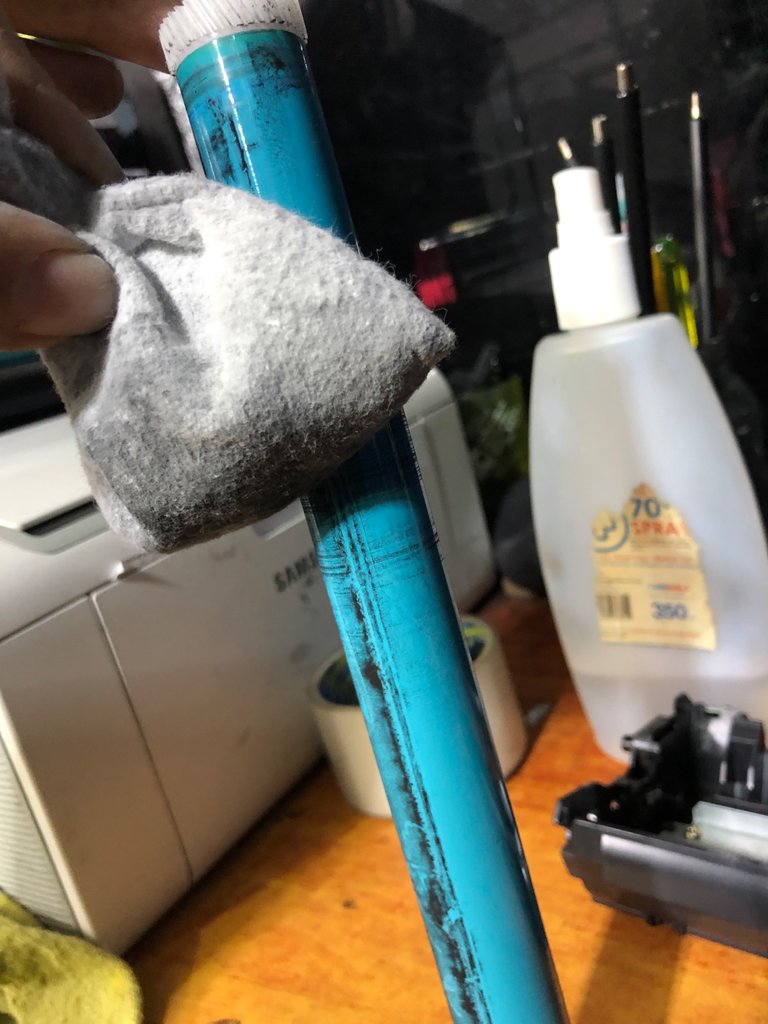
Una vez fuera quedara solo el rodillo de carga y la cuchilla , halaremos el rodillo hacia nosotros y con un trapo lo limpiaremos con un poco alcohol de la siguiente manera.
Once outside, only the charging roller and the blade will remain, we will pull the roller towards us and with a rag we will clean it with a little alcohol as follows.
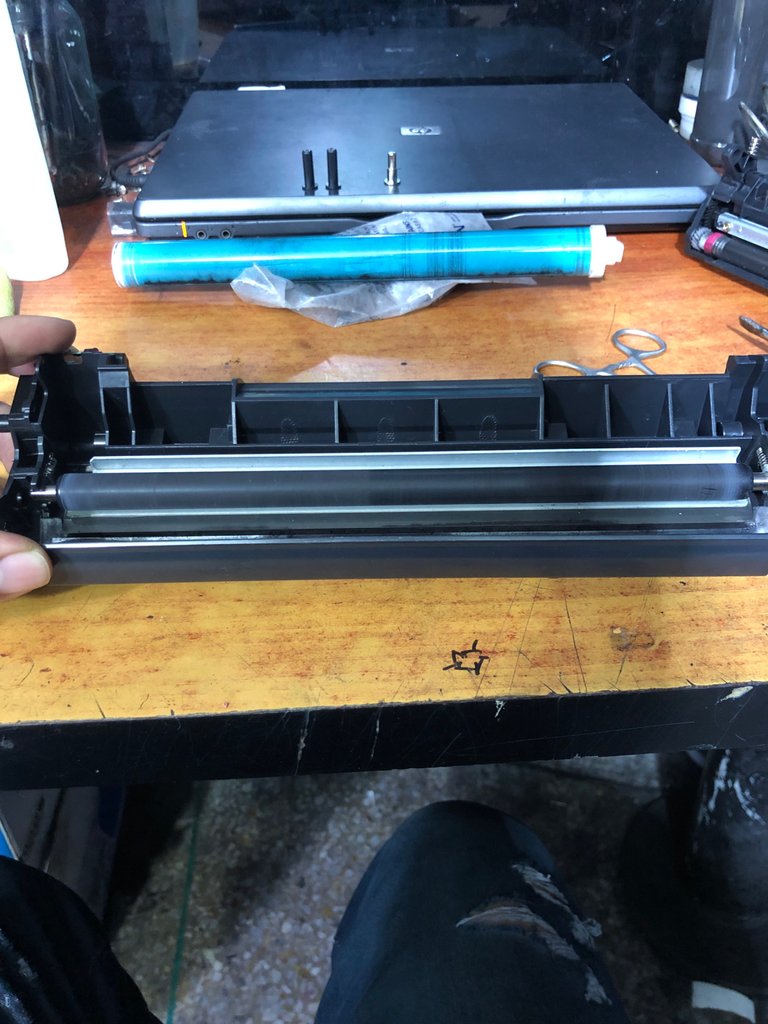
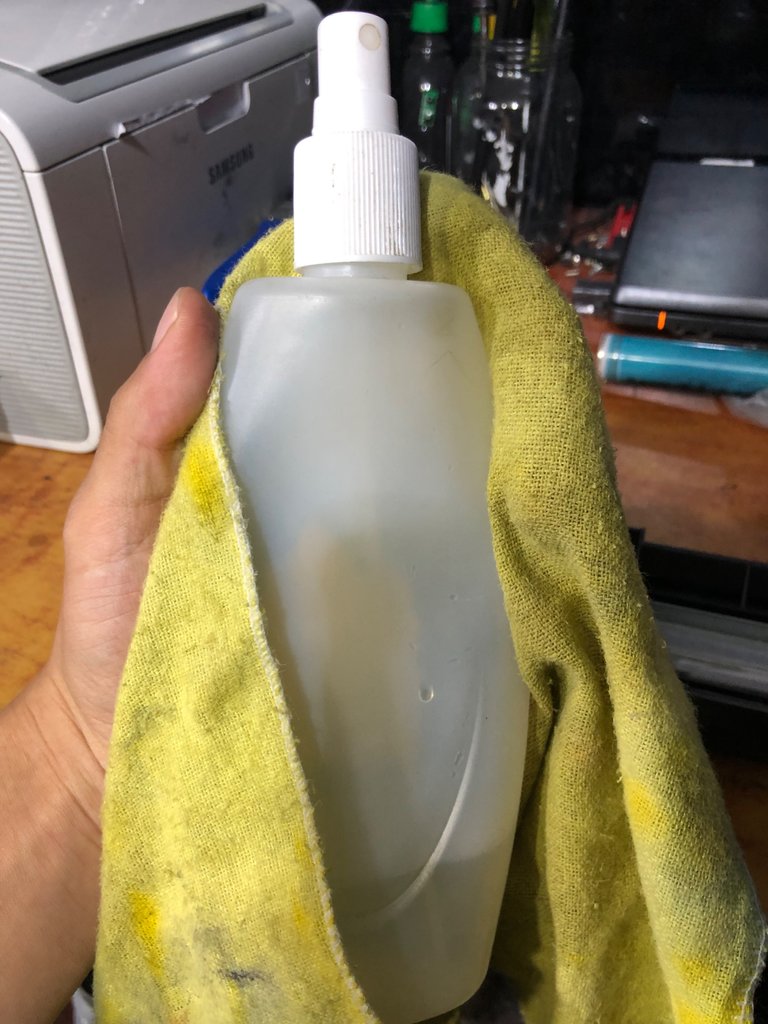
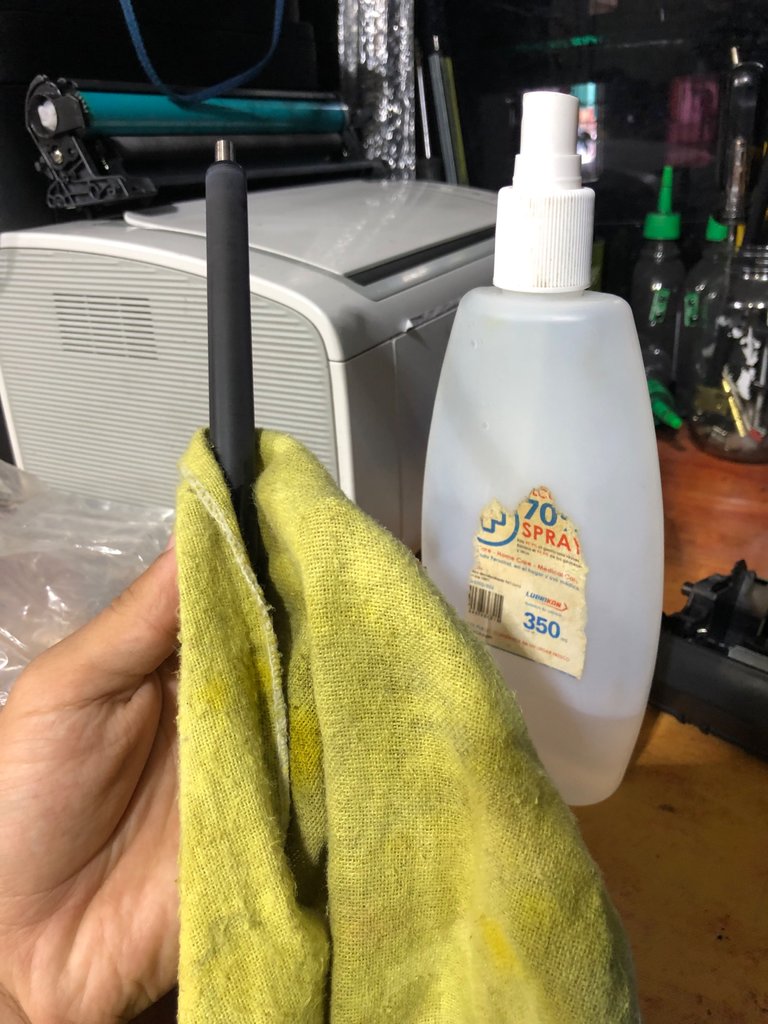
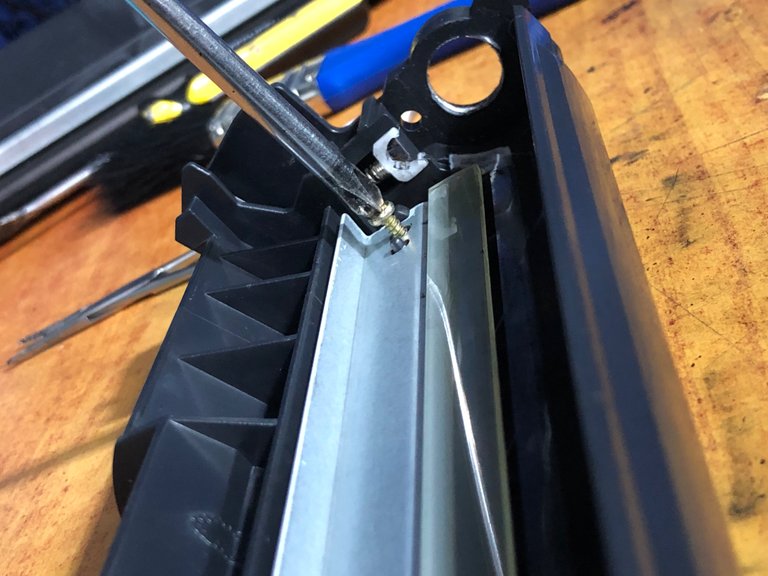
Una vez ya hecho eso, vamos a retirar los tornillos que hacen que la cuchilla se mantenga firme en la carcasa del toner, al momento de retirarla verán qué hay restos de toner al fondo de la carcasa y por la parte de atrás de la misma, la cuchilla sirve para eliminar el exceso de toner a la hora de llegar al rodillo de carga.
Once that is done, we are going to remove the screws that make the blade remain firm in the toner casing, when removing it you will see that there are remains of toner at the bottom of the casing and on the back of it, the blade serves to remove excess toner when it reaches the charge roller.
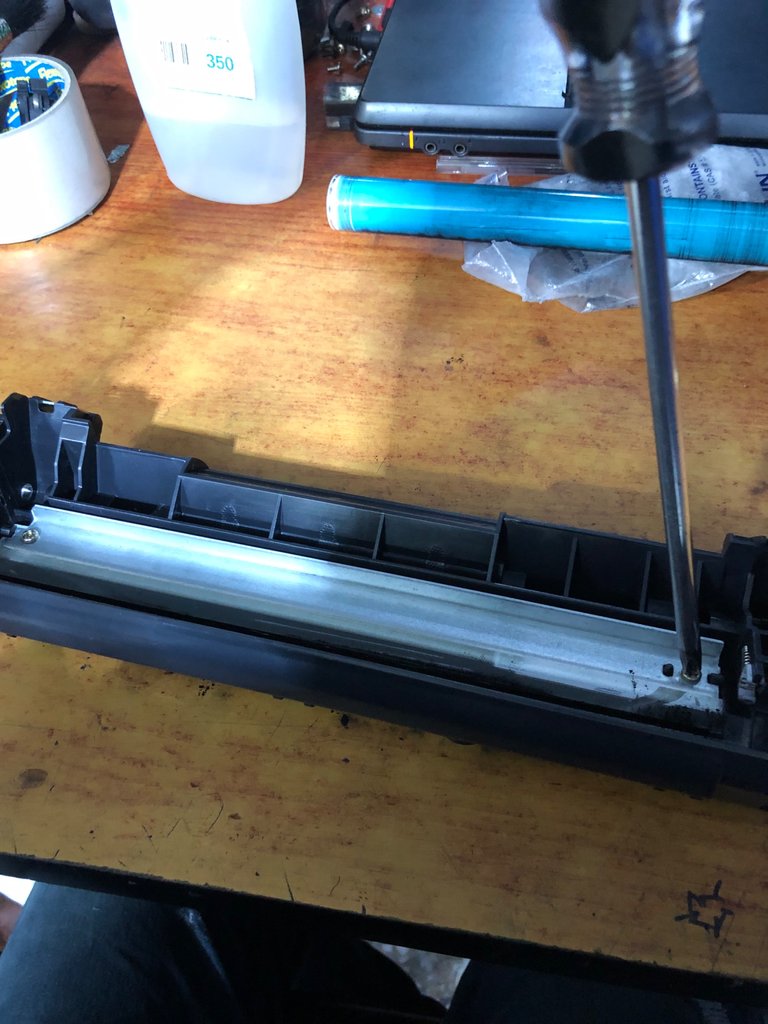
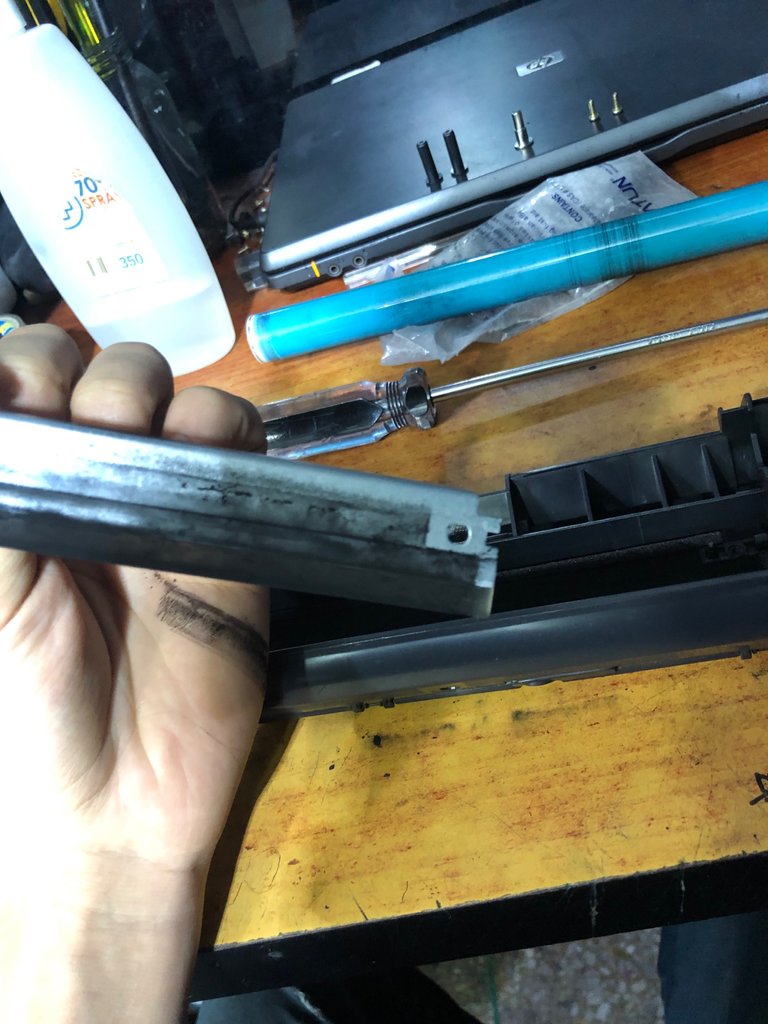
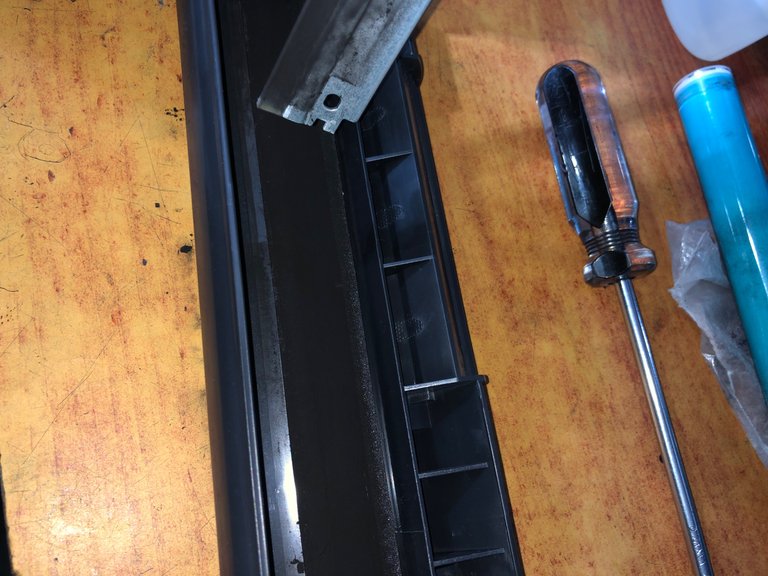
Así que con una aspiradora de mano o una brocha quitamos todo el exceso de toner que posee la carcasa y la cuchilla (cabe destacar que el exceso de toner también influye a la hora de la impresión).
So with a handheld vacuum cleaner or a brush we remove all the excess toner that the casing and the blade have (it should be noted that the excess toner also influences printing).
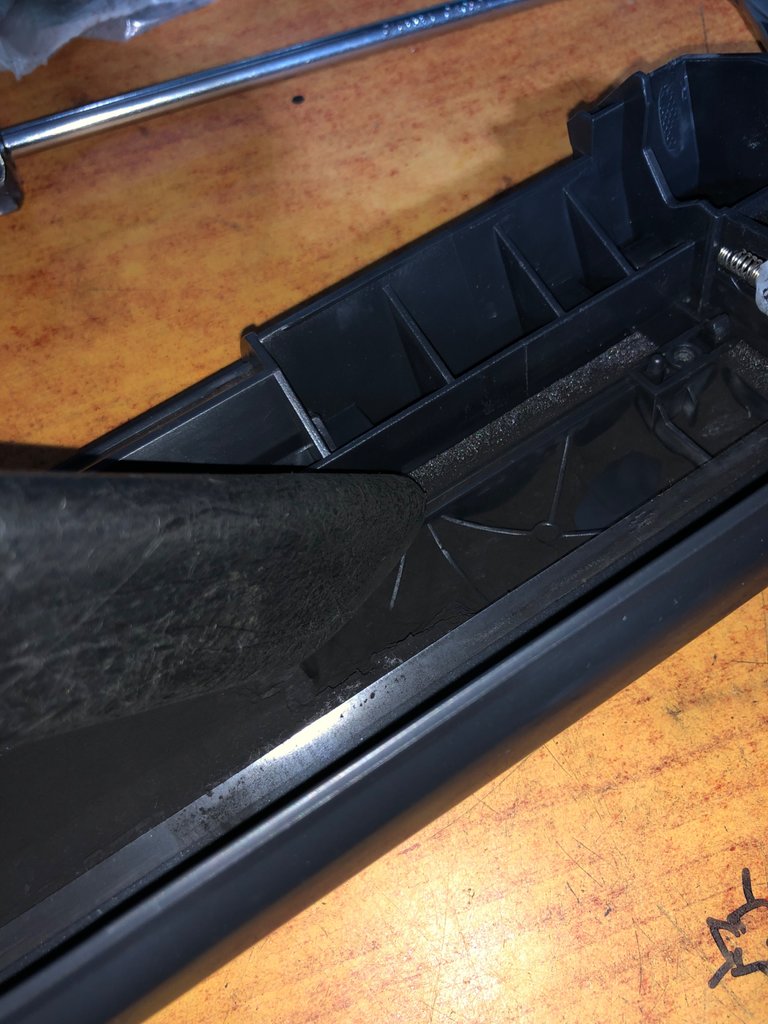
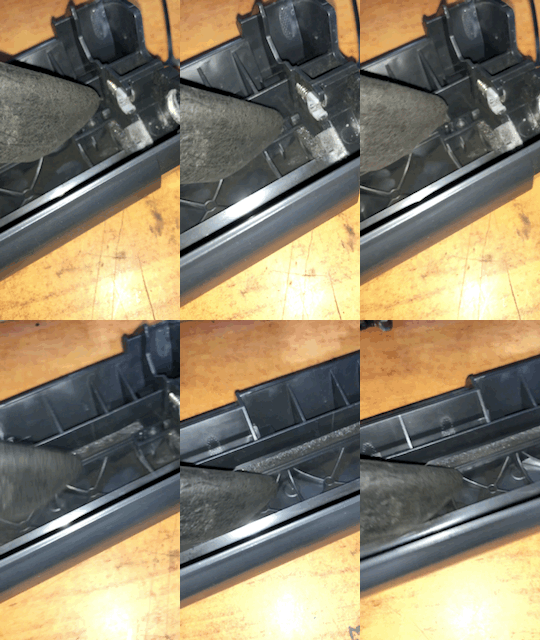
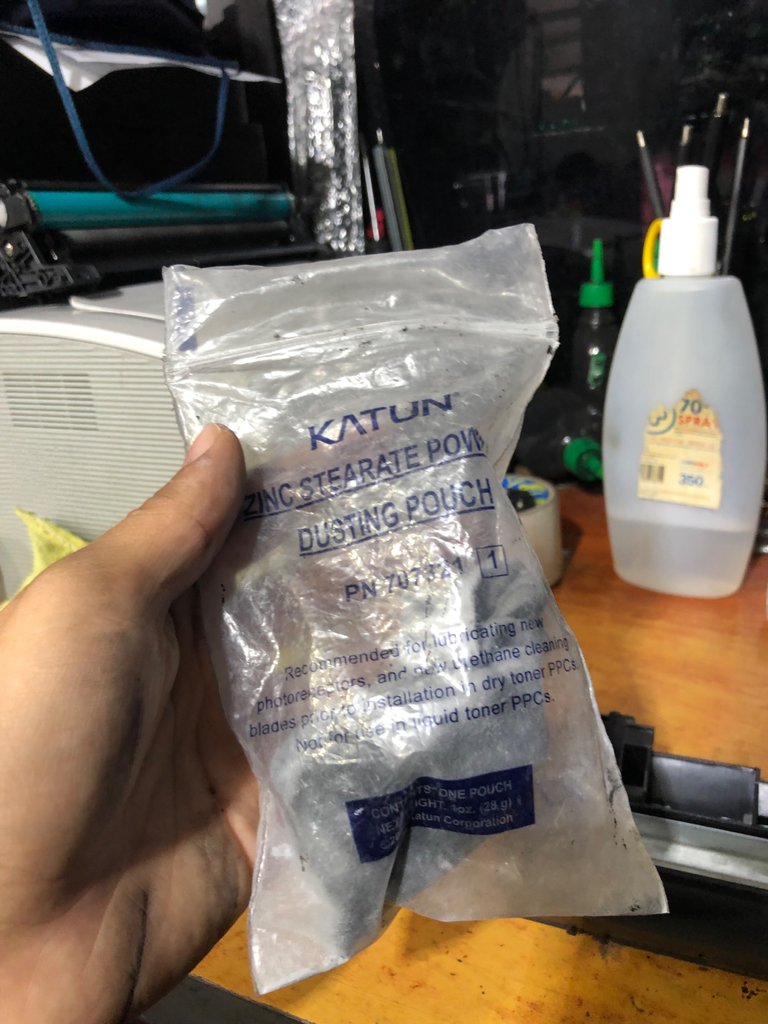
Al terminar de aspirar y dejar todo limpio empezaremos a armar todo de nuevo, colocamos la cuchilla con sus tornillos, necesitaremos un poco de este polvo que es básicamente Zinc, sirve para que el rodillo de cargar, cuchilla y cilindro no se desgasten tan rápido.
When we finish vacuuming and leaving everything clean we will start to assemble everything again, we place the blade with its screws, we will need a little of this powder that is basically Zinc, it is used so that the loading roller, blade and cylinder do not wear out so quickly.
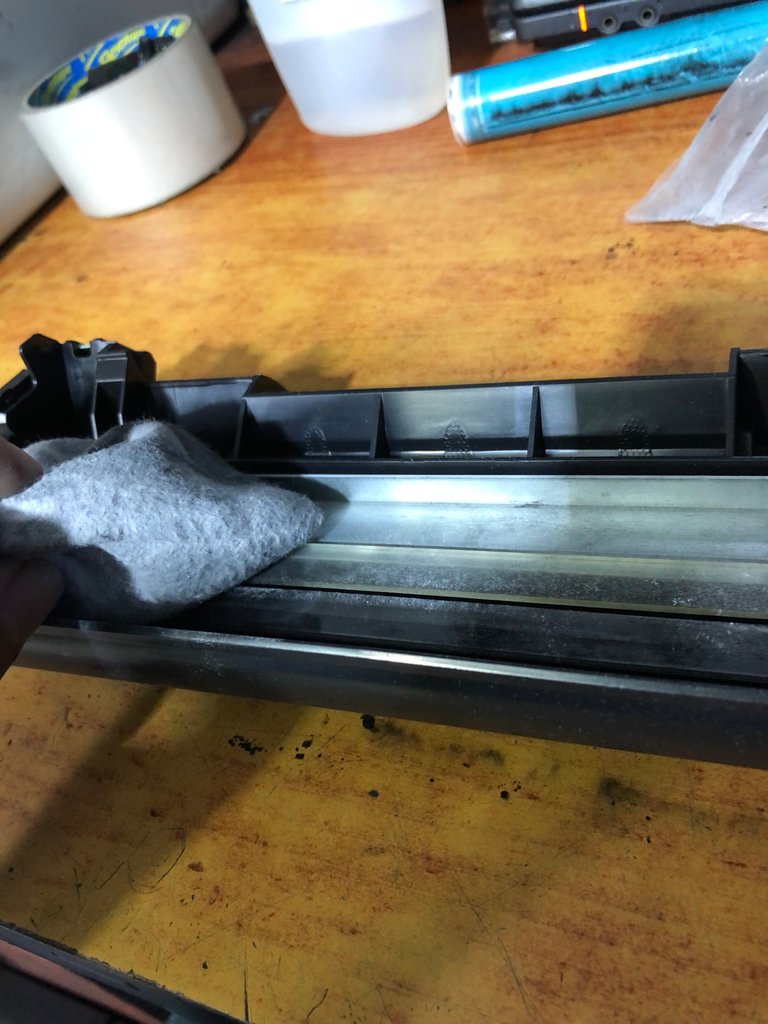

Ya al ver esparcido el polvo por el cilindro y la cuchilla volvemos a poner todo en su lugar.
Once we see the dust spread over the cylinder and the blade, we put everything back in its place.
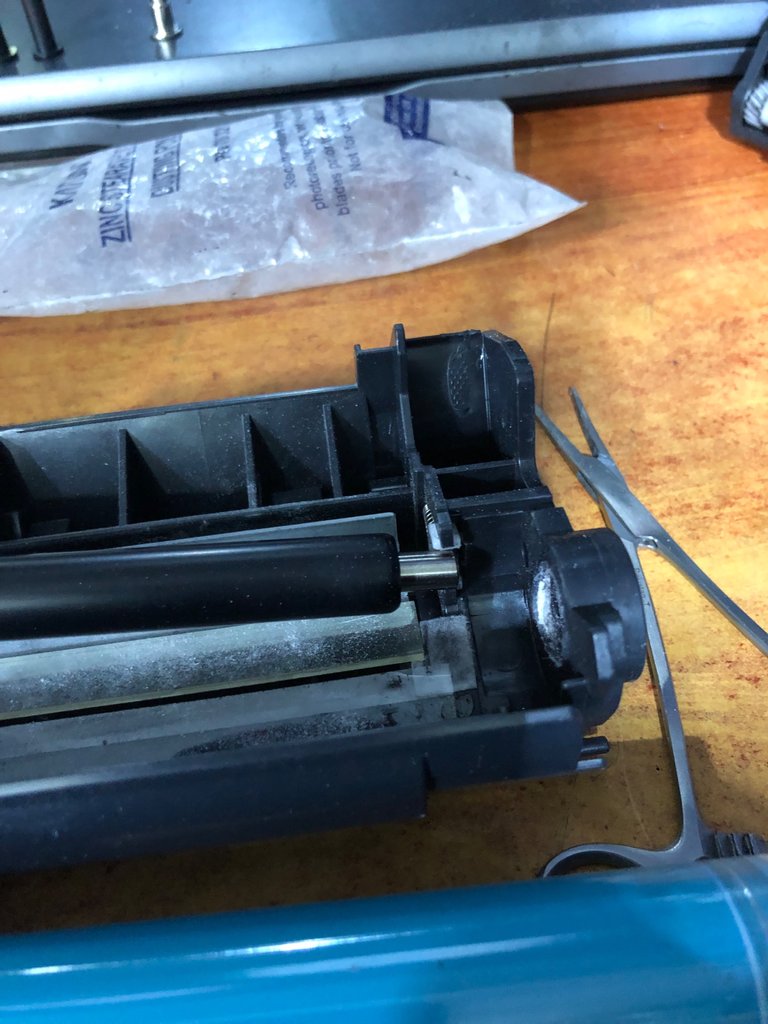
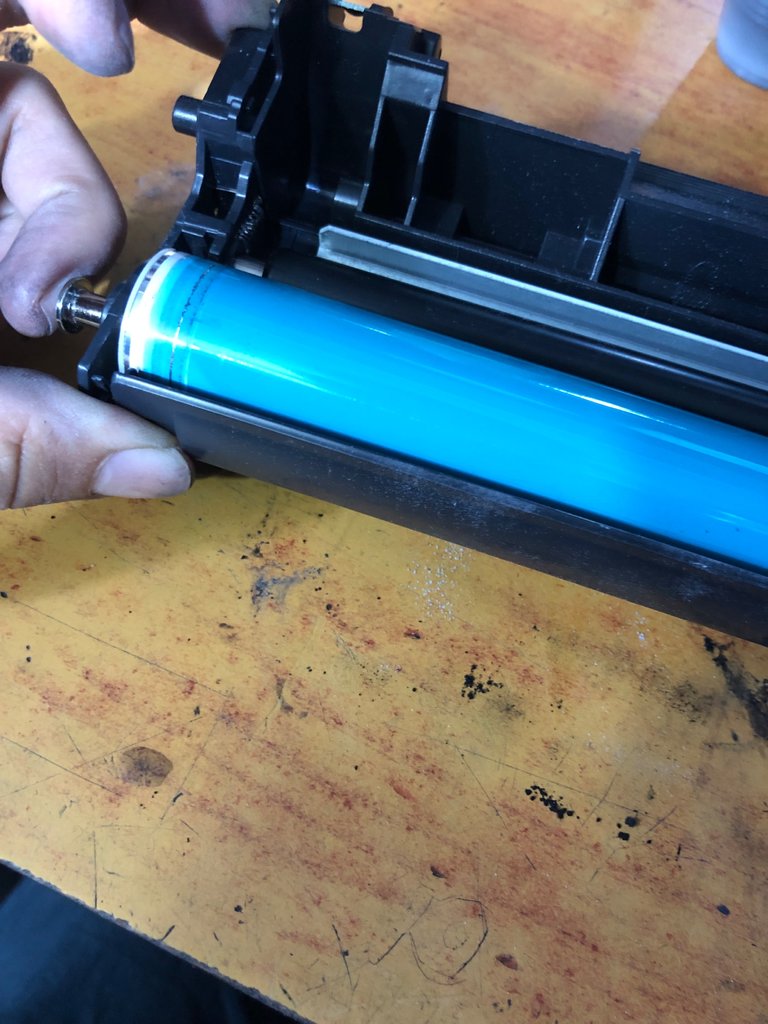
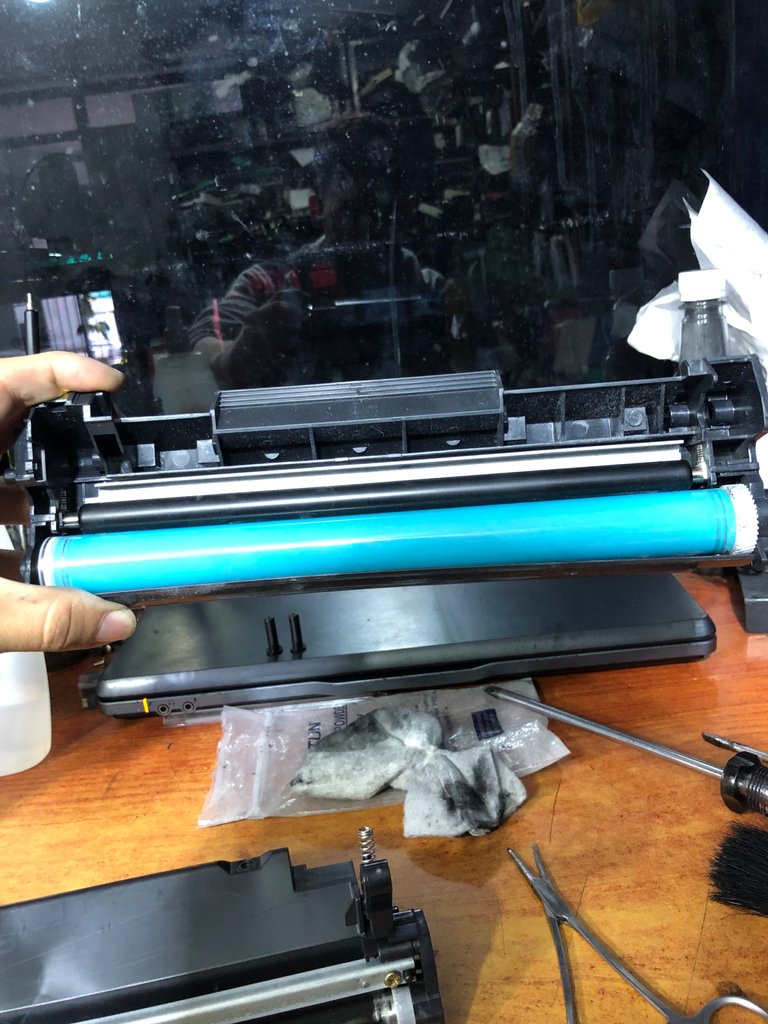
Ok ya desde este punto literalmente ya todo está echo , pero existe una probabilidad de que el toner (polvo) le quede poco contenido así que procederemos a recargar la carga de toner.
Ok, from this point literally everything is done, but there is a probability that the toner (powder) will be low, so we will proceed to reload the toner load.

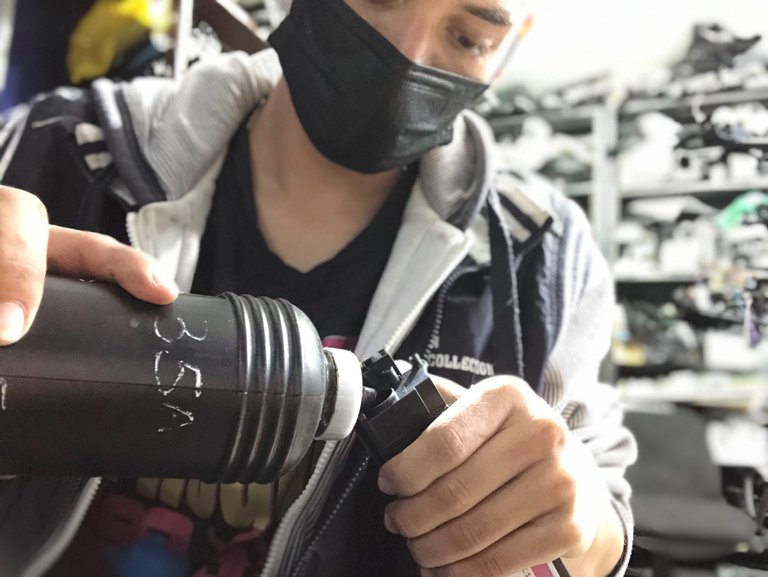
Los Pasos que vienen a continuación son los más fácil, procedemos a quitar la tapa del lado Dónde no tiene engranaje Hago énfasis En esta parte ya que si llegarán a quitar la tapa incorrecta se les saldrá la carga del toner junto con el rodillo magnético.
The steps that follow are the easiest, we proceed to remove the cover on the side Where there is no gear I emphasize this part because if they remove the wrong cover, the toner charge will come out along with the magnetic roller.
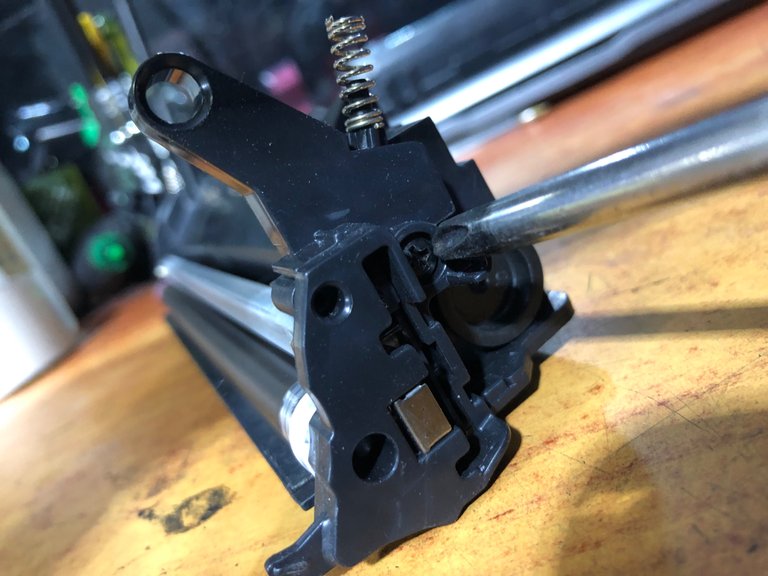
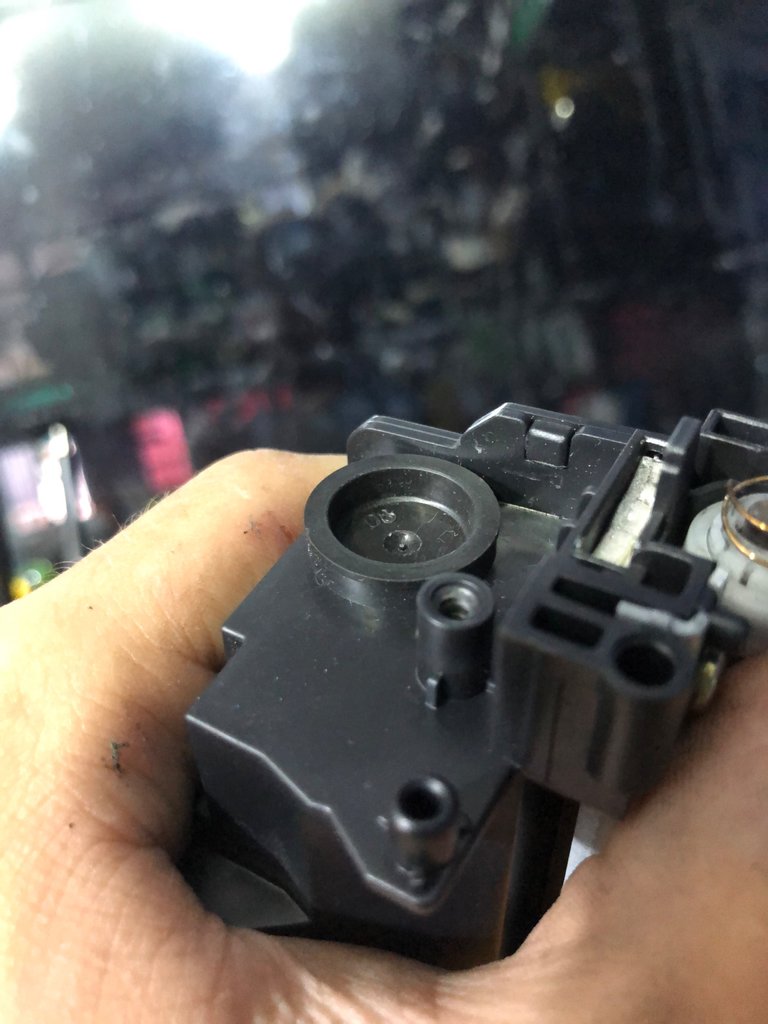
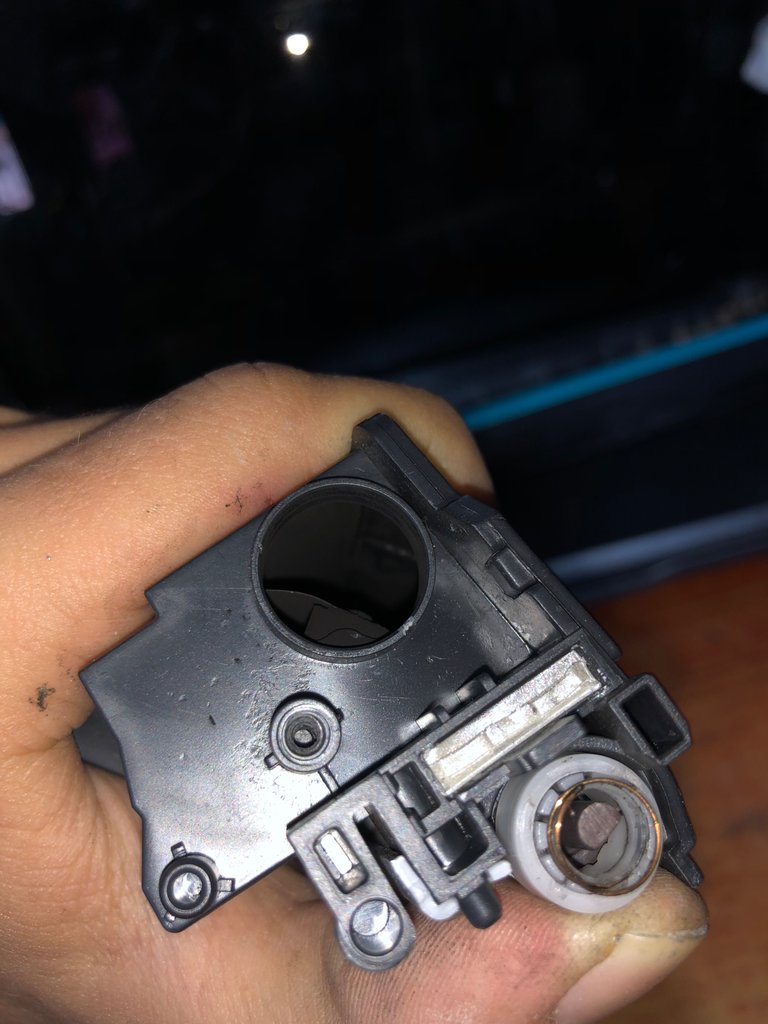
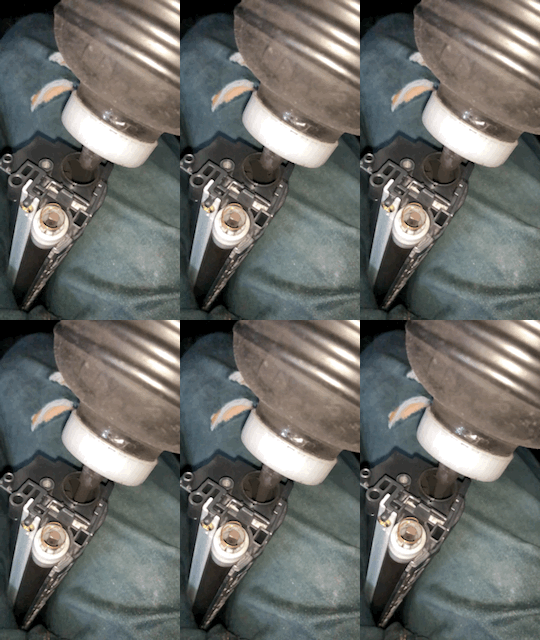
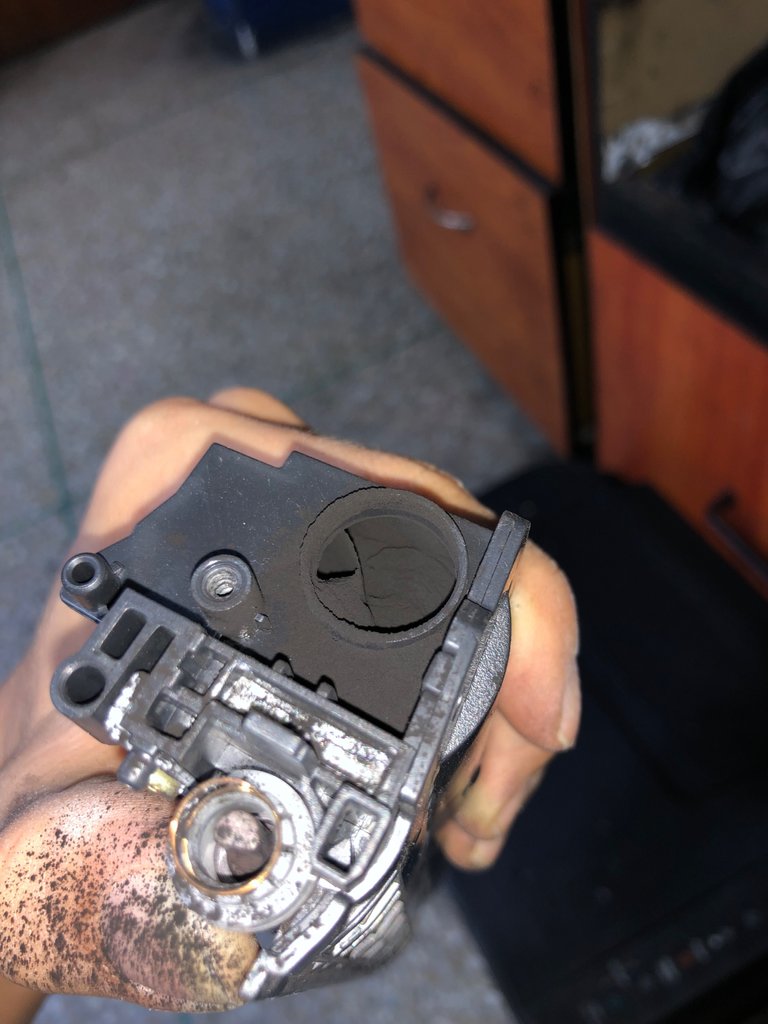
Una vez con la tapa afuera verán una tapa de plástico o silicon se la retiran con lo que se les haga más fácil, en mi caso lo hice con pinzas de cirugía, pueden observar muy bien la pequeña abertura que tiene por esa pequeña abertura verterán el toner.
Once the lid is off, you will see a plastic or silicone lid, remove it with whatever makes it easier for you, in my case I did it with surgical tweezers, you can observe very well the small opening that it has through that small opening, you will pour the toner.
NOTA
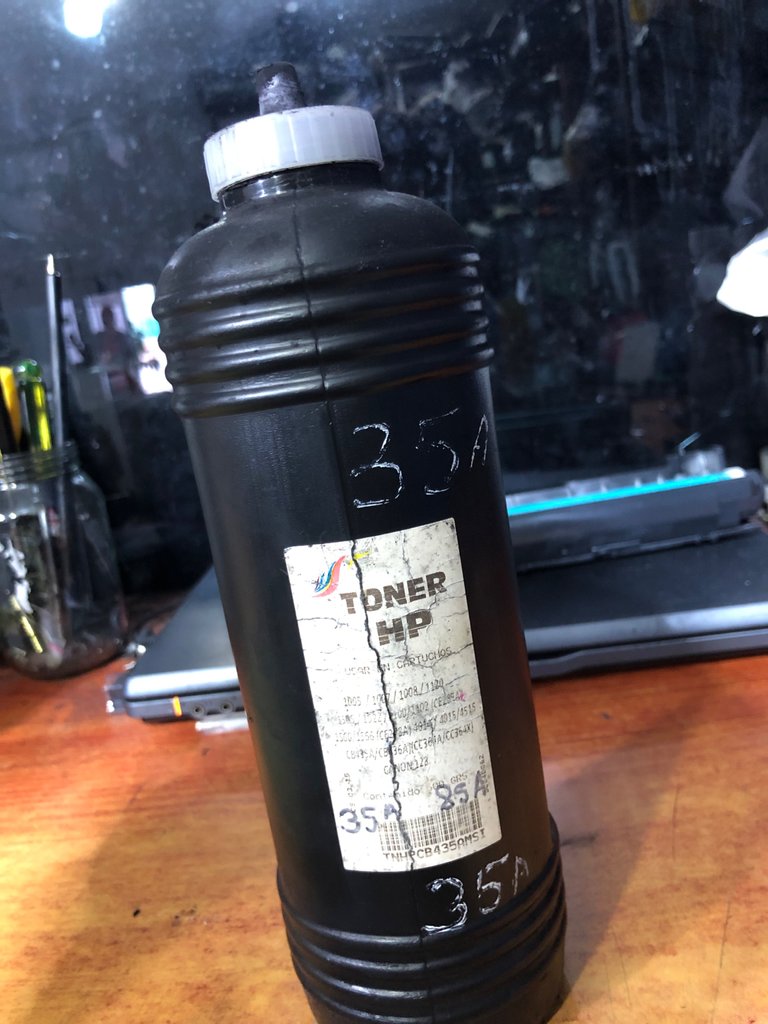
Entre las variedades de tóner solo se utiliza única y exclusivamente esta marca de tóner HP ELEDO, ojo solo para los HP, ya si el toner fuera Samsung o PANTUN tendrían que comprar el toner recomendado para esa marca
Among the varieties of toner, only this brand of HP ELEDO toner is used exclusively, be careful only for HP, since if the toner were Samsung or PANTUN they would have to buy the recommended toner for that brand
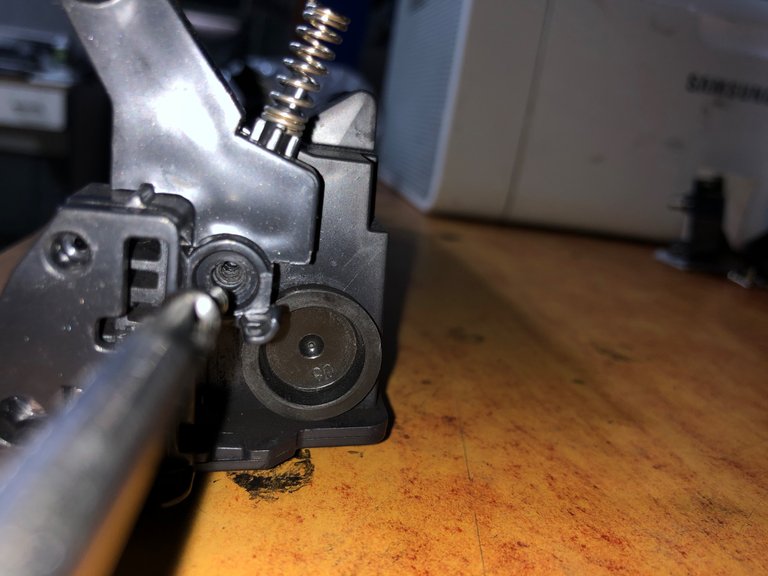
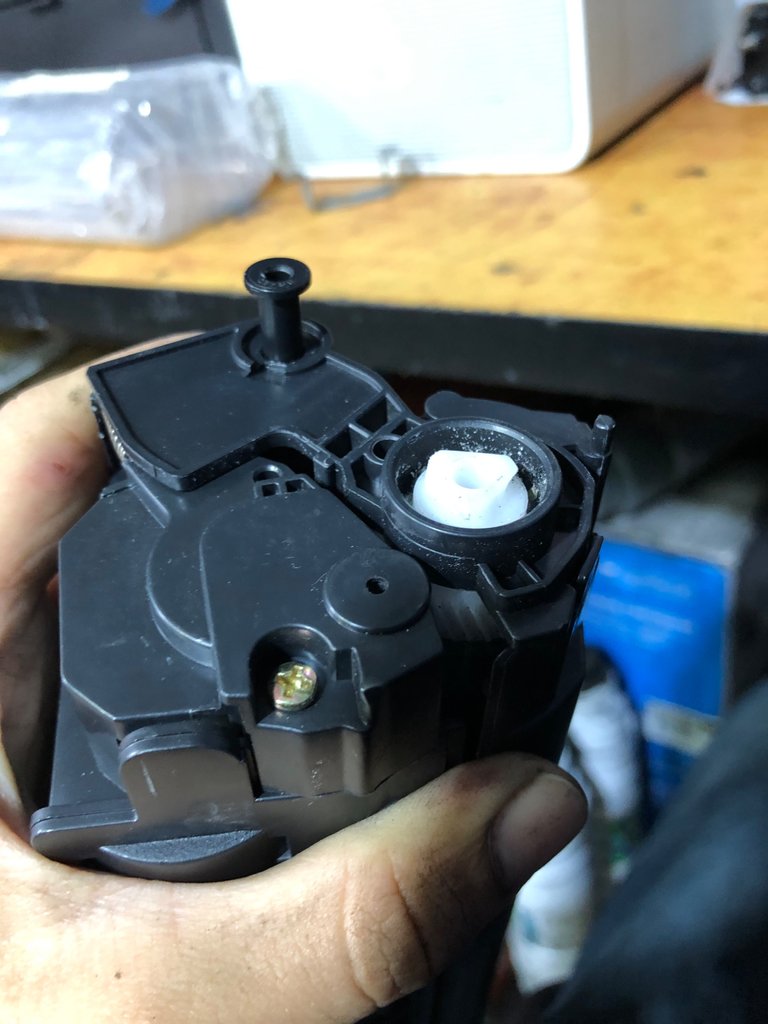
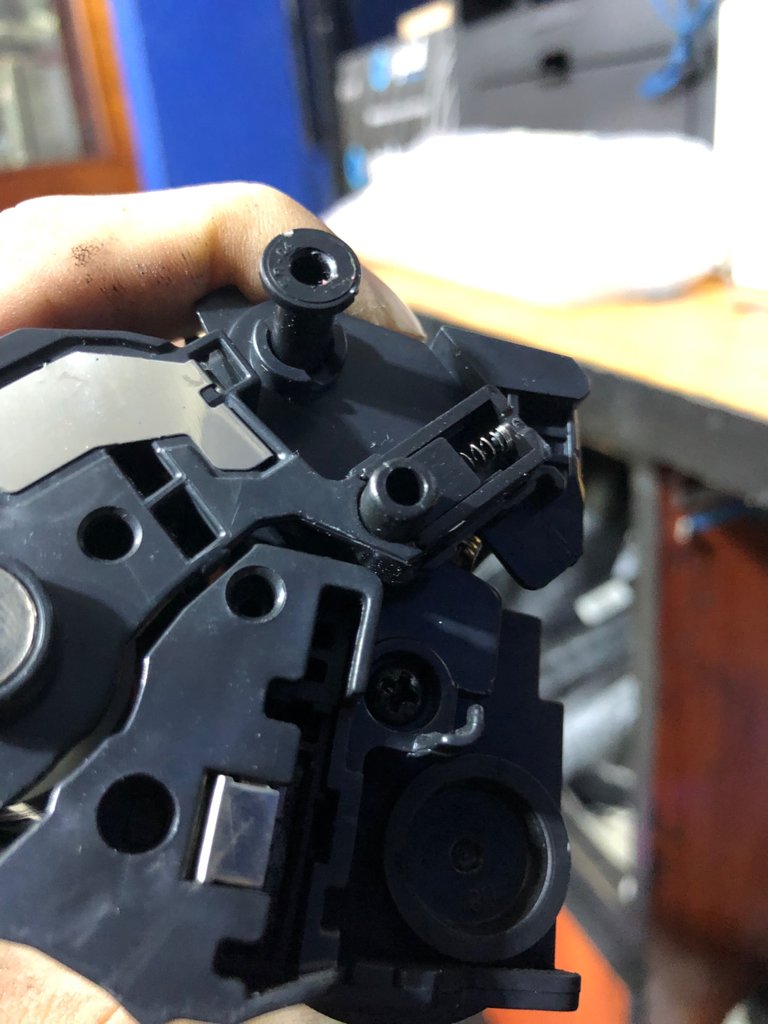
Ahora le colocan la tapa lateral con su tornillo.
Now they put the side cover with its screw.
Unimos las dos mitades y colocamos los broches de seguridad que tienen al lado, cerramos y probamos la calidad de la impresión.
We join the two halves and place the safety pins next to them, close and test the quality of the print.
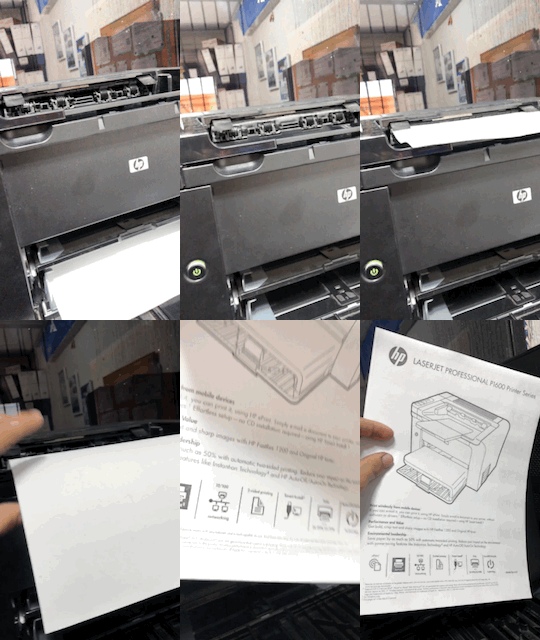
Cómo pueden observar salió perfecta, me encanto compartir esta solución con ustedes, por qué se lo molestó que es que saques una copia o imprimas algo y salga así todo feo, hasta luego nos vemos en el próximo post.
As you can see, it came out perfect, I loved sharing this solution with you, why did it bother you that you make a copy or print something and it all comes out ugly, see you later in the next post.
Congratulations @jeanpi7! You have completed the following achievement on the Hive blockchain and have been rewarded with new badge(s):
Your next target is to reach 900 upvotes.
You can view your badges on your board and compare yourself to others in the Ranking
If you no longer want to receive notifications, reply to this comment with the word
STOPSupport the HiveBuzz project. Vote for our proposal!