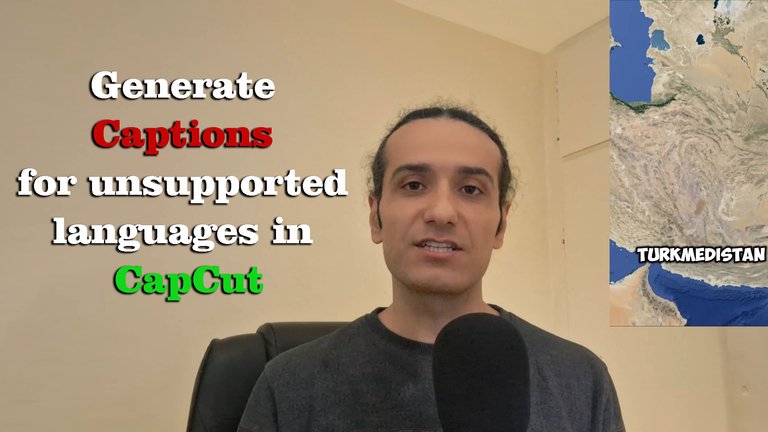
Hi everyone! I am Hadi and I make posts and videos about science, tech and awesome simple tips and tricks that you might find useful, today in this post I want to show a trick that you can use to make cool animated captions in CapCut even though your language is not supported.

If you’ve ever used CapCut, you know it’s an incredible video editing app packed with powerful features. One standout feature is its ability to auto-generate captions directly from your video’s audio. However, there’s a problem and that's this feature only supports a limited number of languages.
So what happens if your language isn’t supported? Don’t worry! In this post, I’ll guide you step-by-step on how to create beautiful, animated captions in any language, even if it’s not currently supported by CapCut.
Step 1: Extract the Audio from Your Video
To begin, you’ll need the audio from your video. There are a few ways to do this:
Export the audio as an MP3 or WAV file from your editing software.
Record your voice separately if you’re narrating yourself.
Once you have your audio file, it’s time to convert it into text.
Step 2: Convert Your Audio to Subtitles
Visit TurboScribe.ai (or any other transcription tool you prefer). TurboScribe is an excellent option because it’s easy to use and offers three free transcriptions per day no credit card needed.
Here’s what you need to do:
Upload your audio file to the website.
Click the Transcribe button and wait for it to process.
Select the .srt format as the output and download the file.
This .srt file contains the subtitles for your audio, complete with timecodes for syncing.
Step 3: Import Subtitles into CapCut
Now that you have your .srt file, head back to CapCut and open your project. Follow these steps:
Go to the Captions tab in CapCut.
Select Add Captions and then choose Import File.
Select the .srt file you just downloaded.
Your subtitles will now appear in your project, perfectly synced to your audio!
Step 4: Customize Your Captions
Here’s where the magic happens. To make your captions visually stunning:
Select all your captions in the Text tab.
Apply a cool Style that matches the tone of your video (fonts, colors, shadows, etc.).
Go to the Animation tab and choose a dynamic animation like Zoom In, Fade, or Bounce to bring your captions to life.
With these steps, you’ll have professional-looking, animated captions in your own language!
Bonus: Watch the Full Tutorial
I’ve created a detailed video tutorial showing every step in action. Watch it here for more insights and tips:
Final Thoughts
I hope this guide helps you overcome the limitations of CapCut’s auto-captioning feature. With just a little extra effort, you can create captions that not only support your language but also look amazing!
Let me know in the comments if you found this helpful or if you have any questions. Also I will be happy to tutorial suggestions. Happy editing!
Welcome back to Hive bro, Nice to see that you created such a great content, Capcut is really pro even though it is just an android app, they also created its windows version, even its free version has a lot of professional features. one of my favorite editors, I also use Vegas Pro as I used to work with it from past.
Congratulations @hadif66! You have completed the following achievement on the Hive blockchain And have been rewarded with New badge(s)
Your next target is to reach 200 posts.
You can view your badges on your board and compare yourself to others in the Ranking
If you no longer want to receive notifications, reply to this comment with the word
STOP