bienvenidos❤️||welcome❤️
❤️❤️
Hello my dear readers, I hope you are in good spirits today. For a couple of days I have had a great enthusiasm for the trend of sewing and doing beautiful things as a way of artistic expression.
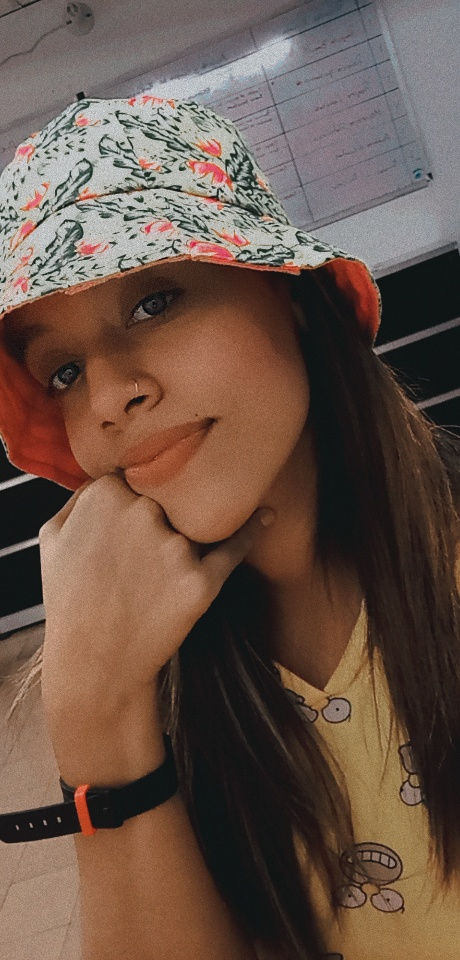
This time I come with a fisherman's hat known as the Bucket Hat, which I made last weekend.
In this post I will teach you how to take measurements, make patterns, and the process of doing it already on fabric.
Hola mis queridos lectores, espero que hoy estén de muy buen animo. Desde hace un par de días he tenido un gran animo por la onda de la costura y hacer cositas bonitas como un modo de expresión plástica.
En esta oportunidad vengo con un sombrerito de pescador conocido, como Bucket Hat, que hice el pasado fin de semana.
En este post les enseñare como tomar las medidas, hacer patrones, y el proceso al hacerlo ya en tela.
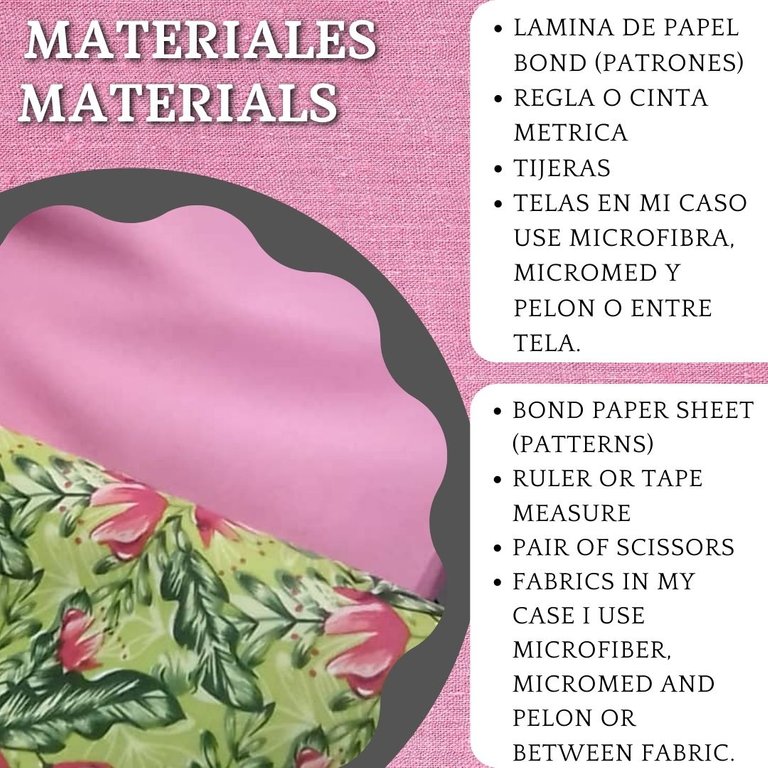
The first thing we will need is, a tape measure, pencil and bond paper, to take the measurements of our head (Width and height) in this way as I structure my sketch on paper to make sure of the measurements.
Lo primero que necesitaremos es, cinta métrica lápiz y papel bond, para tomar las medidas de nuestra cabeza (Ancho y alto) de este modo como yo estructure mi boceto en papel para asegurarme de las medidas.
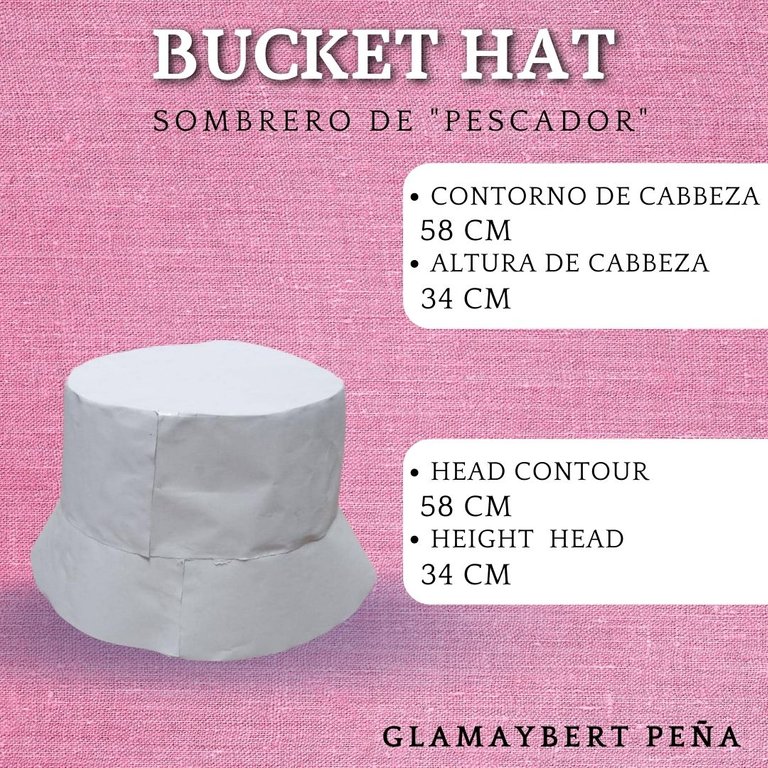
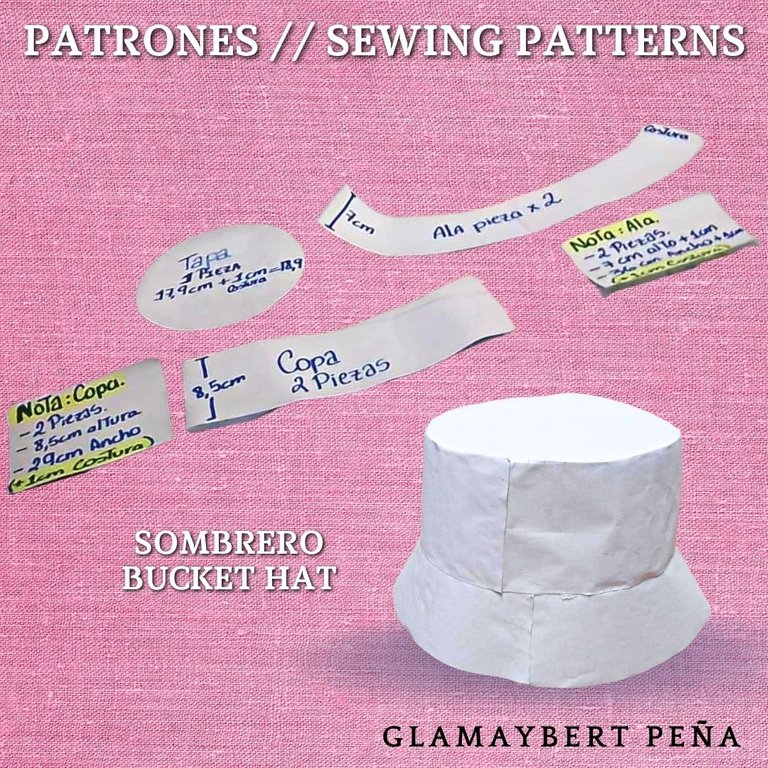
The hats are divided into three pieces, cap, crown and brim.
CAP: Taking the measurements of the contour of our head, we divide it by 6.28, that is, 56 cm / 6.28 = 8.9 and that will be our circumference radius of the cap of our hat.
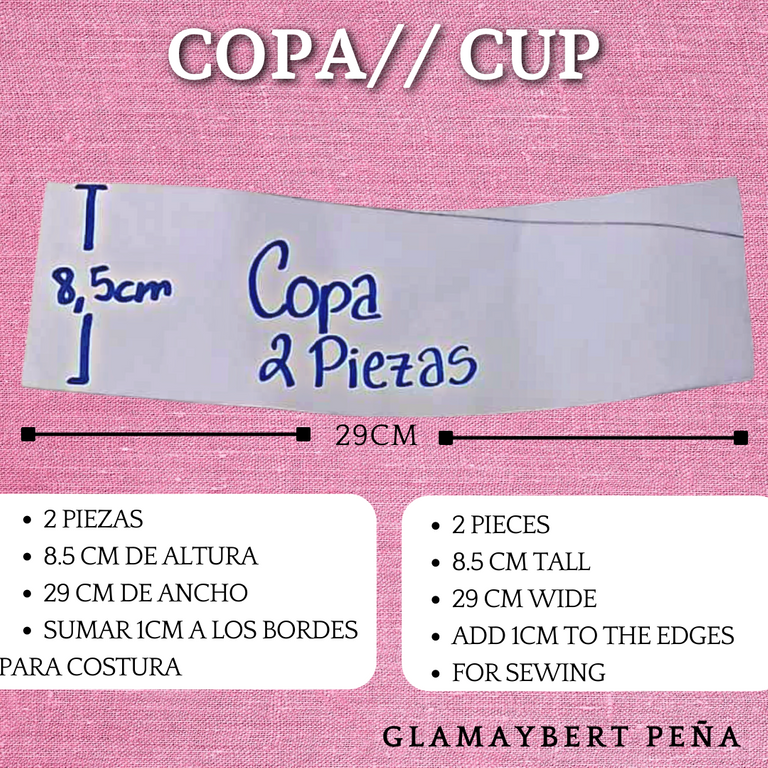
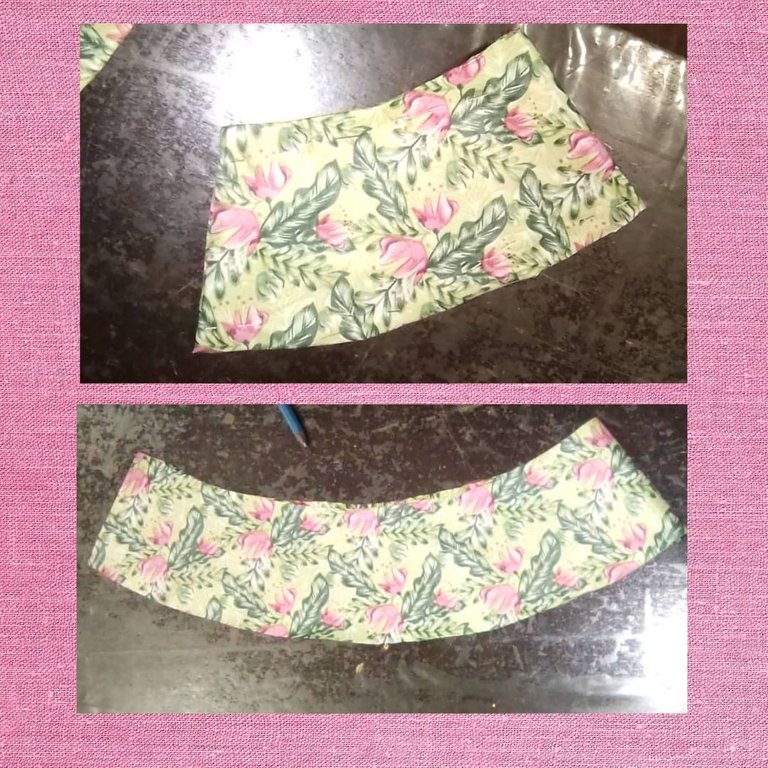
CUP: In our paper bon we make a rectangle 29 cm wide by 8.5 cm high, to the left end we add 3 cm (lower and upper) to make a small curve. Piece is double cut
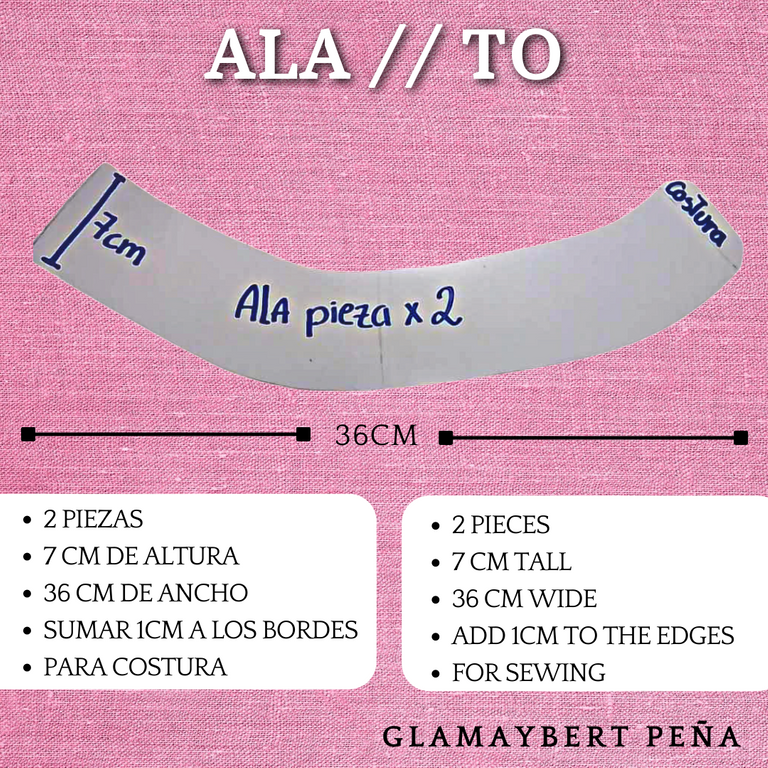
WING: In our bon paper we make a rectangle 36 cm wide by 7 cm high, curved, adding 4.5 cm to both ends (lower and upper) and the piece is cut double.
In the following images I show you each of the individual pieces.
Los sombreros se dividen en tres piezas, Tapa, copa y ala.
TAPA: Teniendo las medidas del contorno de nuestra cabeza lo dividimos entre 6,28, es decir 56 cm/ 6.28= 8.9 y ese va a ser nuestro radio de circunferencia de la tapa de nuestro sombrero
COPA: En nuestro papel bon hacemos un rectángulo de 29cm de acho por 8.5 cm de alto, al extremo izquierdo le sumamos 3 cm (inferior y superior) para hacer una pequeña curva. Pieza se corta doble
ALA: En nuestro papel bon hacemos un rectángulo de 36 cm de acho por 7 cm de alto, de manera curva, sumando a ambos extremos 4.5 cm (inferior y superior) y la pieza se corta doble.
En las siguientes imágenes les muestro cada una de las piezas individual.
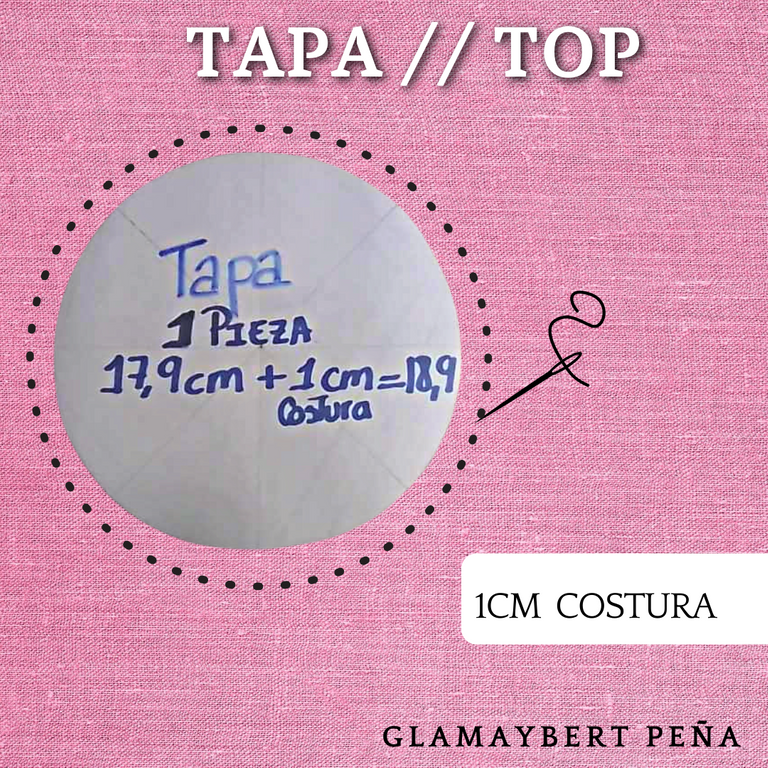
Once these three steps or pieces have been carried out, they will become the patterns of our hat, remember when transferring to the fabric leave an extra 1cm to sew.
Una vez realizados estos tres pasos o piezas, se convertirán en los patrones de nuestro sombrero, recuerda al transferir a la tela dejar 1cm extra para coser.
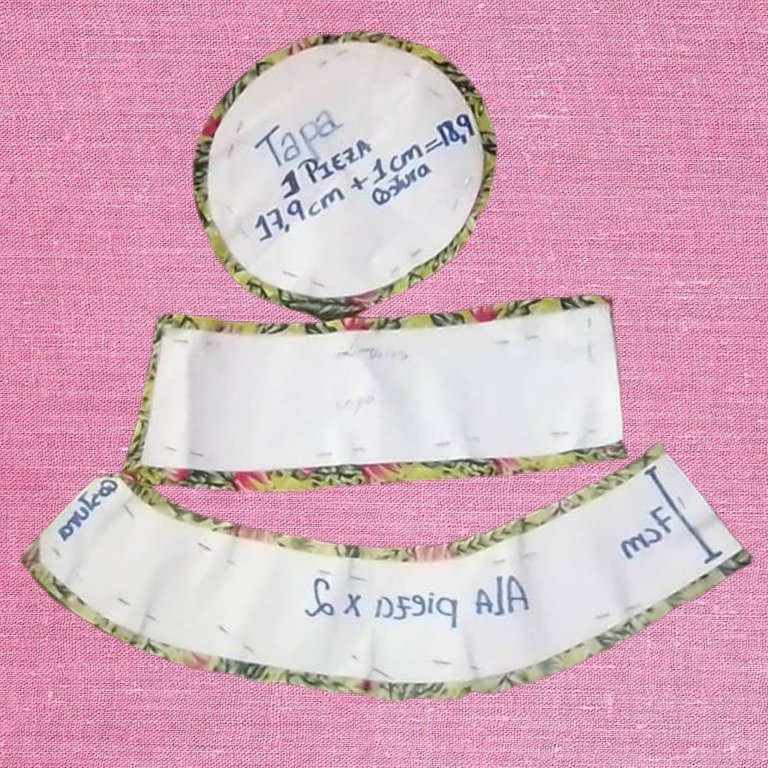
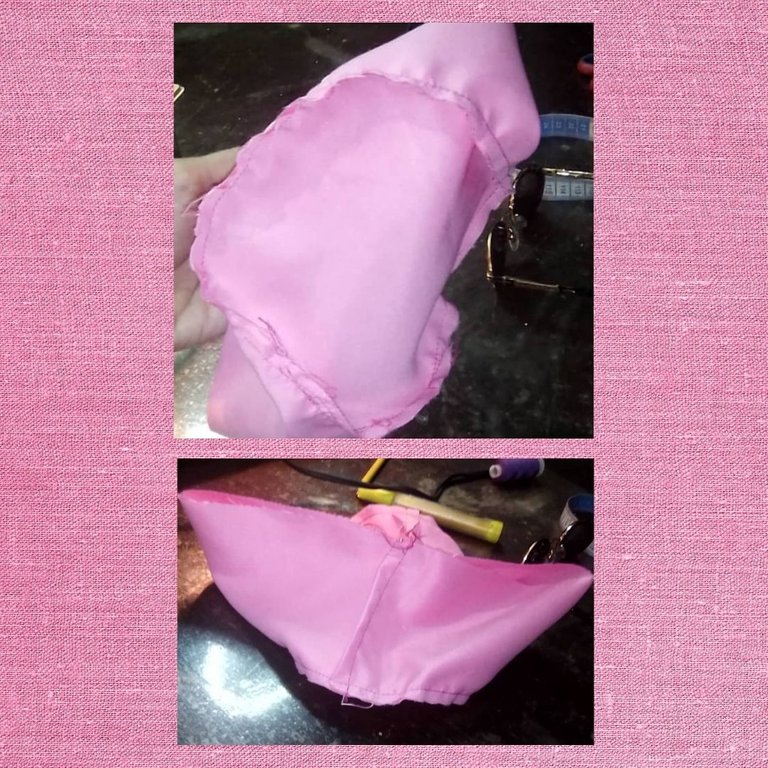
In the next pictures you will see the sewing process!
¡En las próximas imágenes verán el proceso de costura!
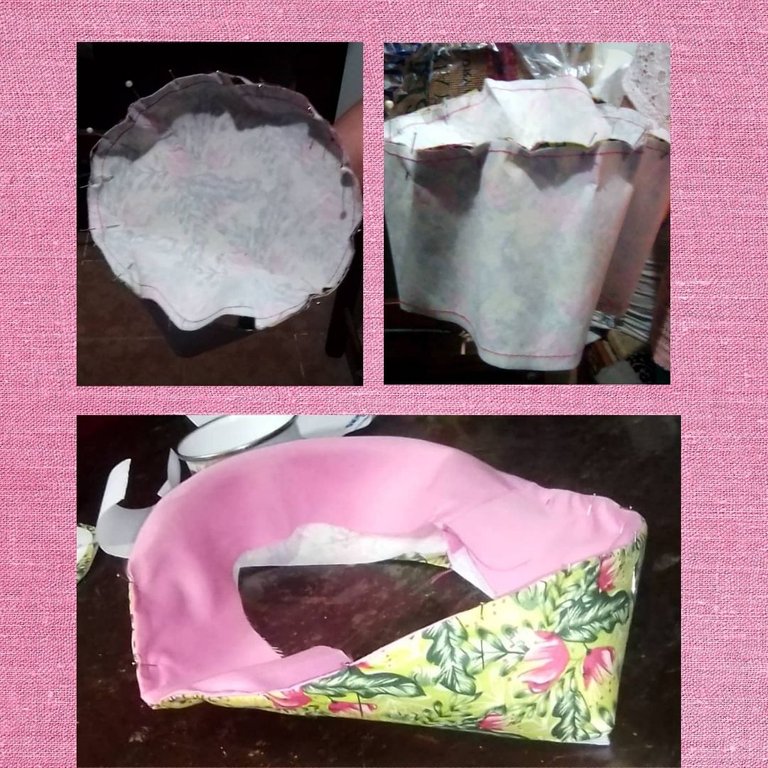
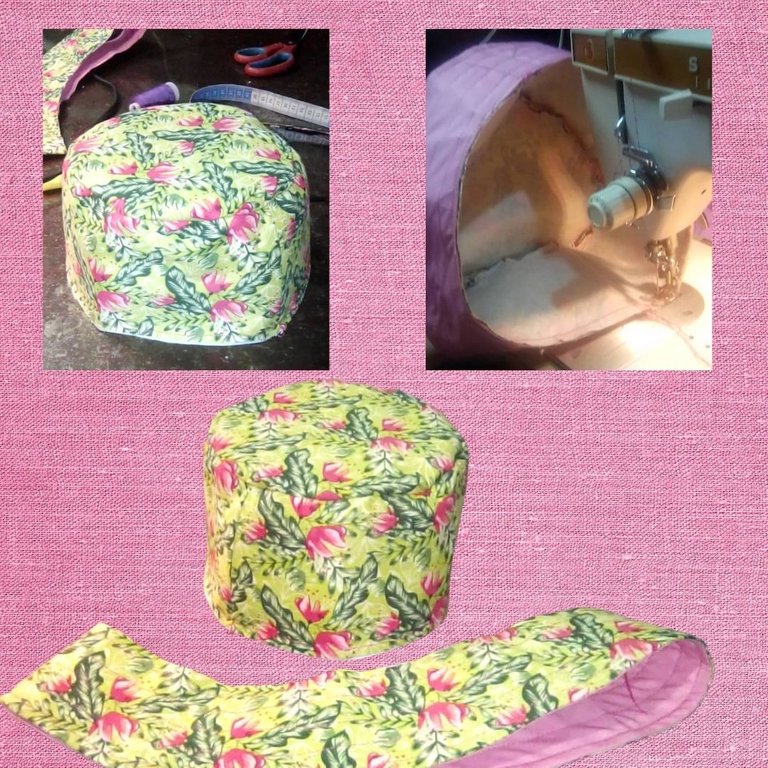
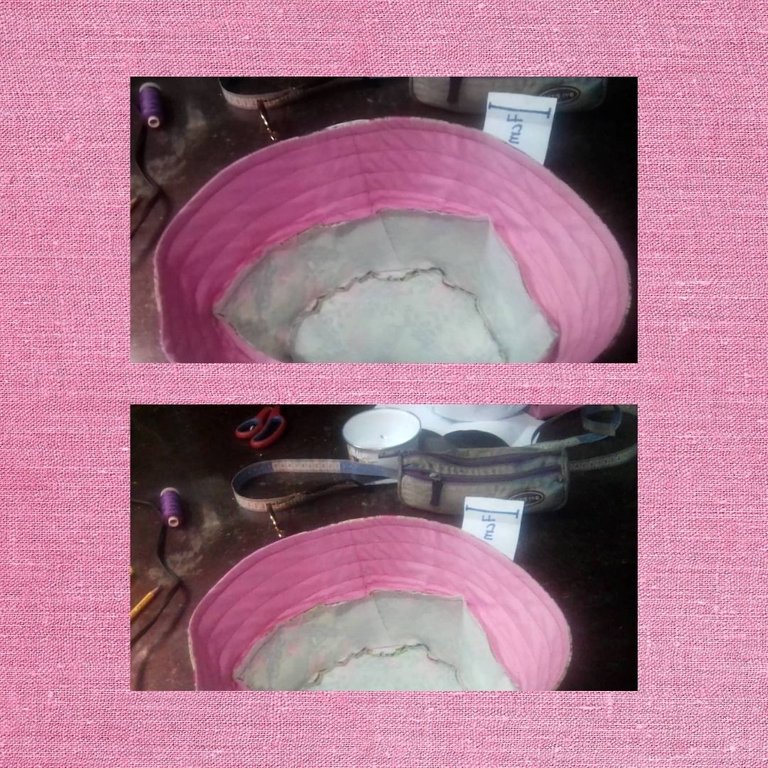
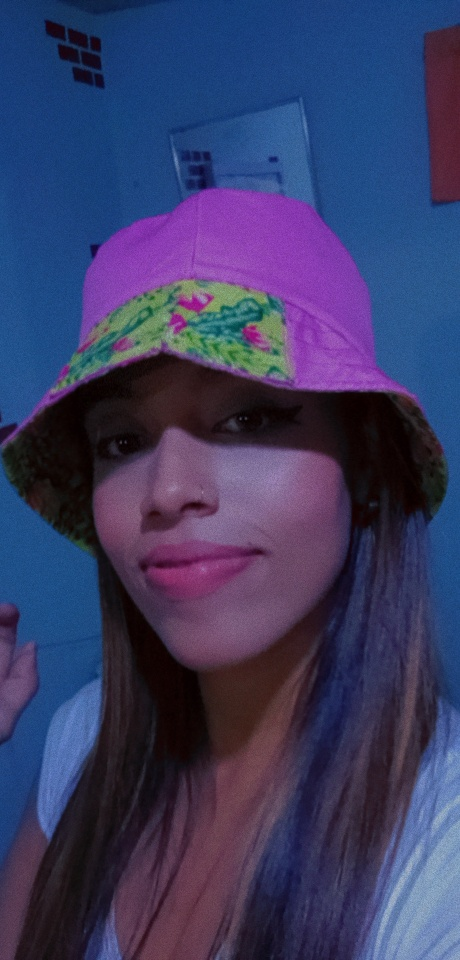
At the end of the whole process of sewing and assembling the pieces, as a final result I got my Becket hat and the most incredible thing is that it is reversible.
I was totally in love with the result.
Al terminar todo el proceso de coser y armar las piezas, como resultado final octuve mi sombrero Becket hat y lo mas increíble es que es reversible.
Yo quede totalmente enamorada con el resultado.
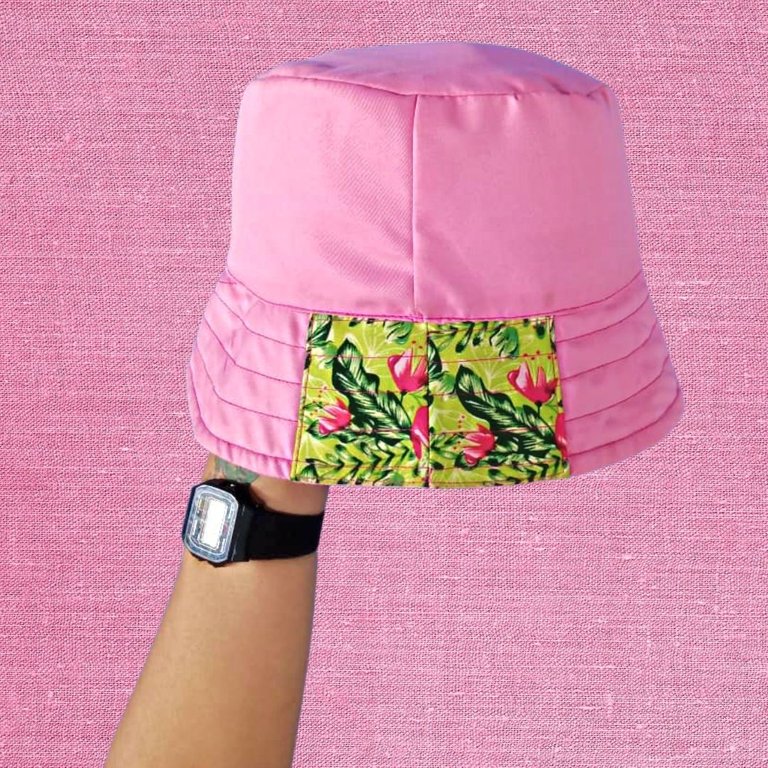
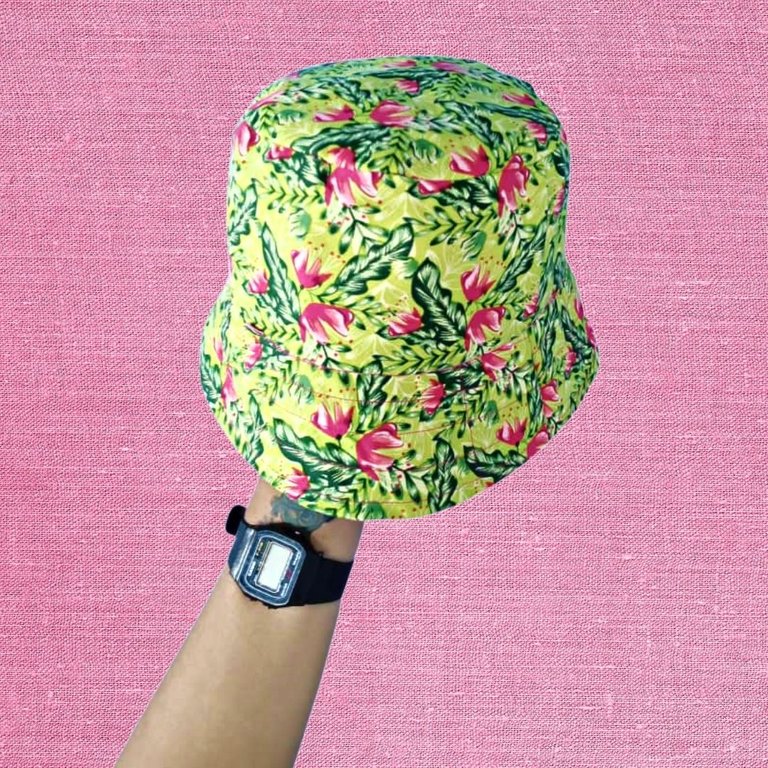
and to you dear reader, what did you think of the final result?
y a ti querido lector ¿Qué te ha parecido el resultado final?
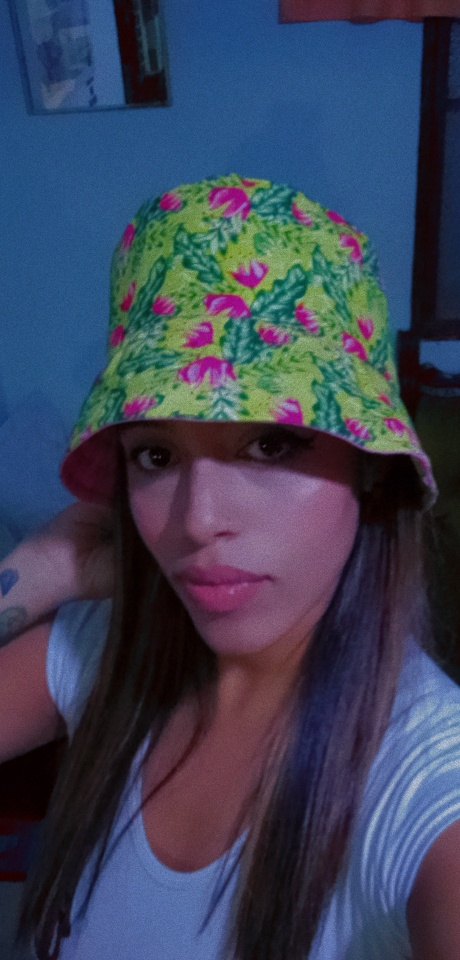
I want to thank my dear readers in advance, if it weren't for you, I wouldn't have the pleasure of being here.
Kisses and hugs from a distance.
We read in the next installment.
Byeee!
Quiero agradecer a mis queridos lectores de antemano, si no fuese por ustedes no tendría el gusto de estar aquí.
Besos y abrazos desde la distancia.
Nos leemos en la siguiente entrega.
Chau.


-English version translated with Translate Google.
-Banner made in Adobe Ilustrator.
-Original photos and my exclusive property
-100% original content
-Versión en inglés traducida con Traductor Google.
-Banners elaborado en Adobe Illustrator.
-Fotos originales y de mi exclusiva propiedad.
-100% contenido original.

❤️|Nos vemos en la próxima entrega, besos|❤️
❤️|See you in the next installment, kisses|❤️
Congratulations @glamaybert98! You have completed the following achievement on the Hive blockchain and have been rewarded with new badge(s):
Your next target is to reach 50 upvotes.
You can view your badges on your board and compare yourself to others in the Ranking
If you no longer want to receive notifications, reply to this comment with the word
STOPTo support your work, I also upvoted your post!
Check out the last post from @hivebuzz:
Te quedó bello... A mí me gustaría algún momento intentar hacer algo de costura jajaja solo para probar 🤣
Muchas gracias, a mi daba mucha tensión. Pero luego fluye la cosa jajajajaja ya le agarre gusto 😌😍 y debería probar 🌼
Muy lindo, me gustó mucho también.Gracias por compartir. 😊
Muchas graciaaaas!
Excelente tutorial 👏👏👏 me encantó 😀
Muchas gracias mi estimado Peyo🌼