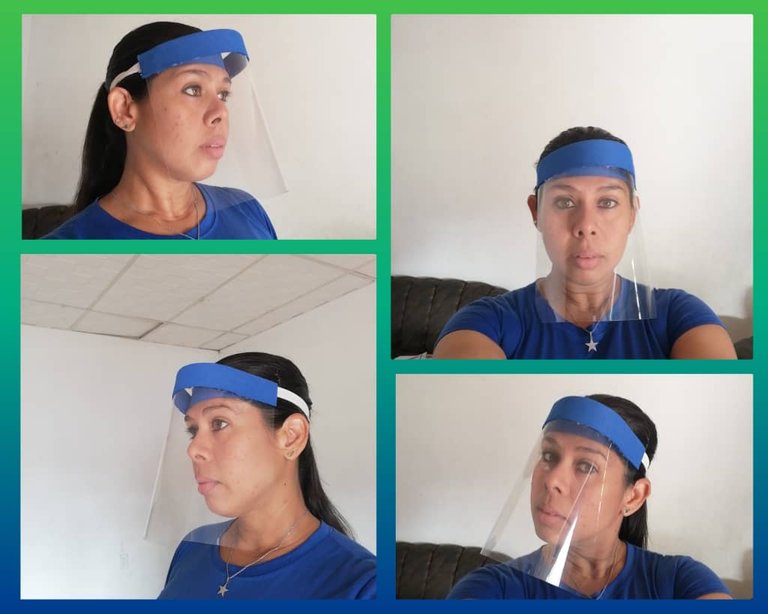
Hello friends dear friends hive, these times we are living we must be protected with our mouth cover or protective visor, today I want to show you a super simple and inexpensive way to make our own personalized protective masks or visor, you will be surprised how easy and cheap what is to do. | Hola amigos queridos amigos hive, estos tiempos que estamos viviendo debemos estar protejidos con nuestro tapa bocas o visor protector, hoy quiero enseñarles una forma super sencilla y económica de hacer nuestras propias caretas o visor protector personalizada, te vas a sorprender de lo fácil y económica que es hacerla. |

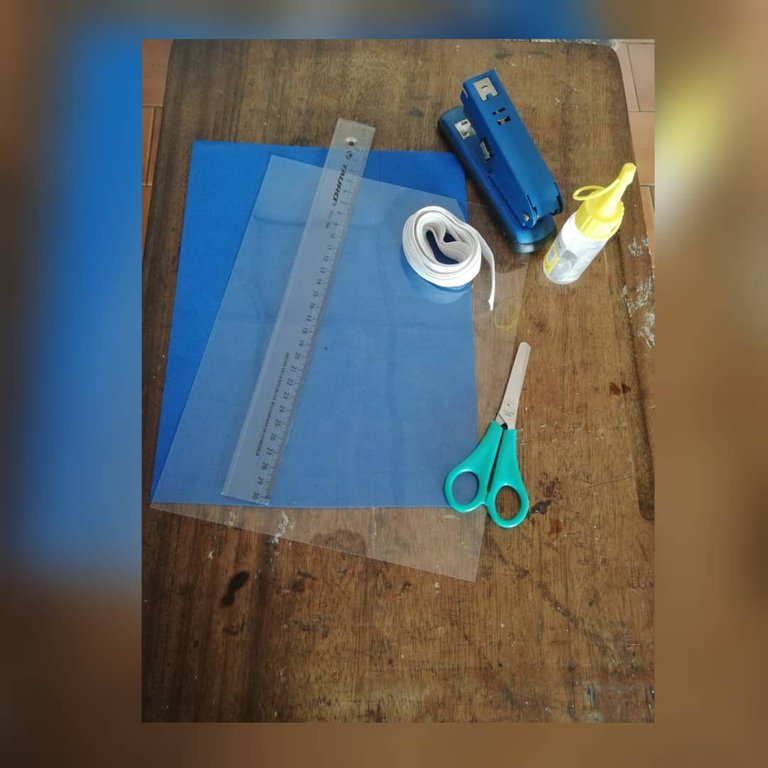
Materials I used:
1.- Foami.
2.- Letter-type acetate sheet
3.- Stapler.
4.- Scissors
5.- paste
6.- Rule
Materiales que utilicé:
1.- Foami.
2.- Hoja de acetato tipo carta
3.- Engrapadora.
4.- Tijera
5.- pega
6.- Regla

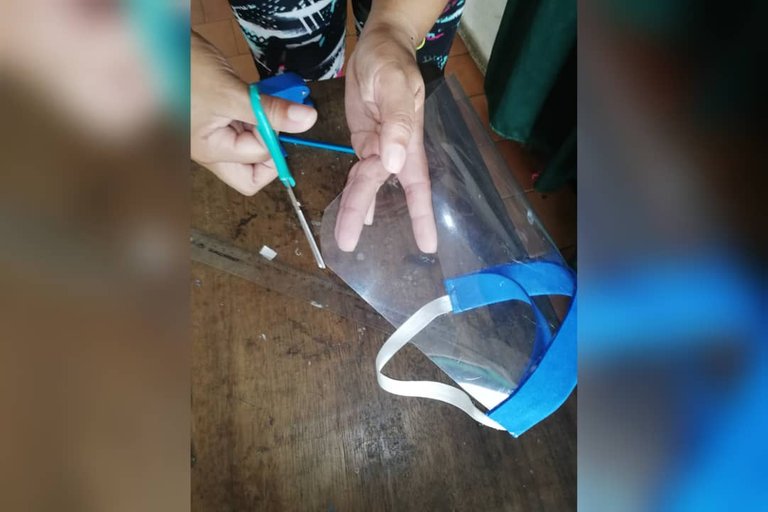
Cut two lines of foam, one 7cm wide and the same length as the letter-type acetate sheet and another line 3cm wide and 18cm long and the elastic tape is also cut 18cm. | Cortar dos líneas de foami una de 7cm de ancho y del mismo largo de la hoja de acetato que es de tipo carta y otra línea de 3 cm de ancho y 18cm de largo y también se corta 18cm la cinta elástica. |

Staple the elastic tape to the acetate from side to side. | Grapar la cinta elástica al acetato de lado a lado. |

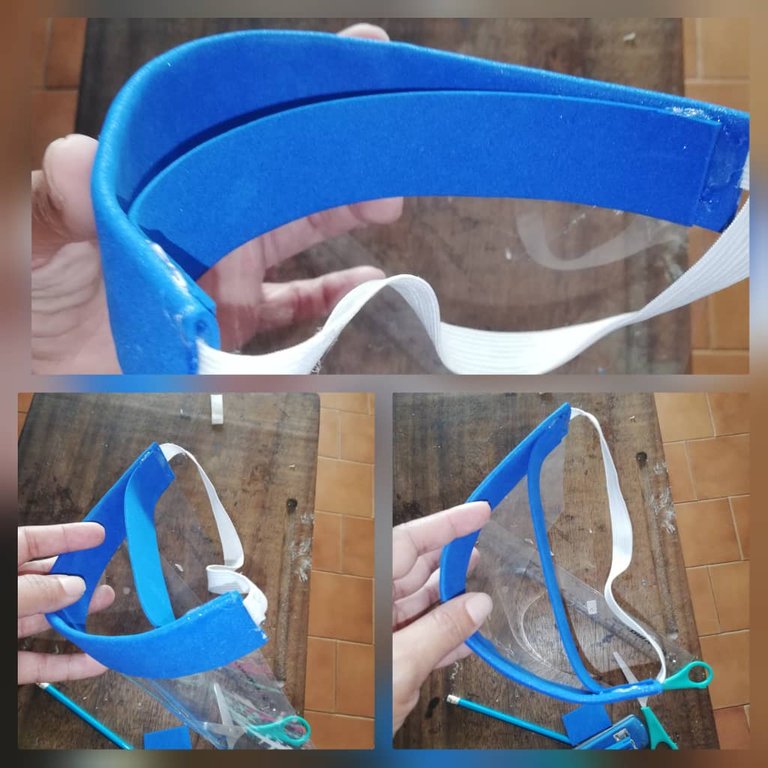
Once the tape is stapled, we proceed to fold the foami tape that we cut 7cm wide in half or lengthwise and glue it around the top of the acetate, one part outward and the other inward. | Ya grapada la cinta procedemos a doblar a la mitad o lo largo la cinta de foami que recortamos de 7cm de ancho y la pegamos alrededor de la parte de arriba del acetato, una parte hacia fuera y la otra hacia adentro. |

Now we glue the second foam strip on the inside, only the ends one on one side and the other end on the other to give it support and that rounded shape of the mask or visor. | Ahora pegamos el segundo listón de foami en la parte de adentro solo las puntas una en de un lado y la otra punta del otro para darle soporte y esa forma redondeada de la careta o visor. |

We only have to round the ends so that it does not hurt us when we have to use it. | Solo nos queda redondear las puntas para que no nos lastime cuando tengamos que usarlo. |

And we already have our mask or protective visor ready to use. | Y Ya tenemos listo para usar nuestra careta o visor protector. |

App Collage maker
Traductor google español-Ingles
Photos taken by mobile phone HUAWEI p20
Collage maker app
Google Spanish-English Translator

Congratulations @filejethje! You have completed the following achievement on the Hive blockchain and have been rewarded with new badge(s) :
Your next target is to reach 1250 upvotes.
You can view your badges on your board and compare yourself to others in the Ranking
If you no longer want to receive notifications, reply to this comment with the word
STOPSupport the HiveBuzz project. Vote for our proposal!