Welcome to my blog! I hope you are well, today I bring a very creative idea to decorate our room with our memories, making beautiful portraits, great no ?. Here I explain step by step so that they learn and put it into practice.
Bienvenidos a mi blog! Espero se encuentren bien, hoy traigo una idea muy creativa para decorar nuestra sala con nuestros recuerdos realizando hermosos porta retratos, genial no?. Aqui les explico paso a paso para que aprendan y lo pongan en práctica.
•Materials:
◇ Cardboard
◇ Foami
◇ Scissors
◇ Painting
◇ Brush
◇ Silicon
◇ Sheet (recycled)
◇ Exact
•Materiales:
◇Cartón
◇Foami
◇Tijera
◇Pintura
◇Pincel
◇Silicon
◇Hoja(reciclada)
◇Exacto

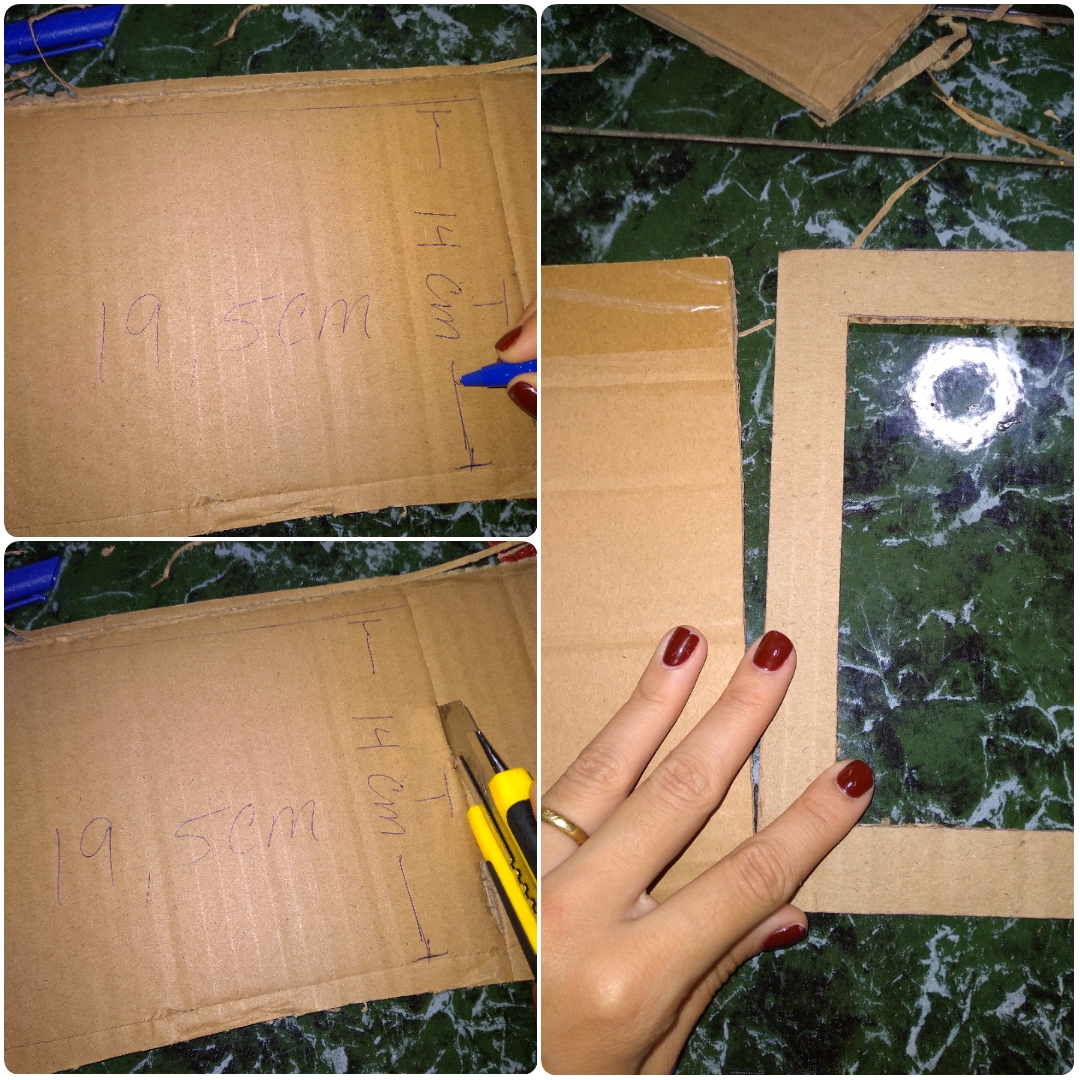
The first thing we do is cut a rectangle of 19.5cm x 14cm and another with the same measure but we cut a hole 1.5cm wide.
Lo primero que hacemos es recortar un rectángulo de 19,5cm x 14cm y otro con la misma medida pero le recortamos un hueco de 1.5cm de ancho.
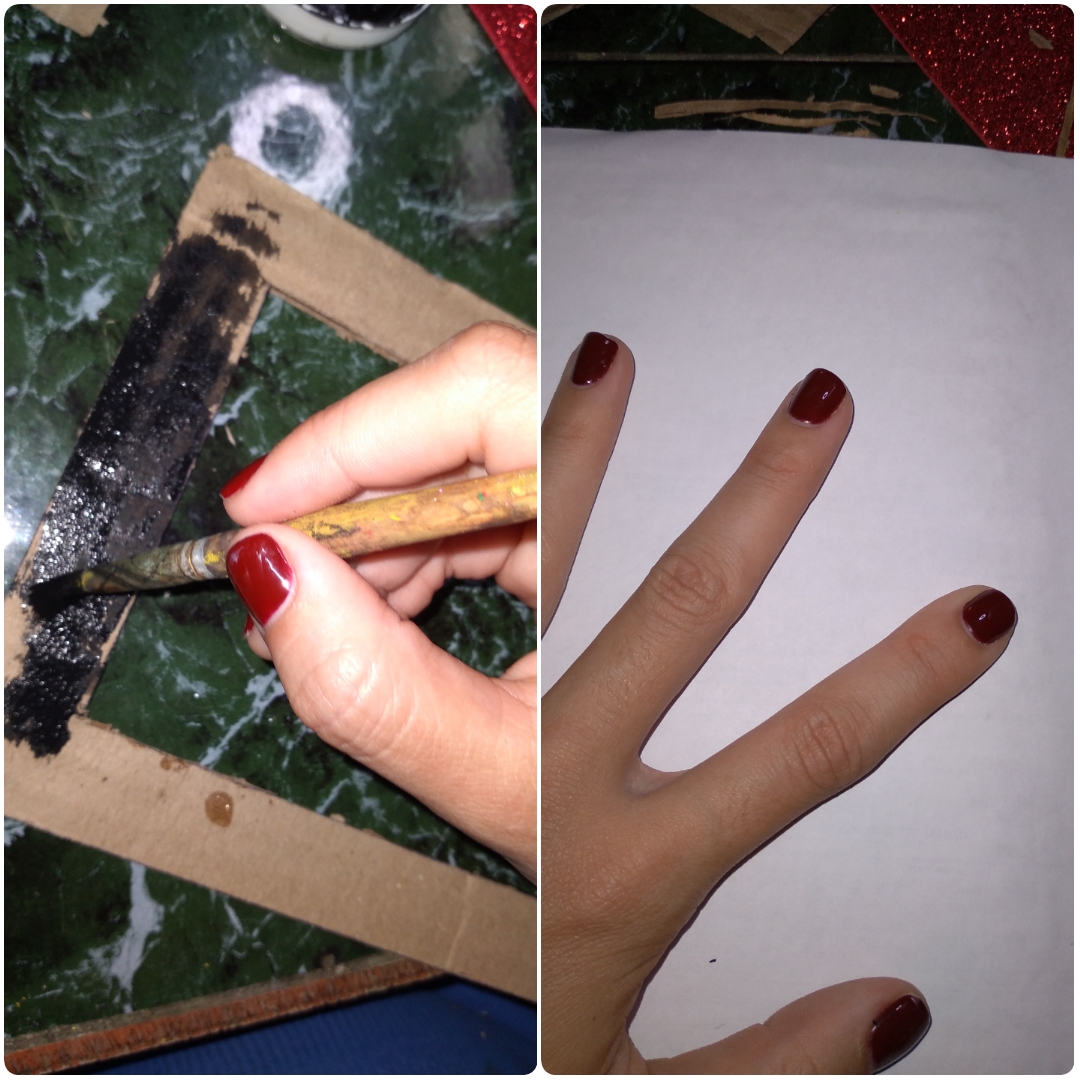
The frame that is the one that goes up we paint it black, and the one that goes down we cover it with a white sheet.
El marco que es el que va arriba lo pintamos de negro, y el que va abajo lo forramos con una hoja blanca.
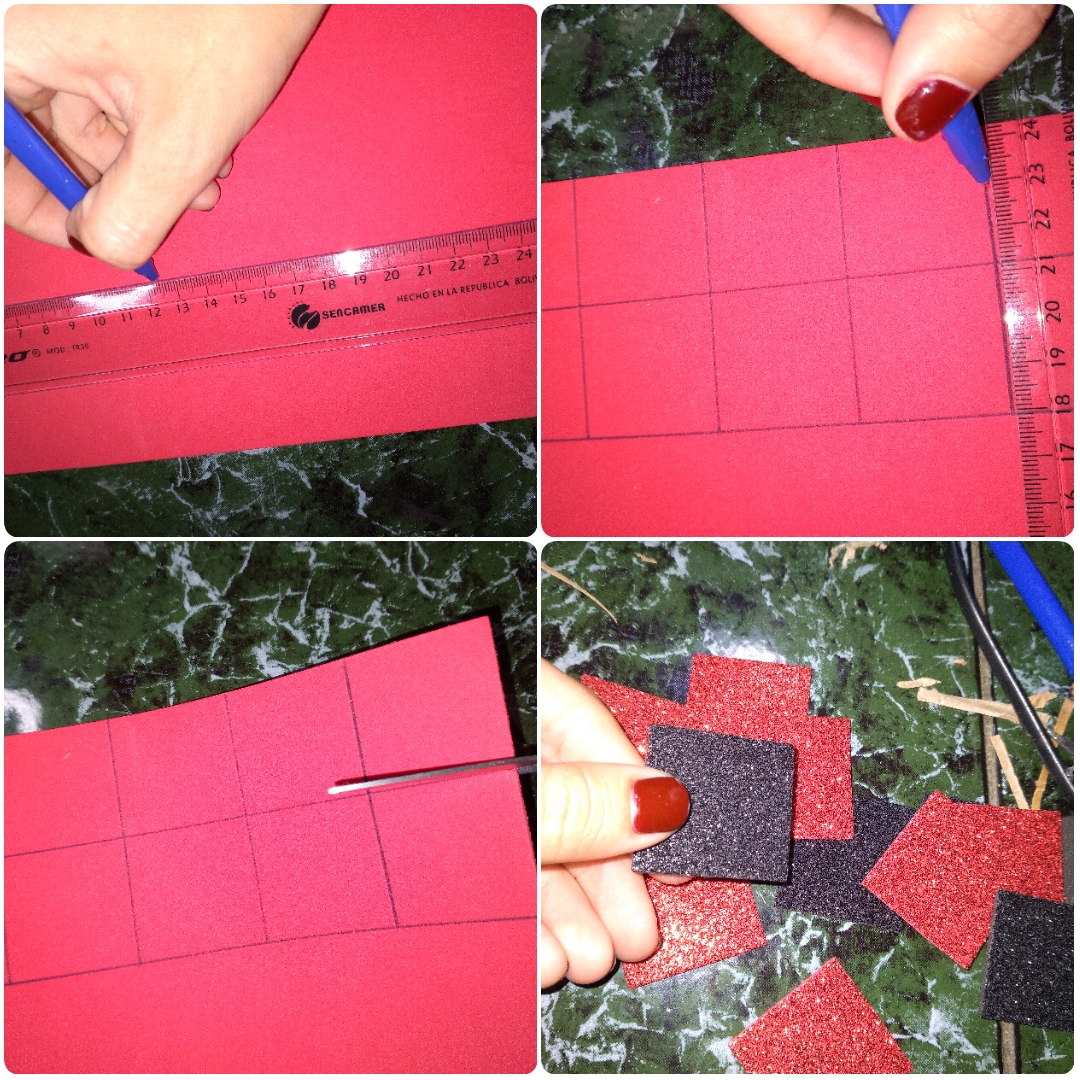
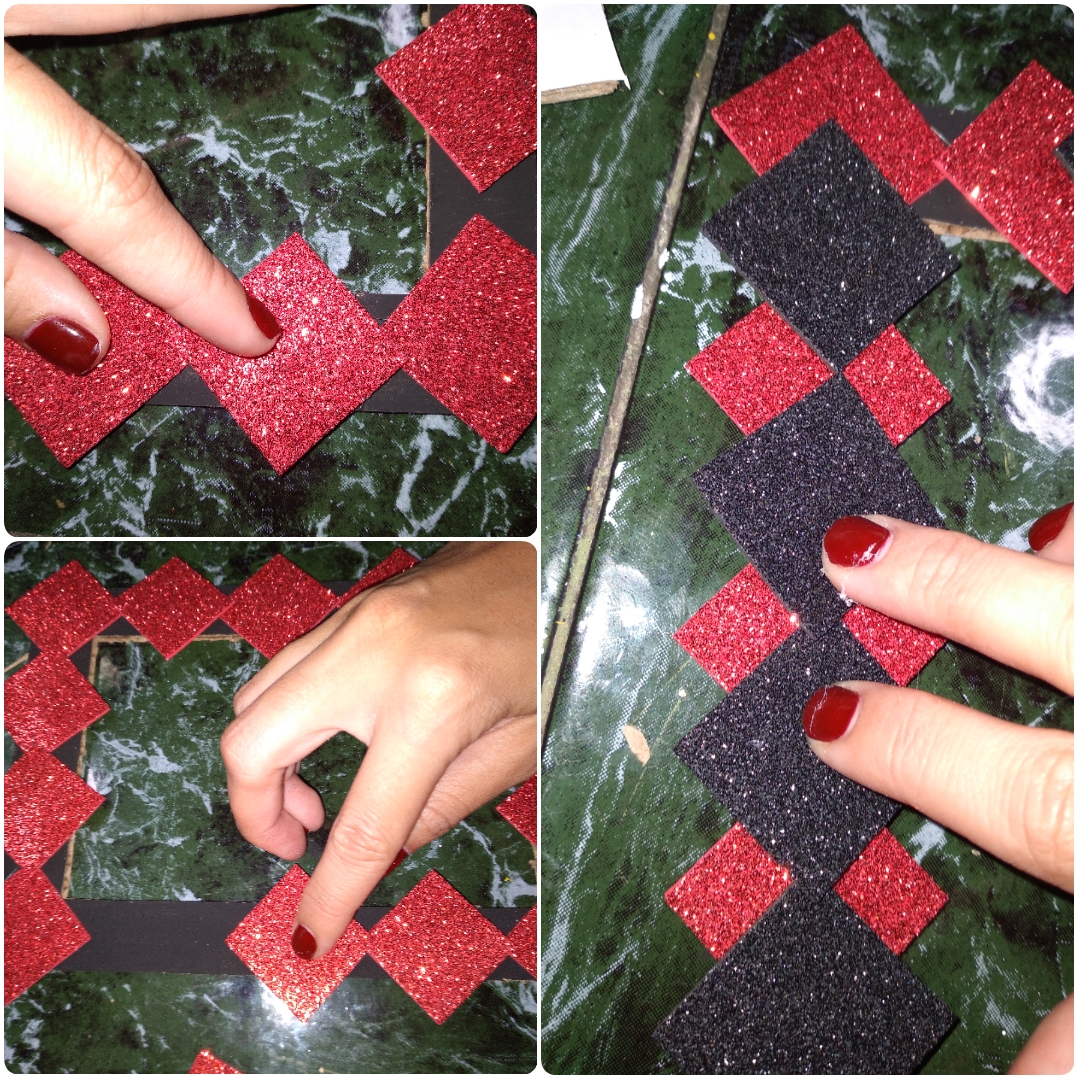
In black foami and cut squares from the thickness of our ruler.
En foami color negro y recortamos cuadrados de el grueso de nuestra regla.
Then we are placing our squares but in a diamond shape, first the red ones and above the black ones.
Luego vamos colocando nuestros cuadritos pero en for.a de rombo, primeros los rojos y encima los negros.
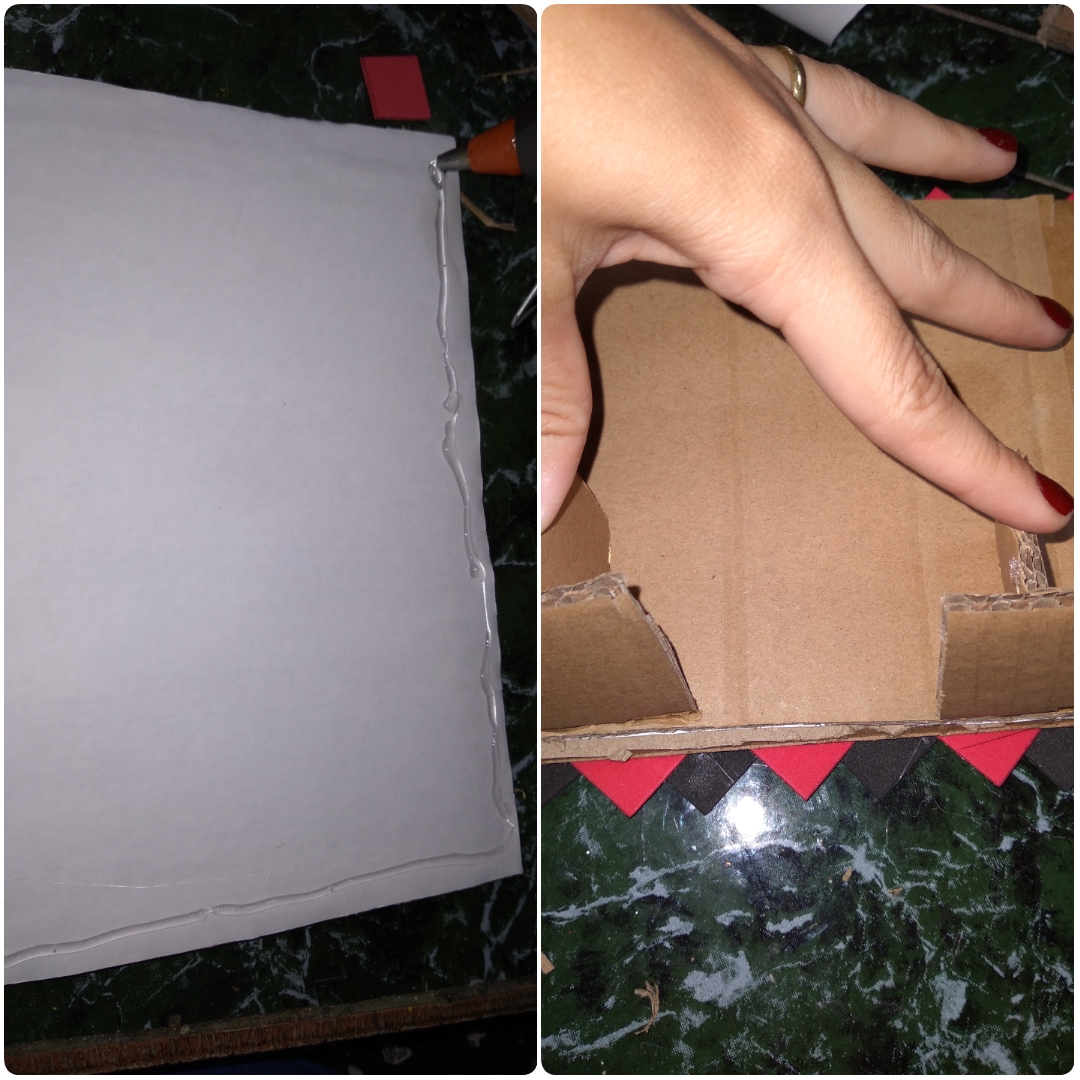
We glue what we did to the rectangle that we lined, but we are going to leave one side without placing glue to be able to put the photos.
Pegamos lo que hicimos a el rectángulo que forramos , pero vamos a dejar un lado sin colocarle pega para poder meter las fotos.
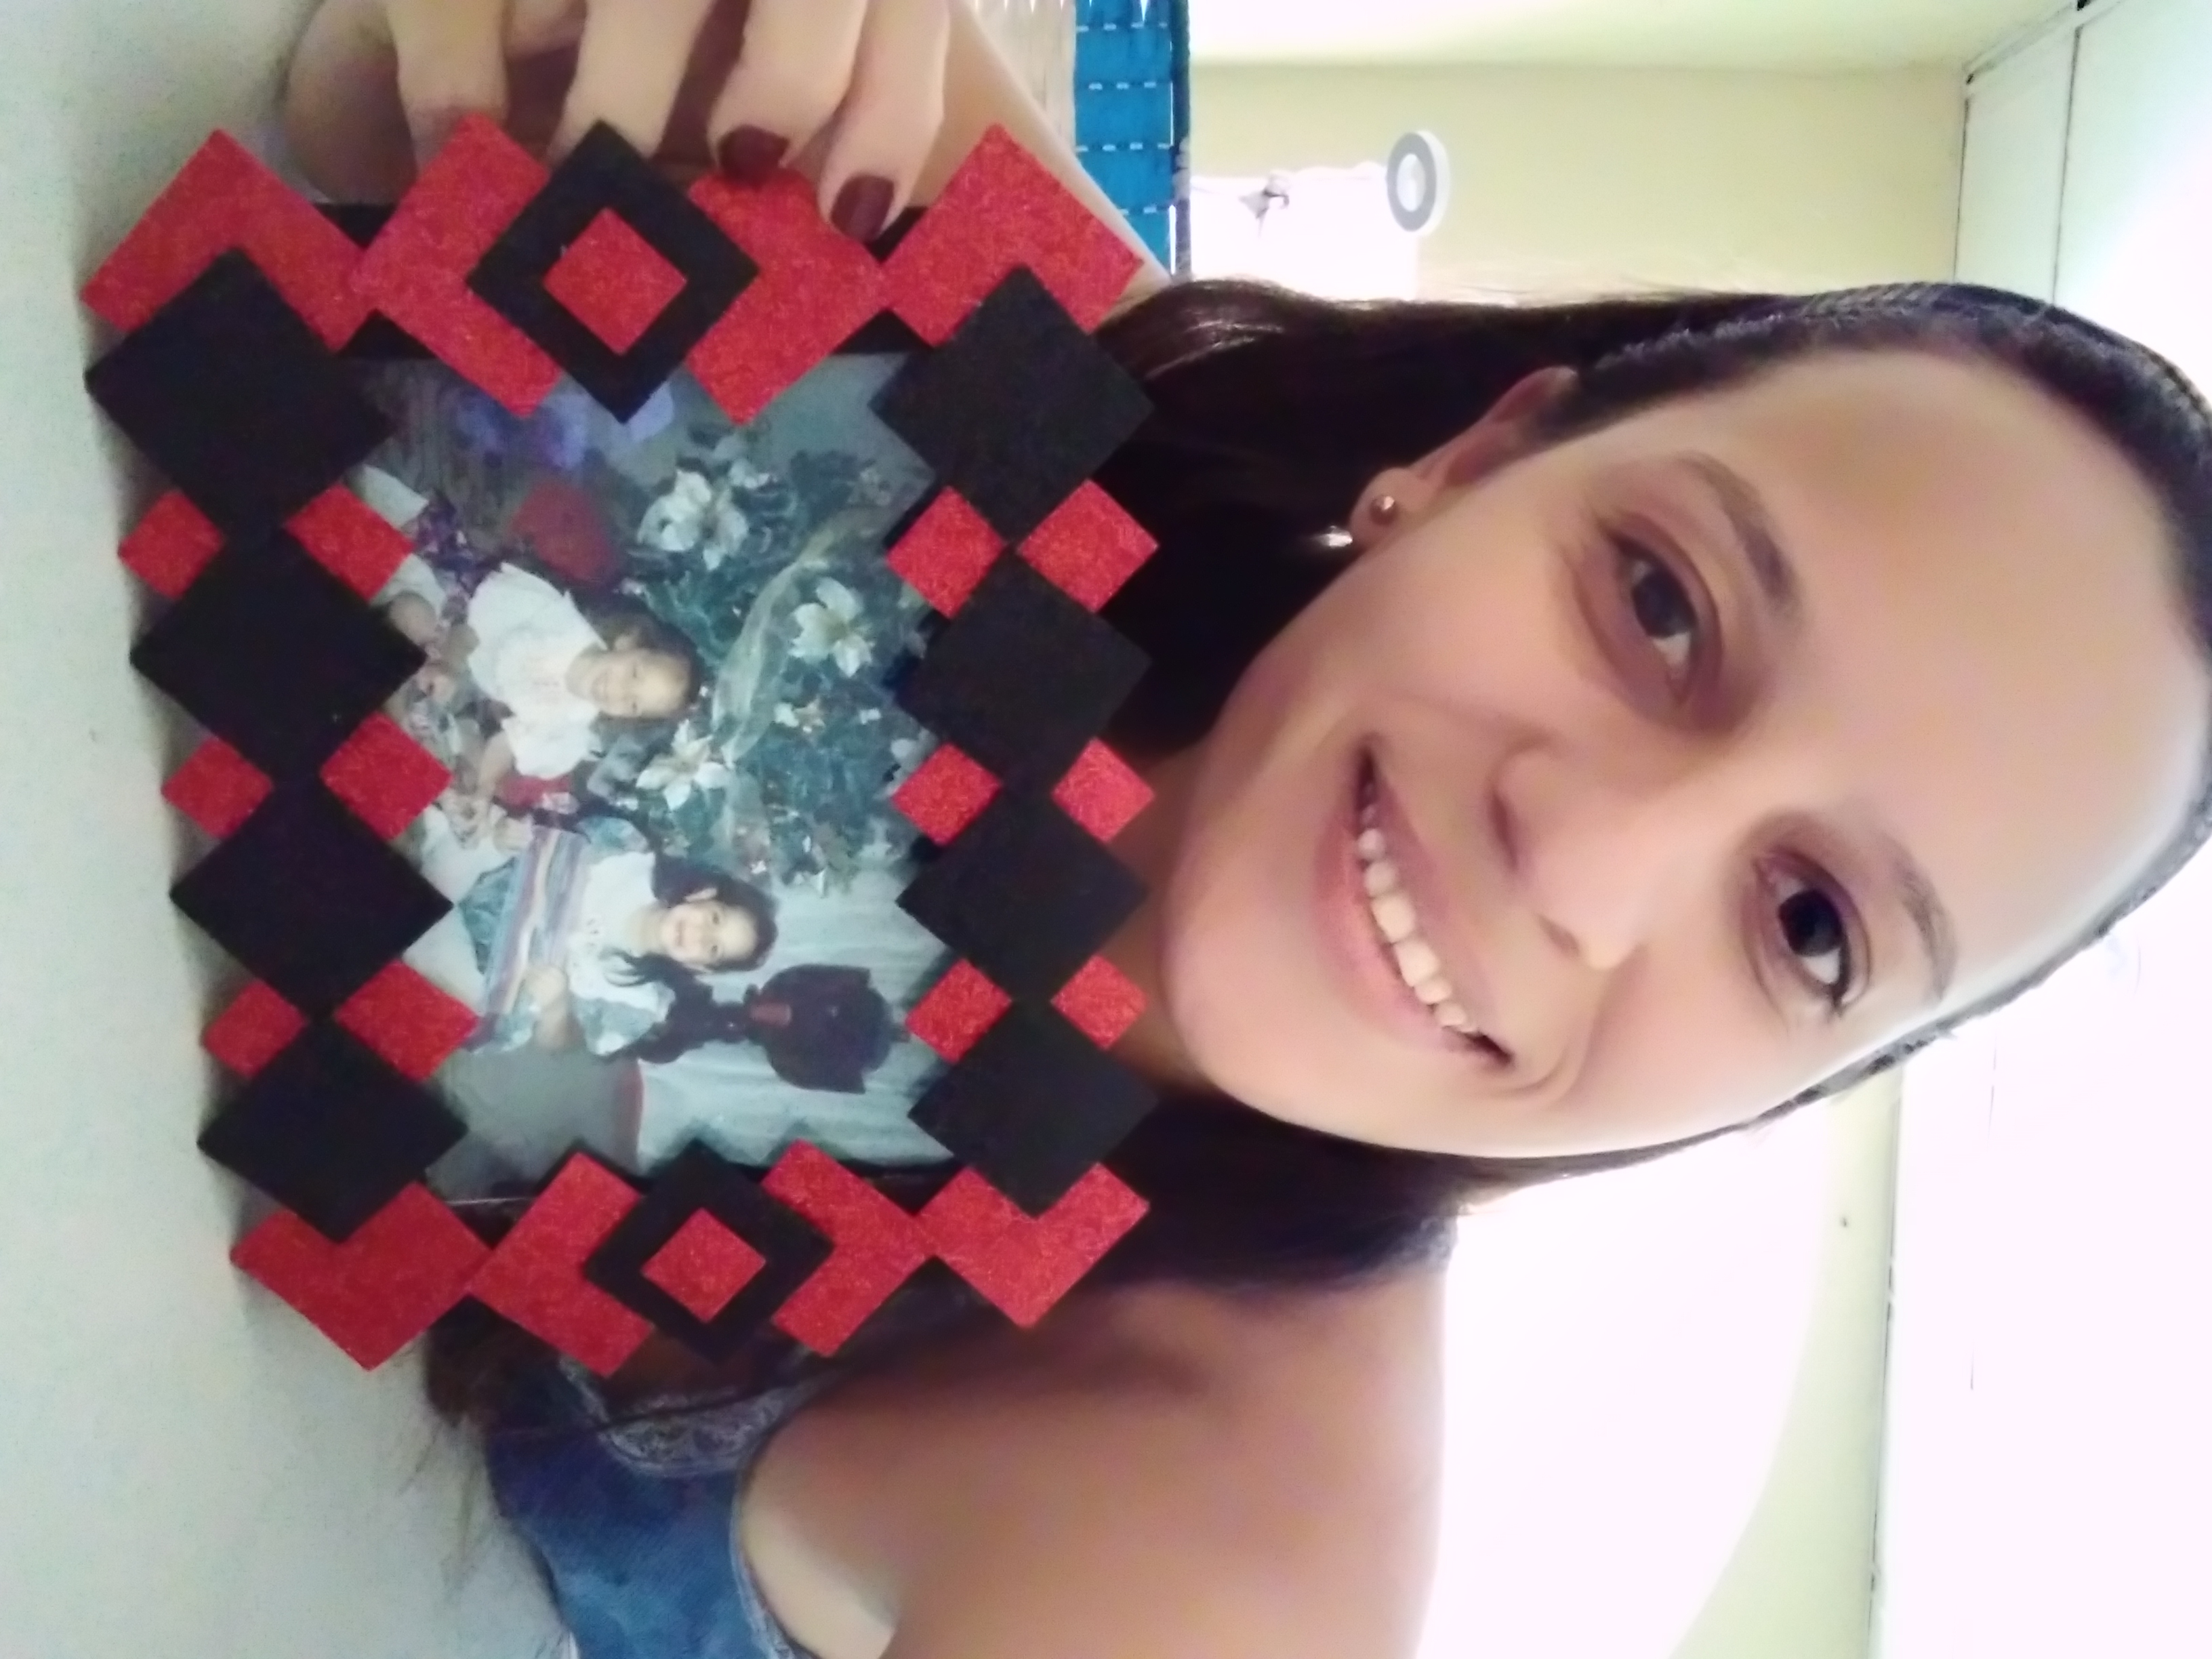
And this is how our cute portrait holder looks, we can use it anywhere in our house.
Y asi queda nuestro lindo porta retrato , lo podemos usar en cualquier parte de nuestra casa.

I hope you love it, blessings for everyone!
Espero les encante, bendiciones para todos.!