Hola mis queridos amigos de Hive! En esta ocacion y aprovechando la epoca quisimos traer esta iniciativa para decorar nuestros hogares en navidad, nuestra casa es pequeña asi que decidimos hacer esto para darle un toque mas navideño aparte del arbol.
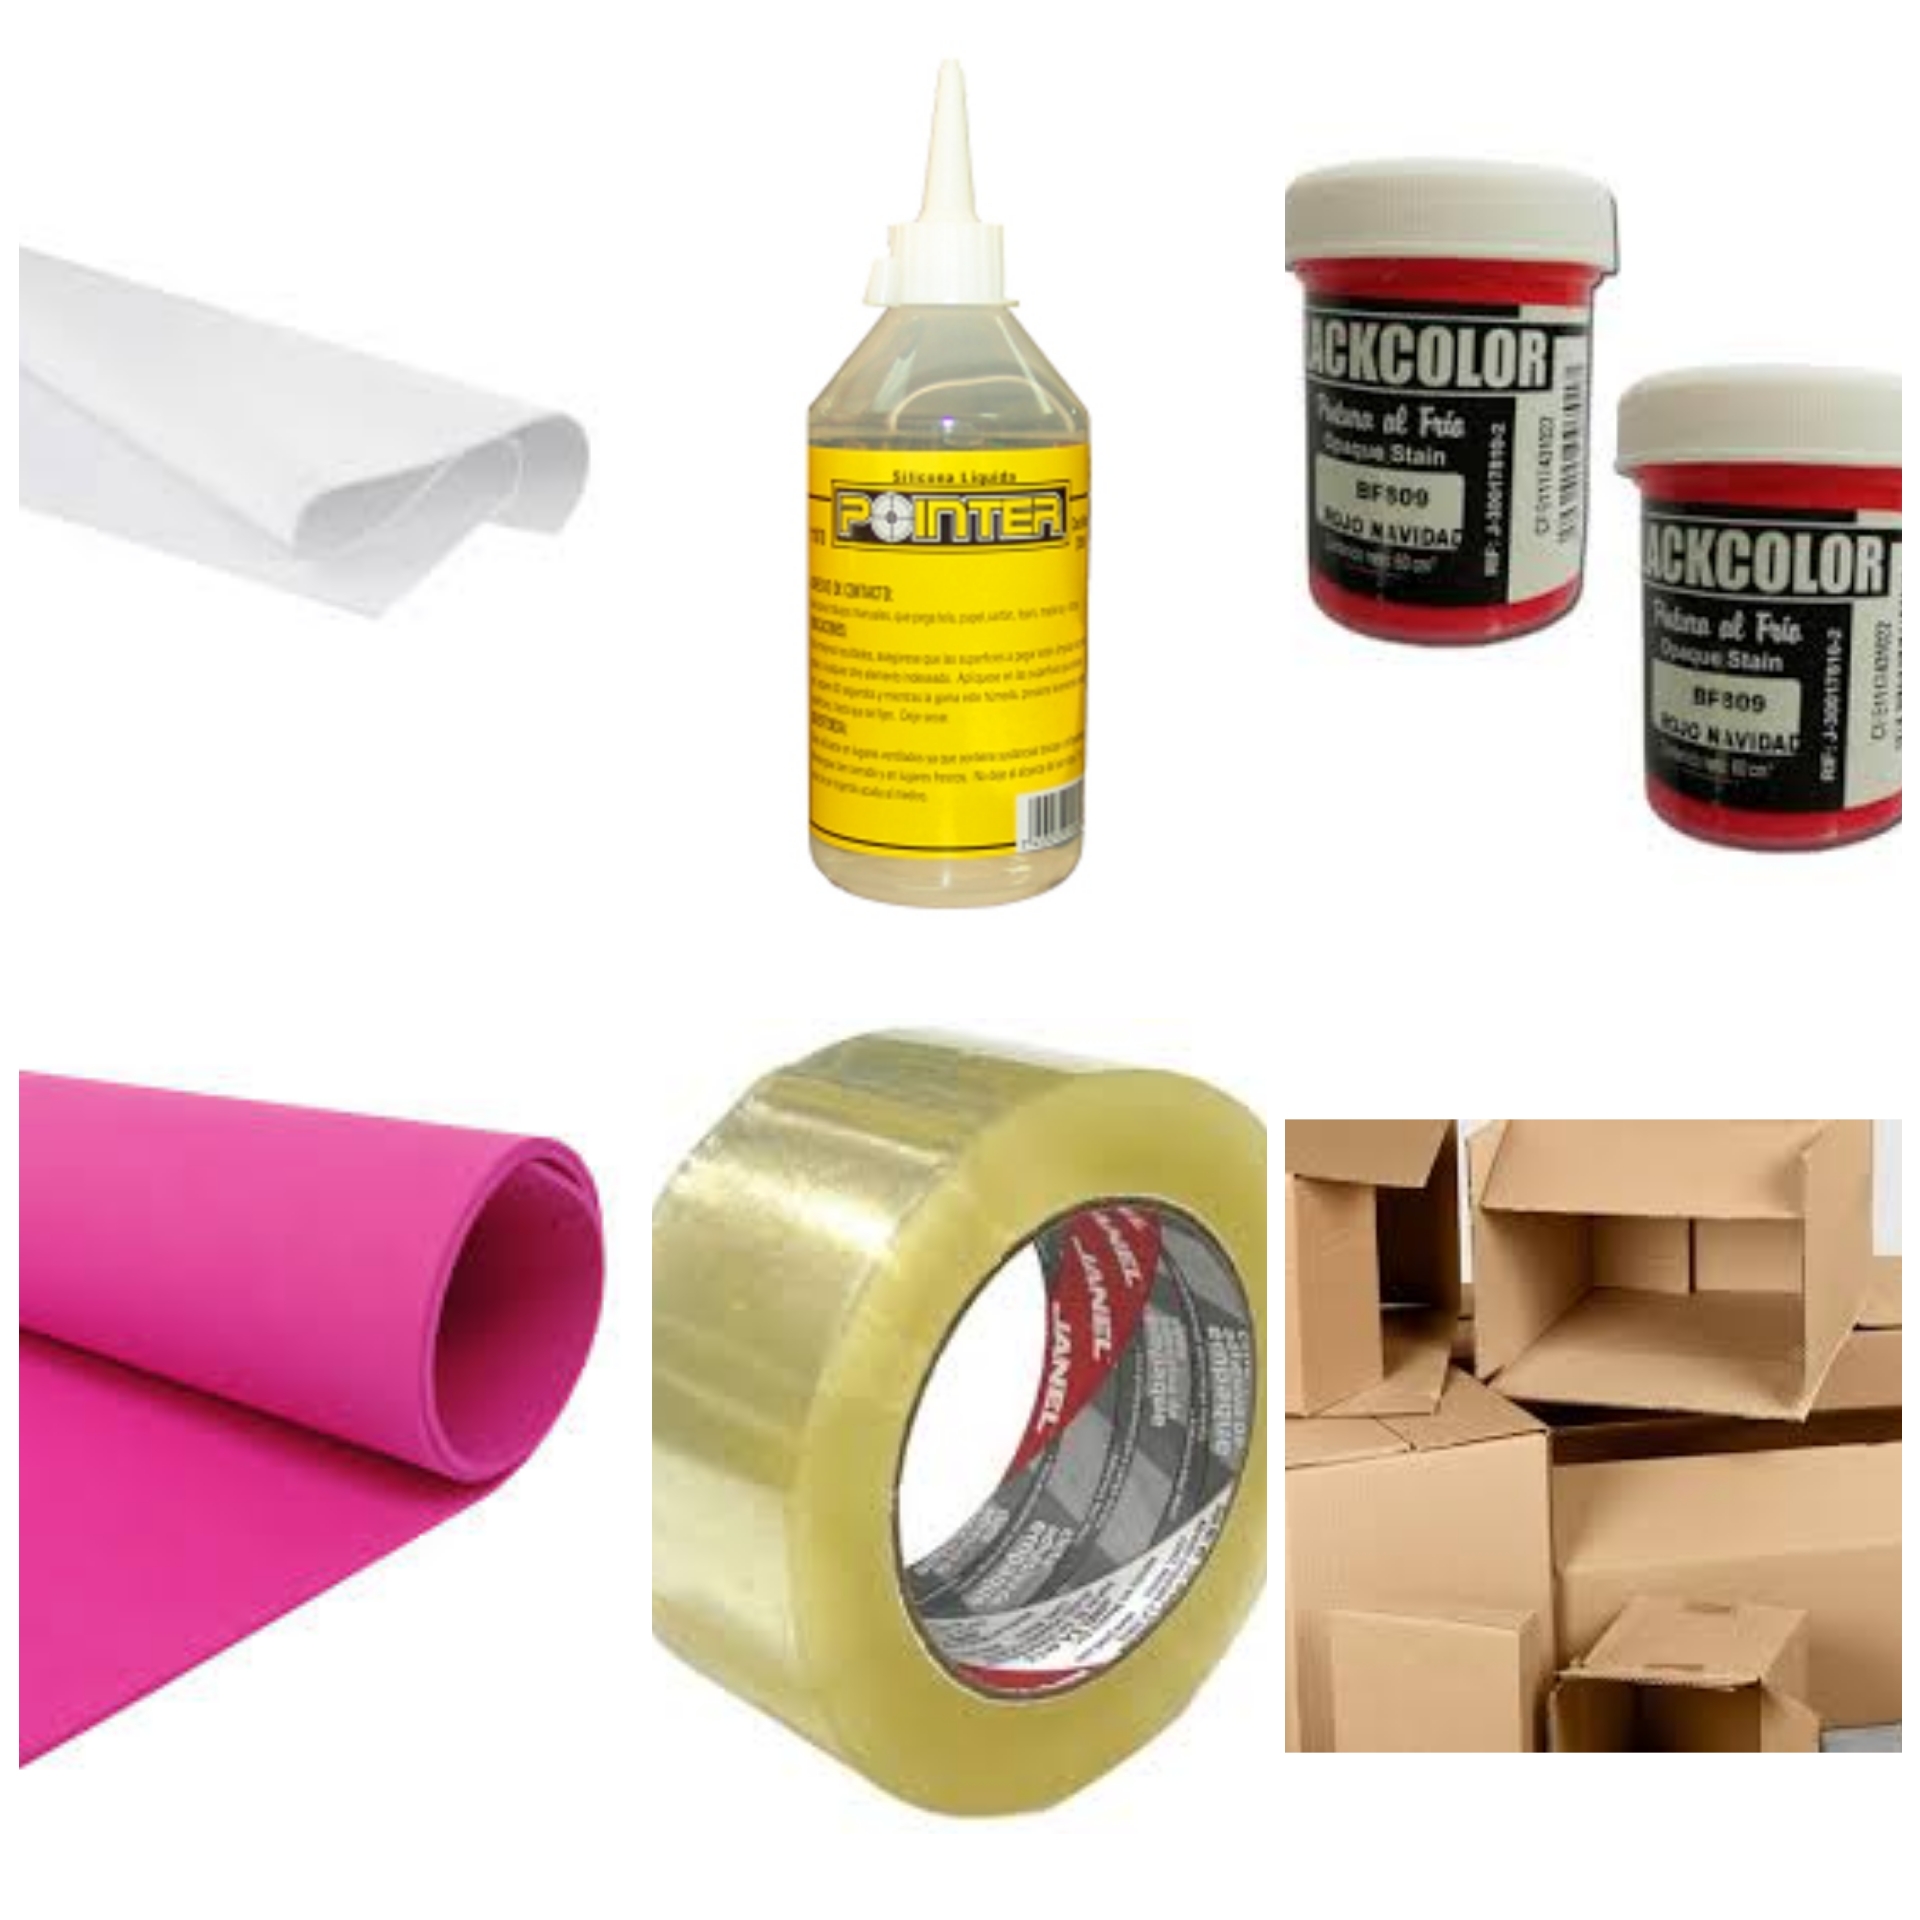
Consiste en una chimenea hecha con cajas de carton muy bonita para decorar nuestro espacio, aqui les dejare los materiales por si quieren unirse a esta iniciativa.
● MATERIALES
• Cajas de carton (Nosotros utilizamos 8 pequeñas para la base de arriba y abajo y 5 grandes para estructura, si la quieren hacer mas grande necesitaran mas cajas todo depende de sus gustos.)
• Silicona liquida
•Tempera roja o color ladrillo
•Cinta adhesiva gruesa
•Goma eva
•Palpel bond
Hello my dear friends from Hive! On this occasion and taking advantage of the time we wanted to bring this initiative to decorate our homes at Christmas, our house is small so we decided to do this to give it a more Christmas touch apart from the tree.
It consists of a fireplace made with very beautiful cardboard boxes to decorate our space, here I will leave you the materials in case you want to join this initiative.
● MATERIALS
• Cardboard boxes (We use 8 small ones for the top and bottom base and 5 large ones for the structure, if you want to make it bigger you will need more boxes, it all depends on your tastes.)
• Liquid silicone
• Red or brick colored tempera
• Thick masking tape
• Eva rubber
• Palpel link
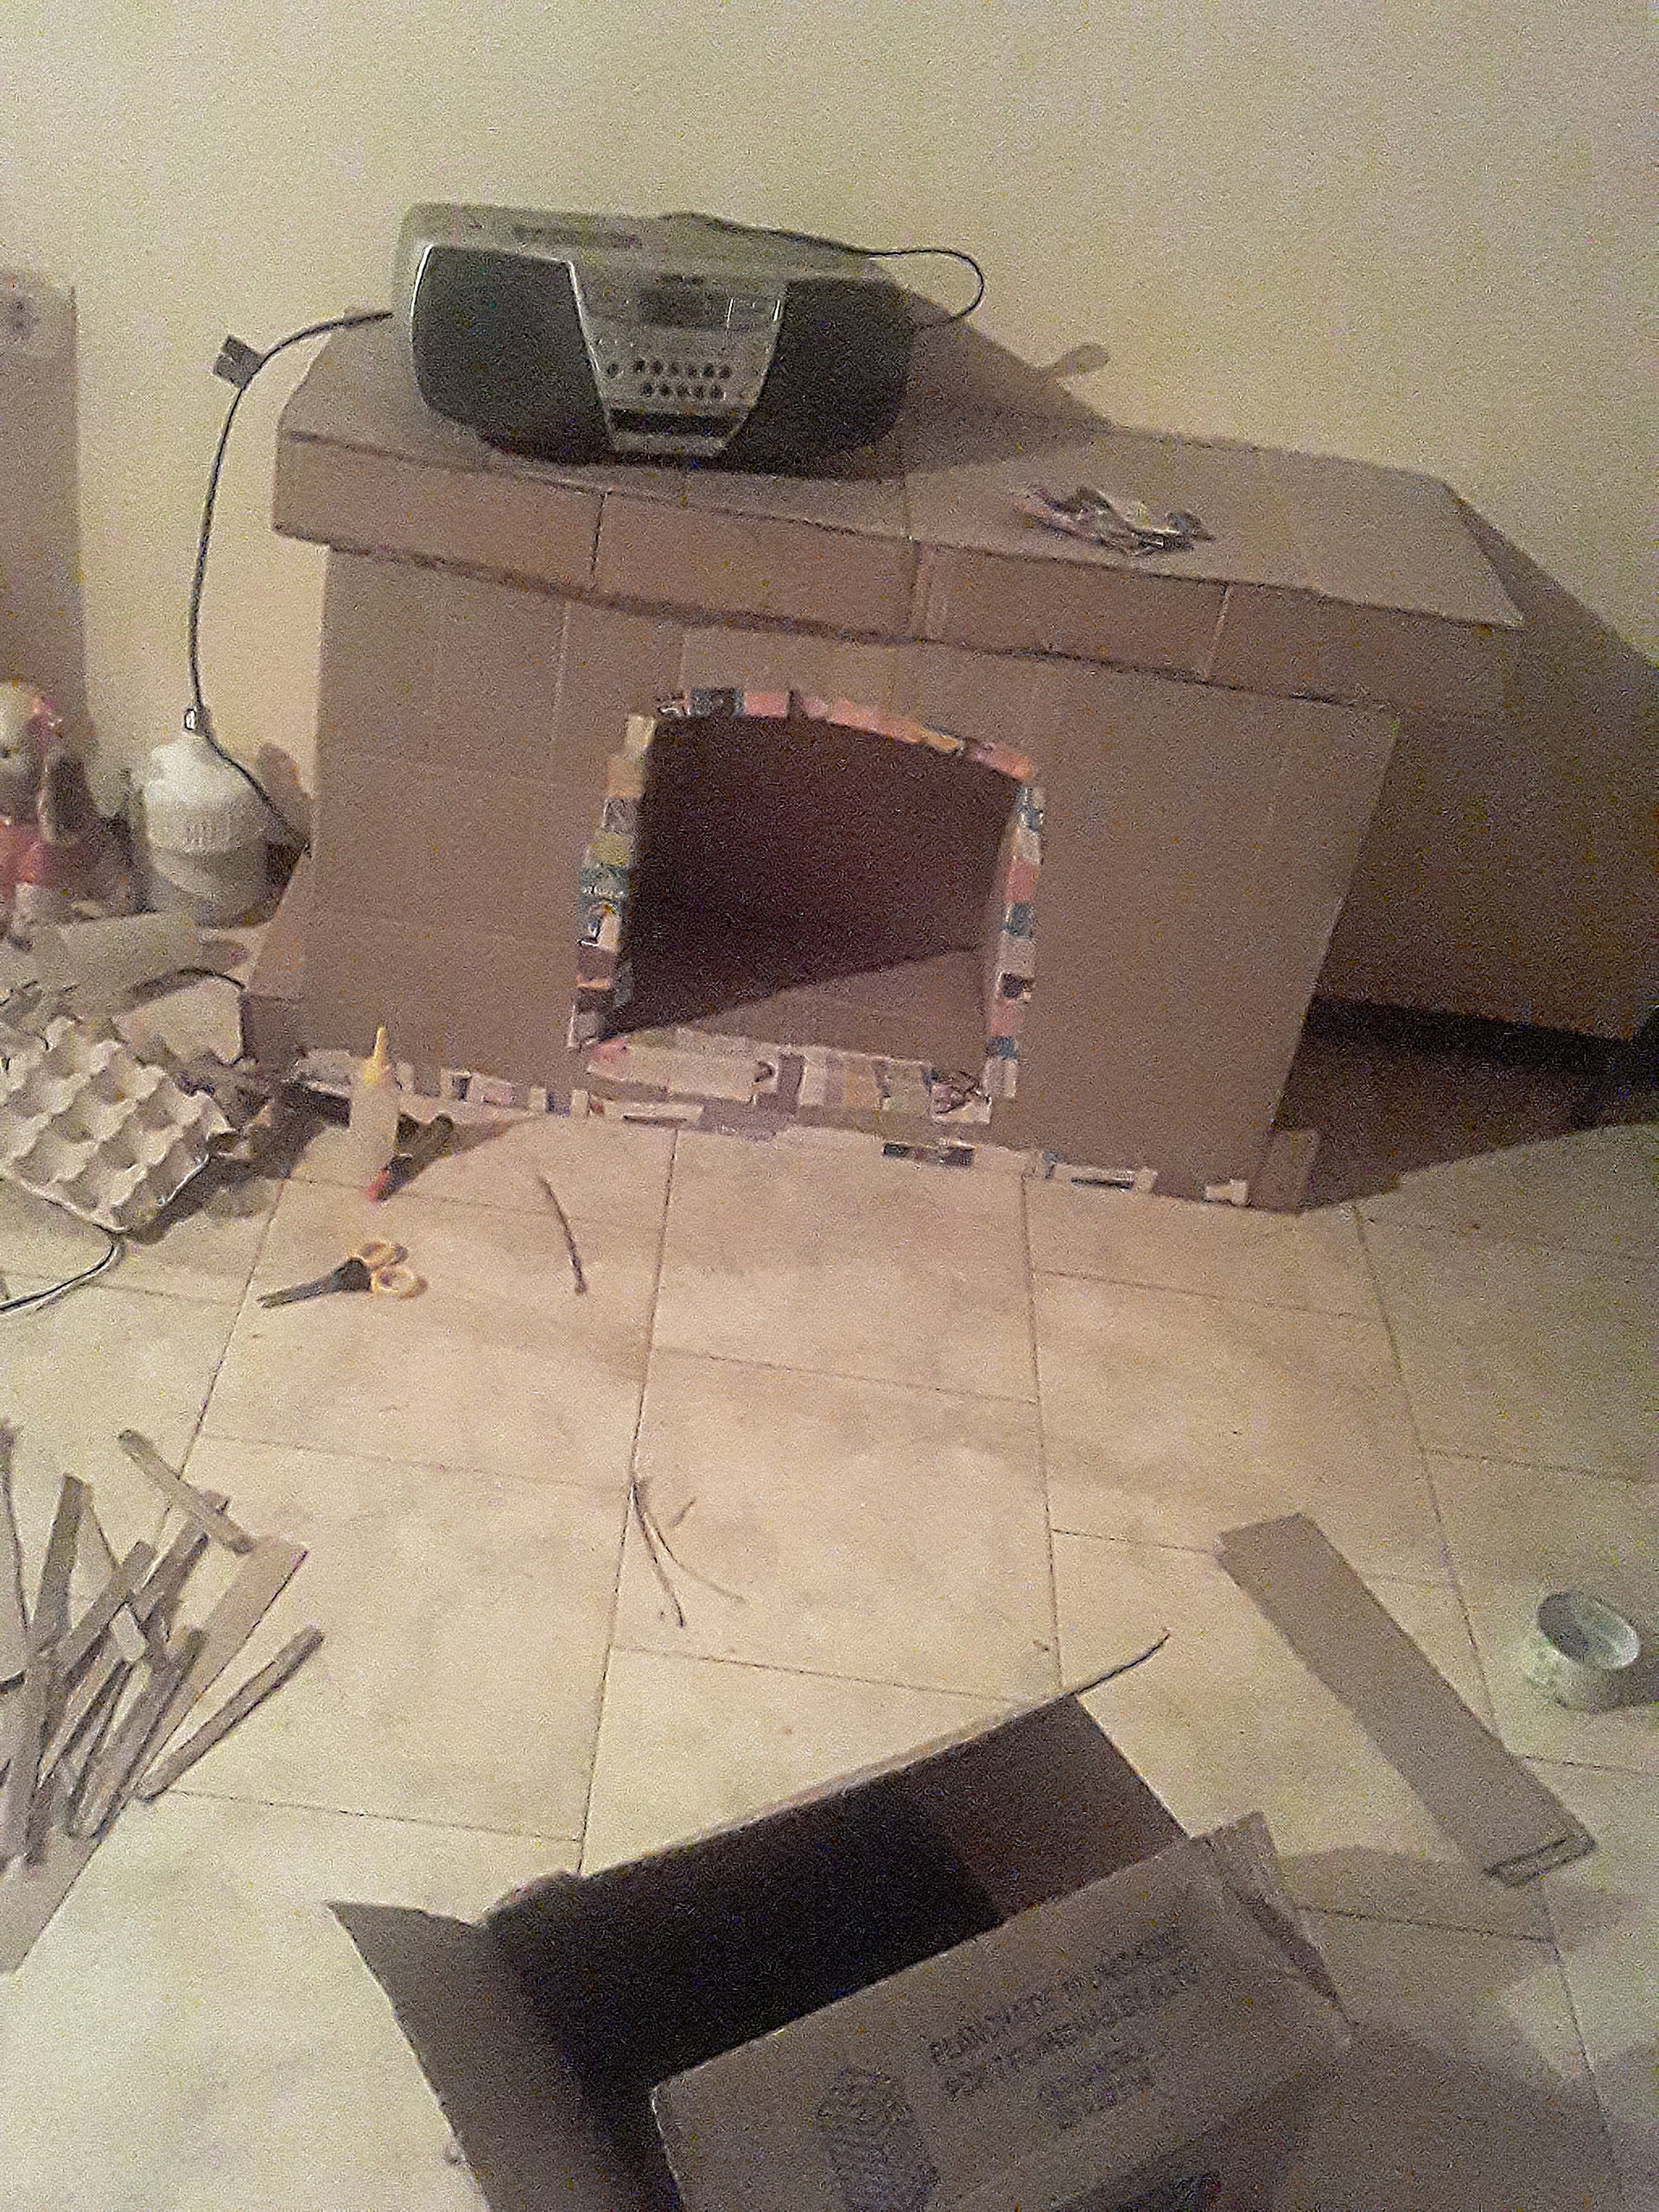
Comenzamos uniendo 4 cajas pequeñas y rectangulares para la base y las reforzamos bien con la cinta, hacemos el mismo procesó con 4 más para la parte de arriba una ves tenemos esto hecho justo en el centro de lo que es nuestra base con otra caja hacemos el arco de nuestra chimenea y lo aseguramos bien con silicón y cinta para que no se nos mueva, cuando ya esté seco marcamos el arco en una caja grande y lo recortamos para que nos quede el espacio donde va encajado, (esté al igual que los otros procesos nos tomara tiempo) luego de tener esta parte hecha unimos varias cajas grandes para hacer todo lo que sería el contorno de la chimenea, podemos reforzarlas con los recortes para que no se doblen.
Procedemos a pegarlo a la base con cinta y silicona para que se fije bien, después de tener unida la base y la estructura por dentro vamos a reforzar dónde estaban los dobles de las cajas y colcamos la parte de arriba y deberíamos tener algo así:
We start by joining 4 small and rectangular boxes for the base and we reinforce them well with the tape, we do the same process with 4 more for the top part once we have this done right in the center of what is our base with another box we do the arch of our fireplace and we secure it well with silicone and tape so that it does not move, when it is dry we mark the arch in a large box and cut it so that we have the space where it is fitted, (it is like the others processes will take time) after having this part done we join several large boxes to make everything that would be the contour of the fireplace, we can reinforce them with the cutouts so that they do not bend.
We proceed to glue it to the base with tape and silicone so that it fixes well, after having joined the base and the structure inside we are going to reinforce where the doubles of the boxes were and put the top part and we should have something like this:
Cómo pueden ver en la imagen luego de tener todo unido, con recortes reforzamos los dobles y las uniones para que estén aún más reforzadas y ven que soporta el peso de un radio pequeño.
How you can see in the image after having everything together, with cuts we reinforce the doubles and the joints so that they are even more reinforced and see that it supports the weight of a small radius.
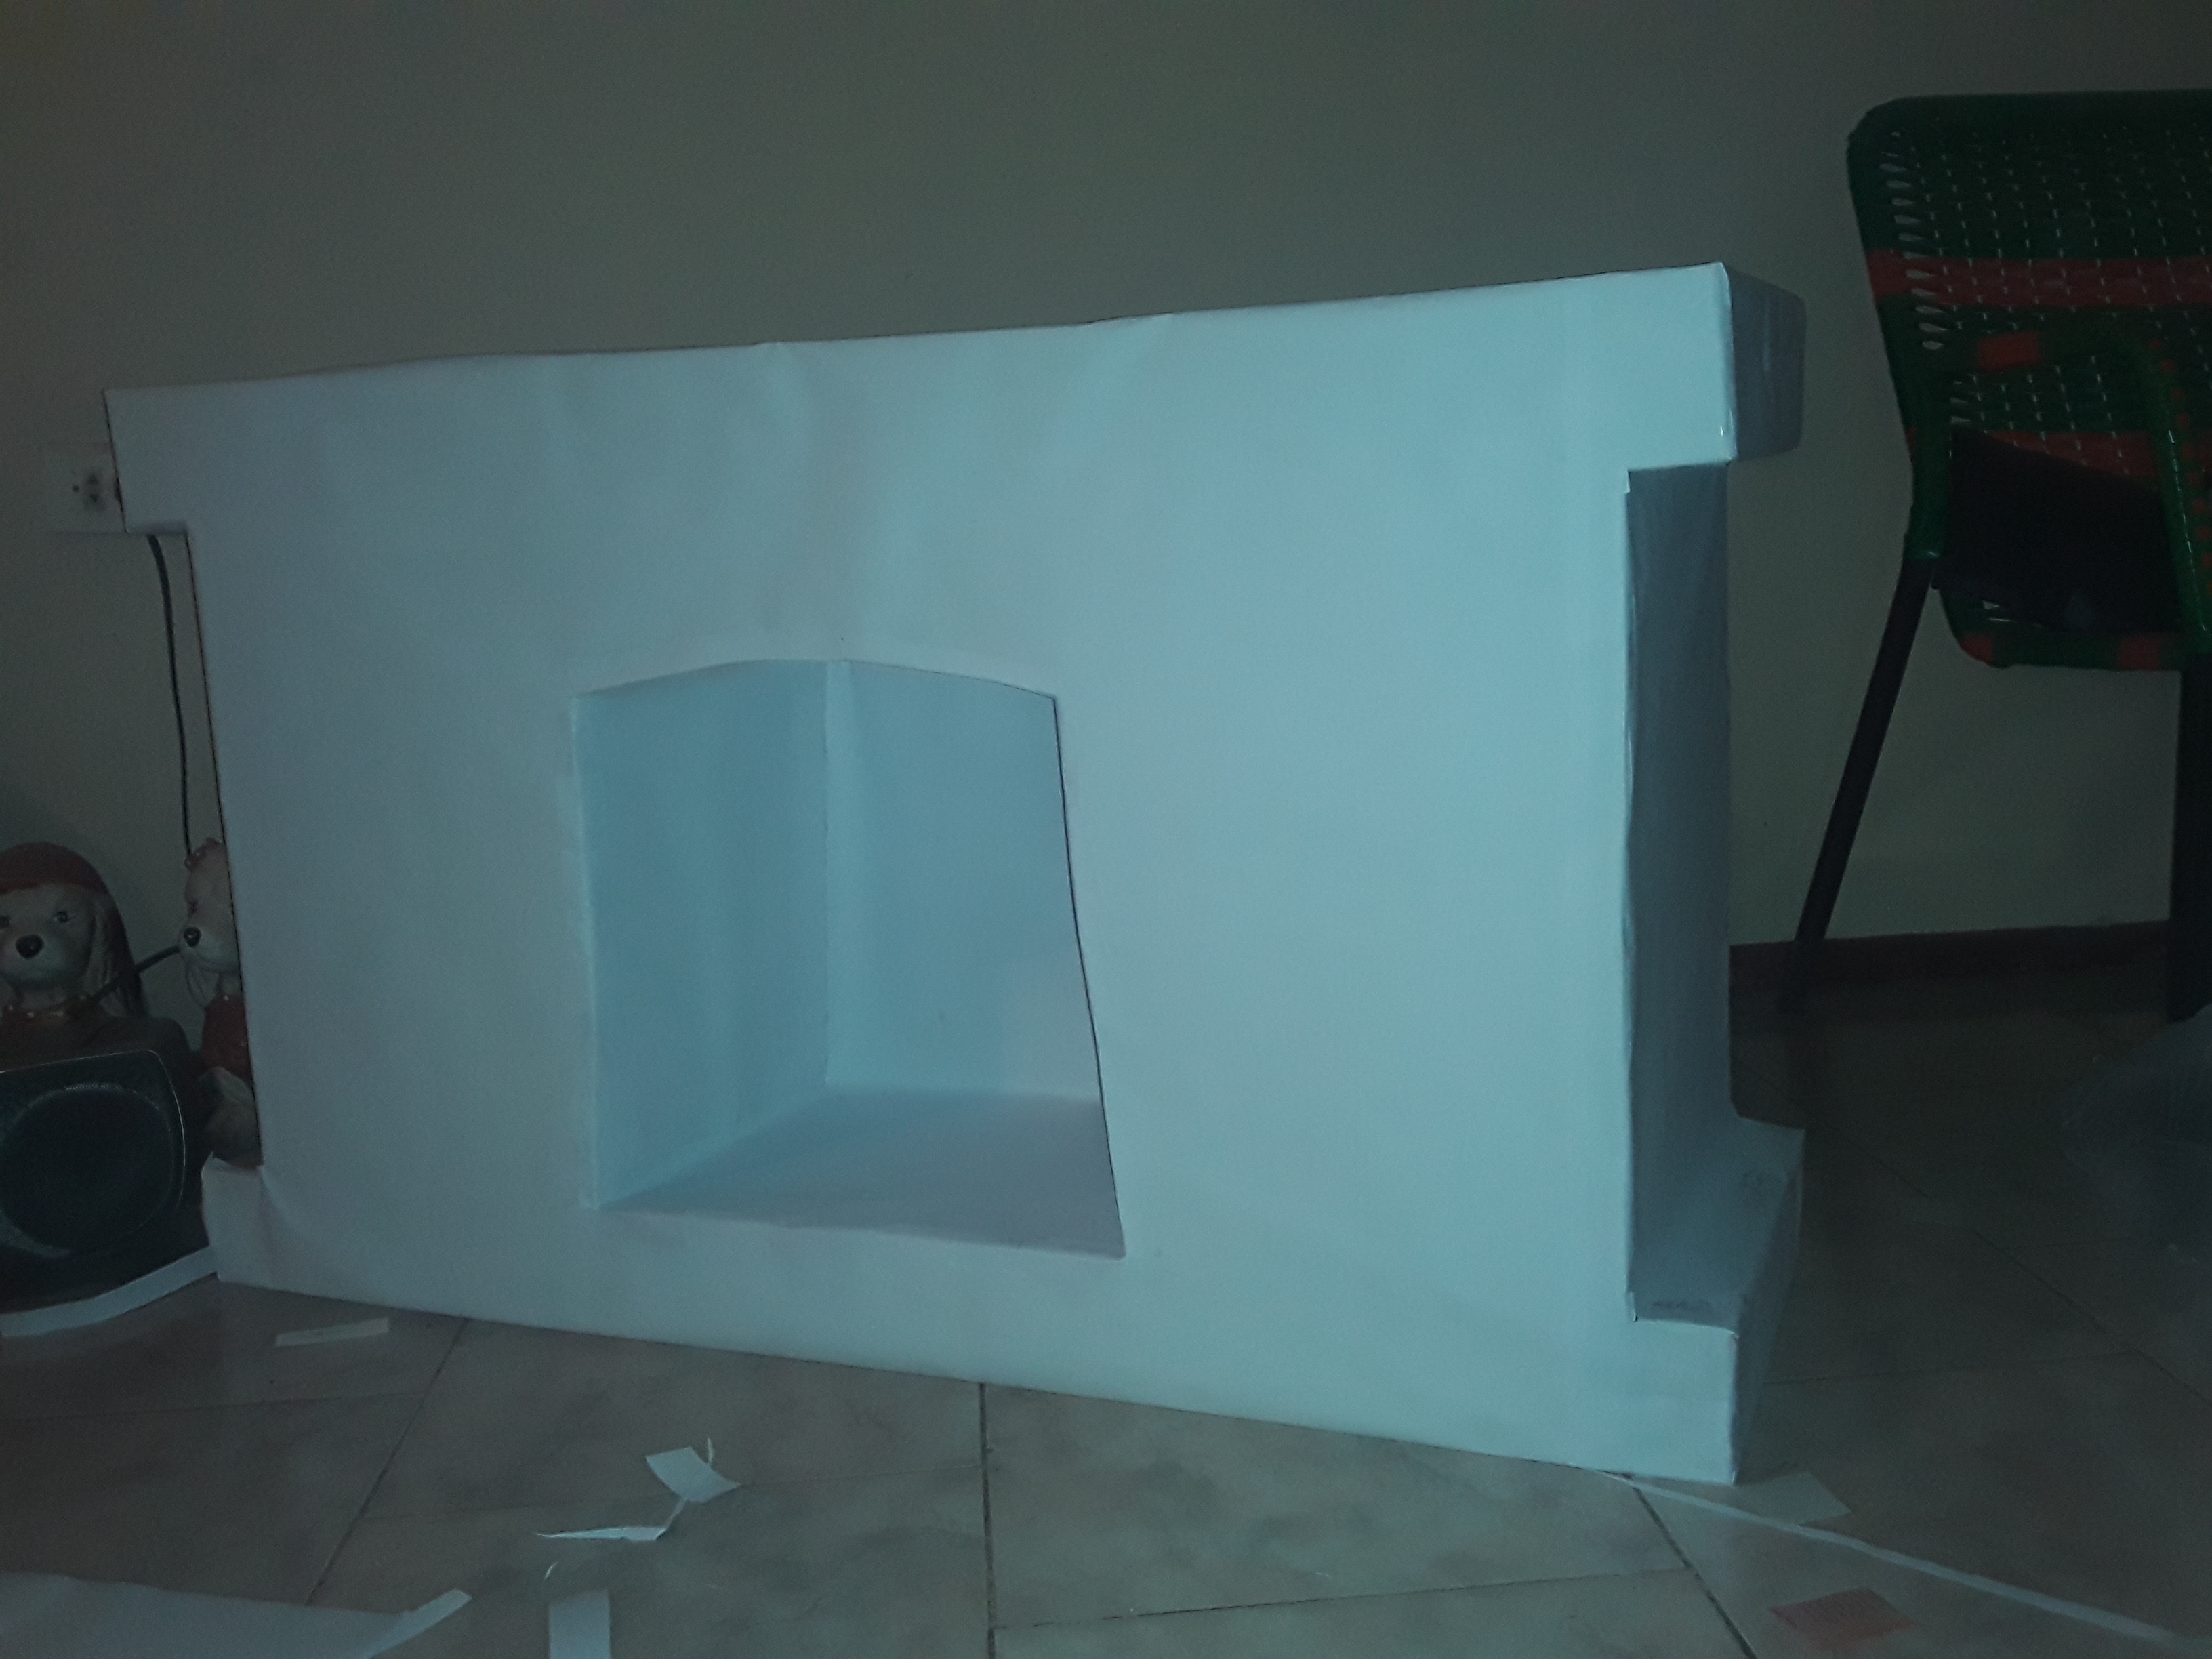
Cuando tengamos todo esto bien pegado y reforzado vamos a forrarlo con el papel Bond, para eso vamos a tener que ir midiendo y cortando para tapar todo el carton, esto nos puede tomar algo más de tiempo, una vez forramos todo déjamos que seque bien el silicón y tenemos algo así:
When we have all this well glued and reinforced we are going to cover it with the Bond paper, for that we will have to measure and cut to cover all the cardboard, this may take us a little more time, once we cover everything we let the silicone and we have something like this:
Con la goma Eva vamos a dibujar un rectángulo del tamaño aproximado de un ladrillo y otro de medio ladrillo y estos los usaremos para ir pintando uno por uno, comenzando de abajo hacia arriba, nosotros lo hicimos como si fuera un sello, lo llenabamos de pintura y lo marcamos uno a uno de esta manera:
With the Eva eraser we are going to draw a rectangle the approximate size of a brick and another half a brick and we will use these to paint one by one, starting from the bottom up, we did it as if it were a stamp, we filled it with paint and we mark it one by one like this:
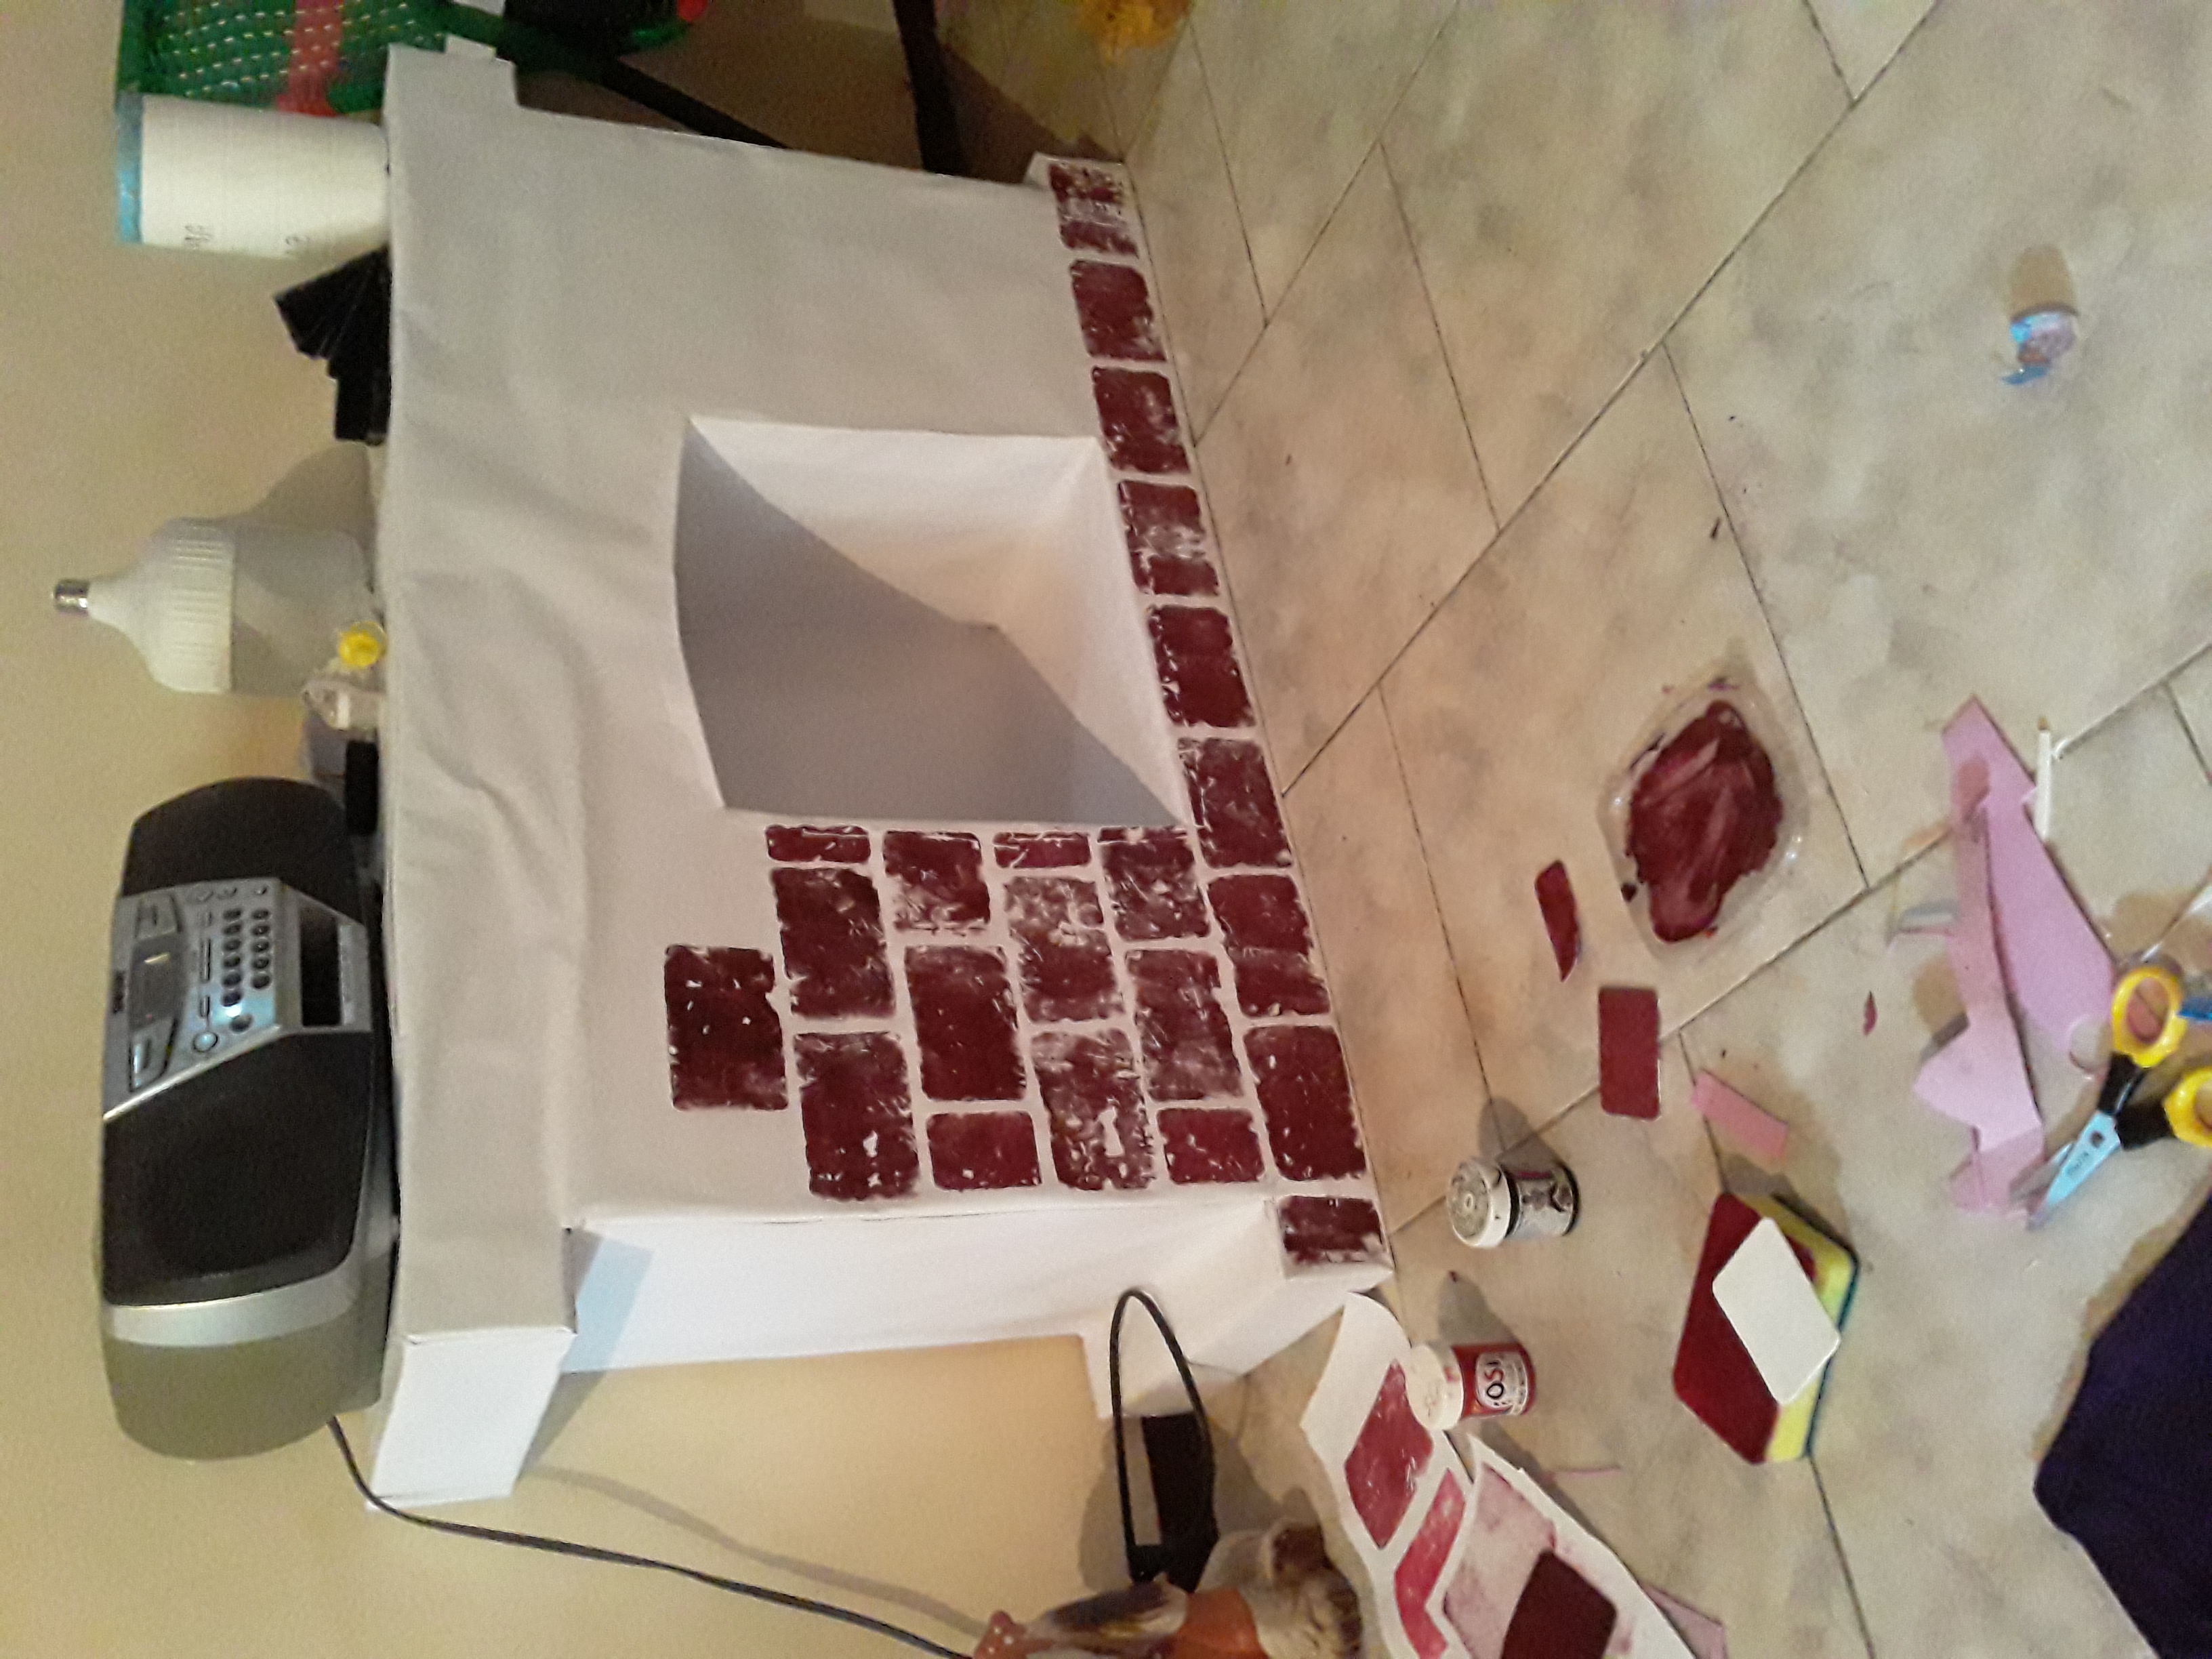
Y comenzamos a pintar poco a poco, verdaderamente este proceso es el más largo pero con mucha paciencia y amor podemos hacerlo poco a poco, aquí les dejaré las imágenes de cómo fue tomando vida.
And we began to paint little by little, truly this process is the longest but with a lot of patience and love we can do it little by little, here I will leave you the images of how it came to life.

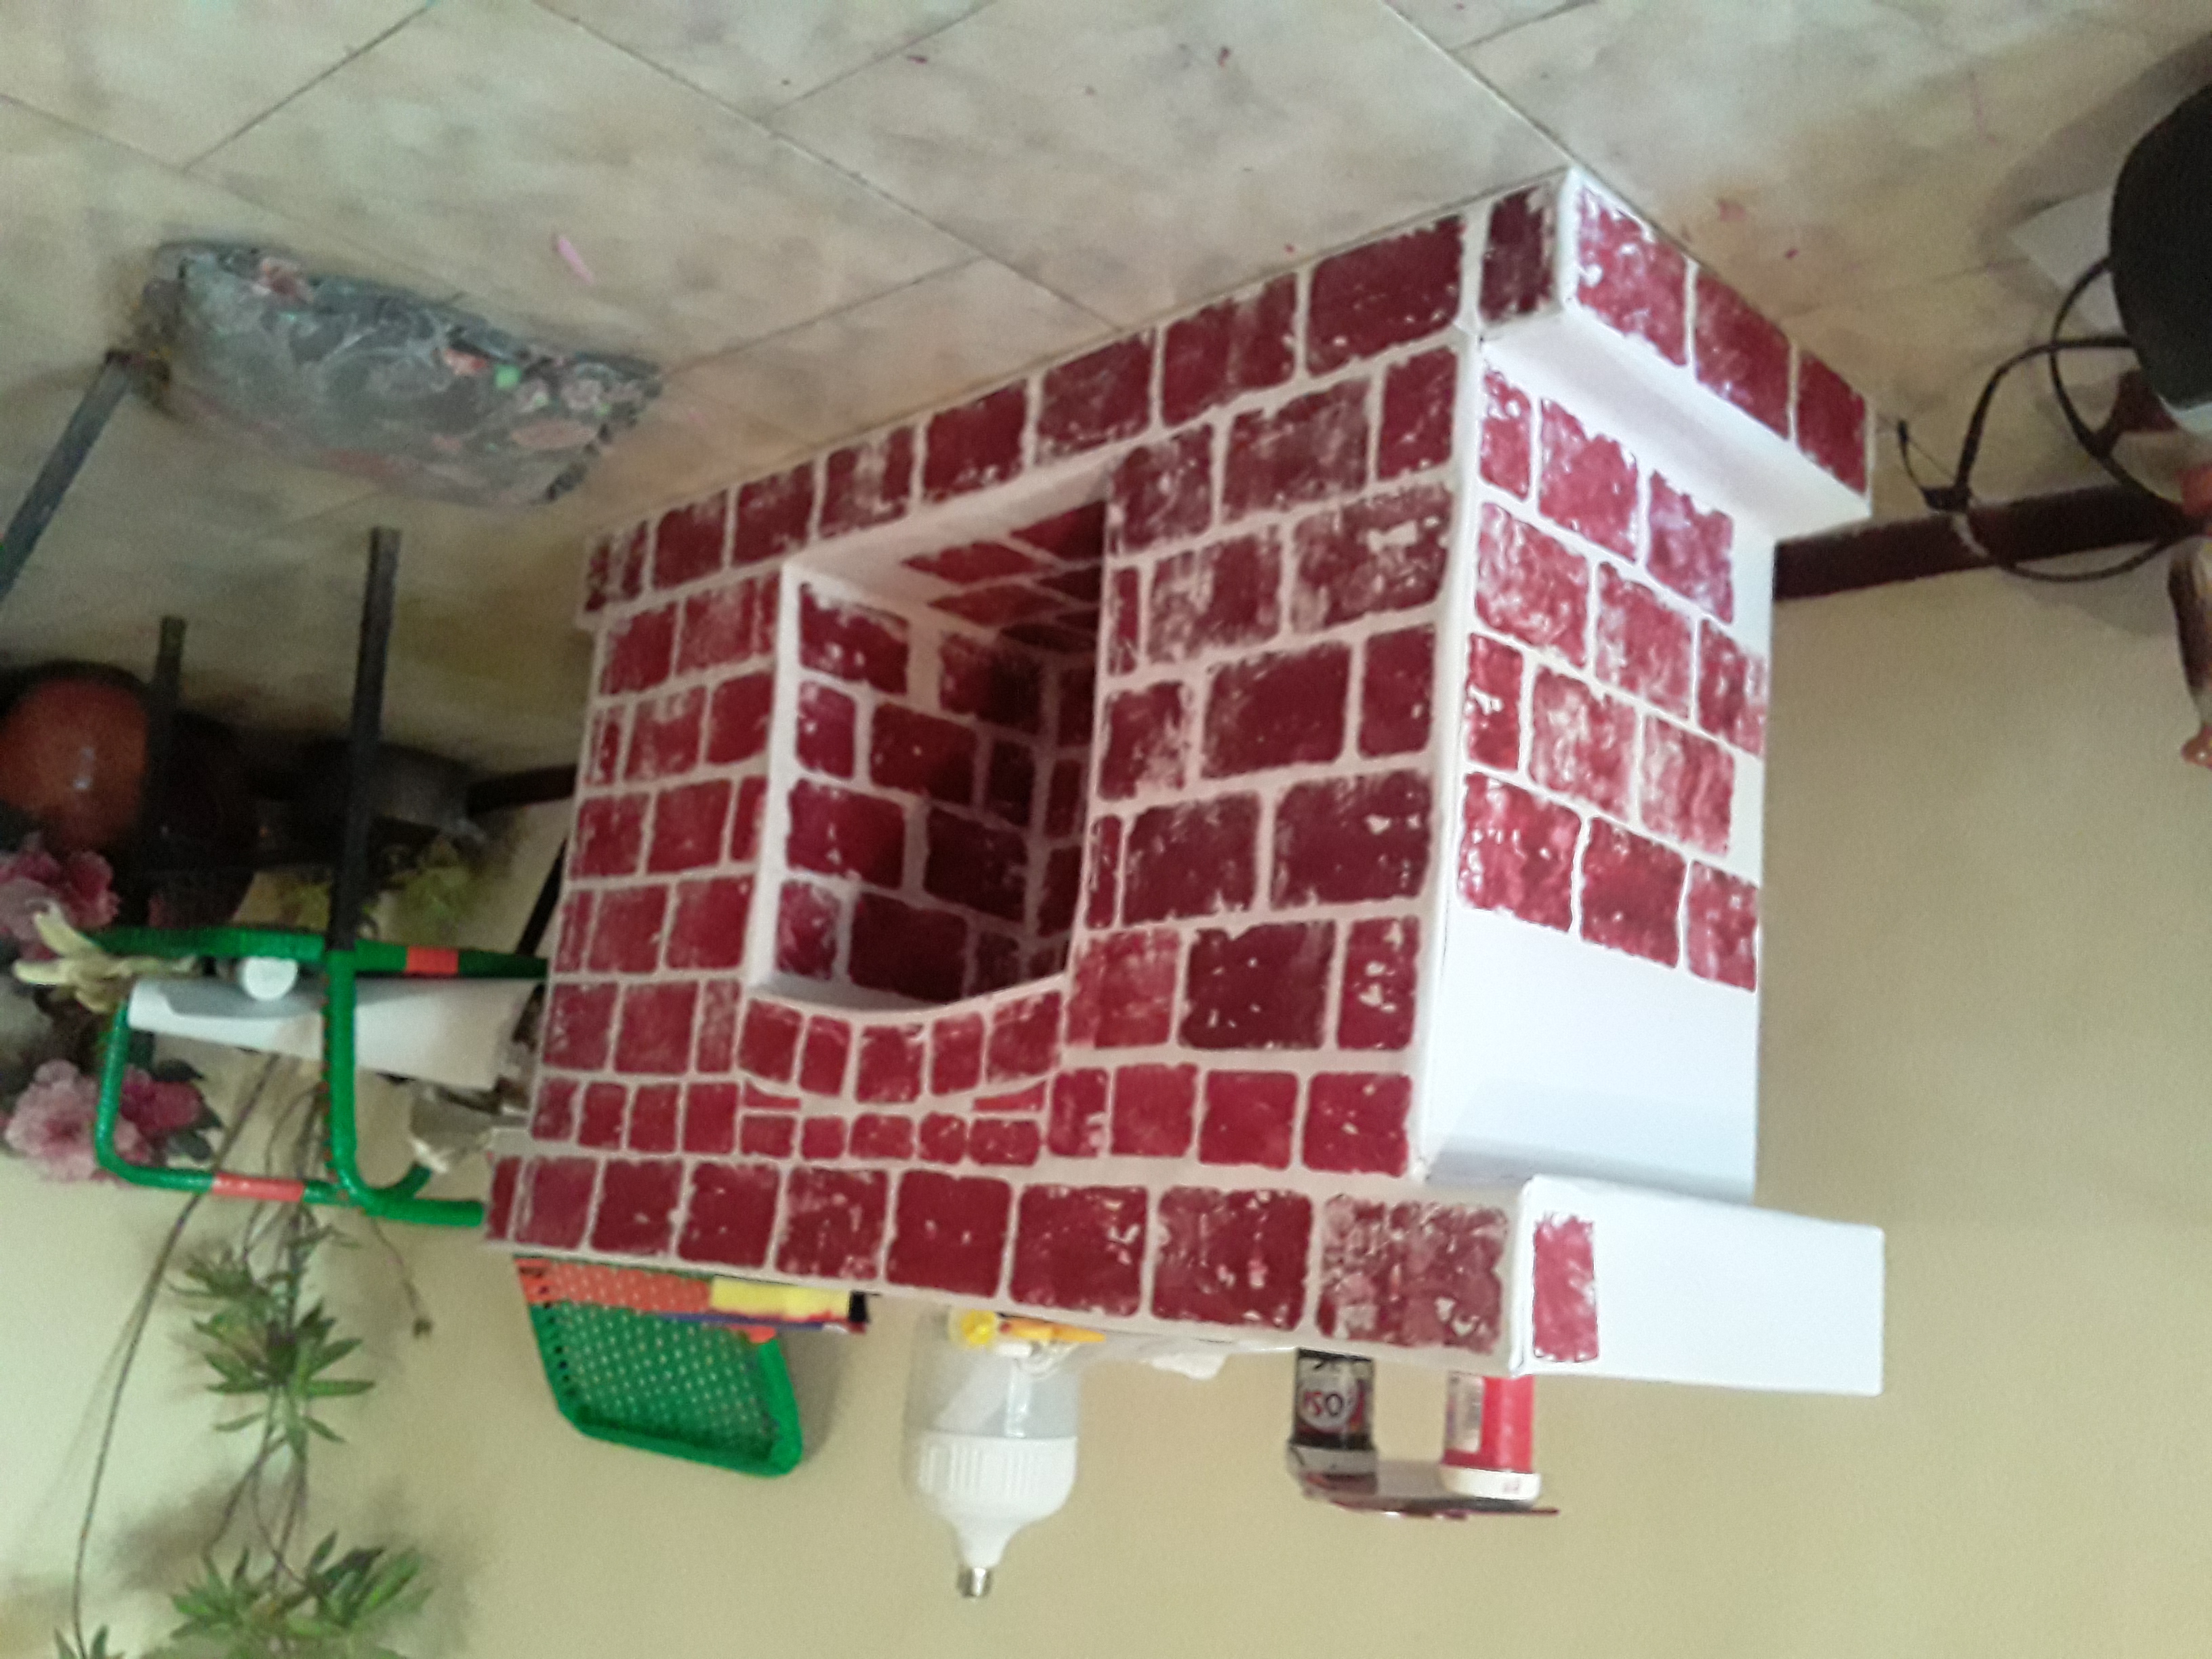
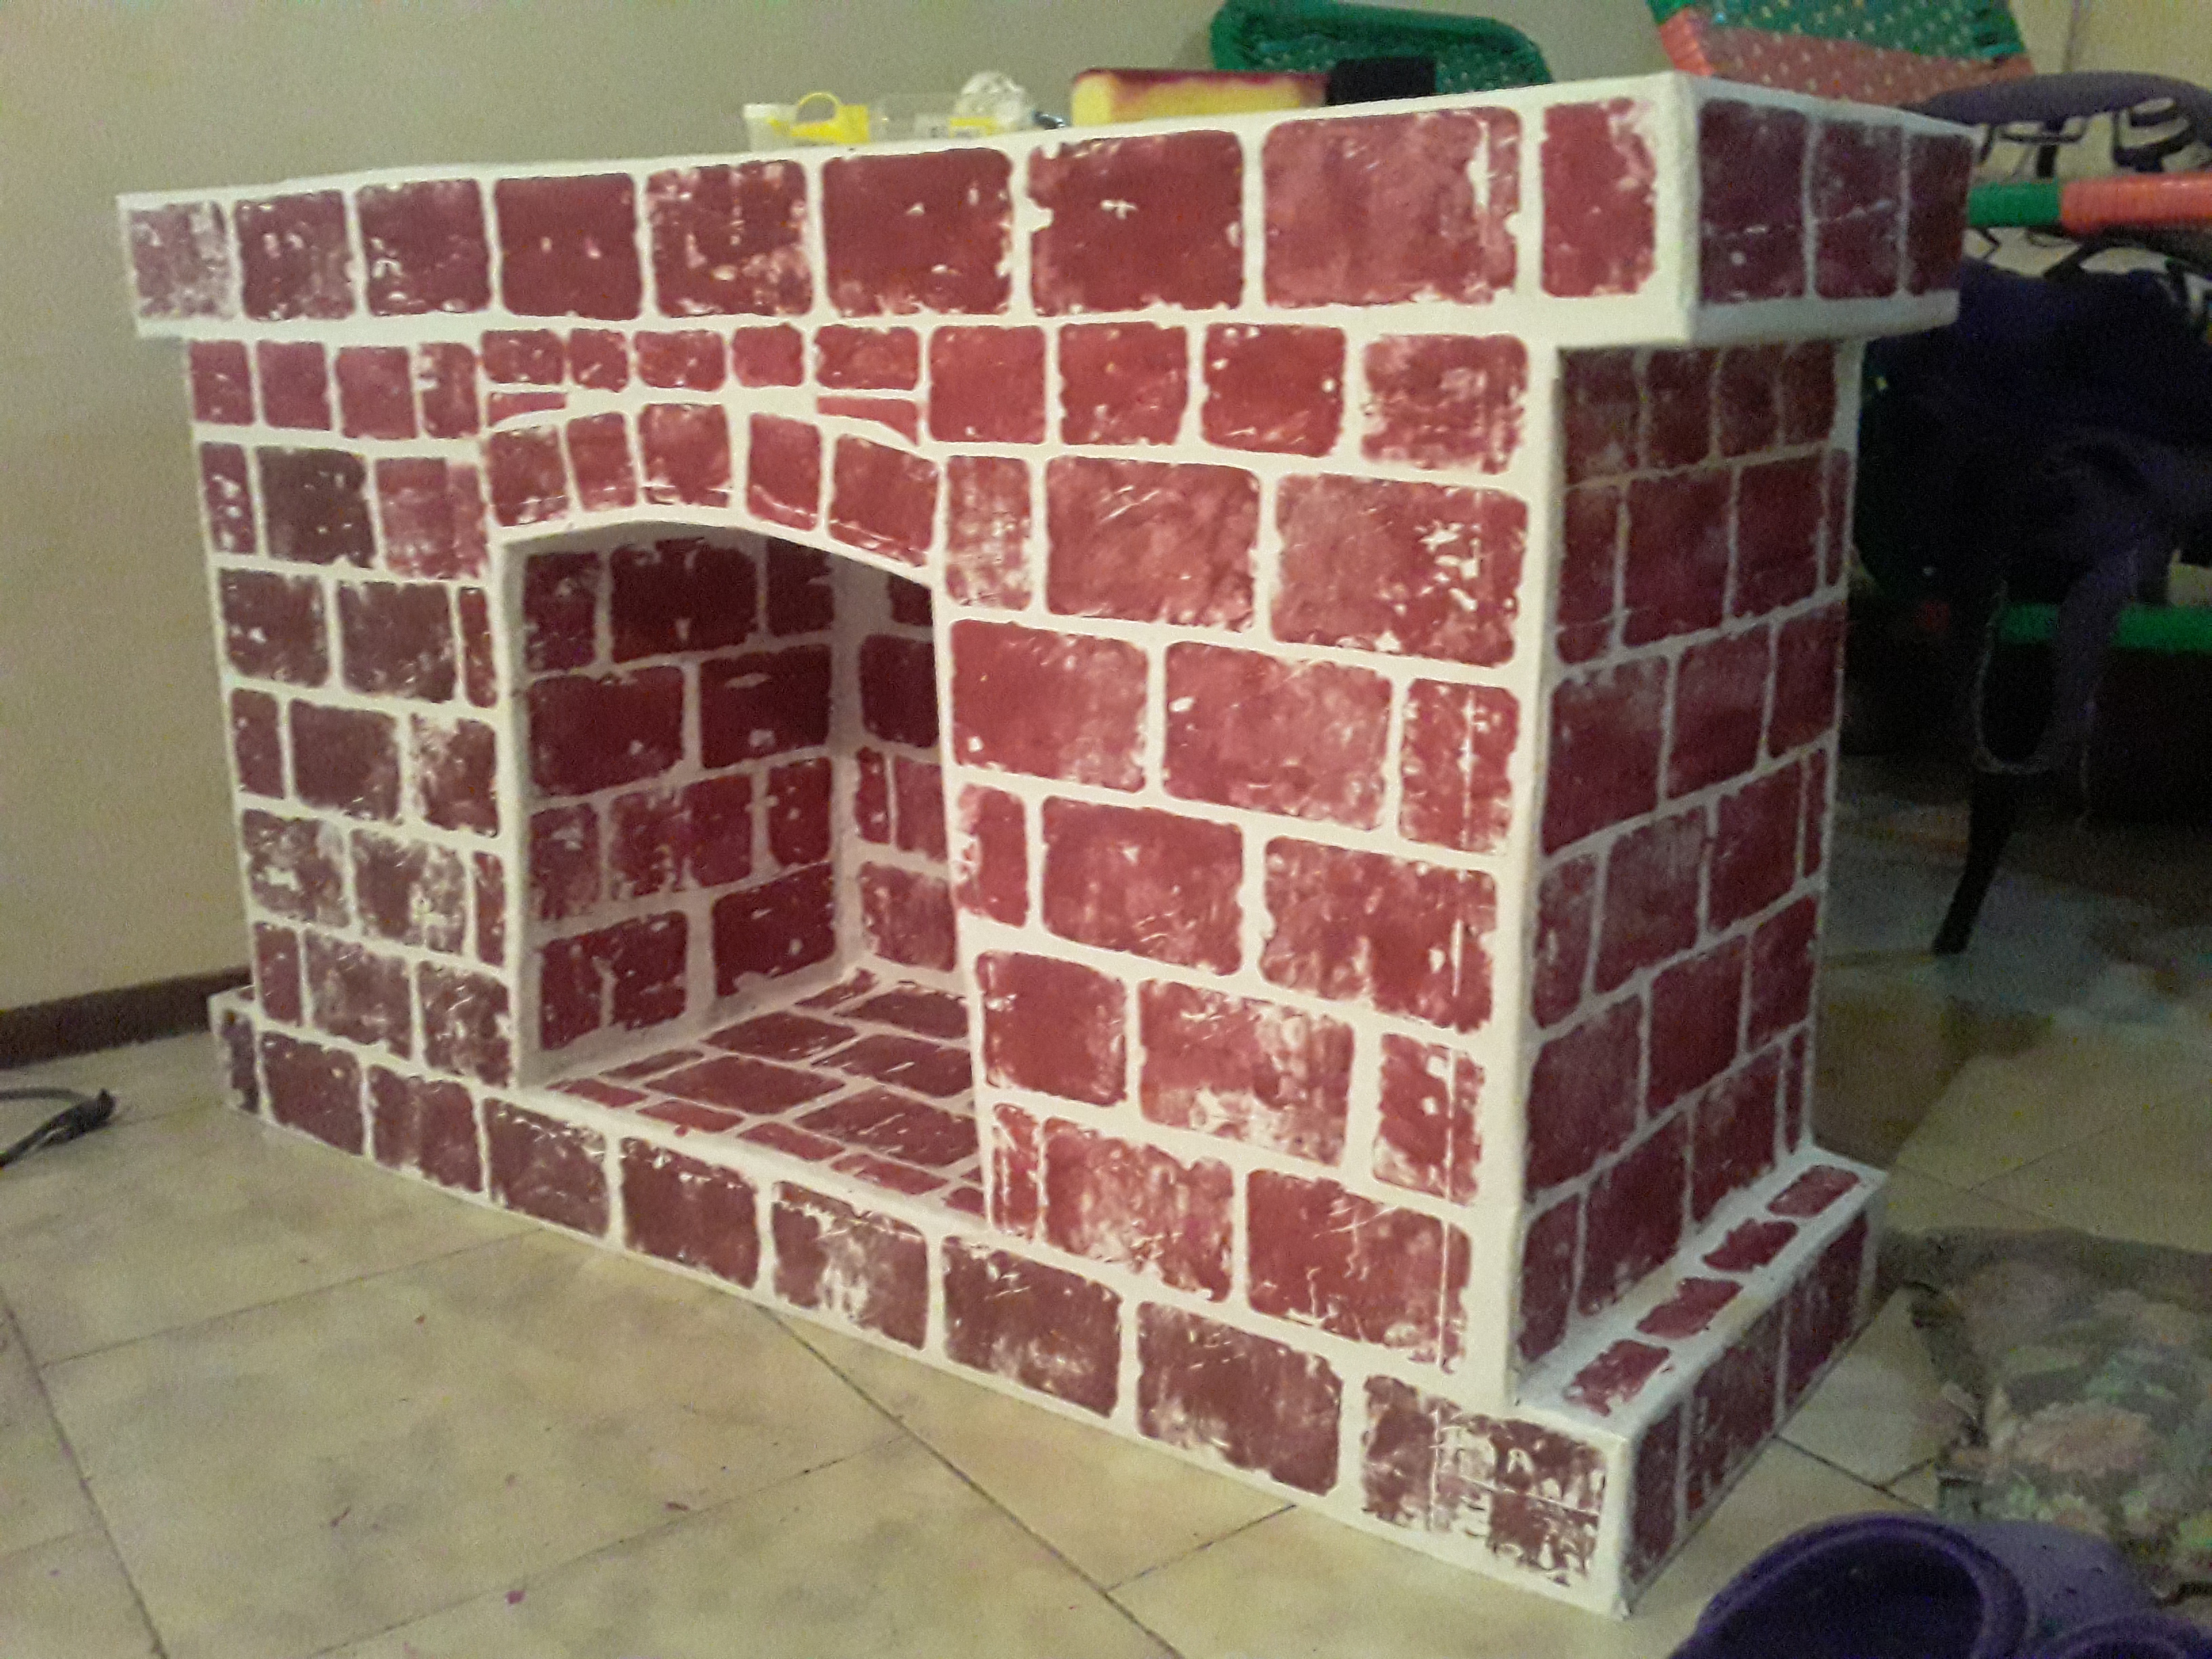
Finalmente así nos quedó nuestra chimenea, pronto les mostraremos como quedó todo junto con la decoración, espero fuera de su agrado y continuemos con esta iniciativa, gracias!.
Finally, this is our fireplace, soon we will show you how everything was together with the decoration, I hope you like it and let's continue with this initiative, thank you!
