Gusto saludarles hermosa comunidad, les envío un caluroso abrazo. Espero se encuentren de maravilla!
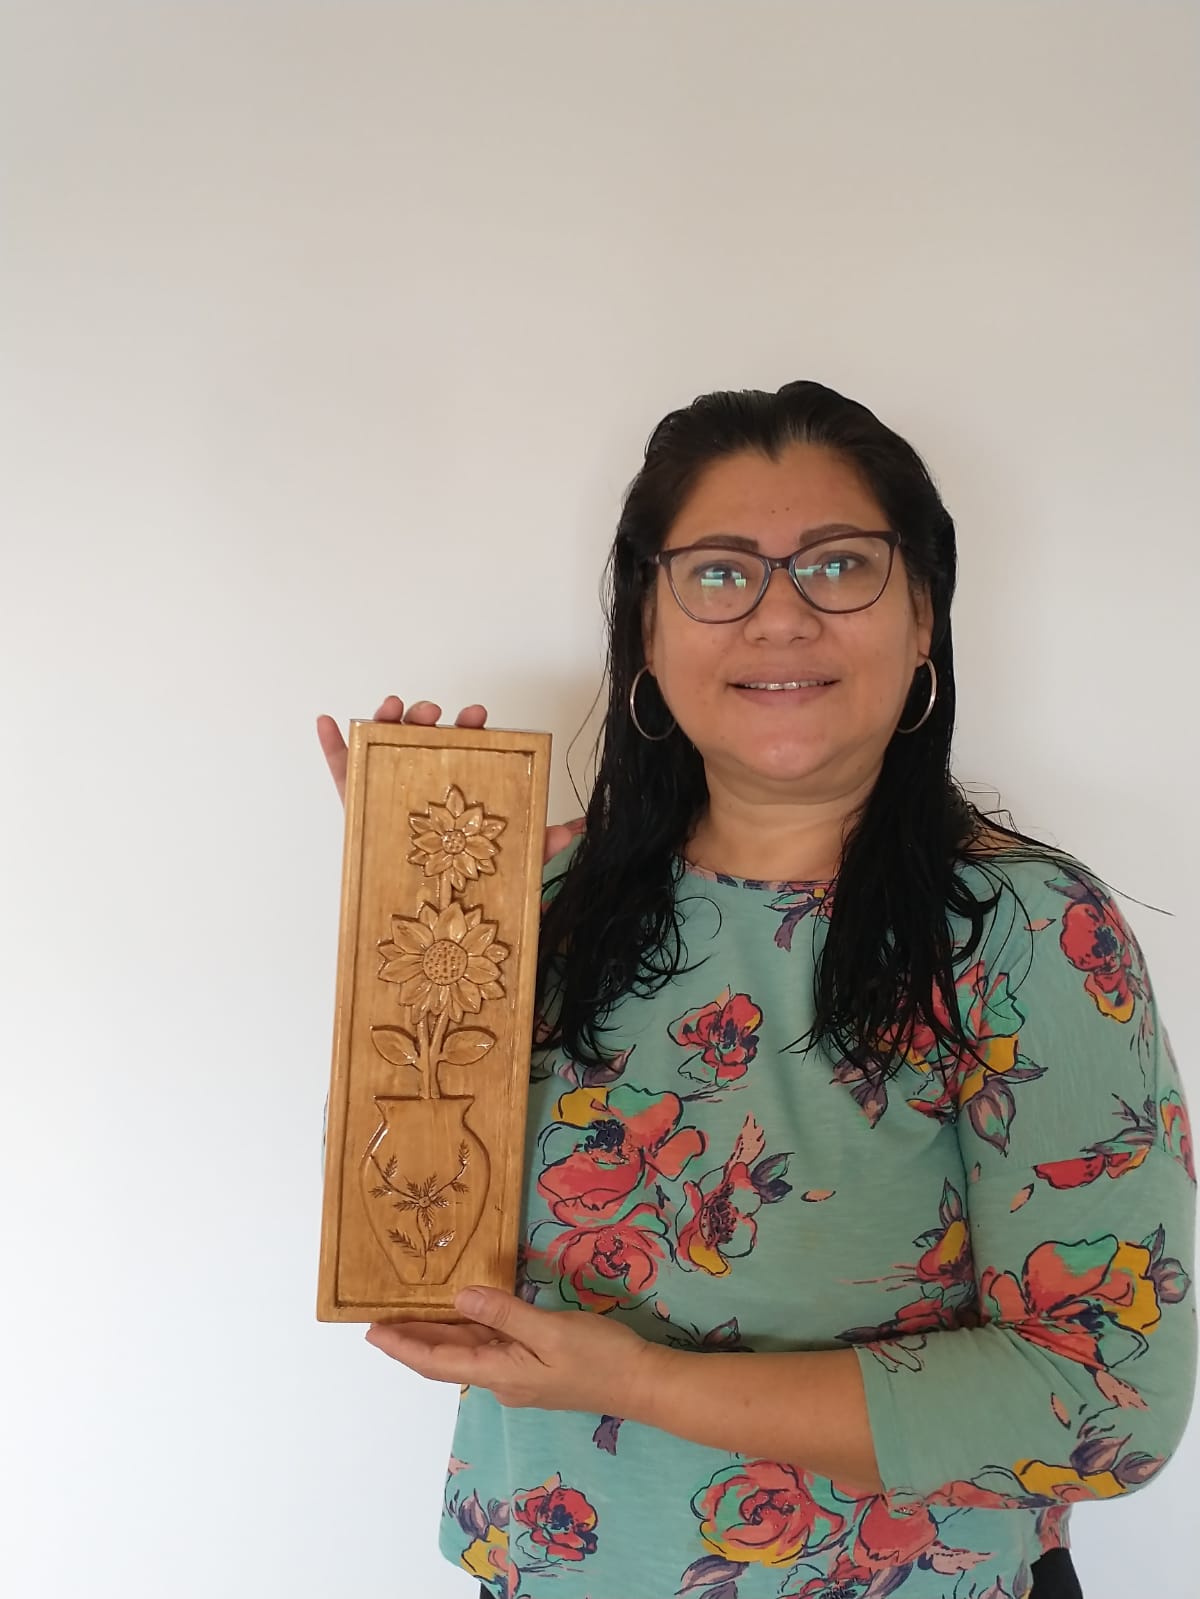
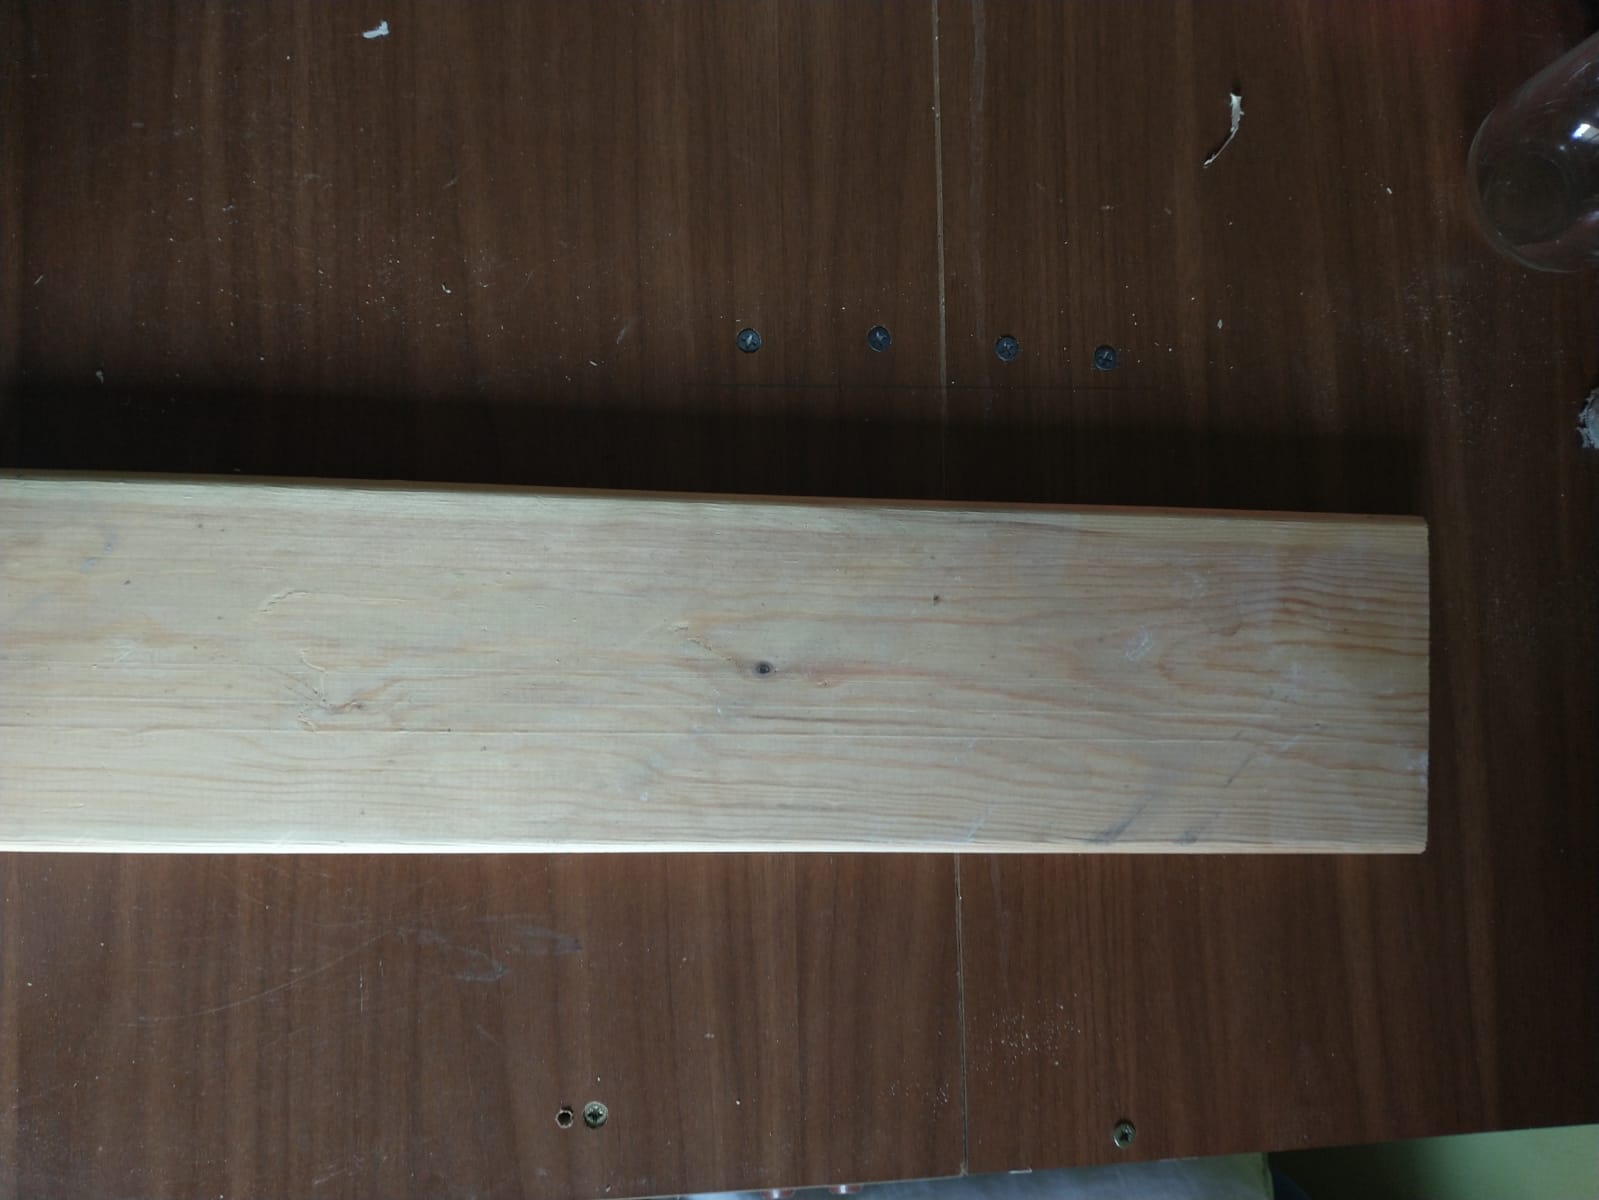
En ésta oportunidad les presento un creativo tutorual con madera reciclada, que transformaremos en un hermosa obra de arte. Les invito a seguirme hasta el final.
Nice to greet you, beautiful community, I send you a warm hug. I hope you are in great shape! In this opportunity I present a creative tutorial with recycled wood, which we will transform into a beautiful work of art. I invite you to follow me to the end.
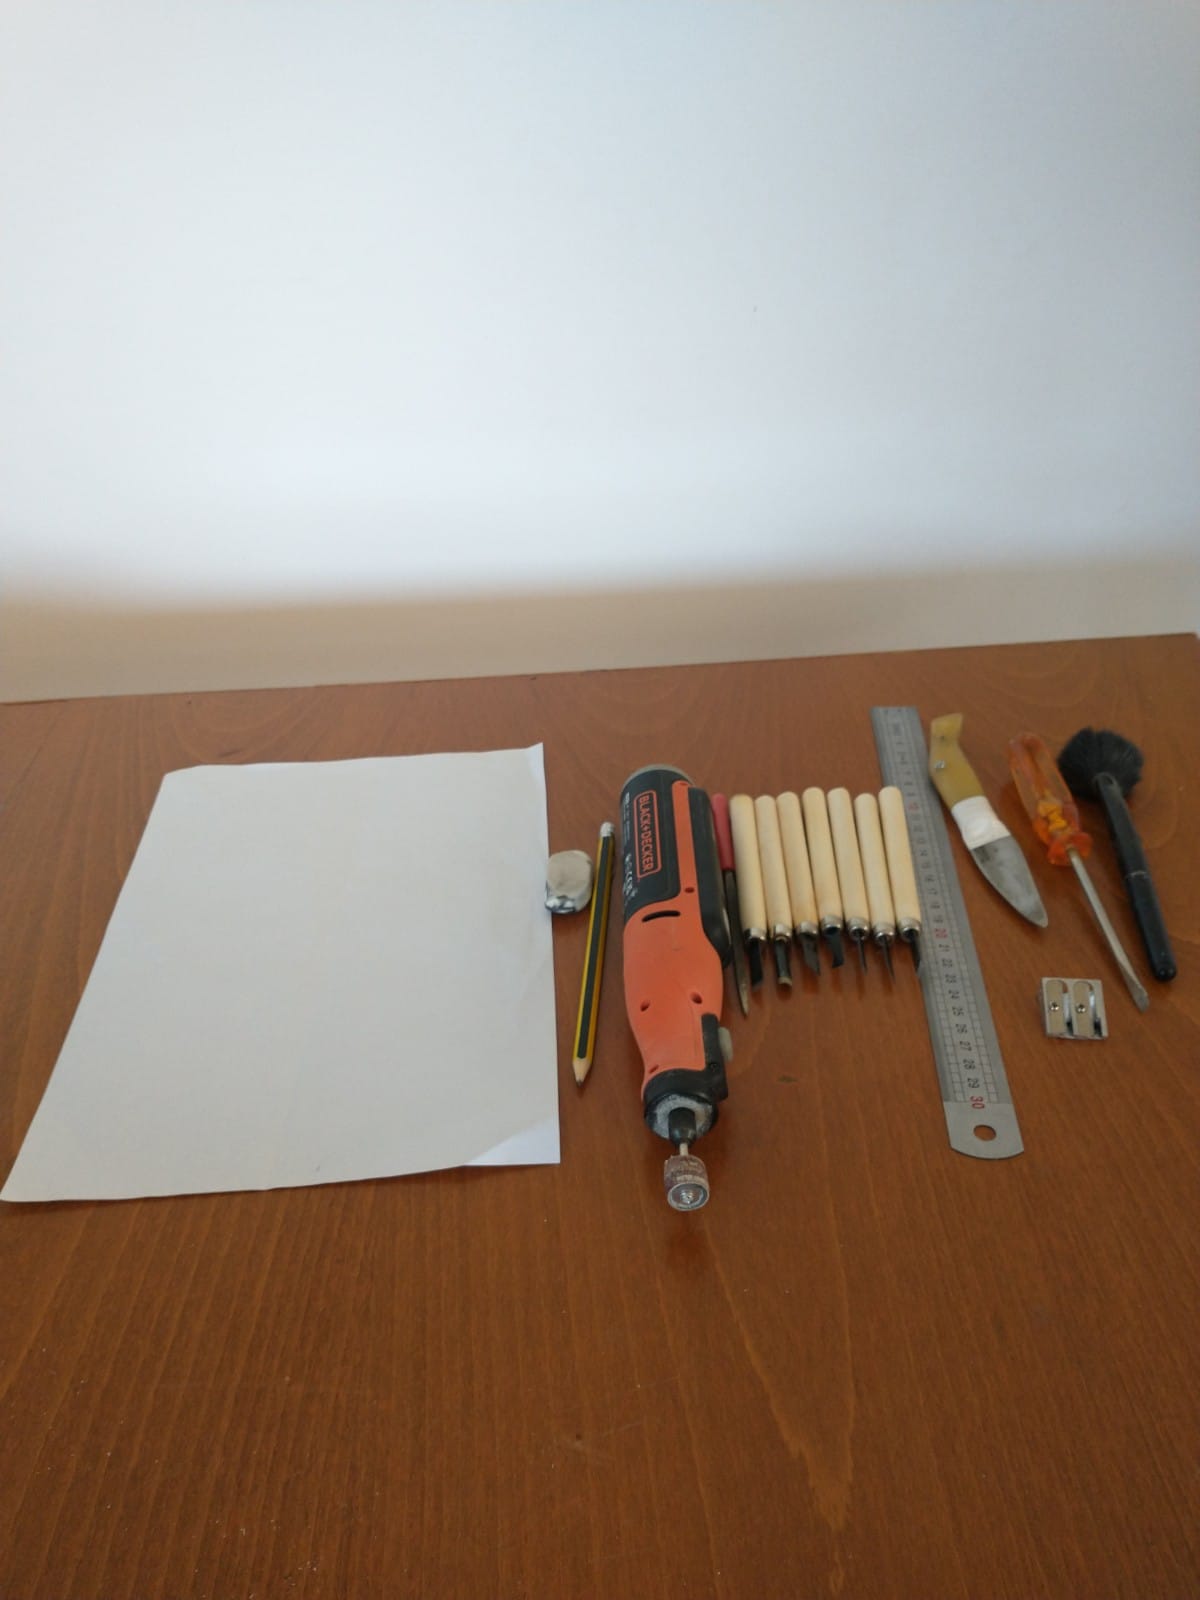
Los materiales utilizados son los siguientes:
-Regla
-Metro
-Gubias
-Destornillador
-Navaja
-Lápiz
-Hoja
-Borrador
-Sacapunta
-Brocha
-Dremel
-Lija
-Barniz
The materials used are the following:
-Rule
-Subway
-Gouges
-Screwdriver
-Razor
-Pencil
-Leaf
-Eraser
-Sharpener
-Brush
-Dremel
-Sandpaper
-varnish
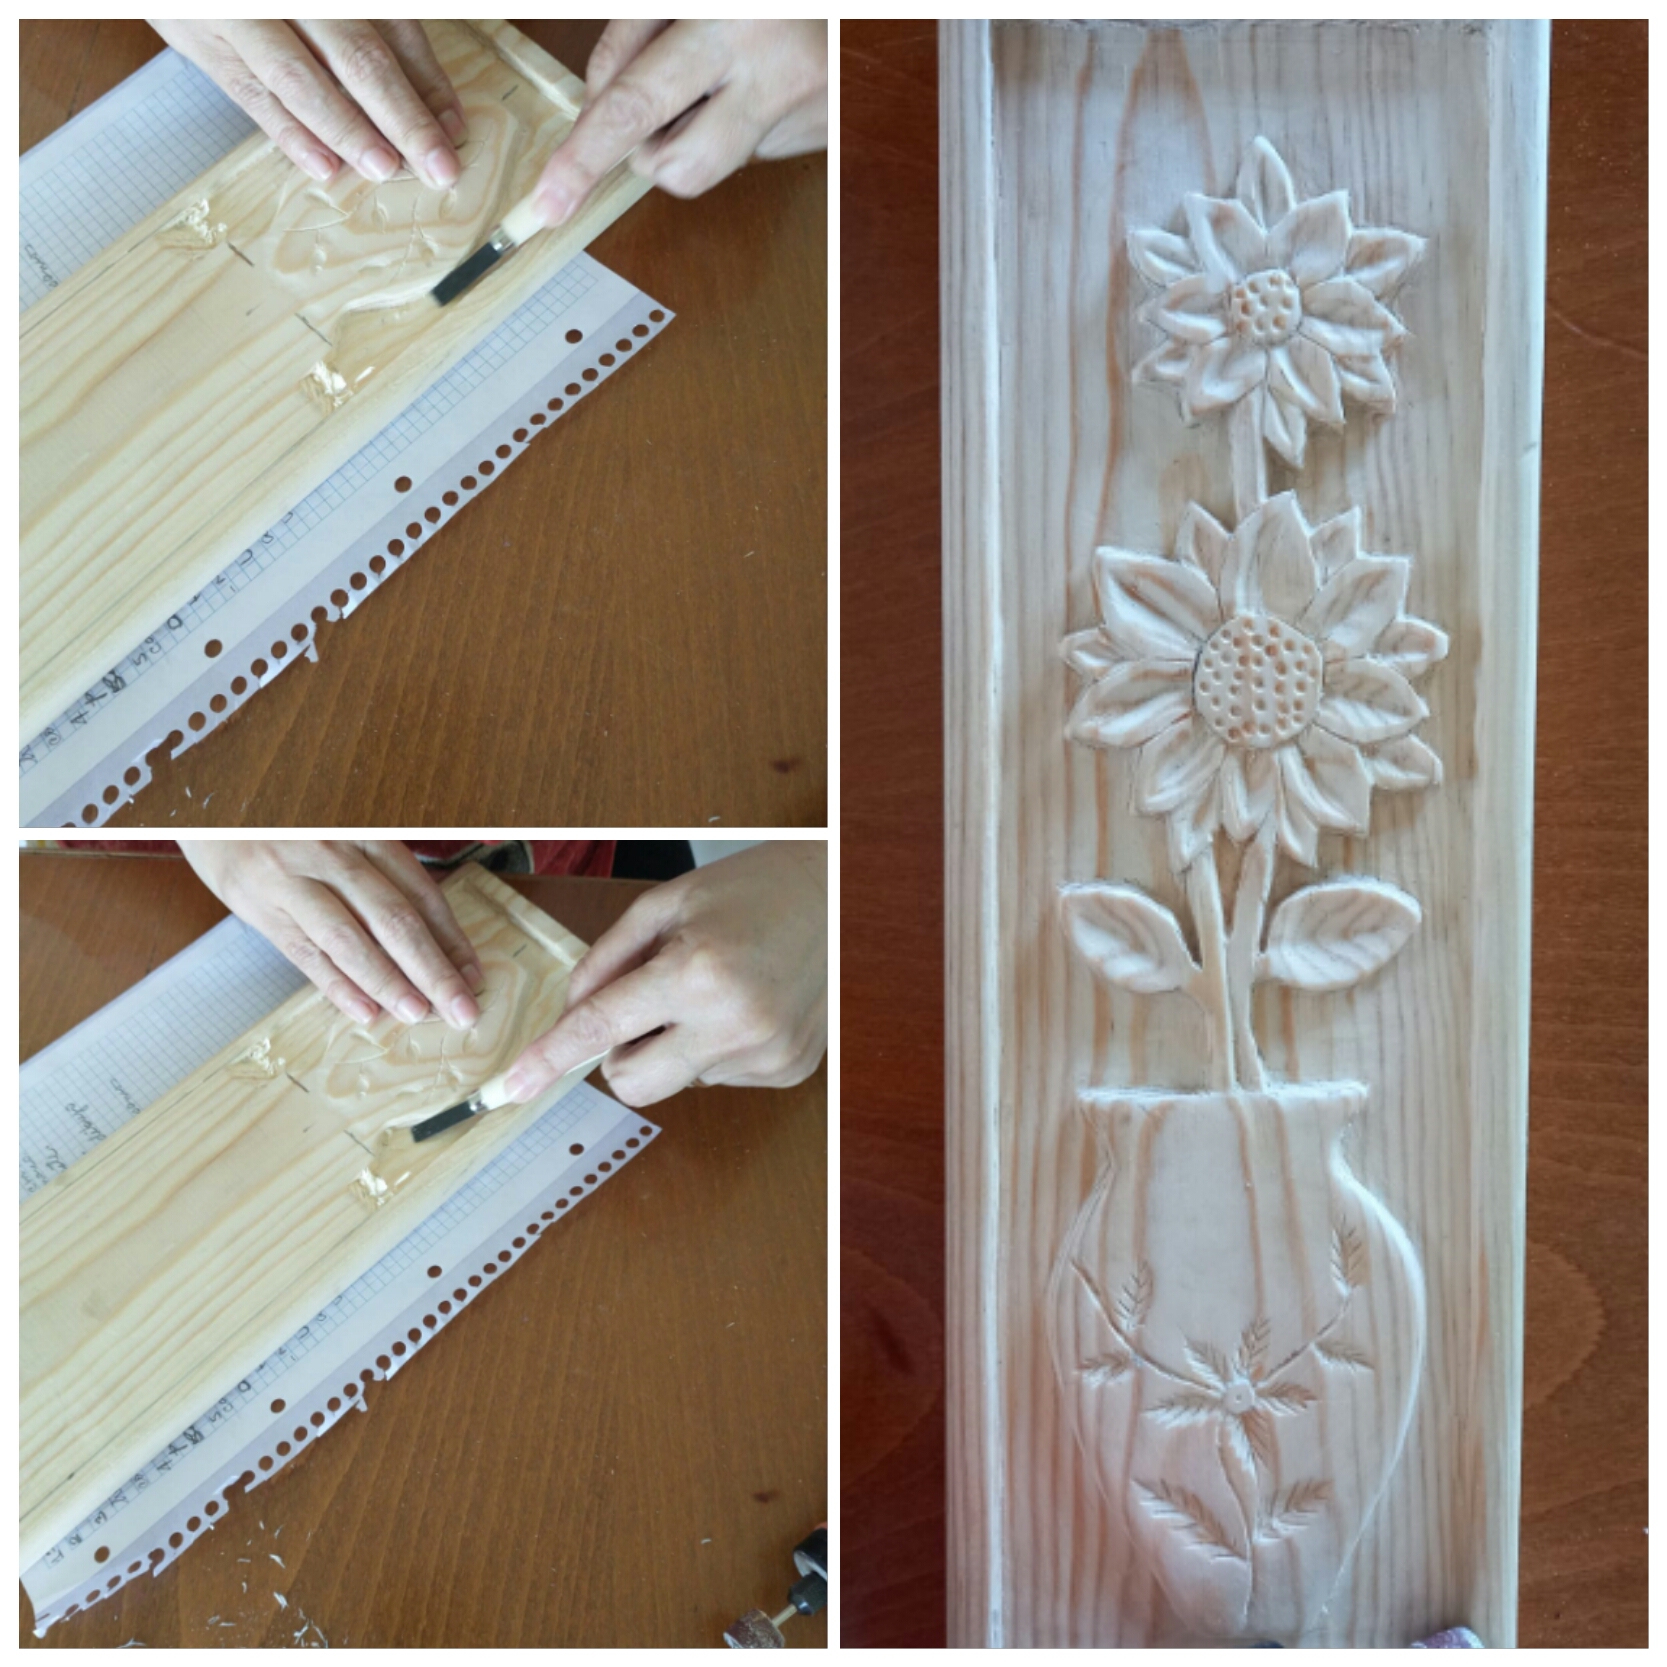
Comenzamos con el primer paso que será tomar las medidas de ancho y largo con la regla para centrar el diseño, sacamos un borde de 1cm de cada lado. Así tendremos directamente un marco.
We start with the first step, which will be to take the width and length measurements with the ruler to center the design, we take a 1cm edge on each side. So we will have a frame directly.
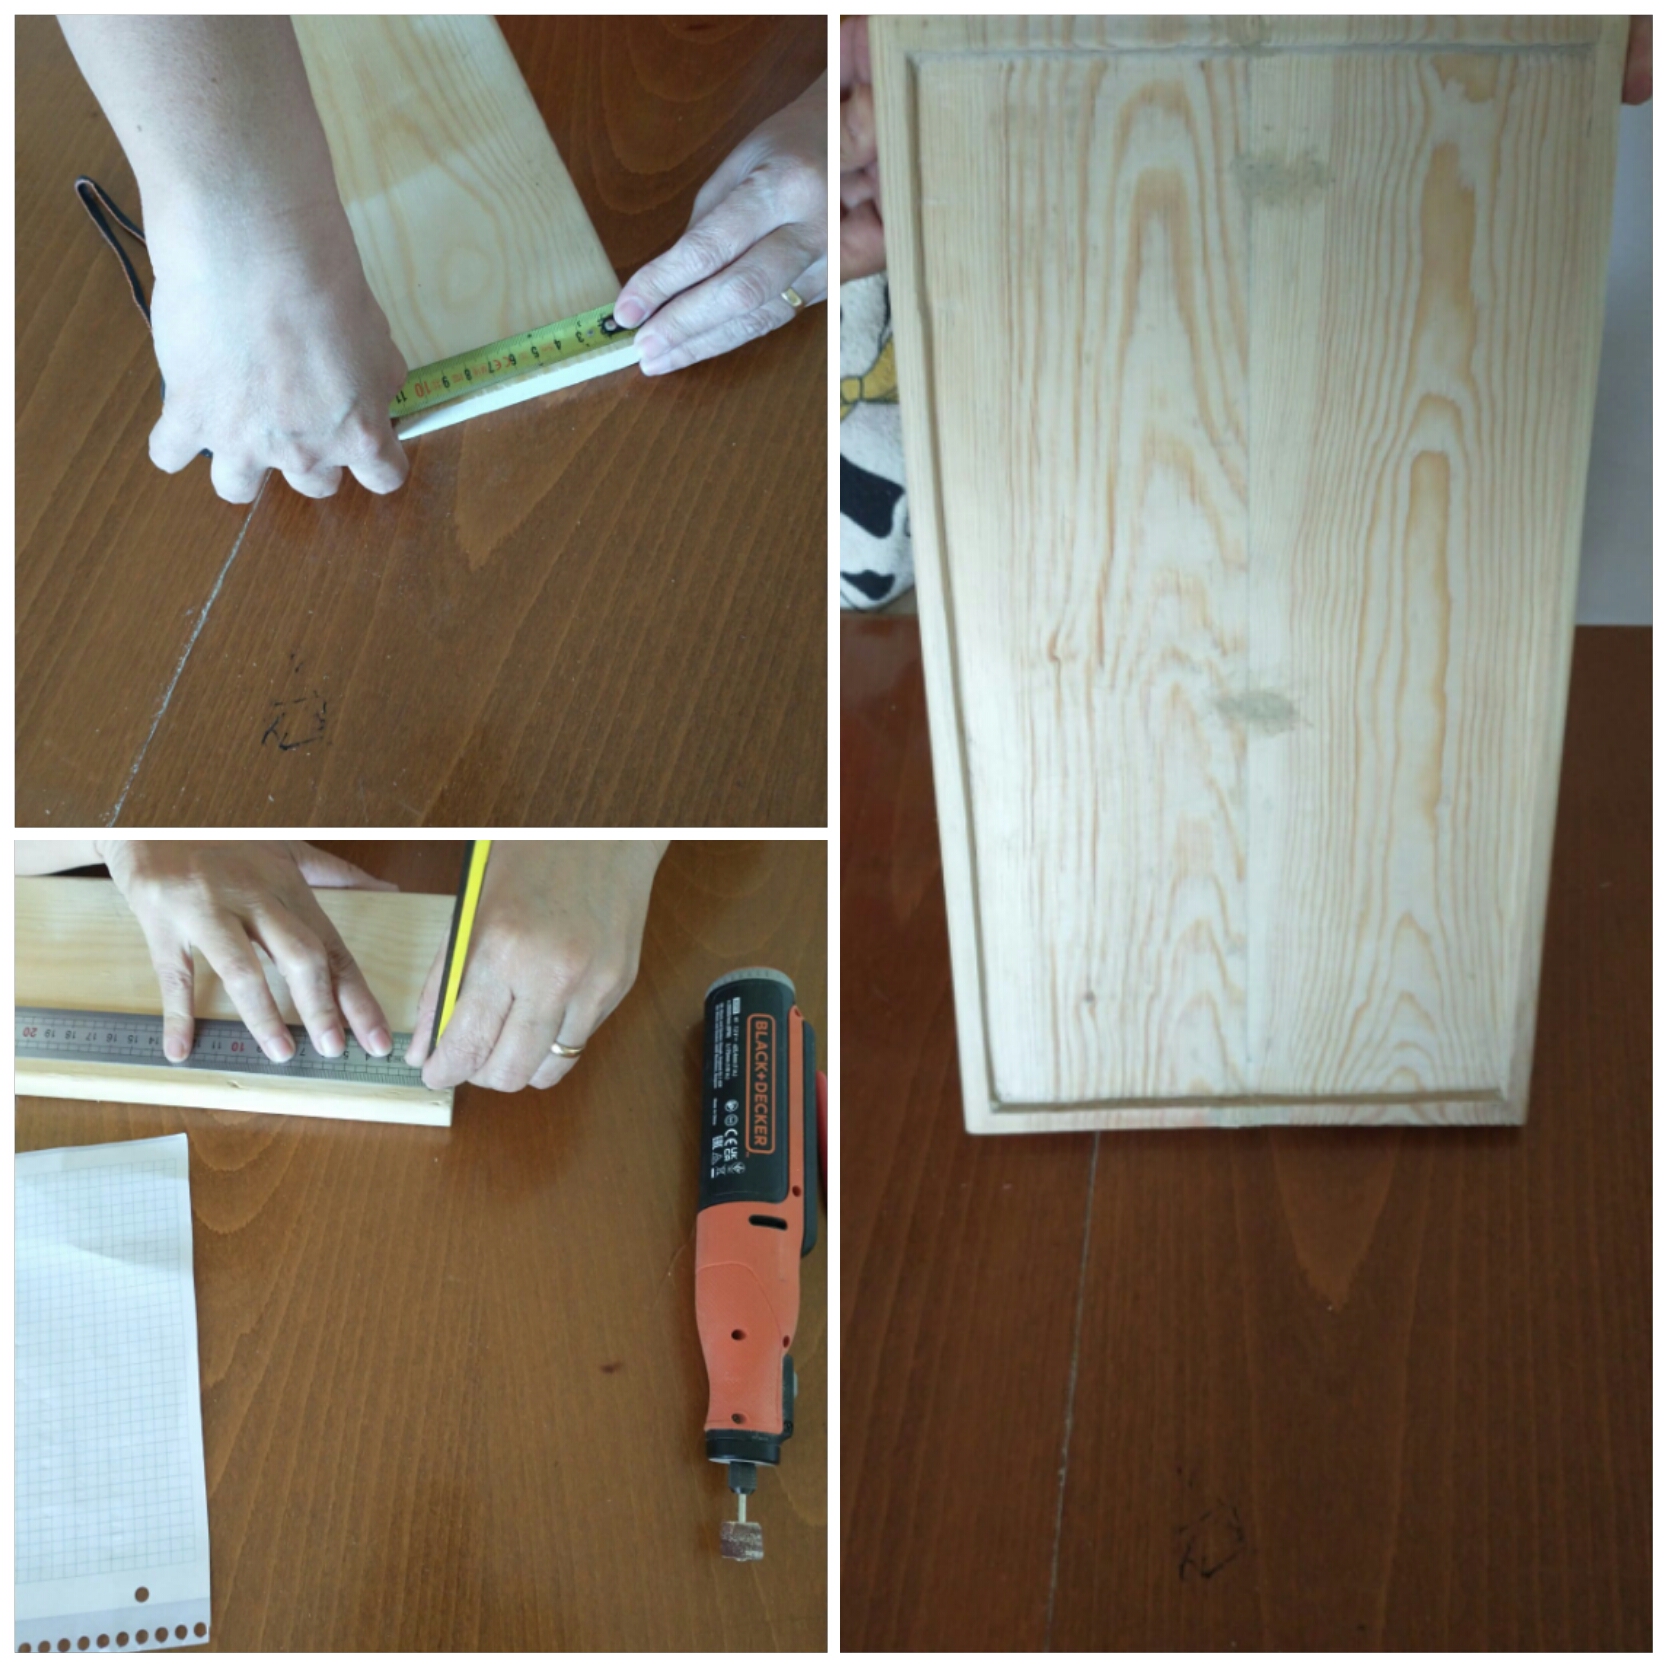
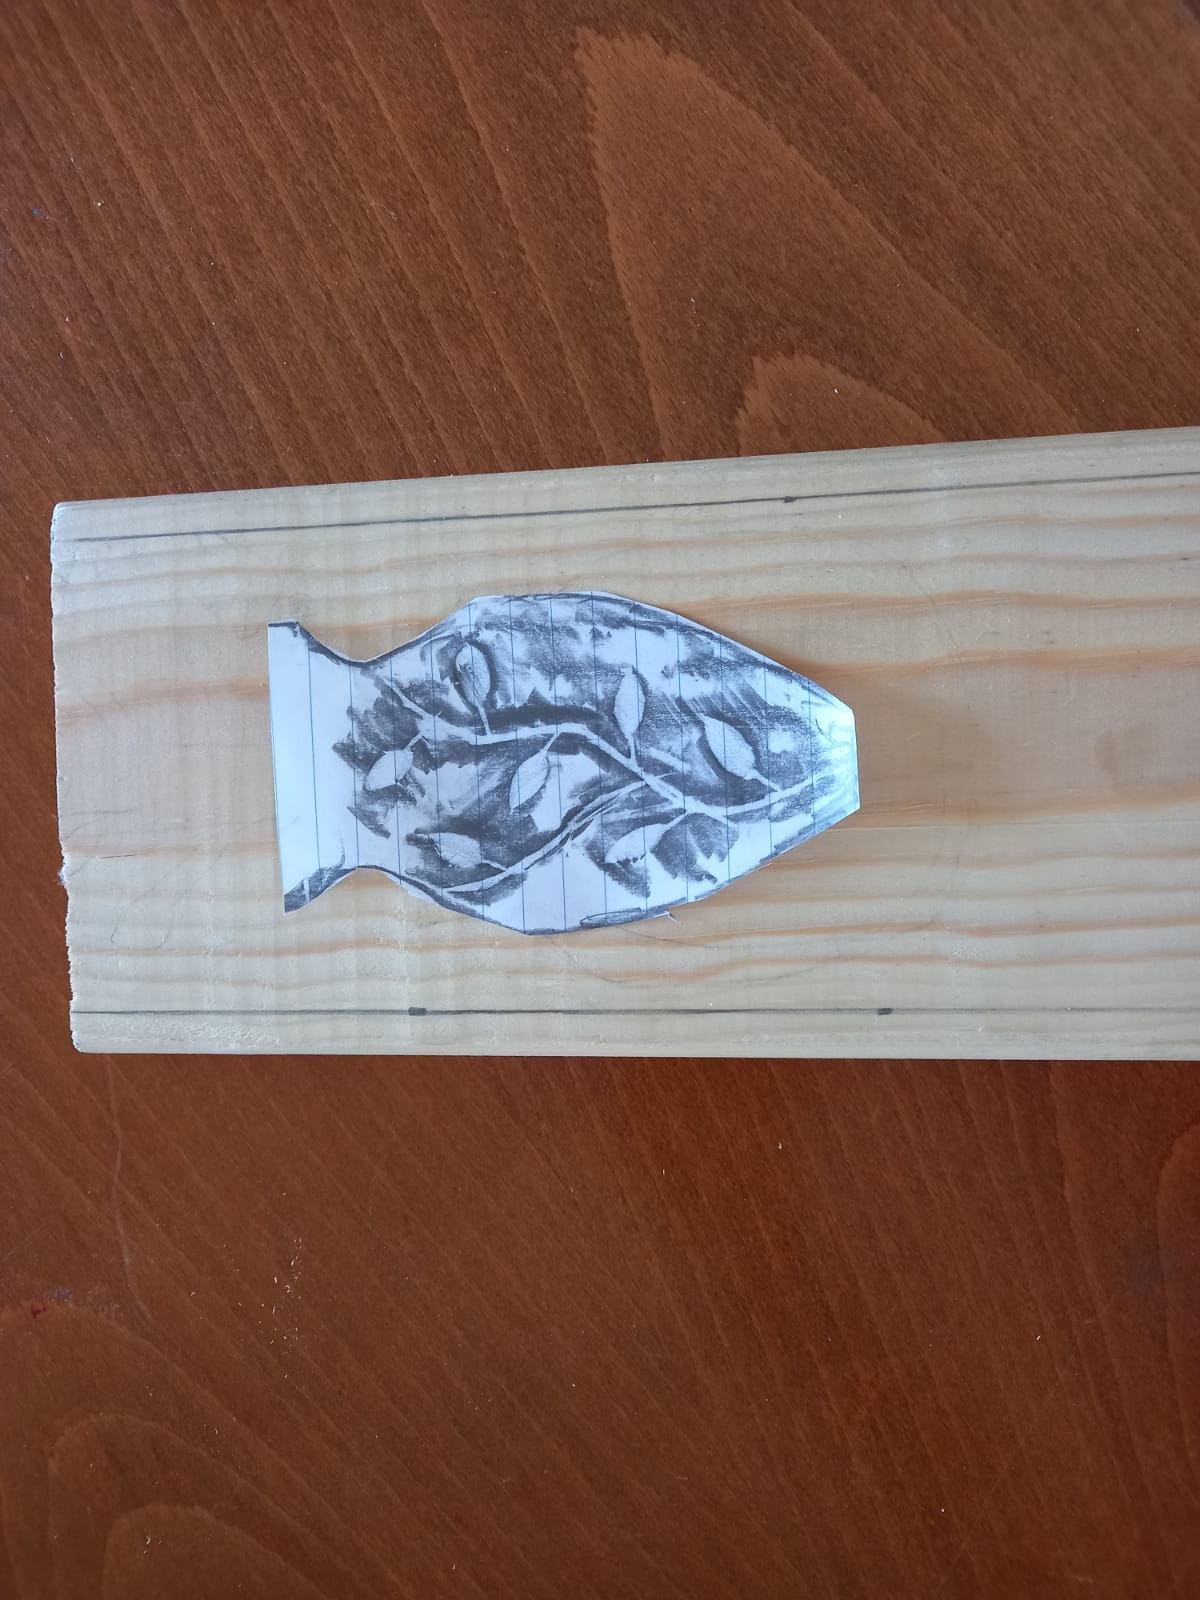
Lo que vamos a hacer es un hermoso jarrón con flores. Donde marcaremos en la madera el dibujo con un lápiz (utilizamos una hoja para hacer el borrador del dibujo)
What we are going to make is a beautiful vase with flowers. Where we will mark the drawing on the wood with a pencil (we use a sheet to make the draft of the drawing)
Ahora comenzamos a escupir. Y para esto usaremos unas gubias. Esto dependerá de la profundidad.
Now we start to spit. And for this we will use gouges. This will depend on the depth.
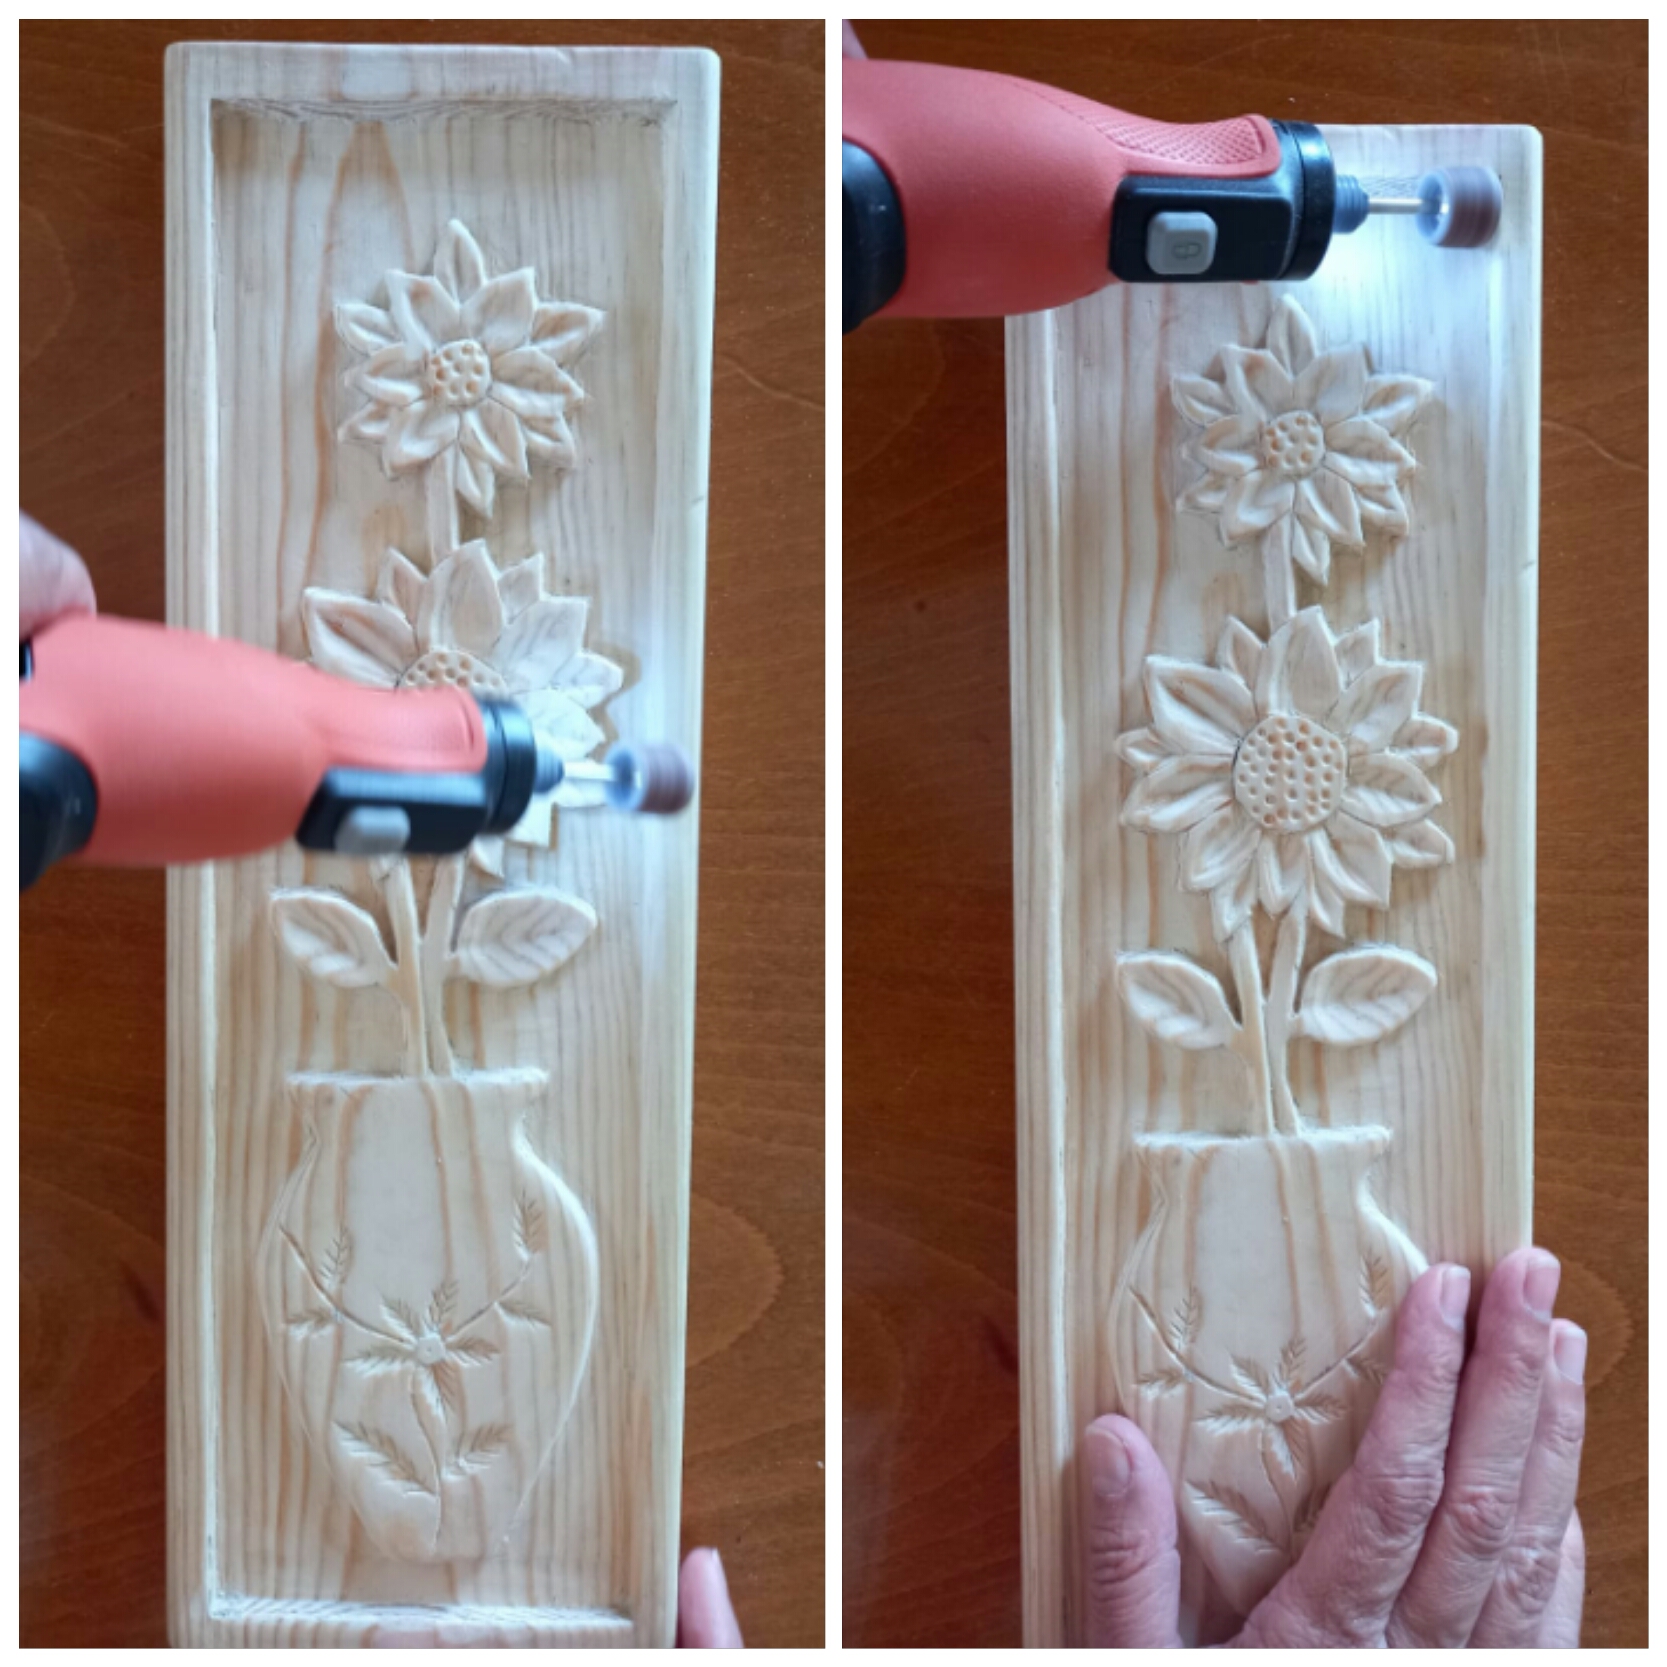
Luego de tenerla lista, continuamos con limar y quitar lo poroso de la madera con el dramel que también nos ayudará a perfeccionar las partes que quedaron altas de la obra.
After having it ready, we continue with filing and removing the porousness of the wood with the dramel that will also help us to perfect the parts that were left high in the work.
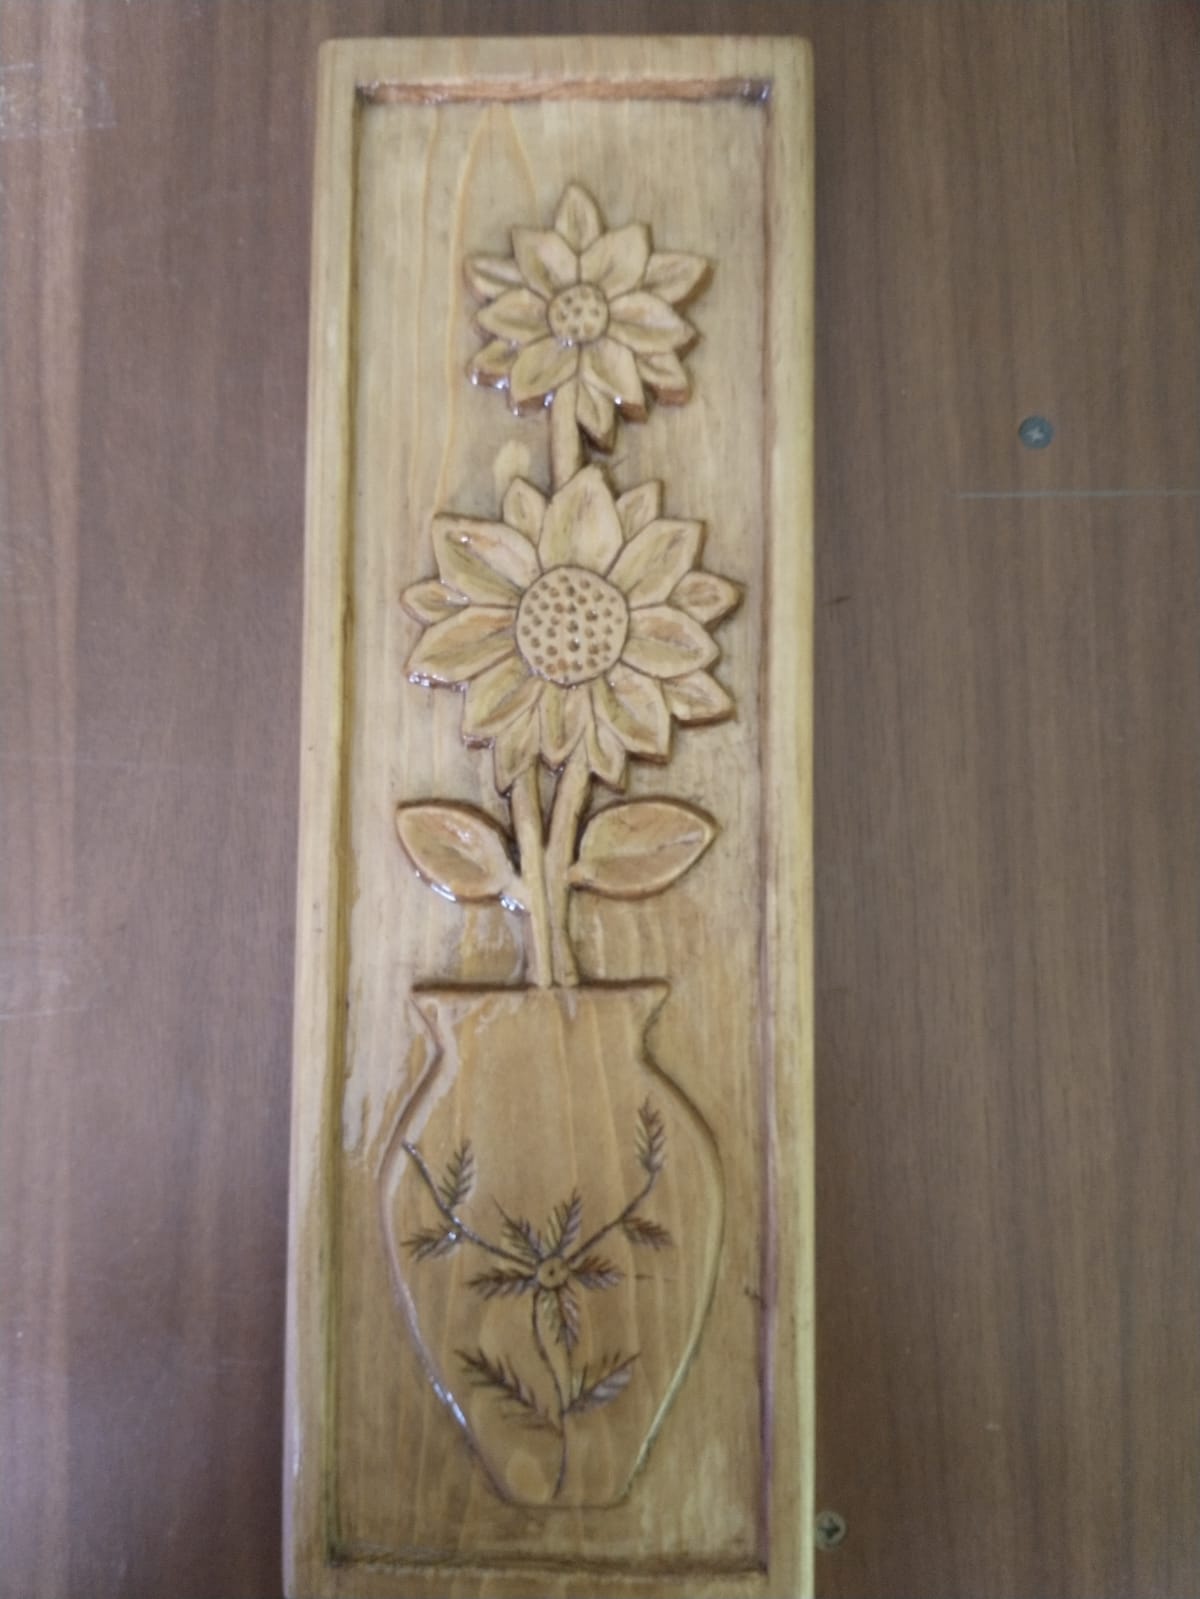
Y culminamos con colocarle el barniz para embellecer y darle fuerza a nuestra hermosa obra.
And we culminate in placing the varnish to embellish and give strength to our beautiful work.
Congratulations @creacionlilijul! You have completed the following achievement on the Hive blockchain and have been rewarded with new badge(s) :
Your next target is to reach 400 upvotes.
You can view your badges on your board and compare yourself to others in the Ranking
If you no longer want to receive notifications, reply to this comment with the word
STOPSupport the HiveBuzz project. Vote for our proposal!