Elaboración de un adorno colgante de lunas y estrellas//Making a hanging ornament of moons and stars by:@coco21

in GEMS4 years ago

63daff42-fbeb-4d3d-9f9f-679b6076c998.jpg

Hola queridos amigos espero que se encuentre bien, este es mi primera presentación en manualidades lo cual me gusto mucho elaborar ya que lo hice con materiales reciclables, este colgante es ideal para colocarlo en puertas, cortinas y entre otras cosas. Espero que disfruten ver esta fácil elaboración.

Hello dear friends, I hope you are well, this is my first presentation in crafts which I really enjoyed making since I did it with recyclable materials, this pendant is ideal to place on doors, curtains and among other things. Hope you enjoy watching this easy crafting


Materiales
°CD
°Tijera
°Hilo
°Algodón
°Cautin
°Marcador
°Adhesivo

Materials
° Scissors
°Thread
° Cotton
° Cautin
°Marker
°Adhesive

Proceso

Process

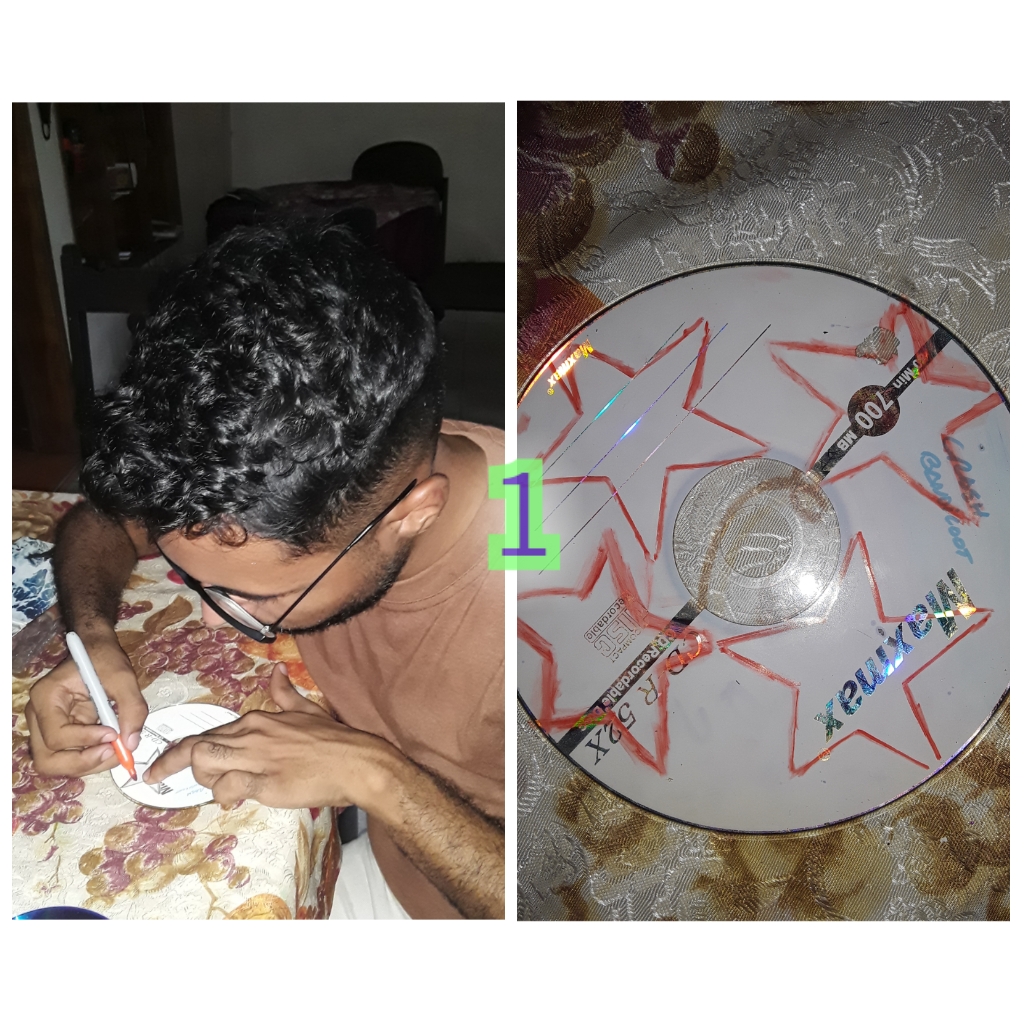
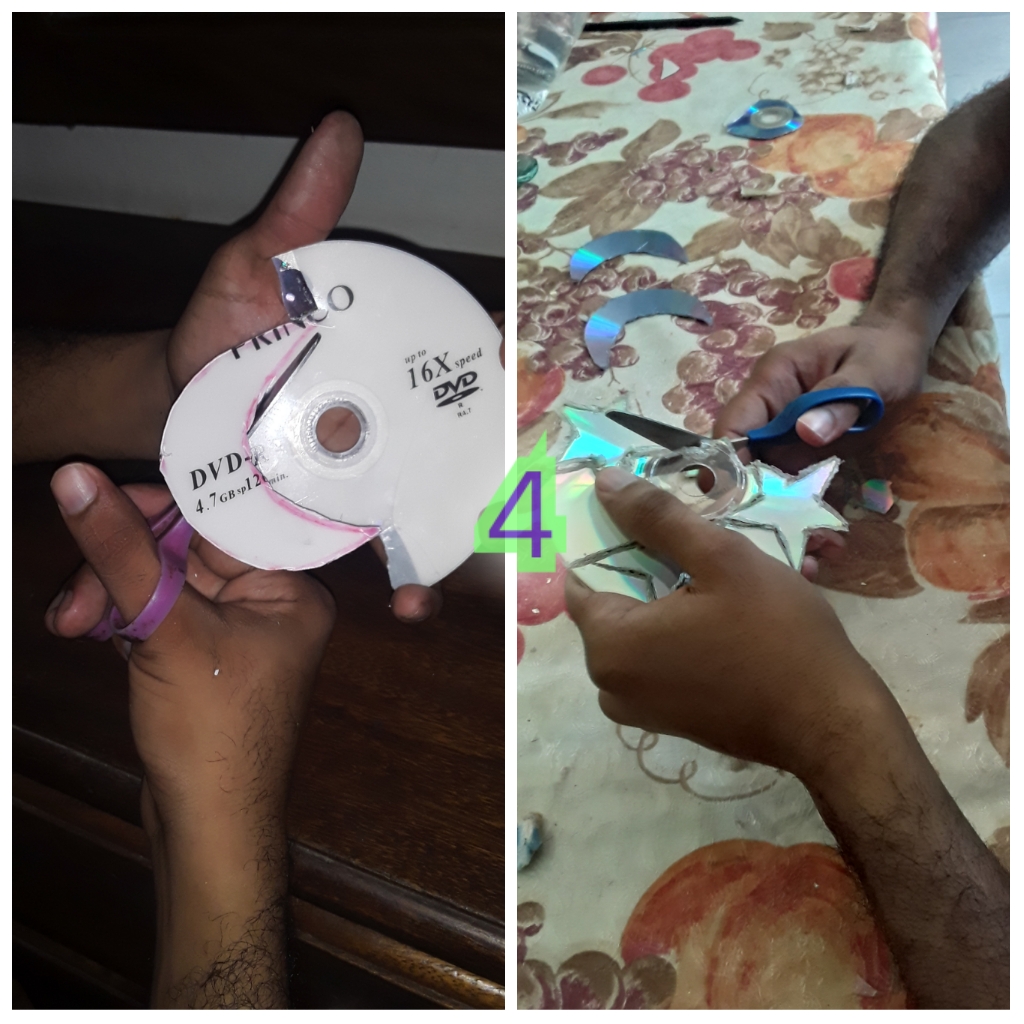
Paso 1: Con el marcador pintamos en un disco varias estrella.

Step 1: With the marker we paint several stars on a disk.

03dc8bd3-5f2d-4199-9d41-529adc345dea.jpg

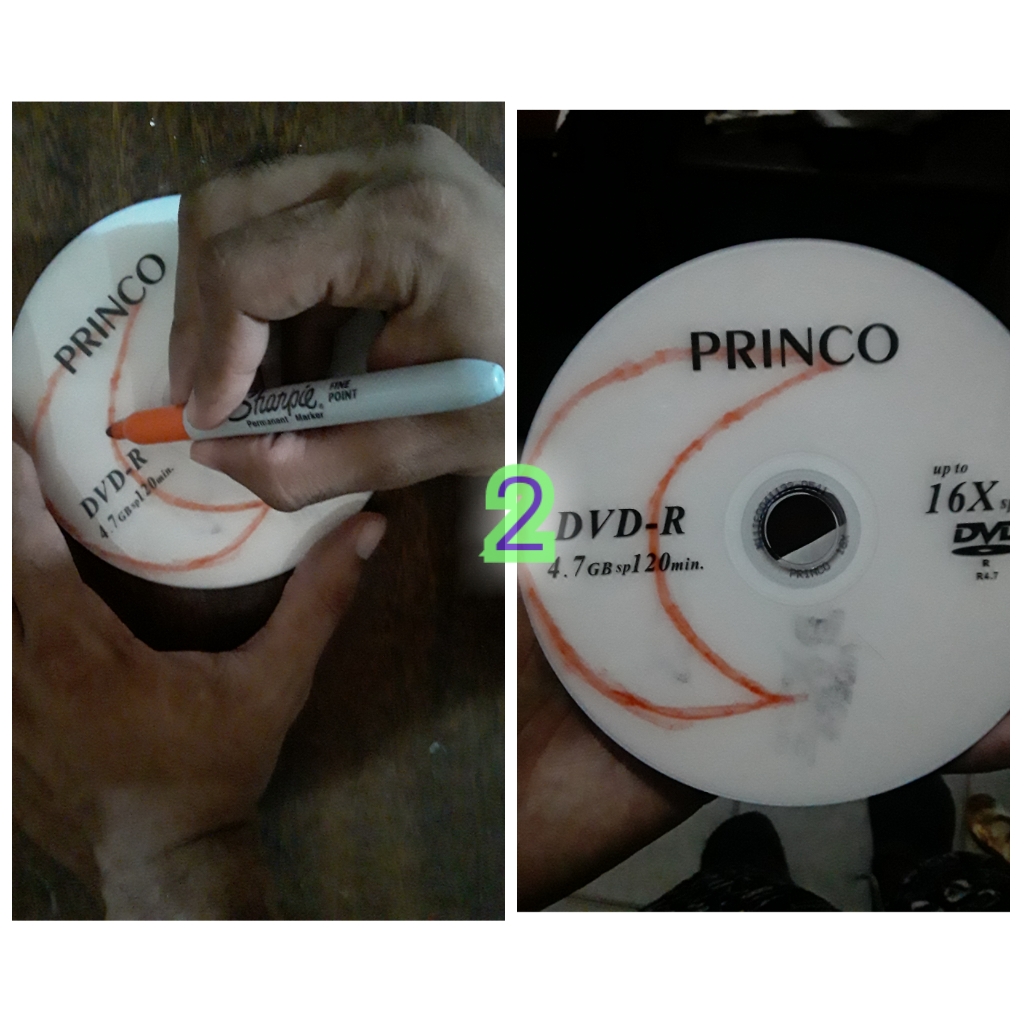
Paso 2: Pintamos una luna.

Step 2: We paint a moon.

9e7c0534-c620-4da6-a4a5-09ece9c9083f.jpg

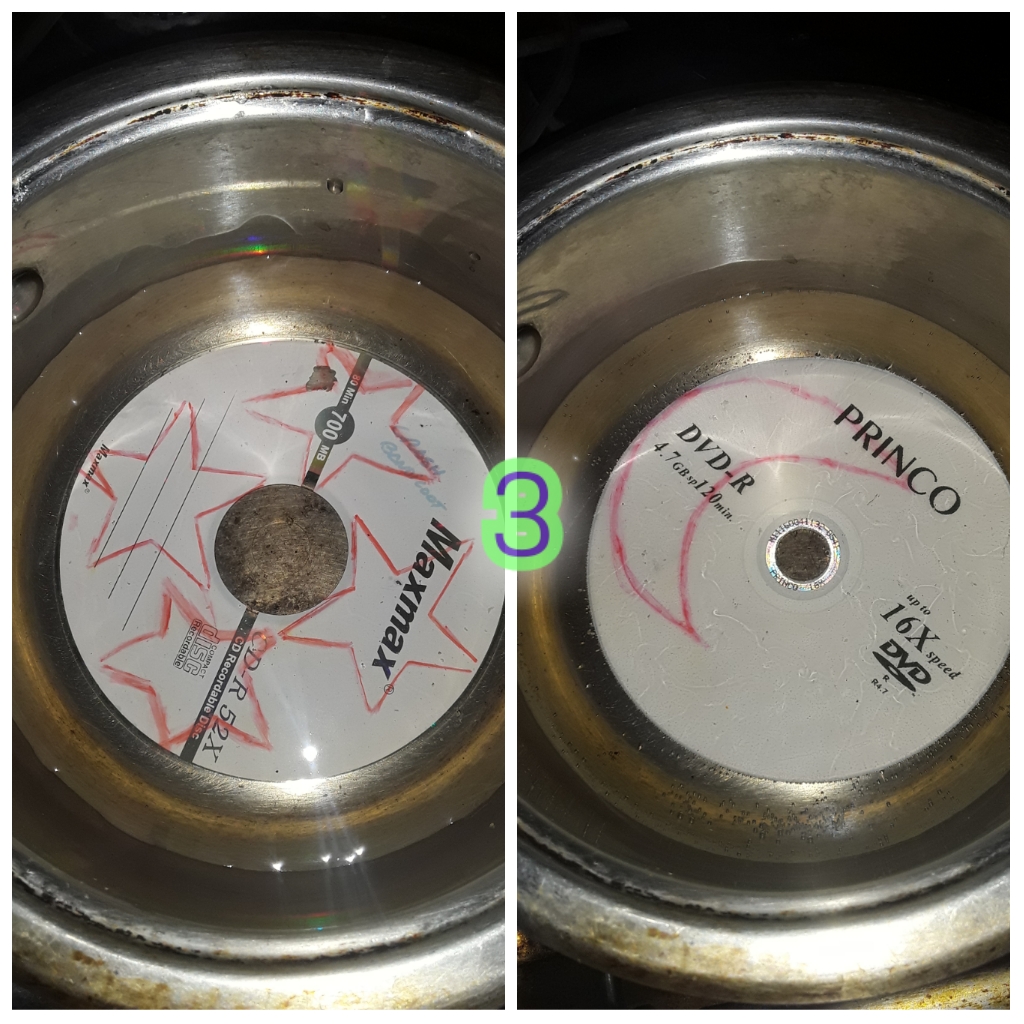
Paso 3: Se hierve el agua hasta el punto que salgan las primeras burbujas para luego colocar nuestro disco por 5 minuto. Esta técnica nos ayudara a través del calor que sea mas fácil picar los discos con la tijera.

Step 3: The water is boiled to the point that the first bubbles come out and then place our disk for 5 minutes. This technique will help us through the heat that it is easier to chop the discs with the scissors.

a3672f0d-fd3d-48fc-8db9-8b1d45099c44.jpg

Paso 4: Ya después que los discos se hayan ablandado procedemos a picarlos. PD: Cuando pique la luna me di cuenta que, con la mitad del disco pude sacar otra luna mas.

Step 4: After the discs have softened, we proceed to chop them. PS: When the moon struck I realized that with half the album I was able to get another moon.

9caf4012-8271-47e3-9c1e-96b4ea79e79a.jpg

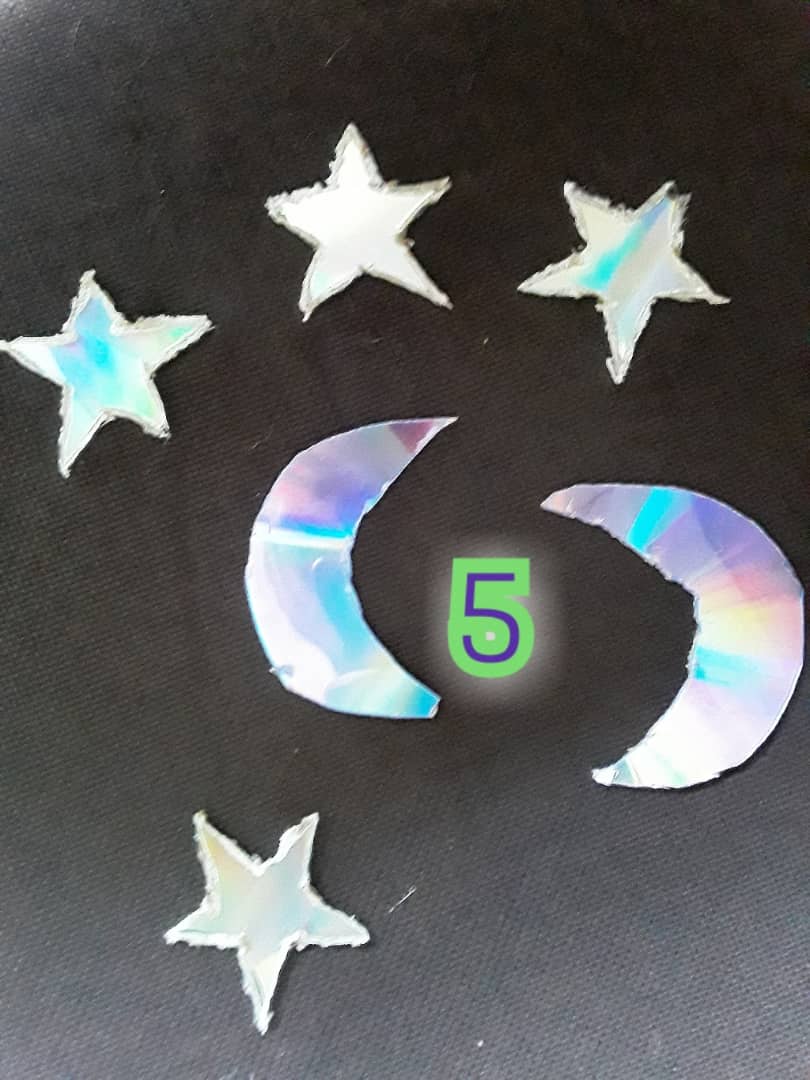
Paso 5: De esta manera nos quedo.

Step 5: This is how I stay.

4eacb5b7-06aa-4661-8758-23f31188bdb2.jpg

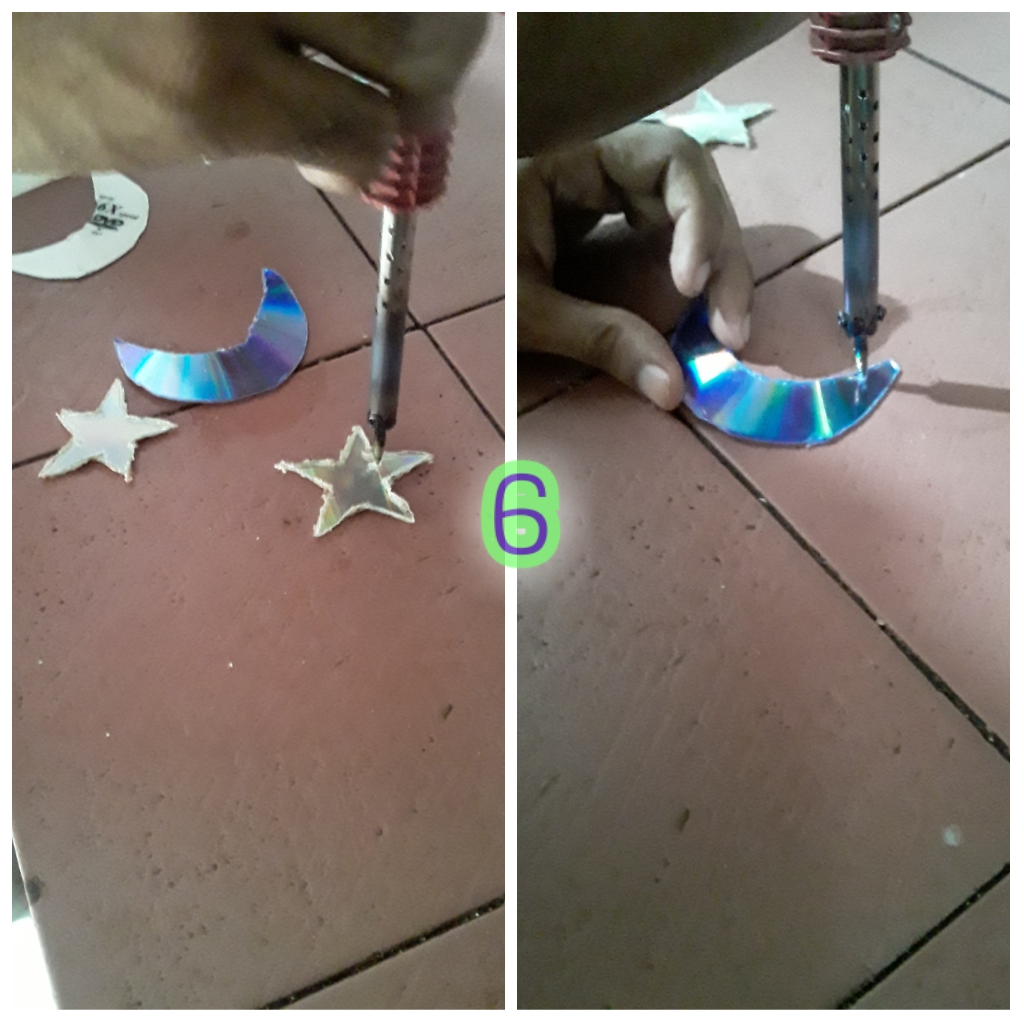
Paso 6: Calentamos nuestro cautin para hacer un orificio en cada unas de las puntas de nuestras lunas y estrellas.

Step 6: We heat our soldering iron to make a hole in each of the tips of our moons and stars.

37fd55de-401a-41fb-b79f-aea45fb314aa.jpg

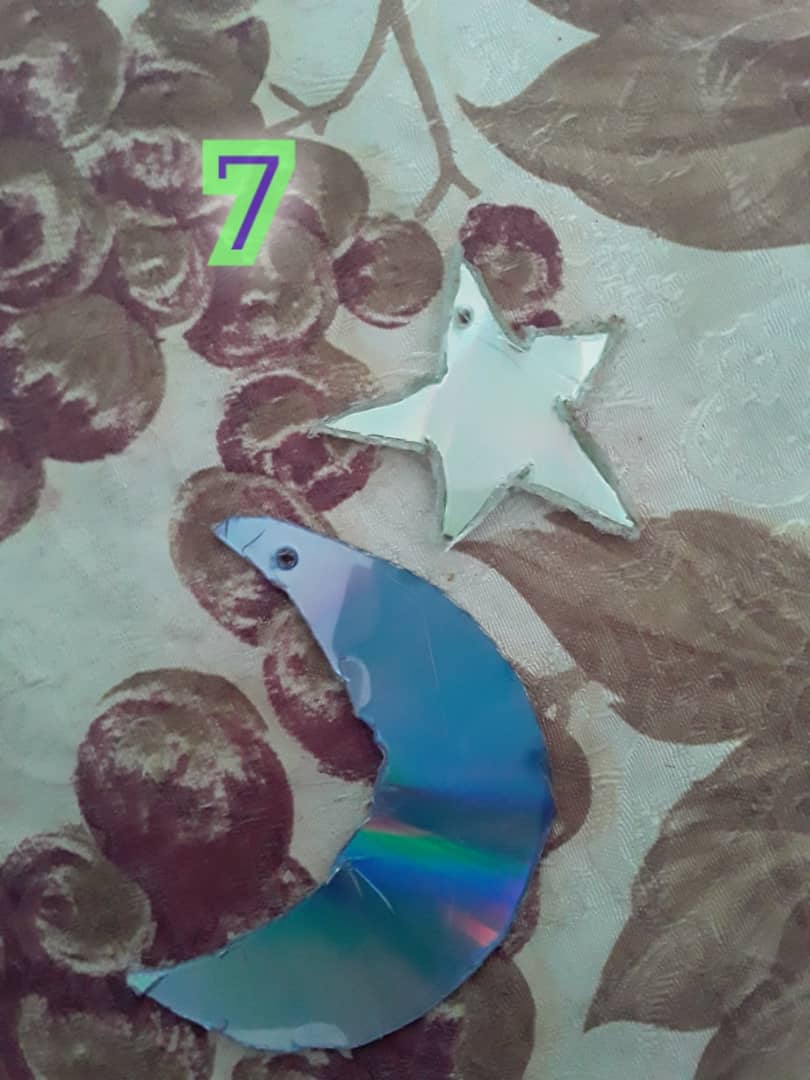
Paso 7: Esta es la manera que nos quedo.

Step 7: This is the way we fit.

d446308b-8af8-4faa-985f-bdb5f8b21e43.jpg

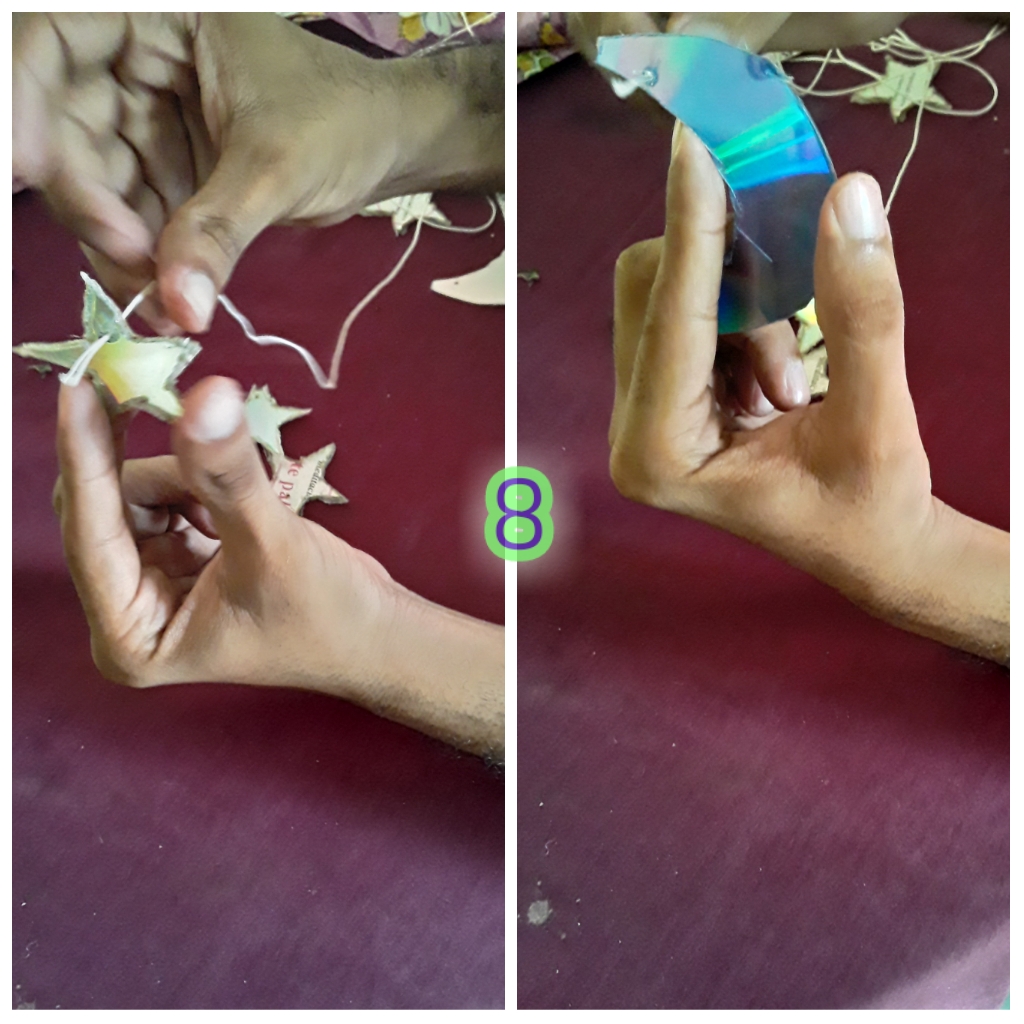
Paso 8: Introducimos el hilo a través de los orificios de cada una de las estrellas y lunas.

Step 8: We introduce the thread through the holes of each of the stars and moons.

8a604101-284b-4840-99bb-9b5d29062f69.jpg

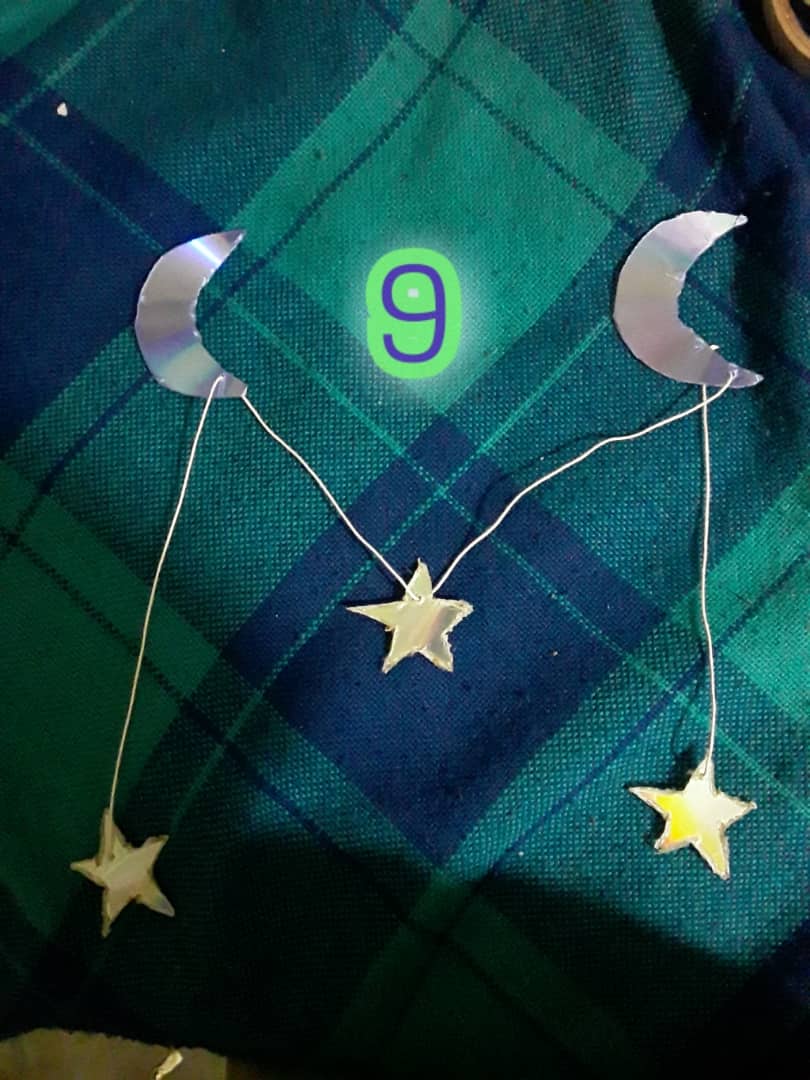
Paso 9: Ordenamos nuestro colgante.

Step 9: We order our pendant.

2b6eeec4-0412-4a9b-ab00-0f32a8314c9b.jpg

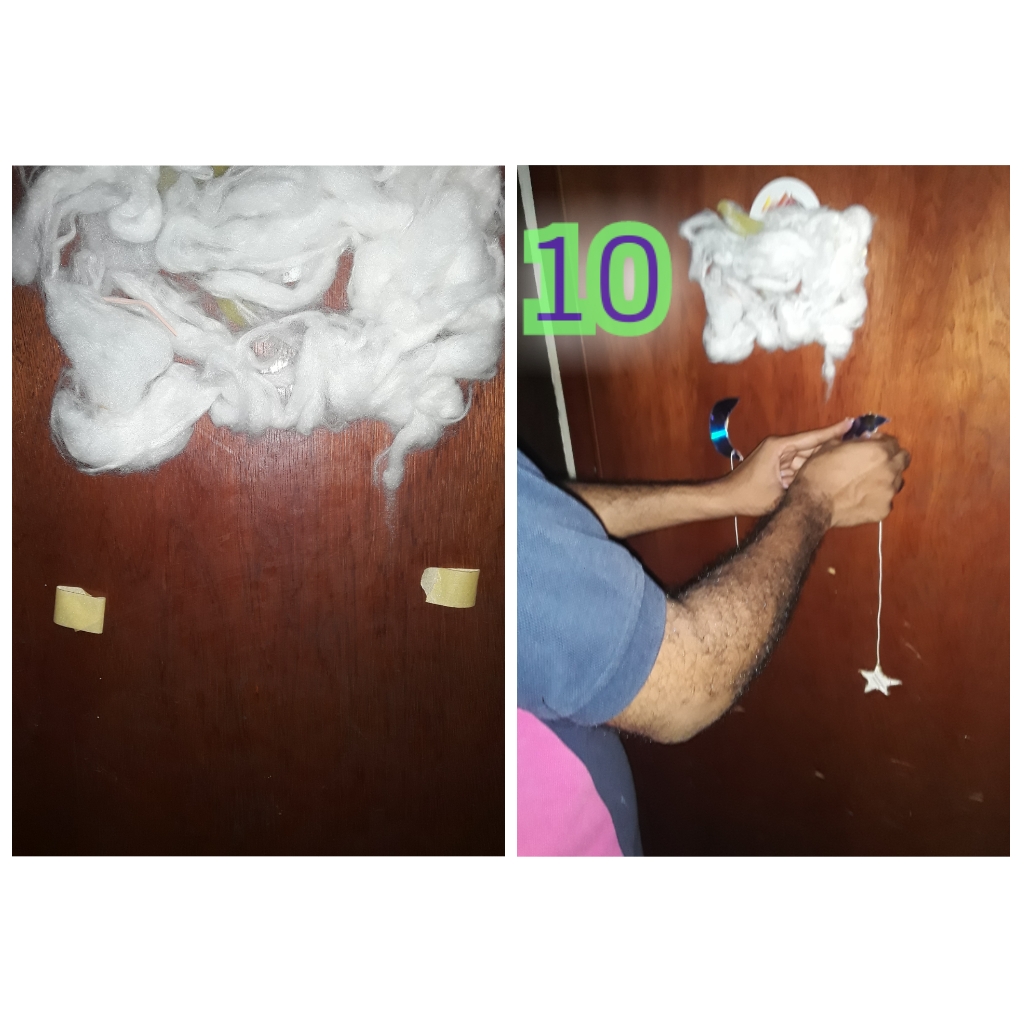
Paso 10: Con la ayuda del adhesivo pegaremos el algodón en la parte de superior y de igual manera lo utilizamos para pegar nuestro colgante.

Step 10: With the help of the adhesive we will glue the cotton on the upper part and in the same way we use it to glue our pendant.

9a70b454-eaac-43e4-8e27-5f1a9edd9c27.jpg

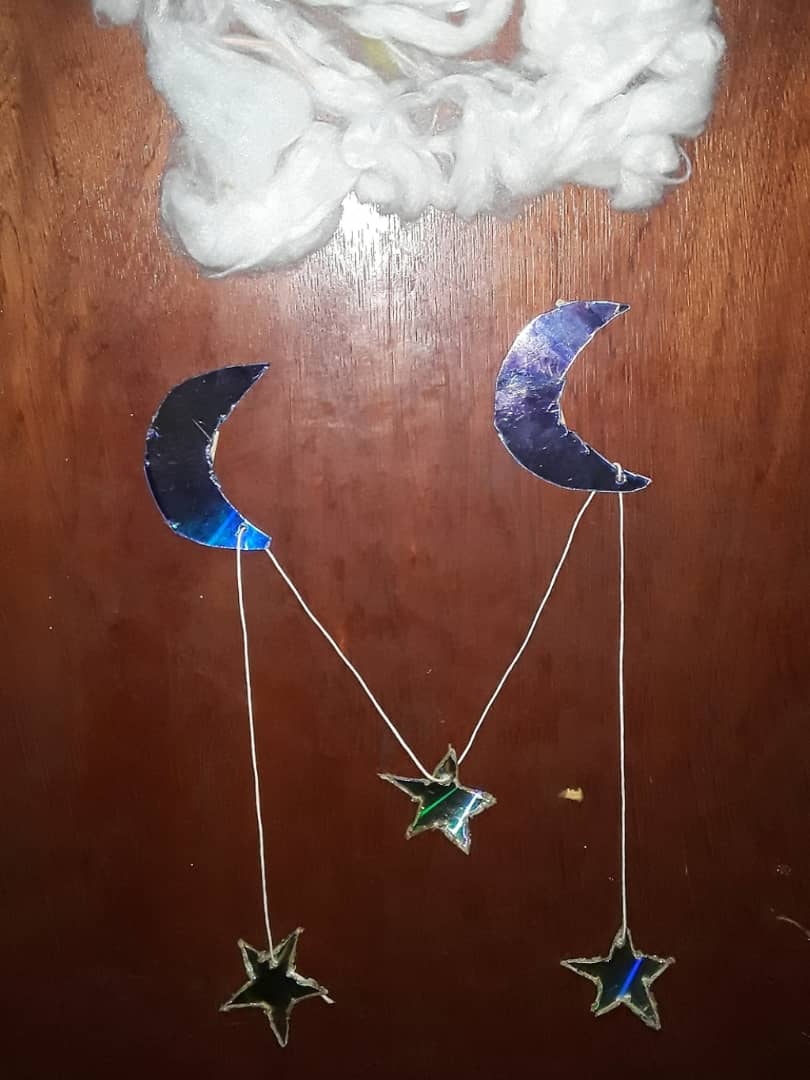
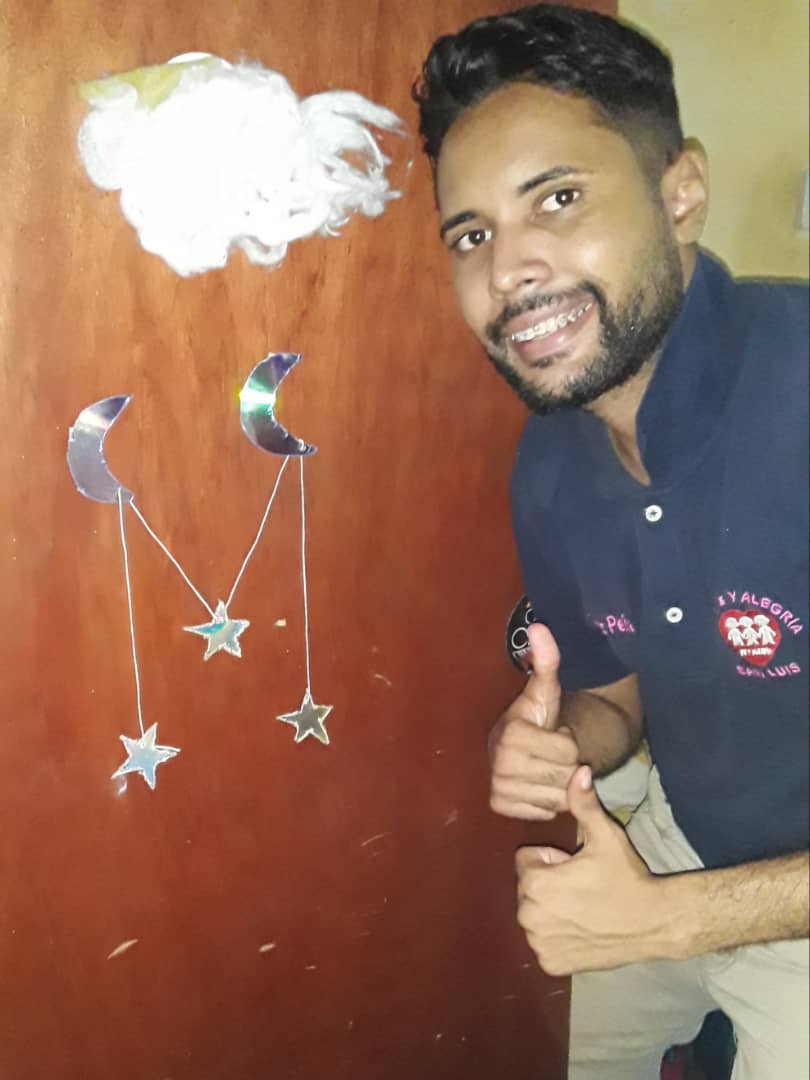
Ya realizado todos los pasos anteriores este es nuestro resultado final.

Once all the previous steps have been carried out, this is our final result.

7ef2edfa-84da-4ca7-8338-973d60894484.jpg


Gracias por ver y leer mi publicación.
Thanks for viewing and reading my post.