Happy and blessed day to all the Hive community, today I want to share with you this tutorial on how to make a colorful background for a billboard. My friends from CNAE who work in the school cafeteria where I am part of the teaching staff asked me to make the background for their Billboard which should be motivated to the work they do daily in the school cafeteria.
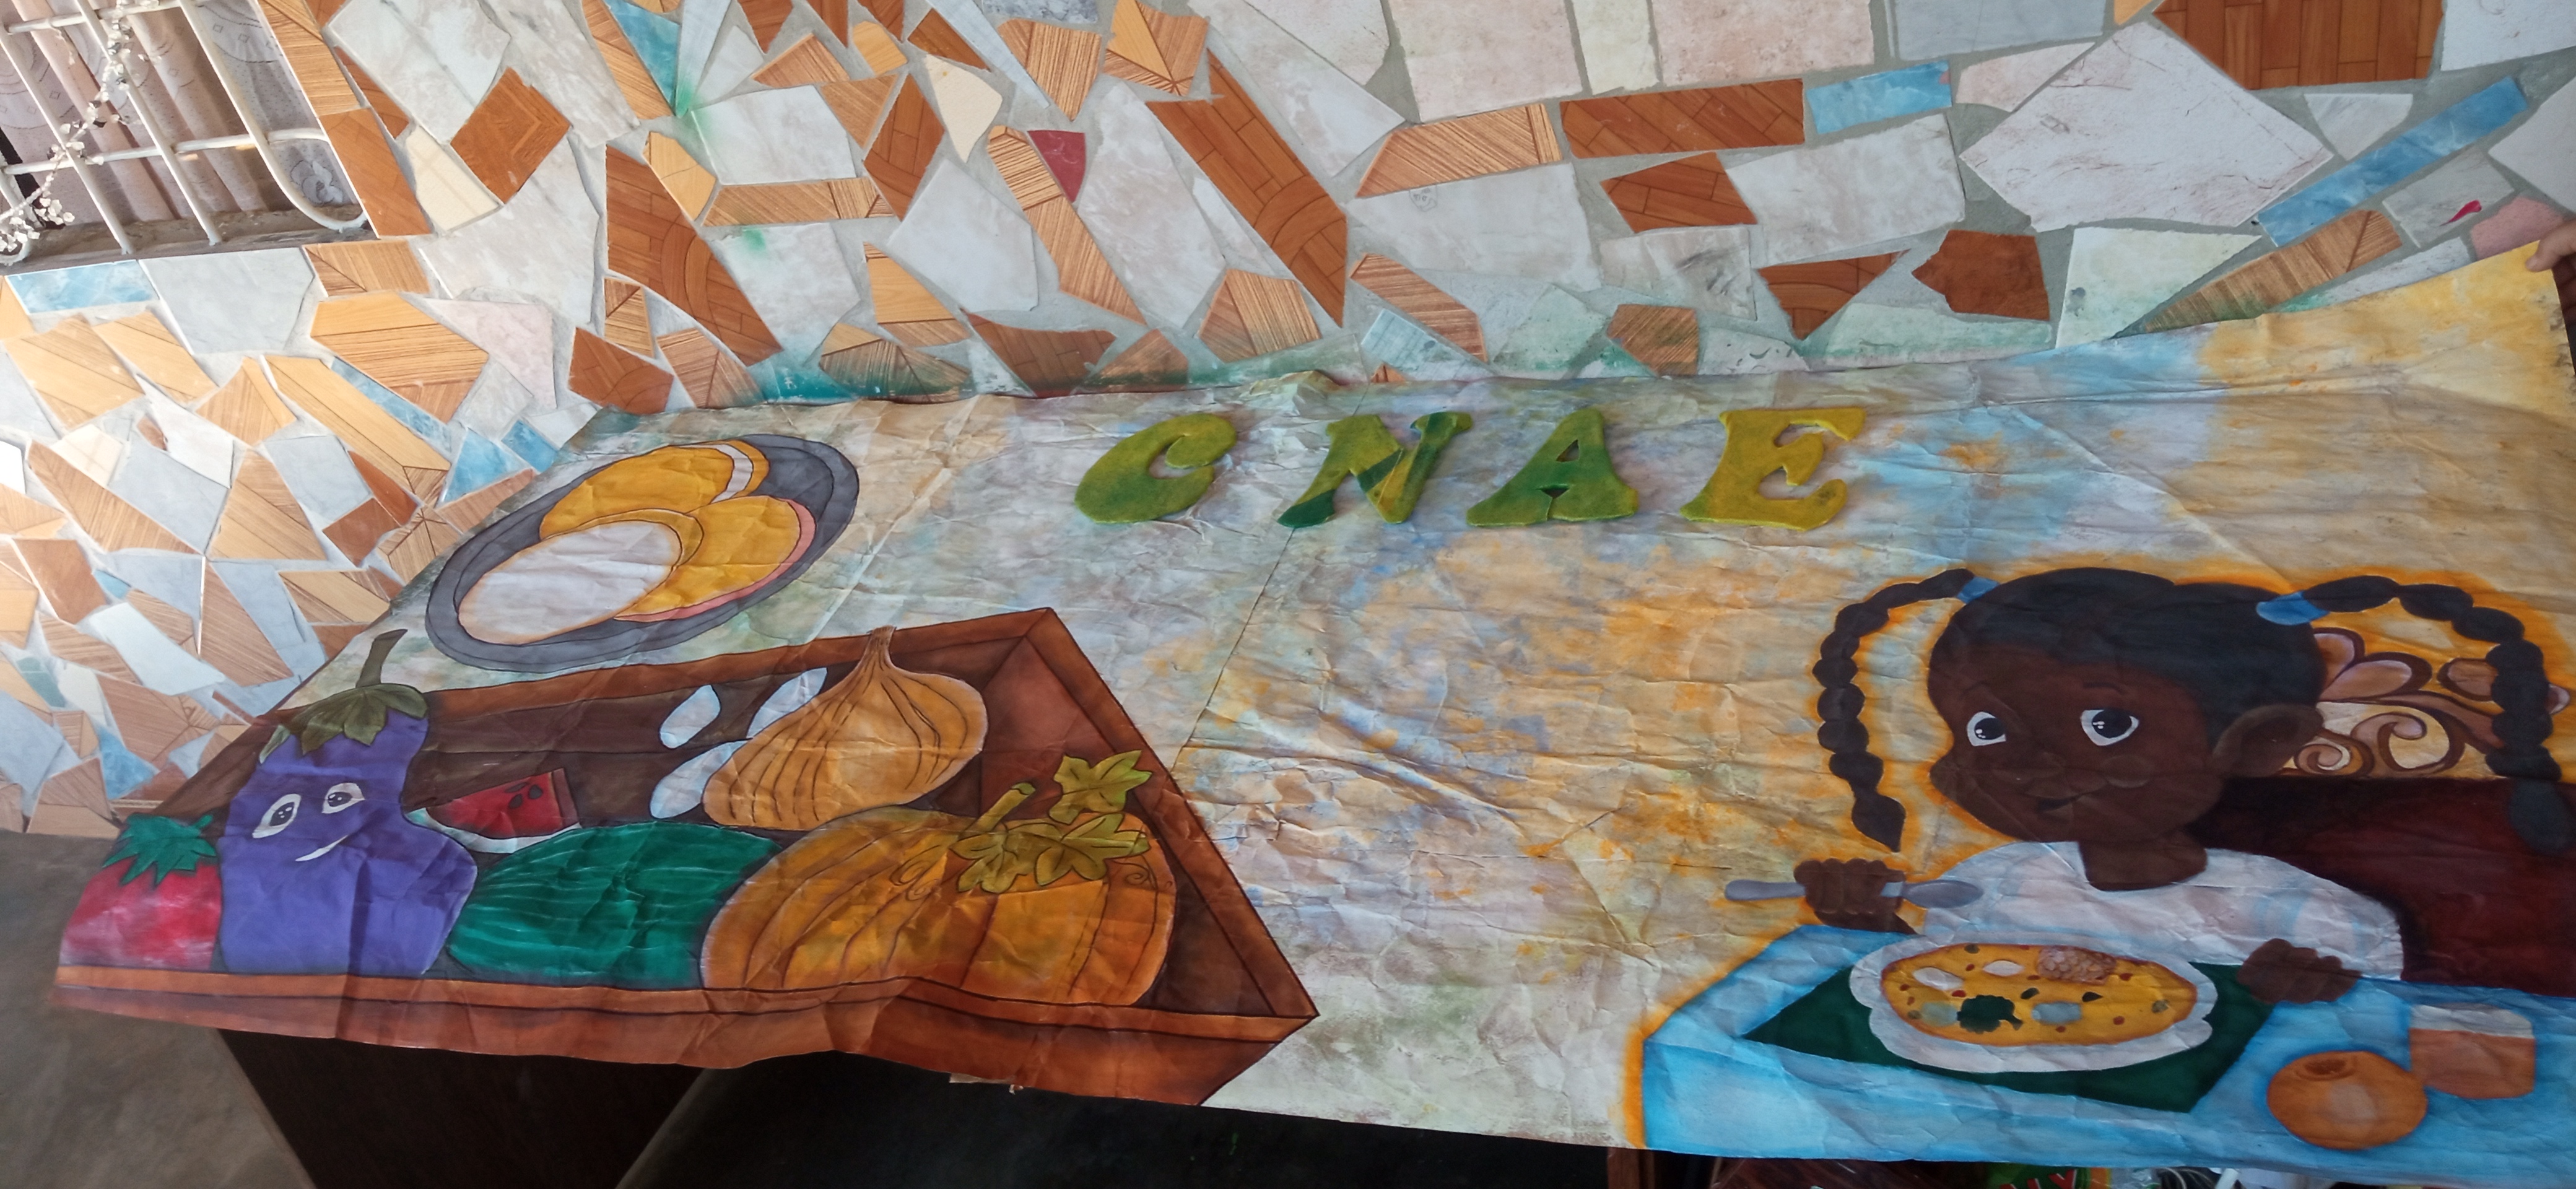
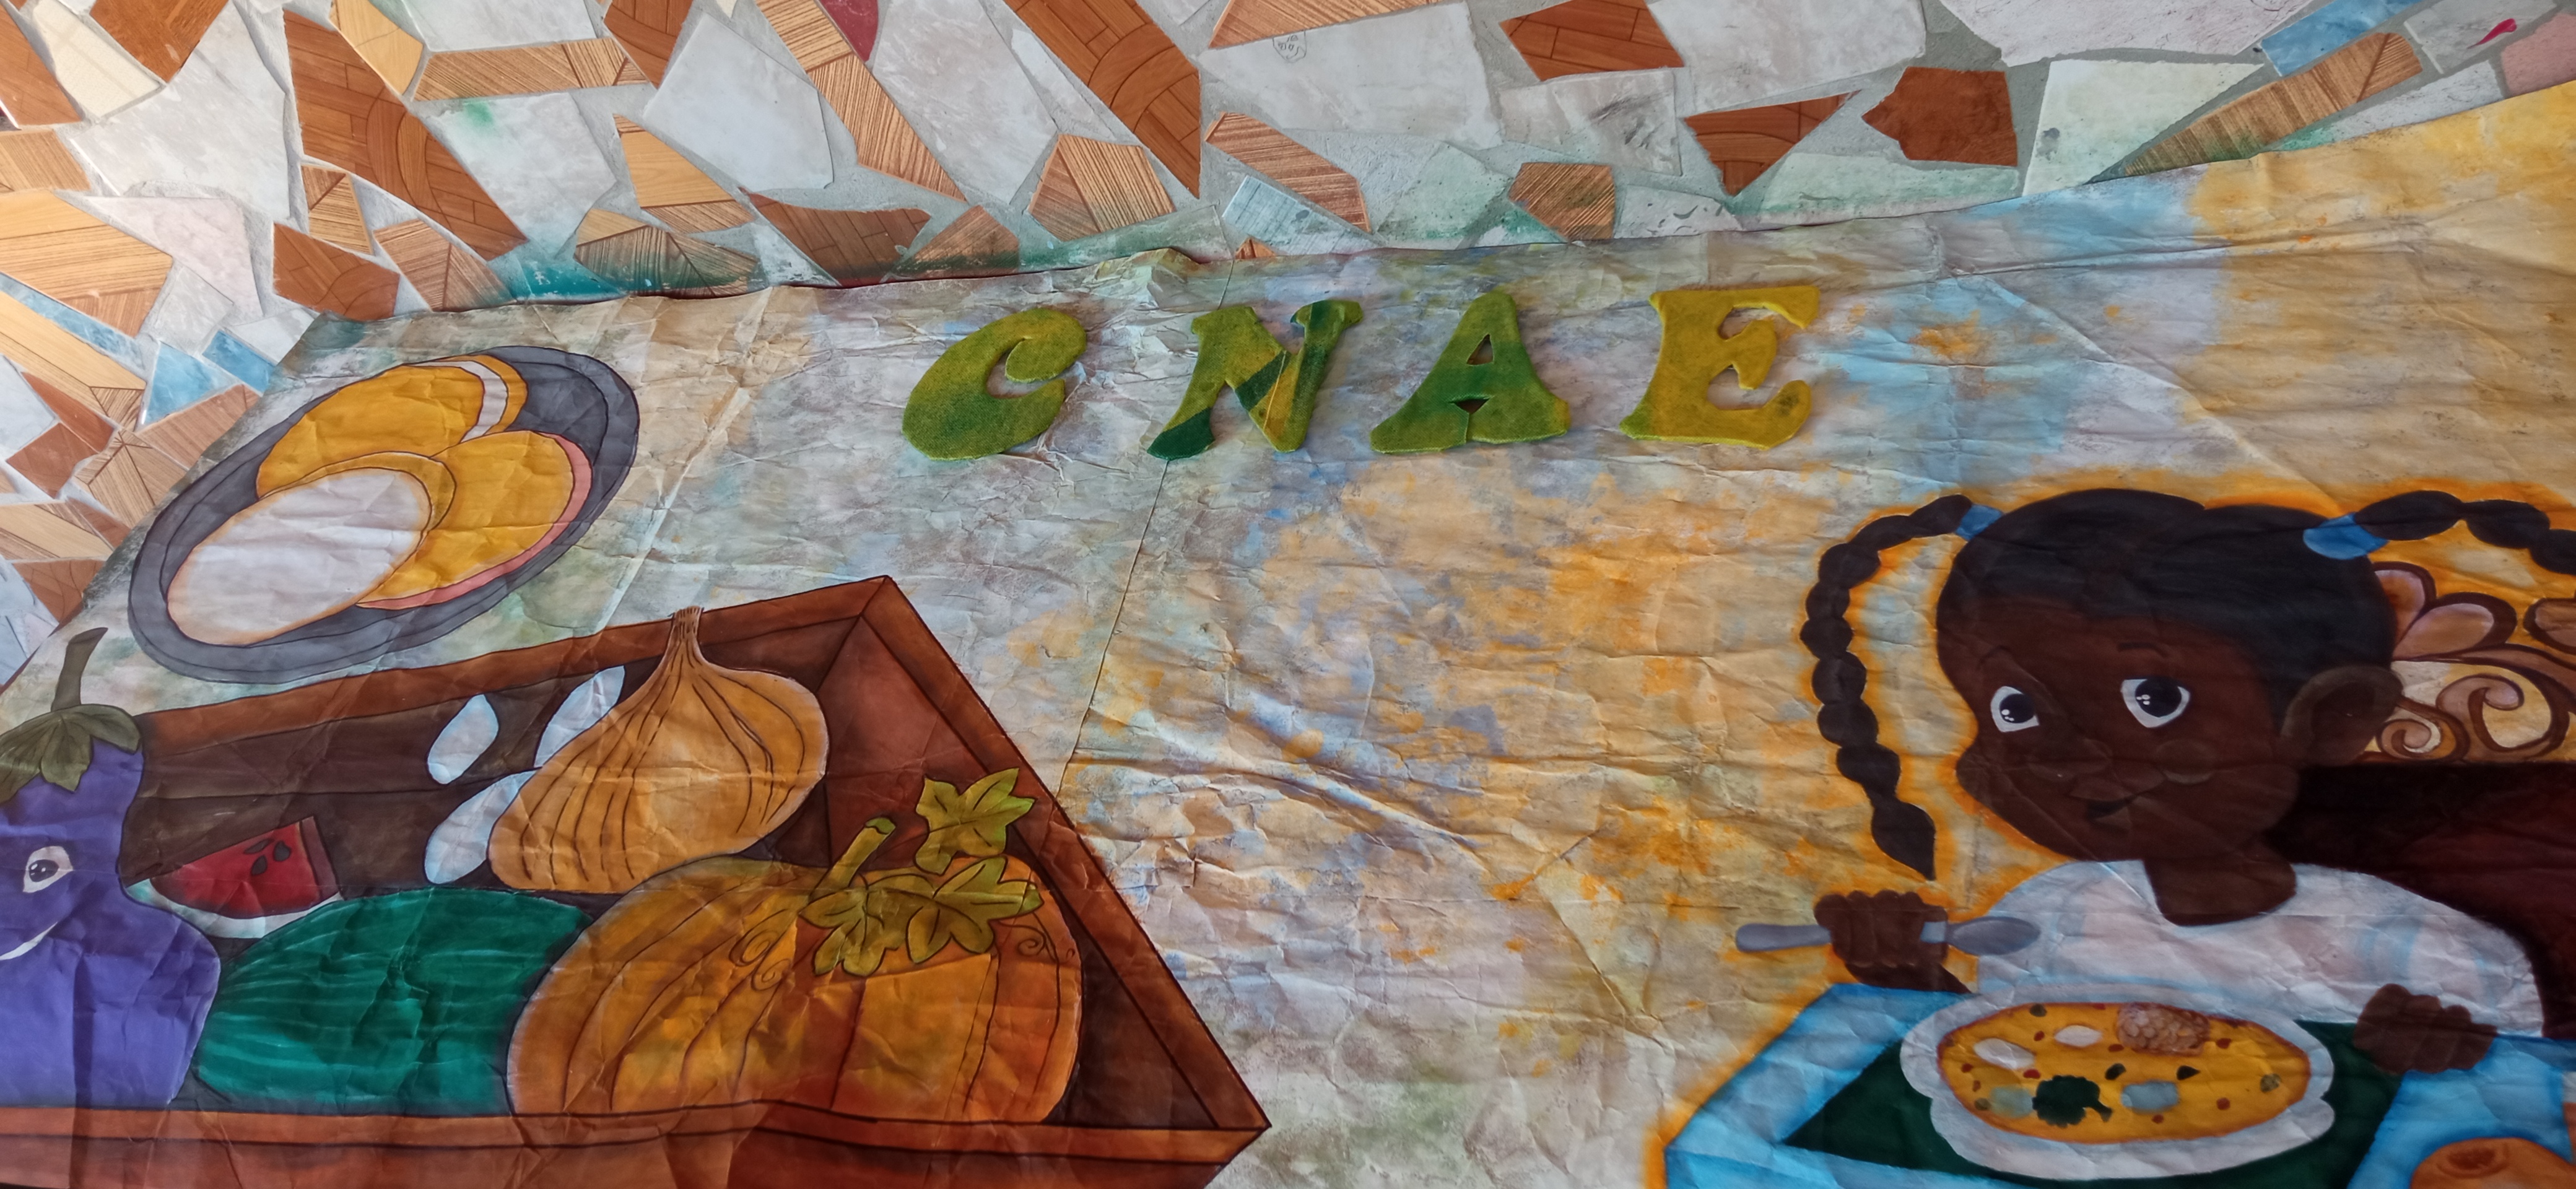
To make this background, I previously took the measurements of the billboard where the background with the images will be placed, which measures 1.90 meters long by 90 centimeters high. Then I assembled with the paper of the bread flour packages the Rectangle of the structure of the background of the billboard. I used the paper of these packages because they are very resistant and do not break when painting them. Once the assembly was finished, trace the measurements I had previously taken of the billboard on the paper and cut the excess. I have no photographic record of this step because the two people who support me with the photos, my son and my grandson, were not at home at the time, they were out on a spree!!! Hahaha!!!.

Materiales:
- Rectángulo de papel de 1.90 metros de largo por 90 centímetros de alto.
- Pinturas acrílicas al frío colores: Blanco, amarillo,
durazno, marrón oscuro, Negro, rojo,
azul claro, azul rey,
piel morena, ocre, verde pistacho,
verde oscuro, verde oliva,
amarillo ocre y rojo tinto. - Pinceles desgastados y de cerda dura.
- Retazo de Tela quirúrjica amarilla.
- Retazos de Cartón.
- Exacto.
- Tijeras.
- Lápiz.
- Borrador.
- Esponja.
- Pañito.
- Potecito con agua.
- Tapa de lata de pintura
(para descargar los pinceles). - Silicón frío.
- Pistola de Silicón.
- Barra de silicón.
Materials:
- Paper rectangle 1.90 meters long by 90 centimeters high.
- Cold acrylic paints in the following colors: white, yellow, dark brown,
peach, black, red,
light blue, King blue,
brown skin, ocher,
pistachio green,dark green,
olive green,
yellow ochre and red red. - Worn and hard bristle brushes.
- Scrap of yellow surgical cloth.
- Scraps of cardboard.
- Exactly.
- Scissors.
- Pencil.
- Eraser.
- Sponge.
- Wipes.
- Small pot of water.
- Paint can lid
(to unload the brushes). - Cold silicone.
- Silicone Gun.
- Silicone bar.
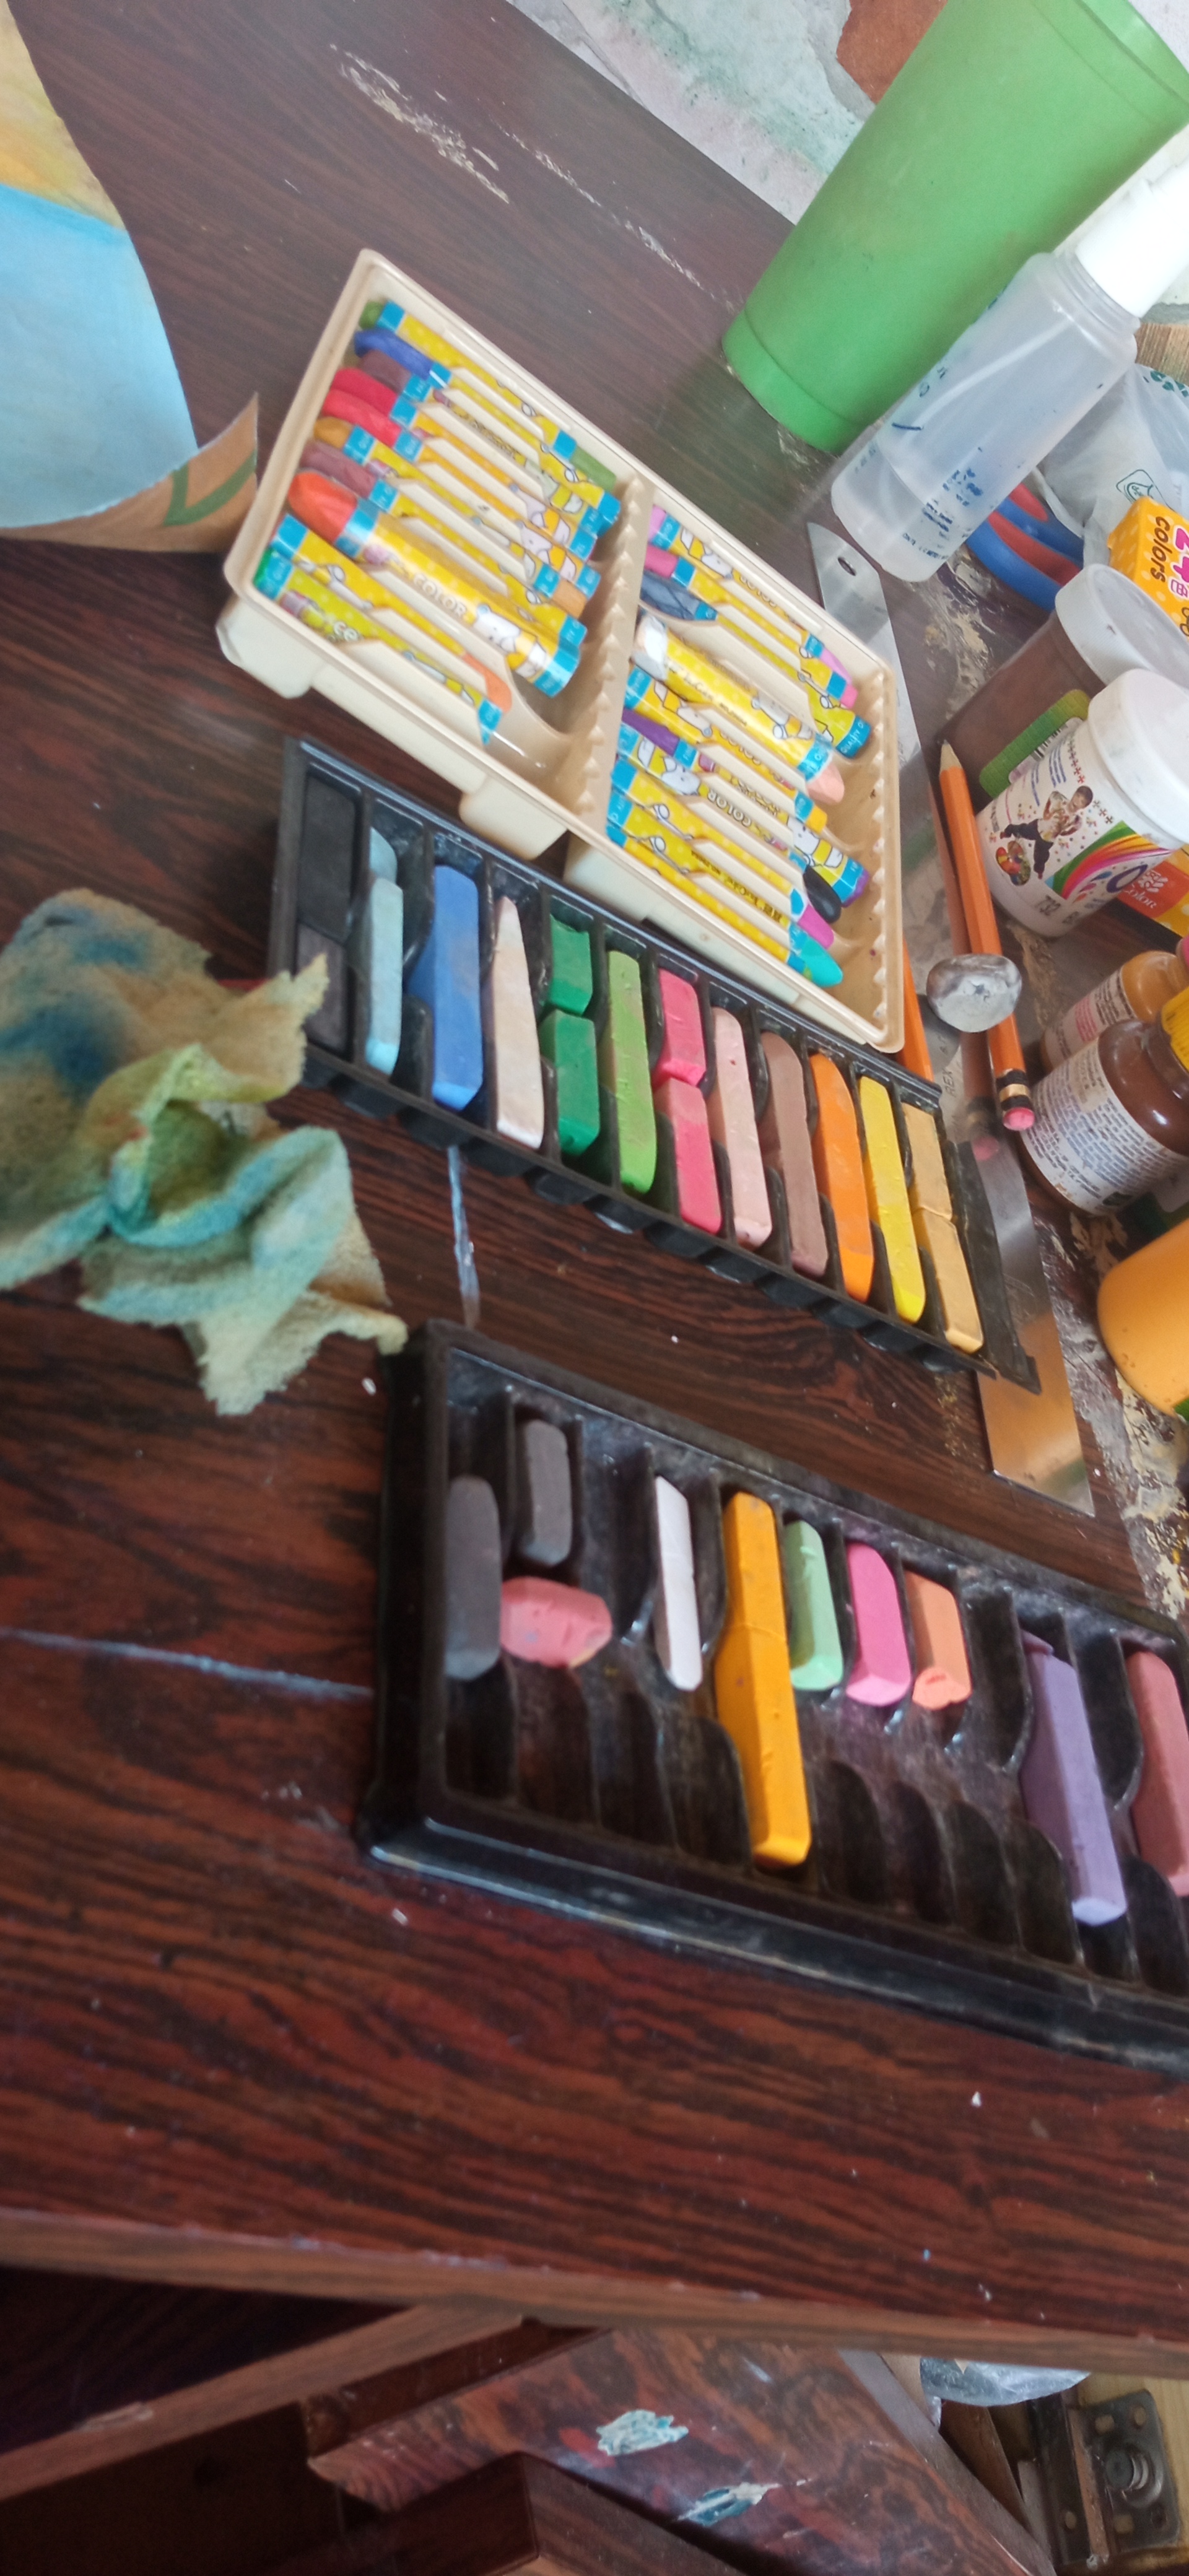
Materiales para el difuminado:
- Tiza pastel.
- Creyones de Cera.
- Marcador
Permanente Negro.
Materials for blurring:
- Pastel chalk.
- Wax crayons.
- Black Permanent Marker.
Paso 1:
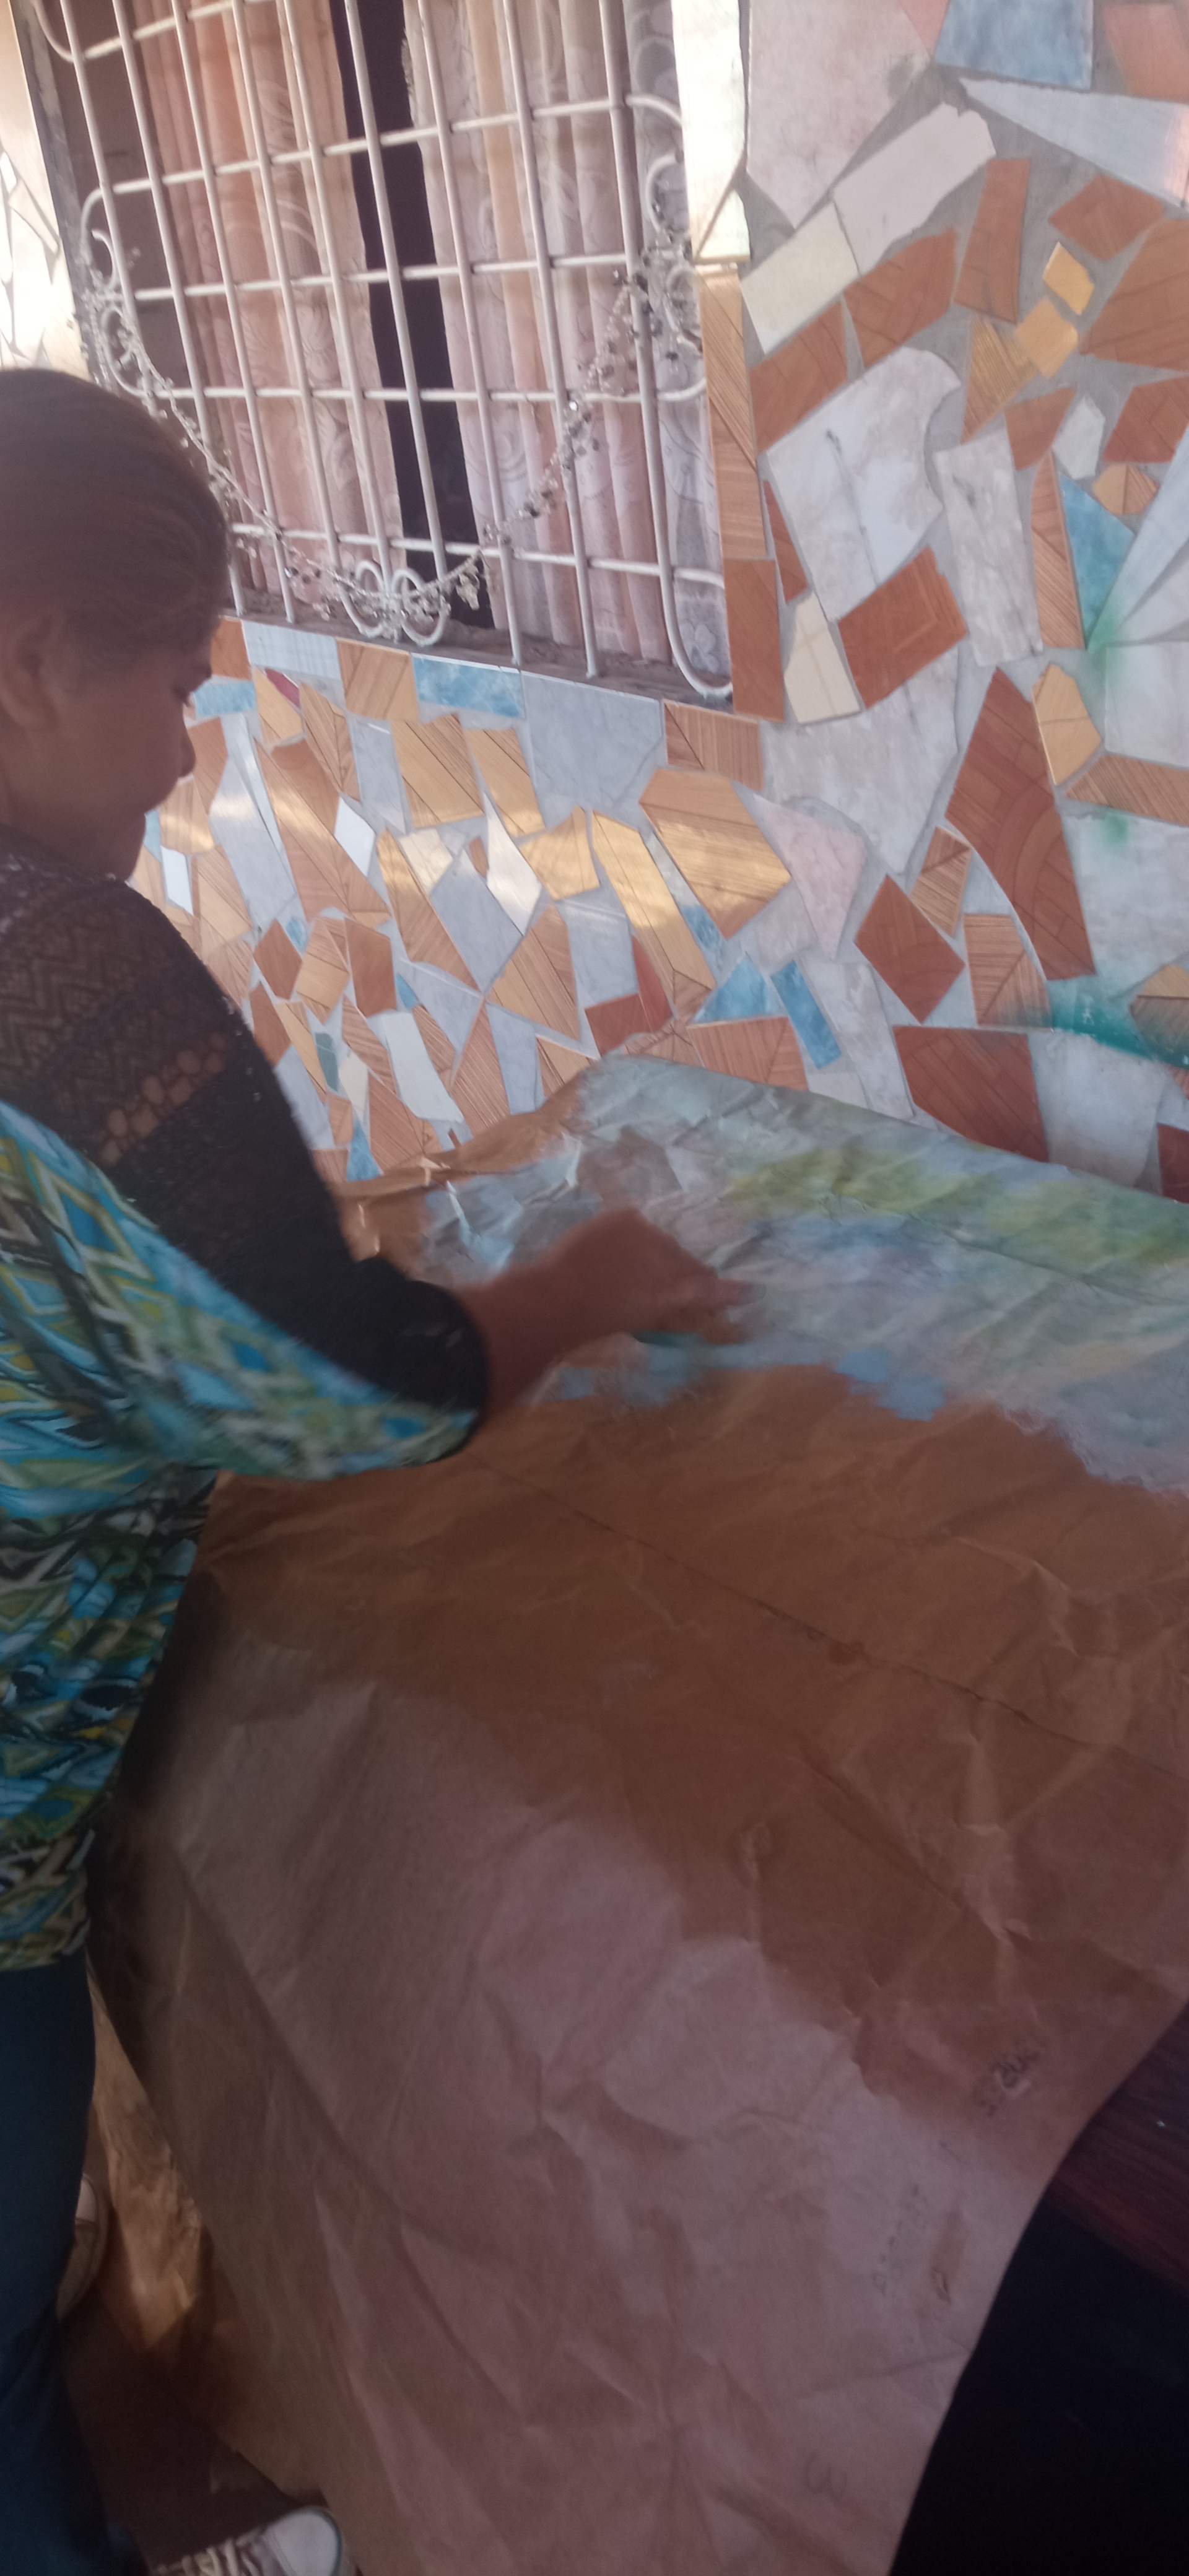
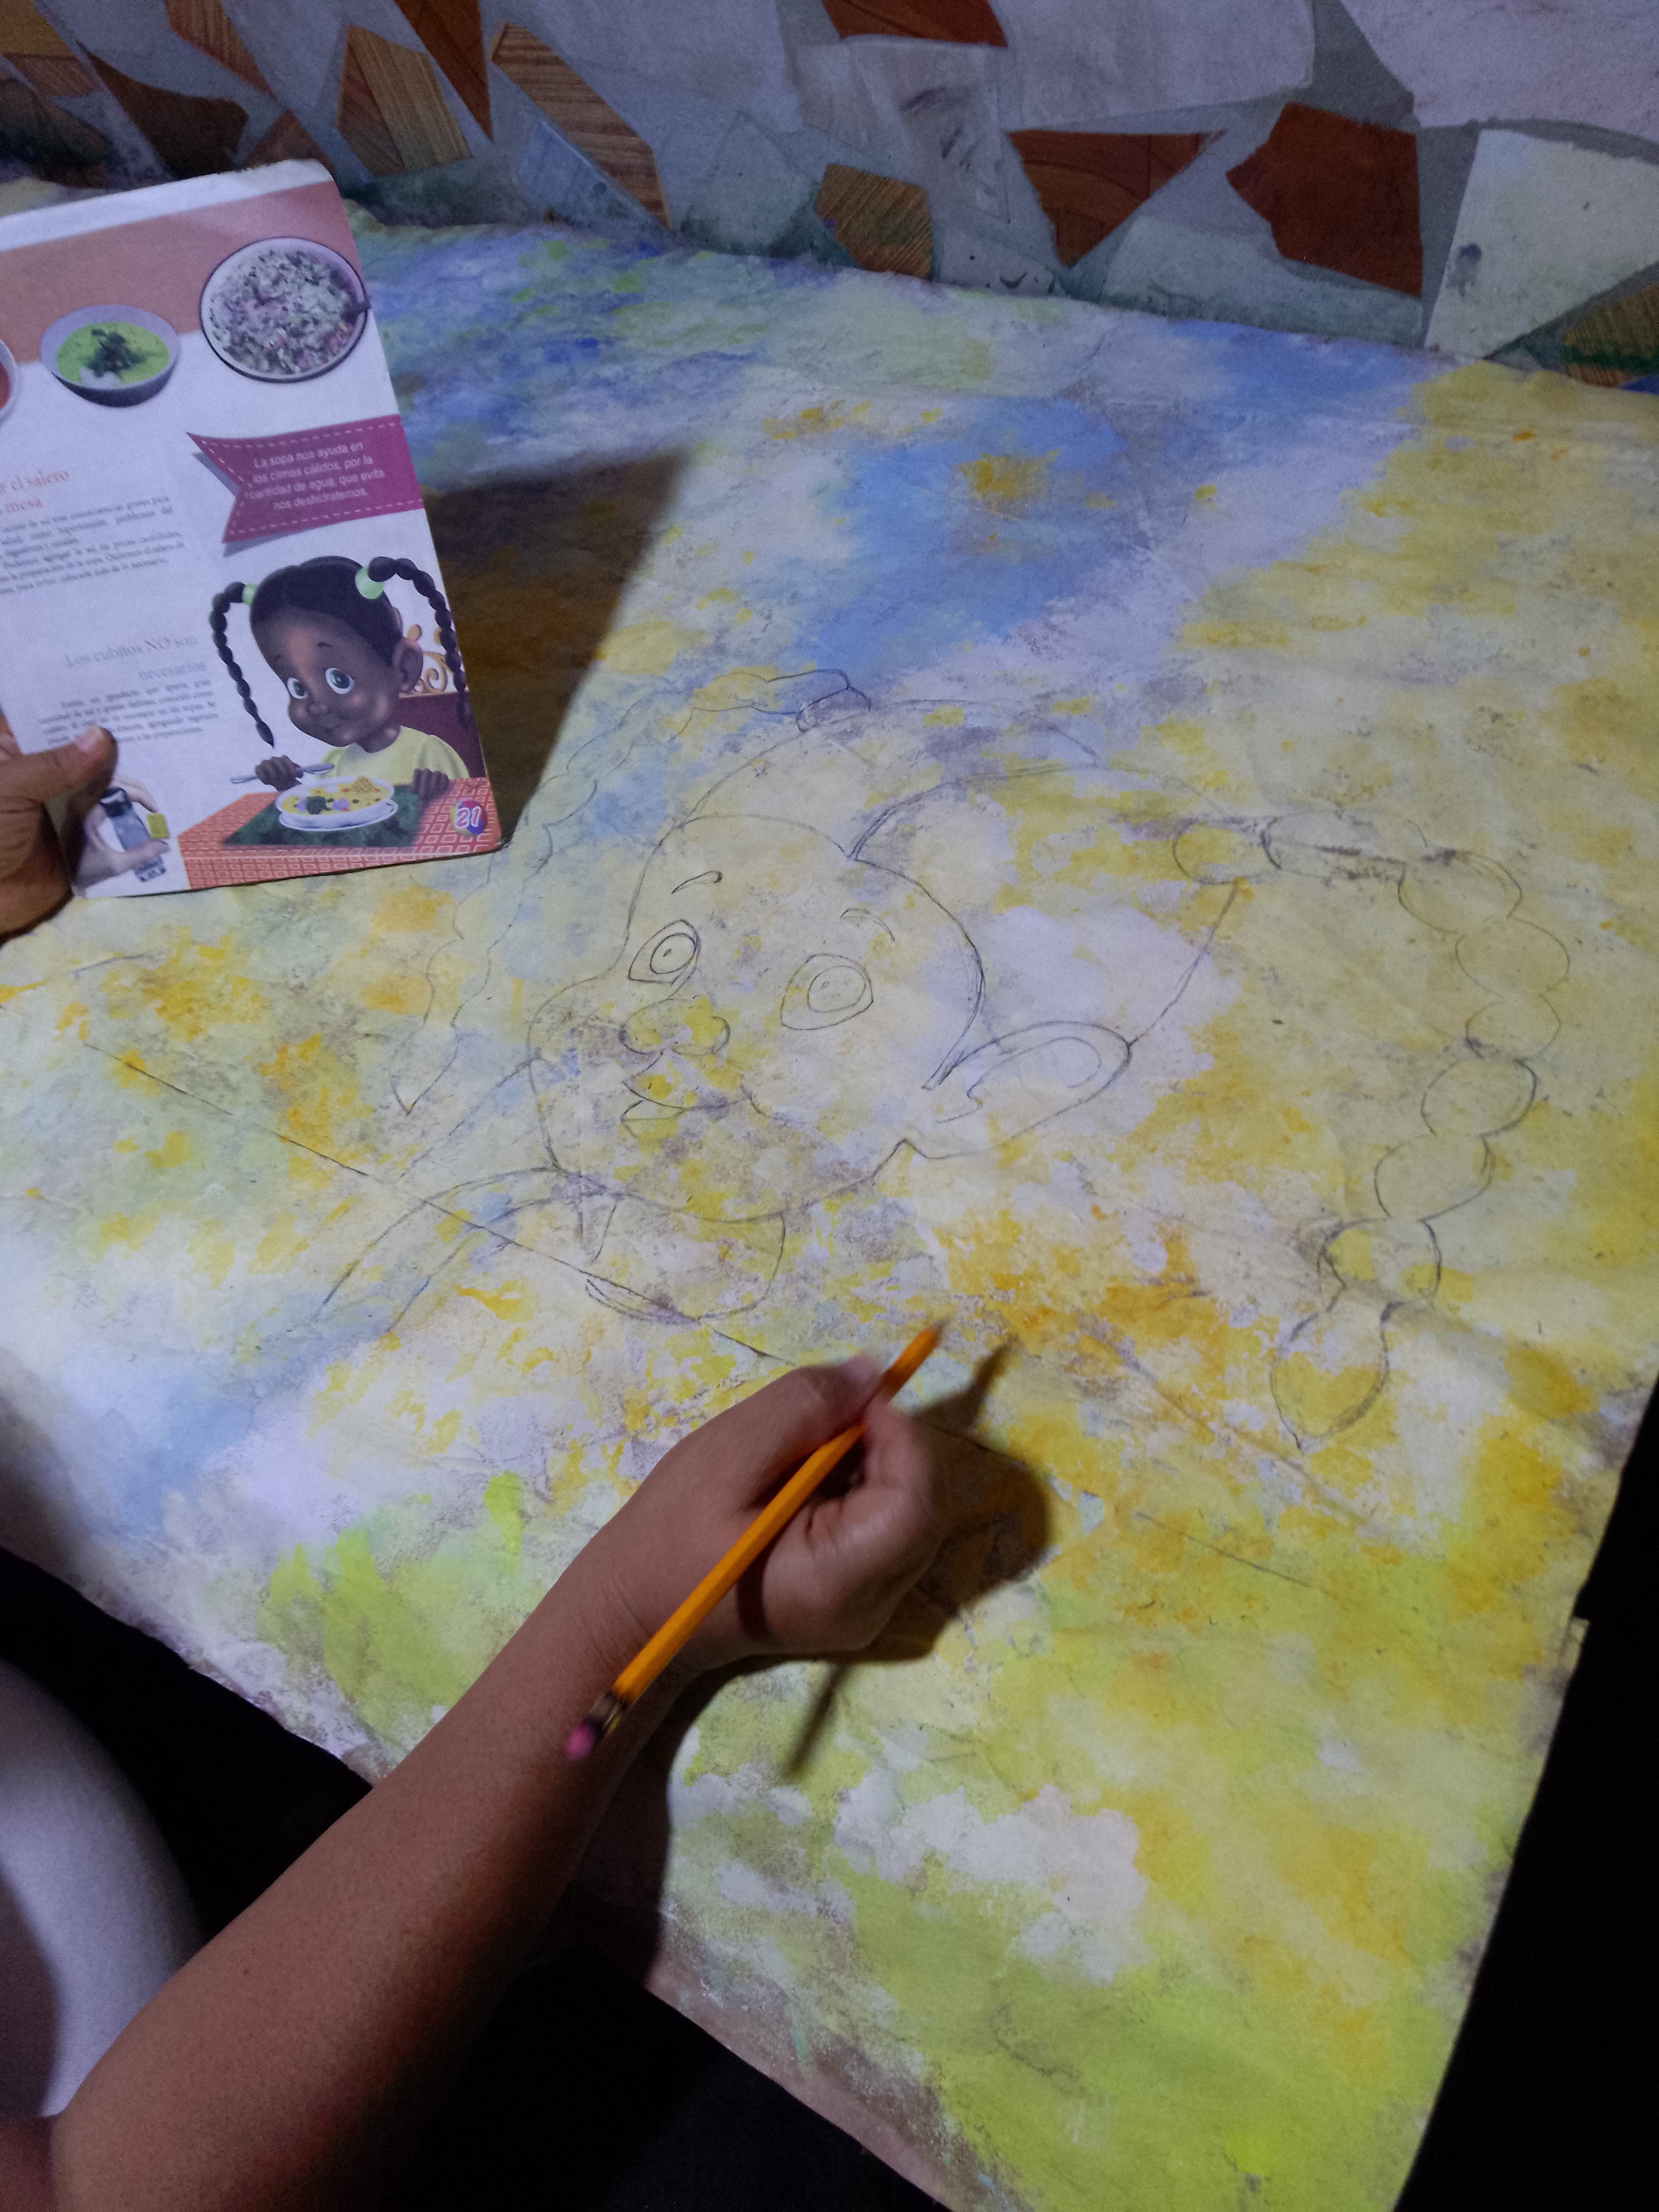
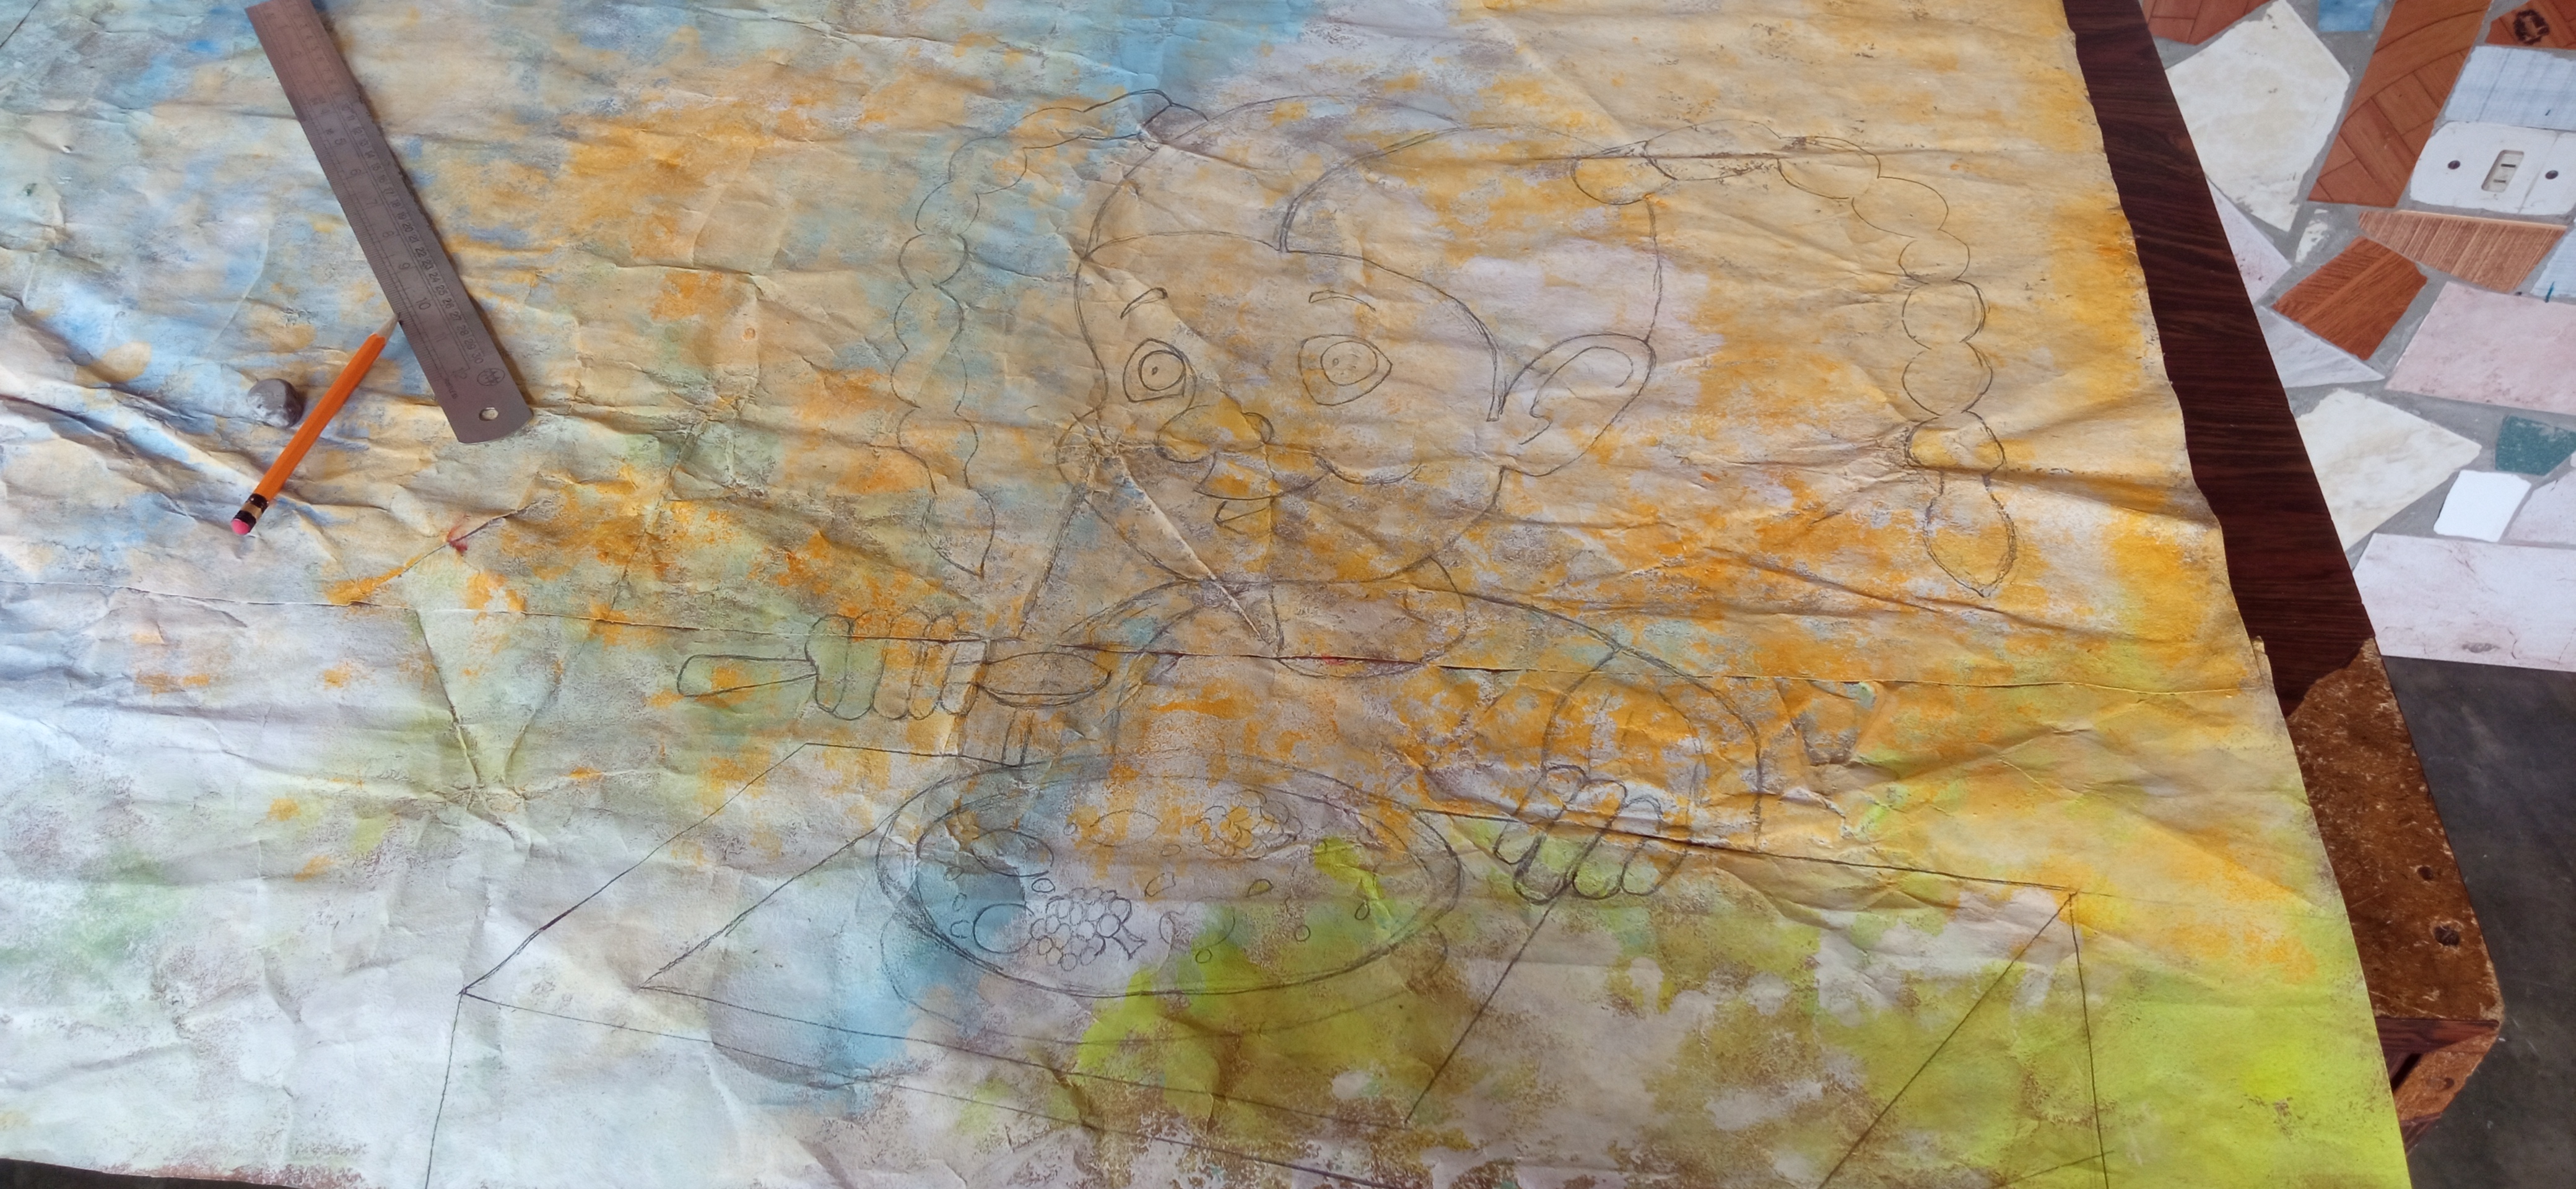
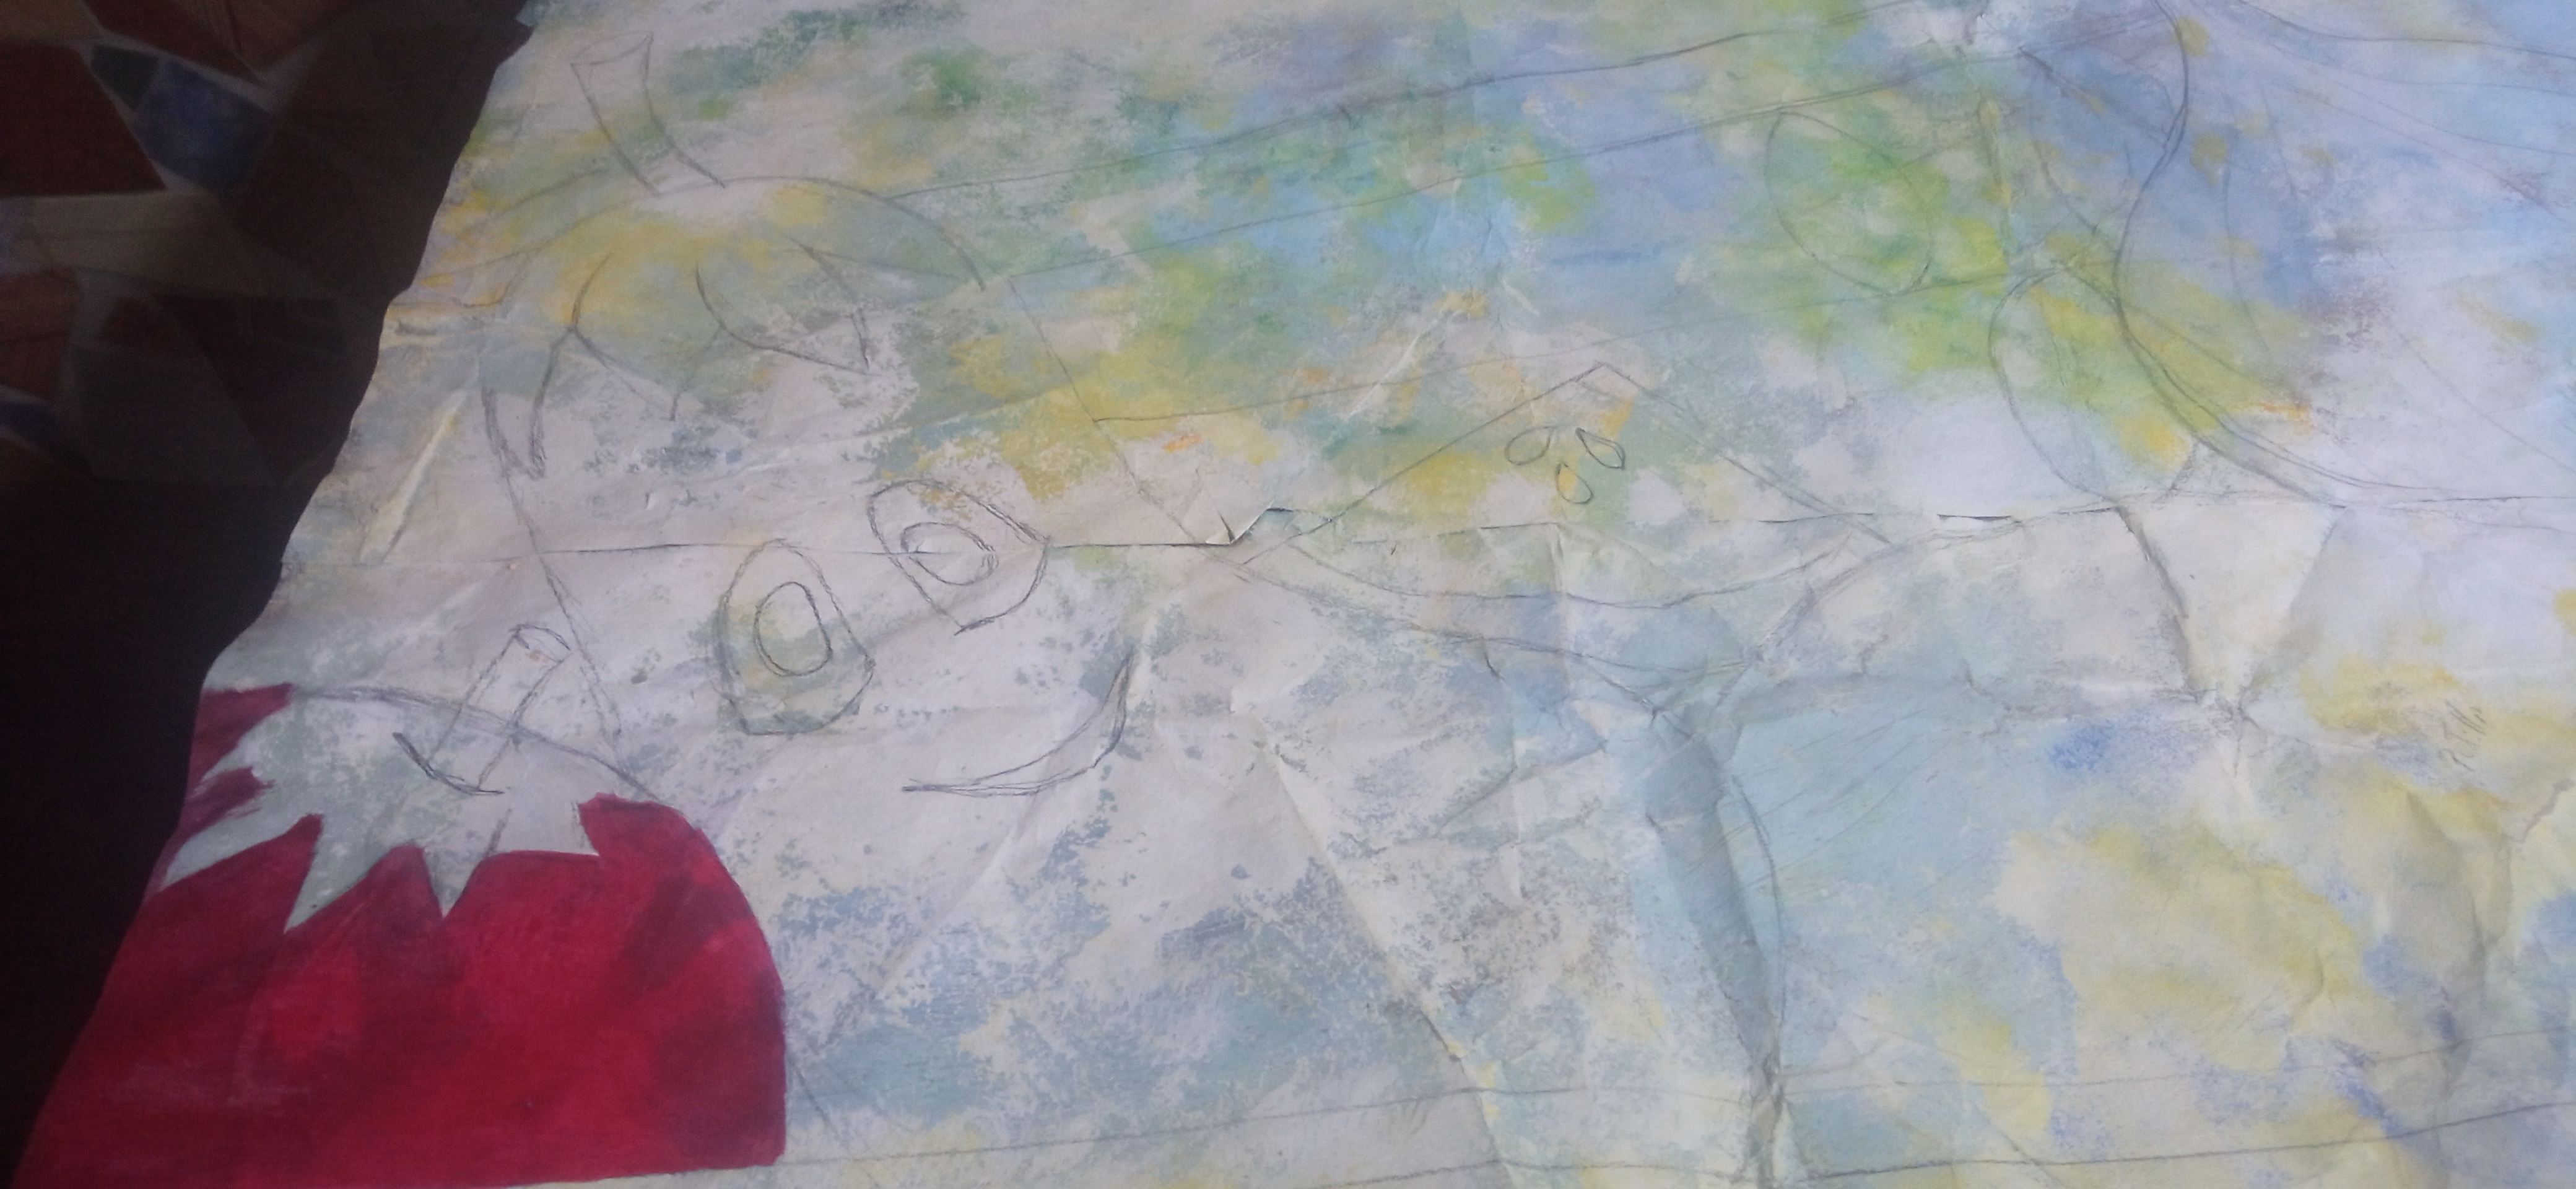
Con esponja aplique la pintura en todo el papel. Utilice pintura de varios colores para que me diera un efecto marmoleado en el fondo. Luego busque la imágen de una niña que estaba comiendo en una Revista Tricolor que tenía en casa y la dibuje en el lado derecho del rectángulo a mano alzada bastante grande para que la imágen fuera vistosa.
Step 1:
With sponge apply the paint all over the paper. I used various colors of paint to give me a marbled effect on the background. Then I looked for the image of a little girl eating in a Tricolor Magazine I had at home and drew it on the right side of the rectangle freehand big enough to make the image look colorful.
Paso 2:
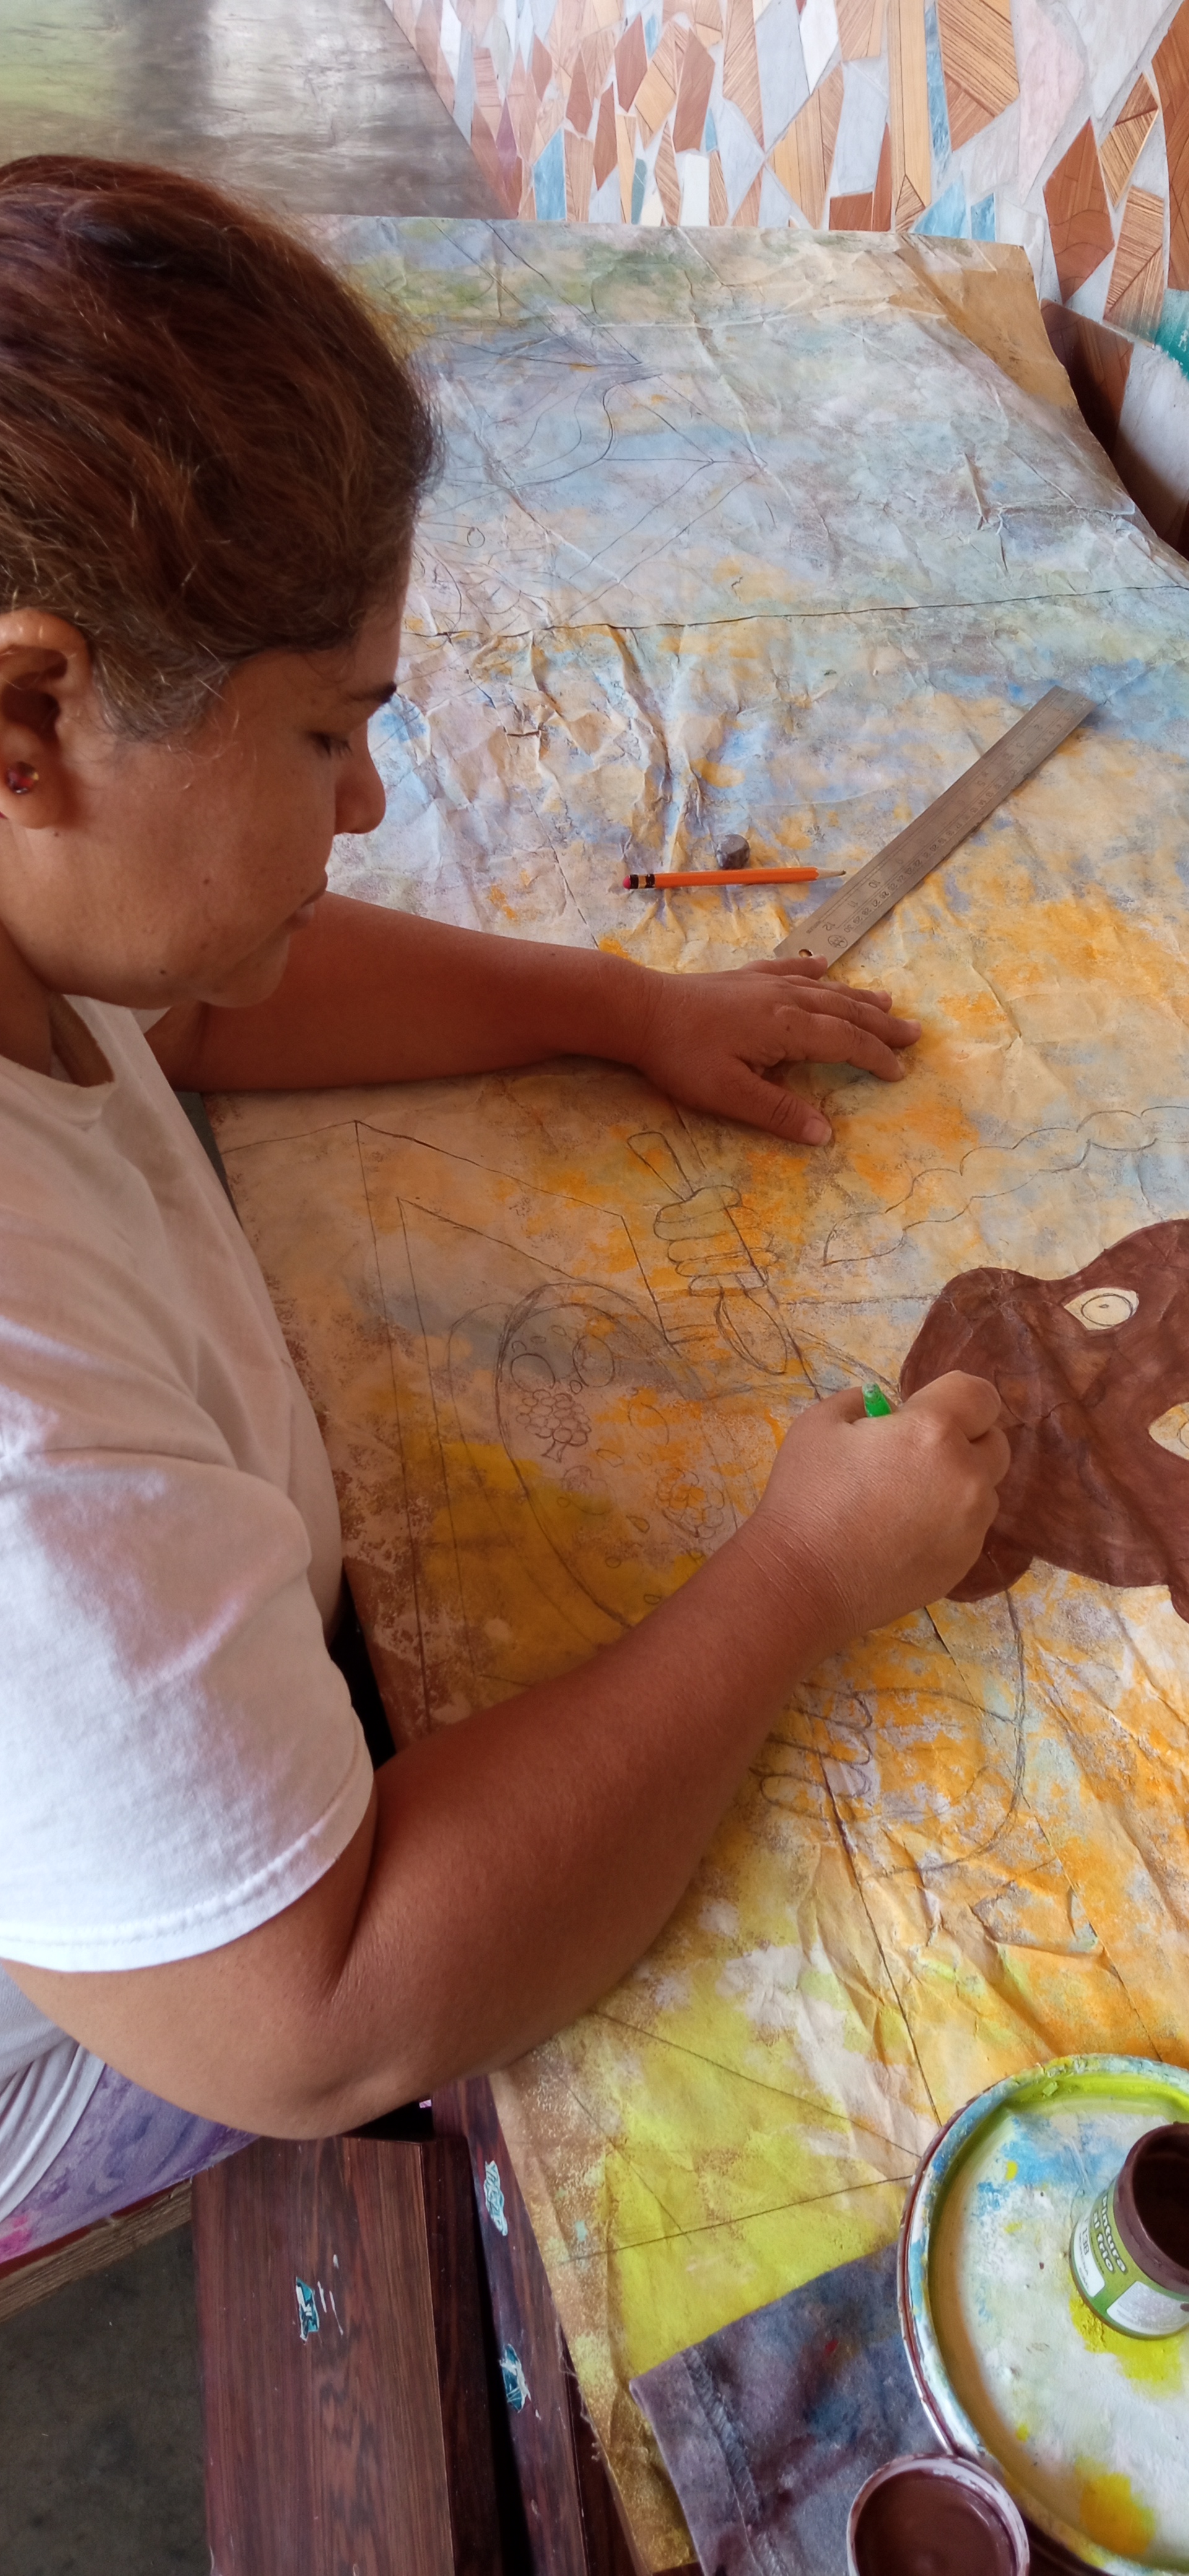
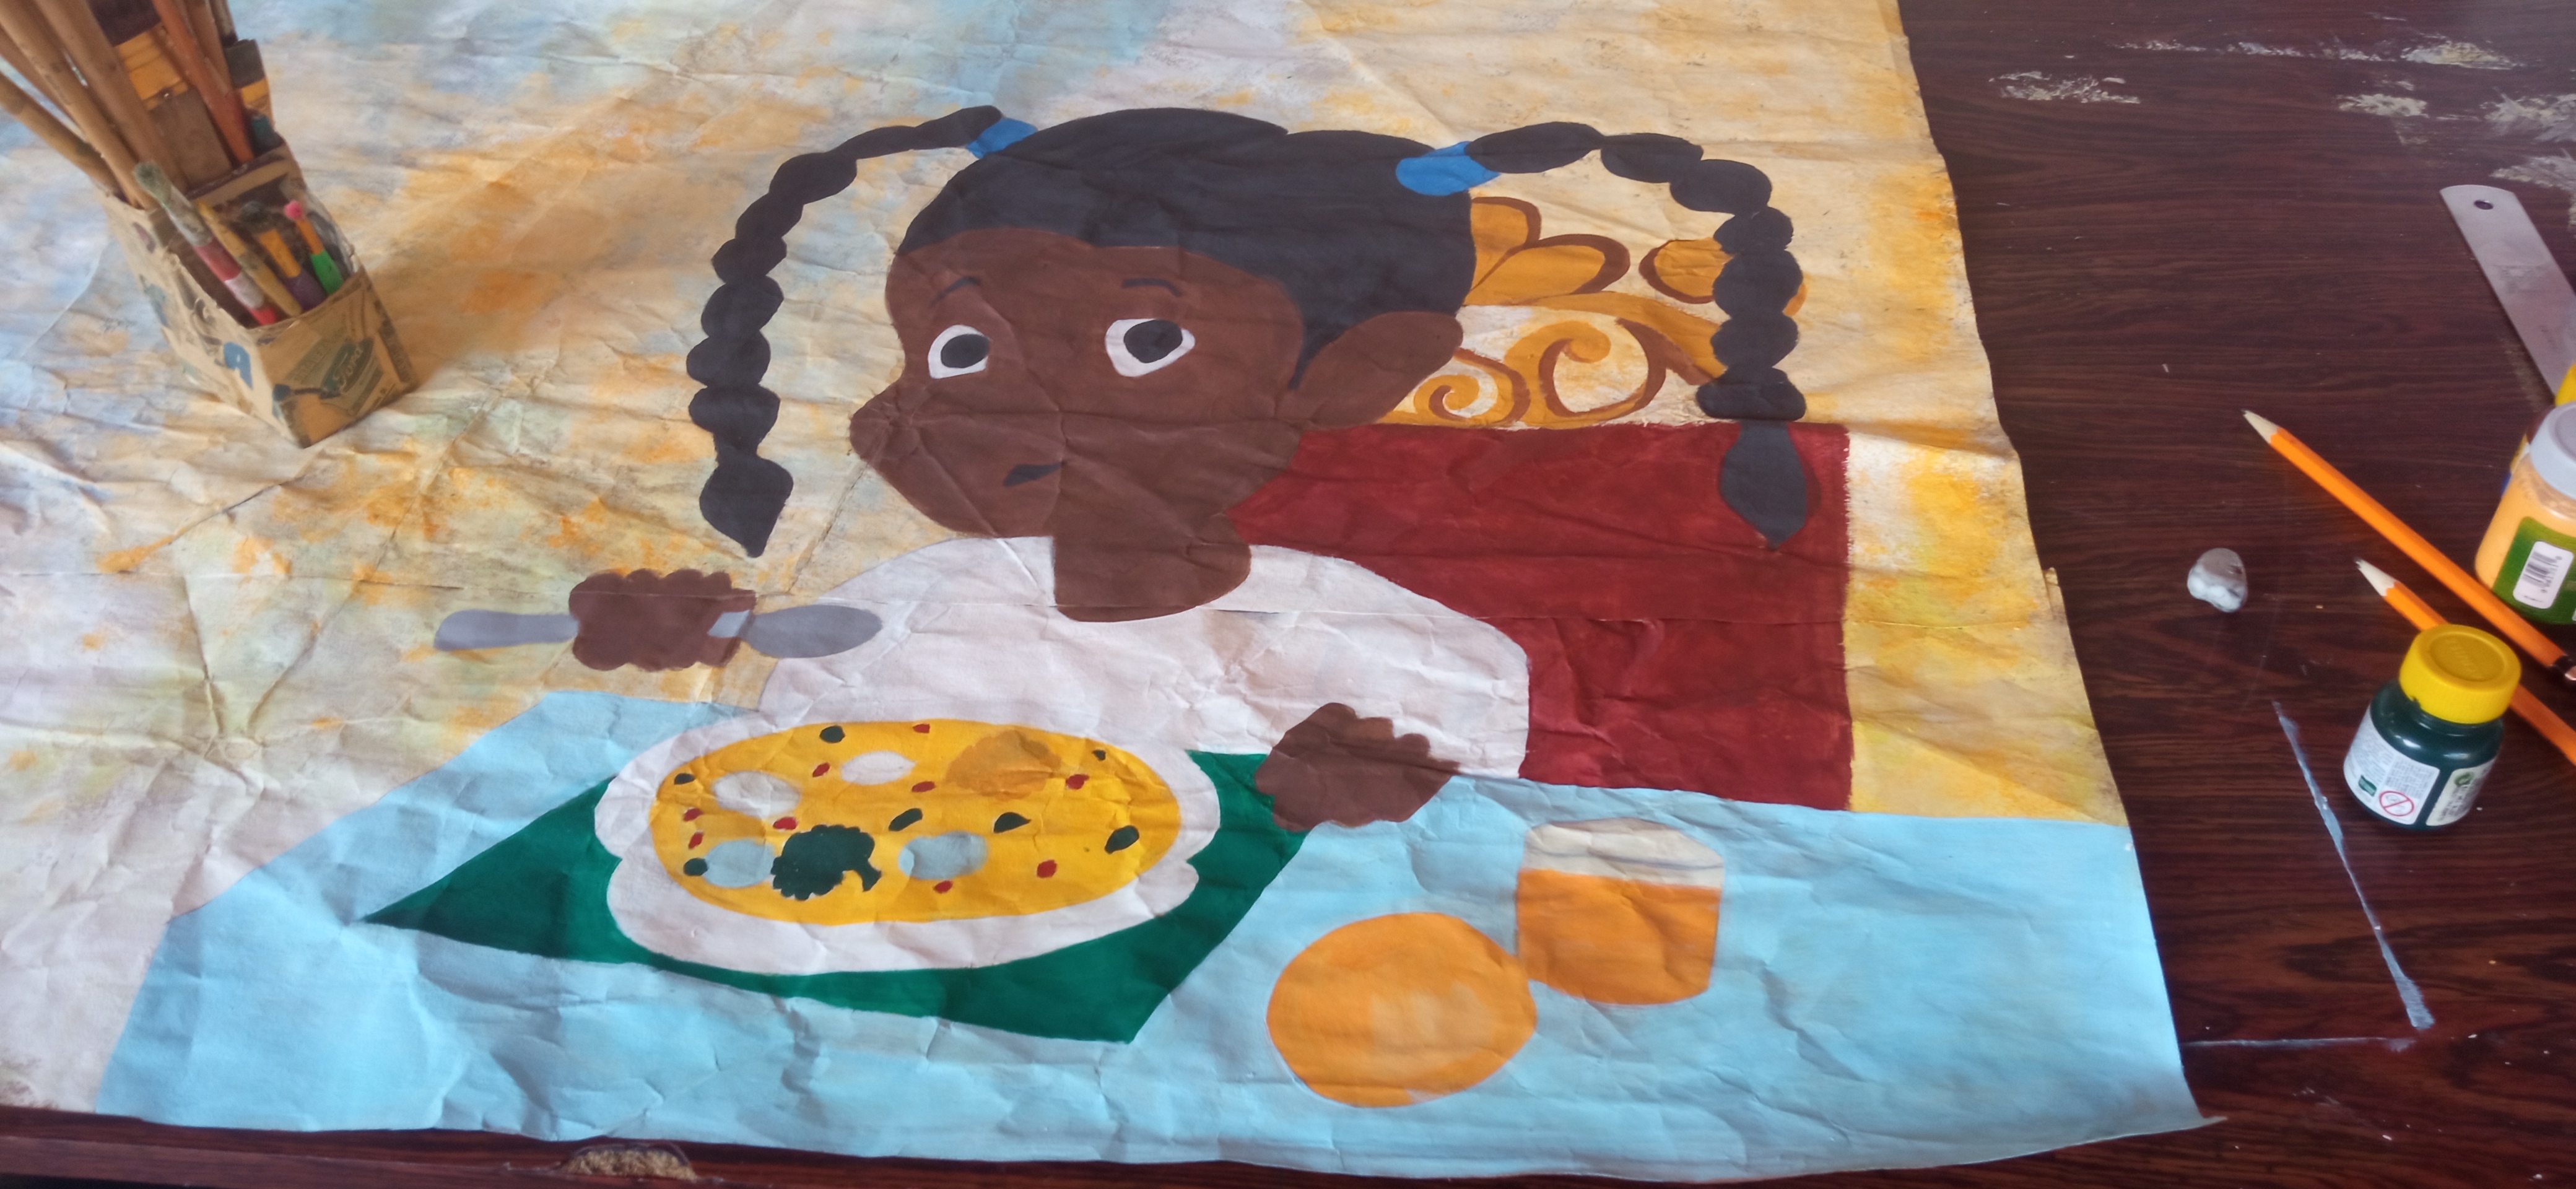
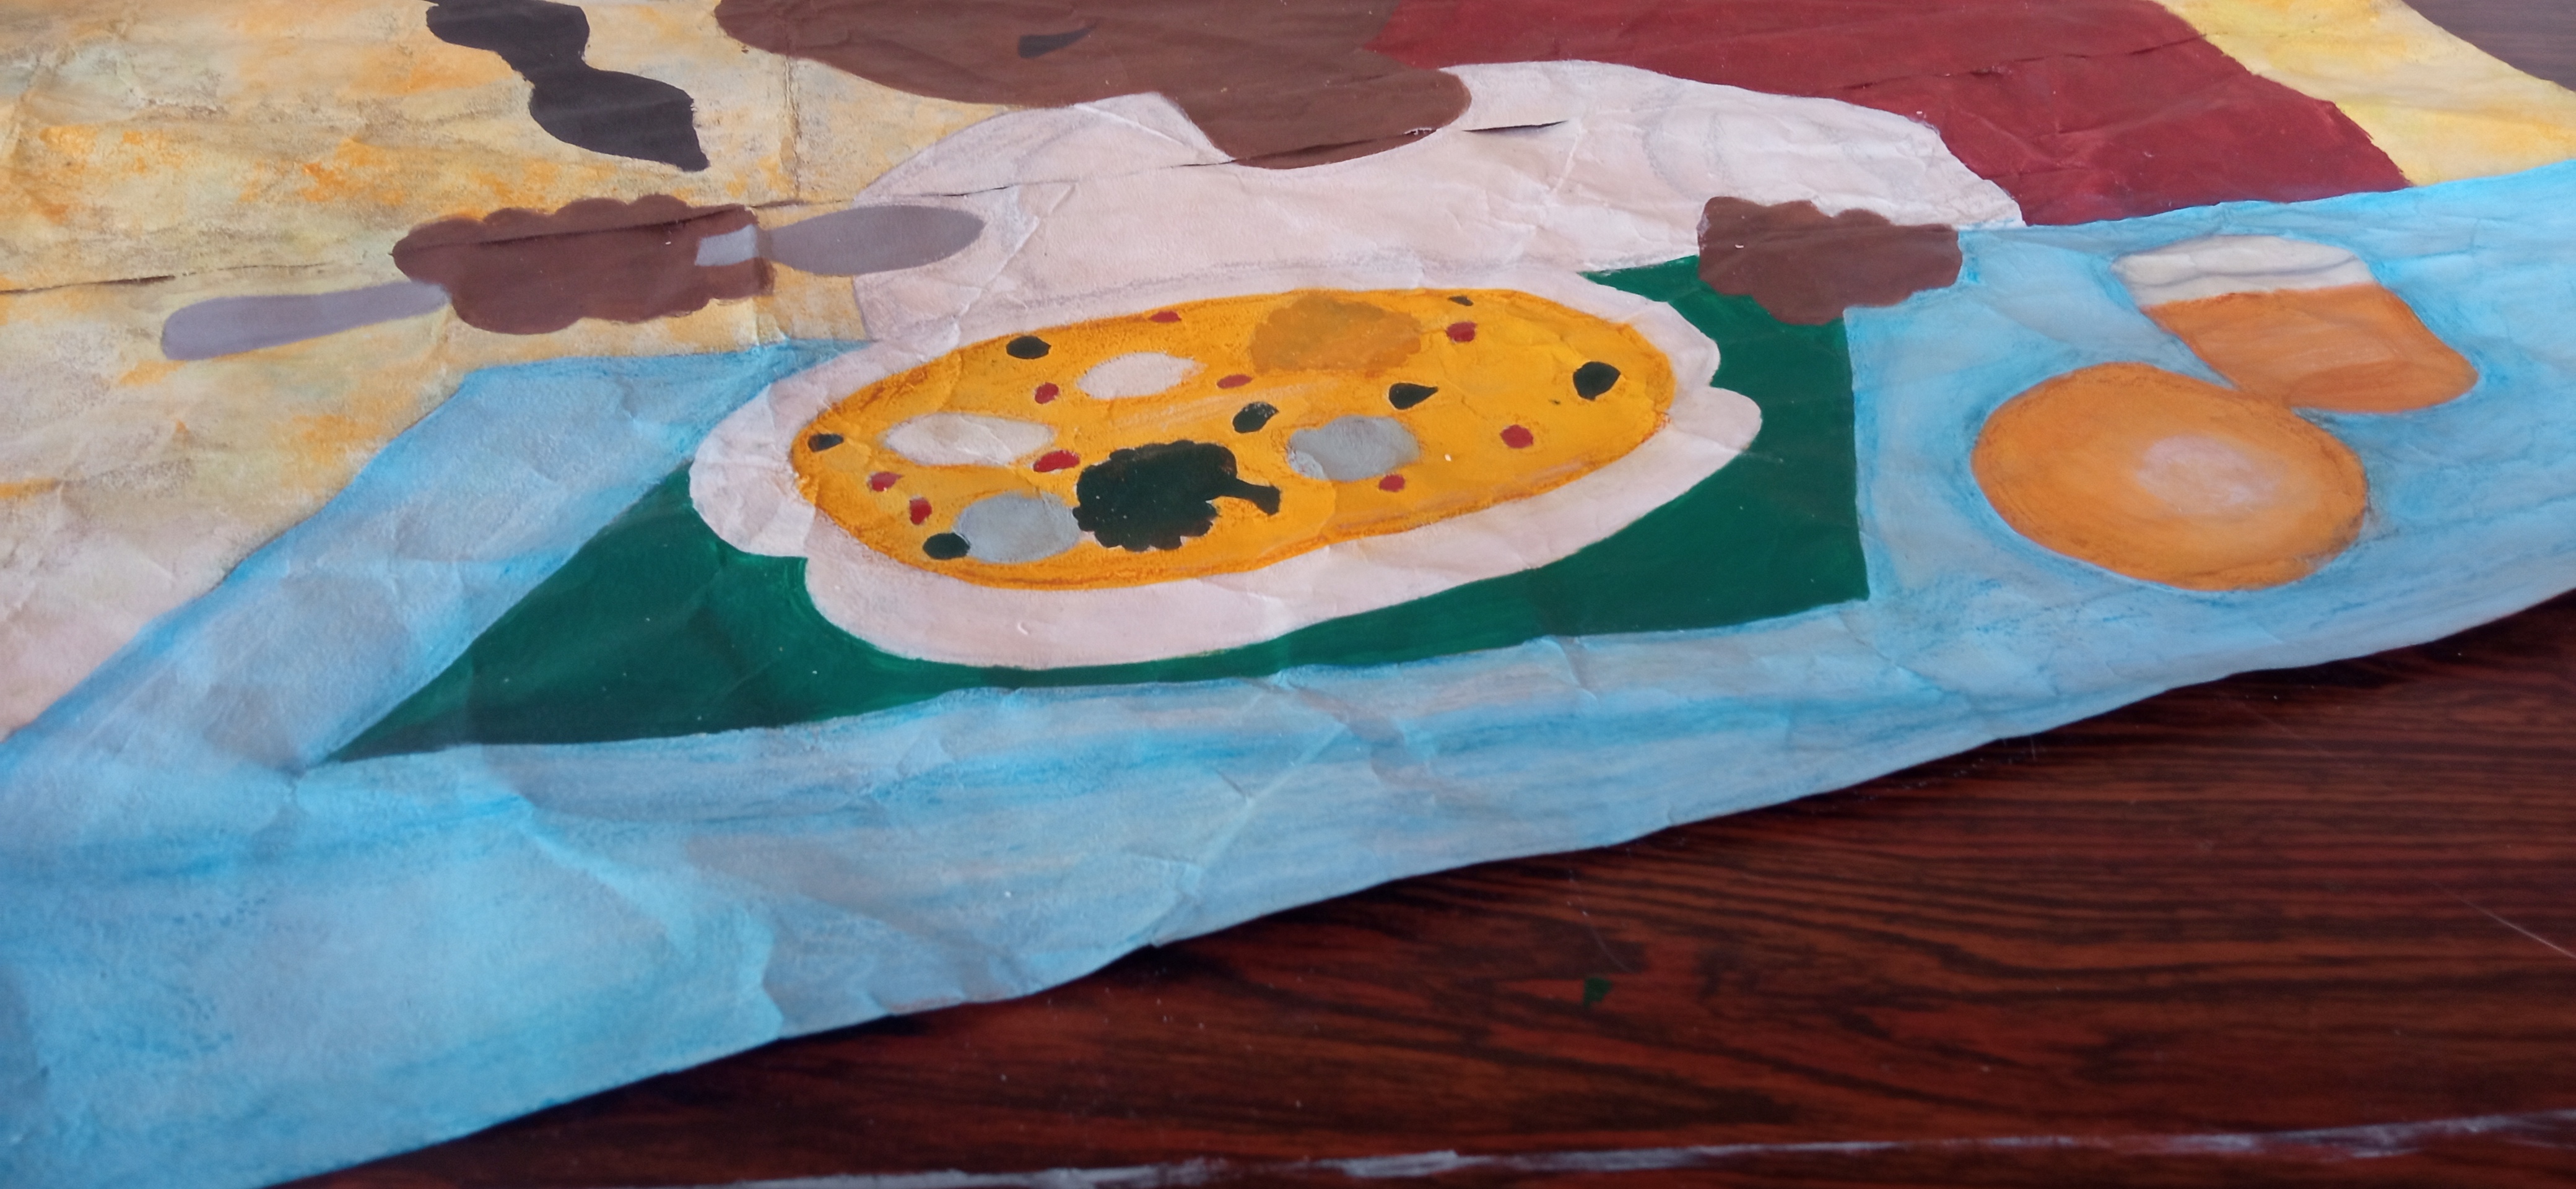
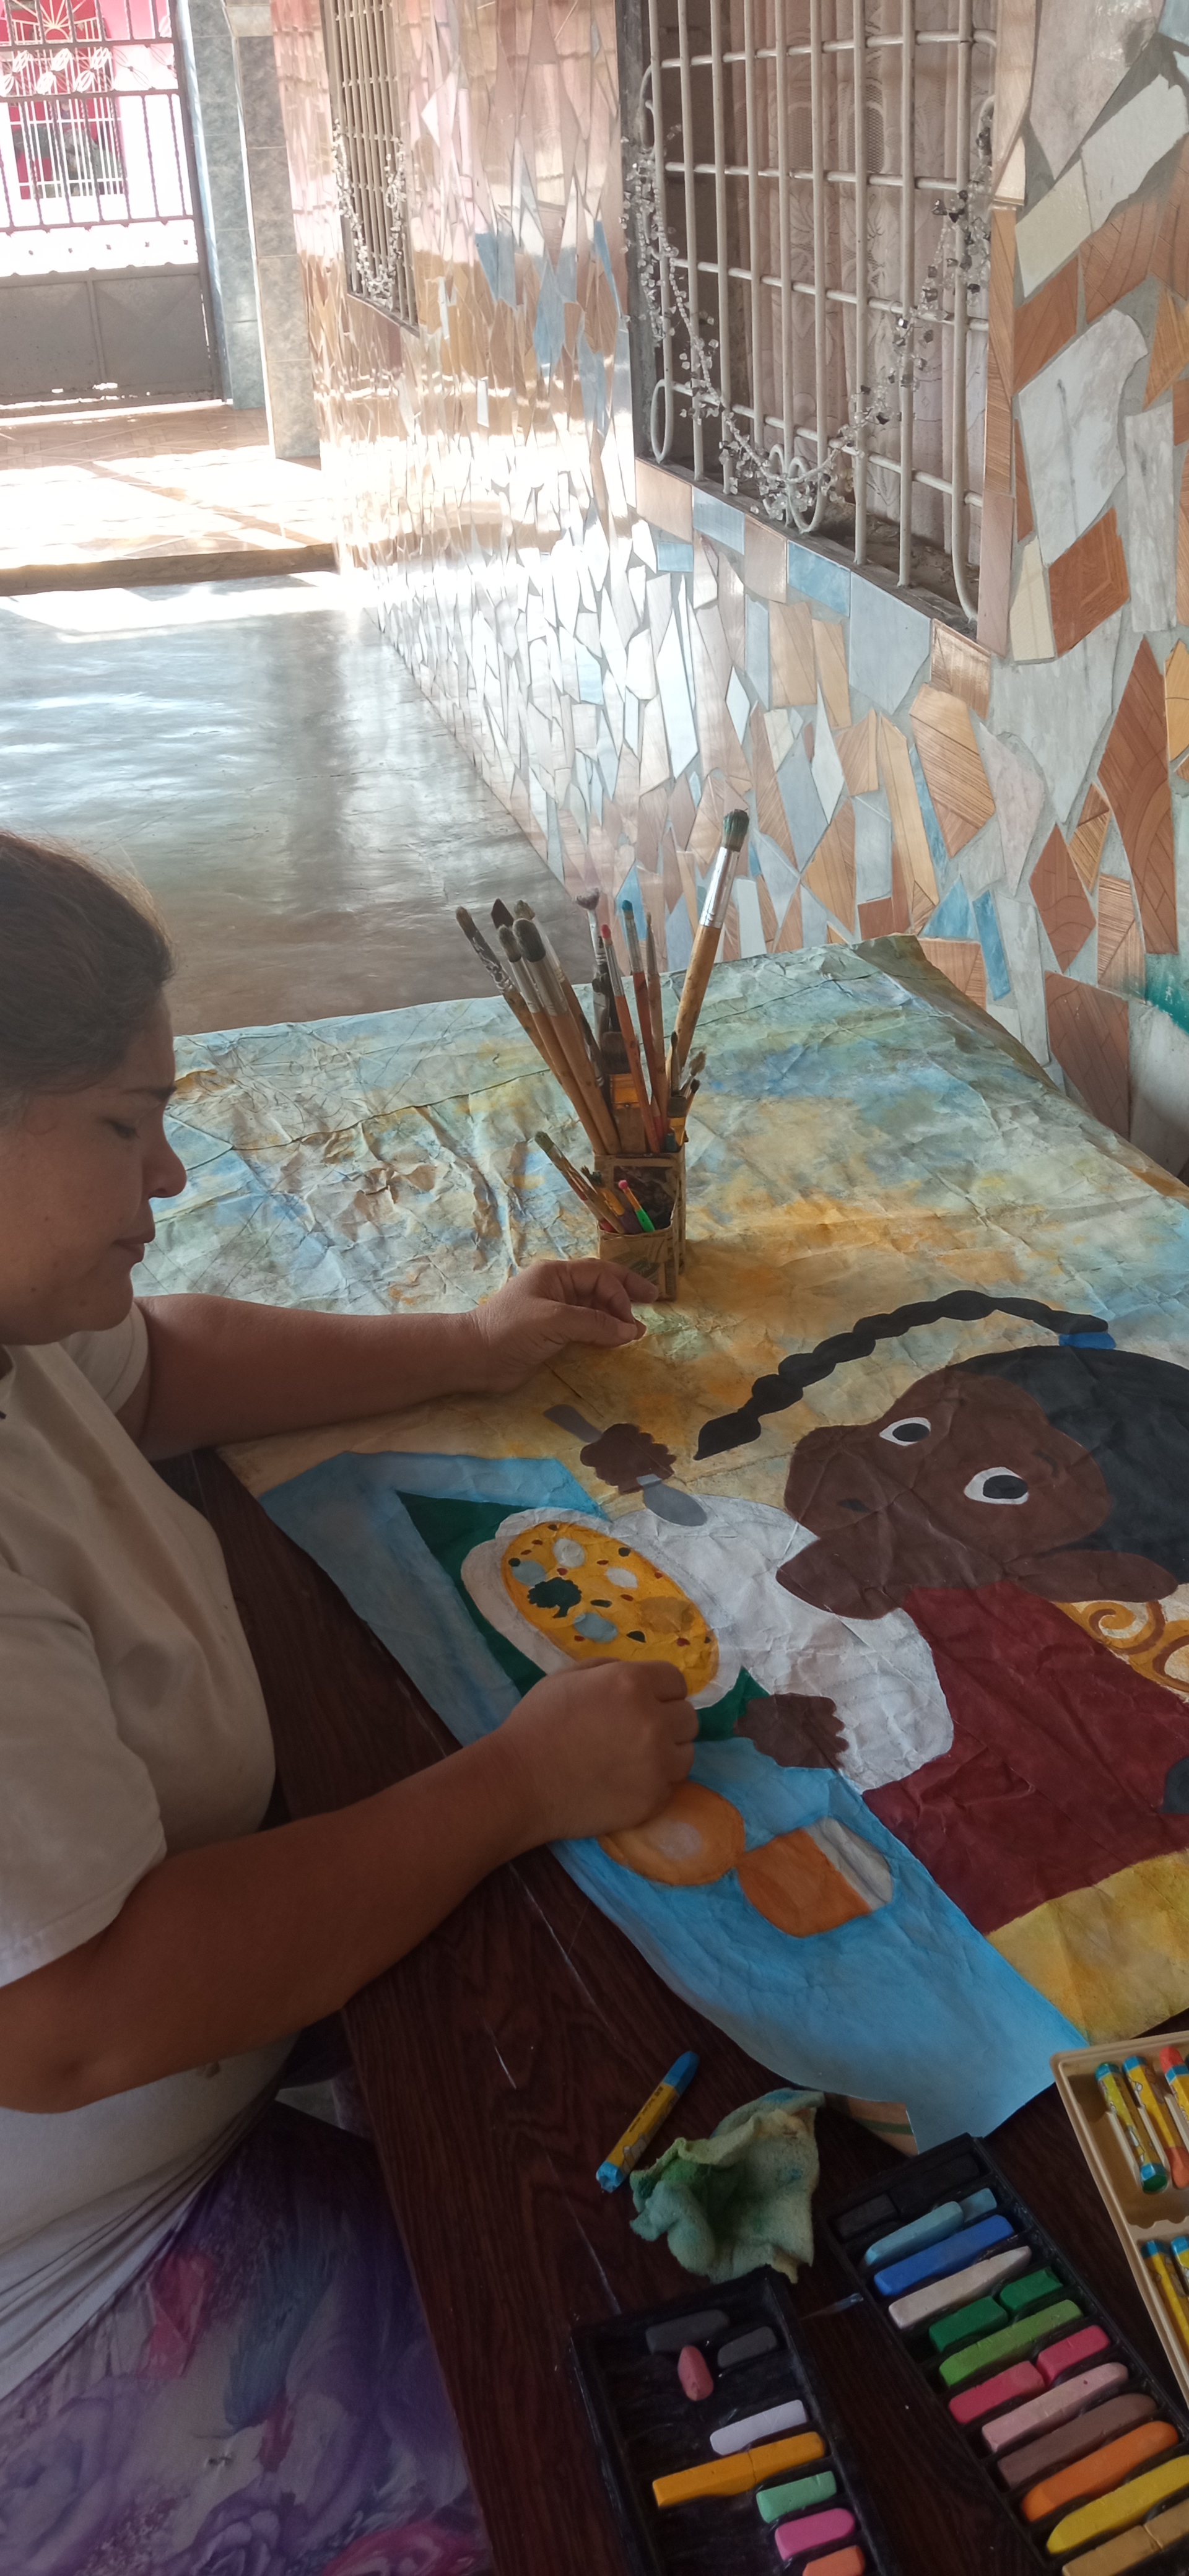
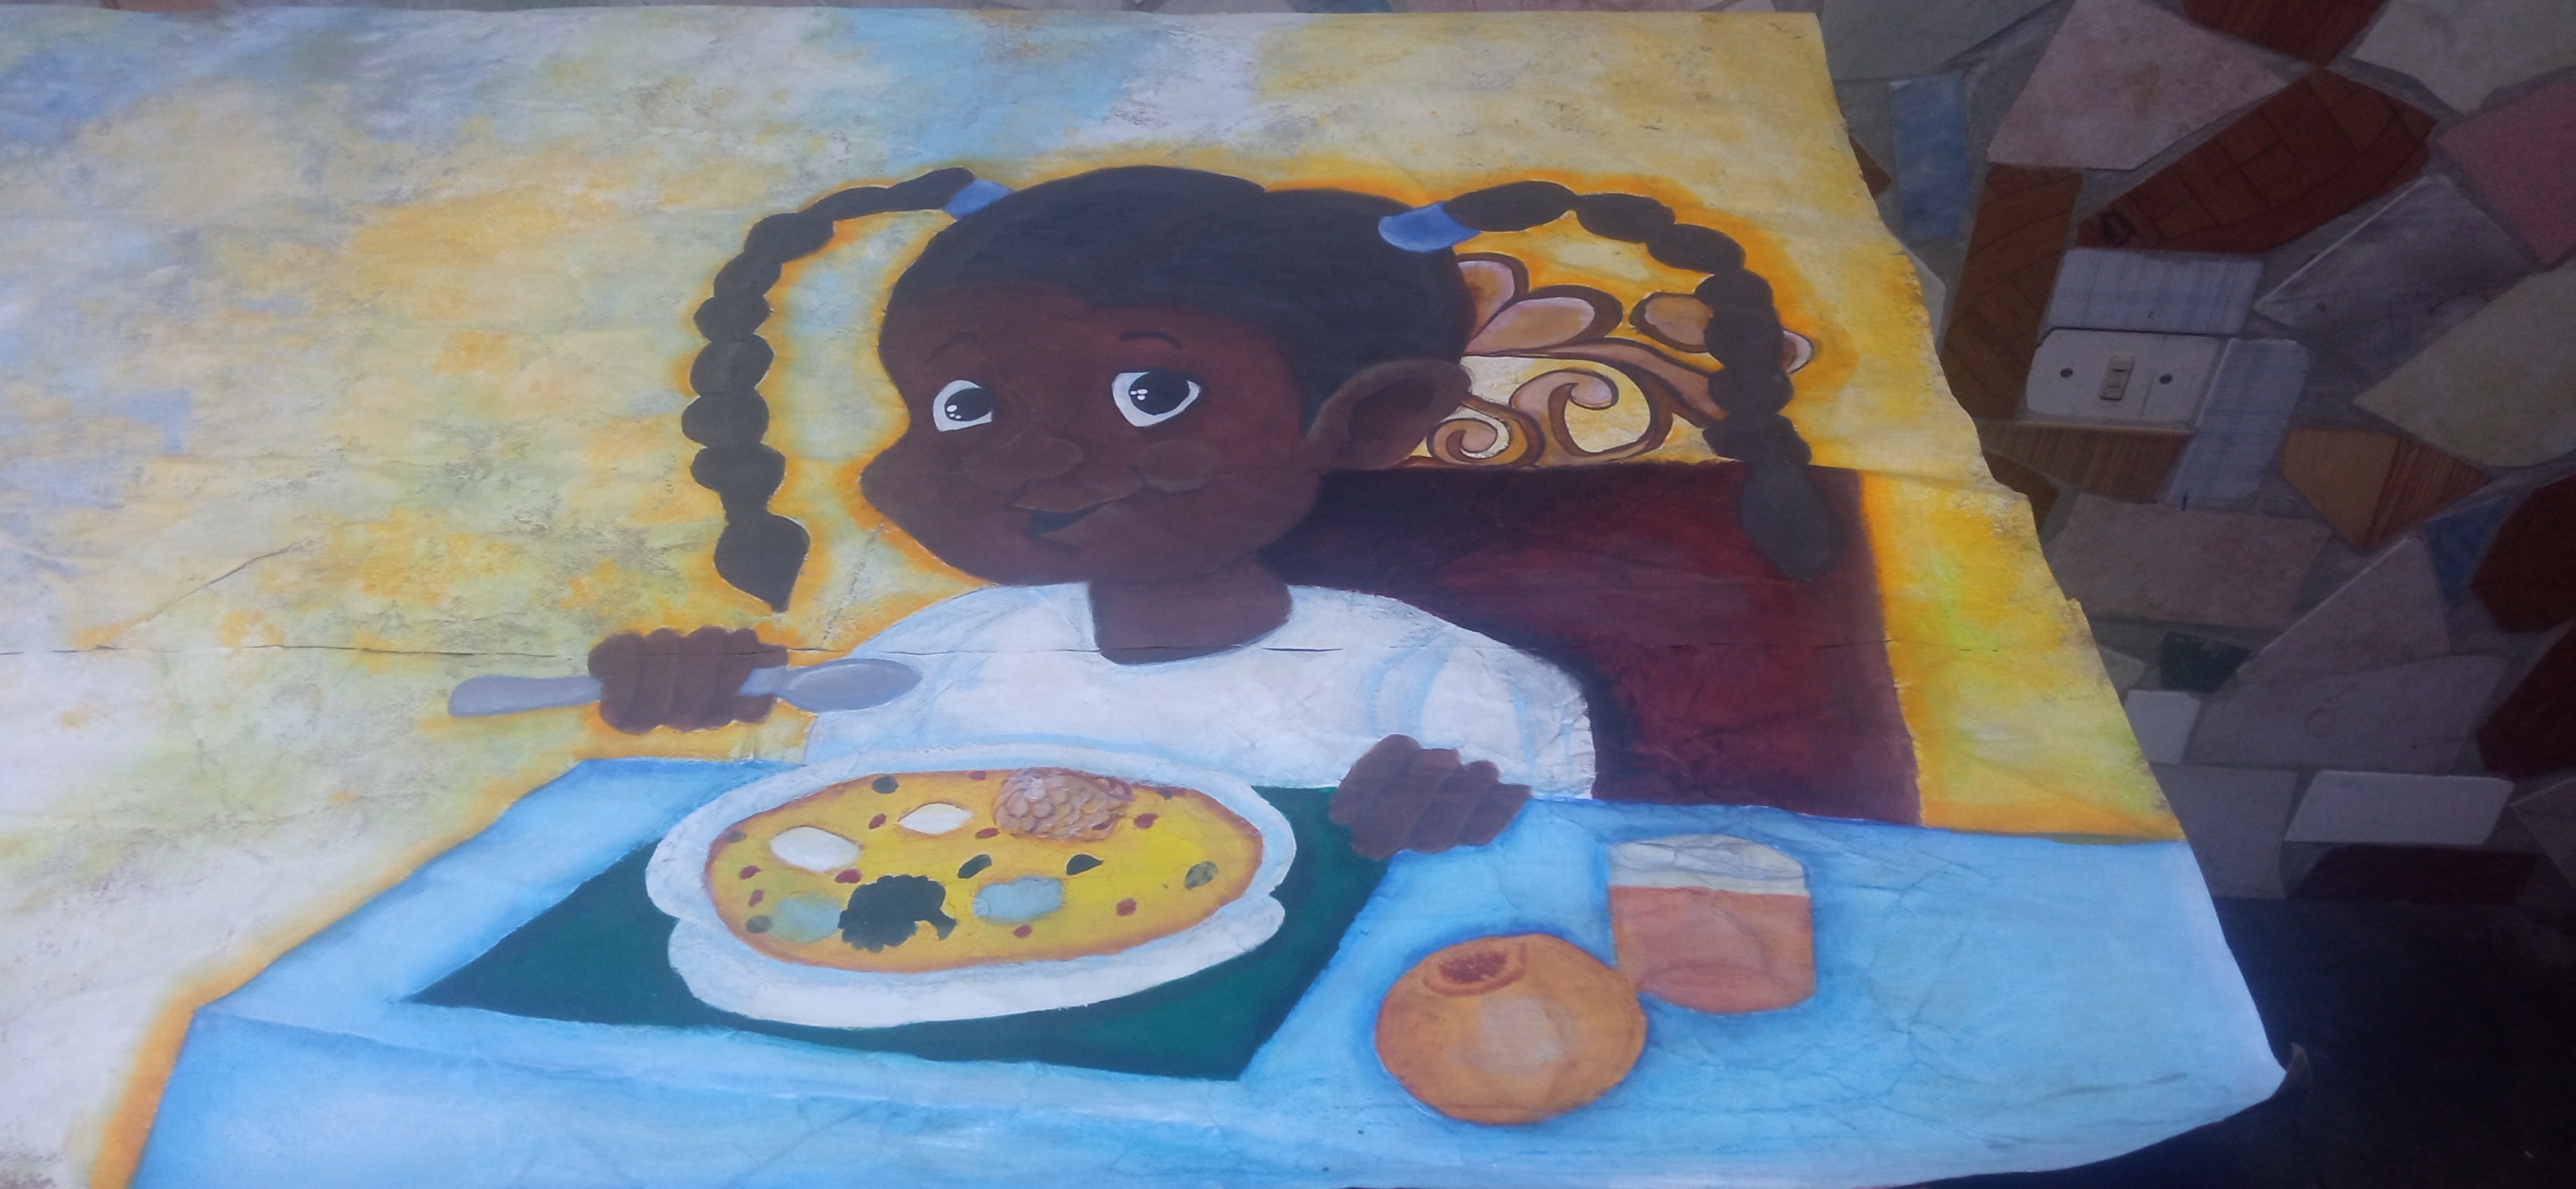
Para el rostro, manos y brazo de la niña aplique piel morena negro para el cabello,azul rey para las moñeras, blanco para su camisa y plato, azul claro para la mesa, verde oscuro para la servilleta,rojo tinto para el espaldar del asiento, amarillo ocre para los arabescos del asiento y ligué blanco y negro para obtener el gris para la cuchara, amarillo para la sopa, verde, rojo para los vegetales, blanco para las verduras, amarillo y durazno para la naranja y el jugo de naranja.
Step 2:
For the girl's face, hands and arm apply brown skin black for the hair,king blue for the bow ties, white for her shirt and plate, light blue for the table, dark green for the napkin,red red red for the seat back, yellow ochre for the seat arabesques and bind black and white to get grey for the spoon, yellow for the soup, green, red for the vegetables, white for the greens, yellow and peach for orange and orange juice.
Paso 3:
Difumine al seco con tiza pastel y creyones de cera previamente el dibujo de la niña ya que por las capas de pintura que le di al fondo la superficie quedo muy rústica y porosa es por eso que utilice pinceles desgastados y duros para la aplicación de la pintura sobre el dibujo. Por último y para resaltar aún más las luces y sombras en el dibujo difumine con un pincel angular desgastado cada parte del dibujo.
Step 3:
Blur to dry with pastel chalk and wax crayons previously the drawing of the girl since by the layers of paint that I gave to the background the surface was very rustic and porous is why I used worn and hard brushes for the application of the paint on the drawing. Finally and to highlight even more the lights and shadows in the drawing I blurred with a worn angular brush each part of the drawing.
Paso 4:
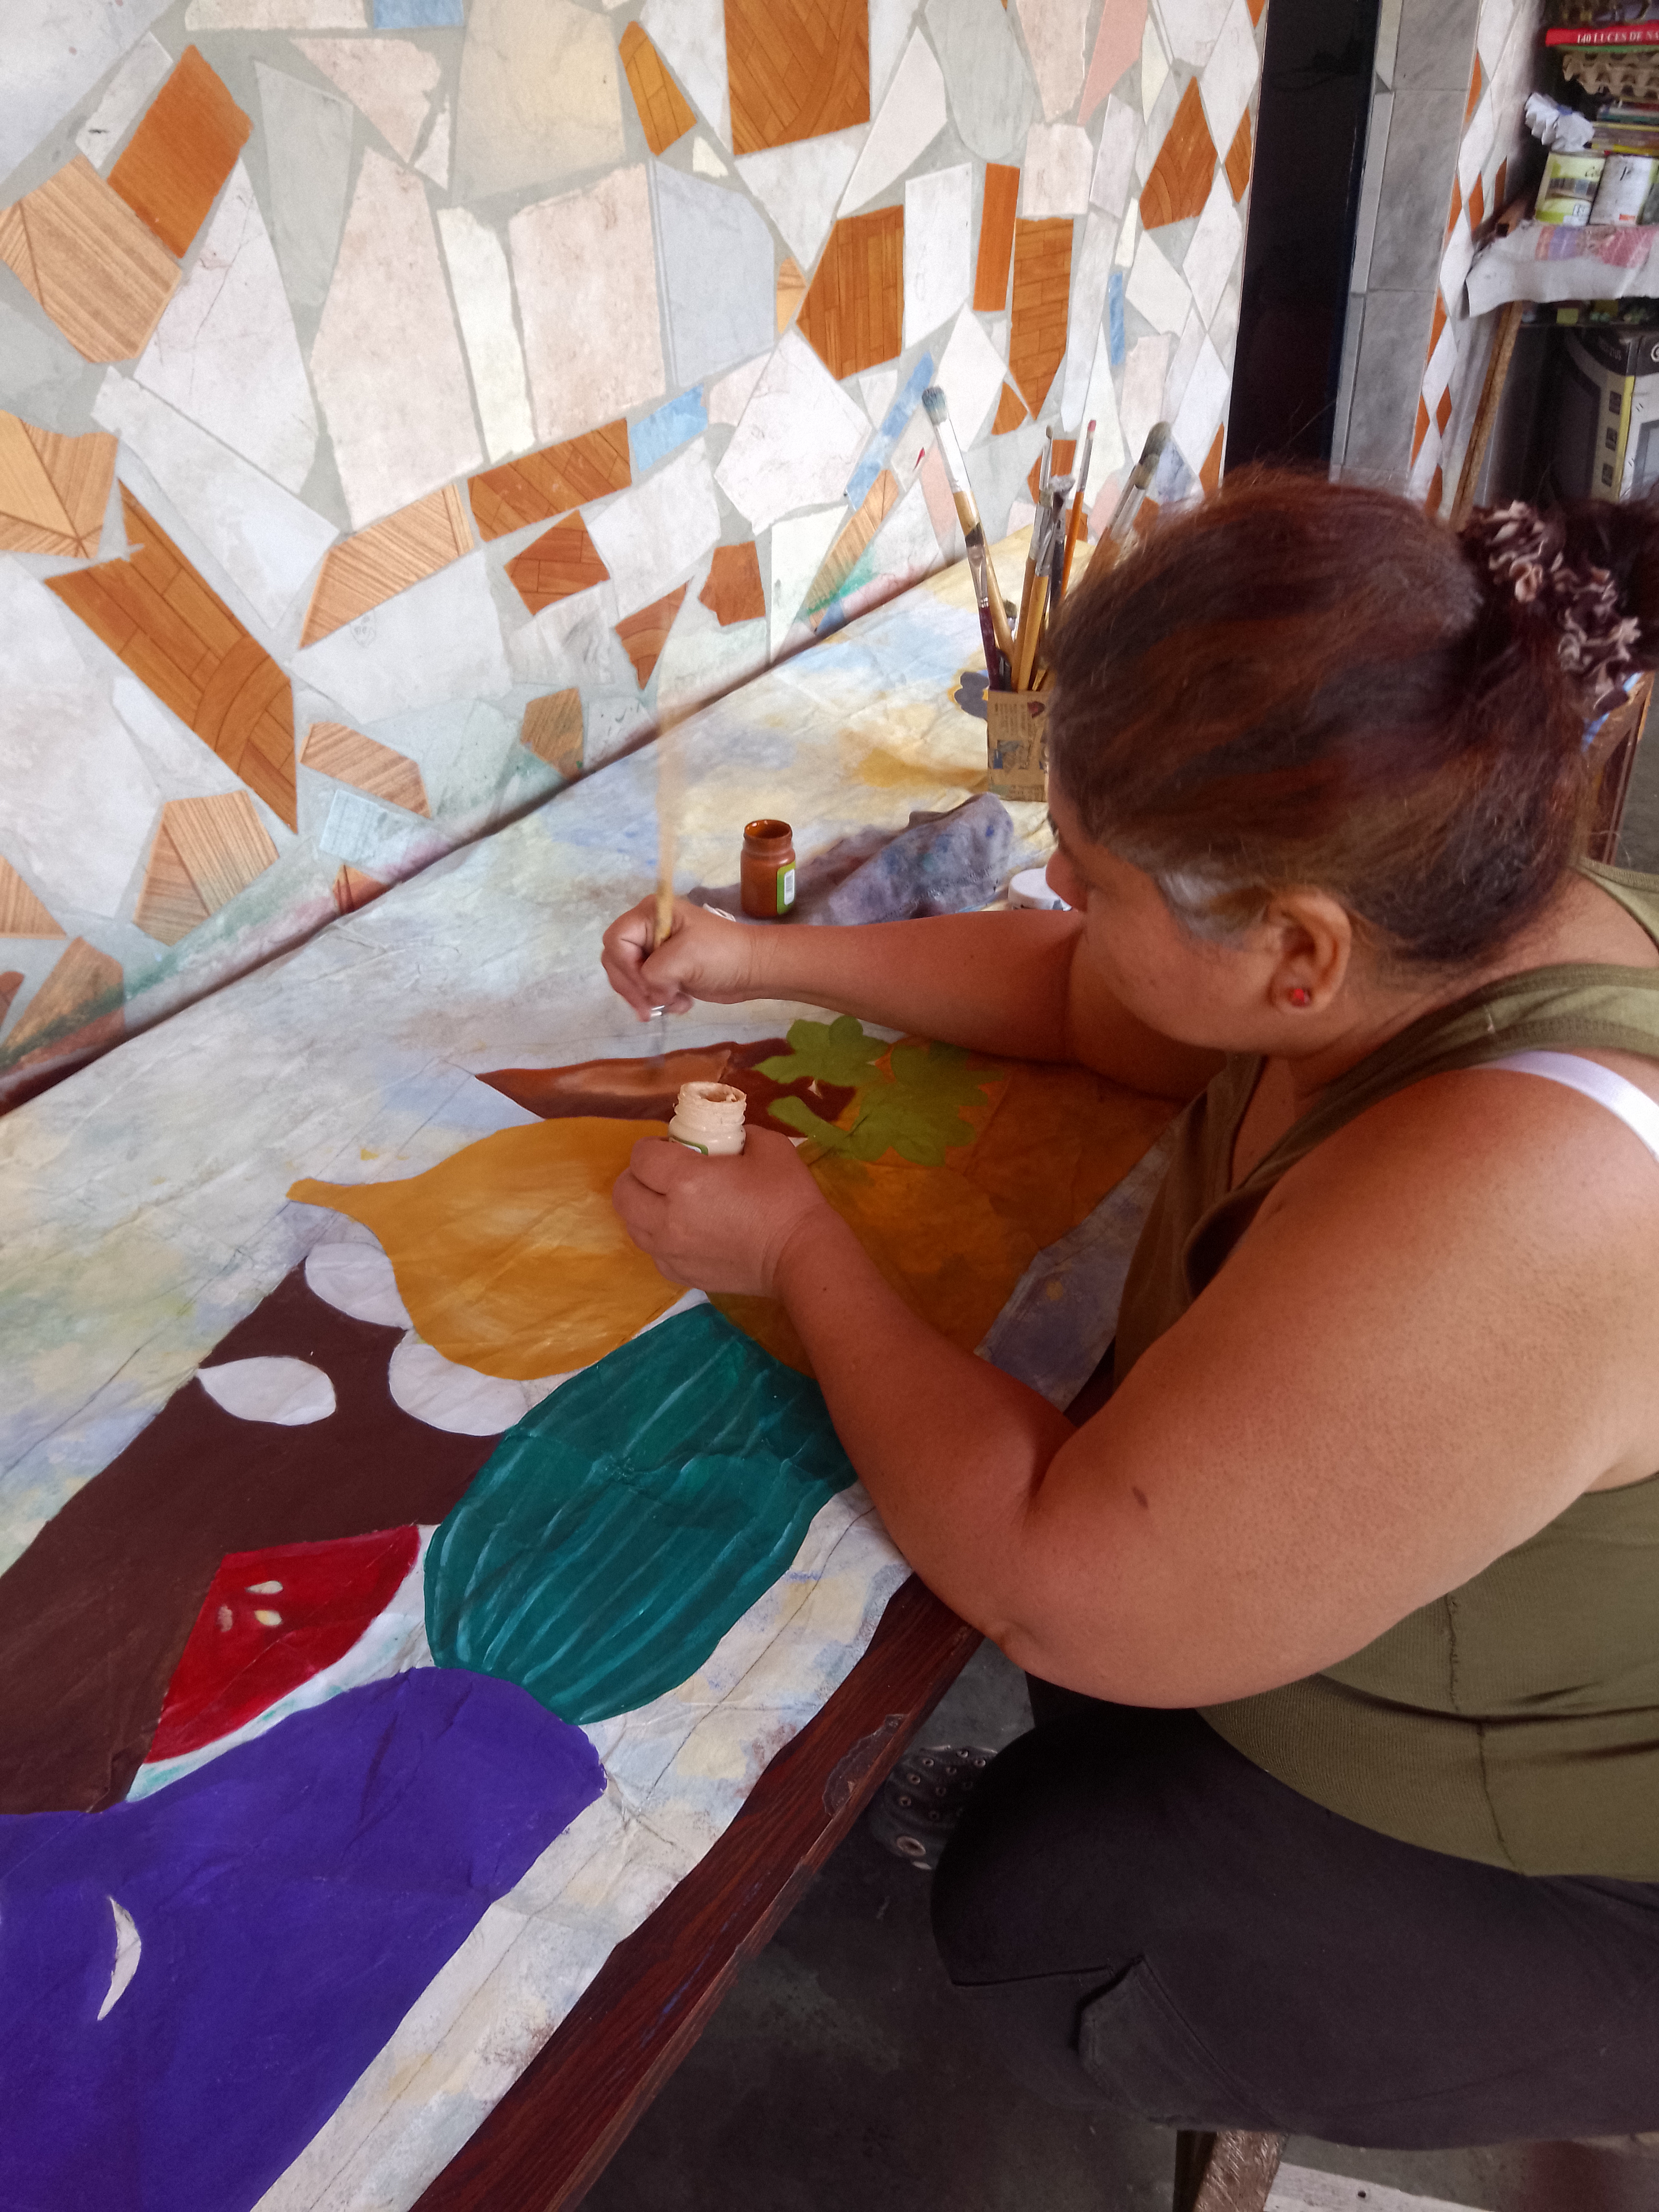
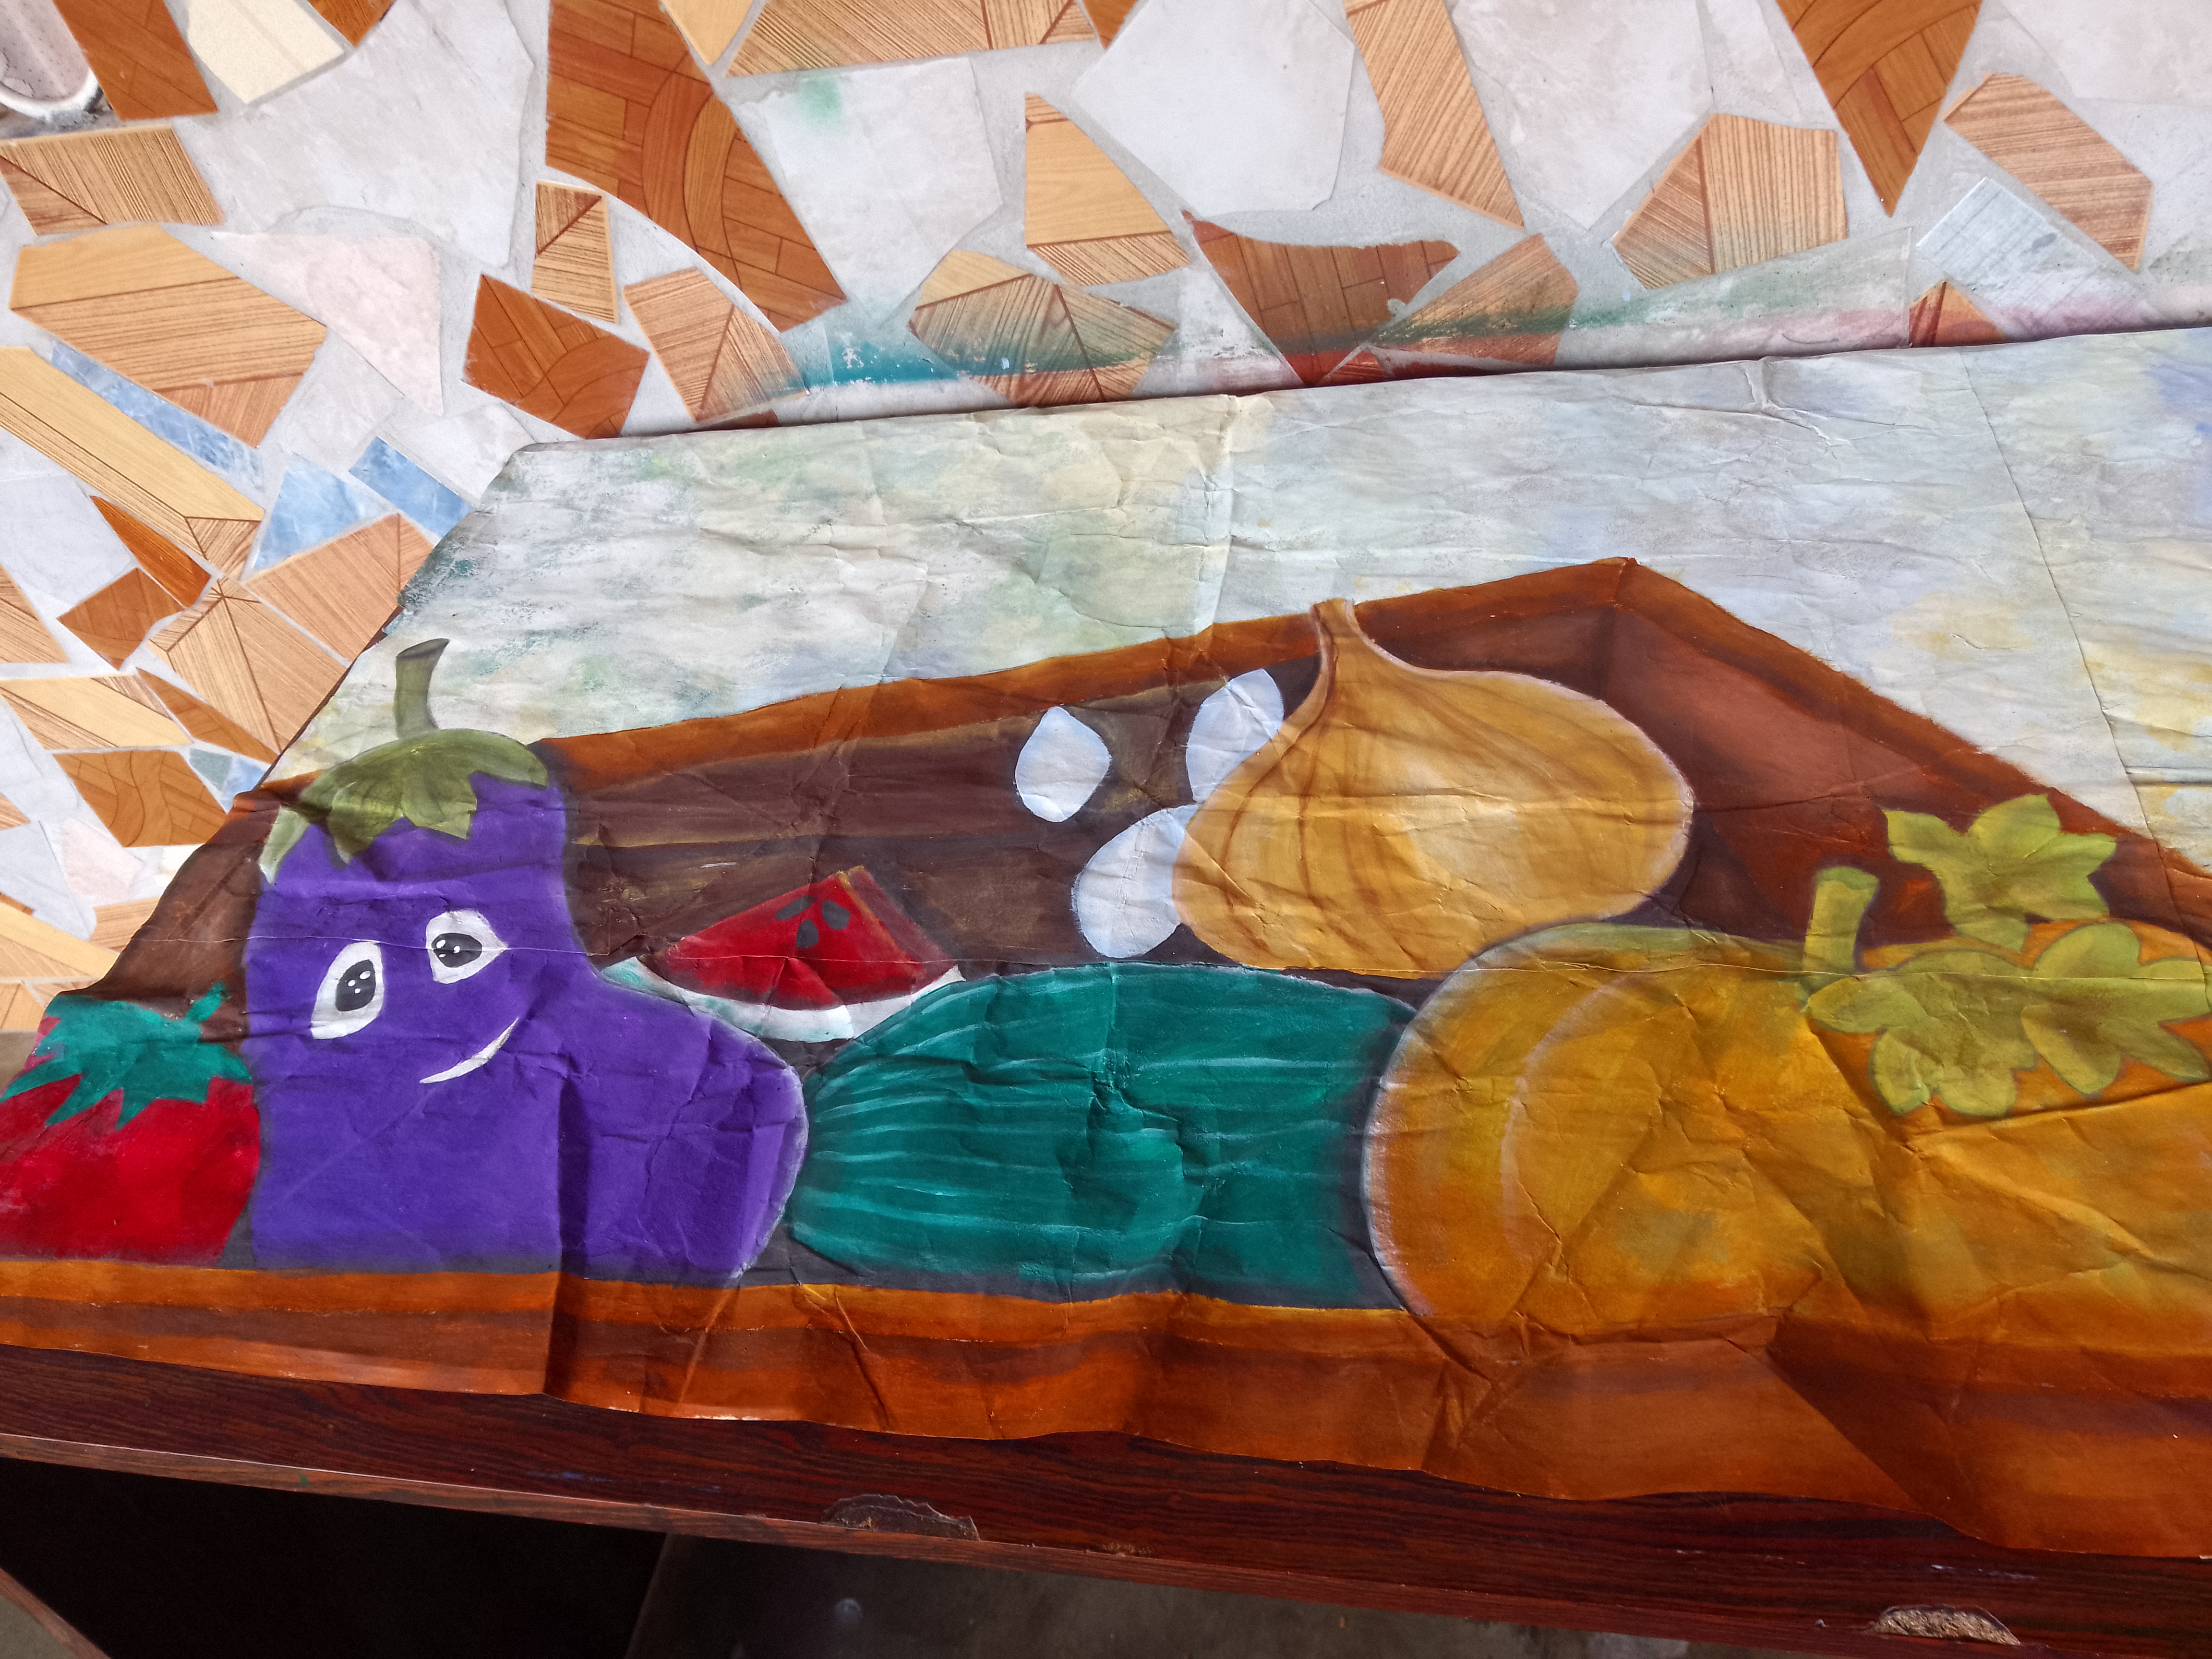
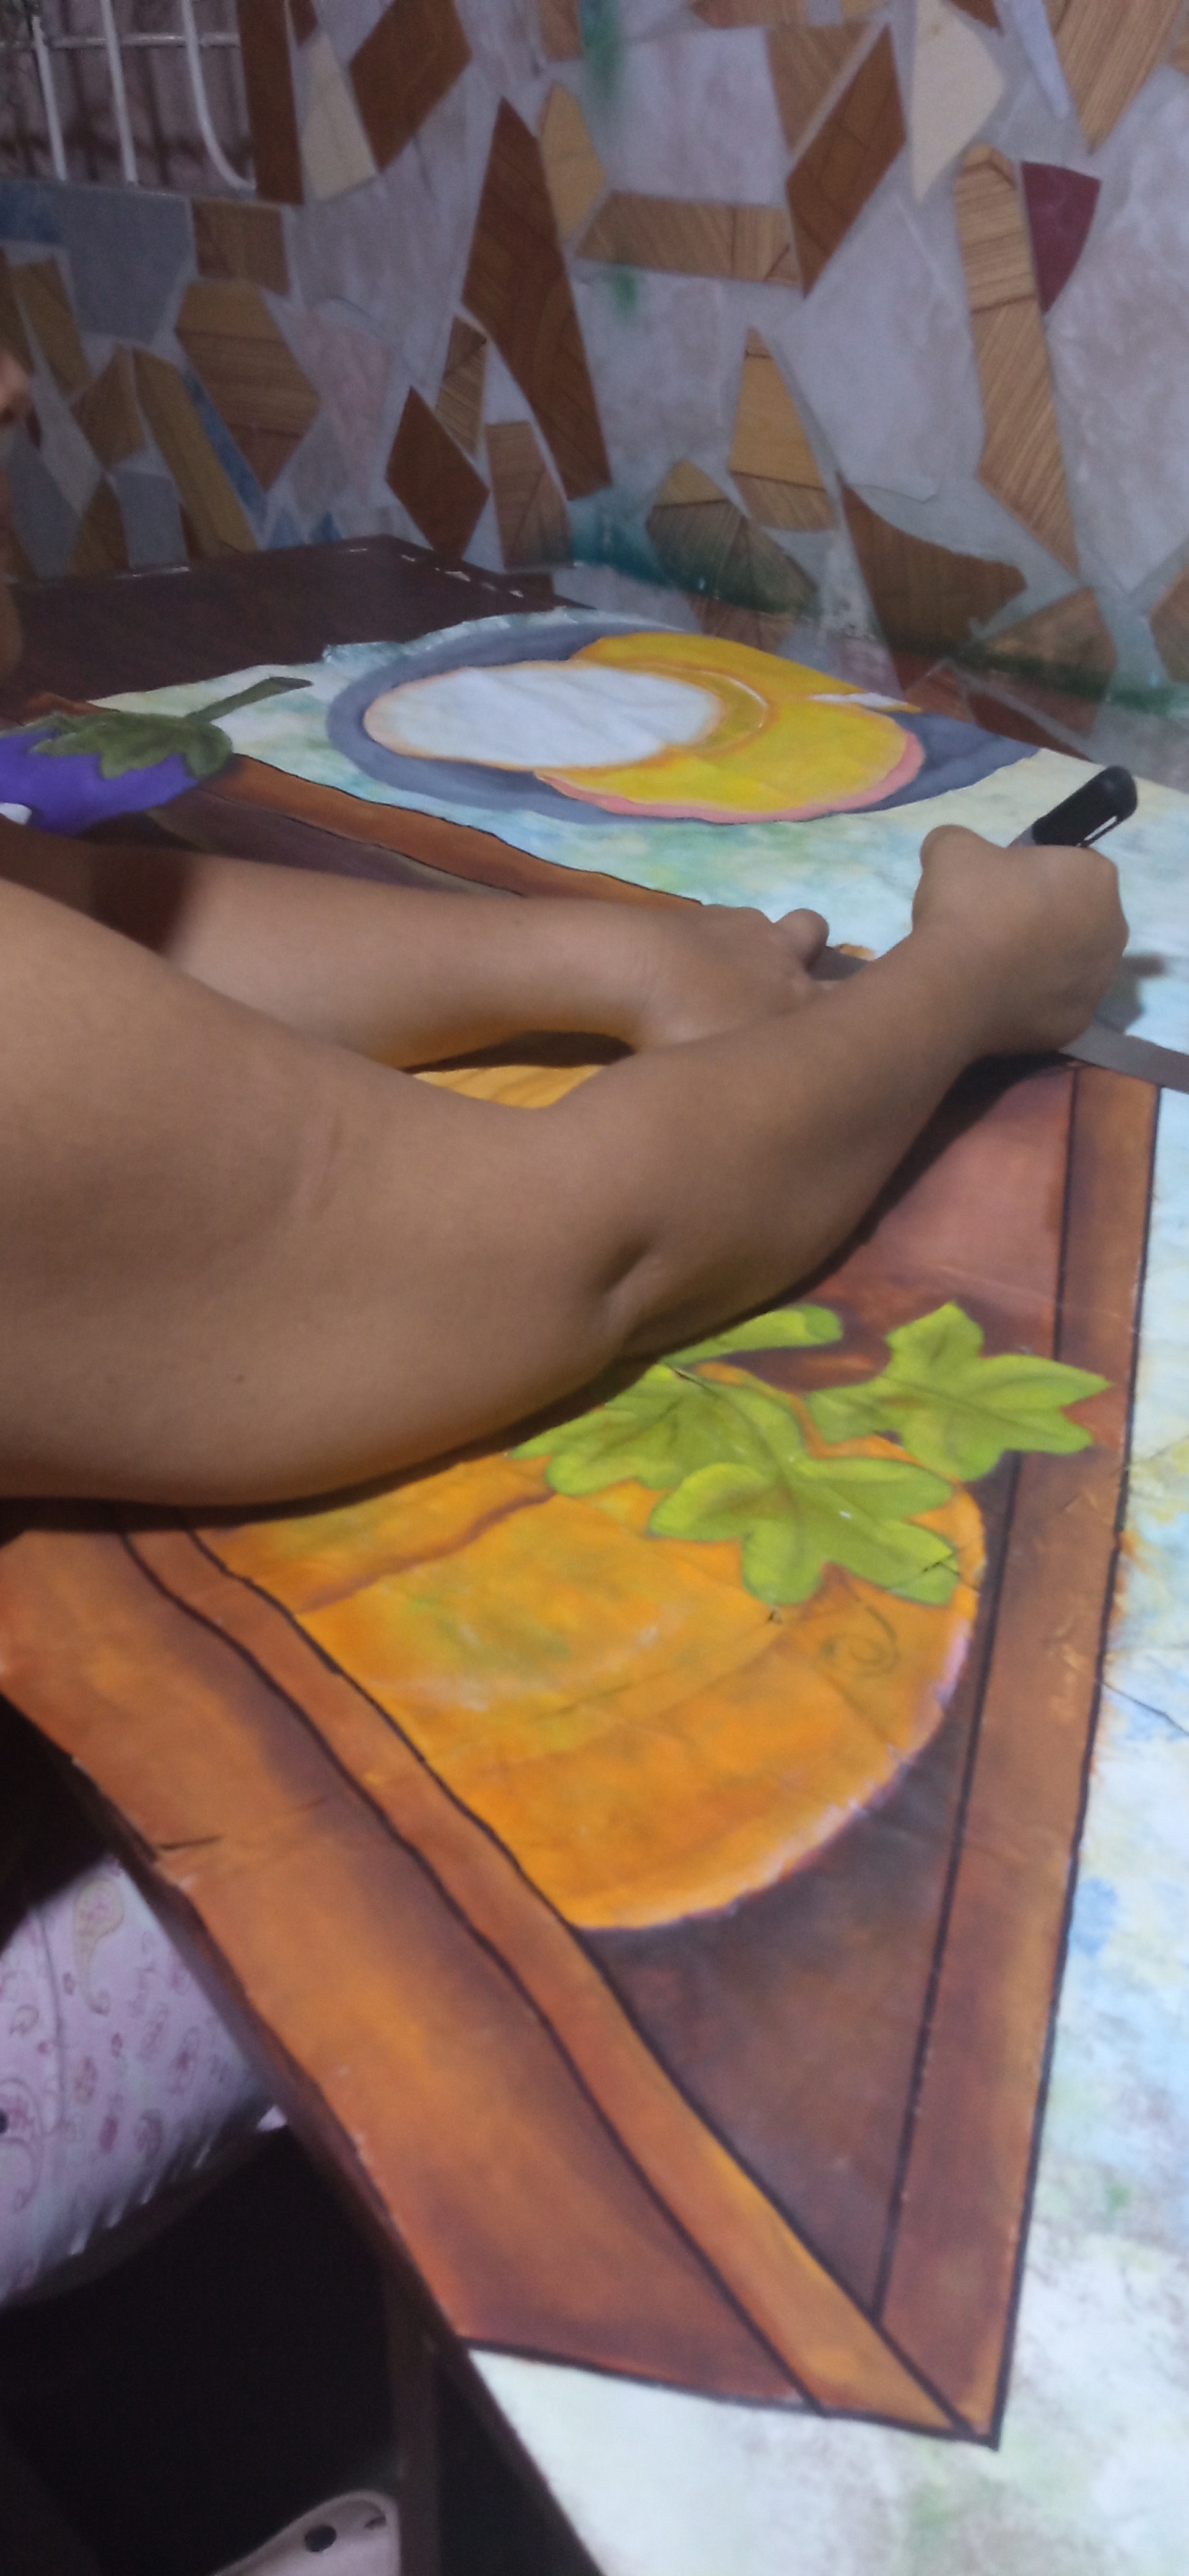
En el lado izquierdo del rectángulo dibuje a mano alzada un guacal de hortalizas y verduras que ellas comúnmente utilizan en sus preparaciones y cosechan en sus huertos escolares. Aplique marrón oscuro y blanco para la yuca, rojo y verde para el tomate,morado y verde oliva para la berengena, verde, rojo y blanco para la patilla, amarillo ocre para la cebolla,verde y durazno para la calabaza, ocre para el guacal. Para difuminar este dibujo lo trabaje húmedo sobre húmedo destacando las luces y sombras.Y debido a lo rústico y poroso del papel delinie con un macador permanente el contorno del guacal para resaltarlo más.
Step 4:
On the left side of the rectangle freehand draw a cache of vegetables and greens that they commonly use in their preparations and harvest from their school gardens. Apply dark brown and white for the yucca, red and green for the tomato, purple and olive green for the watercress, green, red and white for the sweet potato, yellow ochre for the onion, green and peach for the pumpkin, ochre for the casserole. To blur this drawing I worked it wet on wet highlighting the lights and shadows, and due to the rustic and porous nature of the paper I outlined with a permanent macador the outline of the guacal to highlight it more.

Paso 5:
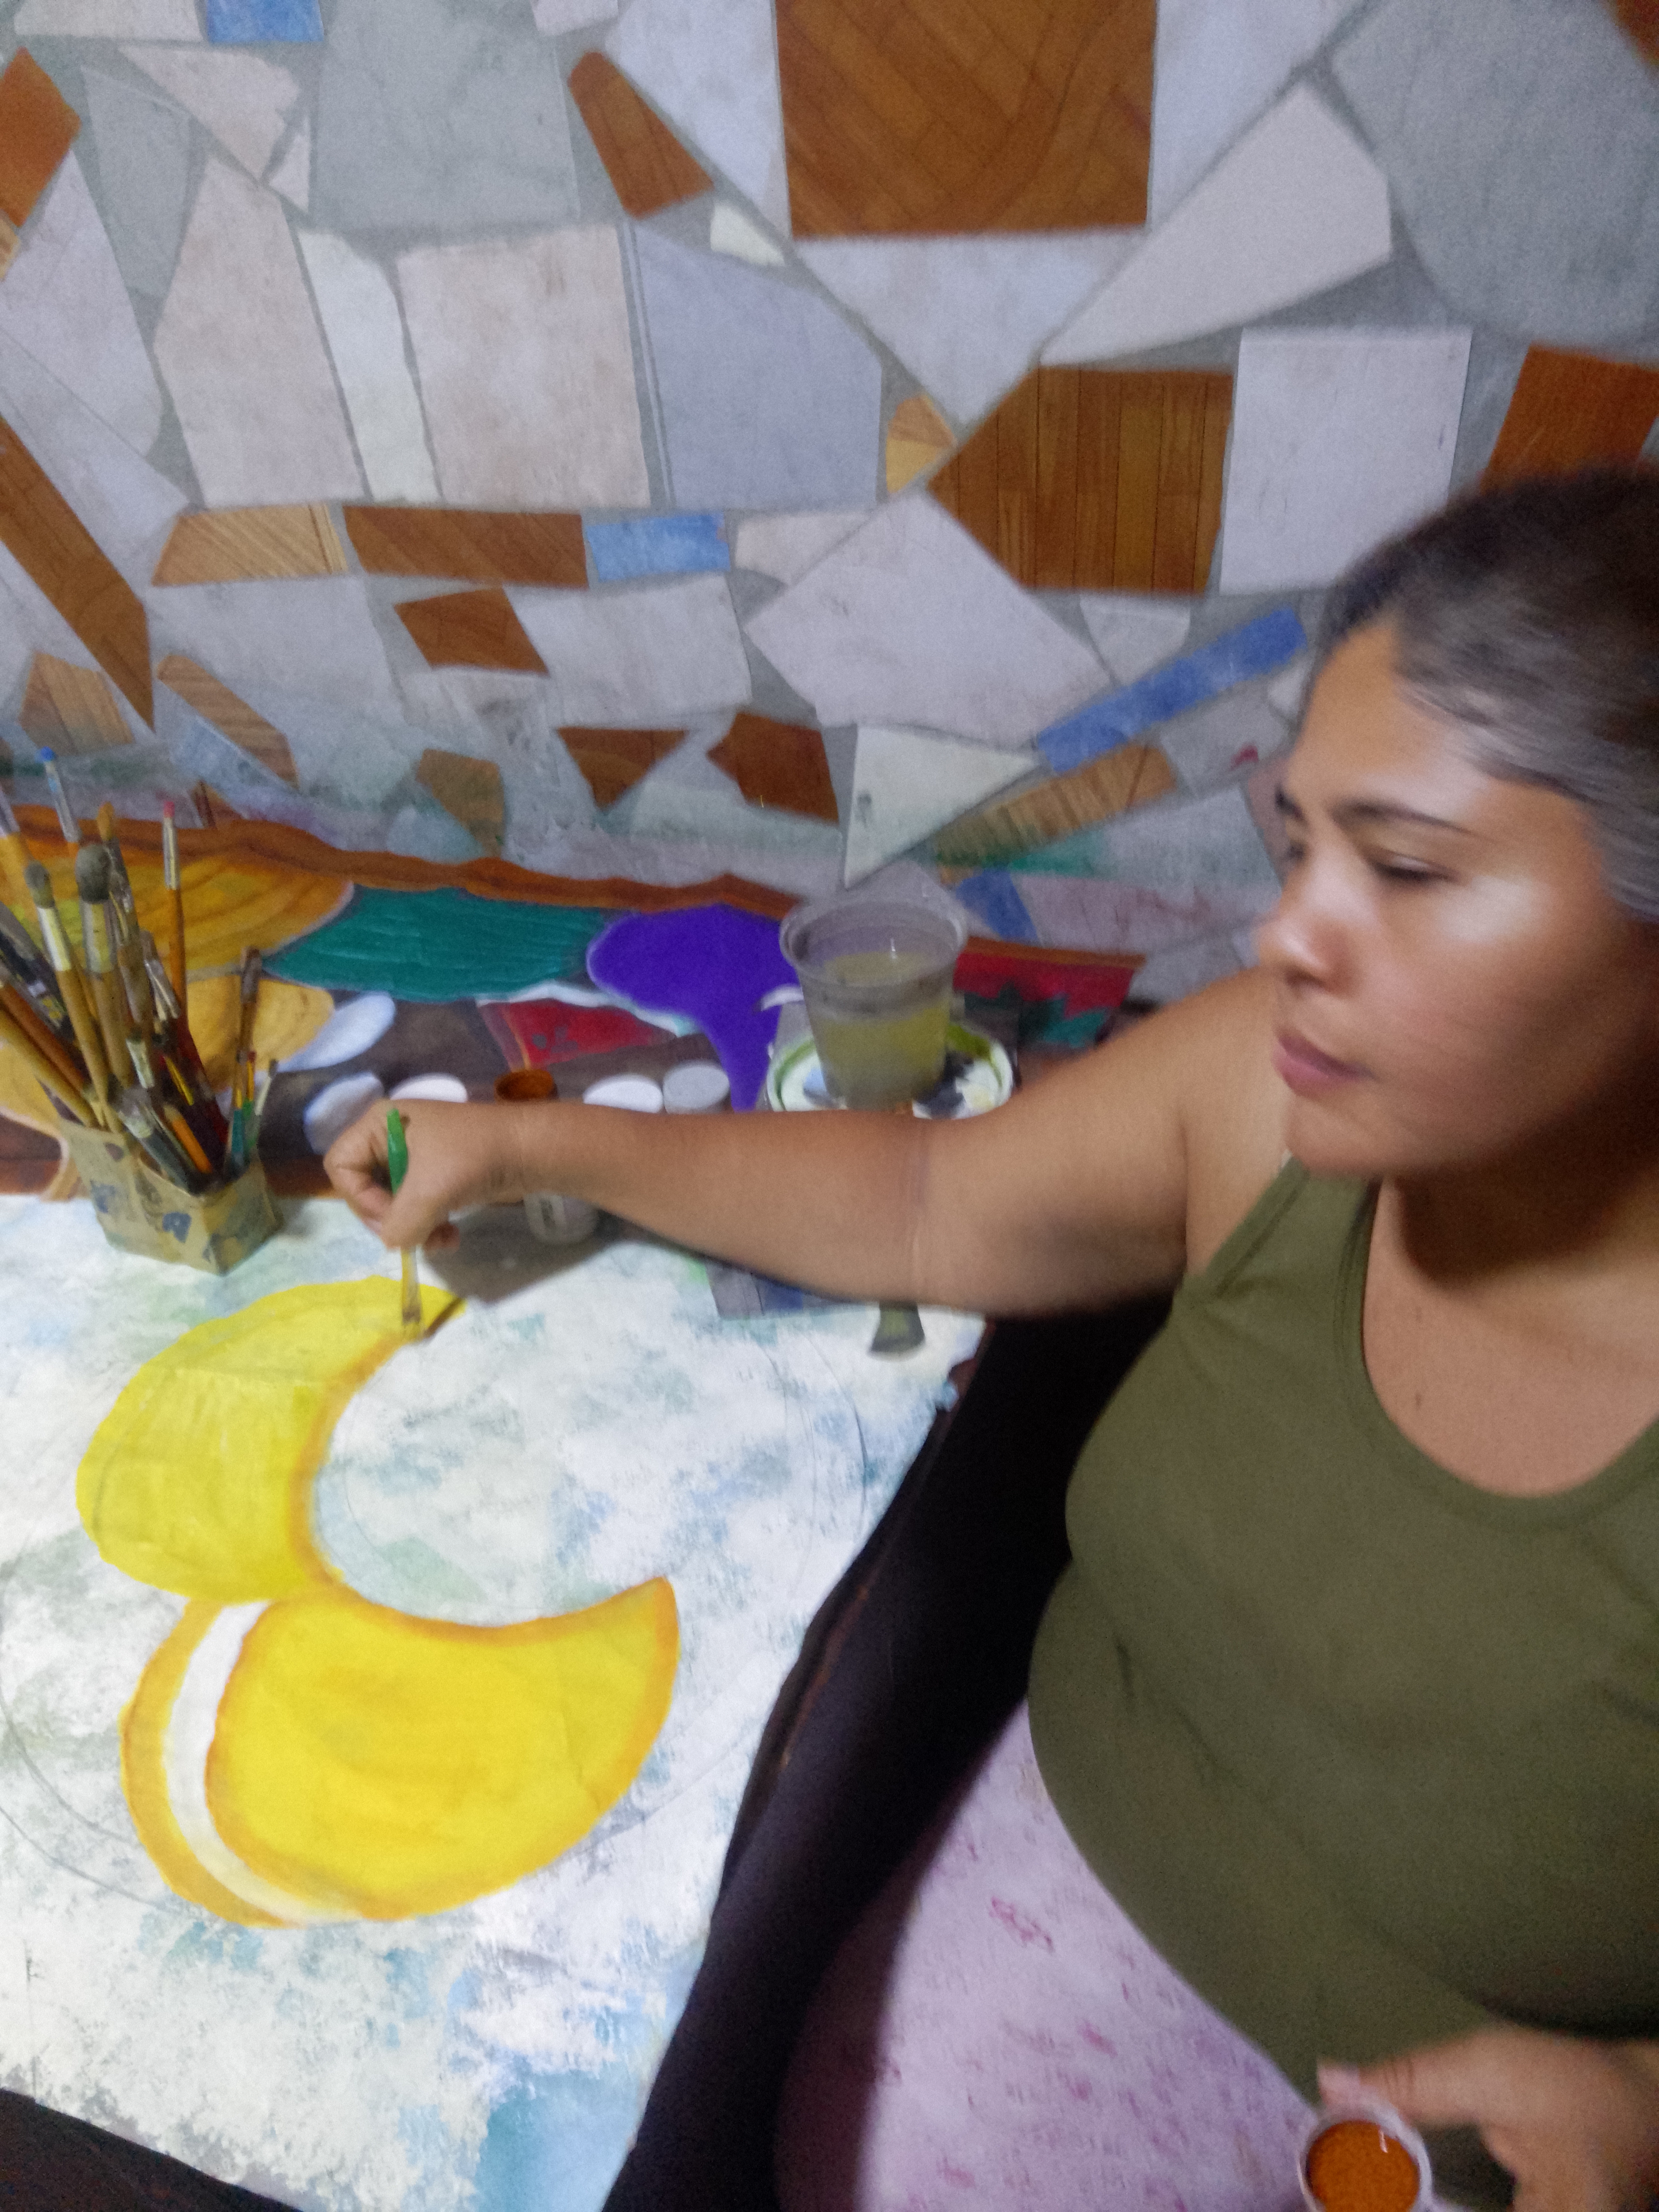
En la parte superior izquierda, dibujé una bandeja con 3 arepas rellenas a mano alzada. Utilice blanco para el queso y la arepa,amarillo para la otras 2 arepas restantes, amarillo, durazno, rojo y verde para el revoltillo y ligué blanco con una pizca de rojo para el jamón, blanco y negro para obtener el gris que aplique en la bandeja al igual que el dibujo anterior trabaje el difuminado húmedo sobre húmedo y resalté el contorno del dibujo con marcador permanente negro.
Step 5:
In the upper left, I drew a tray with 3 arepas filled freehand. I used white for the cheese and the arepa, yellow for the other 2 remaining arepas, yellow, peach, red and green for the scrambled eggs and I mixed white with a pinch of red for the ham, white and black to obtain the gray that I applied on the tray as in the previous drawing, worked the wet on wet blurring and highlighted the outline of the drawing with black permanent marker.
Paso 6:
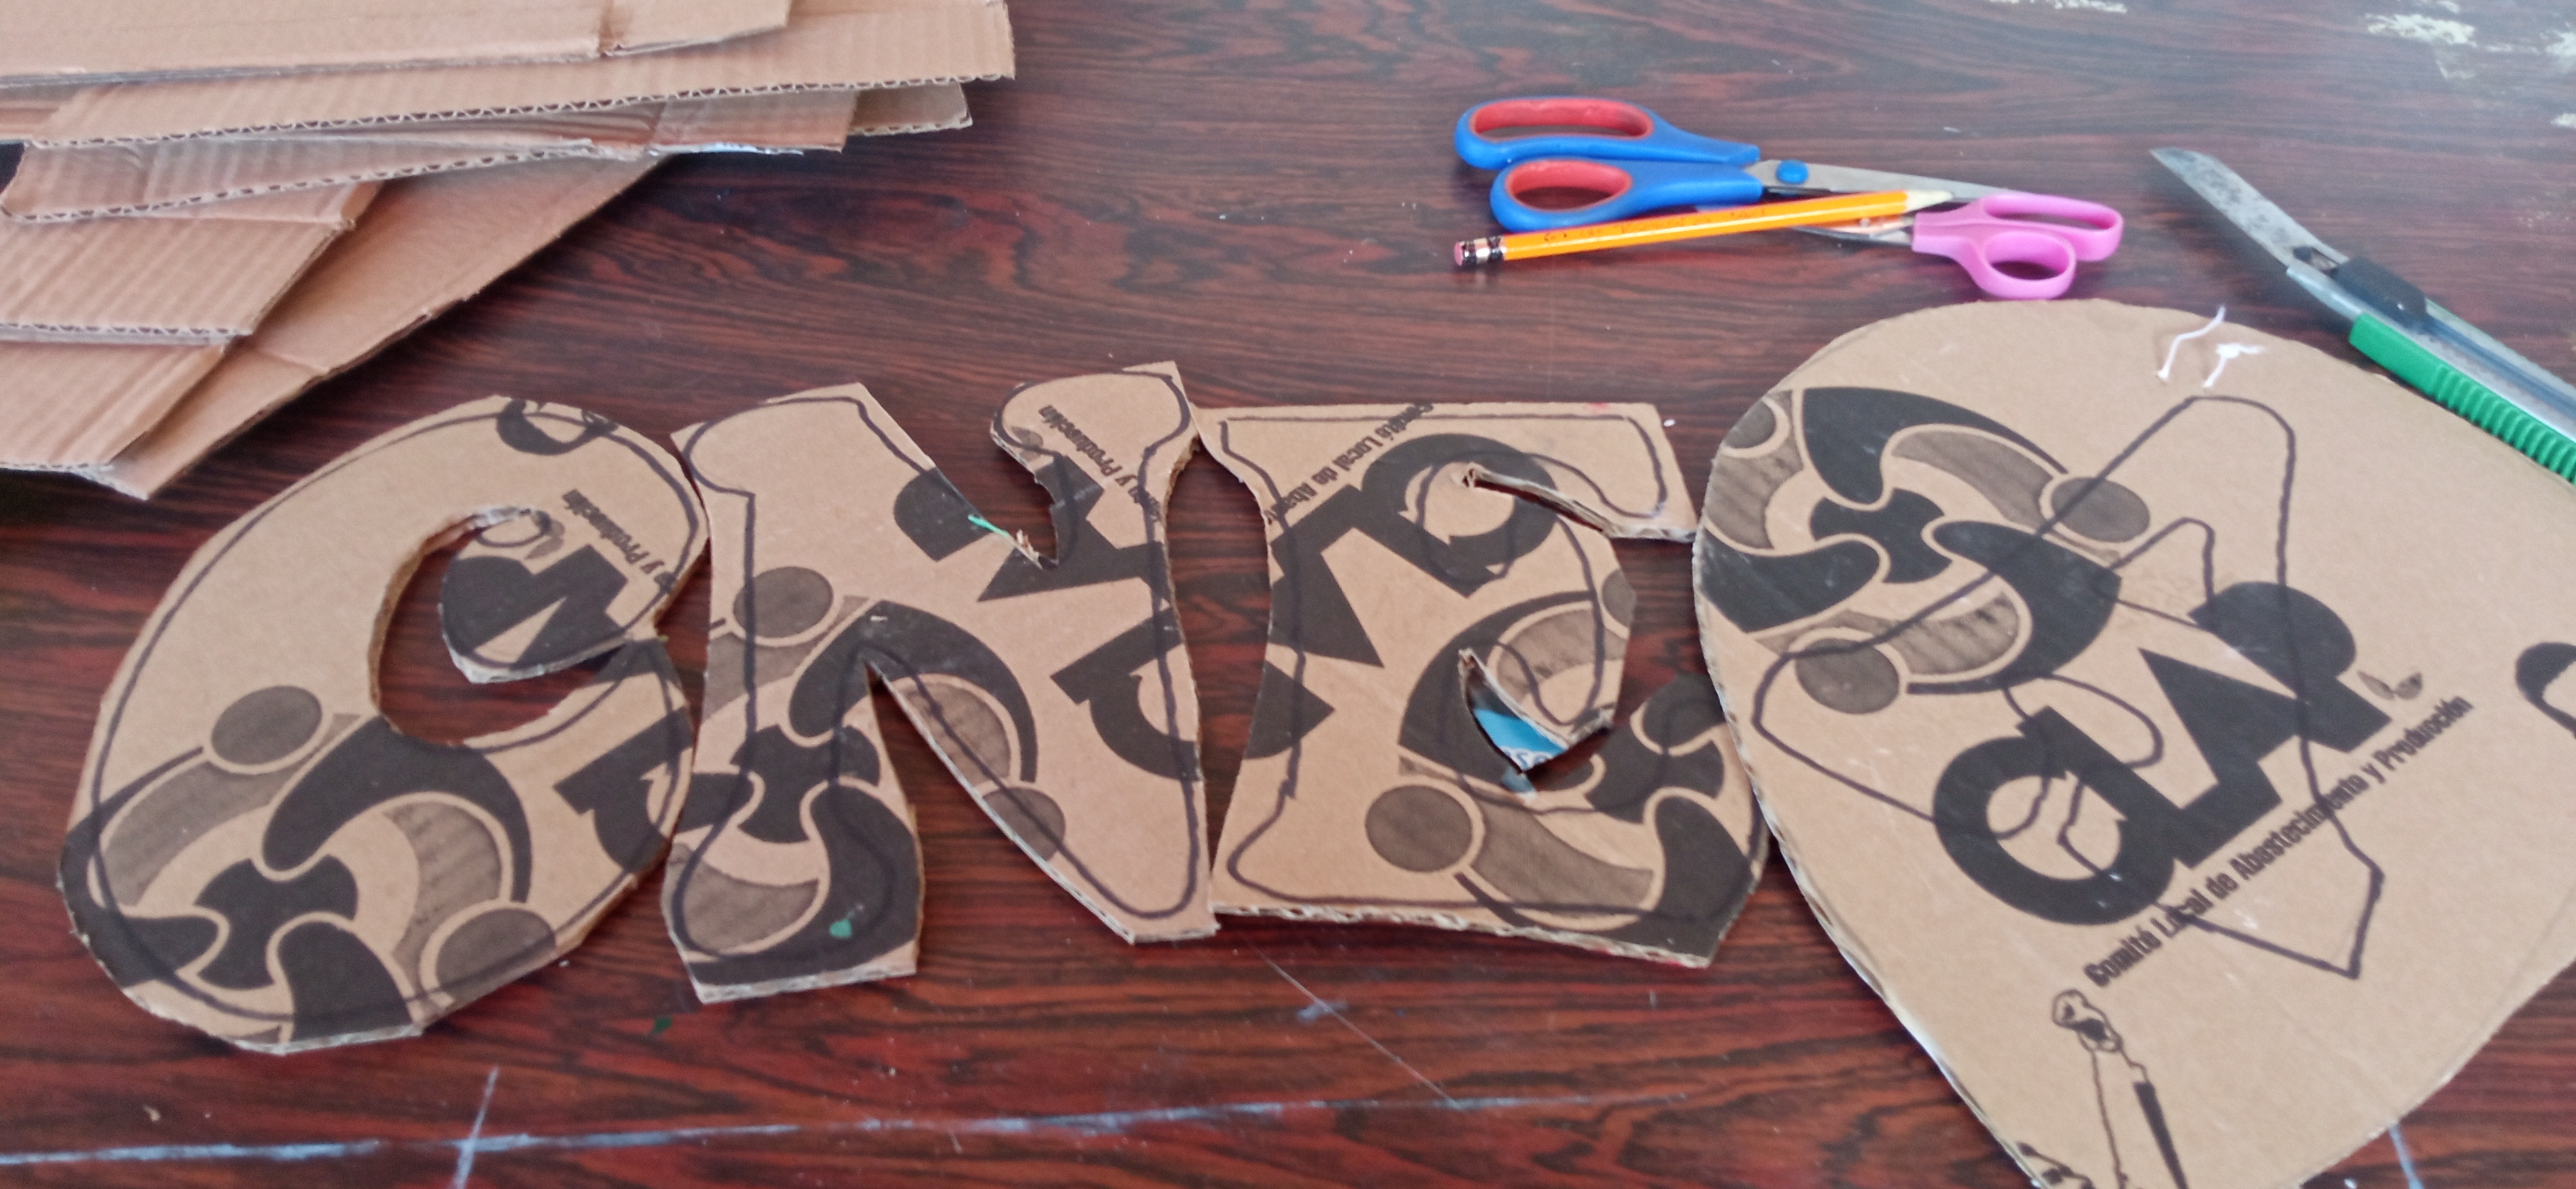
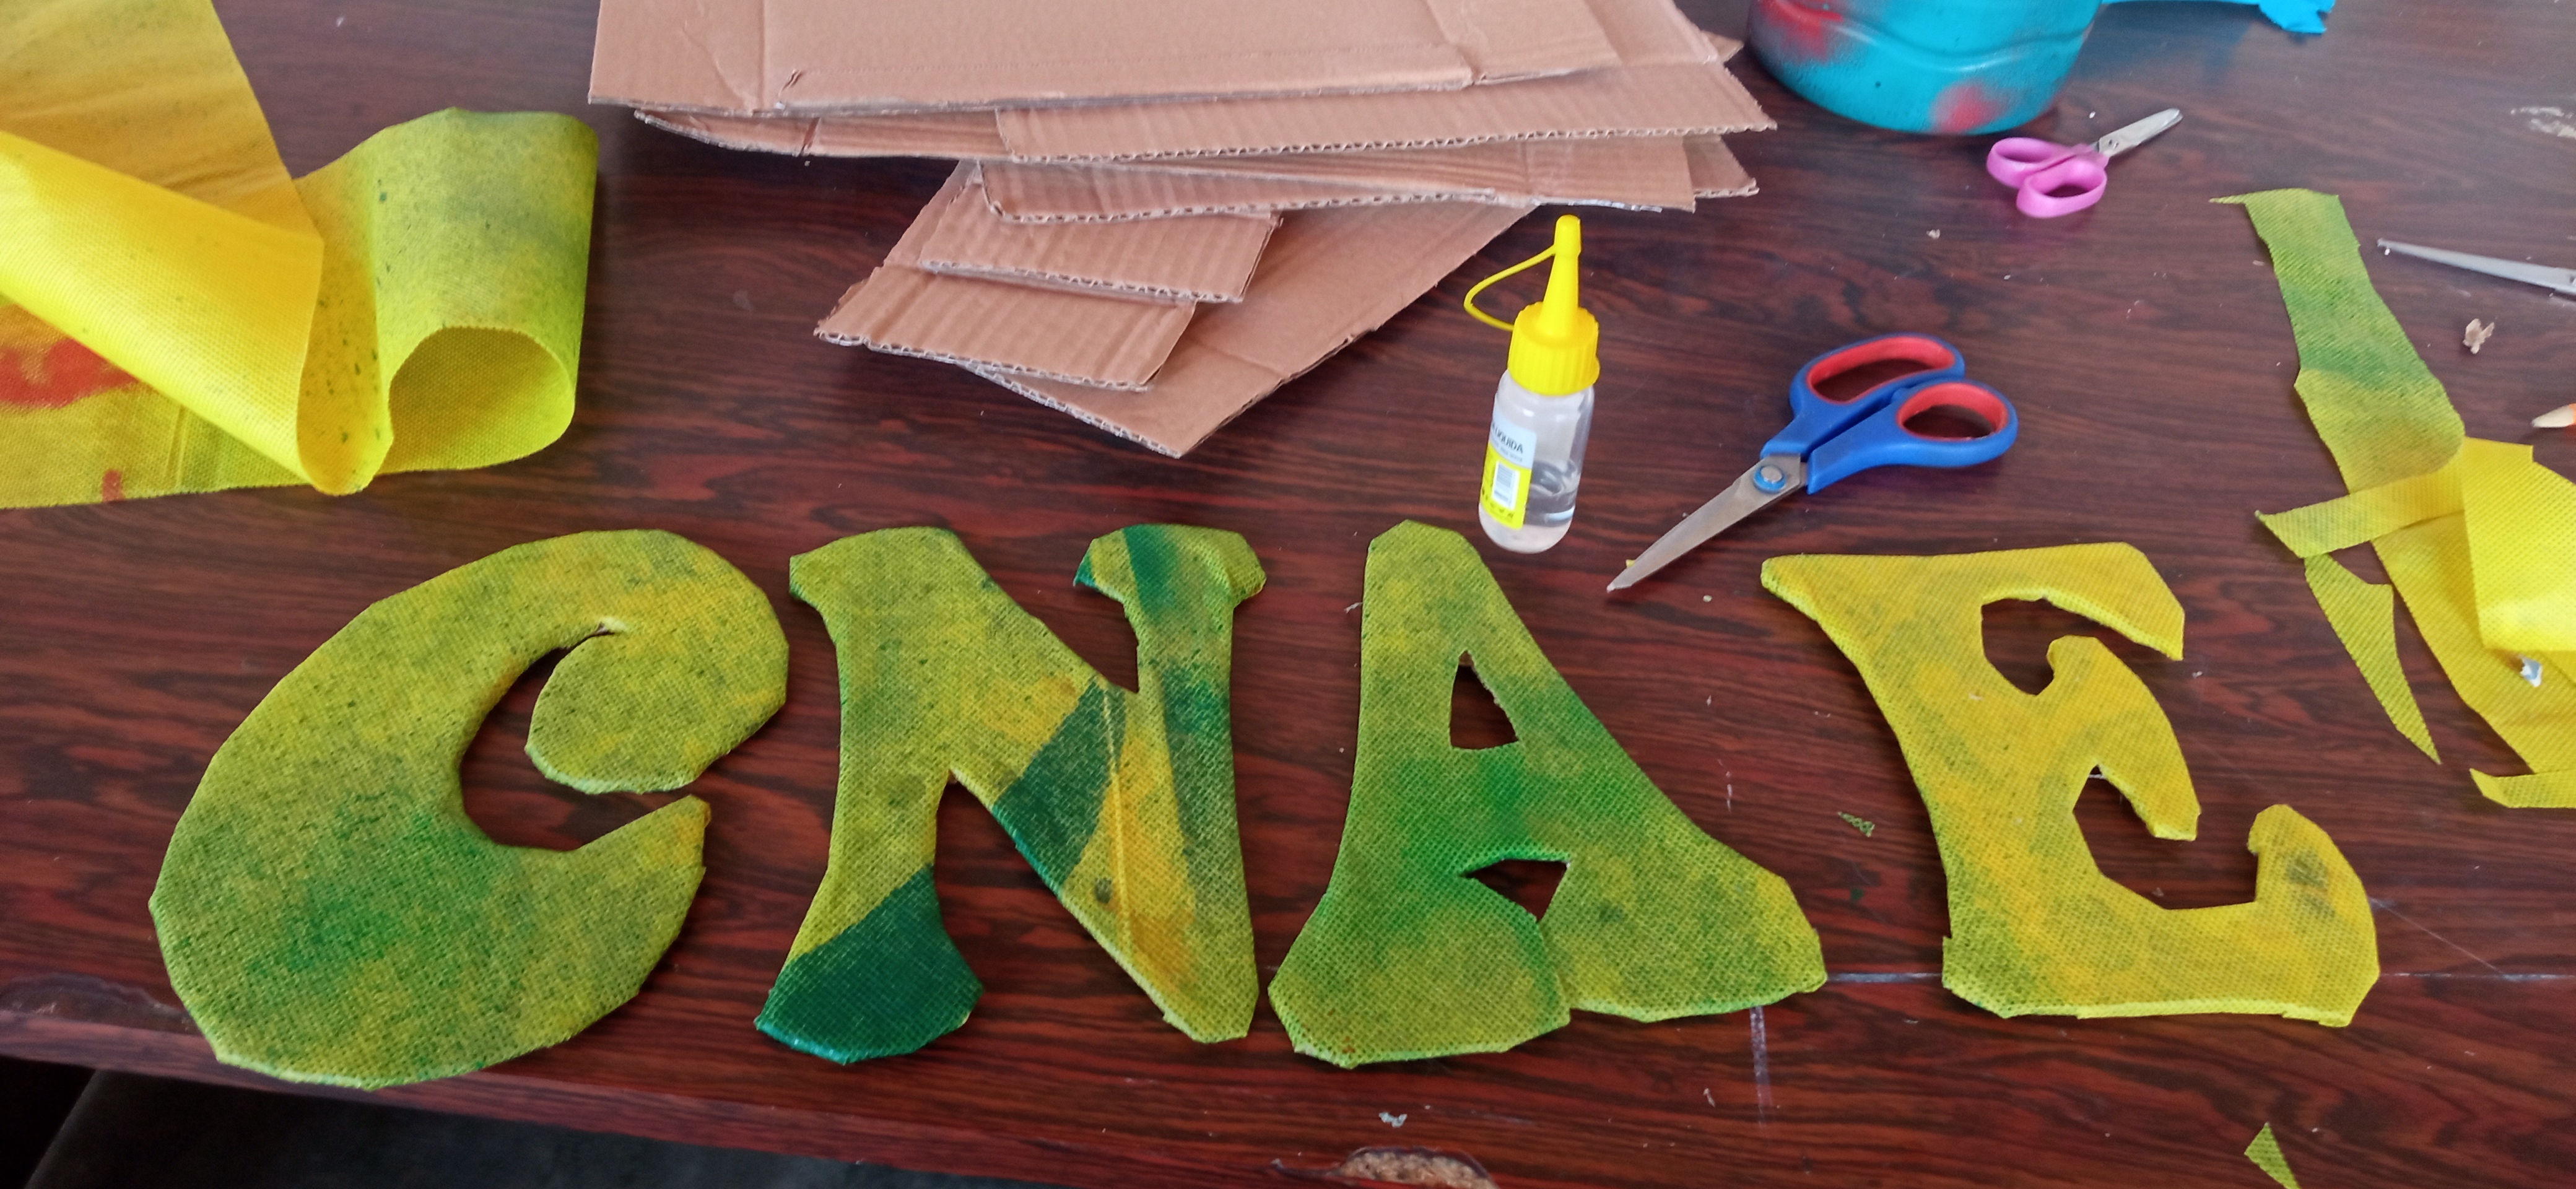
Dibuje a mano alzada las siglas del CNAE en cartón y repase ls letras con el marcador negro. Recorte las letras y forre con el retazo de tela quirurjica amarilla que estaba previamente pintada y silicón al frío y las fijé con silicón caliente.
Step 6:
Freehand draw the CNAE acronym on cardboard and go over the letters with the black marker. Cut out the letters and line with a piece of yellow surgical cloth that was previously painted and cold silicone and fixed them with hot silicone. .

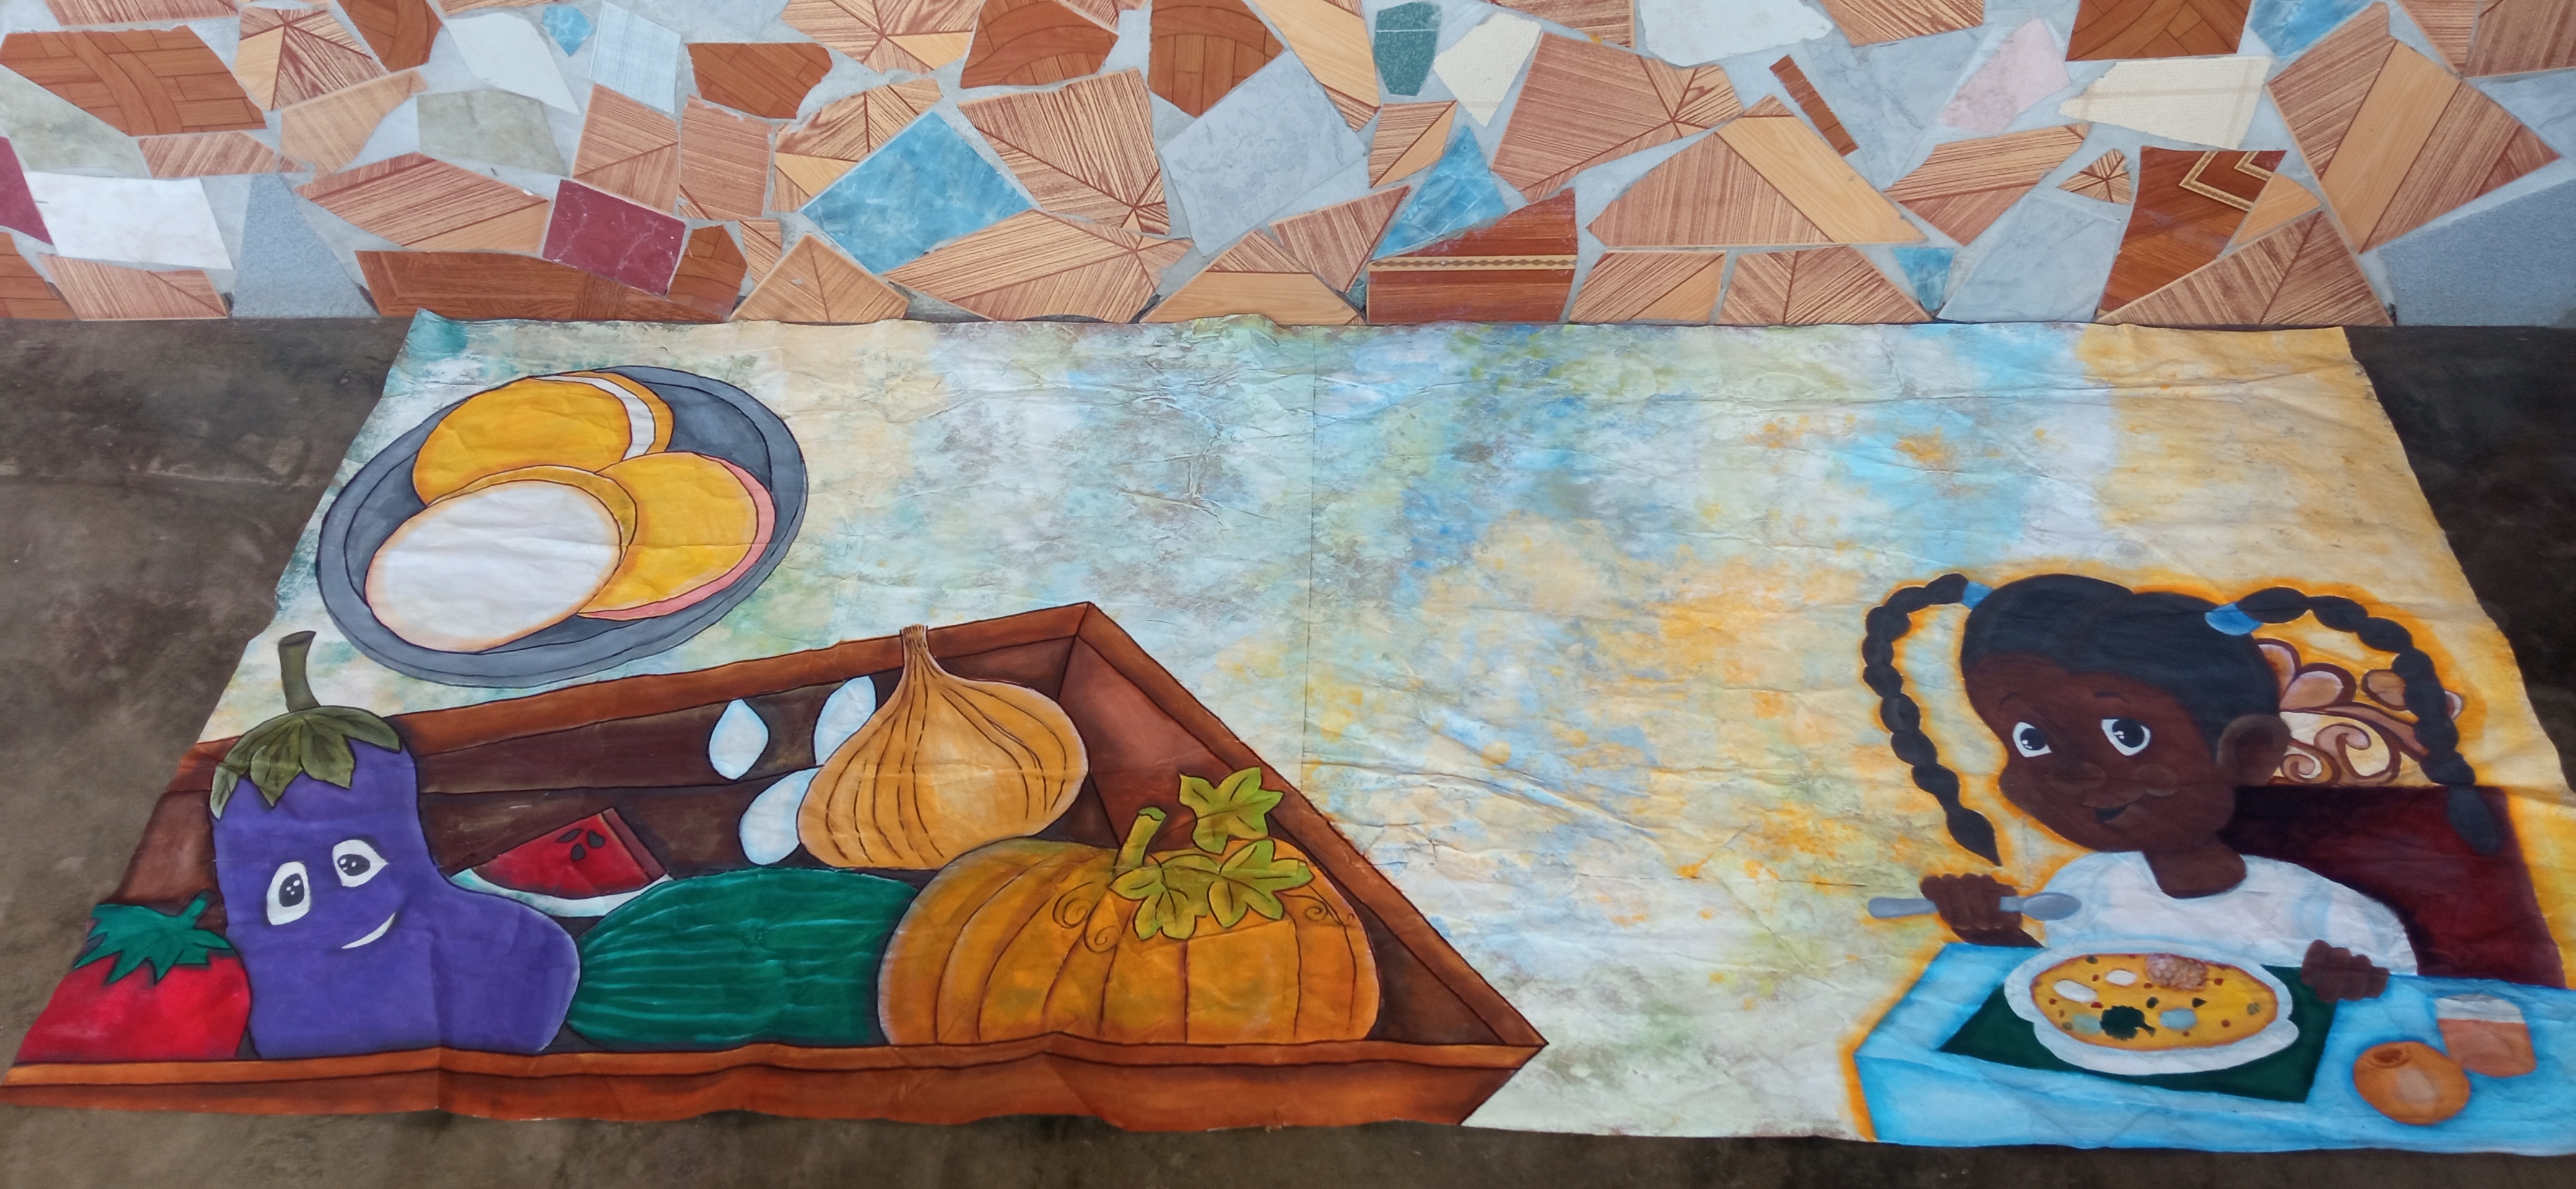
Este es el resultado amigos del fondo ya listo para colocarlo sobre la cartelera. Espero que les haya gustado este tutorial. Gracias por sus comentarios y apoyo. Se les quiere mucho!!!. Para la tradución del texto utilice el Traductor Deepl.com.
This is the result, my friends, of the background ready to be placed on the billboard. I hope you liked this tutorial. Thanks for your comments and support. You are very much loved! For the translation of the text use Deepl.com Translator.
Hola, lindo trabajo creativo, una cartelera que te aseguro que muchos la verán.