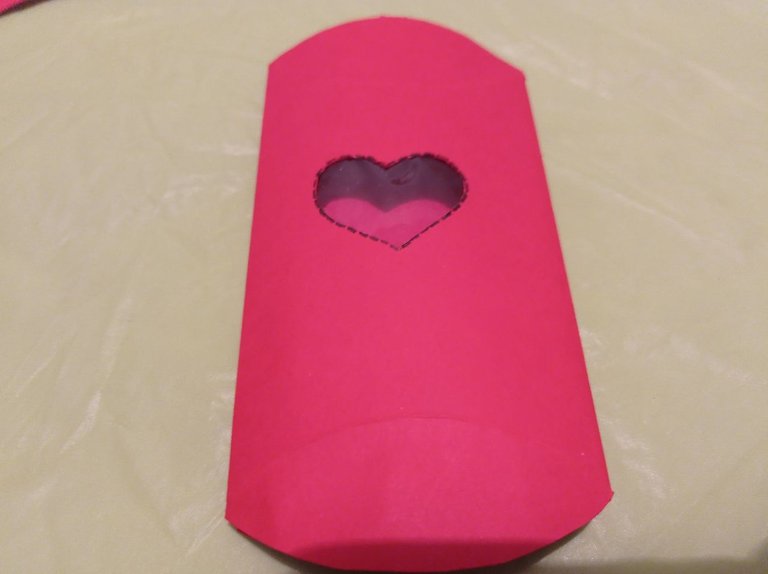
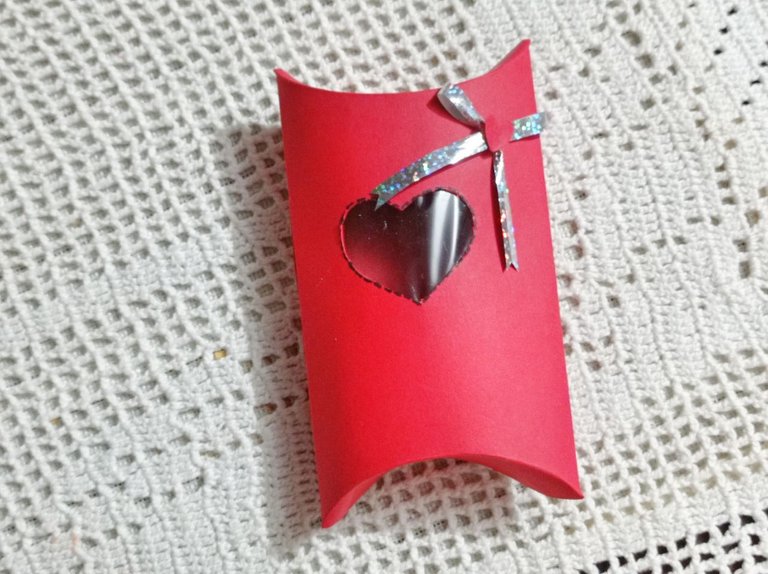
Hola amigos de hive, hoy quiero compartir con ustedes esta cajita de regalo en forma de almohada para dulces que hice para dársela a una amiga que estará cumpliendo años, por eso la hice ya que le colocaré adentro frutos secos y chocolates, además es sencilla de hacer y la podemos hacer del color que sea y decorar como queramos eso ya depende de la creatividad de cada persona.
Hello friends of hive, today I want to share with you this little gift box in the shape of a pillow for sweets that I made to give it to a friend who will be having a birthday, so I made it because I will put inside nuts and chocolates, it is also simple to make and we can make it in any color and decorate it as we want that depends on the creativity of each person.
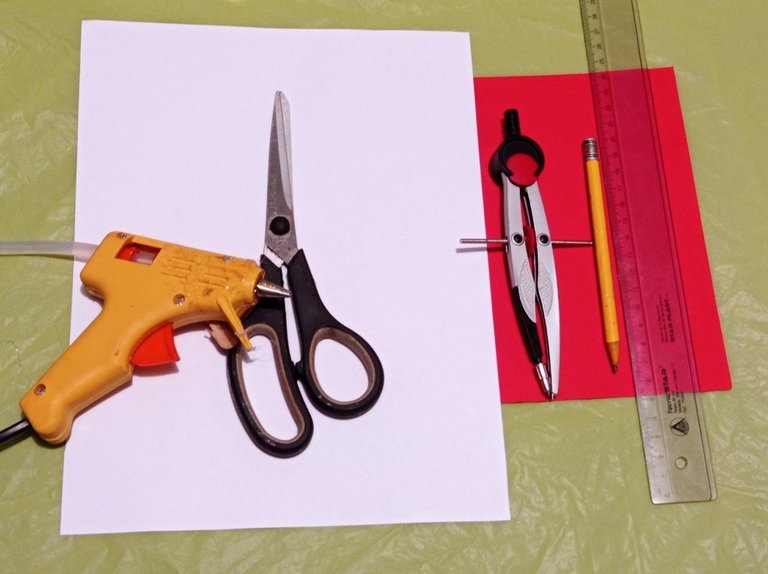
Materiales – Materials
- Cartulina
- Tijera
- Silicón
- Cinta adhesiva
- Compás
- Regla
- Lápiz
- Cinta decorativa
- Cardboard
- Scissors
- Silicone
- Adhesive tape
- Compass
- Ruler
- Pencil
- Decorative tape
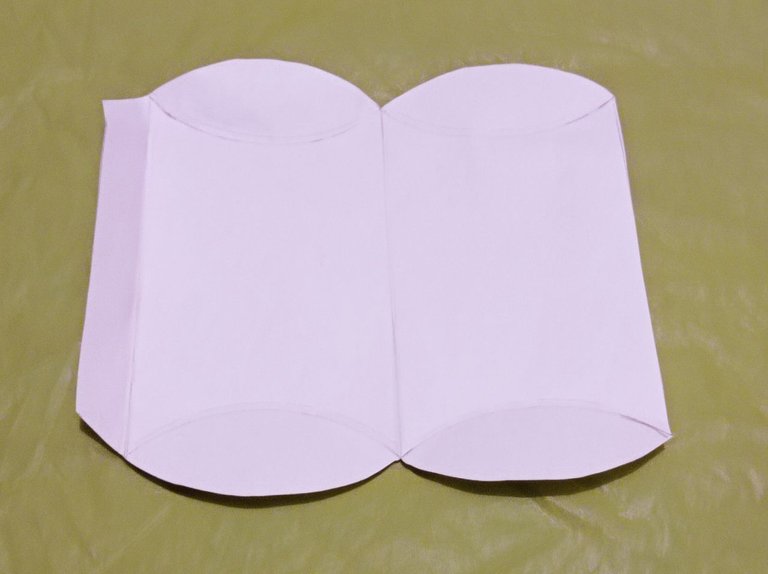
Primero lo que hacemos es el molde para la pequeña cajita para eso utilizamos el compás y hacemos como dos semicírculos uno al lado del otro tanto hacia arriba como hacía abajo esa será la base calculamos lo alto de la caja está le puse 13 cm y en el otro extremo volvemos hacer el mismo proceso con los semicírculos, el único detalle que falta es hacer una pestaña en cualquiera de los dos lados así tendremos listo el molde para recortarlo.
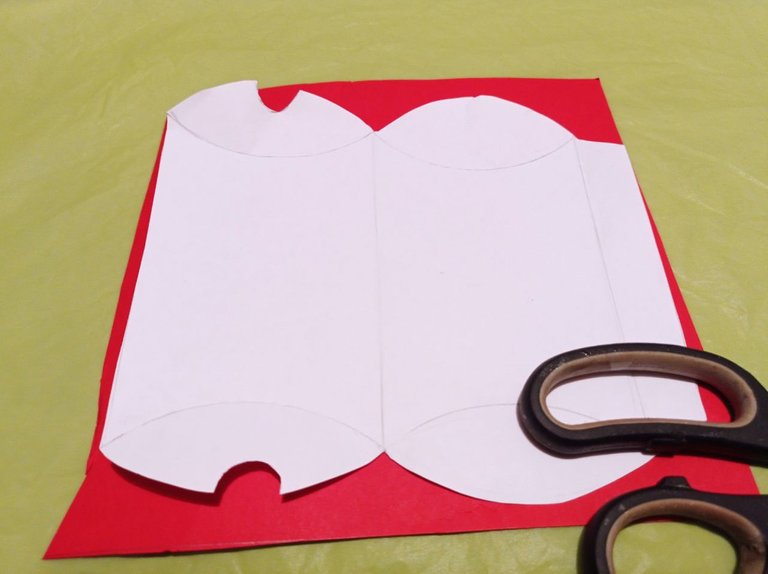
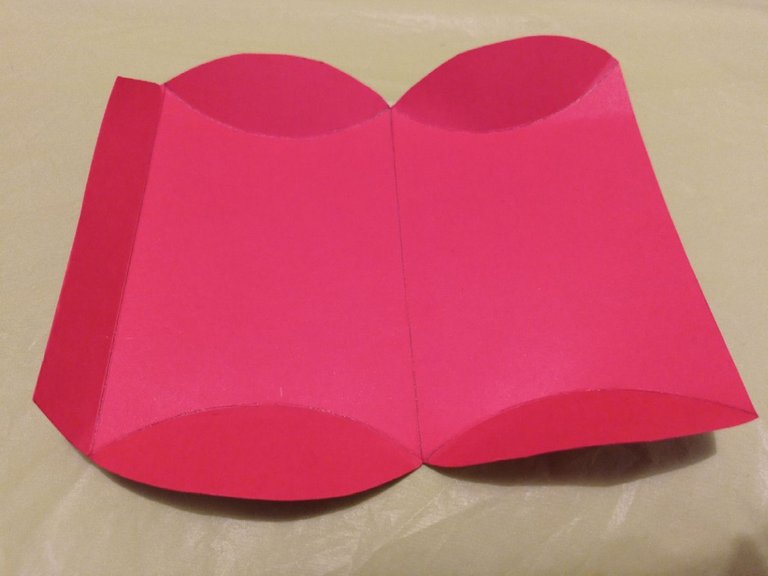
First what we do is the mold for the little box for that we use the compass and make two semicircles side by side both up and down that will be the base we calculate the height of the box is I put 13 cm and at the other end again do the same process with the semicircles, the only detail missing is to make a tab on either side so we have ready the mold to cut it. Ahora que terminamos con el molde empezamos a calcar en la cartulina con más comodidad para así poder recortarlo, después agarramos un lapicero sin tinta y remarcamos cada línea que previamente hicimos para así poder doblar más fácilmente la cartulina y no haya ningún inconveniente.
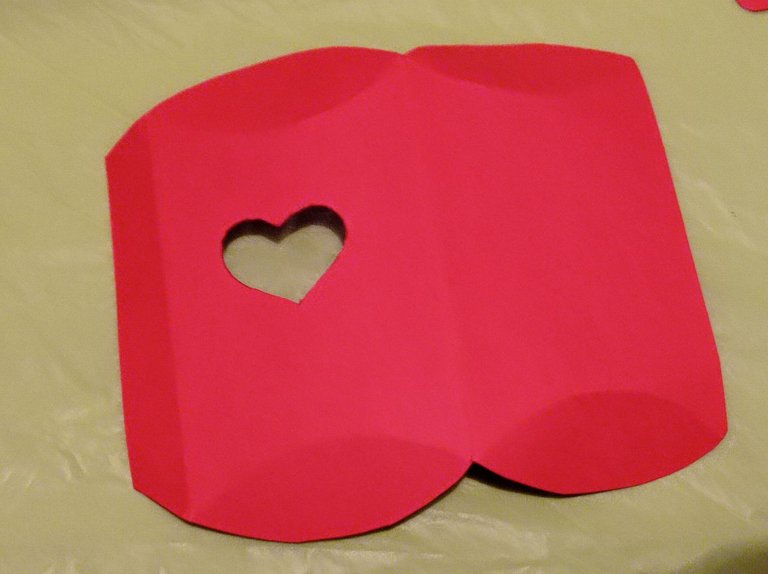
Now that we are done with the mold we start tracing on the cardboard more comfortably so we can cut it out, then we take a pencil without ink and mark each line that we previously made so we can fold the cardboard more easily and there is no inconvenience. Luego empezamos con la decoración para eso dibujamos un corazón en el frente de la cajita y lo recortamos con mucho cuidado, después de terminar con eso agarramos un pedacito de cinta adhesiva y se la colocamos en la parte de atrás del corazón esto permitirá que se vea lo que se colocará adentro y no se salga, luego pegamos la pestaña del extremo con silicón y dejamos los demás así para poder meter y sacar lo que colocaremos adentro de la cajita.
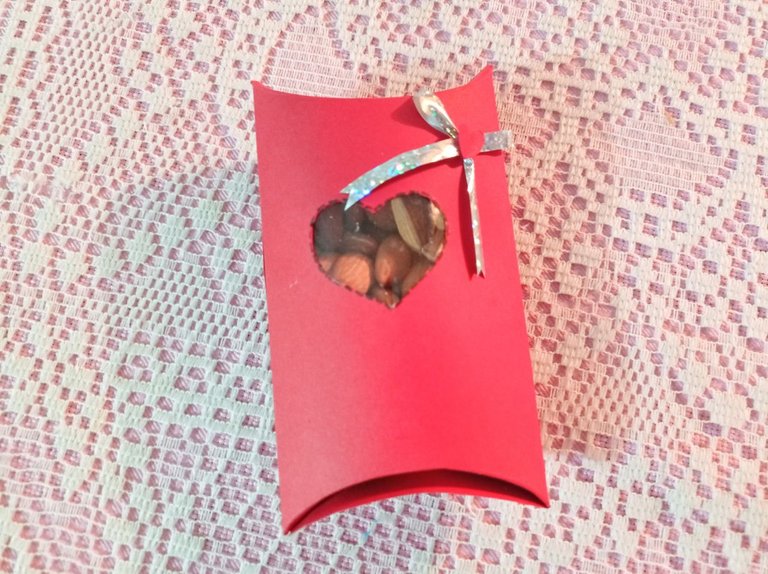
Then we start with the decoration for that we draw a heart on the front of the box and cut it out very carefully, after finishing with that we grab a piece of tape and place it on the back of the heart, this will allow you to see what will be placed inside and not come out, then we stick the end tab with silicone and leave the rest so we can put in and take out what we will place inside the box. Por último lo que hacemos es un pequeño lazo con la cinta decorativa y se lo pegamos a la cajita ese sería el último toque que le faltaría ya que así estaría lista la cajita de cartulina en forma de almohada para dulces.
Finally, we make a small bow with the decorative ribbon and we stick it to the box, that would be the last touch that would be missing and then the cardboard box in the shape of a pillow for sweets would be ready. Espero les guste. I hope you like it. Gracias por Leer. Thanks for reading. Fotos de mi propiedad. Camara: Telefono Xiaomi Redmi note 9
