Hola amigos de hive, hoy quiero compartir con ustedes este lindo organizador de tarjetas que podemos utilizar de igual forma para el efectivo y documentos personales eso depende del uso que le queramos dar, es sencillo de realizar, también podemos hacerlo del modelo y colores que se quiera eso ya depende de la creatividad de cada persona, además lo que más me gusta es que es muy útil.
Hello friends of hive, today I want to share with you this nice card organizer that we can use in the same way for cash and personal documents that depends on the use we want to give, it is simple to make, we can also do the model and colors you want that already depends on the creativity of each person, plus what I like most is that it is very useful.
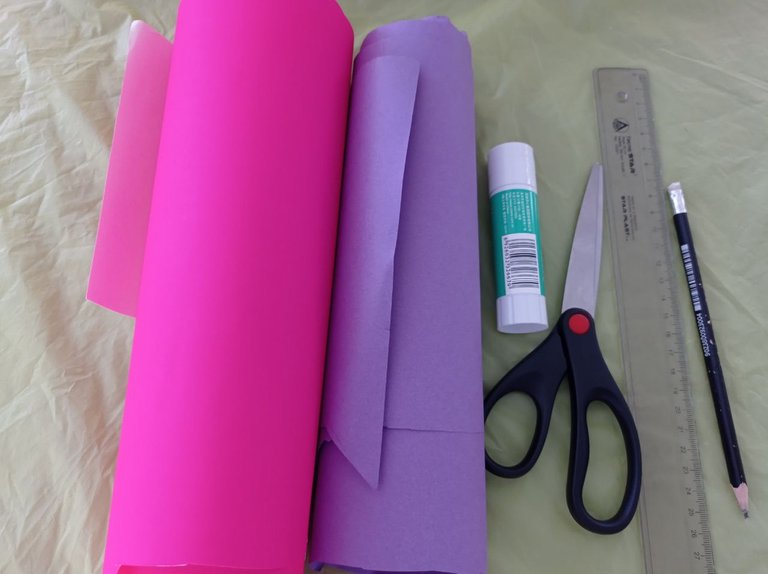
Materiales – Materials
- Cartulina
- Tijera
- Silicón
- Pega en barra
- Lápiz
- Regla
- Foami escarchado
- Marcador
- Cardboard
- Scissors
- Silicone
- Glue stick
- Pencil
- Ruler
- Frosted Foami
- Marker
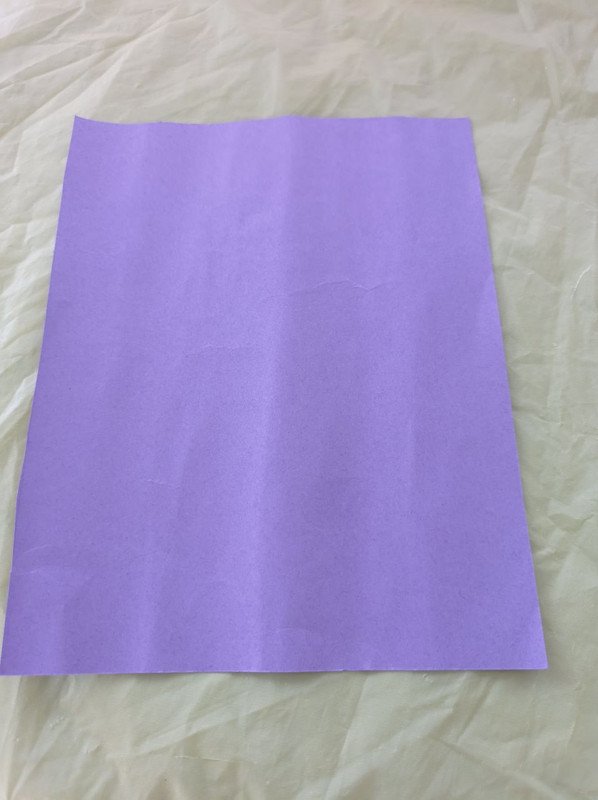
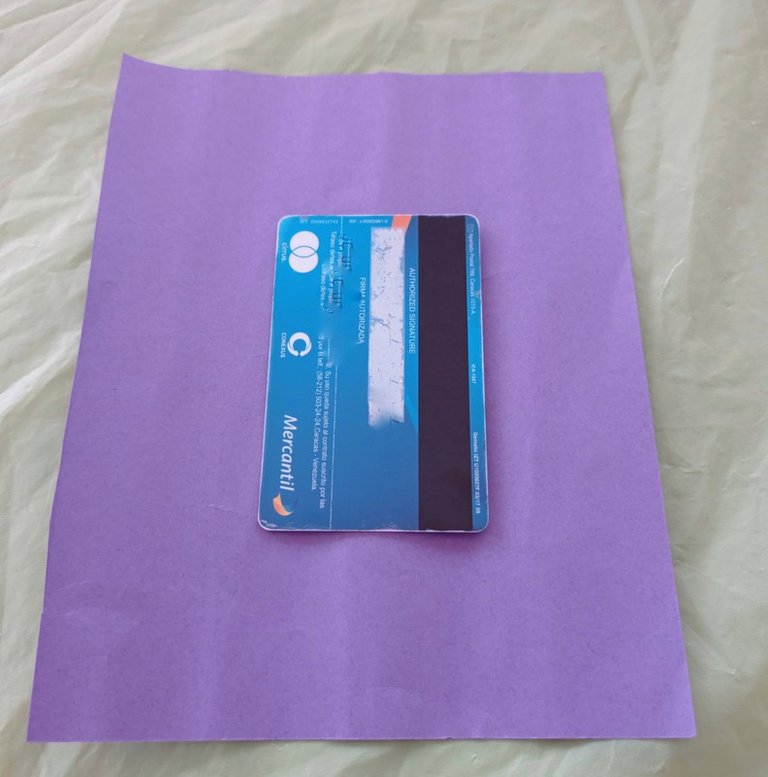
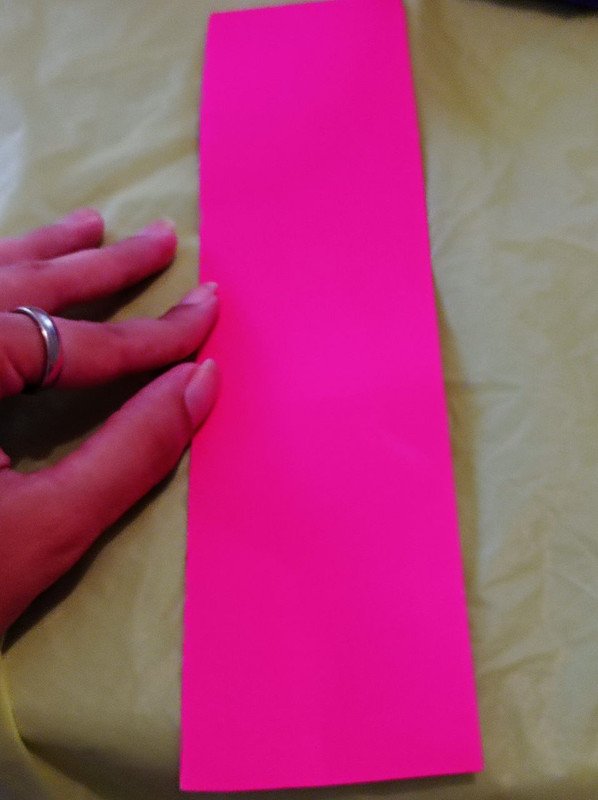
Primero lo que hacemos es medir un rectángulo en cartulina de 18 cm de alto x 14 cm de ancho para recortarlo, luego colocamos una tarjeta en todo el medio para poder medir de qué tamaño será la abertura ya que así se pueden meter y sacar las tarjetas sin ningún tipo de inconveniente, después doblamos y le echamos pega en barra.
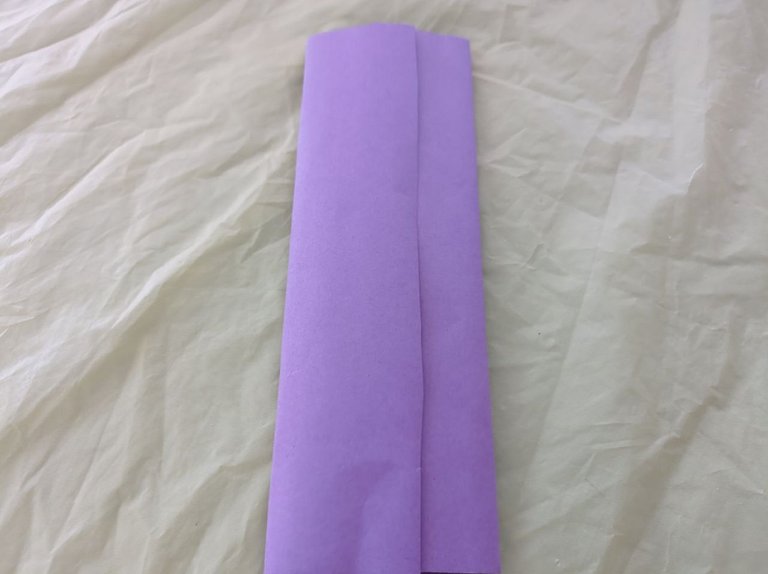
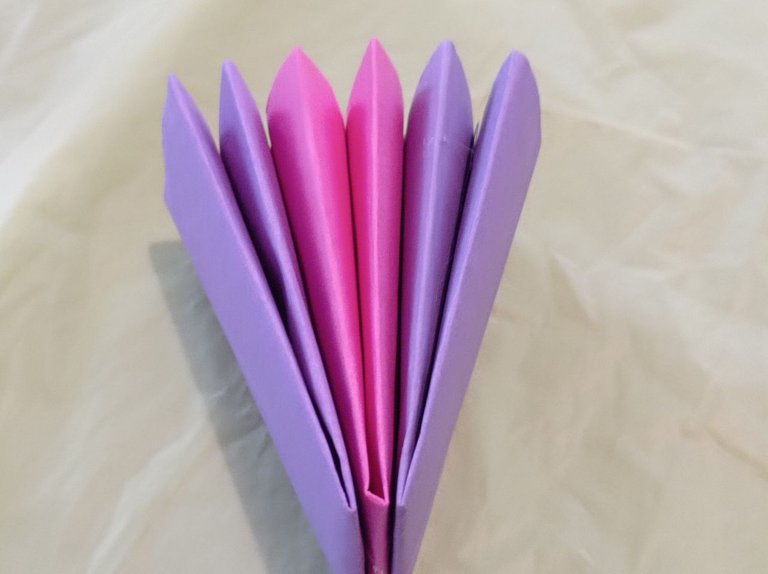
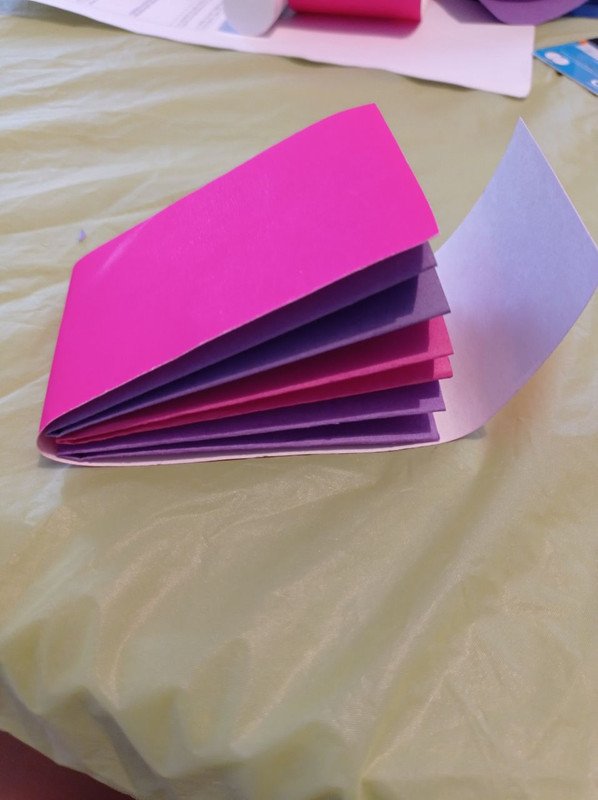
First what we do is measure a rectangle in cardboard 18 cm high x 14 cm wide to cut it out, then we place a card in the middle to measure the size of the opening so that the cards can be put in and taken out without any inconvenience, then we fold it and glue it with glue stick. Ahora doblamos a la mitad y le colocamos el silicón por todo el centro para que pegue lo hacemos de esta forma y no en todas partes para que no quede completamente plano, repetimos el mismo proceso para hacer 2 más para tener un total de 3 cuando estén listos lo pegamos todos y quedará como en forma de acordeón.
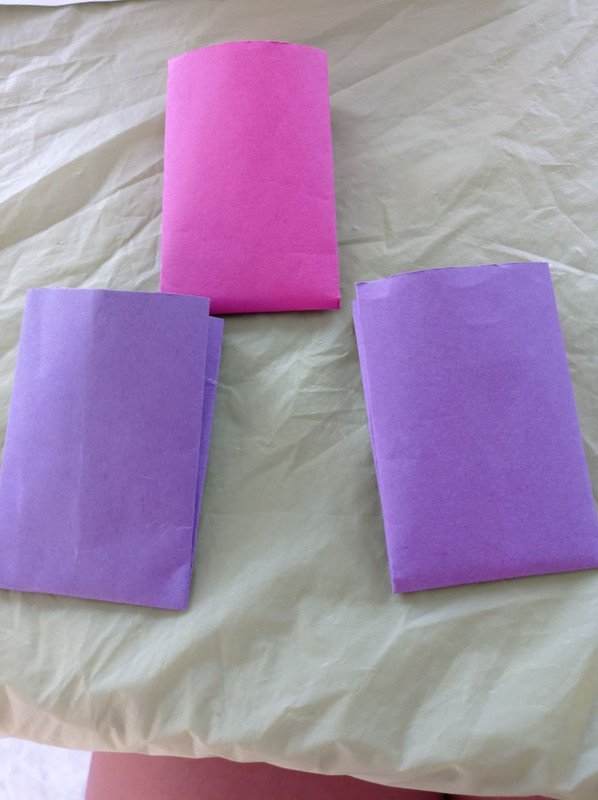
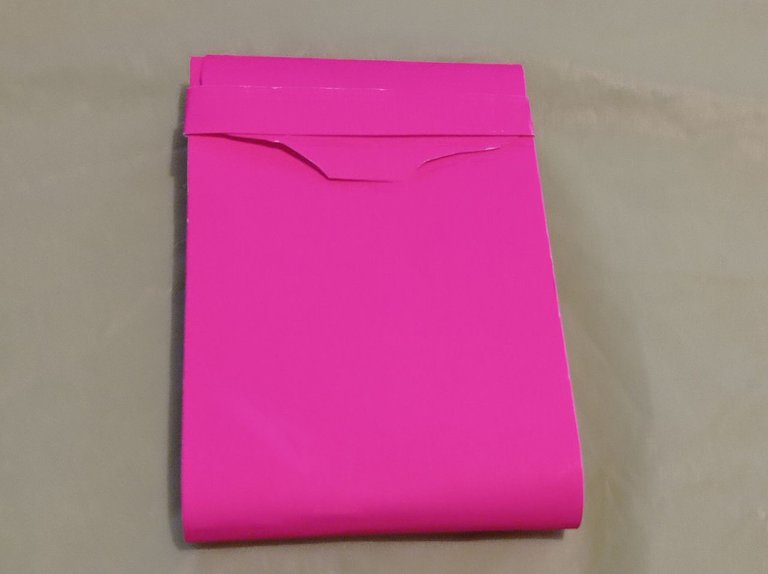
Now we fold it in half and put the silicone all over the center so that it sticks, we do it this way and not everywhere so that it does not remain completely flat, we repeat the same process to make 2 more to have a total of 3 when they are ready we glue them all and it will be like an accordion shape. Luego cortamos una tira de cartulina de 7 cm x 24 cm para cubrir lo que hicimos previamente y lo vamos pegando de cada lado con silicón menos en los laterales y en la parte de arriba ya que quedara un pedazo de tira de cartulina que será la tapa, hacemos otra tira más delgada para colocarla en el frente para asegurar la tapa así no se saldrá nada del organizador de tarjetas.
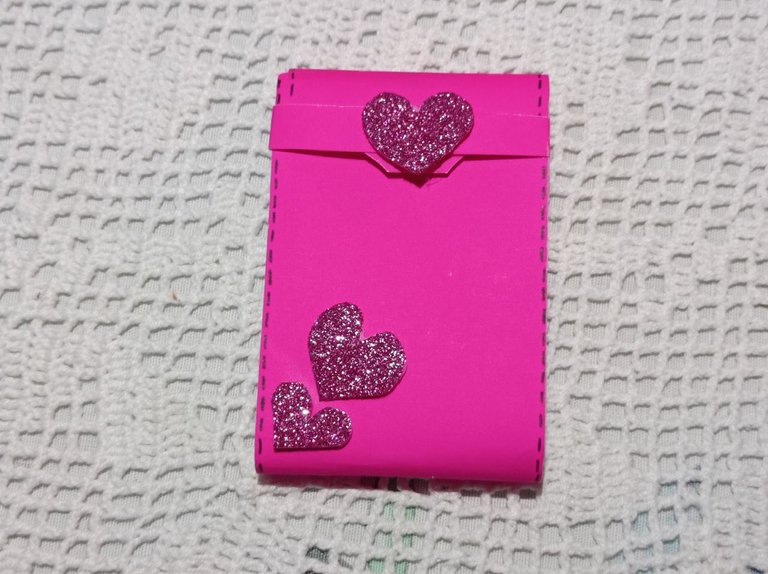
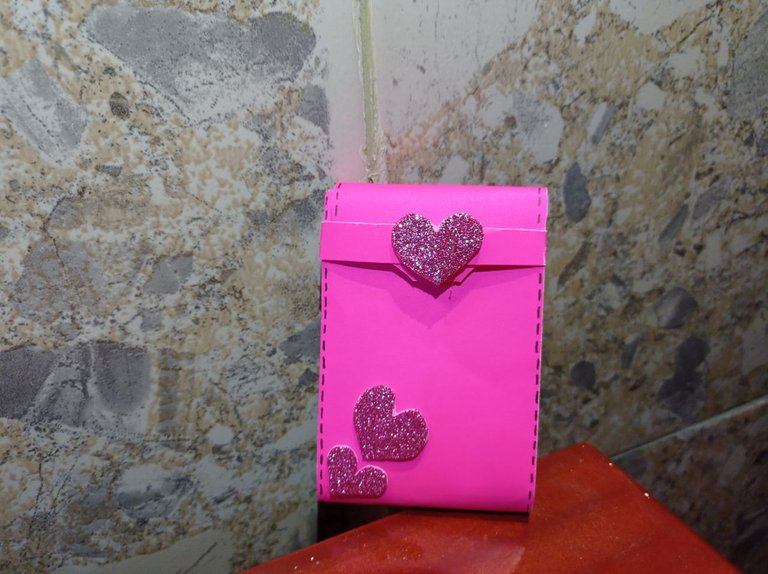
Then we cut a strip of cardboard 7 cm wide x 24 cm high to cover what we did previously and we glue it on each side with silicone except on the sides and on the top since there will be a piece of cardboard strip that will be the lid, we make another thinner strip to place it on the front to secure the lid so nothing will come out of the card organizer. Por último agarramos un marcador delgado y le hacemos un caminito por todo el borde, para el toque final hacemos varios corazones de foami escarchado para colocarlos de forma decorativa así estará listo el organizador de tarjetas para poder utilizarlo.
Finally we take a thin marker and we make a little path around the edge, for the final touch we make several frosted foami hearts to place them decoratively so the card organizer will be ready to use. Espero les guste. I hope you like it. Gracias por Leer. Thanks for reading. Fotos de mi propiedad. Camara: Telefono Xiaomi Redmi note 9