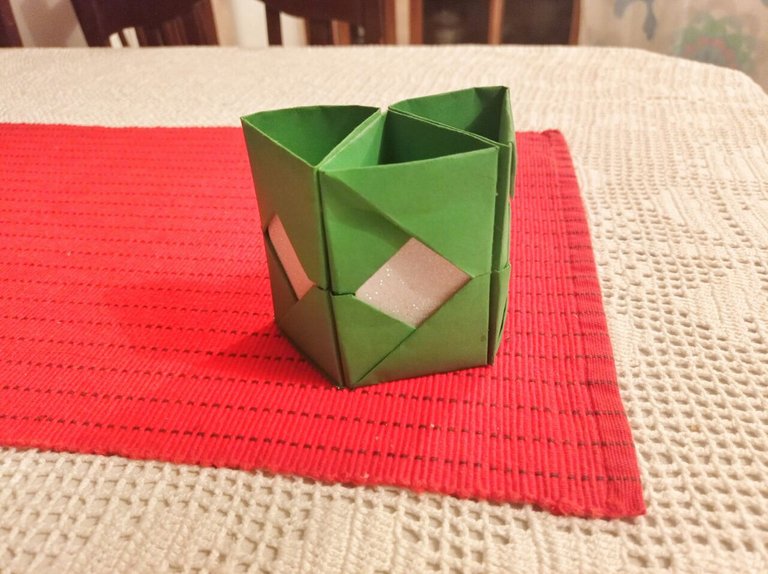
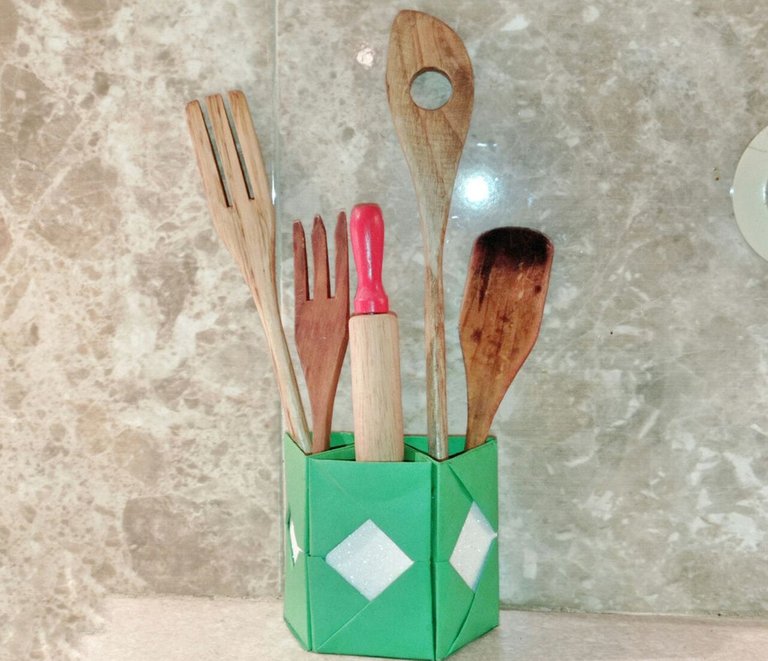
Hola amigos de hive, hoy quiero compartir con ustedes como hice este contenedor de cartulina para colocar algunos utensilios de cocina, es bastante sencillo de hacer y lo podemos realizar del tamaño y modelo que queramos eso depende del gusto de cada persona, además es algo que podemos utilizar para varias cosas no nada más para esto.
Hello friends of hive, today I want to share with you how I made this cardboard container to place some kitchen utensils, it is quite simple to do and we can make the size and model we want that depends on the taste of each person, it is also something that can be used for several things not just for this.
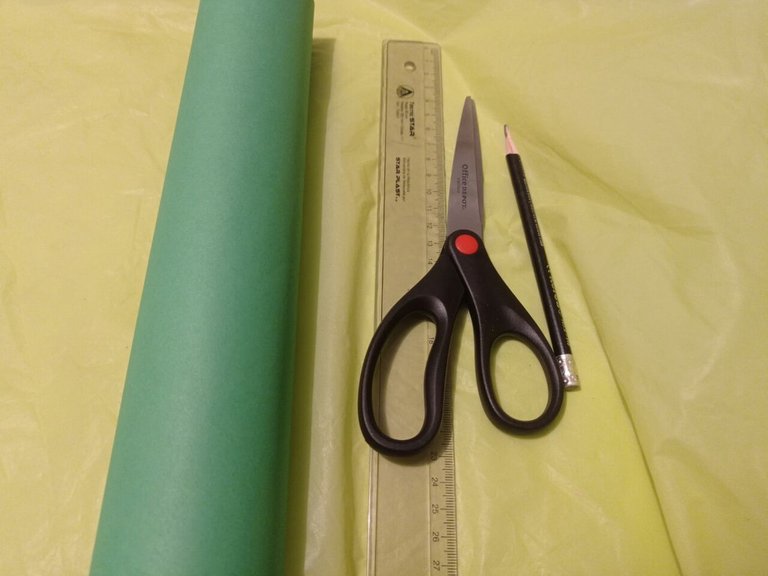
Materiales – Materials
- Cartulina
- Tijera
- Silicón
- Lápiz
- Regla
- Foami escarchado
- Cardboard
- Scissors
- Silicone
- Pencil
- Ruler
- Frosted Foami
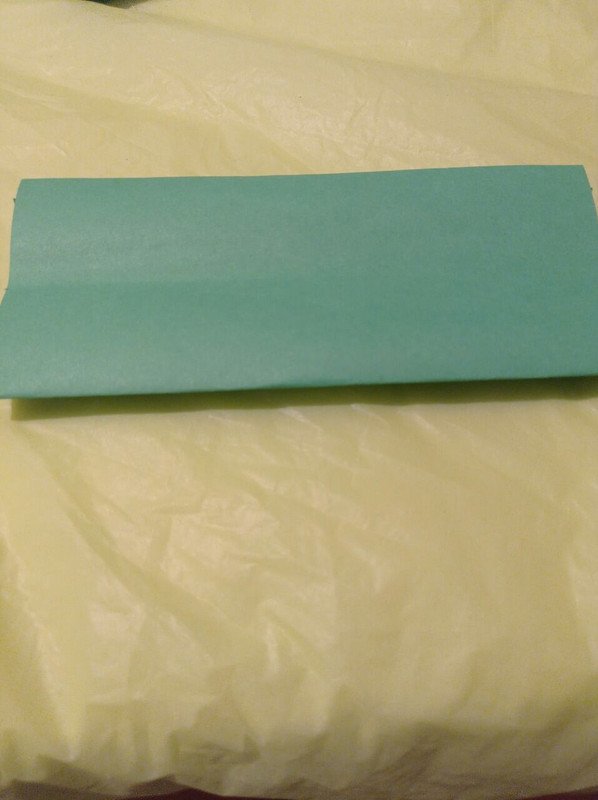
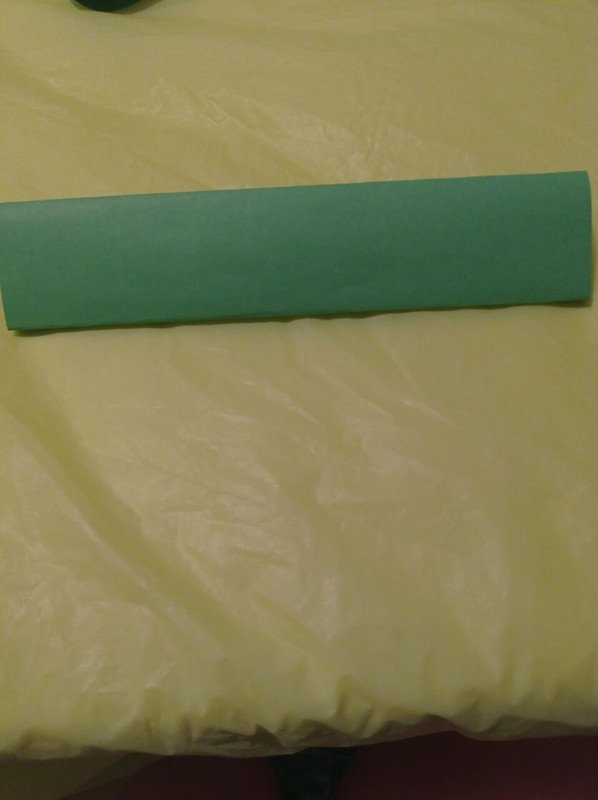
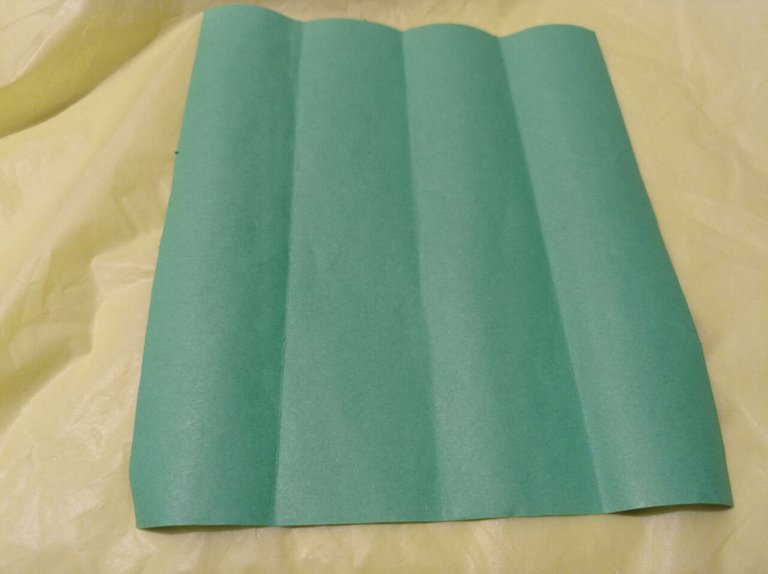
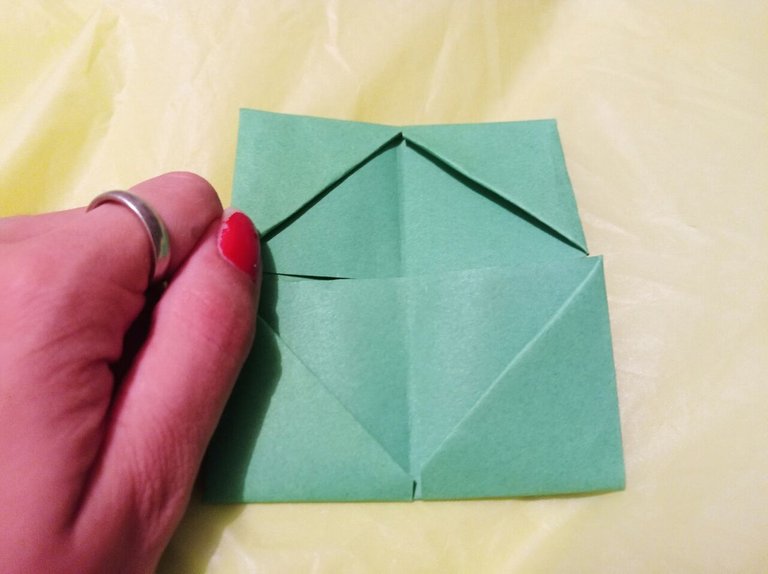
Primero comenzamos cortando 3 cuadrados de cartulina de 20 cm x 17 cm cada uno, empezamos con el primero doblando a la mitad y repetimos la misma acción de nuevo para luego abrir los dobleces.
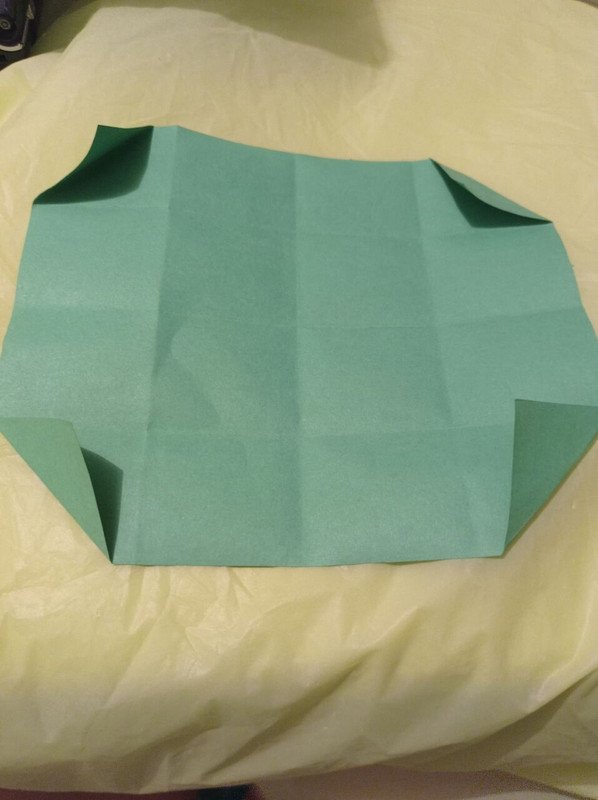
First we start by cutting 3 cardboard squares of 20 cm x 17 cm each, we start with the first one by folding it in half and repeat the same action again and then open the folds. Ahora hacemos los dobleces en sentido contrario como lo hicimos previamente, para así abrir y doblar cada punta hacia adentro hasta donde está la primera línea del doblez, después de eso doblamos hasta el medio cada lado y luego lo volteamos y colocamos al sentido contrario para repetir la acción de doblar los lados hasta la mitad así se vera una forma de diamante en el centro.
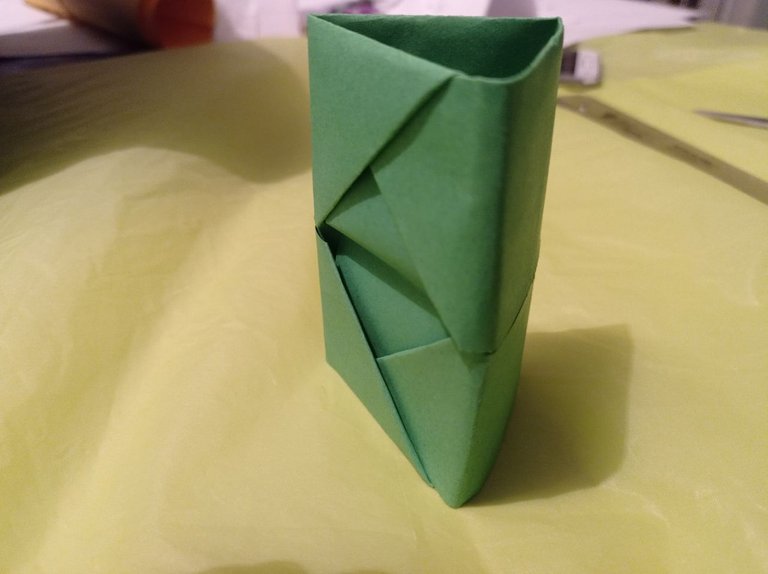
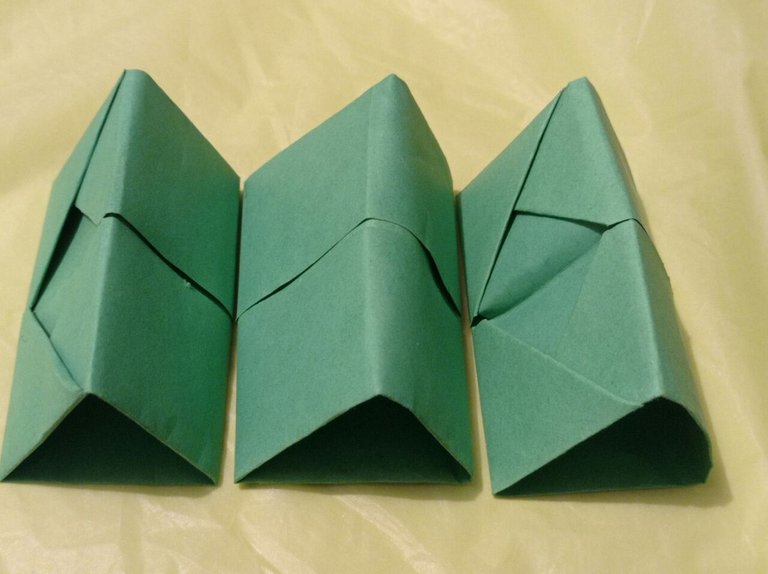
Now we make the folds in the opposite direction as we did previously, in order to open and fold each end inward to where the first line of the fold is, after that we fold each side to the middle and then we turn it over and place it in the opposite direction to repeat the action of folding the sides to the middle so you will see a diamond shape in the center. Luego lo que hacemos es colocar un lado dentro de otro para que así este armado, repetimos lo mismo con los otros dos cuadrados así tendremos listos las 3 partes para poder unirlas.
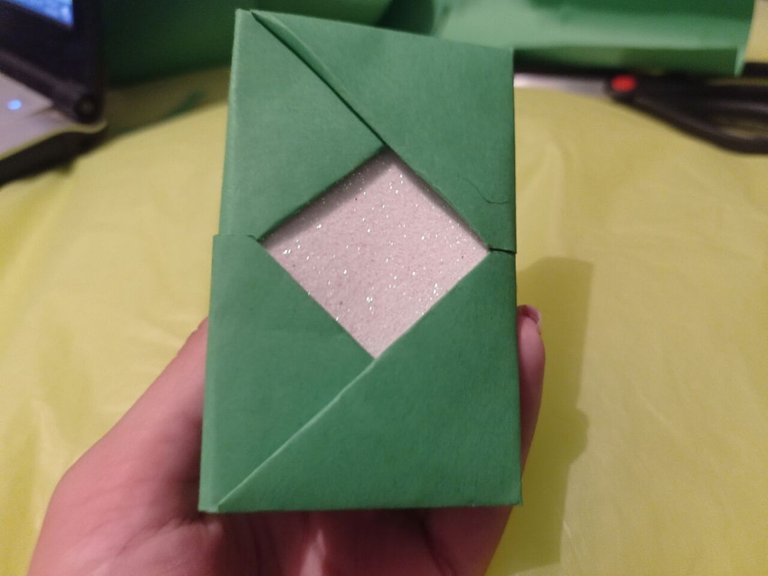
Then what we do is to place one side inside the other so that it is assembled, repeat the same with the other two squares and we will have the 3 parts ready to join them. Ahora cortamos 3 cuadrados de foami escarchado blanco para colocarlos adentro de dónde está la Unión del contenedor que será la parte decorativa, luego de eso pegamos los 3 con silicón así estará casi listo el contenedor.
Now we cut 3 squares of white frosted foami to place them inside where the union of the container will be the decorative part, after that we glue the 3 with silicone so the container will be almost ready. Por último lo que hacemos es marcar lo que será la base del contenedor para eso colocamos lo que hicimos arriba de la cartulina para así calcar, cortar y pegarlo en la parte de abajo así tendremos listo el contenedor de cartulina para utensilios de cocina.
Finally what we do is to mark what will be the base of the container for that we place what we did on top of the cardboard so we can trace, cut and paste it on the bottom so we will have ready the cardboard container for kitchen utensils. Espero les guste. I hope you like it. Gracias por Leer. Thanks for reading. Fotos de mi propiedad. Camara: Telefono Xiaomi Redmi note 9
