ENG
1- Fill the hookah bottle with water as much as the amount of water in Image 1.
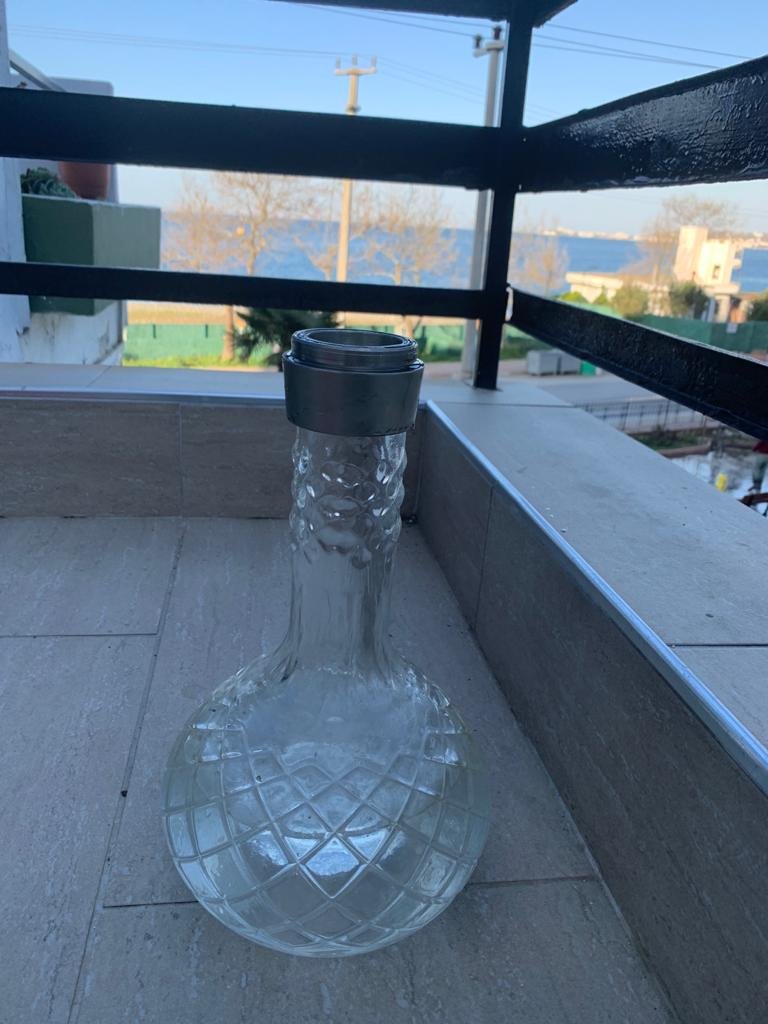
Image 1
2- Clean the hookah stem as in Image 2, you can buy hookah cleaning brushes online or from places that sell hookah tobacco.
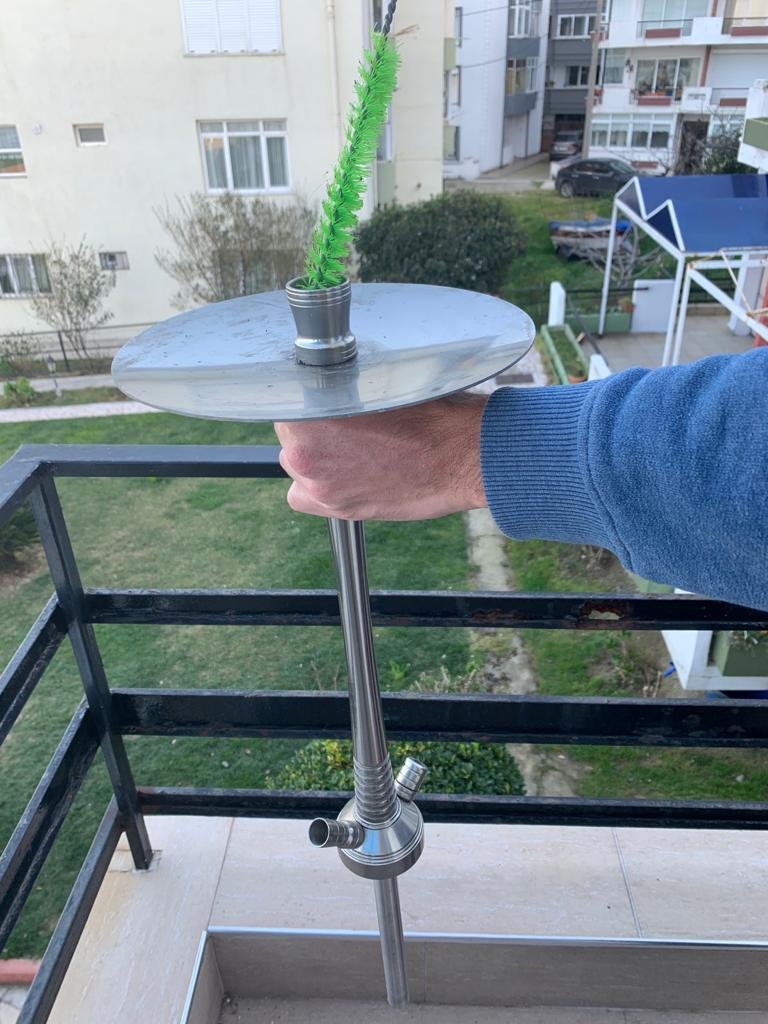
Image 2
3- Now you can merge the cleaned hookah stem to the bottle.
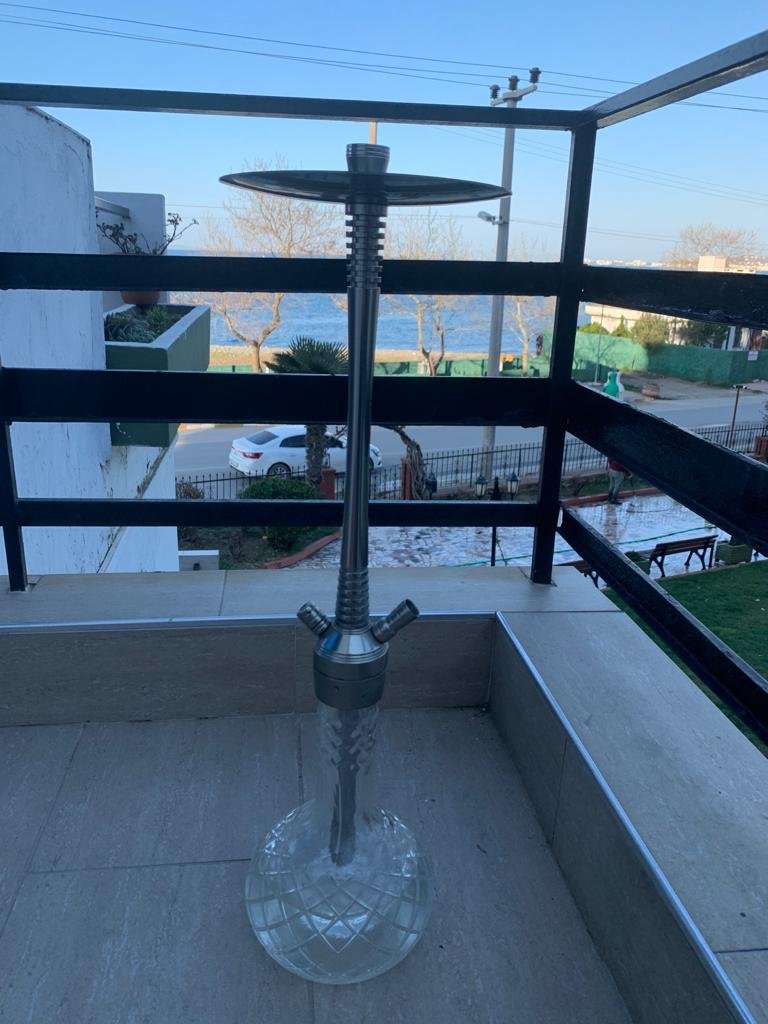
Image 3
4- Hookah Bowl! Make sure all holes are clear and clean, as this is perhaps the most important part of the hookah.
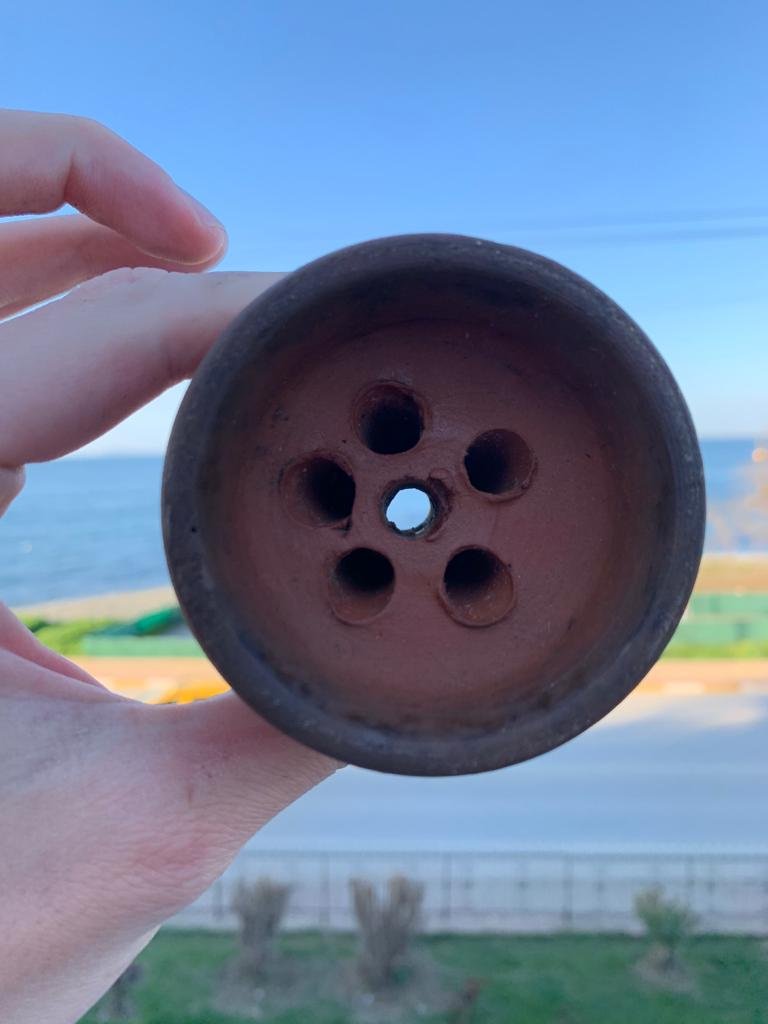
Image 4
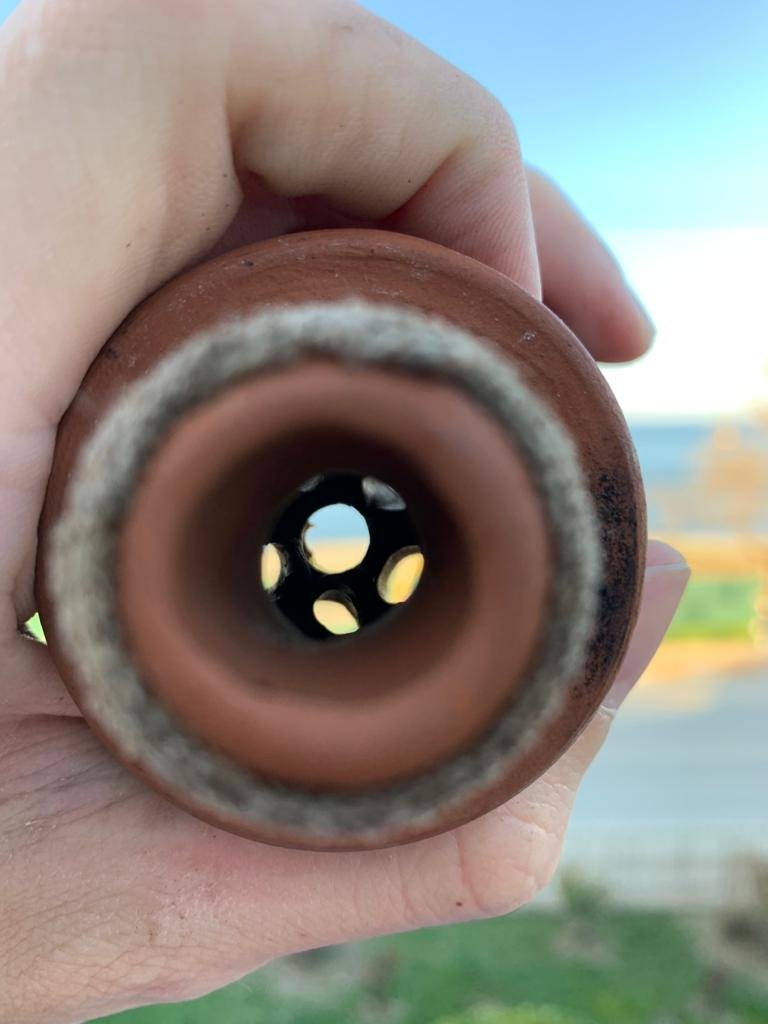
Image 5
5- After making sure that the hookah stem is clean, put 3-4 mouth tips in the holes as in Image 6, the reason for this is not to completely close the holes of the stem while placing the tobacco and to allow it to breathe, by placing the mouth tip you can place the tobacco much more easily.
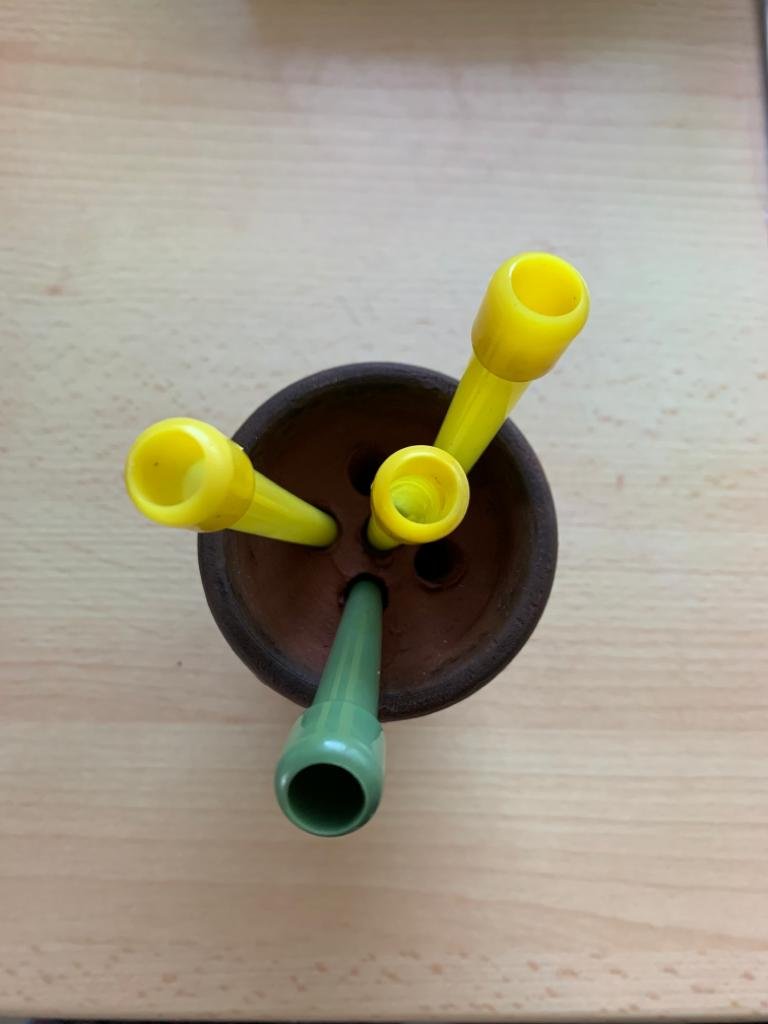
Image 6
6- You can clearly see the tobacco placed in Image 7, even though I placed 3-4 mouth tips I made sure that only the middle hole was completely open and in the other holes I filled less tobacco.
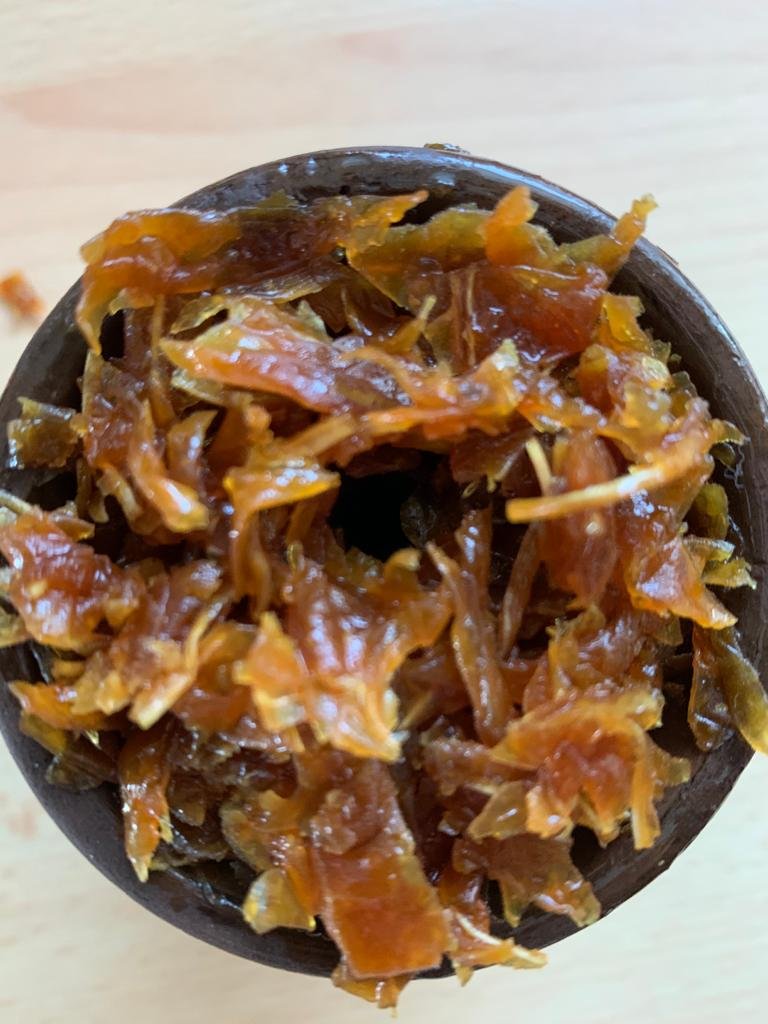
Image 7
7- Wrap the bowl filled with tobacco in thick aluminum foil, which you can also buy from any tobacco shop.
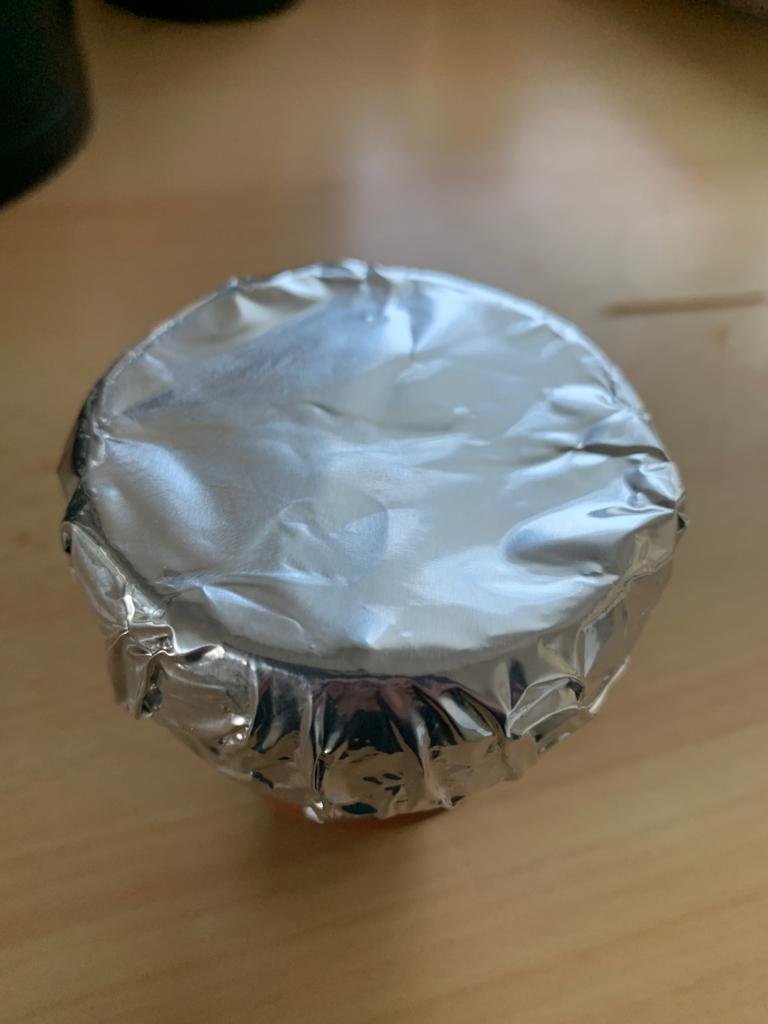
Image 8
8- Open small holes in the wrapped aluminum foil with the help of a toothpick like in Image 9.
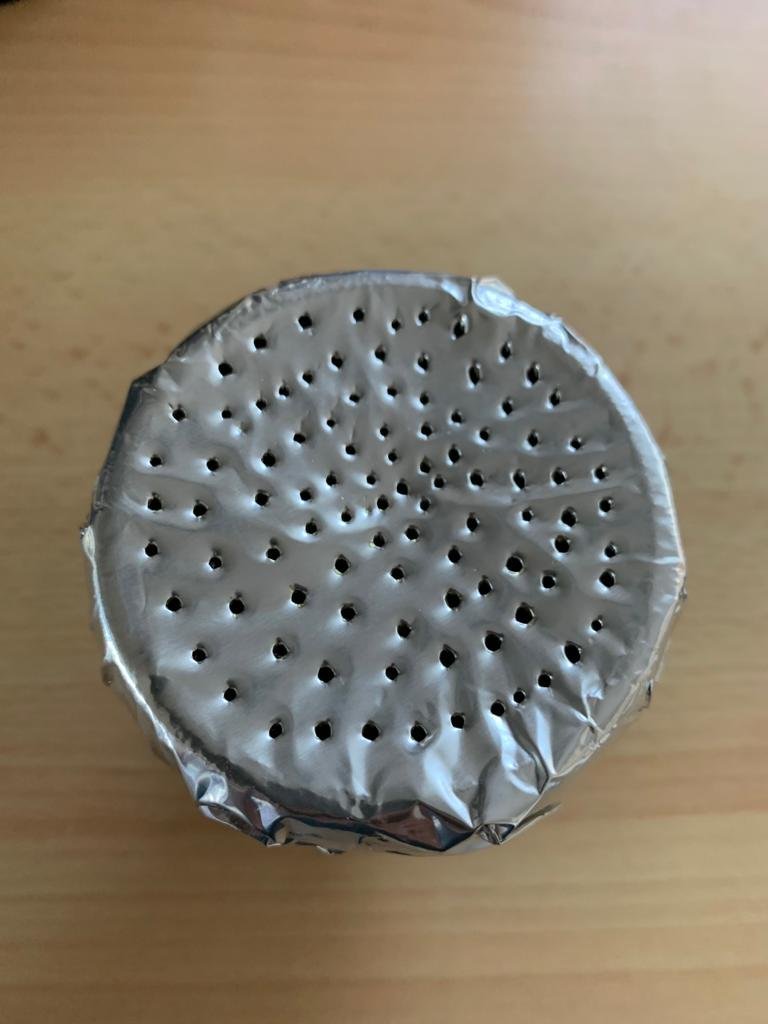
Image 9
9- Now the hookah bowl is ready, you can merge it with the hookah stem.
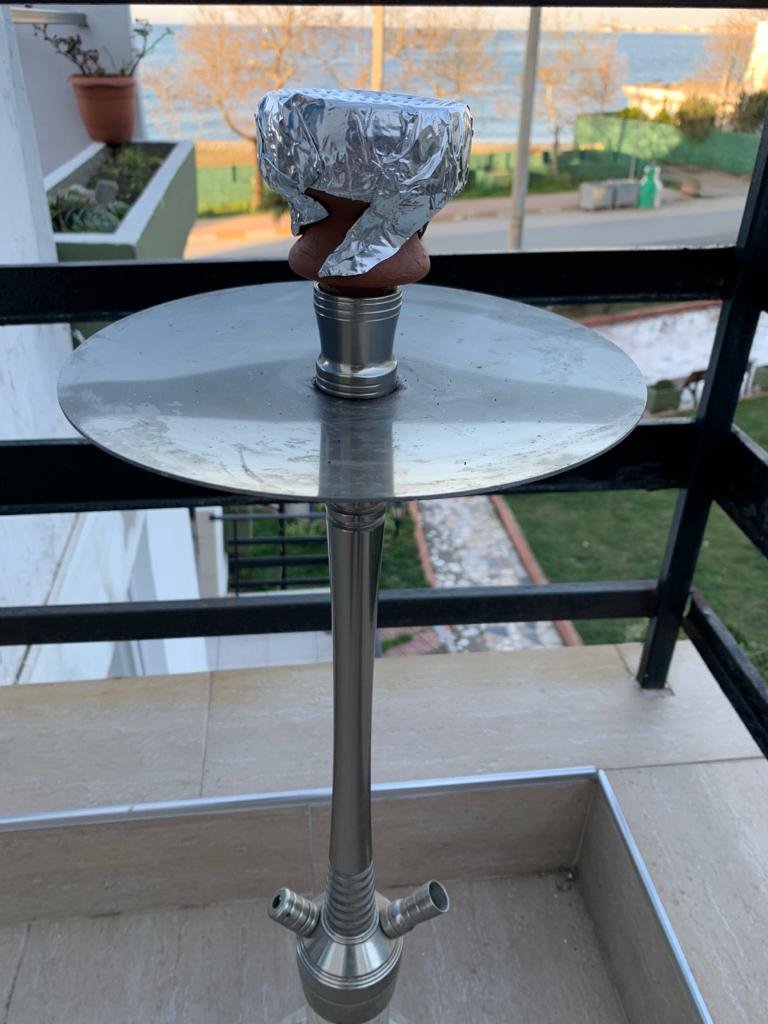
Image 10
10- Personally, as in Image 11, I always use a new mouth tip and a new hose, but you don't always have to open new, it's totally optional.
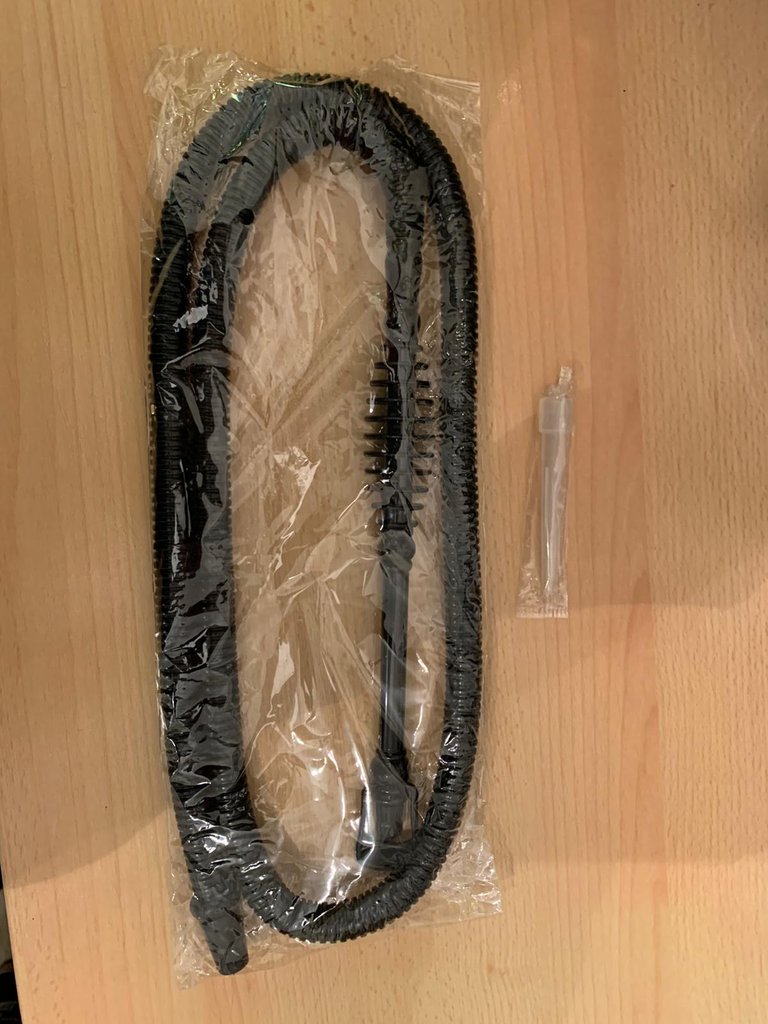
Image 11
11- Now all the parts of the hookah are ready, it's time to prepare the embers, you can buy them on the internet or from tobacco sellers, cook on the stove or with this electric embers machine for hookah embers.
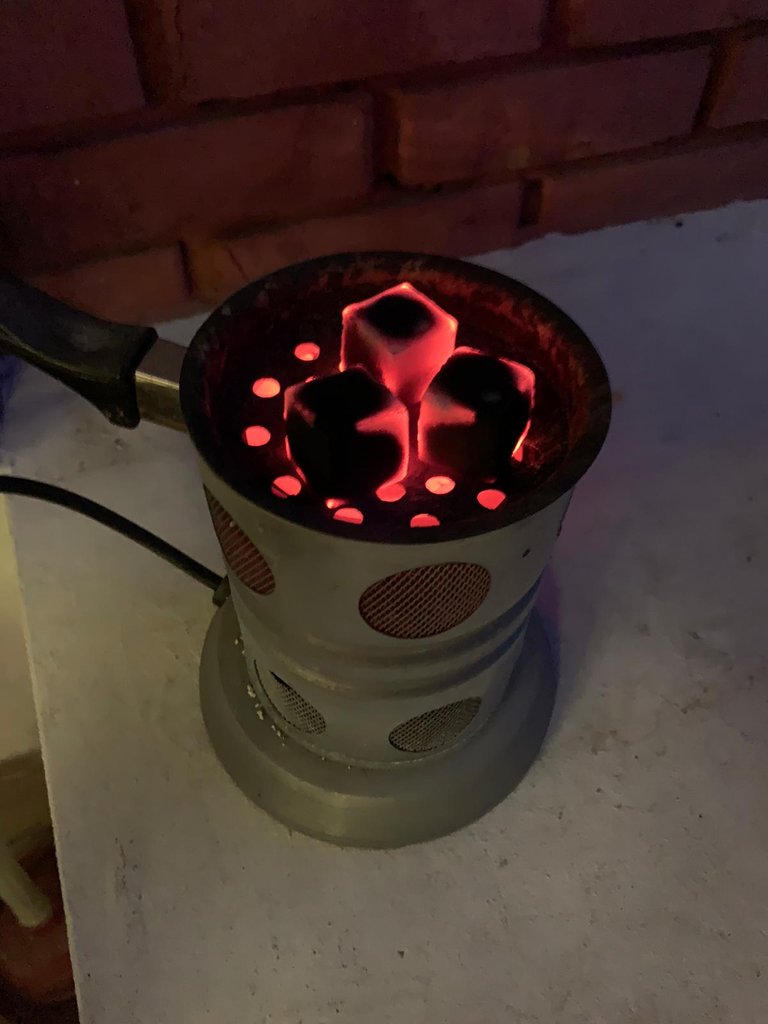
Image 12
12- Place the embers on the foil with clay bowl.
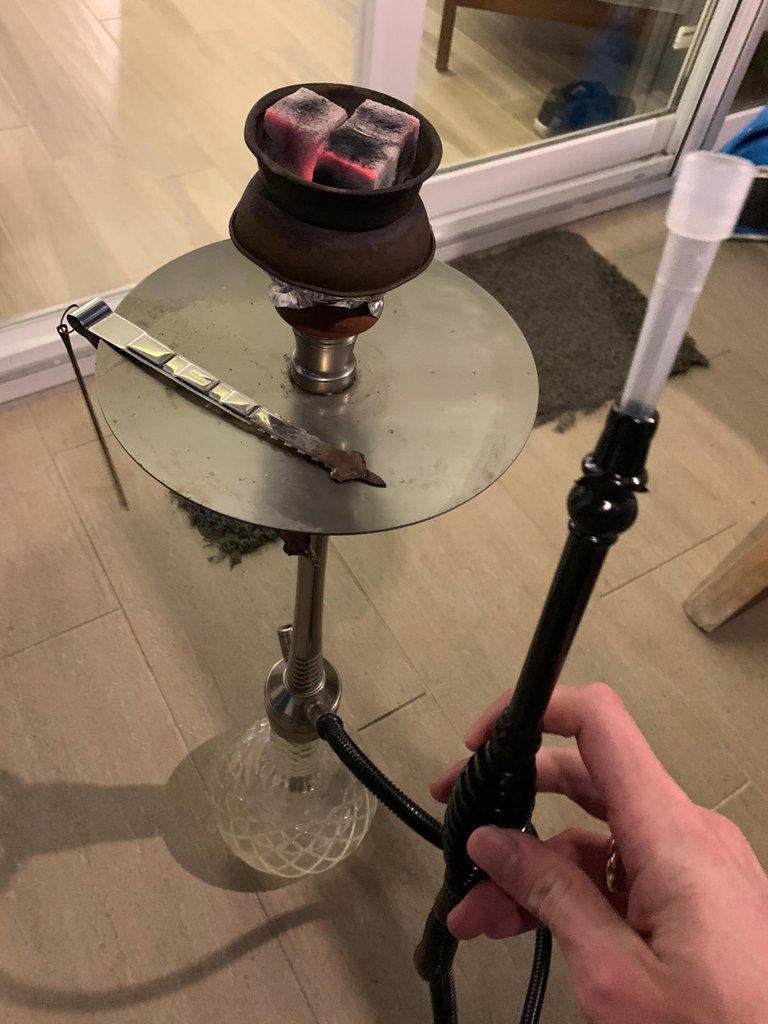
Image 13
Now your hookah is ready, bon appetit!
-----------------------------------------------------------------------------------
TR
1- Nargile şişesine Görsel 1'de bulunan su miktarı kadar su doldurun.

Görsel 1
2- Nargile serini (borusunu) Görsel 2'deki gibi temizleyin, nargile temizleme fırçalarını internetten veya nargile tütünü satan yerlerden satın alabilirsiniz.

Görsel 2
3- Temizlenmiş olan nargile serini artık şişeye takabilirsiniz.

Görsel 3
4- Nargile lülesi! Nargilenin belki de en önemli parçası olduğundan, bütün deliklerin açık ve temiz olduğundan emin olunuz.

Görsel 4

Görsel 5
5- Nargile lülesinin temiz olduğundan emin olduktan sonra Görsel 6'daki gibi deliklere 3-4 adet sipsi yerleştirin, bunun sebebi ise tütün yerleştirirken lülenin deliklerini tamamen kapamamak ve nefes almasını sağlamak, sipsi yerleştirerek tütünü çok daha rahat şekilde yerleştirebilirsiniz.

Görsel 6
6- Yerleştirilmiş olan tütünü Görsel 7'de net olarak görebiliyorsunuz, 3-4 adet sipsi yerleştirmiş olsam bile sadece ortadaki deliğin tamamen açık kalmasını sağladım ve diğer deliklerde tütünü daha az doldurmuş oldum.

Görsel 7
7- Tütün doldurulmuş olan lüleyi yine herhangi bir tütün satıcısından alabileceğiniz kalın alüminyum folyo ile sarın.

Görsel 8
8- Sarılmış olan alüminyum folyoda kürdan yardımı ile Görsel 9'daki gibi ufak delikler açın.

Görsel 9
9- Artık nargile lülesi hazır, lüleyi nargile seriyle birleştirebilirsiniz.

Görsel 10
10- Şahsen Görsel 11'deki gibi ben her zaman yeni sipsi ve yeni marpuç kullanıyorum, fakat siz her zaman yeni açmak zorunda değilsiniz, bu tamamen tercihe bağlı.

Görsel 11
11- Artık nargilenin bütün parçaları hazır, sırada közü hazırlamak var, yine internetten veya tütün satıcılarından alabileceğiniz közü, ocakta veya nargile közü için kullanılan bu elektrikli köz makinesi ile pişirin.

12- Hazırladığınız közü folyonun üzerine kapağı ile beraber yerleştirin.

Image 13
Nargileniz artık hazır, afiyet olsun!