
Elderberry season has arrived once again, and I left it a little late this year, some berries have already dried up on the stem.
But knowing how nice they are as wine, I was motivated to pick them just after the rain had stopped.
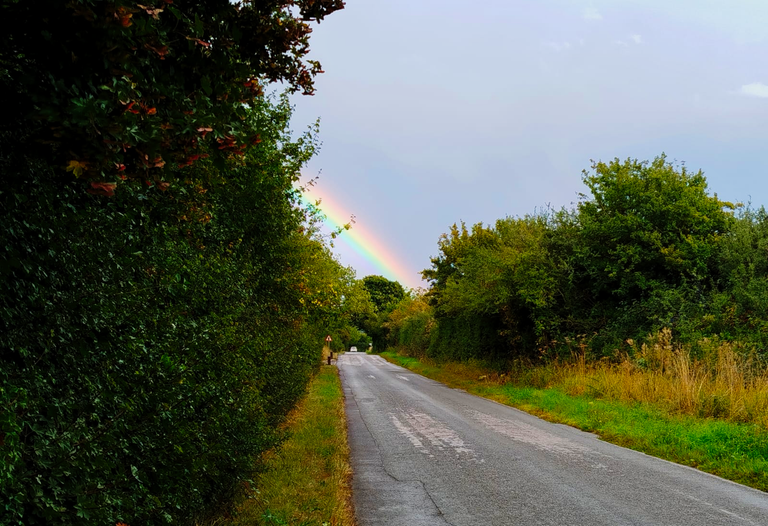
At the end of the road, a rainbow appeared, and it cheered me up while I was picking.

They are everywhere here.

I enjoyed gathering them along this peaceful country road.

Also, by the hedges in the field.

And plenty in the woodland, and even more on the very tall tree that I could not reach, so I only picked the ones I could get my hand to.

These berries are easy to collect, and I could fill the basket in just 15 minutes.

Best to process them fresh, so I prepare them immediately after picking, using a fork to pluck the berries, removing the stems and anything I don’t want to include.
Once you have tasted how nice elderberry wine is, it becomes a routine every year, and I tend to improve the recipes.
🍷 Wild Elderberry Wine
(yields about 8 litres with ~ 13% ABV)
Ingredients:


4 kg ripe black elderberries (stems removed)
4 L water
Juice and pulp of 2 lemons
1 cup fresh elderberries (raw, optional, for wild yeast boost)
A splash of elderflower champagne (optional, for active wild yeast)
2 kg sugar (sweet wine), or 1.73 kg sugar (if you prefer a drier wine)
Instructions
🍷 Simmer and Blend the Base Berries

Place 4 kg elderberries (stems removed) in a large pot with 4 L water. Simmer gently for 20-30 minutes.
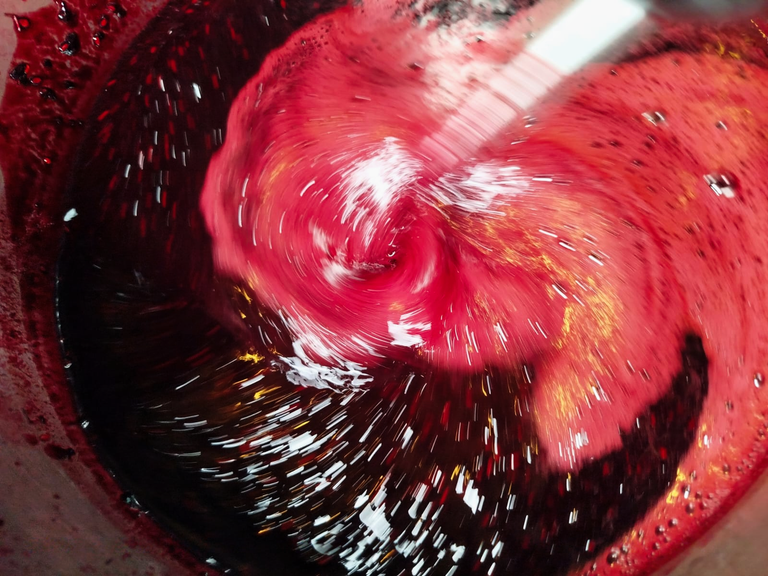
Midway through simmering, blend the berries to fully break them down. Let the mixture cool to room temperature (~20 °C). Heating neutralises the toxic cyanogenic compounds, while blending enhances flavour extraction. The smaller particles also provide nutrients and support for the yeast during fermentation.


Add Lemon juice and pulp, 1 cup fresh raw elderberries and/or a few elderflowers or a splash of elderflower champagne. These introduce wild yeast to start fermentation naturally.
🍷 Hands-Off Initial Fermentation
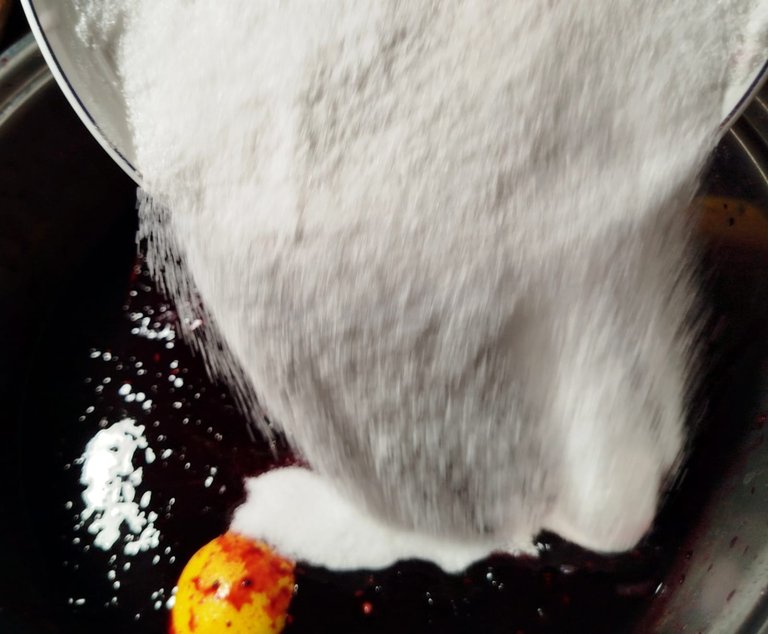
Pour 2 kg of sugar over the top, but do not stir. Leave undisturbed for the first 1 day.
The yeast will start feeding on the sugar gradually without being overwhelmed. Cover loosely with a cloth or lid.
Fermentation produces carbon dioxide, and wild yeast needs a little oxygen to establish. A loose cover lets gases escape and keeps dust or insects out.
🍷 Daily Stirring

After a day, stir gently twice per day for 4-7 days to keep the yeast active and in contact with the sugar, and this also avoids mould and kahm yeast formation.

Normally, it starts bubbling after 4 days, especially if active elderflower champagne was added.

Once the mixture begins bubbling, strain out the solids. Unlike blackberries, where I’ve had success leaving in the pulp and seeds, elderberries are rich in tannins, and keeping the seeds can make the wine overly bitter.

Then transfer the liquid to the fermentation vessel or demijohn. I find that transferring to the vessel earlier prevents mould and kahm yeast from developing, especially in wild fermentation.

Fit the fermentation airlock tightly. I put brandy in the airlock instead of water to deter flies, and it also serves as a sanitiser.
🍷 Long Undisturbed Fermentation

Leave the wine undisturbed in the vessel for 6 months to a year, in a dark, cool place with some ventilation, away from the sun to avoid oxidation and to allow it to mature beautifully.
I tend to avoid frequent racking. Minimal handling reduces bacteria risk and allows wild yeast to finish fermentation naturally, the flavour turns out nicer.
🍷 Bottling
After 6 months, rack the wine and siphon the clear top portion into sanitised bottles. The cloudy bottom will have some lees and berry particles settled. I sometimes leave them for an extra complex wine with a rich mouthfeel, or I filter them and use the lees for other ferments, such as vinegar, or as an extra flavouring in cooking.

Enjoy your fruity wine! Or age further if desired; flavour will deepen and mellow over time.
Video of the current fermenting wine, bubbling as the yeast releases gas.
Have a lovely day,
Mariah 🍷
This post has been shared on Reddit by @theworldaroundme through the HivePosh initiative.
Sending you some Ecency curation votes!
Many thanks 💕
My daughter tried making an elderberry tart. The crunchy seeds made it pretty unappetizing. Wine is the best choice!
!INDEED
Awww, haha! Yes, elderberries are too seedy, so it’s best to strain them. I made jam with the seeds, and it turned out grainy. Syrup and wine are the best ways to use them up. 😀
Wow, dear Mariah @theworldaroundme !! What a g l o r i o u s post - so rich in wisdom and beauty, nutriment and insight 🤗🥳🌺🍷 Thank you so very much for sharing this fantastic guide; it helps me indeed, to think about wine-making... 🍷🍷🍷🍾
You are welcome, dear @Clareartista. I have added some rationale, so you may want to reread it. I posted it last night, but for some reason the content reverted back, leaving it incomplete. Good luck with your winemaking, and please update us on how you get on. 😊🍷💕
I just discovered yesterday a tree of these while parking... Does it taste like classic wine? I don't like it 🤣
Wow, has it got berries?
It tastes like port, more fruity than classic wines. 😃
Yep, black berries like those
That note about pulling the elderberry seeds made a lot of sense. I learned the hard way that those tiny guys can turn a nice batch into sock tea. Do you blend it super fine before primary or keep it a bit chunky and use a bag. Also, do you rack once during that long rest or truly let it sit untouched the whole time.
Thank you. Yes, they make the wine bitter, but I noticed that the taste settles after a couple of years. It’s a long time to wait, though, so pulling them out earlier is better. Yes, I blend them as much as I can; the seeds are too hard to crush, so it’s mostly the pulp. I never use a bag, I like to keep them moving freely as that helps with better extraction. I’m too lazy to rack, and I dont want to introduce bacteria that could give off taste, so I never rack them; the sediment settles nicely at the bottom. After a year, it will be compacted, and you’ll find it sticking together, while the upper part is clear. I use the sediment in cooking, so I don’t rack or strain. :)
Letting everything move free makes sense for color and body. Have you tried a quick freeze and thaw before blending to loosen the pulp without pulling more from the seeds, or does that tilt the flavor? What do you cook with the sediment, like a pan sauce or a rich stew, and do you loosen it with a splash of wine first? When you bottle the clear part, do you keep it dry or back-sweeten a touch to round the edges?
Thank you @ewkaw 💕
Congratulations @theworldaroundme! You have completed the following achievement on the Hive blockchain And have been rewarded with New badge(s)
Your next target is to reach 100000 upvotes.
You can view your badges on your board and compare yourself to others in the Ranking
If you no longer want to receive notifications, reply to this comment with the word
STOPCheck out our last posts:
#hive #posh