 </center
I reappear in this community after a more or less long time that has forced me to neglect my garden and my vegetable garden.
Health problems have made me think more about myself than about the plants. I am recovering little by little and what better way to do it than to start doing it from my plants.
The beginning of spring marks not only the time of the year when probably the most work is done in the garden, but also the urgent need to find available space to accommodate the new plants, especially when we decide to enlarge them.
In my case in particular - or in my wife's case since succulent plants are theirs - we have gone from having few plants to having a hundred among different varieties of succulents, repeated plants that we hate to throw away, etc.
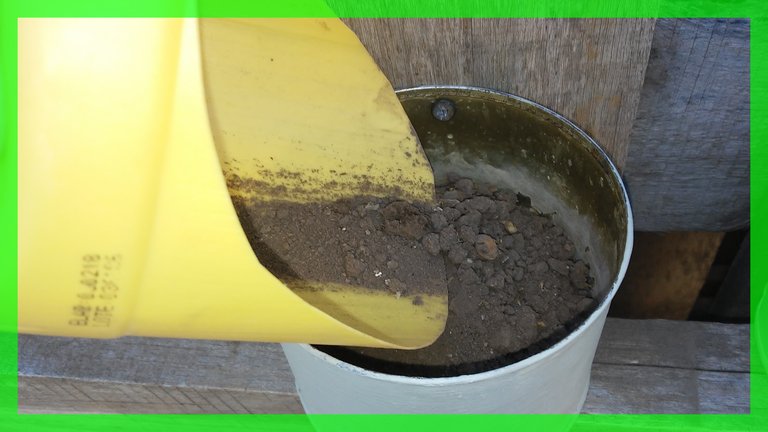
With some pallets that we have fixed to the wall that separates our property from the neighbor's we have managed to place most of them. But among friends, neighbors and relatives we have formed a real community of plant exchange.
Don't you have this succulent plant? I'll give you some segments or leaves and I'll take this beautiful Kalanchoe whose variety is missing among the ones I have at home. This speech is repeated a thousand times, and each time it means a new plant added to our garden. And in the neighbor's garden.
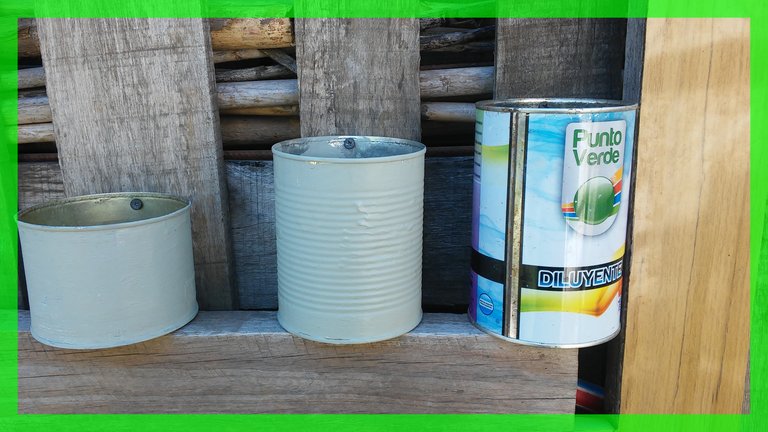
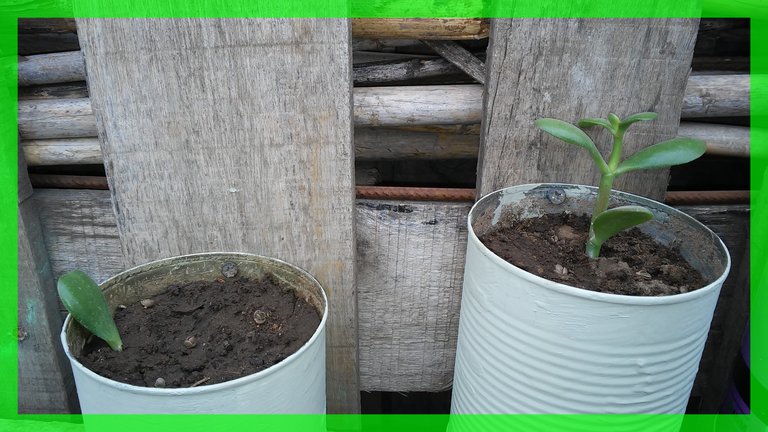
For that reason and taking advantage of several stacked pallets that I have at the bottom of the garden, I decided to improvise with recycled elements (jars in general) new containers to house the new species that come to our house.

I will hardly talk in this community about buying so many plants or so many pots. It's all handmade, recycled, handcrafted. Even some small pots we have made with my wife in cement, creating even the molds, for which we have used those small trays of delivery of 10x20 cms and about 5 cms of height in which generally the salads arrive. It is also the ideal surface to make the bonsai pots, but that is another topic, another passion of mine for gardening, which I will talk about later.
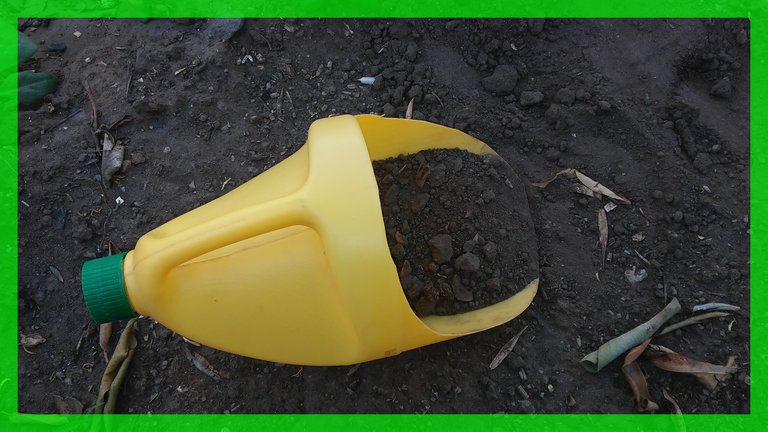
Sometimes I stop to think about the many gardens I have seen, where their owners boast of having bought all the plants and having spent a lot of money on beautiful and architectural pots. At this point I have to ask myself: where is the gardener's job? Is it giving them water once a week, or when they remember? Spending money we are all gardeners. The real problem arises when we have to reinvent ourselves, get our hands dirty with soil -if we don't wear gloves- and other minor details that make some -like the undersigned- really love this job.
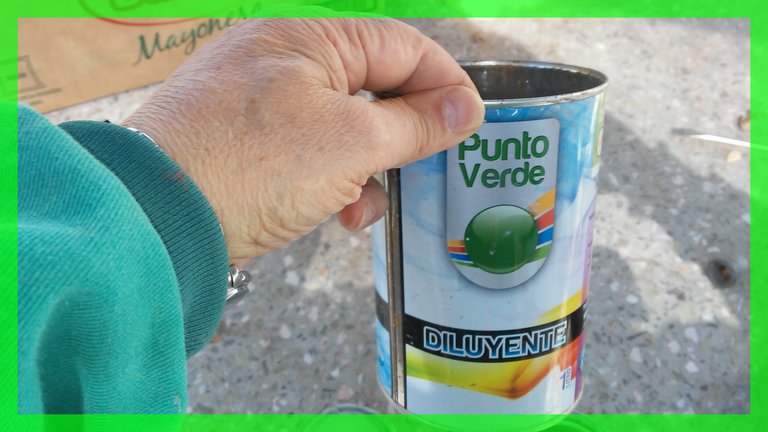
Obviously this is not my case. I have recovered several empty jars that I found looking in the most unusual places of my house, I have painted some and others I have left them as they are because they are brightly colored. From paint jars perfectly clean and free of any chemical component, to natural fruit jars of one kg of those that we find in any supermarket or food store in our neighborhood.
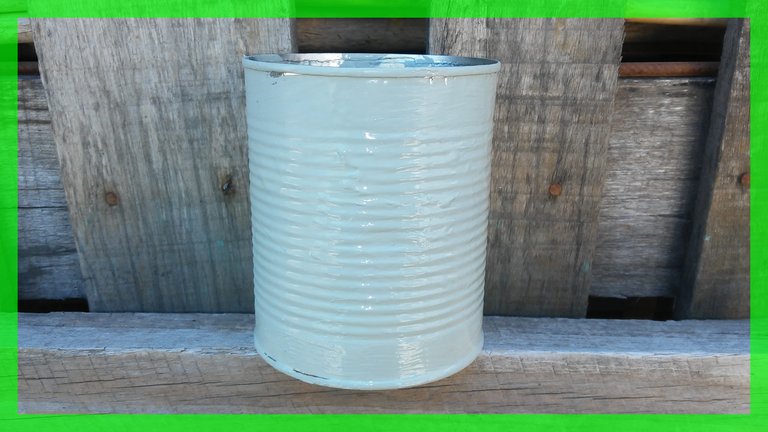
Those of a liter or a kg are the ideal ones, in spite of the fact that the succulents do not need a great quantity of earth to germinate and to develop. We have to think that they develop quite quickly and the bigger the jar the less urgency we will have to think about a transplant.
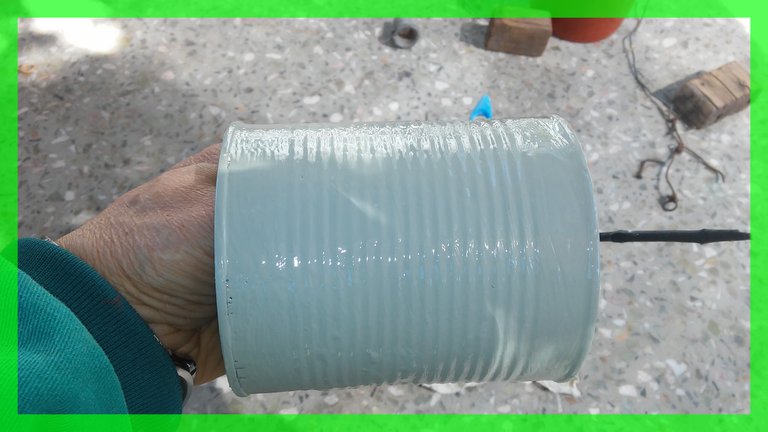
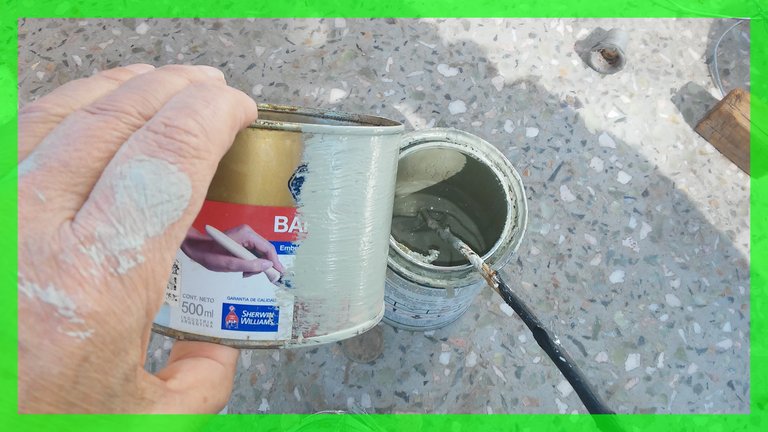
The first task of recovery of these containers or homemade pots is to eliminate the paper that covers them and to paint them. As my artistic gifts are very scarce I have painted them of a single color, but I have seen some jars painted in wonderful form. I even took advantage of the fact that some of them were rusty to give them a coat of rust converter to make them last a little longer.
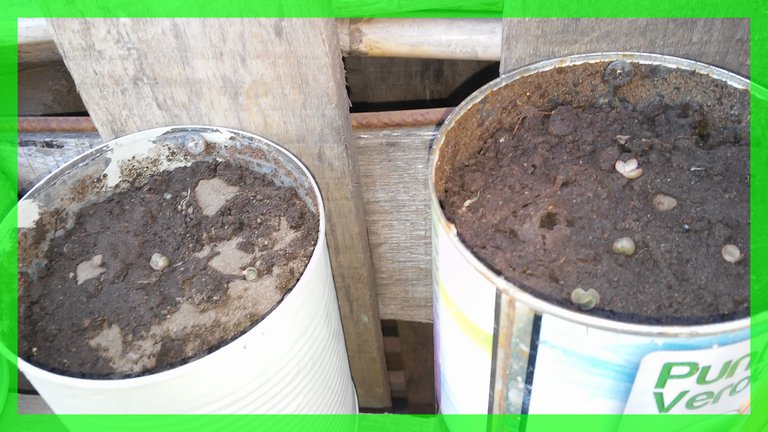
Taking advantage of the fact that the pallets are positioned vertically, I decided to fix the jars with small screws to the vertical wooden slats. The arrangement is perfect and visually they are very well organized. In some cases I rest them on the cross slats and in other cases they remain in the air but perfectly fixed to the wood.
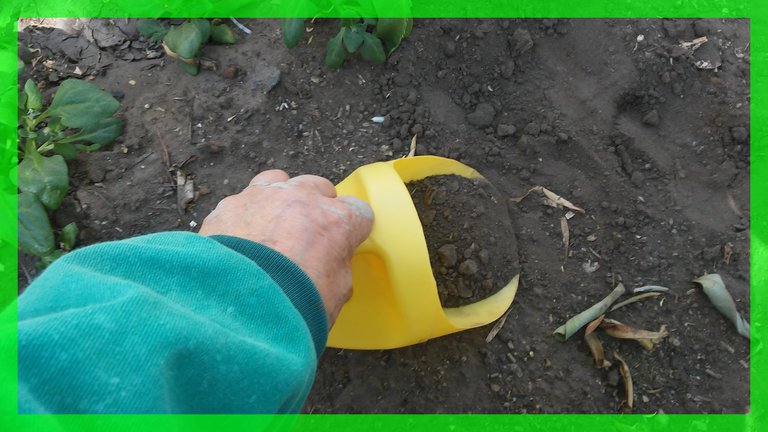
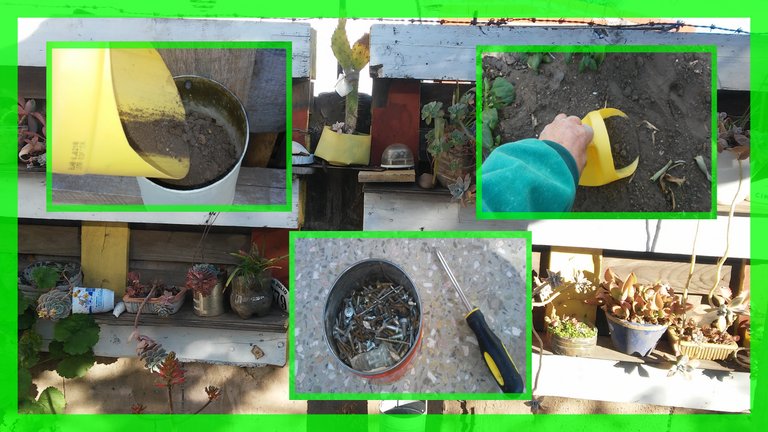
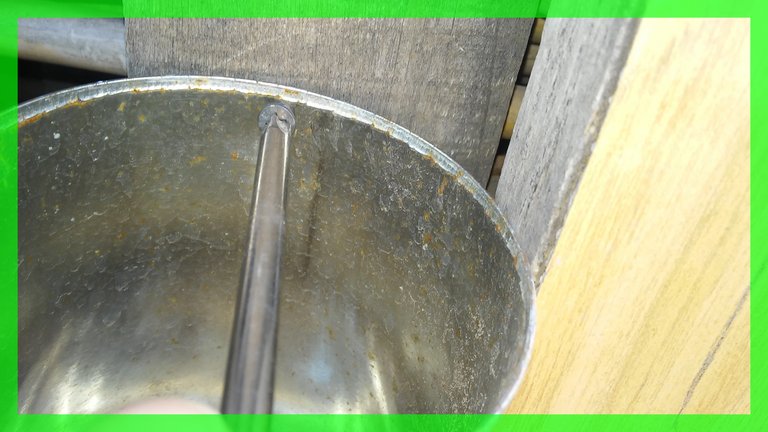
I used a variety of screws called "needle point" precisely because their tip is so fine and hard that I didn't need the electric drill. Simply with a screwdriver and light pressure, as you can see in the photos, I was able to drill through the sheet metal wall of the jar and immediately attach it to the wood.
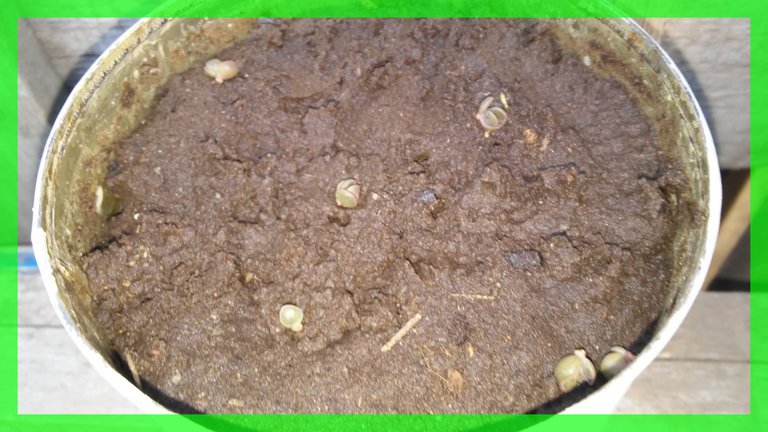
They are screws used to install (fix) the durlock plates to the aluminum profiles. That is why they have such a thin, hard and perforating tip. These screws are also recycled since I saved them when my son-in-law and my daughter restructured the rotiseria and had to remove some partition walls built, precisely, with durlock plates.
As you can see
