

Introduction to the Terrarium
It’s school holidays, and what better way to spend time with the kids than by creating a ladybug terrarium? On a whim, we decided to dive into this fun project. It’s winter now, but come early spring, we want to release a loveliness of happy, healthy ladybugs into our garden, which will be full (hopefully) with flowers. Today, we bought flowers that will bloom now and in early spring, got some ladybugs in the mail, and gathered all the supplies we needed.
we live in Ipswich Queensland, so we need flowers that might need to tolerate a very light frost down to 0-2 degrees. I got some frost ok pansies, calendula, allysym (not like i don't have enough) and some others.
Here's how our adventure unfolded.

Buying Ladybugs
I know buying ladybugs isn’t always the best idea. There are pros and cons to consider, but we wanted them as “sort of pets” and a fun project for the kids.
Reasons for Buying Ladybugs:
Instant Gratification: You get to start your project right away without waiting for wild ladybugs to appear. AND you get lots at once
Educational: It’s a great hands-on learning experience for the kids about insect life cycles and ecosystems.
Controlled Environment: You can monitor and care for them more easily in a terrarium.
Reasons Against Buying Ladybugs:
Wild Capture: Purchased ladybugs are often captured from the wild, which can disrupt local ecosystems.
Survival Rate: Ladybugs released from captivity might not adapt well to the outdoor environment.
Potential Spread of Diseases: There’s a risk of introducing diseases to your garden.
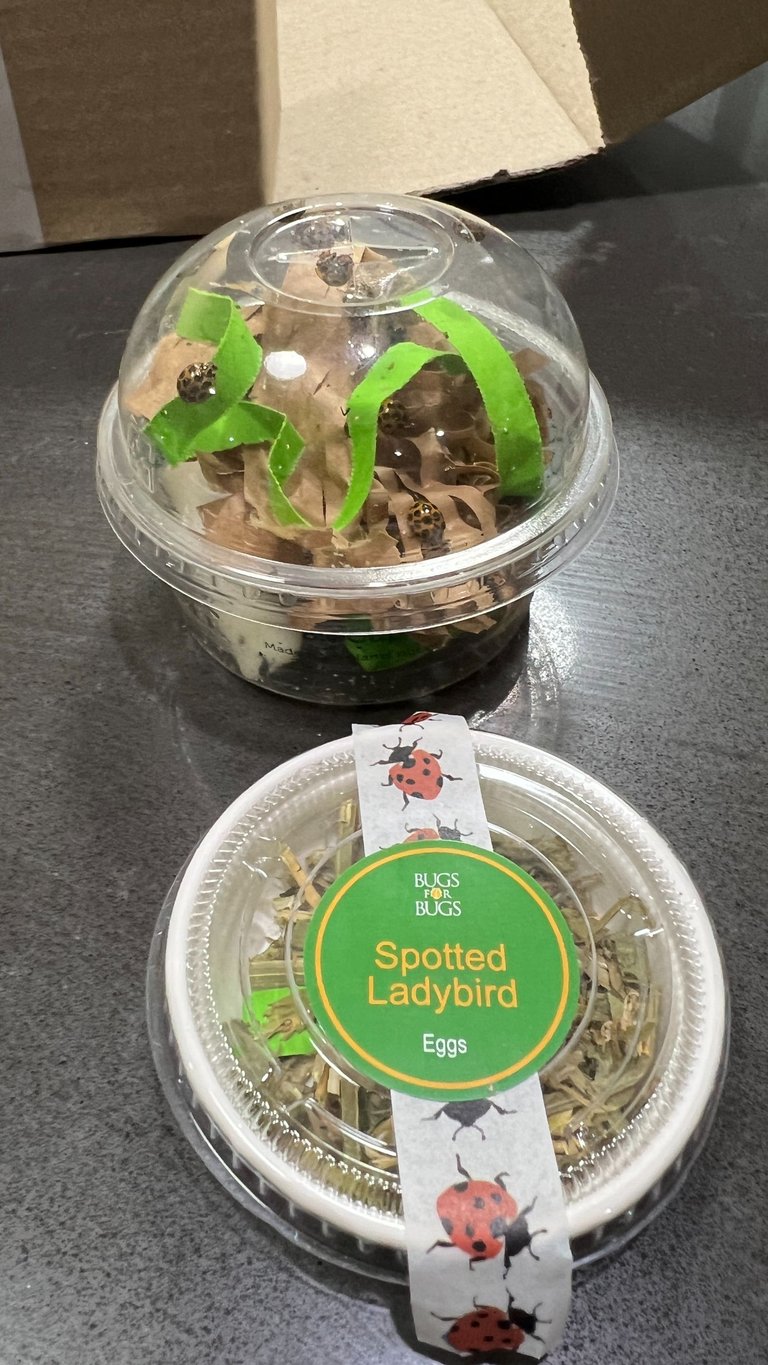
The ladybugs arrived in just 24 hours, and I was thrilled to see they were all alive. I misted their container before we released them, as I had read that they can become dehydrated during shipping and might struggle to find water in time.

The Build
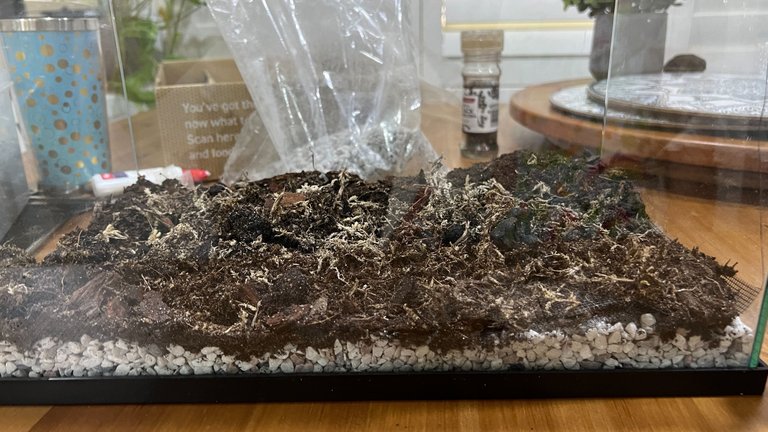
We started with a 16L fish tank as our terrarium base. Here’s a step-by-step of our build:
Preparation:
Cover Holes in lid with Mesh: This prevents any escapees and ensures good ventilation.
Layer of Stones: This creates a drainage layer at the bottom.
Terrarium Mesh: Placed over the stones to keep the substrate from mixing with the drainage layer.
Adding the Substrate:
Materials Used: Charcoal, orchid bark, sand, peat moss, sphagnum moss, and a few other organic materials.
Why These Materials?: These materials help maintain moisture and provide a natural environment for the ladybugs and springtails.
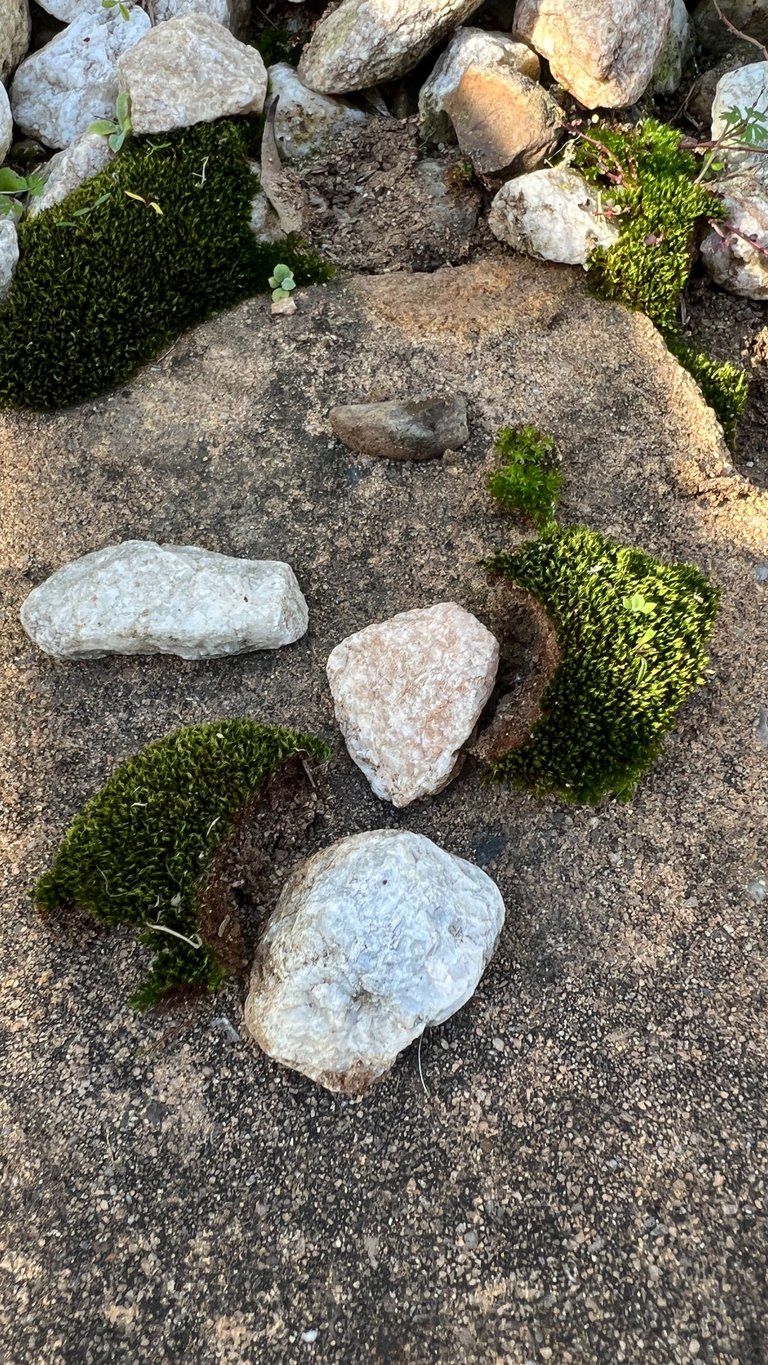
Here is some moss i collected from the garden.
Introducing Springtails:
Springtails: We added some springtails to help break down organic matter and keep the terrarium clean. Since there weren’t many, we ordered more to add later. We are putting in food for the lady bugs and plants leaves, so i was worried about adding in moulding things and figured a clean up crew was just what we needed.
Decorating:
Rocks and Twigs: Added for climbing and hiding.
Miniature Plants: To make it look like a mini-garden and provide a more natural habitat.

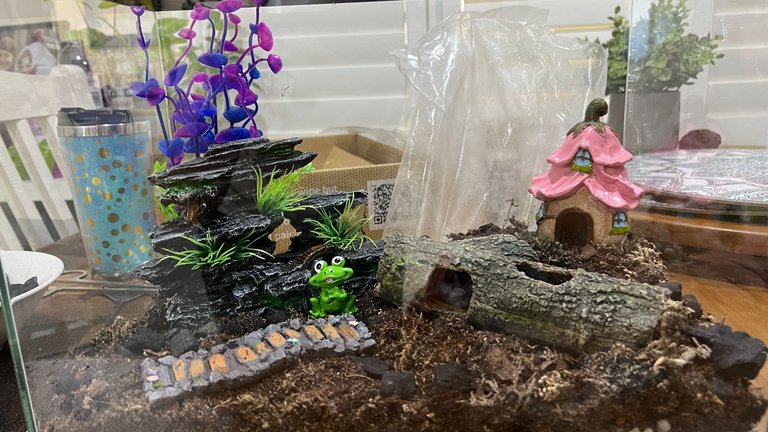
Adding the Ladybugs:
Release: We carefully released the ladybugs and some eggs into their new home.
Moisture: Ensured the surfaces were damp but avoided any pools of water, as ladybugs can drown easily.
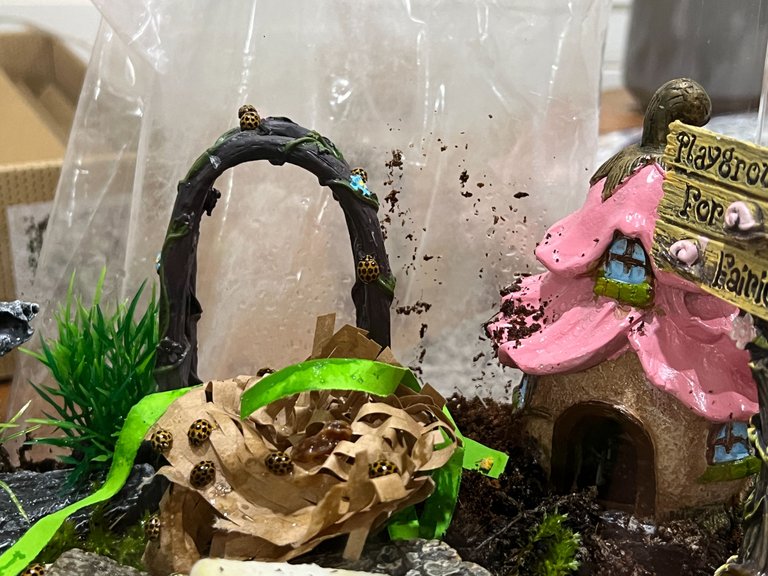
Feeding Ladybugs
Keeping ladybugs happy and healthy in a terrarium involves regular feeding and watering. Here’s a quick guide:
Feeding Ladybugs:
Aphids: The best food for ladybugs. Place aphid-infested leaves in the terrarium. I have got these carefully stored away in another tub growing aphids.. lol lol
Supplemental Foods: Raisins soaked in water, honey, or sugar water on a cotton ball for additional nourishment.
Watering Ladybugs:
**Misting: **Lightly mist the terrarium daily to maintain humidity and provide a water source. r soak a cotton ball with water
Avoid Pools: Ensure there are no standing pools of water to prevent drowning.

Conclusion
Creating a ladybug terrarium has been a delightful school holiday project. We’ve learned so much about these little garden helpers, and we’re excited to see them thrive in their new home. By spring, our garden will be ready to welcome a new generation of ladybugs, ensuring our flowers remain pest-free and beautiful. This project has been a wonderful way to bond with the kids, teach them about nature, and prepare for a vibrant, blooming garden. Happy gardening!
I will hopefully keep you all posted on how it is all going and if we kill the lady bugs... yikes... but hopefully we get more than we started with to release into a garden of flowers for them.
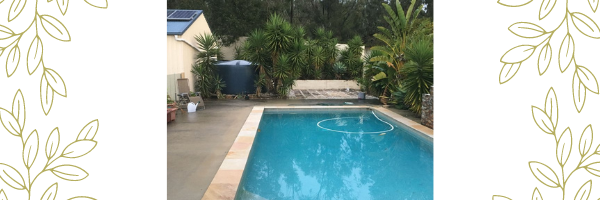
Below is the garden when we moved in - green - but nothing to eat
CONCLUDING MESSAGES
Just another very busy week all in all. I will now sign off and start the next video.. lol... as its already late as well
talk later
happy gardening
Sarah
Anyway thanks so much for stopping along and reading my posts I am just loving my HIVE experience so far. Such a fun platform for sure.
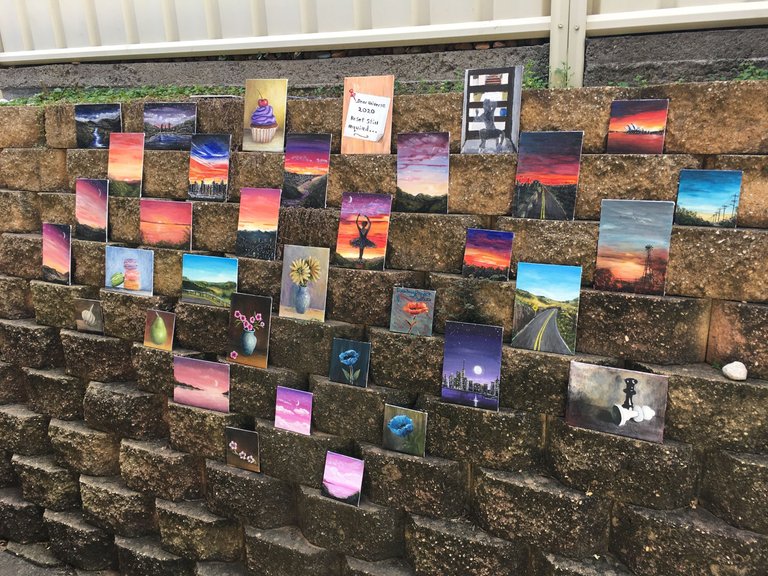
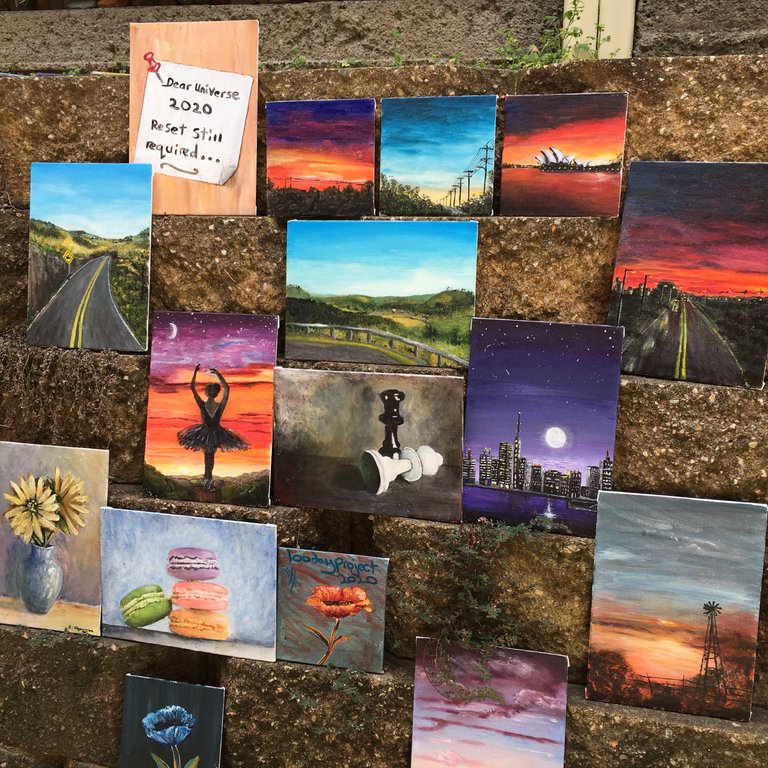
For those that don't know my i'm currently focusing on Daily painting and somewhat amusing my self and my family with Acrylic pouring.. lol.. i wish i had a separate studio for that as it is so messy.
My other HIVE interests are:
- cooking
sunset photography (i take photos of the sky every night)
Art
Graphic Design
Gardening (just a smidgion)
Ballet
Here are a couple of snaps of some of the stuff i do outside what you see up in the posts above.
I;ve got lots of aphids. So many I have considered buying ladybugs just to release on my fruit trees
Who knew this was a ladybug hazard 😂🤣😂
I love the decorations especially the little house haha
yeah.... i isolated a nice bokchoi plant that was infested. I will use it to infect plants to feed the ladybugs :-)
yes lady bugs drown easily apparently ???? who knew???
apparently releasing them isn't always best unless you have the environment to make them stay. plant lots of flowers they love THEN release the bugs
I didn't seem to post the finished terrarium???? here it is
some of the plants are real and some are not... i will add more and take out the plastic as they grow :-)
Congratulations @blingit! You have completed the following achievement on the Hive blockchain And have been rewarded with New badge(s)
Your next target is to reach 60000 upvotes.
You can view your badges on your board and compare yourself to others in the Ranking
If you no longer want to receive notifications, reply to this comment with the word
STOPCheck out our last posts: