This recent project has been probably one of my favorites to do. If you've been following my recent blogs you will have seen the picture of my homemade arrow. Well now I want to share with you guys how I actually built mine. It was pretty easy and cheap (if you already have certain tools) Hopefully it might compel someone else to try building their own. I guess let's get right into it. I will be breaking this build up in 4 sections, The Arrow shaft, Processing sinew, stripping feathers for fletching, and finally the arrow heads!
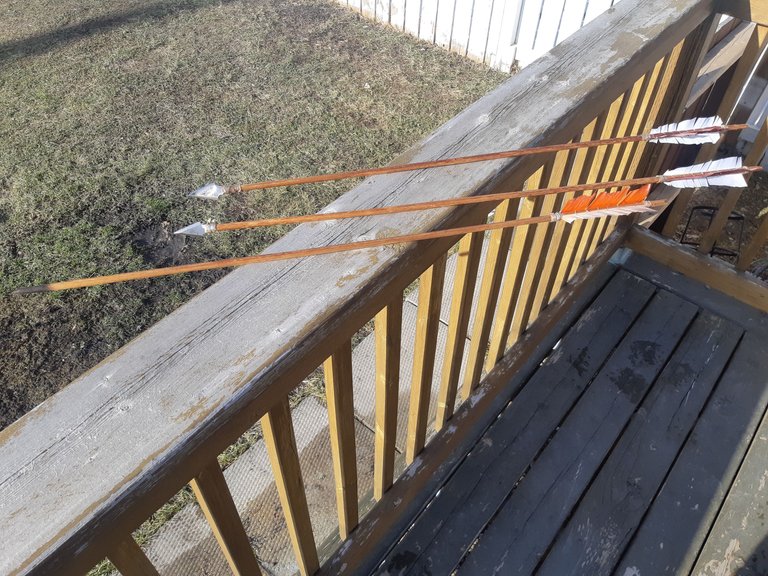
THE ARROW SHAFT
WOOD SELECTION
The best wood is Port Oxford Cedar. Other woods that are suitable are pine, birch, bamboo. I'm sure there are more. Stay away from the hardwoods, they are usually heavier and a bear to try and straighten. All I had was some western red cedar that I brought with me from the west coast. It's a piece that I've always held on to for some sort of project and I guess this is it.
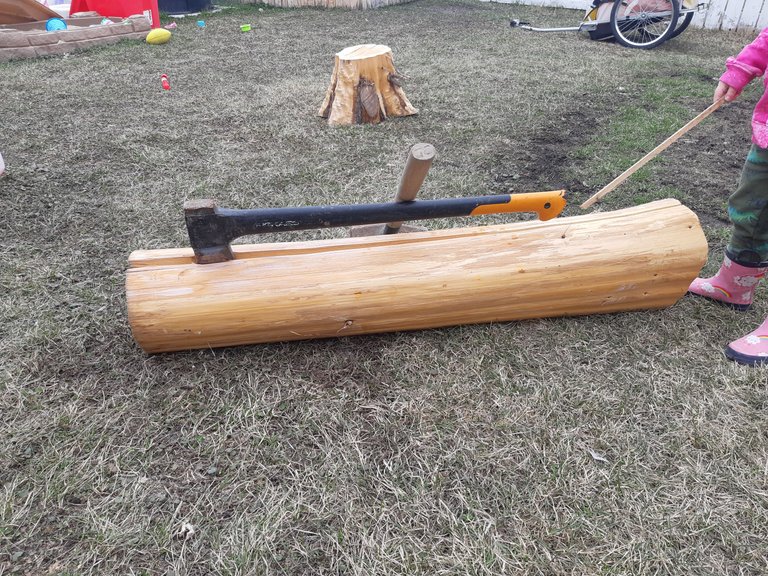
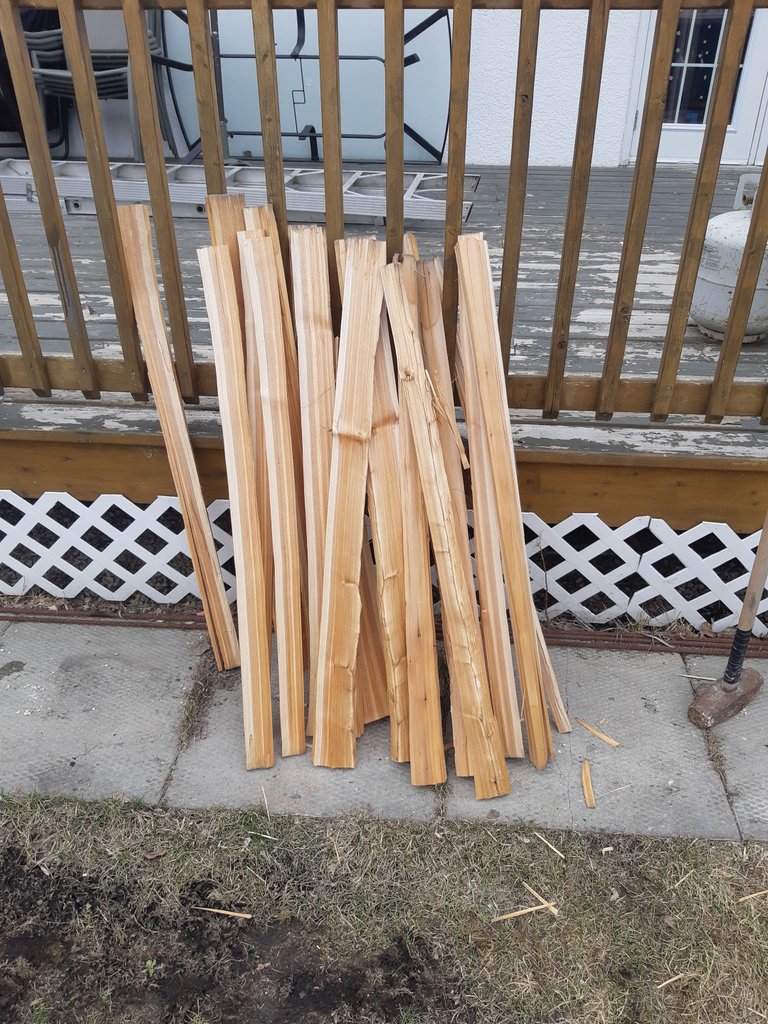
Basically the best ones are the ones with no knots. The shaft will break in the dowel jig when it hits a knot. I ended making 1/2in X 1/2in X 35in blanks. I then used a hand plane to smooth out the square corners. If you leave the corners square you run the risk of the grain catching in the jig and pulling the grain. To run shafts through the jig just attach it to a drill.
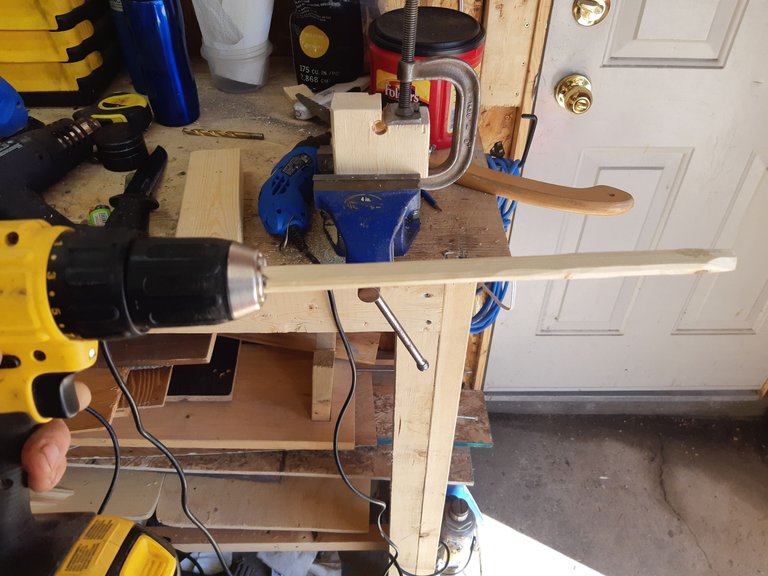
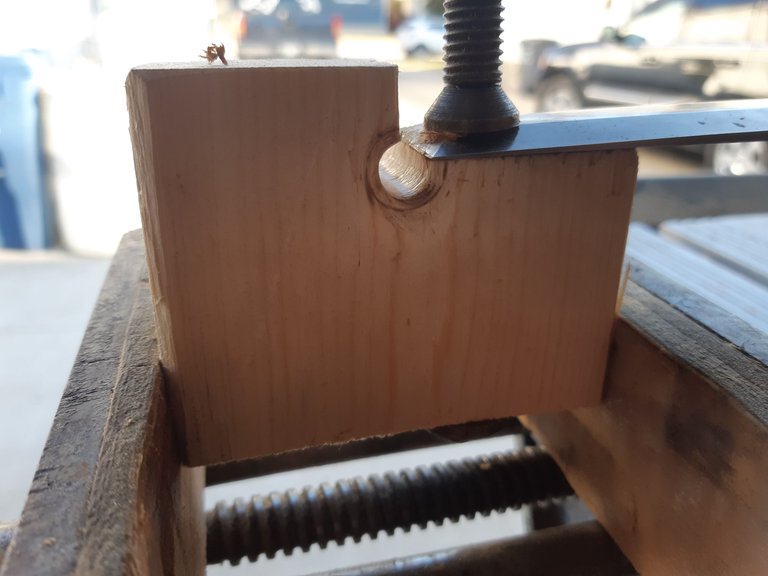
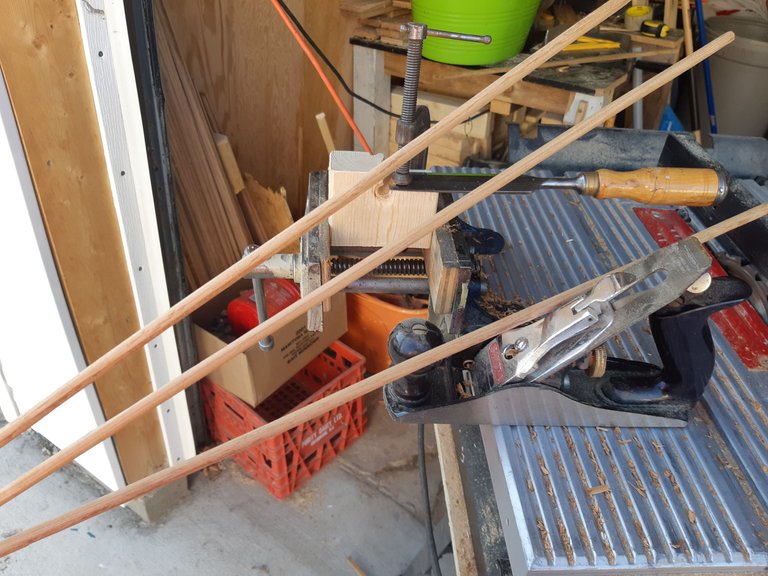
Once through the jig finish off with sand paper and cut to length. And put a couple coats of boiled linseed oil on them, or any finish to seal the wood. Check out my previous blog on how to make the dowel jig!
Processing the Sinew
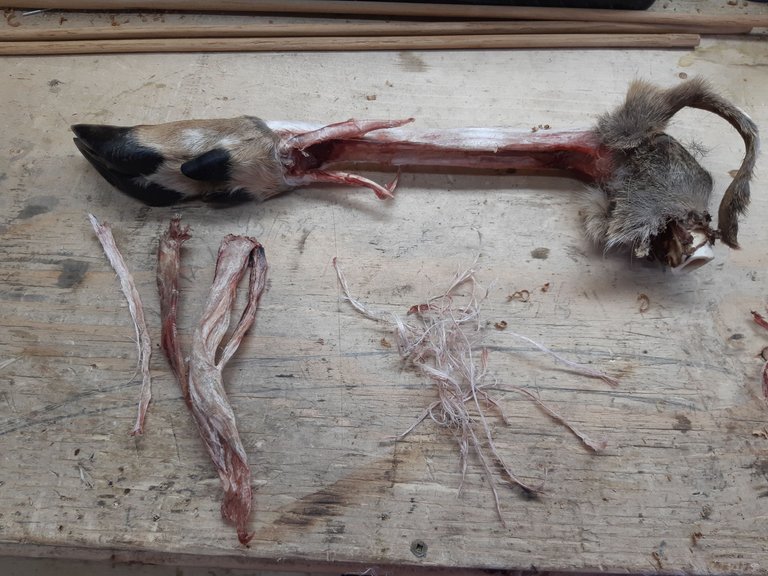
I won't be going into big detail on this process since I've done a whole blog on this topic already. Basically it's the leg tendon that I harvested from a whitetail deer leg. This will be the fiber that we will be using to attach the fletching and the arrow heads.
Feathers and fletching
What kind of feathers to use. Short answer basically any. Obviously there are feathers that are better then others. Best feathers being bigger birds, turkey, goose, raven etc. Turkey feathers are generally the best natural feathers as they are big, sturdy and rugged.
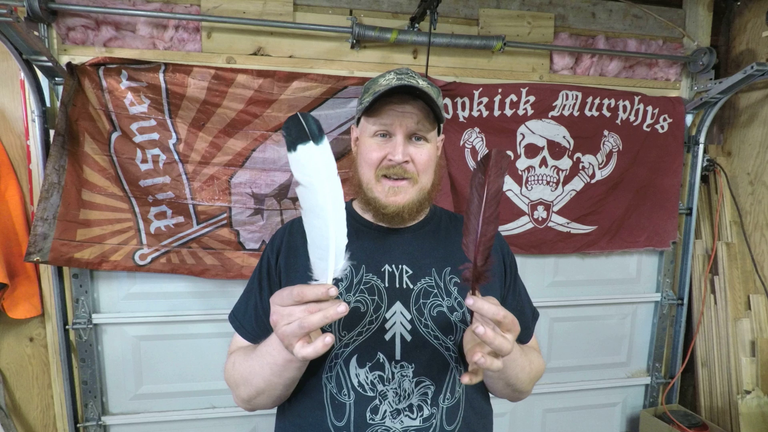
I picked up about 30 turkey and goose feathers for cheap at a craft store. You'll want minimum 2 different colors. Time to de spine them. We will be using the vanes on the longer side. Also Make sure that the 3 feathers you grab for your arrow are all from the same wing. To start pulling the spine pinch a few of the top vanes and start pulling. Sometimes you need to make a small cut with a knife the start the process.
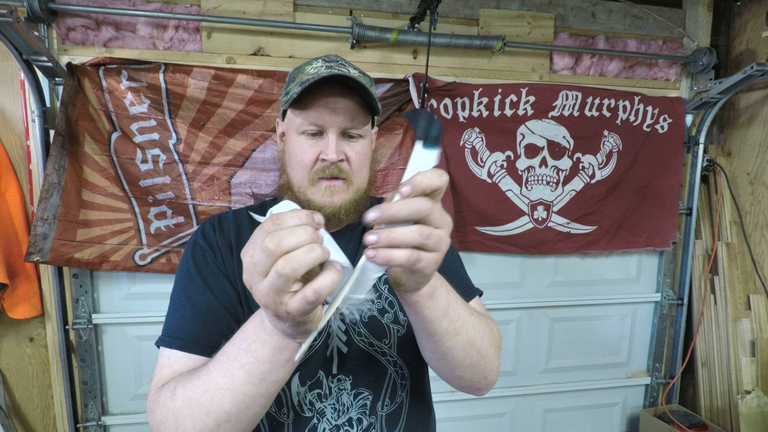
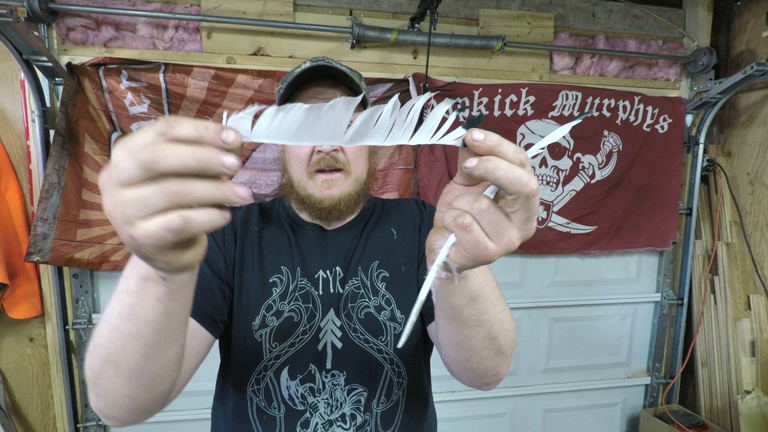
Now we have a pliable piece of feather to work with. We will be cutting these pieces down to about 5 inches with leaving 1/4 tag ends on both sides that will be used as the anchor points. Before attaching the feathers I like to cut the knock in. I do this with a tiny pull saw. Make sure to go across the grain.
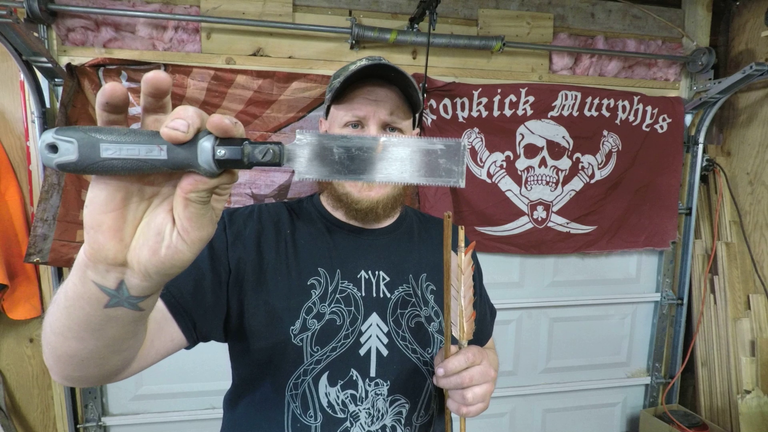
We will be using this saw to also be cutting the notches for the arrow heads.
I start attaching my fletching about a thumb space from the bottom of the knock. Now this is where the sinew comes in. I use 4 strands for the top and 4 strands for synching the bottom of the fletching and 4 stands to wrap completely around the fletching.
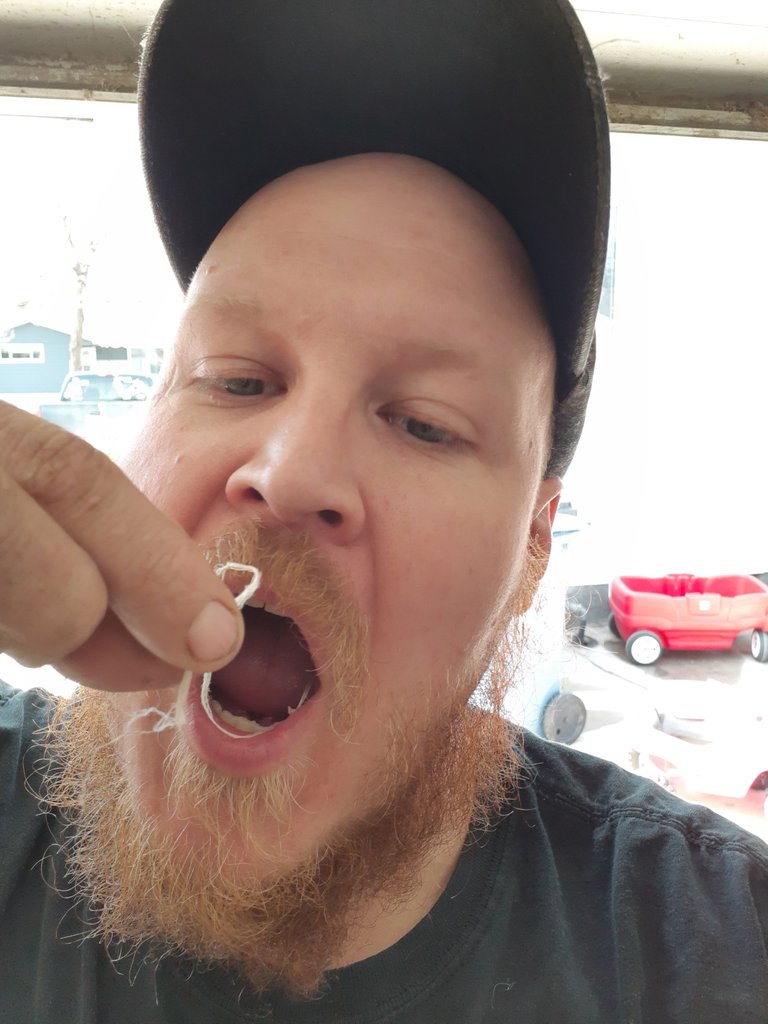
To make sinew usable you need to chew on it, just lightly, until it gets soft. You will know when its ready. Your saliva and the chewing motion releases the natural glue from the sinew fiber. When you wrap the the sinew you do not need to tie it off. Just wrap tight. Once it dries its shrinks and binds tight. If you're wondering why 4,4 and 4. 1 strand per feather and one to lock them down. the other 4 I string together with reef knots because we need a really long piece to wrap right around all the fletching.
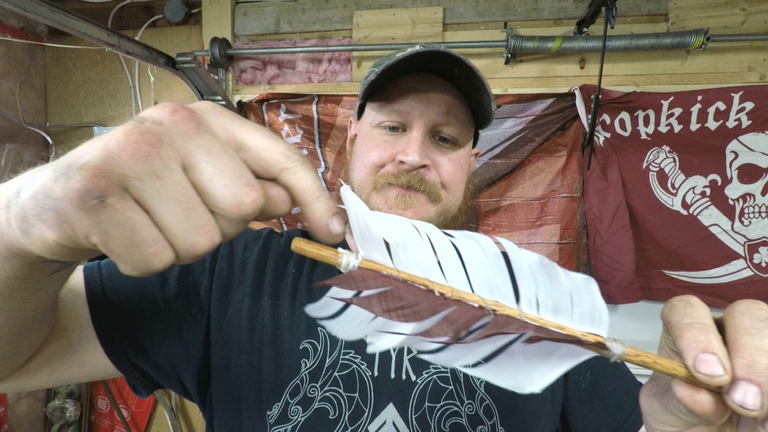
I ended sealing up the sinew with head cement to make it waterproof. If sinew gets wet it softens and releases. In a survival situation I would use pine pitch. Trim up the feather and we are done that part.
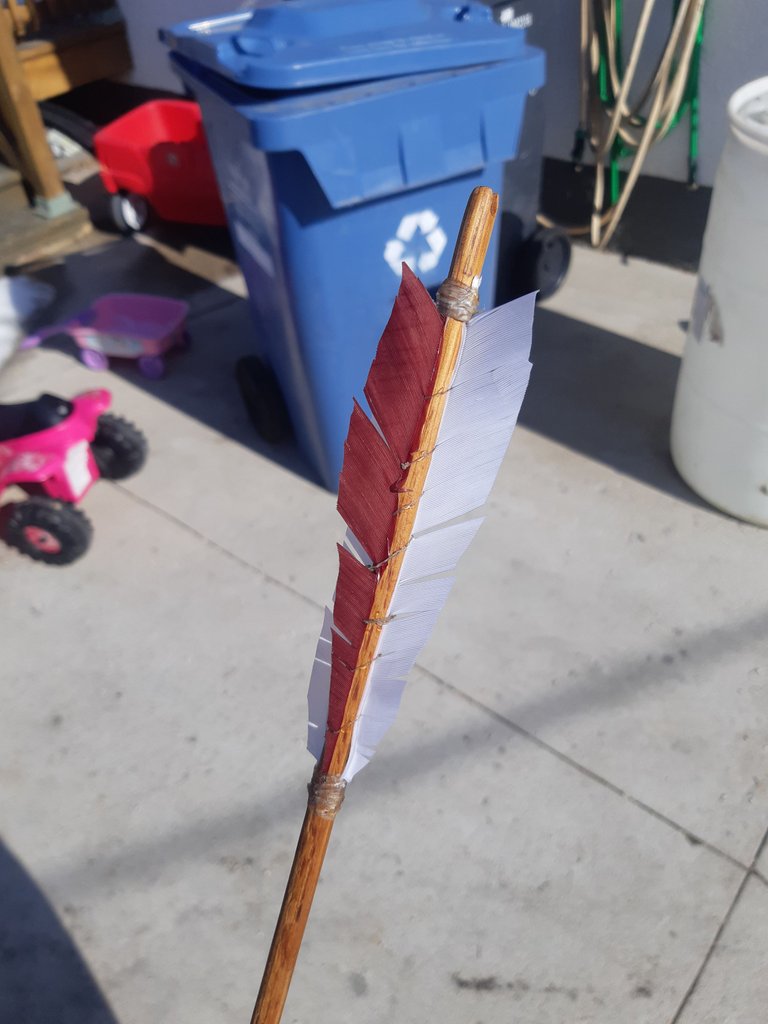
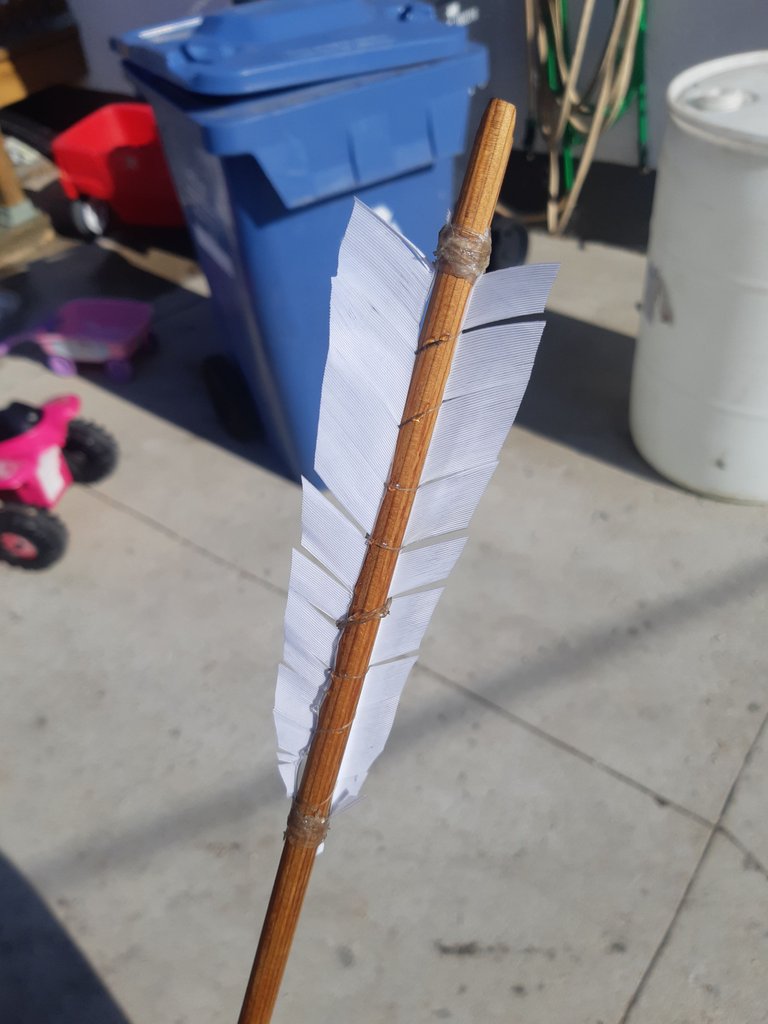
Arrow head
Material
You could use a variety of different steel heads, stone, bone, just fire hardened. I went with some 1/8 in mild steel. My hunting broadheads I will make with 01 tool steel so I can harden it. I wanted to figure out what size to make so I went with the cheaper and more accessible mild steel.
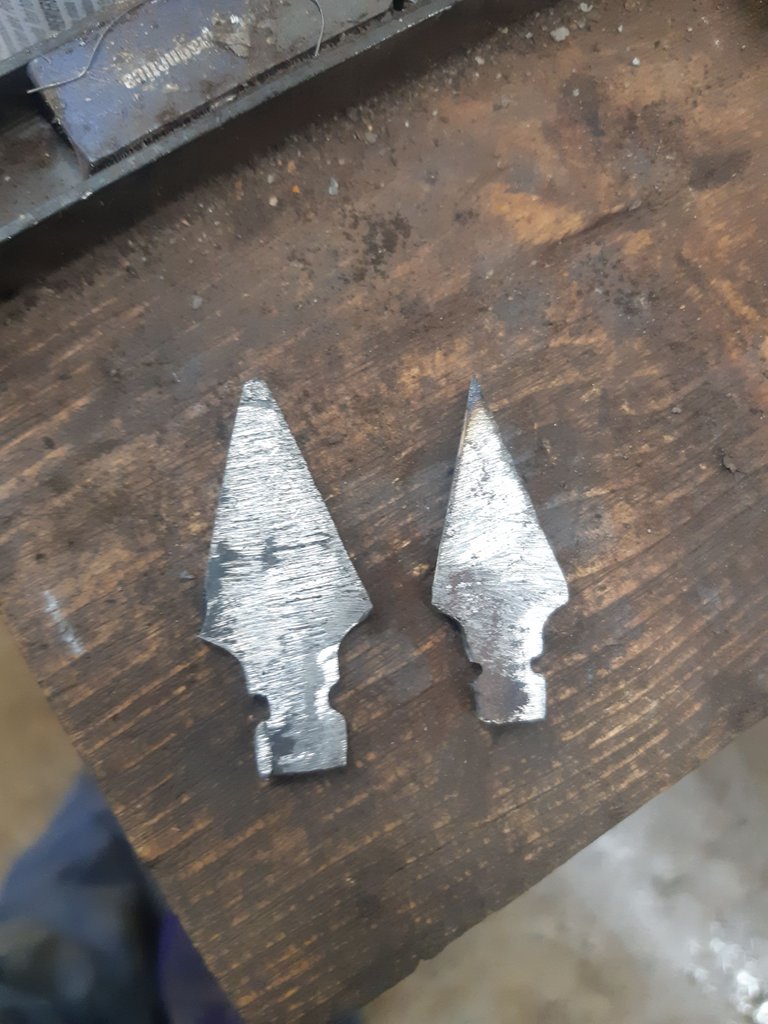
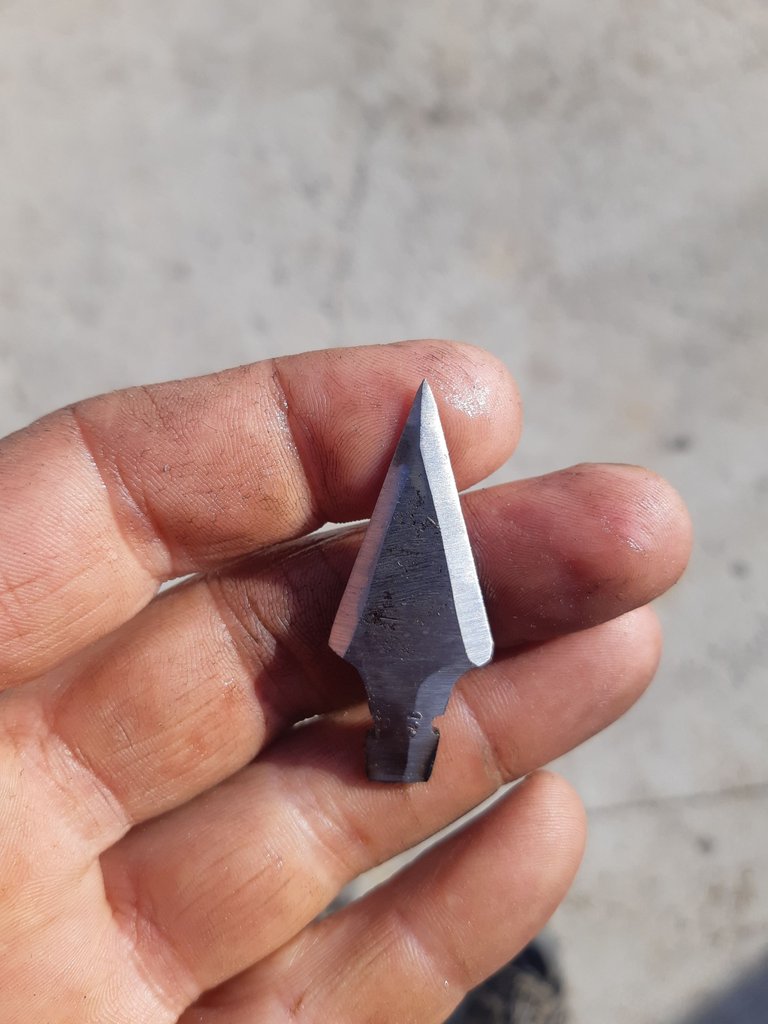
Using my little saw again I dug out some grooves sat the heads in them and wrapped with sinew.
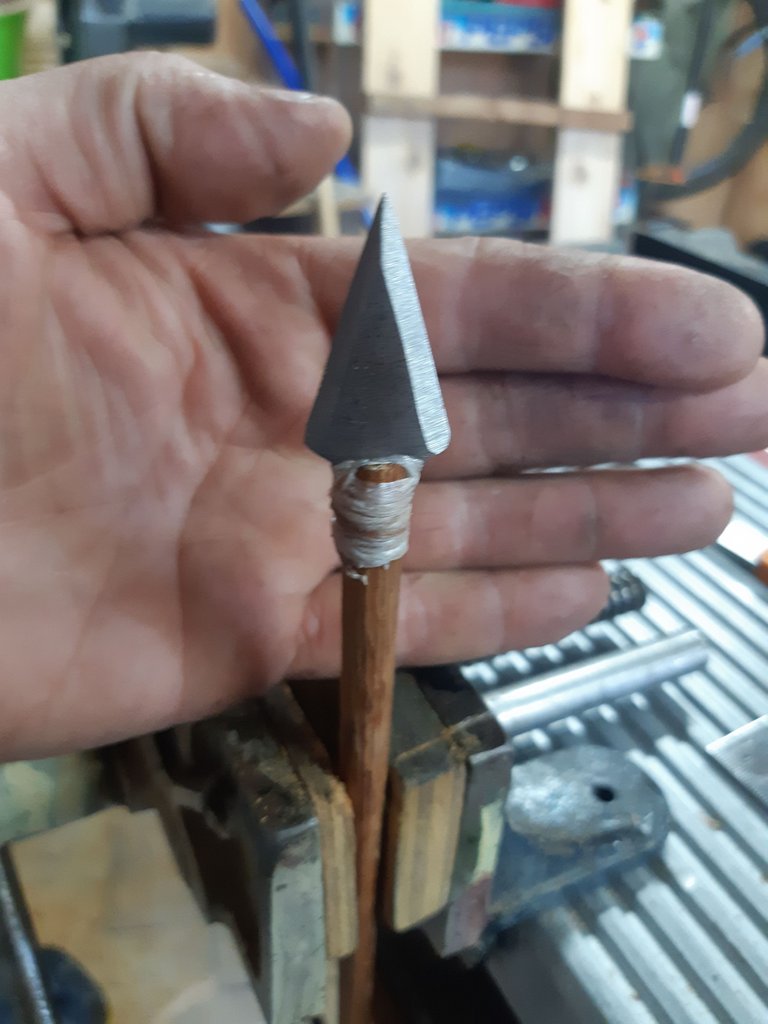
Now just had to let it dry (at least 24 hours) and test fire!
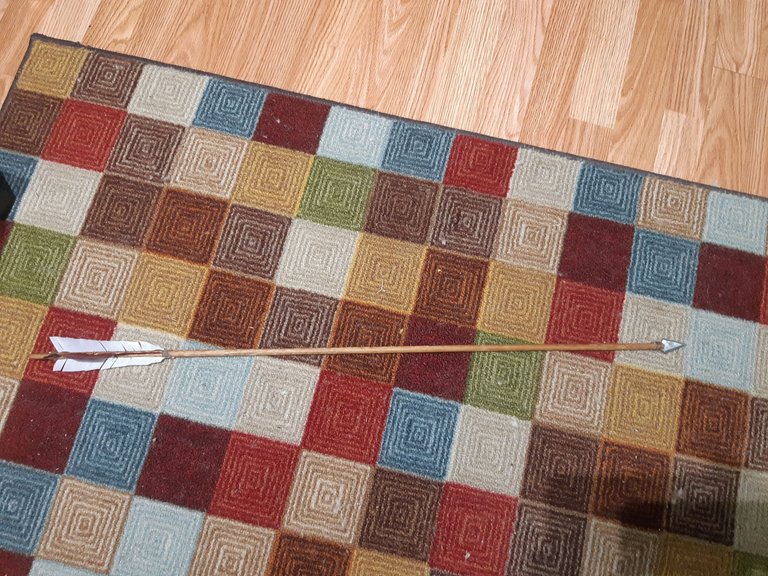
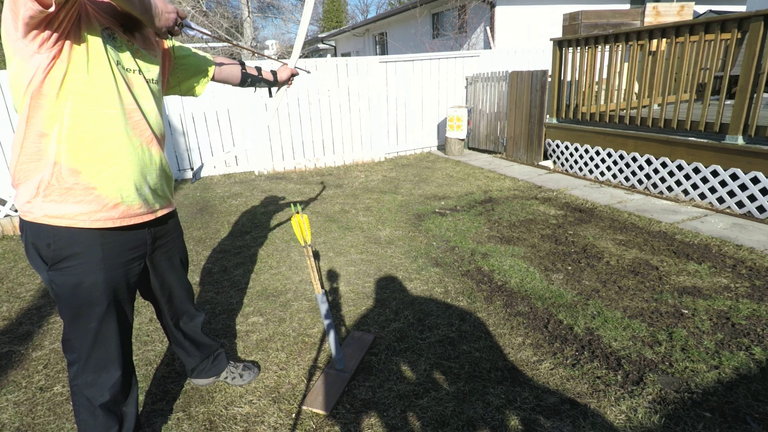
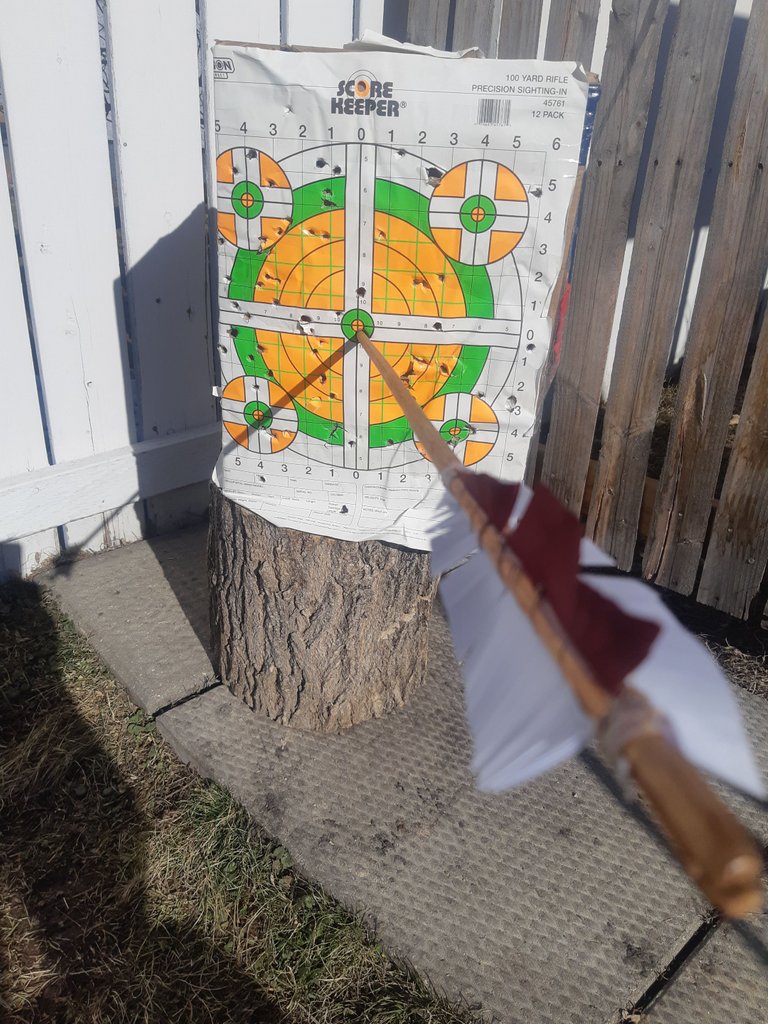
Well I think that flew pretty straight. Thanks for reading.
Stonkin' post bro!
lol is that Aussie for awesome 🤣
Yep. Well, there's other words, but that's one that's gets used now and then. It was a great post man. I sent it to @curangel for some vote love too.
I actually sent that bow-making link to one of my brothers last night. He's not a gun guy but will get value from that video. I have no doubt he'll make one...As will I.
that is so awesome to hear. If I can inspire but 1 person haha. And thanks for the send to curangel. I cant wait to get started on my first wood bow!
You're doing a lot of what he wishes to and so he will appreciate the video.
I have tried to make bows before but the wood here isn't right. I've had a few failures and gave up in disgust. Lol. I have a few...Well, let's just call them documents, about stuff...Survival stuff, military manuals etc. A few of them talk about improvised weapons and equipment...I followed the manual on bows and arrow-making but it never went anywhere. That was a few years ago...I think working with the PVC might be more my speed though, easier to work with...More forgiving. I'm a gun guy at heart, but cold-weapons are always handy to have around.
Agreed man. I'm hoping to get into some small game this fall with my bow. It would be so rewarding to get a kill with something I made myself. PVC is very forgiving and cheap. Make sure its the think stuff 35mm. It's called schedule 40 here
Being proficient in a few different methods of hunting or food gathering is probably a smart way to be...So many put all their efforts into one thing and if it fails? Not so good. Yeah, I'll look into what we have here as far as PVC goes, will be the same, maybe just called something different. You know us Aussies mate, like to be a bit different. Lol.
I've made a few arrows, but I've never used real sinew for the task. I've used bamboo to make a few as an experiment. It's fairly easy to straighten with heat, if you're careful with the heat. It's interesting that there's not a lot of differences between medieval arrows and Native American arrows except for the steel points and that the Europeans used linen thread for tying instead of sinew.
Your dowel jig is an interesting way to do the job, you don't have to buy something that way. Back when I was really into making arrows, I bought a dowel cutter to make the shafts that I made. Of course, I also bought bare wood shafts to use, but those got really expensive.
we are so lucky these days with the amount of information at our finger tips that its not hard to find out ways to do things on the cheap and cheap
Indeed!
If you'd like to see how I did it 12 years ago, look up "Amber makes arrow shafts" on youtube. A friend of mine did a video of it back then and put it on her page. It has a stupidly large amount of views now... 😄
i will def check that out
wow 220k views i wish i could get that in a youtube video lol
I have a lot of videos on my own youtube channel, but none of them have anywhere near that many views...LOL
whats your channel name i will check it. Mine is prairie mountain man adventures!
I believe you can find my channel by searching for "Amberyooper"
Your post has been voted as a part of Encouragement program. Keep up the good work!
Use Ecency daily to boost your growth on platform!
Support Ecency
Vote for Proposal
Delegate HP and earn more
Beautiful work.
thanks man!