Bienvenidos
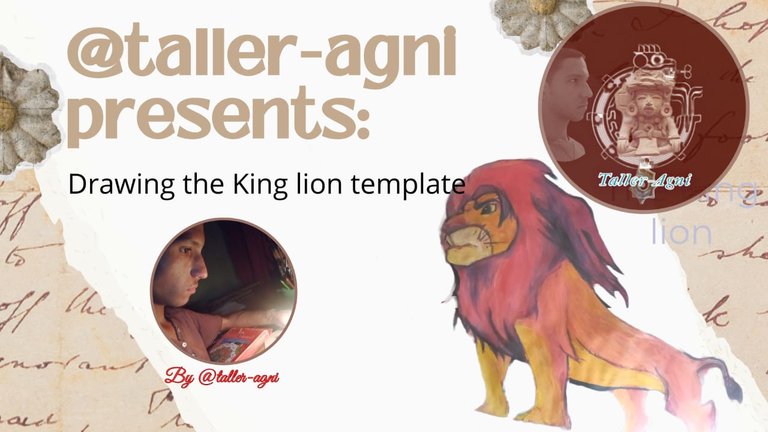
Drawing the lion King | Art study
Many greetings again to this community of artists in hive.
This is by way of presenting a project that we had in my section of university to study ecosystems, and curiously the teacher who evaluates us, as a method of evaluation decided that we propose to make a sheet or some other means that we can represent through a drawing some animal that represents that fauna and not only that, but sent us to make that drawing of a cartoon, etc... In my case I chose the lion, and as a cartoon theme I made it from the movie “The Lion King”. I WAS ABSENT FOR STARTING UNIVERSITY, IN ENVIRONMENTAL MANAGEMENT I AM AN ARTIST IN TRAINING AND I AM LOOKING FOR A JOB TO PAY FOR SOME COURSES IN GRAPHIC DESIGN, PAINTING AND PHOTOGRAPHY, THAT AND ADDED TO HEALTH PROBLEMS (I AM A TRANSPLANT PATIENT AND WE NEED TO TAKE CARE OF OURSELVES AND PAY FOR EXPENSIVE MEDICINES AND TESTS) IT HAS BEEN DIFFICULT FOR ME TO WRITE IN HIVE BUT I WILL UPLOAD THE THINGS I HAVE DONE.
1.-)
El medio que escogí fue pues una cartulina más o menos gruesa de color rojo por el pelaje con tonos rojisos hasta naranjas.
Se utilizó
Tizas
Compás
Temperas
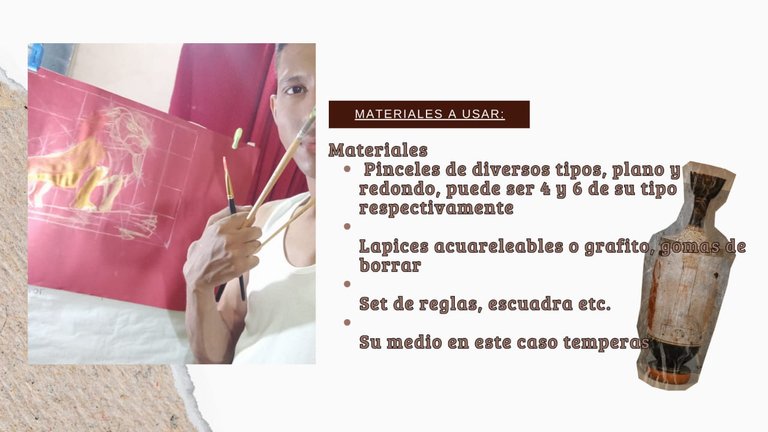
Reglas,. Goma de borrar, lápices de grafito, lápices de colores.
Pinceles de distintos tamaños al menos un punta plana 6, de mango largo, y otros circulares tamaño 4 y 6 respectivamente.
Lo primero a realizar será buscar la imagen referencia a dibujar.
Luego se pasará a realizar el método de su preferencia, en mi caos utilice el de hacer una cuadrícula
Este método consiste en dividir la imagen original de su móvil o pc etc, en cuadrículas y luego transferir esas proporciones al papel con alguna herramienta de medición, como un compás, se toma el largo total tomando ambas puntas del compás y luego dejándolo en esa medida se transfiere al papel a realizar el dibujo
Se hace la escuadra a proporción y así sucesivamente se van colocando todos los datos en su respectivo lugar…
Esto funciona con todo tipo de dibujo a realizar, pero hace falta algo de conocimiento en anatomía cuando se retrata un animal o un ser humano.
So in that sense let's start, I show you the way in which this work was done to present it in class.
1.-)
The medium that I chose was a more or less thick cardboard of red color for the fur with reddish to orange tones.
It was used
Chalk
Compass
Temperas
Rulers. Eraser, graphite pencils, colored pencils.
Brushes of different sizes, at least a flat tip 6, long handle, and other circular brushes size 4 and 6 respectively.The first thing to do will be to look for the reference image to draw.
Then you will proceed to make the method of your preference, in my chaos I used the one of making a grid.
This method consists of dividing the original image of your mobile or pc etc, in grids and then transferring those proportions to the paper with some measuring tool, like a compass, you take the total length taking both points of the compass and then leaving it in that measure you transfer it to the paper to make the drawing.The square is made in proportion and so on and so forth all the data are placed in their respective places...
This works with any type of drawing to be made, but it is necessary to have some knowledge in anatomy when an animal or a human being is portrayed.
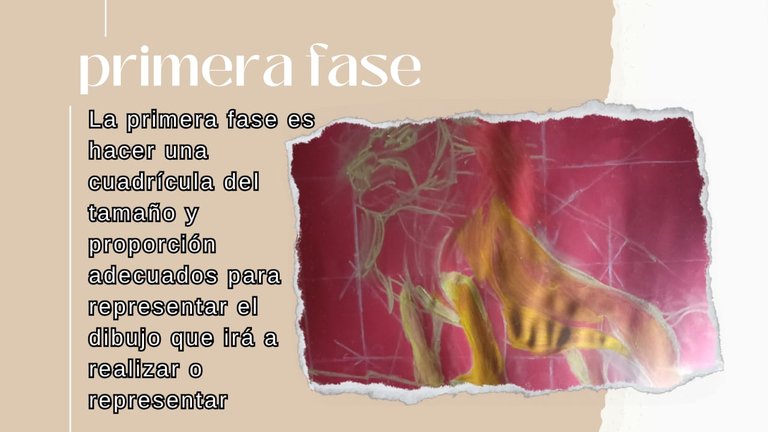
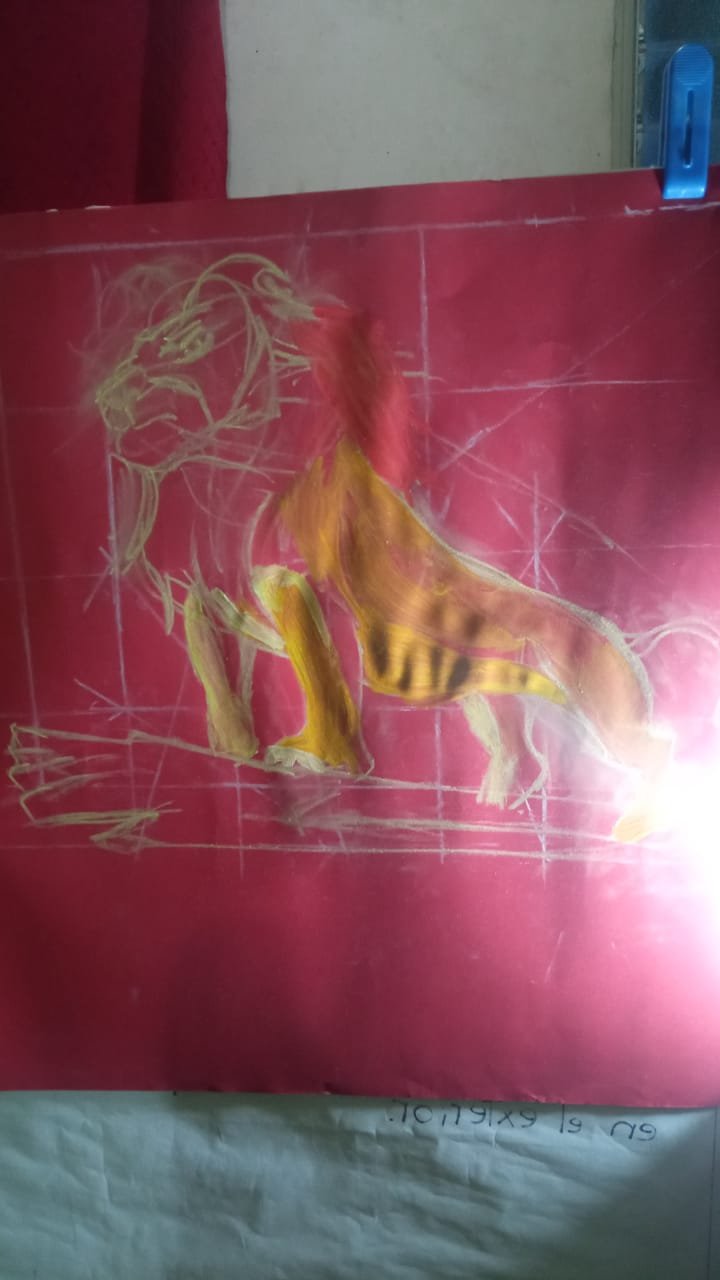
Next, after taking the general measurements, the “FITTINGS” begin to be done. which in the drawing refers to fit or place all the contour in its place to capture the resemblance of what is going to be captured. Then the scale of values is placed, that is to say, the darkest and lightest tones to facilitate the work when placing the colors, in this case with the use of brushes with tempera. In this way, data can be corrected and each stroke can be made to look better. This is preferably done with watercolor pencils or with the use of brushes and paint using thin layers of paint to capture the thin lines. Or the easiest way would be with graphite pencils, taking care not to sharpen the lines. Because this would result in that at the time of applying the paint in this case tempera, not being able to cover completely the lines made with the graphite pencil because this results in a line that reflects the light and the paint does not cover easily, because of the material that is formed.
Already only the layers of paint are placed little by little first erasing the base lines gently so as not to leave traces or unwanted dirt, so poster now if a base layer of solid paint of the most characteristic color is made, I started to place a lot of orange and so then the white tones I respected them without covering it and the dark values are placed to define the entire model to be painted. The paint mixtures are made in a palette to not stain and make a finer result and do not dirty or sour the colors. Here I only used primary colors that I then broke with their complementary colors. But it was not necessary because there are only 5 or 6 colors. The red can be mixed with other tones like green. And orange can be bleached with some white as with its complementary. So then they are applied little by little layer by layer without soaking the brush in water because this medium that is cardboard does not hold water well, and it gets soaked and breaks easily.
Espero les haya gustado, en este contenido se logra apreciar también el soporte que use que fue un bastidor o caballete de mesa pequeño qué se realizó a mano por mi persona siguiendo solo unas guías de imágenes que tenía en Internet Ya iré publicando otro post de cómo se pueden realizar ustedes mismos su propio caballete de dibujo si así lo desean.
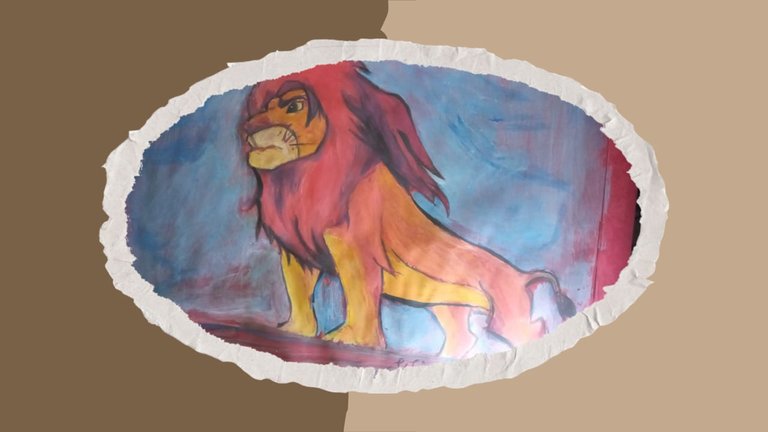
This is how the final result was after several layers of paint waiting for each one to dry before applying the other one, both darker and lighter, to make more contrasts.
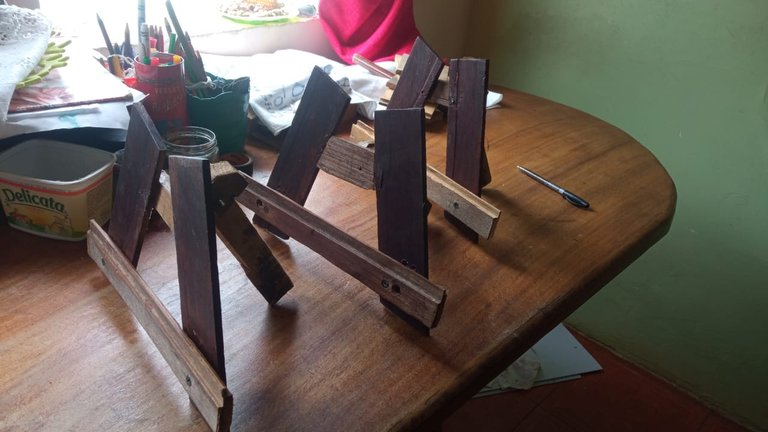
I hope you liked it, in this content you can also appreciate the support that I used which was a frame or small table easel which was made by hand by myself following only some image guides that I had on the Internet. I will be posting another post on how you can make your own drawing easel if you wish.
"Comenten si quieren que después hable del proceso de cómo realizar estos pequeños caballetes que juntos podemos realizar en casa "
Muchas gracias
Remember that artists used to spend more time collecting their materials and making their own art paints than making the same drawing which also took a lot of time... Everything in a handmade way and that's the best thing, knowing how it is made and what everything they make and use is composed of, like paints and their own drawing materials like brushes or graphite pencils.
Thank you very much
Todas las fotos fueron tomadas con mi celular
Paquete gráfico ha sido diseñado por mi en Canva.com
Uso traductor Deepl
siganme en insta: titian_gb
Que esperas para unirte a nuestro trail de curación y formar parte del "proyecto CAPYBARA TRAIL"