¡Un saludo a todos! Espero se encuentren muy pero que muy bien. Hoy estoy devuelta con una nueva publicación y esta vez les traigo la segunda parte de esta sección donde les enseñare como pueden hacer composiciones fotográficas básicas, intermedias y avanzadas utilizando Photoshop.
Greetings to all! I hope you are feeling very, very well. Today I am back with a new post and this time I bring you the second part of this section where I will show you how you can make basic, intermediate and advanced photographic compositions using Photoshop.
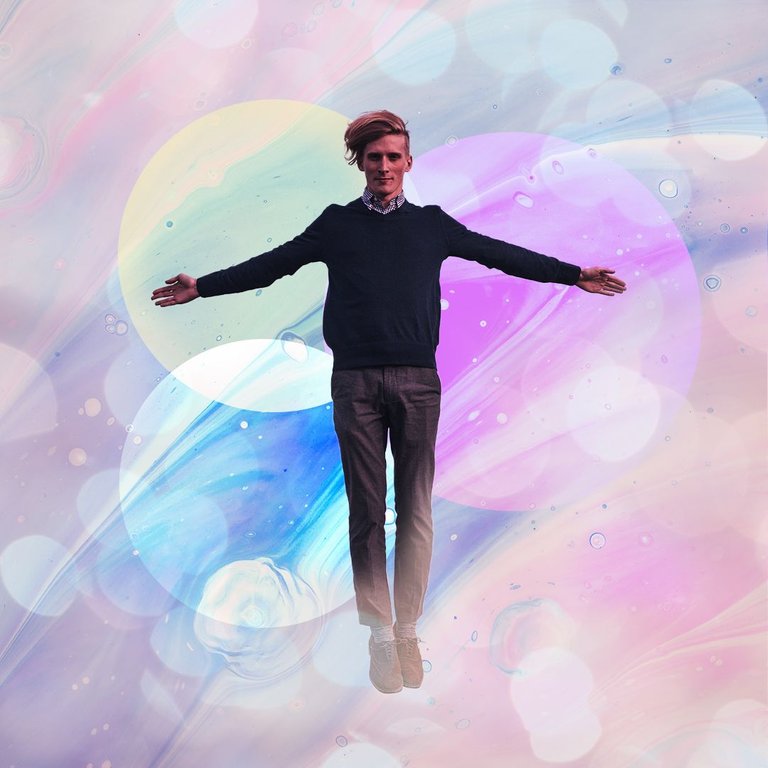
Para esta ocasión les enseñare a hacer este grafico abstracto de manera rápida y sencilla.
This time I will show you how to make this abstract graphic in a quick and easy way.
That said, let's get started!
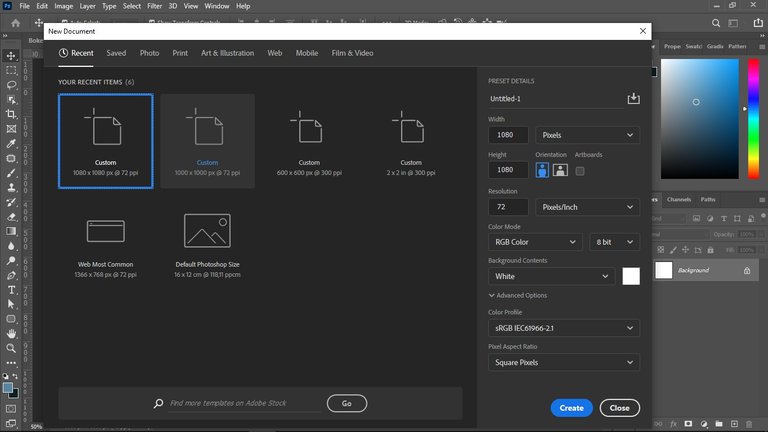
Primero, cree un nuevo documento con un tamaño de 1080 x 1080 (para publicar en Instagram) e importe las imágenes a usar, las cuales pueden hallar en pixabay.com
First, create a new document with a size of 1080 x 1080 (for posting on Instagram) and import the images to use, which can be found on pixabay.com.
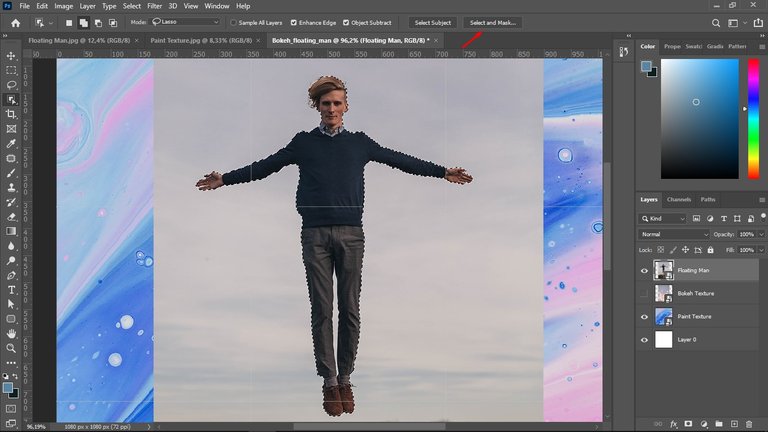
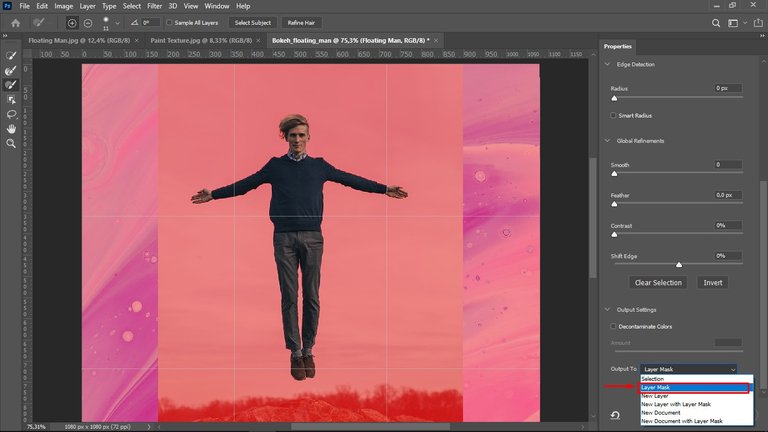
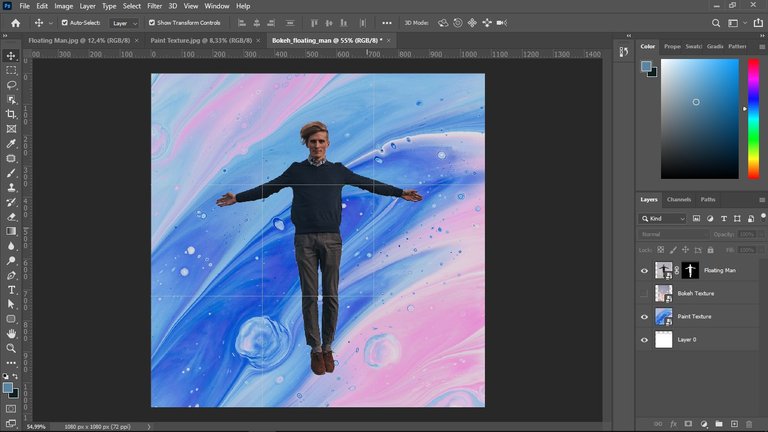
Luego, hice la selección de mi personaje con la herramienta rápida y luego me fui a select and mask para pulir aún más la selección. Finalizado esto, agregue mi personaje al fondo.
Next, I made the selection of my character with the quick tool and then went to select and mask to further polish the selection. Finished this, I added my character to the background
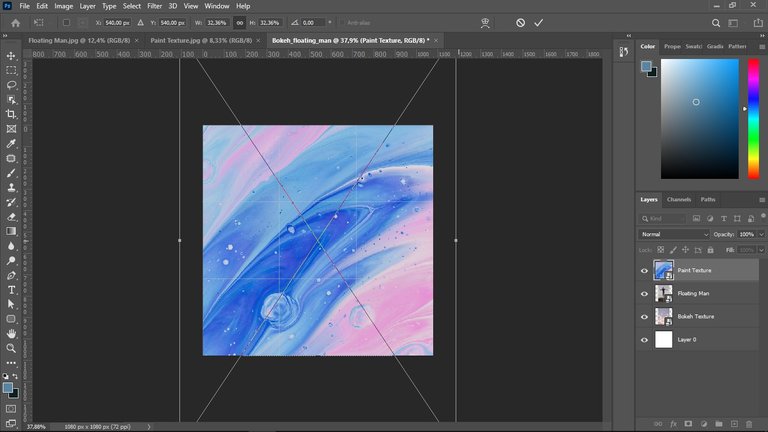
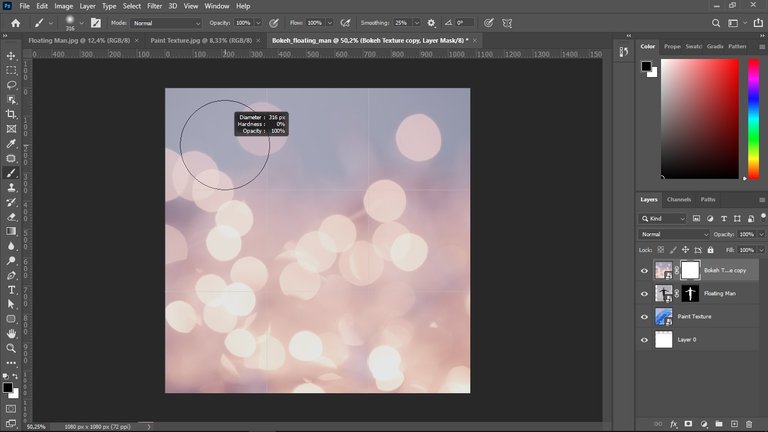
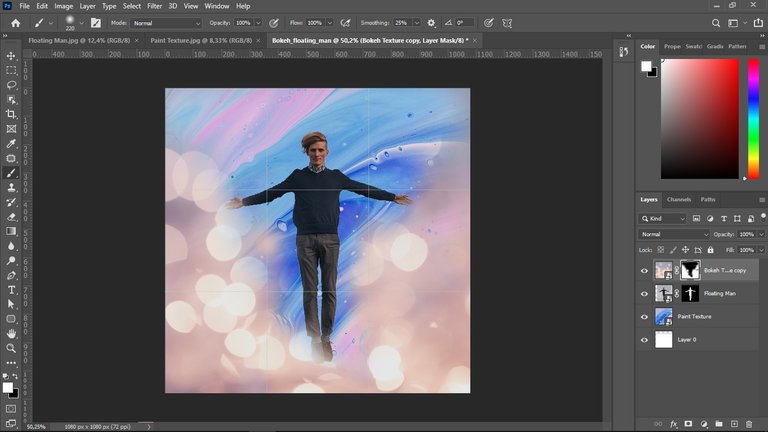
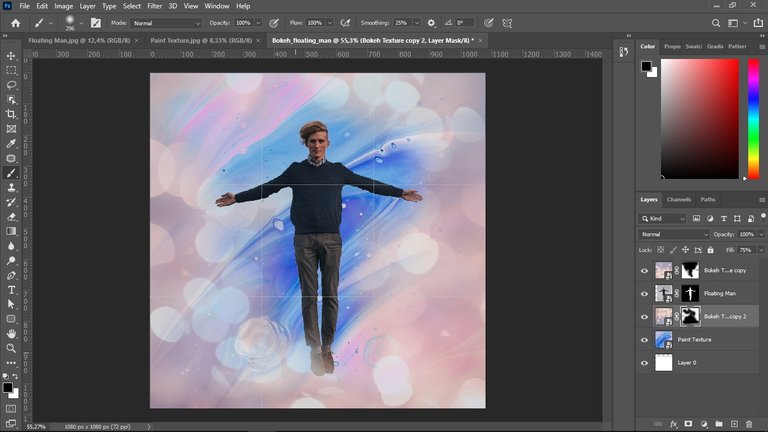
Luego sobrepuse la imagen del efecto bokeh (Que así es como se le conoce a este tipo de imágenes con estos resplandores de luz circulares) y con la herramienta pincel lo fui pasando por encima de la misma para ir mostrando la capa de abajo. Luego la duplique y la gire y le baje la opacidad a un 75% para que se viera de esta manera.
Then I superimposed the image of the bokeh effect (which is the name given to this type of images with these circular glows of light) and with the brush tool I went over it to show the layer below. Then I duplicated and rotated it and lowered the opacity to 75% to make it look like this.
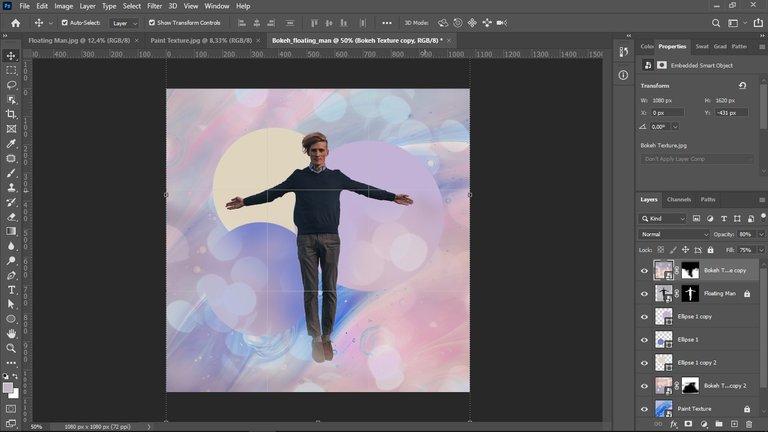
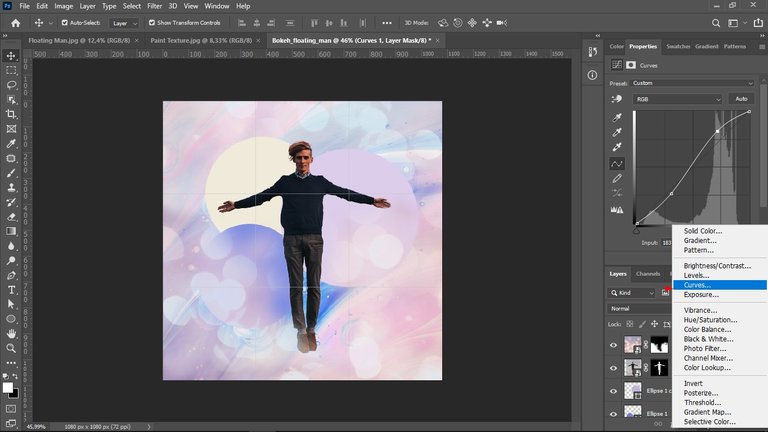
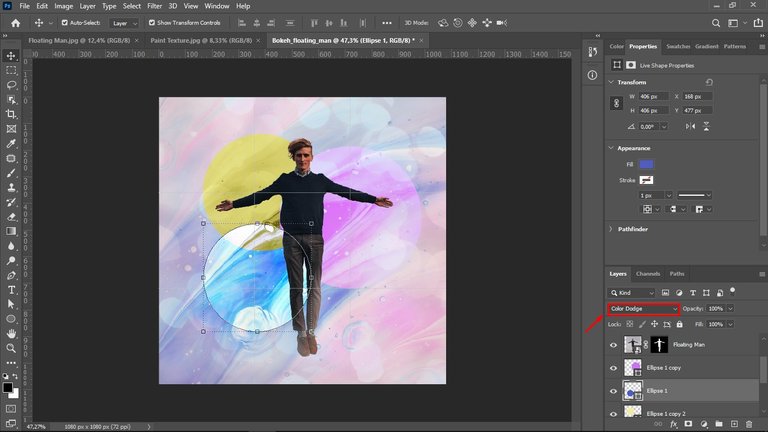
Después, hice 3 circunferencias para simular un falso bokeh y les di un color tomando muestras del fondo. Hecho esto, utilice la capa de ajustes de curvas para darle un poco más de contraste, disminuyendo las sombras y aumentando las iluminaciones. Básicamente creando una especie de s en la curva.
Then, I made 3 circles to simulate a false bokeh and gave them a color by taking samples from the background. That done, I used the curves adjustment layer to give it a little more contrast, decreasing the shadows and increasing the highlights. Basically creating a kind of s in the curve.
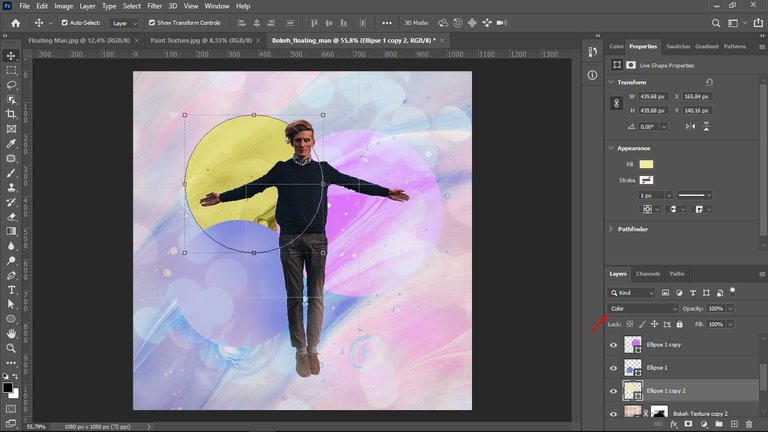
A continuación, le di a cada una de las circunferencias un modo de fusión diferente.
I then gave each of the circles a different merge mode

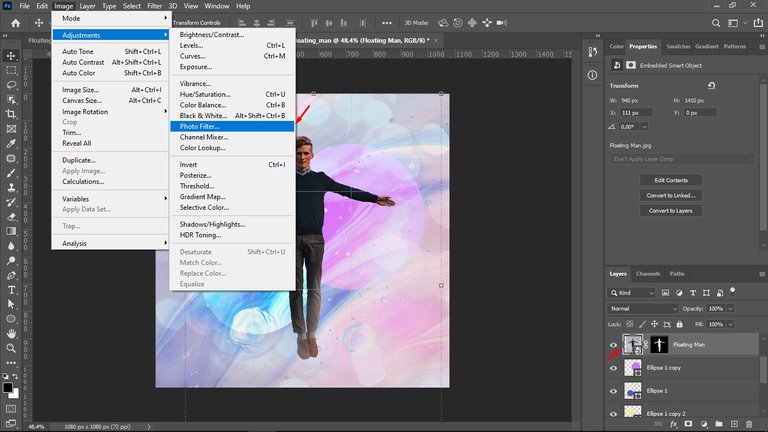
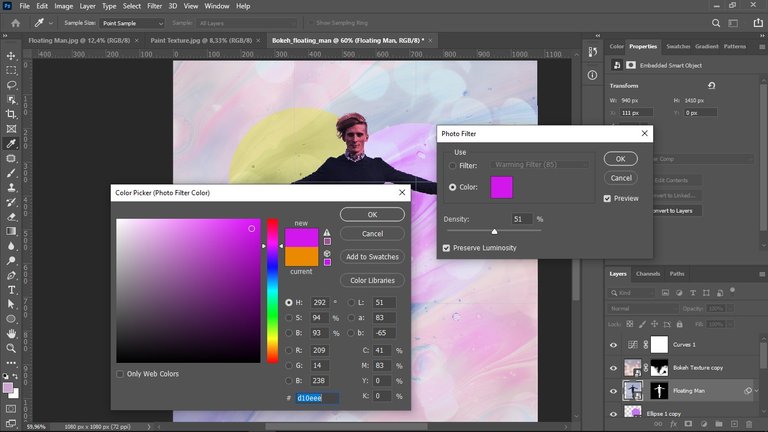
Por último, me dirigí a imagen>ajustes>filtro de foto y seleccioné un color del fondo para aplicárselo a mi personaje de forma tal que este se integrara con los colores de la imagen y se viera más armónico.
Finally, I went to image>adjustments>photo filter and selected a background color to apply to my character so that it would blend in with the colors of the image and look more harmonious.
And this is how the composition of this abstract graphic looks like.
Thanks for watching, I hope you liked my post. A hug and see you next time. 😊