¡Un saludo a todos! Espero se encuentren muy, pero que muy bien. Hoy estoy devuelta con una nueva publicación y para esta ocasión les traigo el proceso de elaboración de una valla publicitaria de mi ciudad, Chivacoa.
Greetings to all! I hope you are feeling very, very well. Today I'm back with a new publication and this time I bring you the process of making a billboard of my city, Chivacoa.
Esto forma parte de un reto (tarea) por parte de Platzi, en una de las clases del curso de illustrator avanzado que actualmente estoy haciendo. Como siempre pueden ir a platzi.com si quieren saber mas de esta maravillosa plataforma de educación online efectiva.
This is part of a challenge (homework) by Platzi, in one of the classes of the advanced illustrator course I am currently doing. As always you can go to platzi.com if you want to know more about this wonderful platform for effective online education.
said, I'll leave you with the process.
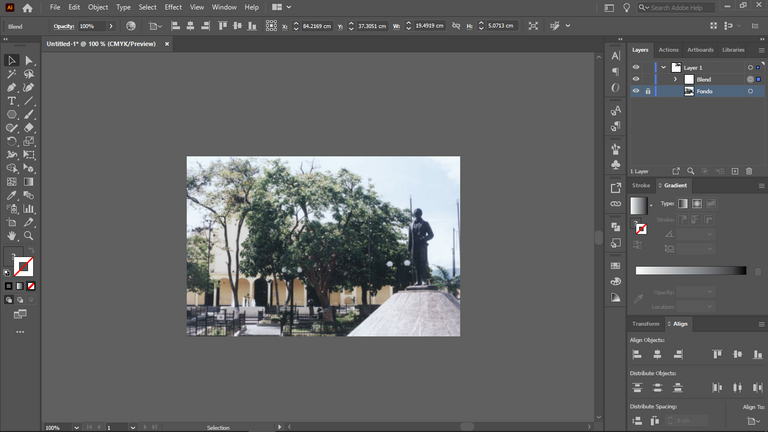
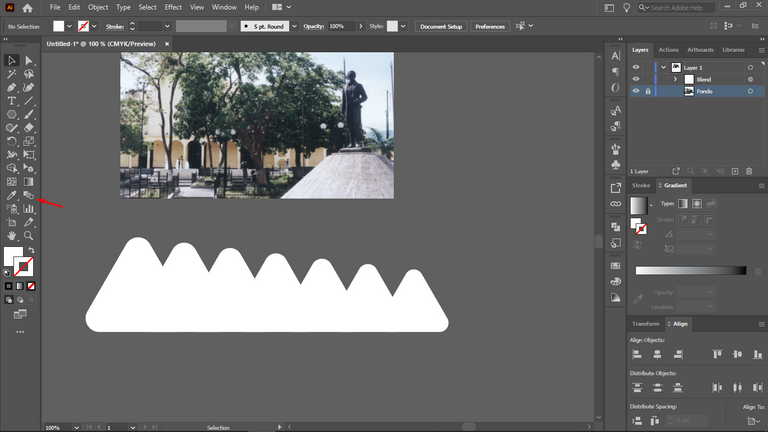
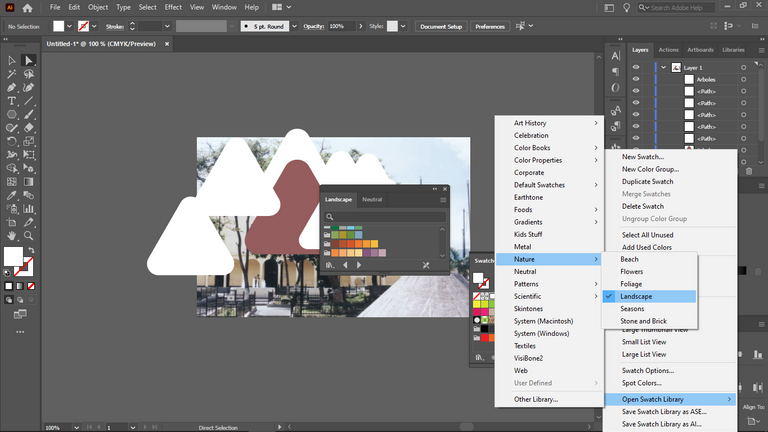
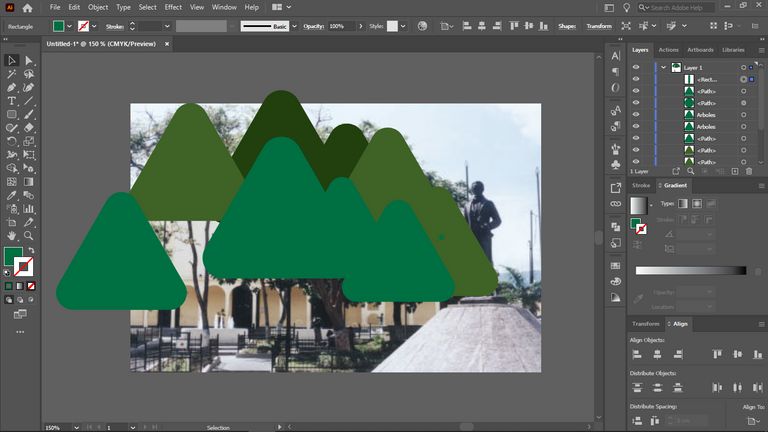
Lo primero que hice fue buscar una imagen de referencia e importarla a illustrator, ya que sobre esta crearía las distintas formas valiéndome de la síntesis. Para los árboles simplemente haría unos triángulos redondeados con diferentes tamaños utilizando la “Blend tool”. Luego los distribuí en la posición donde se encuentran los árboles de la fotografía y luego me valí de las paletas predeterminadas de illustrator, en este caso la de “nature” para ir dándole color y contrastando cada elemento. Luego simplemente hice las formas del tronco, utilizando formas simples e hice el cercado alrededor de estos.
The first thing I did was to find a reference image and import it to illustrator, since I would create the different shapes using the synthesis. For the trees I would simply make some rounded triangles with different sizes using the "Blend tool". Then I distributed them in the position where the trees are in the photograph and then I used the default palettes of illustrator, in this case "nature" to give color and contrast to each element. Then I simply made the trunk shapes, using simple shapes and made the fence around them.
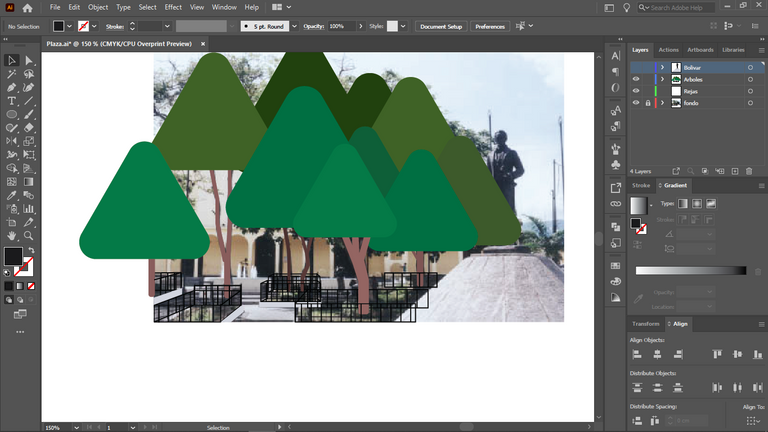
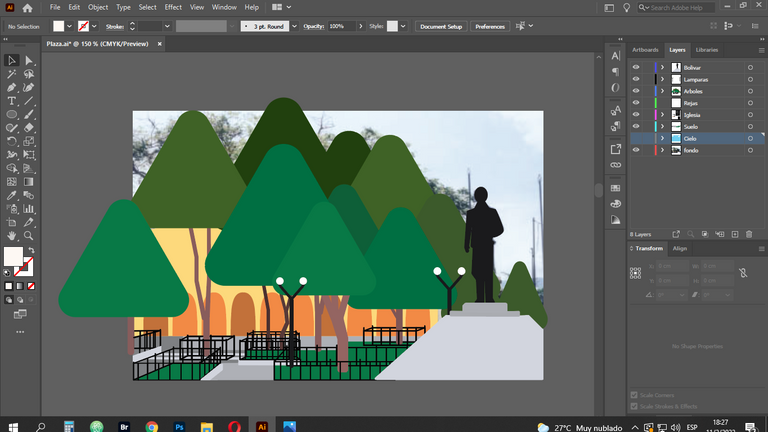
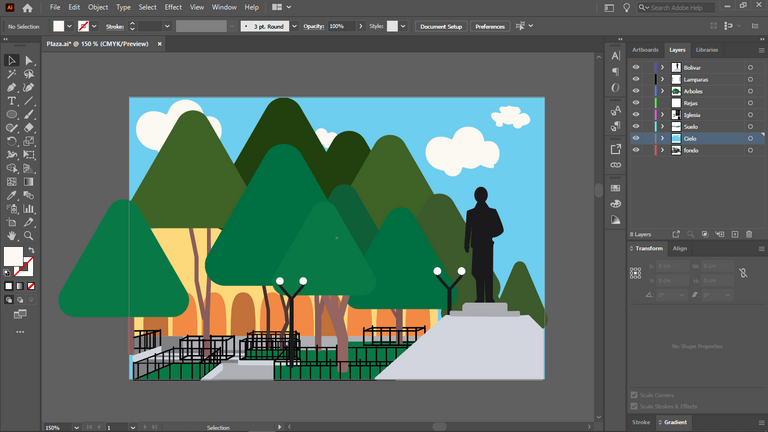
Y así seguí a haciendo mas detalles, como el pavimento, el césped, un par de lámparas y el cielo.
And so I continued to make more details, like the pavement, the lawn, a couple of lamps and the sky.
Con todos los elementos vectorizados y sintetizados, procedí a hacer unas cuantas texturas. Para ello me valí de la herramienta “Transpanrency” y utilizando una imagen texturizada, la sobrepuse sobre mi forma, cree la máscara y luego di click en invertir, para así ver el resultado. Después simplemente haría este proceso en cada uno de los elementos de la valla.
With all the elements vectorized and synthesized, I proceeded to make a few textures. To do this I used the "Transpanrency" tool and using a textured image, I superimposed it over my shape, I created the mask and then clicked on invert, so I could see the result. Then I would simply do this process on each of the elements of the fence.
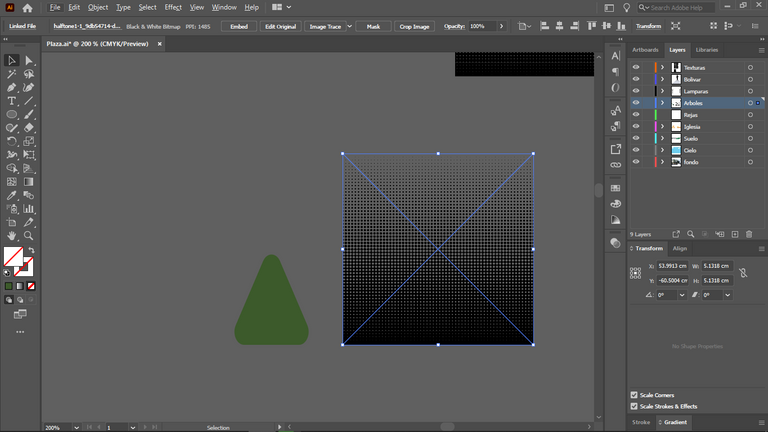
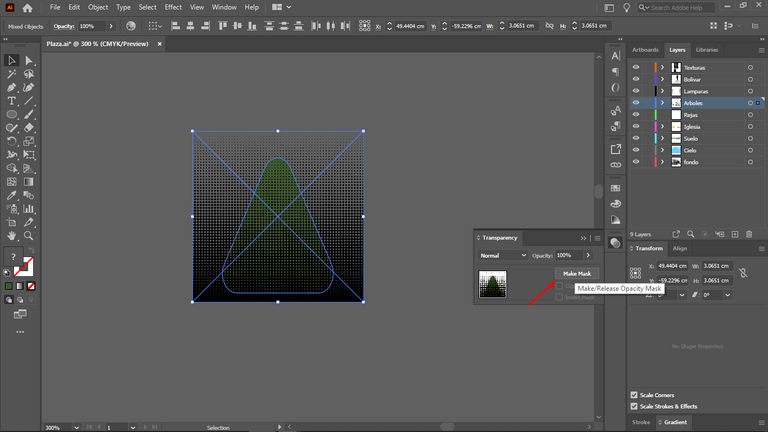
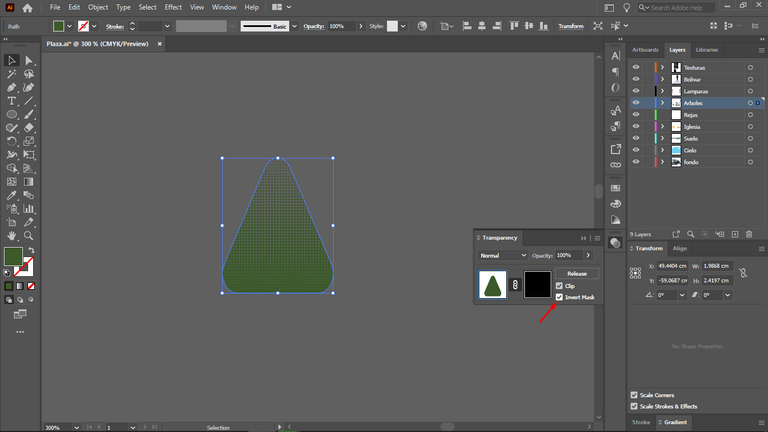
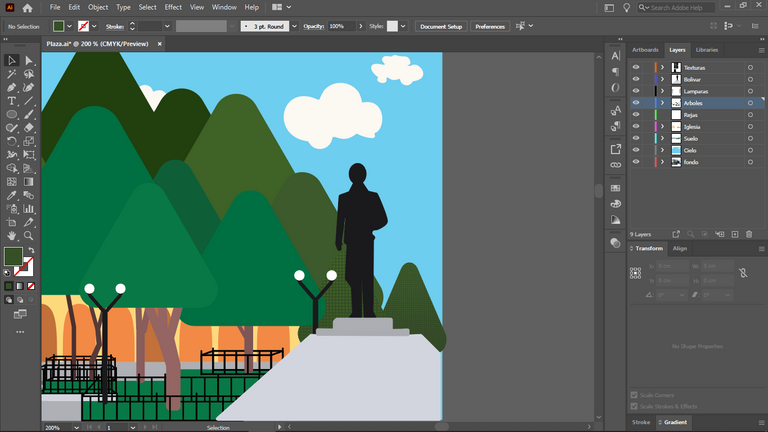
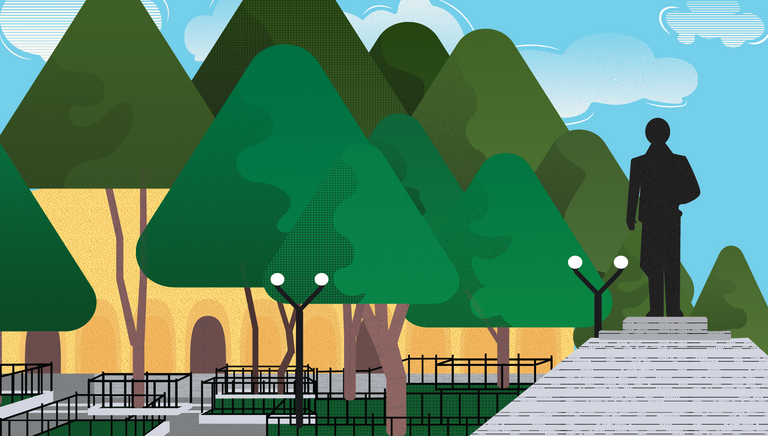
Y este fue el resultado con las texturas ya aplicadas. También, con la ayuda de la "shape builder tool", cree las distintas formas de las sombras de los árboles y demás elementos, a los cuales también le aplique sus respectivas texturas.
And this was the result with the textures already applied. Also, with the help of the shape builder tool, I created the different shapes of the shadows of the trees and other elements, to which I also applied their respective textures.
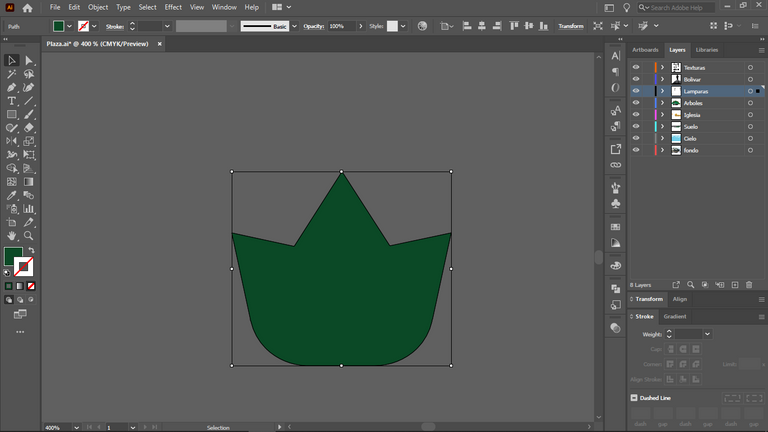
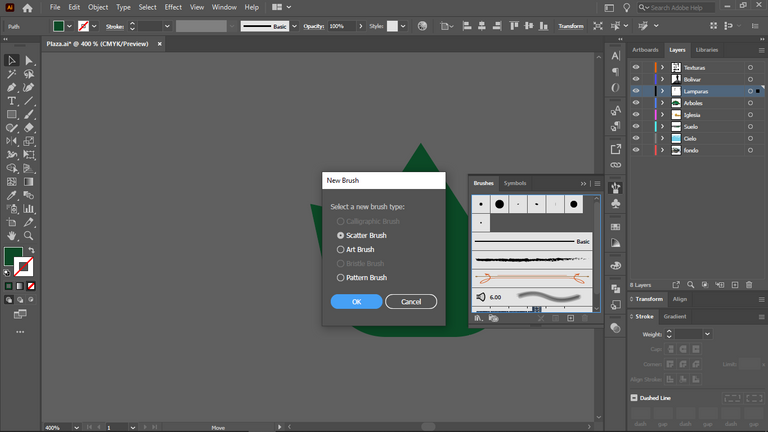
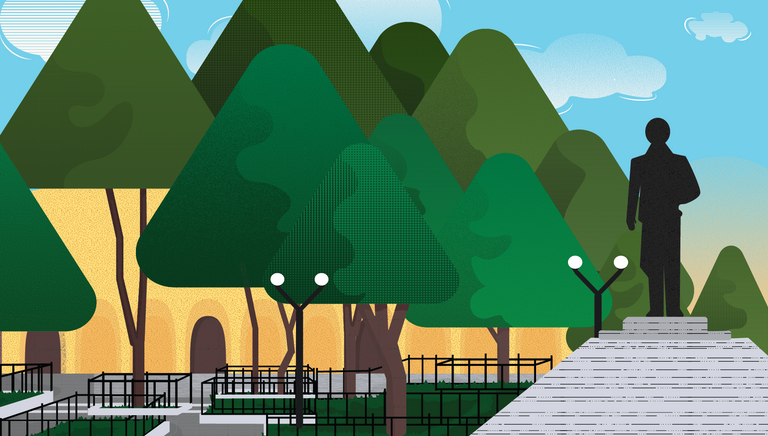
Después, hice esta forma como de hoja, la añadí a la biblioteca de brochas y estando allí, seleccioné el césped, y di click en la brocha recien creada. De esta manera cree un borde con la forma de la hoja. También fui añadiendo mas elementos texturizados a la ilustración, así como también agregué un par de sombras más, como la de los troncos o el pavimento.
Then, I made this leaf-like shape, added it to the brush library and, being there, selected the grass, and clicked on the newly created brush. This way I created a border with the leaf shape. I also added more textured elements to the illustration, as well as a couple more shadows, like the trunks or the pavement.

El siguiente paso, era hacer el texto. Para ello utilicé esta tipografía y valiendo del panel de efectos y apariencias, poco a poco fui creando este texto personalizado para mi valla, texturizado, con distintos bordes y con un efecto 3d.
The next step was to make the text. For this I used this typography and using the effects and appearances panel, little by little I created this custom text for my fence, textured, with different borders and with a 3d effect.
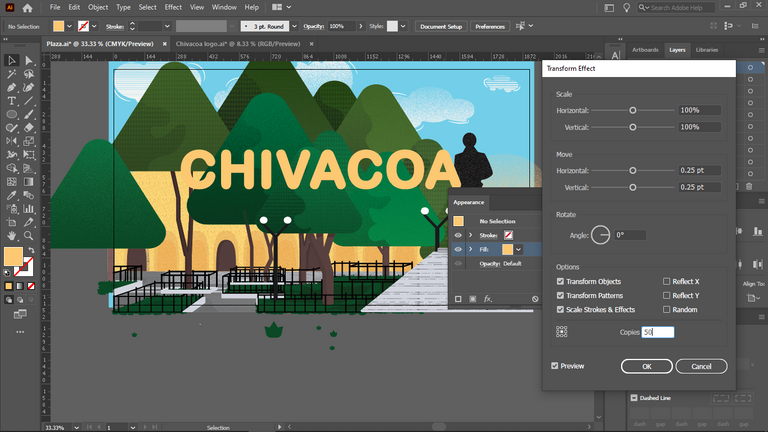
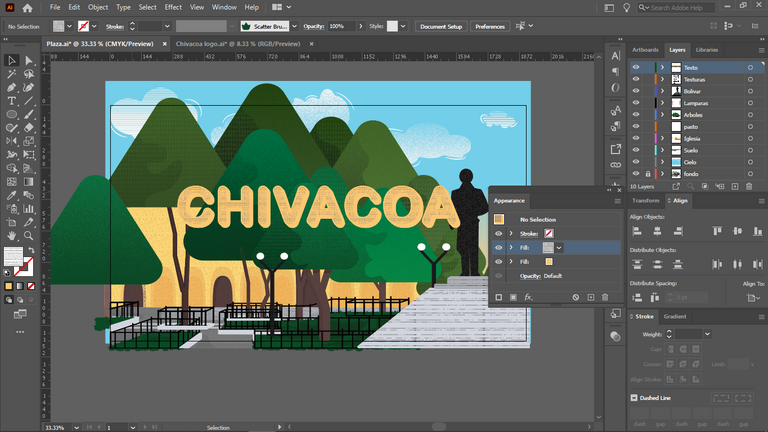
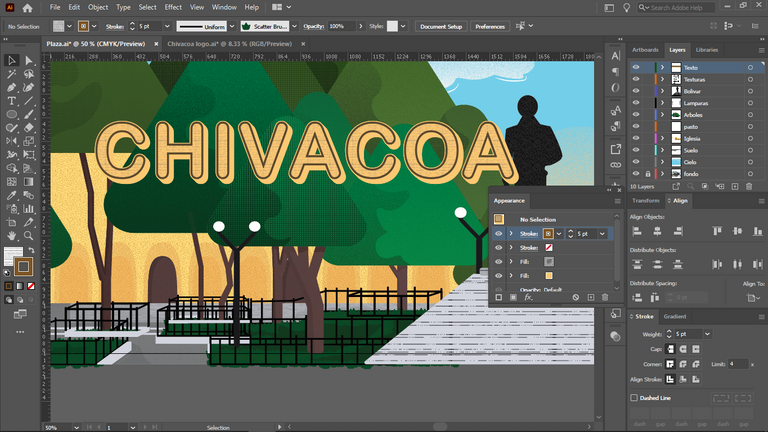
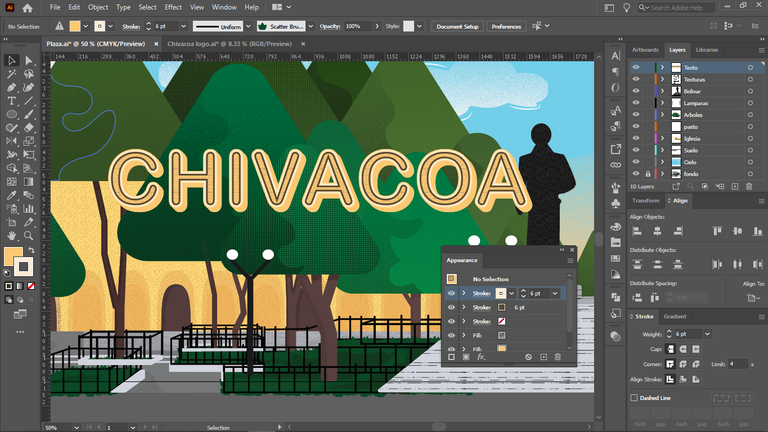
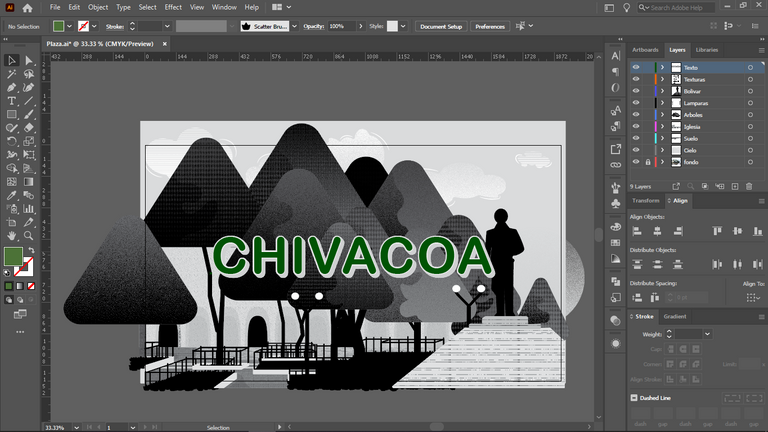
Posteriormente, seleccioné todos los elementos y los convertí en escala de grises. Esto lo hice con el fin de ver como contrastaban los distintos elementos y como se veían las texturas, para así corregirlas si solo se veía una mancha negra.
Afterwards, I selected all the elements and converted them to grayscale. I did this in order to see how the different elements contrasted and how the textures looked, so I could correct them if only a black spot was visible.
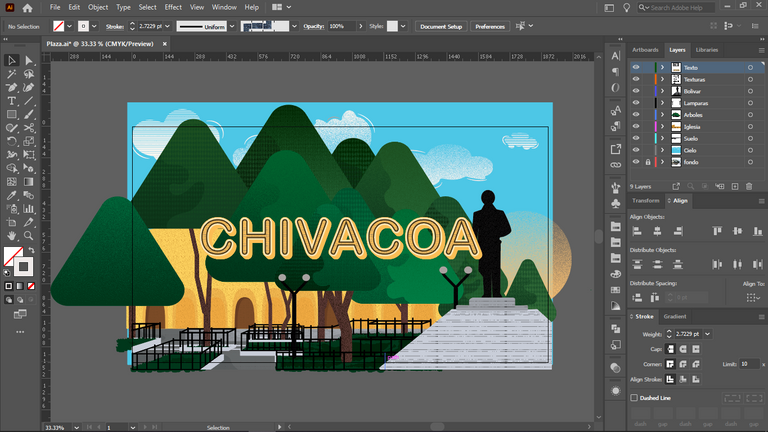
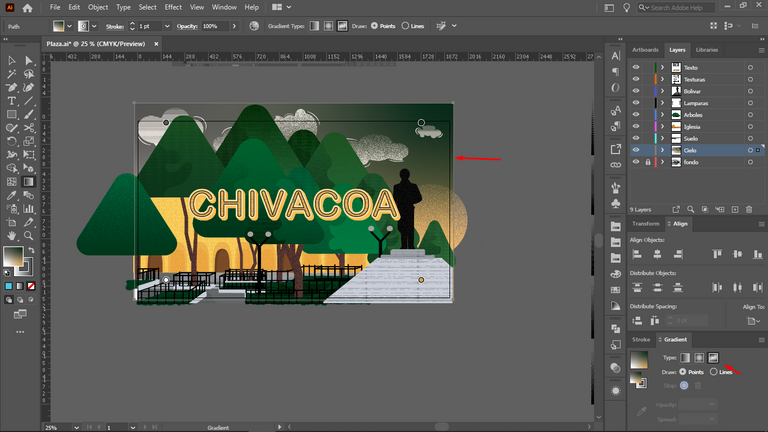
Para finalizar, utilice la herramienta de Degradado libre, para así generar un efecto de luz o resplandor en el cielo, para que este no se viera tan plano.
Finally, I used the Free Gradient tool to generate a light or glow effect in the sky, so that it would not look so flat.
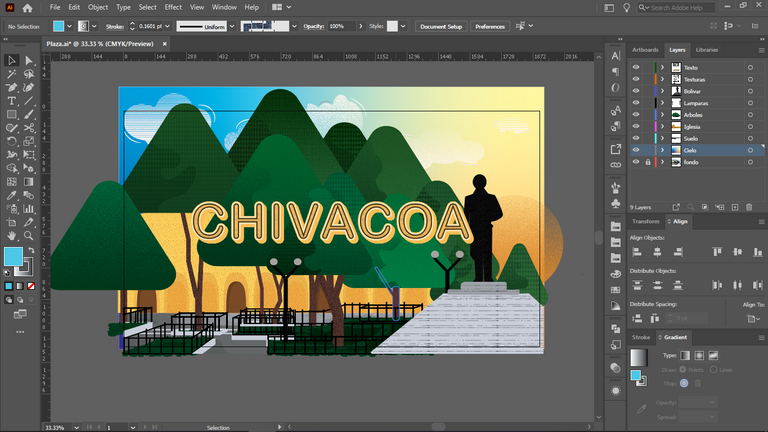
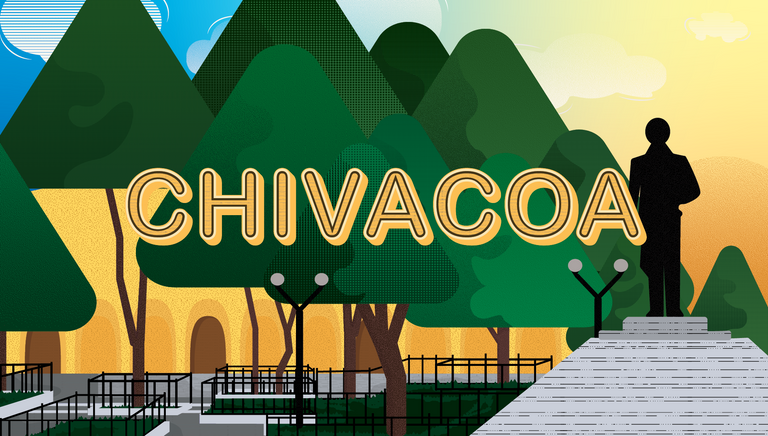
¡Y listo! Este fue el resultado final de la valla, con cada uno de los elementos texturizados y sus respectivos detalles, sombras y degradados.
And that's it! This was the final result of the fence, with each of the textured elements and their respective details, shadows and gradients.
Thanks for watching, I hope you liked my post. A hug and see you next time.😊
Me gustó como fueron quedando los detalles, le aportaron muchísimo a la ilustración. Si pudiera, haría lo mismo con una fotografía del pueblo de mi familia paterna, Montalbán. ¡Excelente post!
Me alegra mucho que te haya gustado, Gracias por el apoyo! 😊
So nice & simple. It even looks better then the photo you used for the base.