Hello Everyone!
Welcome to my post. Thank you for stopping by. On this occasion, I would like to share one of my favorite battles using LORNA SHINE. She is a Summoner of Life splinter from Dice edition.
I used to rely on her a lot in battle. I started not relying on her ever since I started using monsters from the chaos edition a lot.
Now with the new reward system, everyone is turning to the powerful old edition monsters and so did I.
Let's go through the detail first of this Summoner.

CARD INFO
CARD INFOSTATS
STATS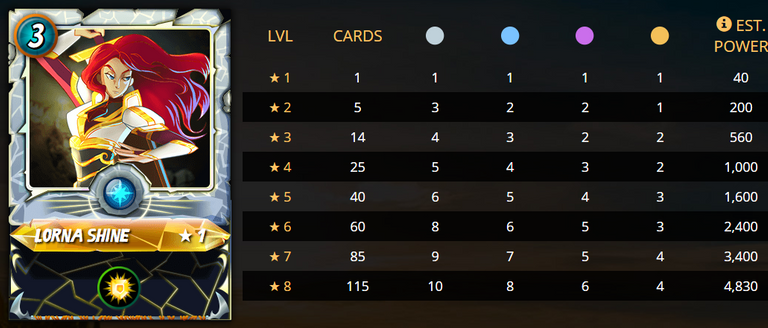

BATTLE
BATTLE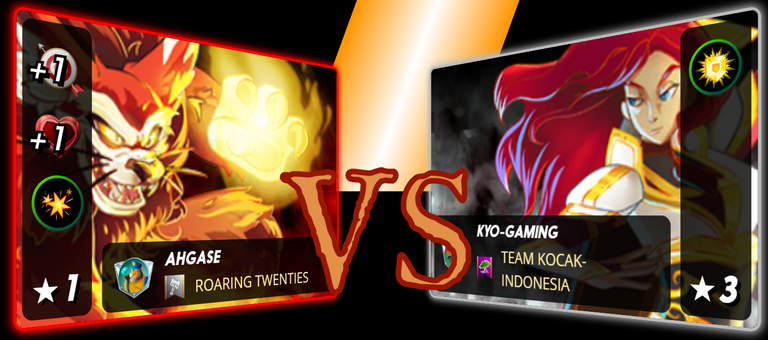
RULE SET
RULE SET
- Melee Mayhem
Melee attack Monsters can attack from any position.
Mana Capacity
40Splinter Options
Fire, Water, Life, & Death
MY LINEUP
MY LINEUP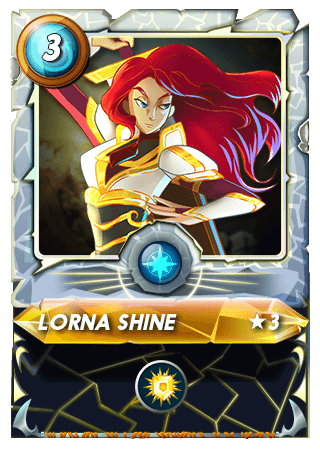 | Based on the enemy's previous battles, he used the Fire splinter and Yodin Zaku as the Summoner. I think he has a Focus of Fire splinter then definitely he will use the same splinter and Summoner. In order to minimize the blast effect from Yodin Zaku's buff then I should use Summoners or Monsters that can give Armor or Divine Shield to their allies. I decide to choose Lorna Shine because she will give Divine Shield to allies and she has a smaller mana consumption than Kelya. Another consideration is that I have some powerful Melee attack Monsters in the Life splinter. |
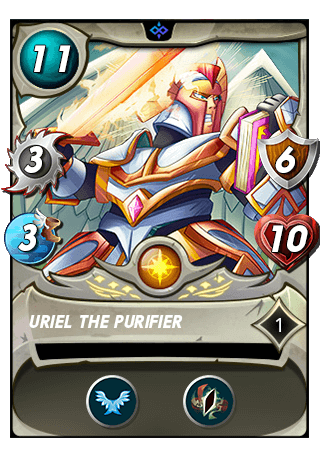 | A great tank with a massive attack, a lot of Armor, and Health. He has a Flying ability which can evade attacks from enemy Monsters who do not have the Flying ability. Due to his Recharge ability, he will have 9 Melee attacks in one hit. The disadvantage of the Recharge ability is only can attack every 2 rounds. Hopefully, he could smash some enemy Monsters before getting killed. | |||
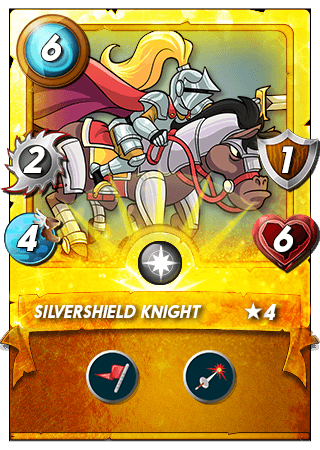 | A great and fast Melee attacker. The main reason I choose him is that he has to Inspire ability which increases the allies' Melee attack by 1. He has decent Health and Armor so I put him in the second position behind Uriel the Purifier to withstand the blast effect. | |||
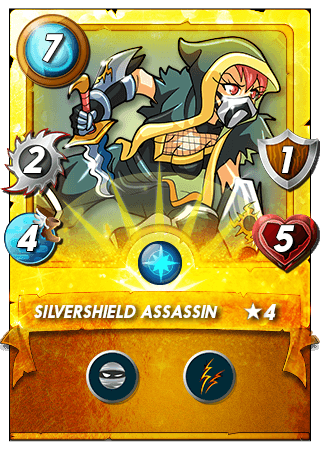 | A specialized Sneak attack with Double Strike ability. Double strike ability makes his damage massive. I believe the enemy will use a lot of Ranged attack Monsters and put them in the behind position. That's why I choose Silvershield Assassin to target the last position of the enemy Monsters. | |||
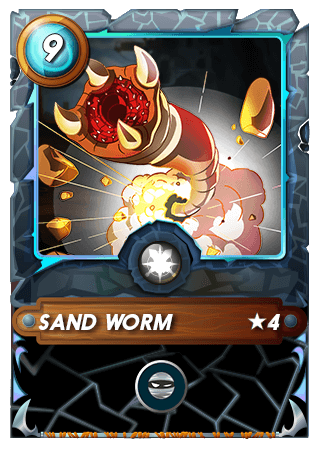 | Another specialized Sneak attack Monster. He has the same role as Silvershield Assassin who targets the enemy Monster in the last position. | |||
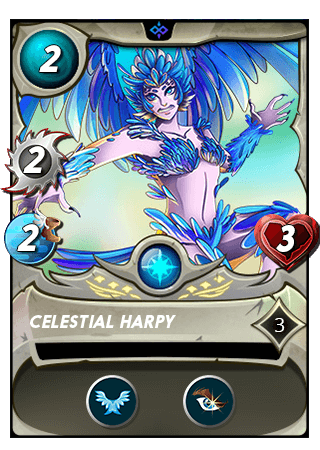 | Low mana Melee attack Monster with great stats and abilities. She will target the enemy Monsters with the lowest health. | |||
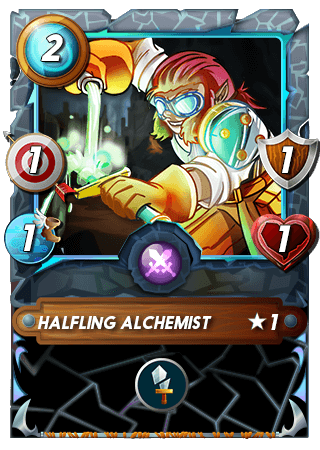 | For the last 2 mana, I choose Halfling Alchemist. Low mana Ranged attack Monster with the important ability. Halving ability will make the impacted enemy Monsters lose half of their attack. |
ROUND 1
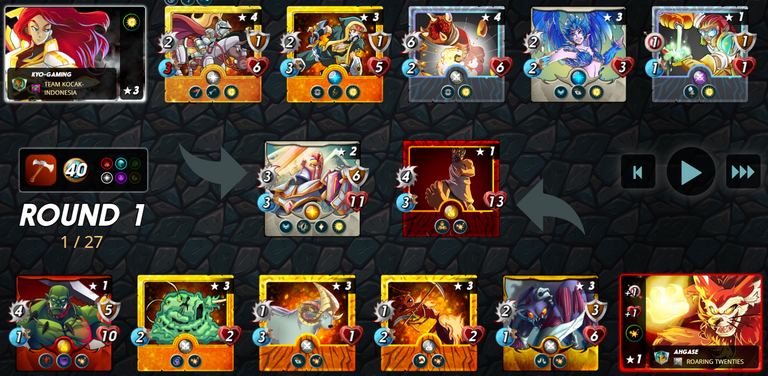
- Round 1 started with buff and debuff process by both team as follows :
Summary of round 1 :
- Both teams exchange attacks in the first half.
- All my Monsters focus on attacking Magnor due to his Taunt ability.
- Halfling Alchemist managed to reduce Magnor's attack to half before he was finally incapacitated by the Sand Worm.
- Silvershield Assassin receive a lot of blast effects but still managed to survive in the first round.
ROUND 2
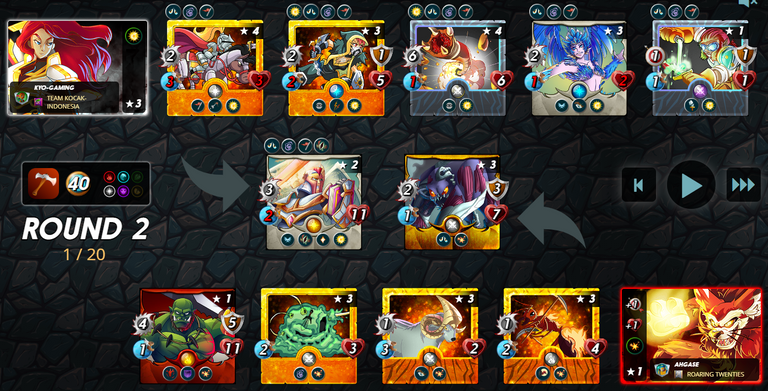
Summary of round 2 :
- Halfling Alchemist managed to reduce Disintegrator's attack with his Halving ability.
- Silvershield Knight was knocked out due to the blast effect from the Grum Flameblade's attack. After that, my Melee attack Monsters get reduced their attack by 1.
- Silvershield Assassin and Sand Worm tried to attack Grum Flameblade in the last position but only managed to destroy his Armor.
ROUND 3
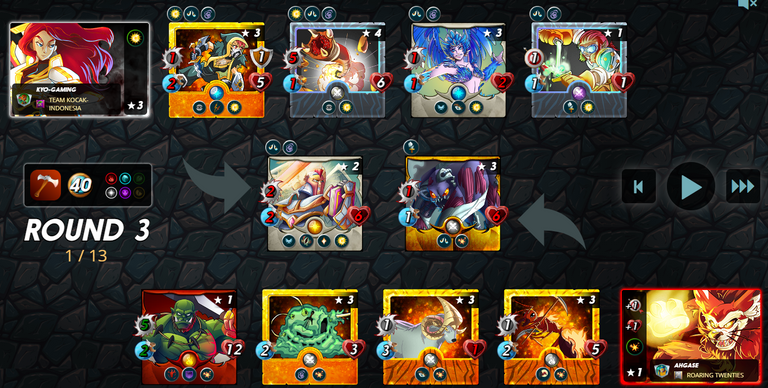
Summary of round 3 :
- Halfling Alchemist was knocked out by Battering Ram at the beginning of the third round.
- Silvershield Assassin and Sand Worm managed to deal some damage to Grum Flameblade but not enough to knock out him yet.
- Uriel the Purifier managed to evade the Grum, Ant Miners, and Disintegrator attacks. This is an advantage for my team.
ROUND 4
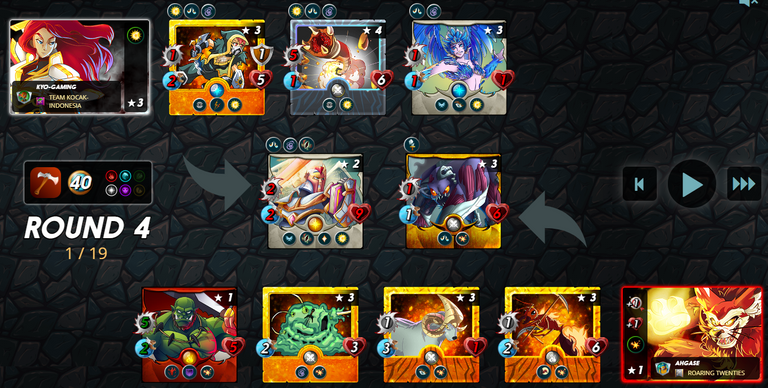
Summary of round 4 :
- Battering Ram managed to knock out Celestial Harpy at the beginning of fourth round.
- Uriel the Purifier managed to knock out Disintegrator.
- Sand Worm and Silvershield Assassin's collaboration paid off. They managed to knock out Grum Flameblade at the end of fourth round.
ROUND 5
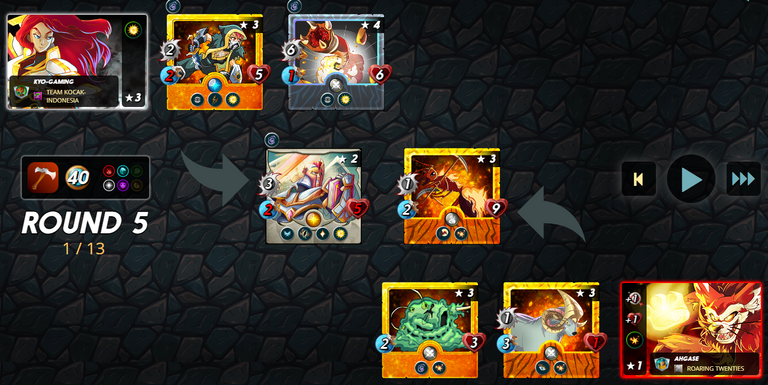
Summary of round 5 :
- Silvershield Assassin managed to knock out Creeping Ooze while Sand Worm also managed to knock out Battering Ram.
- Uriel the Purifier managed to evade an attack from Ant Miners.
- Next round will be a slowly killing process as enemy only left 1 Monster.
ROUND 6
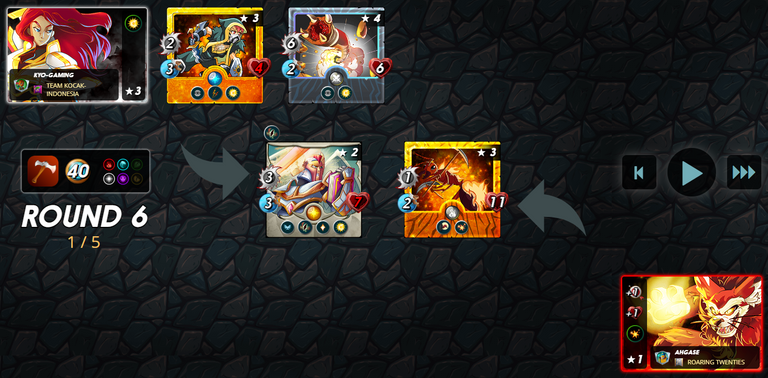
Summary of round 6 :
- Uriel and Silvershield Assassin took turns attacking Ant Miners and managed to knock out him.
WATCH THE FULL BATTLE HERE

DID MY STRATEGY WORK?
- Yes, my strategy works effectively. Everything works as it should.
- Thanks to Uriel the Purifier that managed to evade 4 attacks in the battle.
- Actually, I'm quite surprised the opponent doesn't use ranged attack monsters so one of Yodin's buffs is wasted.

AFTERTHOUGHTS
- Thanks to the new reward system everyone started reusing summoners and monsters from the old edition and making the battle more varied and a headache for sure😁.
- We can combine Monsters from old and new editions to create new metas or strategies.

If you haven't signup for this cool play-to-earn game then please use my referral in this LINK.
CREDIT
Card images and battle from @Splinterlands
Thumbnail was made using @Canva
Carrieallen for the tutorial formatting
Flauwy for the DEC horizontal divider
Rqr4 for the Chaos horizontal divider
Join Our Discord
Your Splinterlands post has been manually curated on behalf of @SBTOfficial by @sgt-dan. Check out our partners' projects to find more play2earn opportunites!
Thanks for sharing! - @lenonmc21

Nice work, I really like your format, you do a good job.