
RULESET: Ferocity

Description: All units have the Fury ability.
Think carefully before including a unit with Taunt in your lineup as they will take double damage from units with Fury.

The Strategy

As the ruleset states, we should be careful in including a unit with Taunt in our lineup. Unless absolutely necessary and you're sure that the pros outweigh the cons, I suggest we follow the rule's recommendation. Having rules on our side is better than going against it.
We have a mid-mana battle at 23 and only have two elements active - earth and dragon. For earth, the unit that has Taunt is Mycelic Slipspawn, while for dragon, it's Agor Longtail.
Prior to creating a lineup, make sure that you get a glimpse of the recent lineup of your opponent to get an idea of the most likely element and lineup he or she will use for the battle.
For this battle, we were able to get a glimpse that our opponent used a lot of monsters with sneak, so we will consider this in forming our lineup.
The Summoner

Since we saw that our opponent used monsters with sneak, we'll be choosing Mylor Crowling to do some return damage. We'll combine this with amplify ability from one of our monsters.
1st Slot - Common Monster Failed Summoner
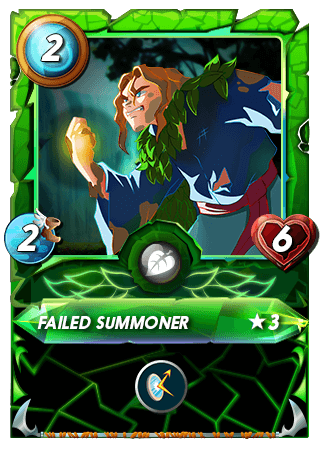
Since we also need to consider that our opponent can change his or her lineup and not go with a sneaky lineup, we'll try to take advantage of amplify to counter magic damages. Having this at tank with its high health will also help in returning damage for melee attacks.
Having this monster at 2 mana is a bargain.
2nd Slot - Legendary Shield and Magic Reflect Arianthus
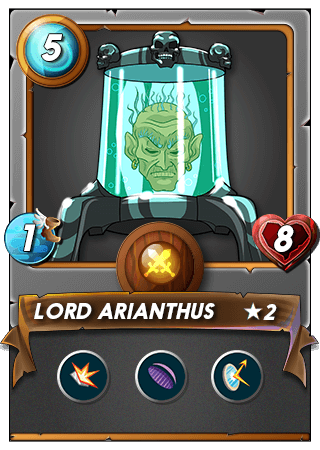
One of the monster we recently just learned to use because of its magic reflect ability at level 2. Again, we're considering that our opponent can change his or her mind and come up with a different lineup as such we need to counter magic damages. Arianthus's void and magic reflect helps in this area.
Its third ability - Shield - makes it a sturdy monster against melee and range attacks. Having it at 5 mana makes it fit for mid-range mana battles.
3rd Slot - Magic Silencer Mushroom Seer
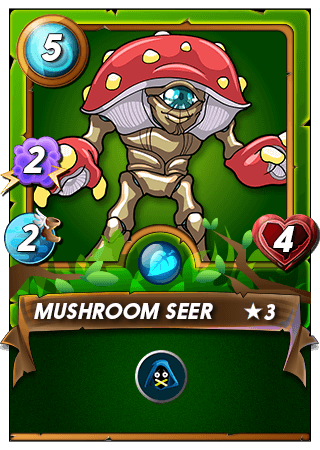
Another monster to debuff magic attacks since we foresee that the dominant attacks from earth and dragon are magic, we will opt to debuff these with Silence to reduce damage of magic attacks.
Combining this with Failed Summoner's Magic Reflect at tank and Arianthus's Void at second, somehow secures our lineup's front against magic and melee.
The critical monster for this to work comes next.
4th Slot - Protective Amplify Queen Mycelia
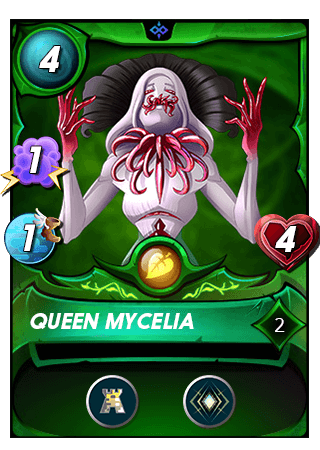
The critical piece for our lineup to work. We've managed to protect our front against magic and melee and will put monsters at the 5th and last slots to protect our rear, but for all these to work, we need this critical piece in our lineup - Queen Mycelia's Amplify. Without it, it will definitely put the odds of winning against us.
5th Slot - Swift Monster Brownie
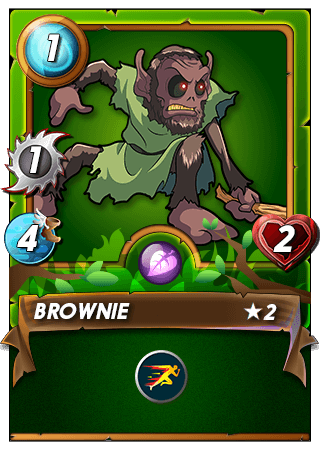
Ever heard of the saying "the early bird gets the worm"? Well, we definitely don't want to get any worm, but adding speed to our lineup with Swiftness at the mana cost of 1 is definitely a plus. Putting it at 5th slot also helps protect our rear against sneak attacks.
We'll be putting the last piece in our lineup.
6th Slot - Healing Range Earth Elemental
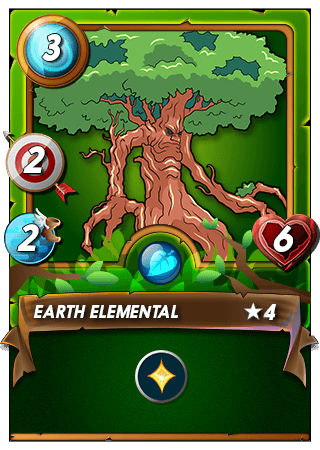
And last but not the least, a self-healing ranged-attack monster. We've assembled our pieces against magic attacks and damages, and we have thorns from our summoner to counter against melee attacks and have combined this with amplify, what could be the missing piece?
Since we now only have 3 mana left to use, we will be choosing a monster with heal to add protection to our lineup's rear. Choosing range also makes sure that we have a good combination of magic and range attacks. We'll let our monsters's thorn ability to deal melee damage.
This completes our lineup.
The Battle
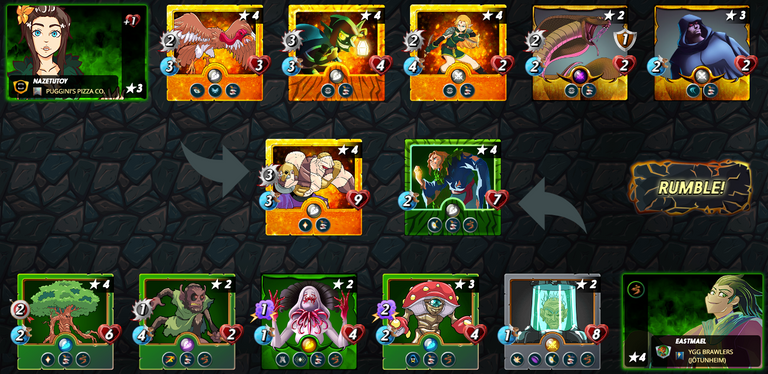
Afer buffs and debuffs applied:
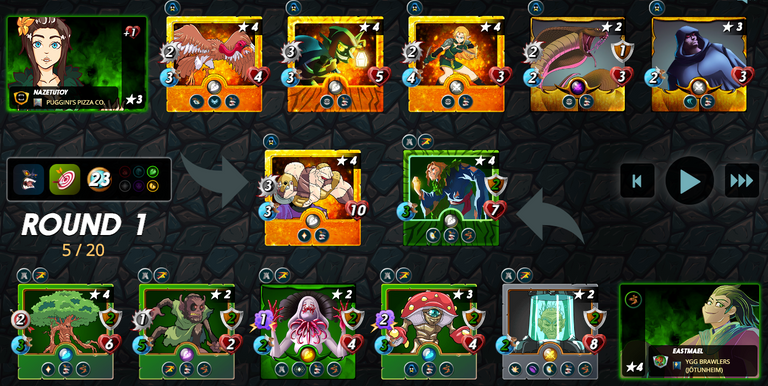
Looking at our opponent's lineup, we were able to anticipate correctly the lineup that our opponent will use - sneak attacks. But this is just a part of the battle.
Let's see how the battle pans out.
End of Round 1
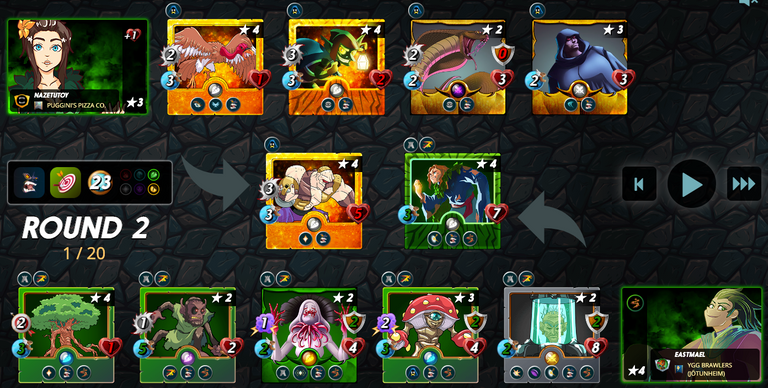
We were able to take down our opponent's Elven Cutthroat at 4th position when it attacked Earth Elemental at rear. It destroyed its shield but returned amplify thorn damage to take it down.
Both Goblin Thief and Uraeus also received return thorn damage for their sneak attacks on Earh Elemental as well. Screeching vulture, with its opportunity ability, attacked Brownie and took down its armor. Screeching vulture received amplified thorn damage in return.
Flesh Golem took down Failed Summoner's armor and self-healed to 1/3 of its health to 9 (from 10).
Let's see how Round 2 goes.
End of Round 2
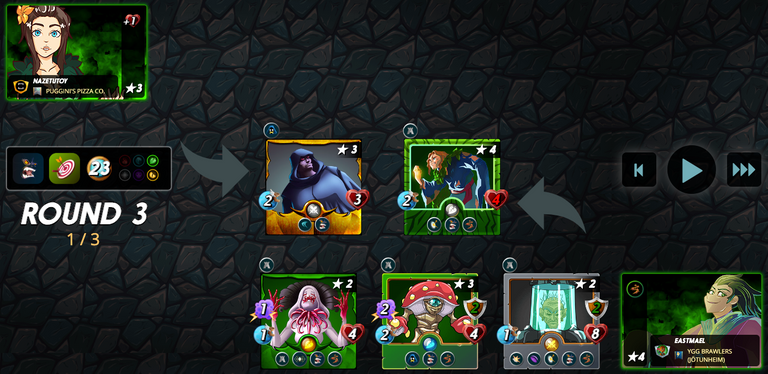
A lot happened in the second round.
First, due to Brownie's Swiftness ability, it increased Mushroom Seer's speed to 3, as such the latter attacked Flesh Golem, reducing its health to 3. Second was Earth Elemental self-healed its health to 3 and did a 2 range damage to Flesh Golem at tank before getting taking down by the next attacker Goblin Thief. Goblin thief, with only 2 health remaining, received 2 thorn damage to take it down as well.
Next was Screeching Vulture attack to Brownie to take down the latter, but the former received amplified thorn damage taking it down also in return.
Next was Flesh Golem self healing its health to 4 and attacked Failed Summoner with 3 melee damage. Since it's a melee attack, it returned an amplified 3 thorn damage to the attackers health as well, cancelling the self-heal it did to itself.
Next was Uraeus Sneak attack on a still armored Queen Mycelia, since the former no longer has armor to protect it (it got taken down in the first round when it attacked Earth Elemental), its attack on Queen Mycelia's armor received an amplified thorn damage to take the attacker down.
Next was Queen Mycelia's turn to attack, with its Speed reduced to 1 after Brownie got taken down, did the final blow to take down Flesh Golemn at tank.
With our opponent only have one remaining monster with no attack, it's just for formality to look at the next round.
End of Round 3
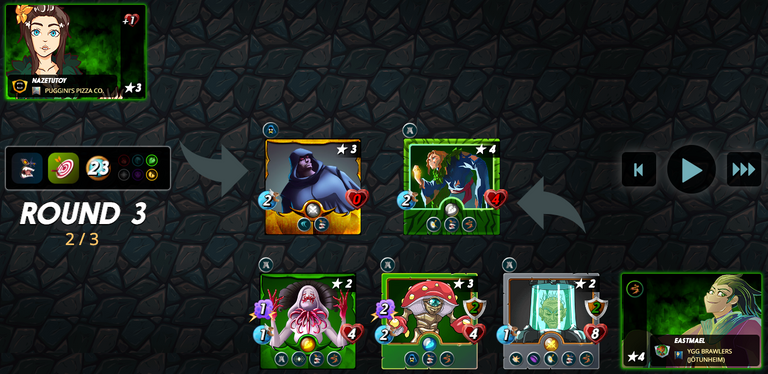
Mushroom Seer and Queen Mycelia's 3 magic damage was just enough to take down our opponent's remaining monster with 3 health.
Battle Result
We get a nice +15 boost to ranking and 0.455 SPS to our SPS HODL stash!

Do you know you can win a Chaos Legion pack and many other things just by following some simple steps ?? Check out our Latest Daily Showcase and Participate our latest Giveaway. Thanks
Thanks for sharing! - @yonilkar
