This Splinterlands Social Media Challenge post features a battle with the Ferocity ruleset! Have you ever gotten tired of seeing your opponent load up on Taunt monsters and have every single one of your attacks get attracted the enemy monster with all of the bulk and tanking abilities? Well, then Ferocity just might be the ruleset for you. In Ferocity battles, both players are welcome to bring all of the monsters with Taunt that they want. BUT - every monster in the fight receives the Fury ability. This means that they will deal double damage to monsters with Taunt.
The Ferocity ruleset has a very clear set of losers - the monsters with Taunt. But there are plenty of other monsters which are also negatively affected. More fragile monsters that rely on a Taunt tank on their team for protection become a a bit less valuable in the ruleset, since they are more likely to get picked off early. Monsters that offer support to a single monster through abilities such as Tank Heal or Triage also lose some of their utility, since you can otherwise use Taunt monsters to ensure that those support monsters will have a target to help out. Of course, there are also the winners - those monsters with indirect attacks are free to run wild and knock out back lines. Opportunity, Sneak, or Snipe monsters love to see a good Ferocity fight!
If you wanted to jump right to the action, the Battle Link is right here. Want to hear some more about the lineup? Read on further!

As mentioned above, the rules for our battle feature Ferocity. And that's it - just a single ruleset. As discussed above, this means that monsters in this battle gain Fury and will deal double damage to monsters with Taunt. To go along with the rule, we have a medium to lowish mana cap of 21, and can choose between Fire, Earth, Life, or Death for our splinter.
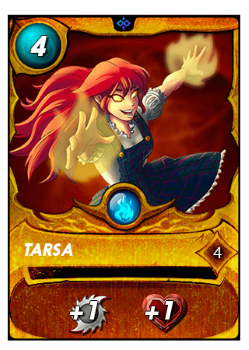
I am a firm believer in placing my monsters in a position where they are set up to succeed. For this particular battle, that means setting up a team strategy that has a good chance of winning and has the potential to take advantage of the battle ruleset(s). I am planning on using a melee team composition with plenty of indirect attackers using the Sneak ability. Tarsa is the perfect summoner for this strategy, because her summoner buffs will give all of my melee monsters and attack boost. Pair that with her low mana cost fitting in well with our somewhat low mana cap, and she is just the summoner for the job!
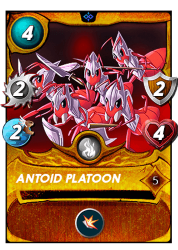
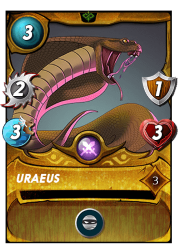
On account of the low mana cap for this fight, many of my monster selections will be placing a premium on mana cost efficiency. Antoid Platoon and Uraeus both fit the bill well here, for just 4 and 3 mana both of them offer a useful combination of stats and abilities. Antoid Platoon is a solid frontline tank, with 2 armor, 4 mana, and the Shield ability. Uraeus is one of multiple Sneak attackers that I will be utilizing in this battle, and offers 2 Sneak damage (boosted to 3 by Tarsa!) at a very budget-friendly mana cost.
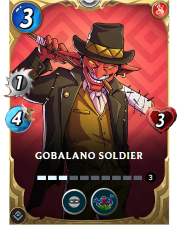
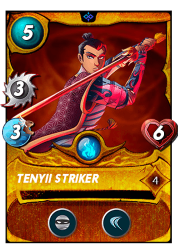
Next up was even more Sneak damage. Like Uraeus, Gobalano Soldier and Tenyii Striker both attack the back end of the enemy lineup. This is a great thing in most battles, but particularly useful in the Ferocity ruleset - if my opponent happens to have brought a Taunt monster into the fight then they will attract any Sneak attacks and take double damage from my monster's attacks.
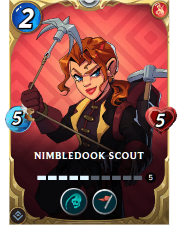
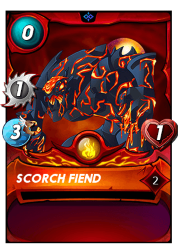
I finished off my team with Nimbledook Scout and Scorch Fiend. Scorch Fiend was very obviously just thrown in as a meat shield and isn't worth too much of a mention, but Nimbledook Scout gives all of the melee attackers on my team an attack boost, and has a fsir chance of landing some counterdamage with the Backfire ability.

With the lineup set, it's off into battle! When I see the selected teams I feel pretty good about my chances. The enemy lineup appears to be set up to deal with a frontal assault, with large amounts of mana spent on a frontline tank and healer. Luckily for me, the bulk of my team will be attacking the back of the opposing team instead!
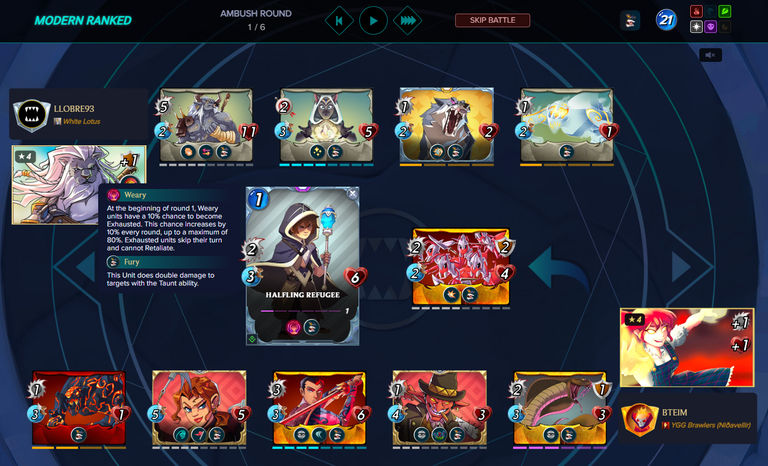
In the first round of battle my team gets to work on the opposing backline, knocking out the back 2 monsters in short order. I am taking a bit of damage at the front, but my monsters are poised to start attacking the enemy Healer.
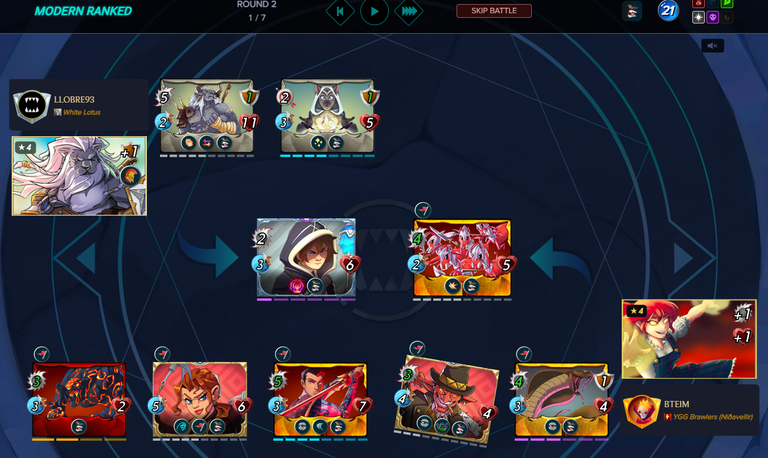
By the start of round 3 all that is left on my opponent's side of the battlefield are their two tanks. Granted, one of them had a whole lot of bulk! But with all of the opposing healing out of the fight, my monsters have a clear path to victory.
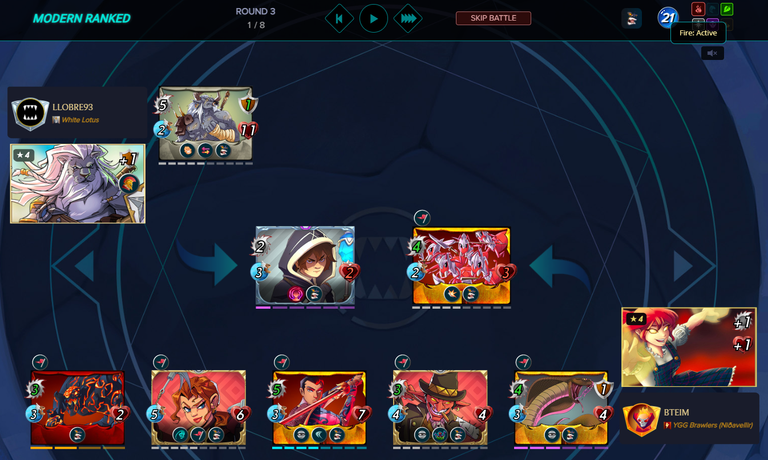
One round later the battle was just about over. Enrage gave the enemy Drybone Barbarian a scary looking attack stat, but it was heavily damaged and facing off against nearly my entire team of monsters - not a chance! And again, if you wanted to see the whole battle for yourself, you can see it right here.
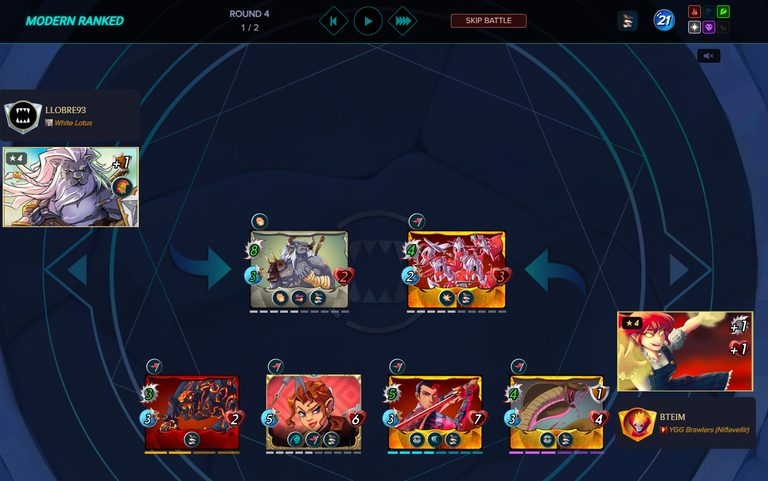
This battle showed the power of a focused strategy. By carefully picking out efficient monsters with plenty of abilities and buffs that worked well together, I was able to piece together a lineup that had plenty of firepower to mow through the opposing monsters - just the sort of thing that you like to see on your side of the fight!

Thank you so much for reading all the way to the end. Interested in seeing some more of my writing in the future? Be sure to give me a follow! In the meantime, if you'd like to see some of my recent posts:
Throwing Down with a Gray-t Summoner - Battling with Shades of Gray! - A Splinterlands battle analysis, featuring Shades of Gray!
Splinterlands Economics: Causation - A look at causation, and how we can apply it to Splinterlands!
Splinterlands Economics: Ceteris Paribus - An introduction to the concept of Ceteris Paribus, and how we can apply it to Splinterlands!
Thinking about giving Splinterlands a try but haven't signed up yet? Feel free to use my referral link: https://splinterlands.com?ref=bteim, and be sure to reach out to me if you have any questions!
All images used in this article are open source and obtained from Pixabay or Unsplash. Thumbnails borrowed with permission from the Splinterlands team or made in Canva.
Congratulations @bteim! You have completed the following achievement on the Hive blockchain And have been rewarded with New badge(s)
Your next target is to reach 300 posts.
You can view your badges on your board and compare yourself to others in the Ranking
If you no longer want to receive notifications, reply to this comment with the word
STOPThanks for sharing! - @yonilkar

Your level lowered and you are now a Red Fish!
Check out our last posts: