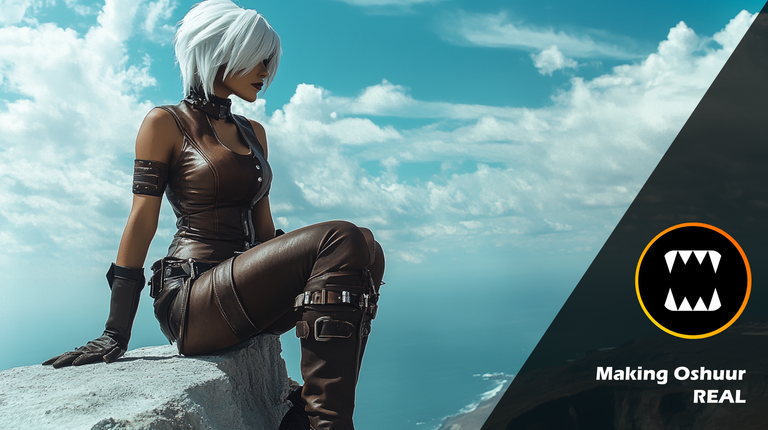
I've been actively working on improving my knowledge of AI-generated images and videos, and the next project that I'm taking on is to create a "trailer" for a movie about Oshuur. It's very ambitious, because (a) I still don't really know what I'm doing, and (b) while the tools are GREAT, they are certainly not perfect.
Since this project is taking a while (work & life getting in the way!!), I wanted to document a little bit of the progress, and a few things I've learned so far, particularly on the image-generation side of things.
As usual, I'm using MidJourney to create my images, and I have to say that the results are STUNNING.
Here are few examples of some of the potential Oshuurs I've created so far...
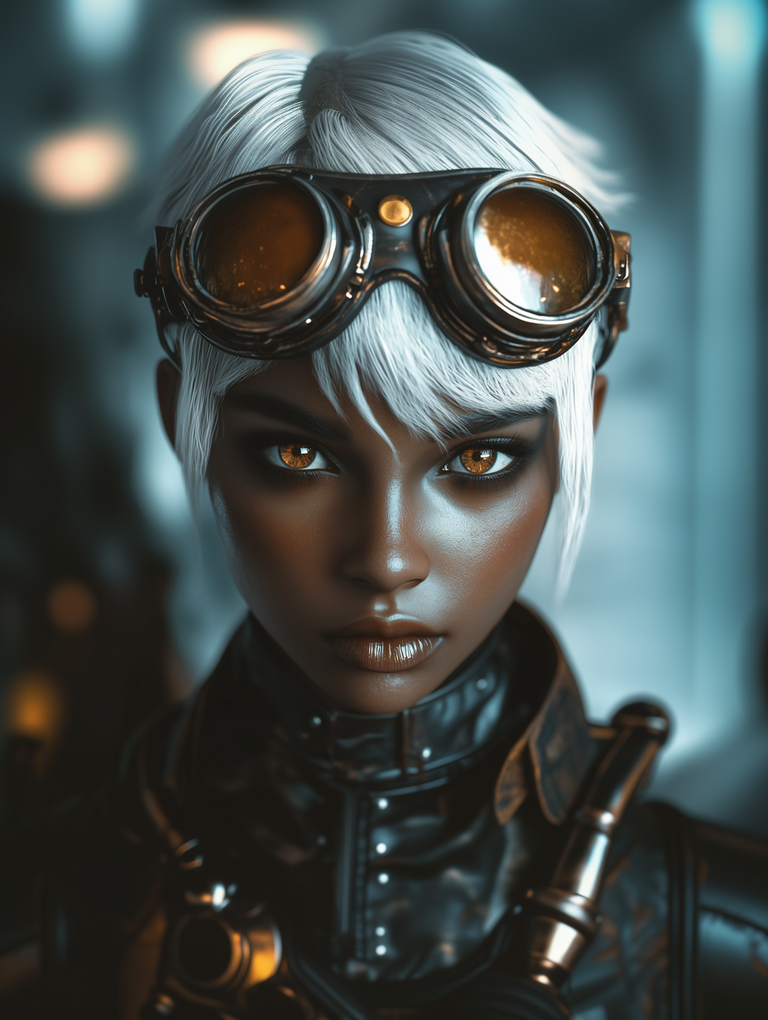
Tip #1: Creating full-body views
In order to get proper character consistency, and (later) motion, I need full body views of my characters. Unfortunately, that doesn't seem to be MJ's preference - MJ likes close-ups. Some tricks for creating full-body characters are:
- Say "full-body", not "full body". I guess "full body" means a body that is full. Picture that as you will...
- Use 1:2 aspect ratio. This is the most important trick. The tall image ratio forces MJ to consider more than just the face.
- Describe leg/foot clothing, e.g. "leather boots", "leggings", etc.
It can still be challenging to get a full body sometimes, but if you get to the leg section you're good as you can always zoom out and it usually does a decent job producing feet...
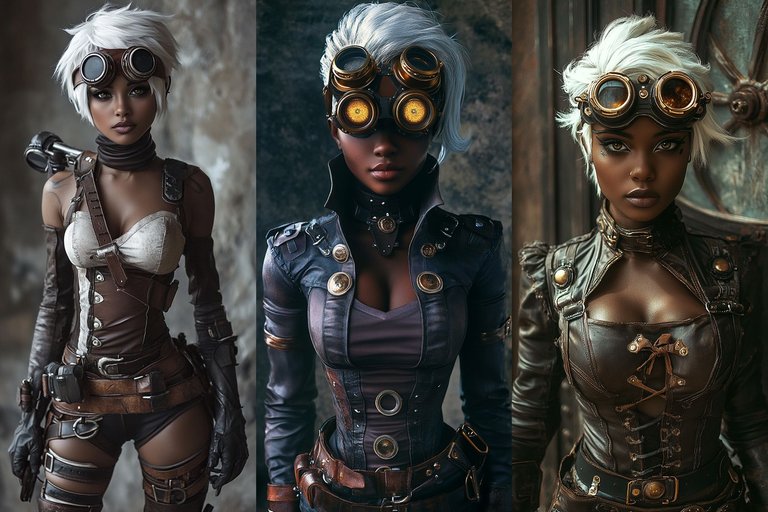
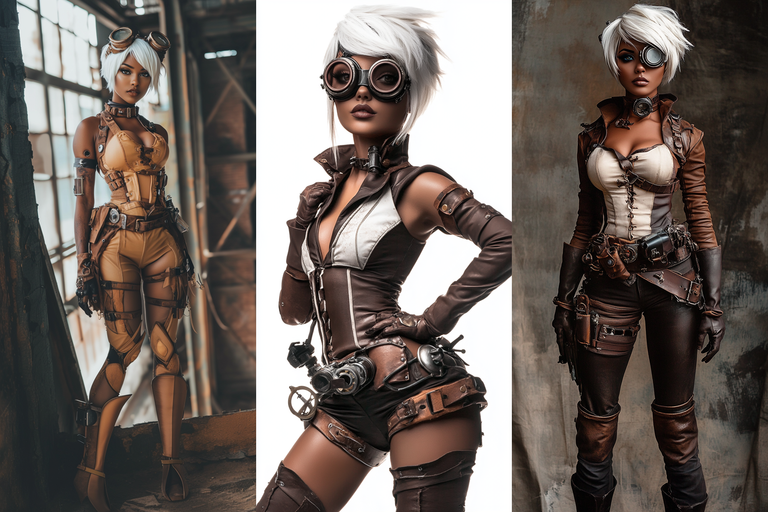
Creating images is easy. Prompt & go. Creating the perfect character is hard however, because there's a lot of RNG involved when generating images.
Tip #2: Using a character reference image correctly
Using a character reference image helps Midjourney create an alternate that closely follows the traits of your provided image. It's great for creating consistency.
However, using a character reference image affects style. This means that if I use the original art from Splinterlands, I'm less likely to get a photorealistic result, no matter what keywords I use in the prompt. Three ways to resolve this are:
(1) Don't use a character reference image and instead just fully describe the character until you get the results you want. Lots of iterations required.
(2) Use a character reference, then when you get a result you want, switch that to be the new reference image. Keep going and telling MJ to produce photorealistic results until the output is right.
(3) Use a character reference (the illustration) and a style reference image that's realistic. This is a bit complex but can work out quite well.
I used a combination of #1 and #2 to get the results I wanted.
Tip #3: Get various angles of your character
In order to put your character in different scenes, you need to have a reference of it from multiple angles. Otherwise, if you use a character reference image that's facing the camera but you want an output image where it's facing away, you'll frequently get some awkward neck-turning...
This can make it very difficult to get a side or back view of your character, however with persistence it ends up working, and then you have multiple views for your character reference.
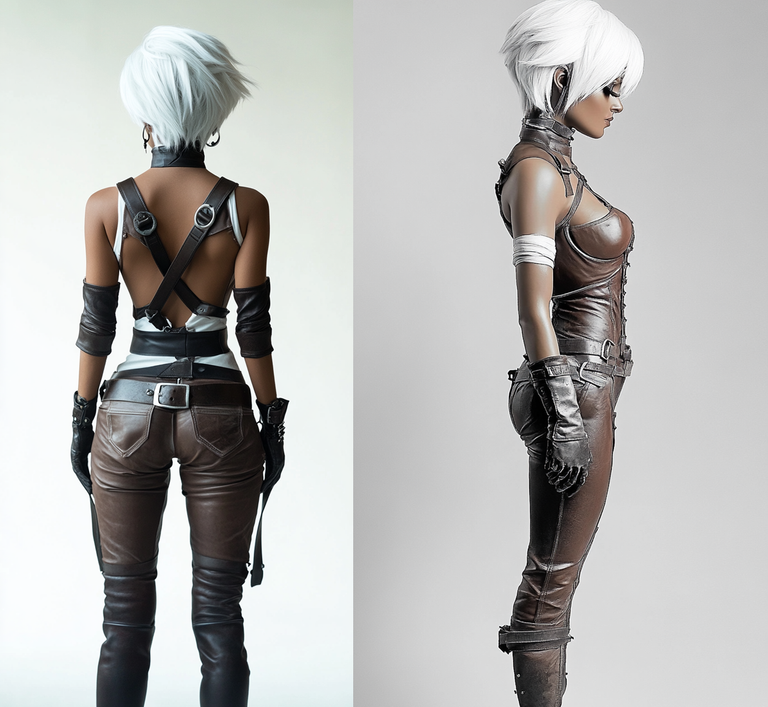
Tip #4: Use reference images to create scenes
With the reference images ready, you can now generate images where the character is in different situations.
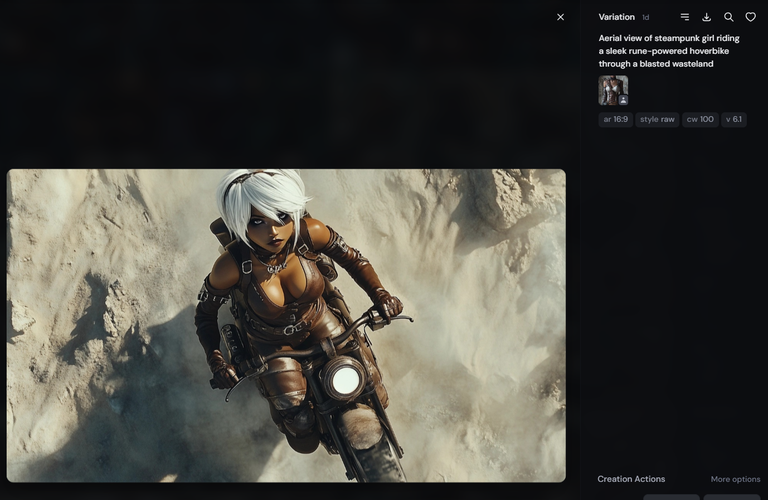
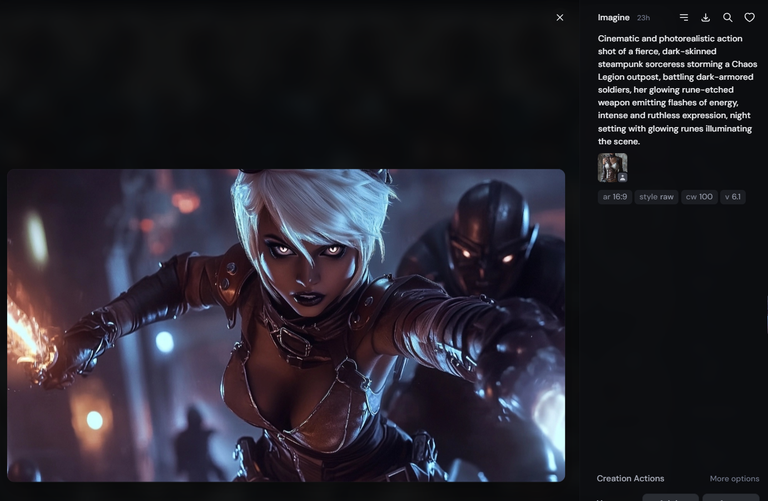
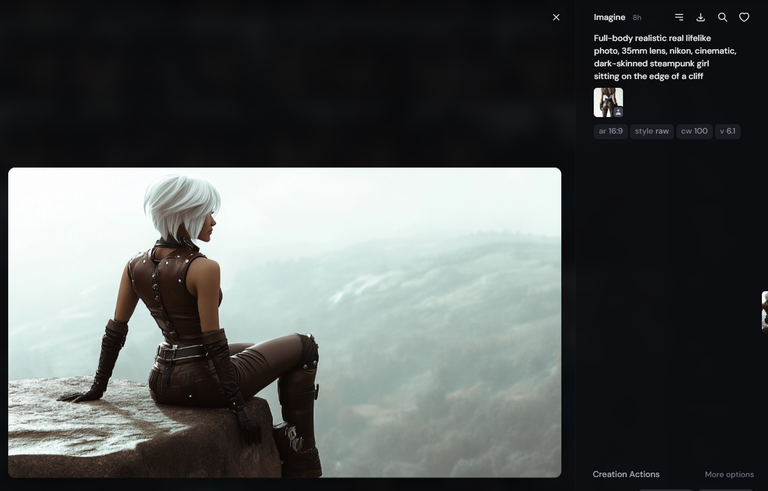
Note that in the third image my character reference image was the one viewed from the back.
Tip #5: Using less than full character reference
In some cases, you don't want to use your character reference image at 100%. For example, I'm going to have a scene where you see a young Oshuur, so I needed a young girl that's inspired by my chosen character. If I use a prompt describing a young girl but use "--cw 100" I'll get a strange child-woman, so instead for those images I use "--cw 10" or "--cw 25". Here's a sample result.
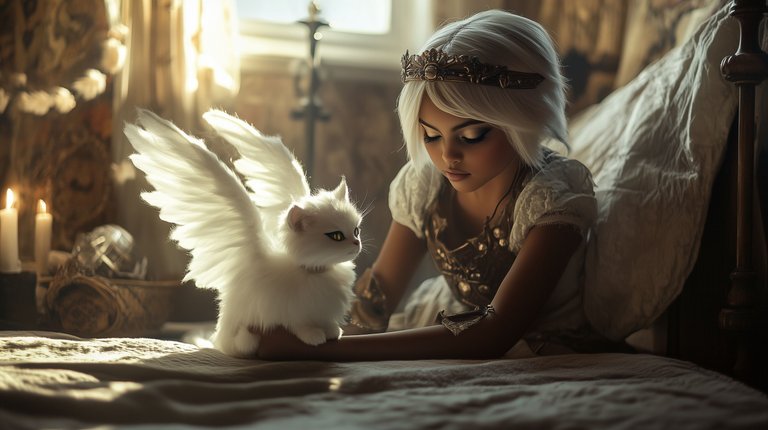
And yes, that pet is exactly what you think it is.
Alright, that's it for now. Back to building my trailer!
Hope you enjoyed these tips and enjoy using AI tools as much as I do!
Delegate Tokens and HP to Fallen Angels to earn weekly rewards!
Delegate | Join to the guildThis post has been supported by @fallen.angels guild!
Congratulations @bravetofu! You have completed the following achievement on the Hive blockchain And have been rewarded with New badge(s)
Your next target is to reach 250 posts.
You can view your badges on your board and compare yourself to others in the Ranking
If you no longer want to receive notifications, reply to this comment with the word
STOPCheck out our last posts:
Thanks for sharing! - @isaria
