🔸Sin más que añadir, a continuación los dejo con el paso a paso:
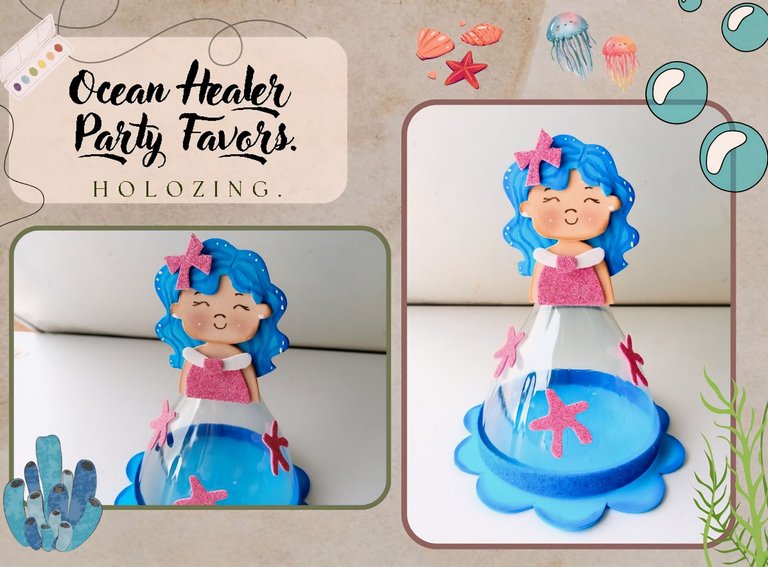
✨Good afternoon, holozing friends!✨ I hope you are all doing well. I am doing very well for this part, thank God. As always, I am happy to stop by here again to share with you a nice idea for a candy dish inspired by the ocean healer. I love sharing ideas for candy dishes about the healers, because apart from the fact that they are very pretty, they also help me practice drawing faces a lot more and over time I have noticed many improvements in my pulse and finishes, which makes me happy like you have no idea haha.
For candy dishes, I always try to bring inexpensive ideas and if we can recycle, much better. Since most of us have a soda bottle at home, I always go for this option, as well as cardboard containers.
🔸Without more to add, then I leave you with the step by step:
♥️ESPERO QUE TE GUSTE,
¡Empecemos!
♥️I HOPE YOU LIKE IT,
Let's start!

✂️ MATERIALES | ✂️ MATERIALS
- Botella de refresco.
- Foami escarchado azul.
- Foami escarchado rosa.
- Foami azul claro.
- Foami blanco.
- Foami crema.
- Pinturas y marcadores.
- Hoja blanca.
- Tijeras.
- Regla.
- Lápiz.
- Soda bottle.
- Blue frosted foam.
- Pink frosted foam.
- Light blue foam.
- White foam.
- Cream foam.
- Paints and markers.
- White sheet.
- Scissors.
- Ruler.
- Pencil.
✨ PROCEDIMIENTO | ✨ PROCESS
✨ PASO 1:
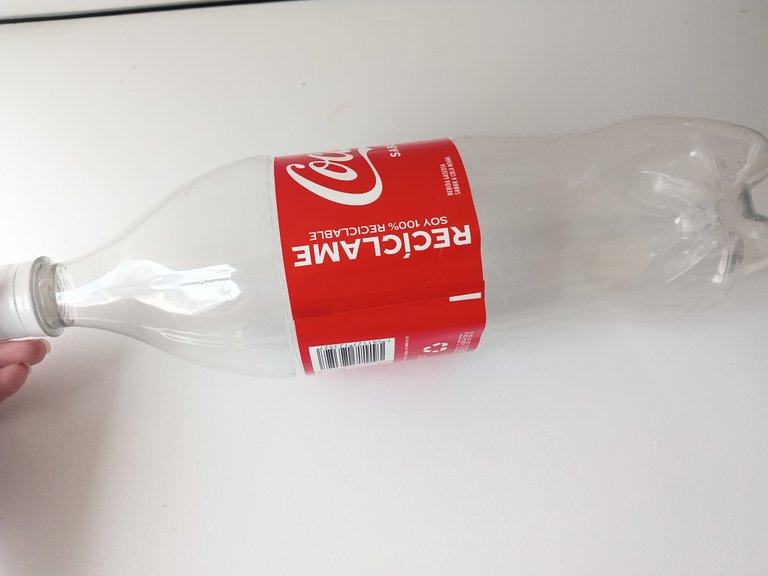
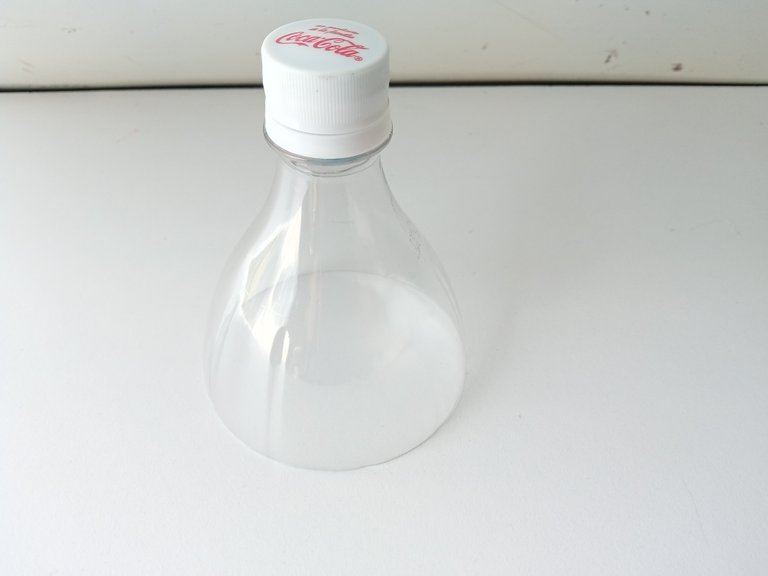
Lo primero que hice fue cortar la botella, para hacer un dulcero se puede utilizar la parte central donde está la etiqueta, la parte superior unida con el pico o la base. Lo bueno es que sea cual sea la parte que deseen utilizar, las botellas ya tienen las marcas de división por donde nos podemos guiar para recortar. En mi caso, me fui por la parte superior, ya que nunca había elaborado uno con esa pieza.
✨ STEP 1:
The first thing I did was cut the bottle. To make a candy dish you can use the central part where the label is, the upper part joined to the spout or the base. The good thing is that whatever part you want to use, the bottles already have the division marks that you can use to guide you when cutting. In my case, I went for the upper part, since I had never made one with that piece before.
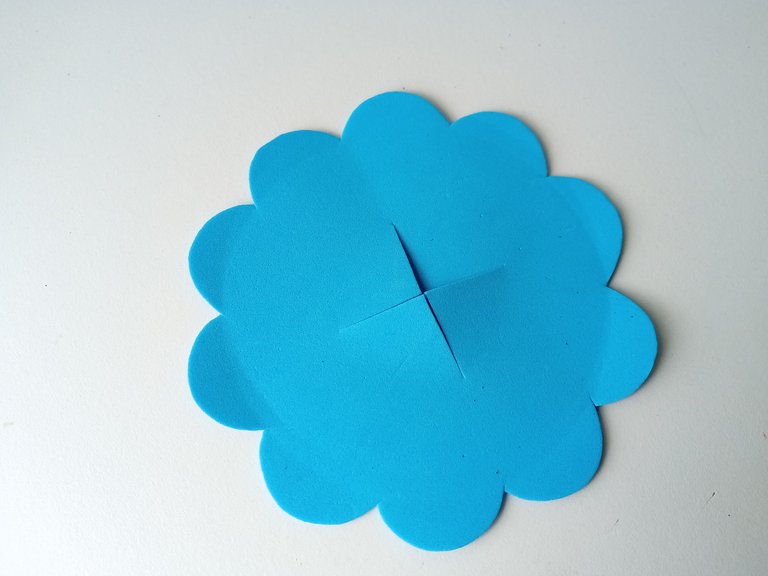
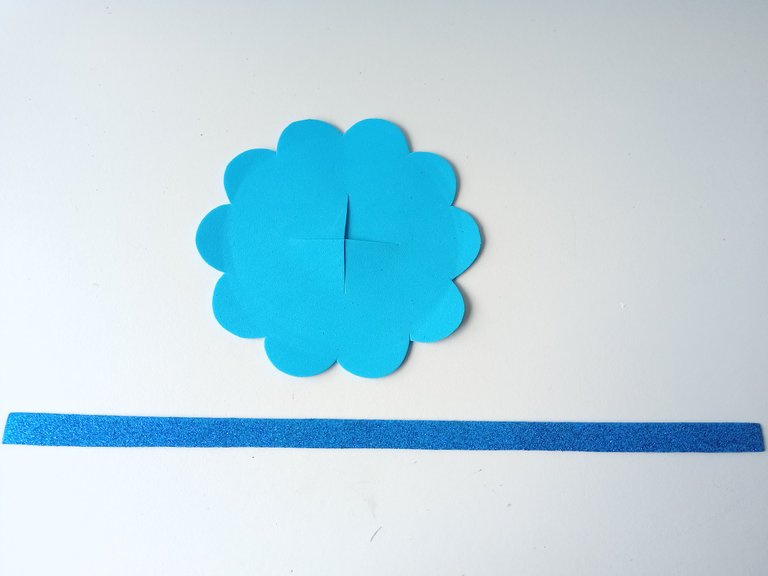
✨ PASO 2:
Luego recorté en foami azul un círculo de 12 cm de circunferencia, y recorté dando un diseño ovalado por todo el borde, parecido a una flor, y en medio recorté una cruz para así retirar o introducir los dulces. Además, recorté una tira de 30 cm x 1 cm en foami escarchado azul.
✨ STEP 2:
Then I cut out a 12 cm circle in blue foam, and I cut it out giving an oval design around the entire edge, similar to a flower, and in the middle I cut out a cross so that I could take out or put the candy in. In addition, I cut out a 30 cm x 1 cm strip in blue frosted foam.
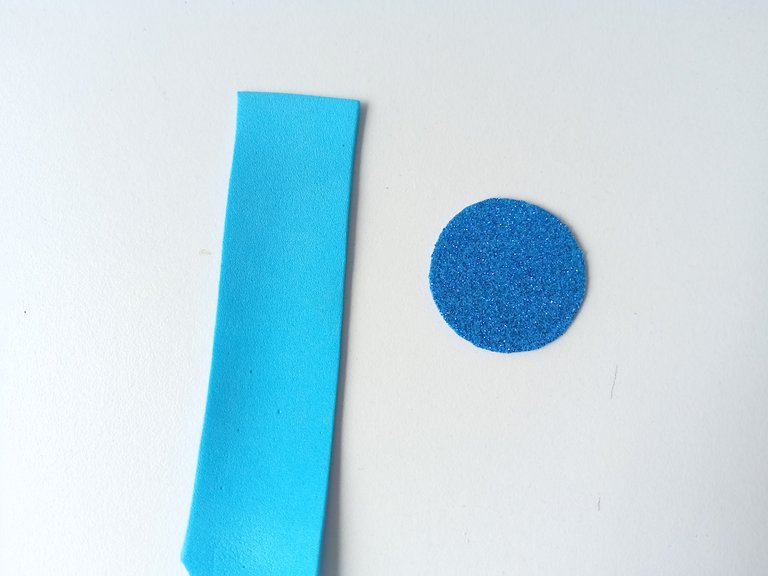
✨ PASO 3:
Por otra parte, para forrar la parte superior donde está la tapa, tracé una tira de 10 x 2 cm en foami azul y un círculo de 2 cm de circunferencia en foami escarchado azul. Seguidamente, di color a los bordes de las piezas en foami azul con pintura.
✨ STEP 3:
On the other hand, to cover the top part where the lid is, I traced a 10 x 2 cm strip in blue foam and a 2 cm circle in blue frosted foam. Next, I colored the edges of the blue foam pieces with paint.

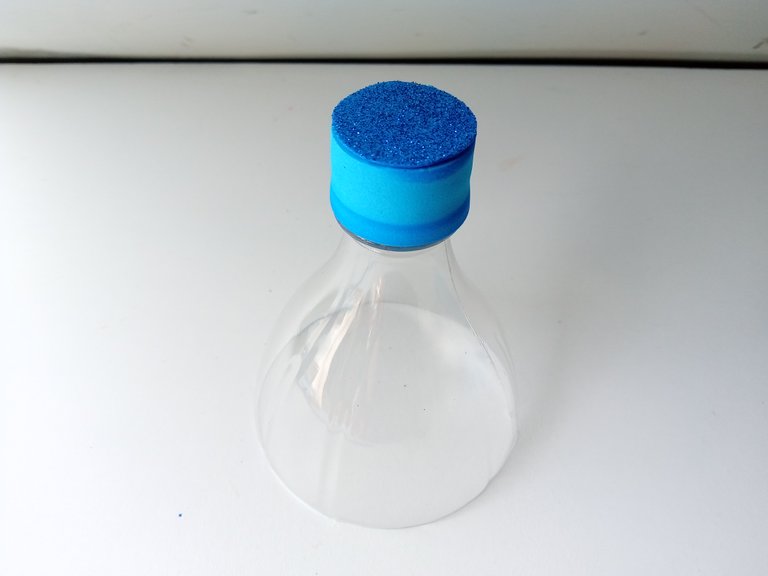
✨ PASO 4:
Al estar todo seco, pegué la base centrada a la pieza de refresco junto con la tira de foami escarchado, justo por el borde y pegué las piezas al pico para cubrir esa zona.
✨ STEP 4:
Once everything was dry, I glued the centered base to the soda piece along with the strip of frosted foam, just along the edge and glued the pieces to the beak to cover that area.

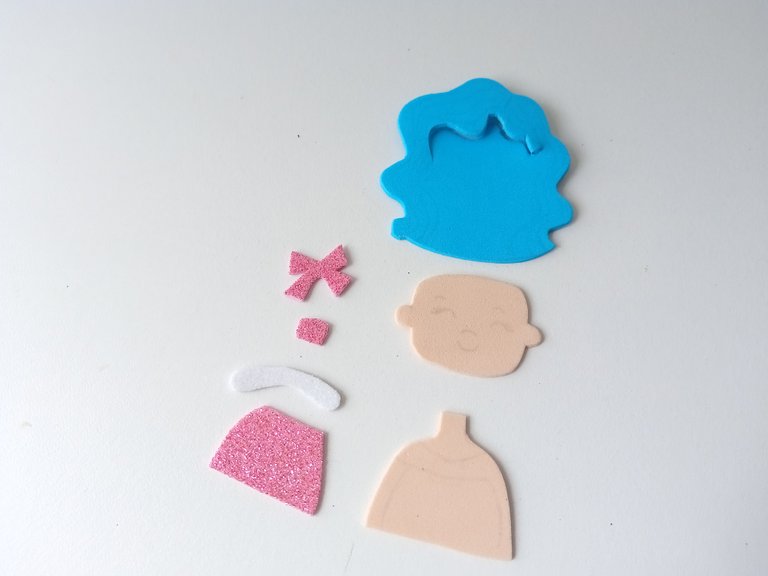
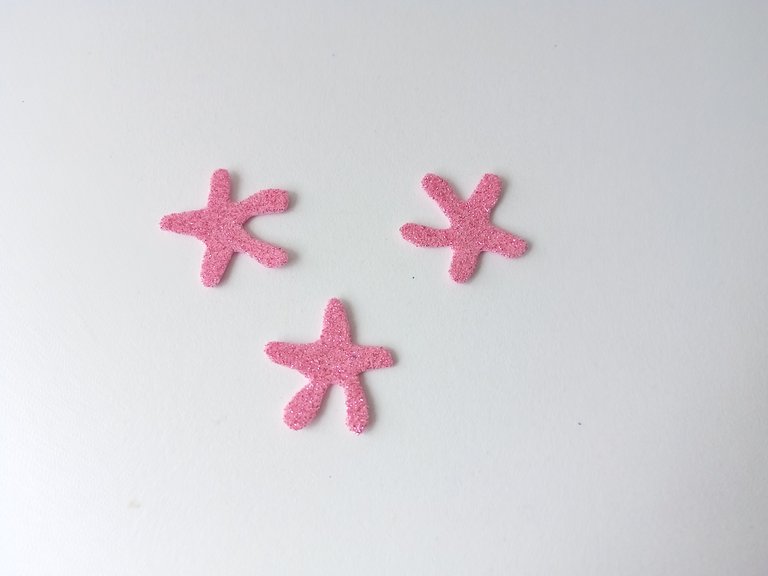
✨ PASO 5:
Ahora vamos con la decoración, para eso dibujé a la Sanadora del océano, pero le hice algunos cambios en la vestimenta y accesorios extras, pero obviamente, dejando su característico cabello azul. Además, dibujé y recorté un par de estrellas de mar. Los colores que utilicé para cada pieza fueron los siguientes: para el cabello, foami azul, para la cabeza y cuerpo, foami crema, para la vestimenta, accesorios y estrellas de mar, foami escarchado rosa.
✨ STEP 5:
Now we go with the decoration, for that I drew the Ocean Healer, but I made some changes to her clothing and extra accessories, but obviously, leaving her characteristic blue hair. In addition, I drew and cut out a couple of starfish. The colors I used for each piece were the following: for the hair, blue foam, for the head and body, cream foam, for the clothing, accessories and starfish, pink frosted foam.
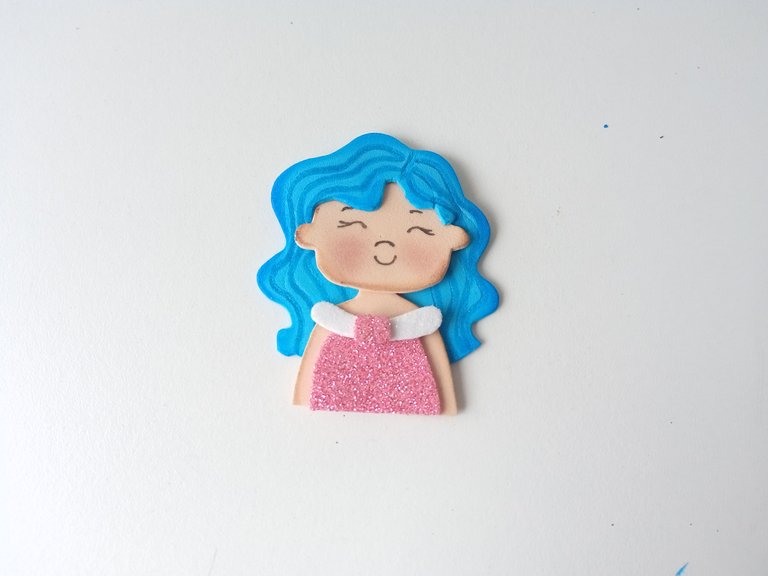
- ✨ PASO 6:
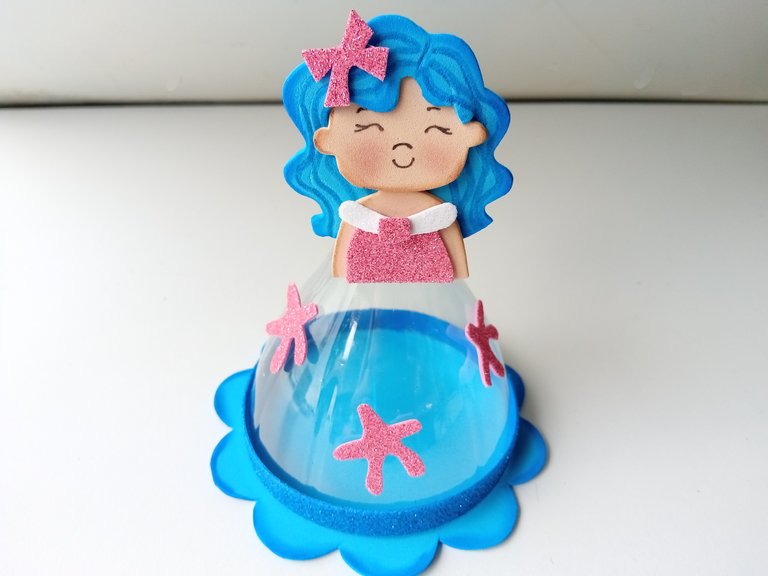
Seguidamente, di color a los bordes de todas las piezas para dar contrastes con pinturas. Después de estar secas las piezas, di detalles con marcador azul al cabello, con marcador negro a al rostro y pinté con rubor las mejillas. Pegué las piezas hasta formar al personaje y luego pegué la decoración al dulcero.
- ✨ STEP 6:
Next, I colored the edges of all the pieces to give contrast with paints. After the pieces were dry, I gave details to the hair with a blue marker, with a black marker to the face and painted the cheeks with blush. I glued the pieces together until the character was formed and then I glued the decoration to the candy dish.
❤️ Hasta la próxima publicación.
❤️ Until the next post.


Todas las fotografías son de mi propiedad.
Separador y Fotos editadas en Canva
All photographs are my property.
Photos edited in Canva
Posted Using InLeo Alpha
From Venezuela, our witness drives decentralization and the adoption of Web3 technology, creating opportunities for the local community and contributing to the global ecosystem. // Desde Venezuela, nuestro testigo impulsa la descentralización y la adopción de la tecnología Web3, generando oportunidades para la comunidad local y contribuyendo al ecosistema global.
Sigue, contacta y se parte del testigo en: // Follow, contact and be part of the witness in:
Hermosoo! Me encantó 😍😍
Te quedó bellisimo amii😍😍 como todos los que has compartido💜
Mi valen, te quedó super lindo! Me encantó ese color azul, es demasiado bello 😍😍
Mi amiga y sus creaciones BELLAAAAAAS🩷😍