🔸Sin más que añadir, a continuación los dejo con el paso a paso:
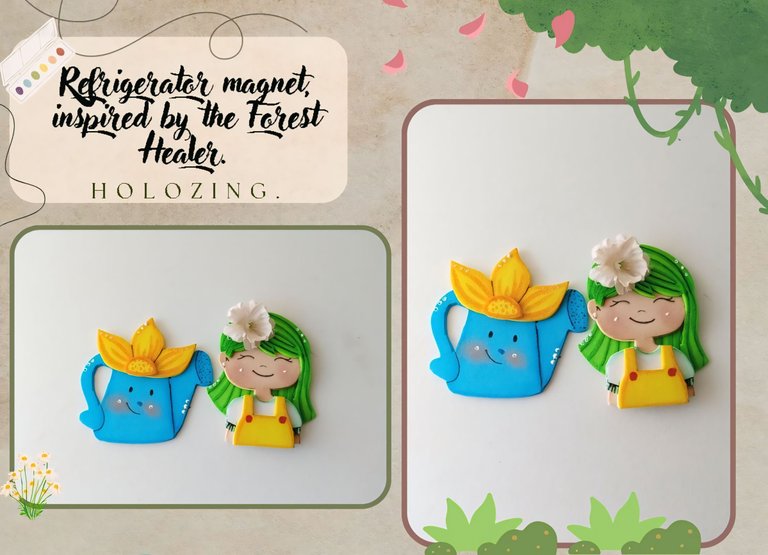
Good afternoon, holozing friends! I hope you are all doing well and had a happy holiday season and a prosperous new year. For this part, I am doing very well, thank God. As always, I am happy to stop by here again to share with you a nice idea for a fridge magnet, inspired by the healer of the forest. A new year has already begun, so little by little it is time to say goodbye to my precious Christmas creations, so this time I wanted to start with the little things so that it is not so noticeable that Christmas is over haha. I hope you like this sweet idea that I am sharing with you today.
🔸Without more to add, then I leave you with the step by step:
♥️ESPERO QUE TE GUSTE,
¡Empecemos!
♥️I HOPE YOU LIKE IT,
Let's start!

✂️ MATERIALES | ✂️ MATERIALS

- Foami verde.
- Foami amarillo.
- Foami azul.
- Foami crema.
- Foami blanco.
- Pinturas y marcadores.
- Imanes.
- Hoja blanca.
- Tijera.
- Lápiz.
- Green foam.
- Yellow foam.
- Blue foam.
- Cream foam.
- White foam.
- Paints and markers.
- Magnets.
- White paper.
- Scissors.
- Pencil.

PROCEDIMIENTO | PROCESS

- ✨ PASO 1:
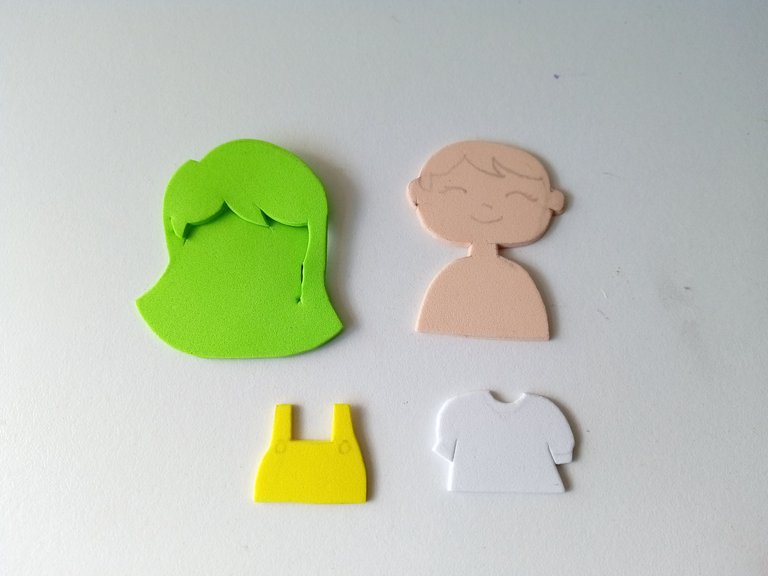
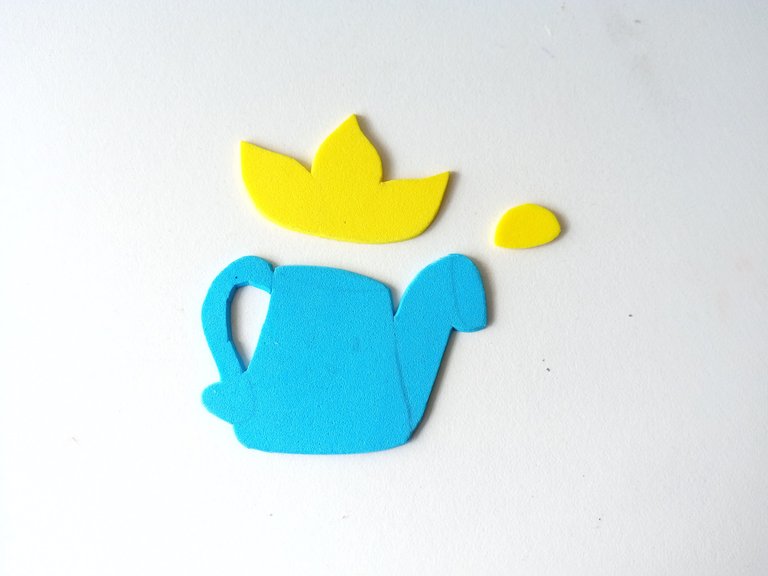
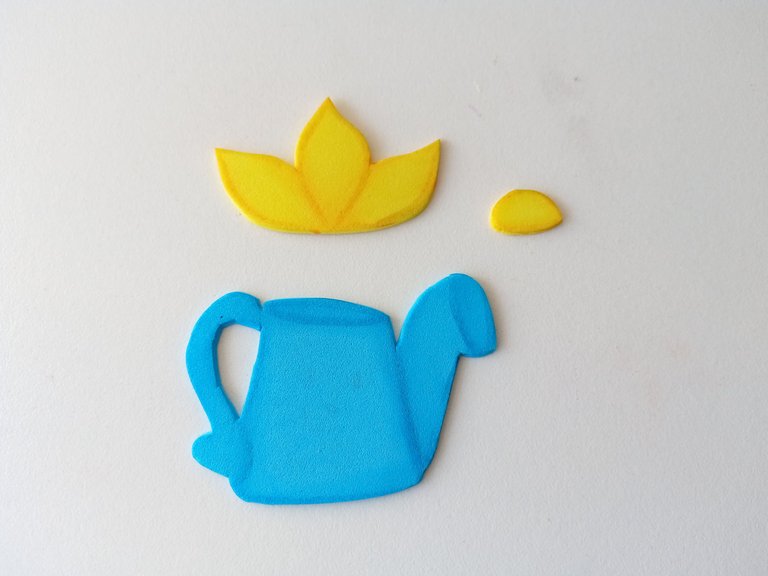
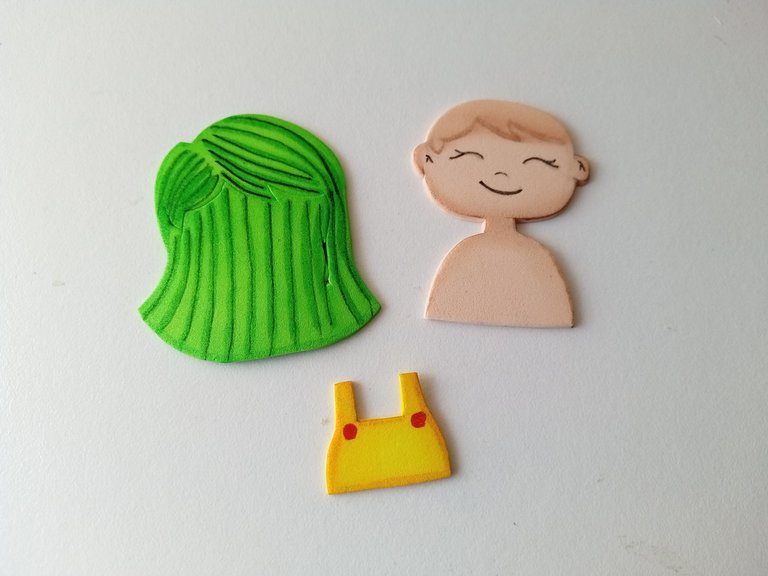
Lo primero, como siempre, es dibujar el diseño del personaje y la regadera en una hoja blanca, junto con el resto de detalles extras que queramos agregar y pasamos cada una de las piezas a los colores correspondientes de foami como le explico a continuación:
🌼Para la Sanadora:
- Cabeza y cuerpo en foami crema.
- Cabello en foami verde.
- Atuendo en foami blanco y amarillo.
🌼Para la regadera:
- Regadera en foami azul.
- Flor y centro en foami amarillo.
- ✨ STEP 1:
The first thing, as always, is to draw the character design and the watering can on a white sheet, along with the rest of the extra details that we want to add and we pass each of the pieces to the corresponding colors of foam as I explain below:
🌼For the Healer:
- Head and body in cream foam.
- Hair in green foam.
- Outfit in white and yellow foam.
🌼For the watering can:
- Watering can in blue foam.
- Flower and center in yellow foam.


- ✨ PASO 2:
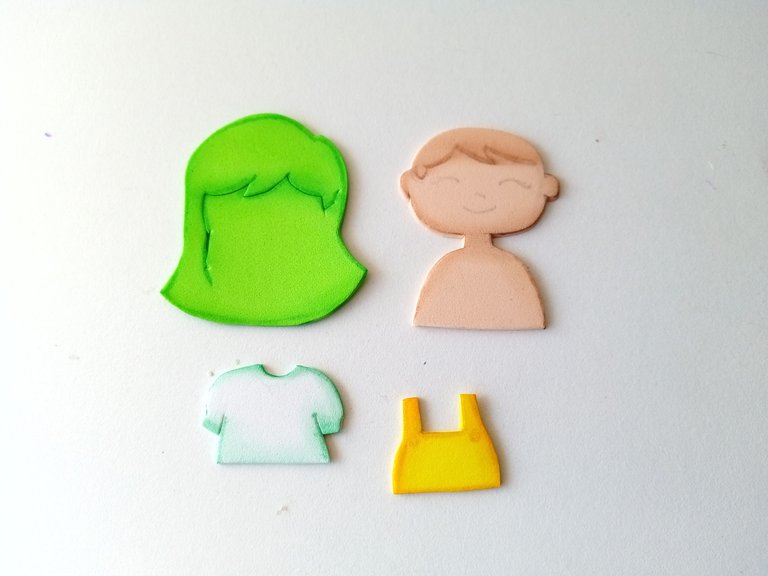
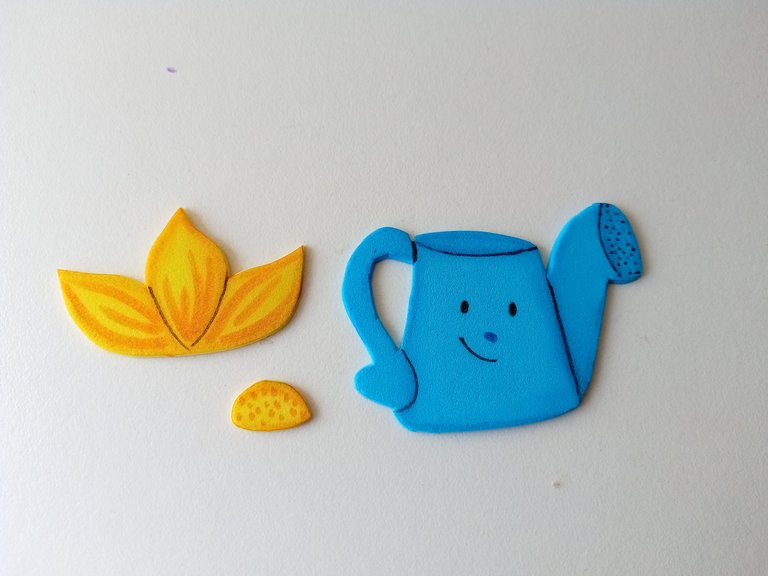
Seguidamente, comencé a dar color a los bordes con pinturas y marcadores que hicieran contraste con cada una de las piezas y difuminé un poco con ayuda de un pañito. Al estar seco, comencé a dar más detalles con marcadores al rostro, cabello, para definir un poco más la flor y la regadera, y nuevamente, dejamos secar.
- ✨ STEP 2:
Next, I began to color the edges with paints and markers that contrasted with each of the pieces and I blurred a little with the help of a cloth. When it was dry, I began to give more details with markers to the face, hair, to define the flower and the watering can a little more, and again, we let it dry.


- ✨ PASO 3:
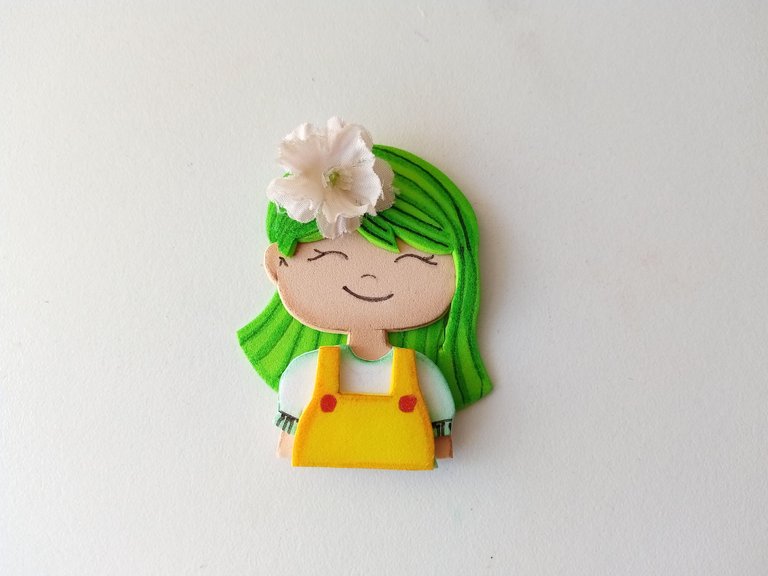
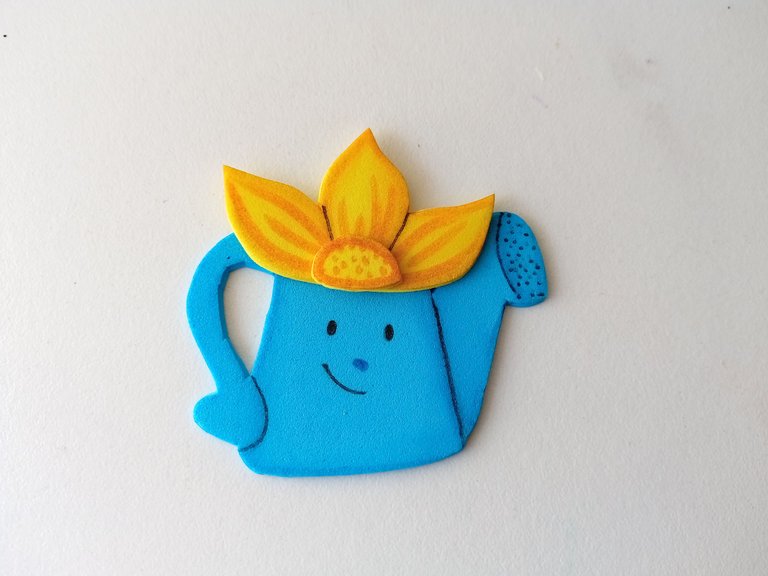
Al estar seco, era momento de pegar las piezas, así que primero comencé con la Sanadora del Bosque, en donde comencé pegando el cuerpo, cabeza, cabello y por último las prendas. Además, pegué una flor de tela en el lado izquierdo de su cabello. Seguidamente, pegué las piezas decorativas de la regadera, que en este caso era la flor y la pieza central de la misma.
- ✨ STEP 3:
Once it was dry, it was time to glue the pieces together, so I started with the Forest Healer first, where I started by gluing the body, head, hair, and finally the clothes. I also glued a fabric flower on the left side of her hair. Next, I glued the decorative pieces of the watering can, which in this case was the flower and the center piece of the watering can.


- ✨ PASO 4:
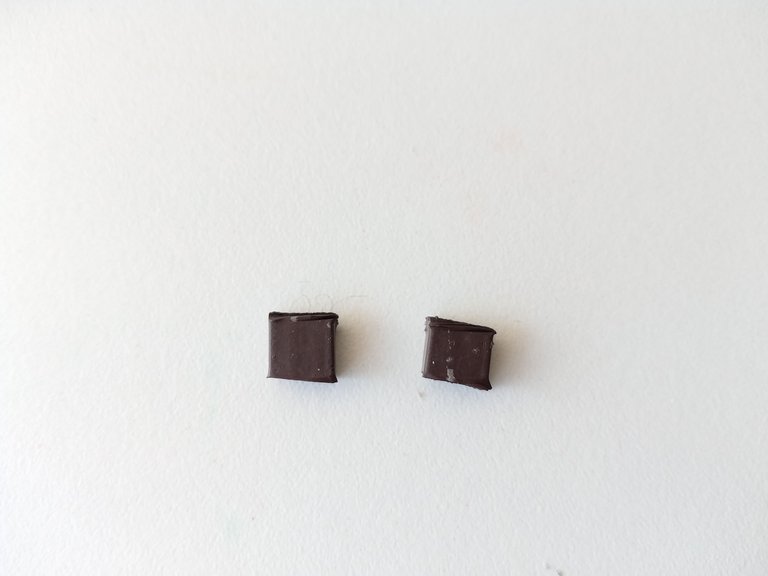
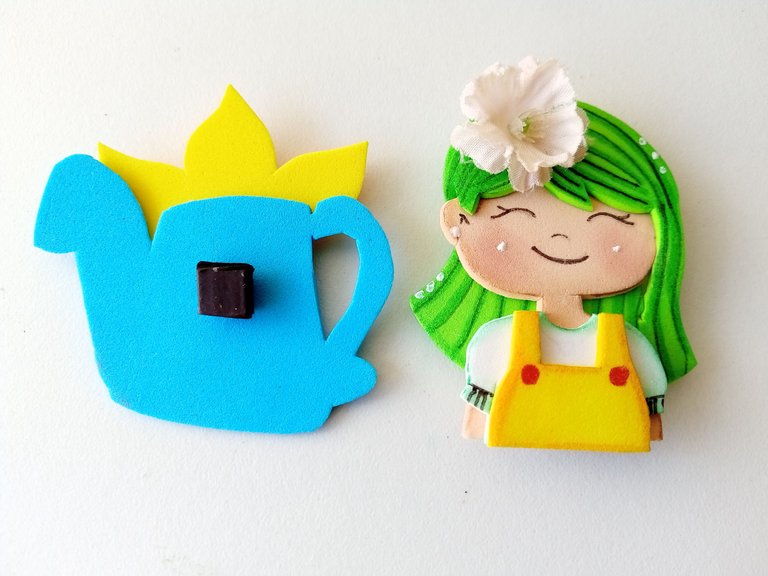
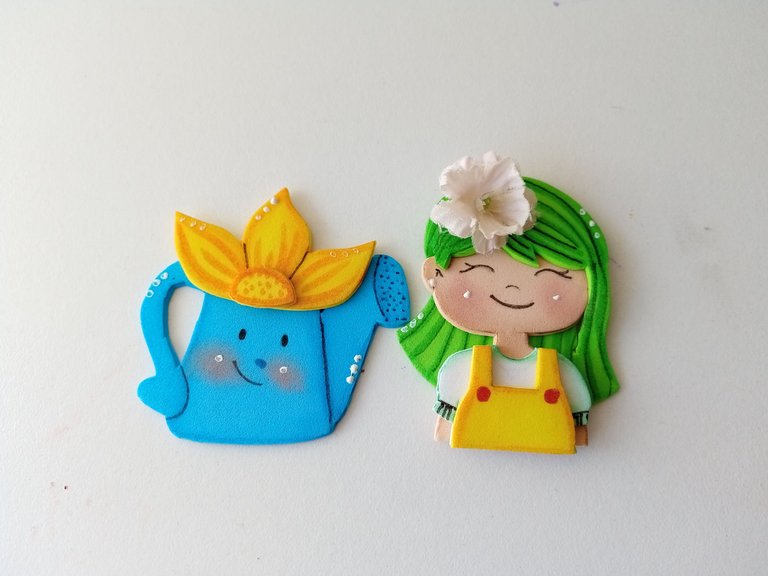
Para finalizar, tomé los imanes y los pegué en la parte trasera de cada una de las piezas, y luego, di puntos de luz a las mejillas, cabello, a partes de la regadera y a la flor.
- ✨ STEP 4:
To finish, I took the magnets and glued them to the back of each of the pieces, and then, I gave highlights to the cheeks, hair, parts of the watering can, and the flower.

❤️ Hasta la próxima publicación.
❤️ Until the next post.


Todas las fotografías son de mi propiedad.
Separador y Fotos editadas en Canva
All photographs are my property.
Photos edited in Canva
Posted Using INLEO
Beautiful 🥰
Thank you so much! I'm so glad you liked it.✨💕
Pero no puedo con tanta belleza ¡Me los quedo 🥰🥰!
Ame los colores que utilizaste, te quedó fabulosooooo
Jaja gracias Ami bella! Quédeselos yo te los doy 🤭💕.
Te mando un abrazote.✨
Amo lo delicado que se ve cada manualidad que nos compartes ami🥰🥰 definitivamente esto es lo tuyo😍
Gracias Ami linda! La verdad que yo disfruto mucho hacer mis creaciones 💕
Que cuchitura Ami, llenaría mi refrigerador con muchas de tus creaciones😍
Tan bella! Muchas gracias mi Yage 💕
Amiga cada manualidad que haces siempre es más bonita que la anterior 😍 está muy cuchi esta! 🤗
Necesito muchos imanes así de hermosos 🥰🥰
Me encanta ver el paso a paso, parece de esos juguetes que se arman jaja. Te quedaron preciosos amiga 😍