🔸Sin más que añadir, a continuación los dejo con el paso a paso:
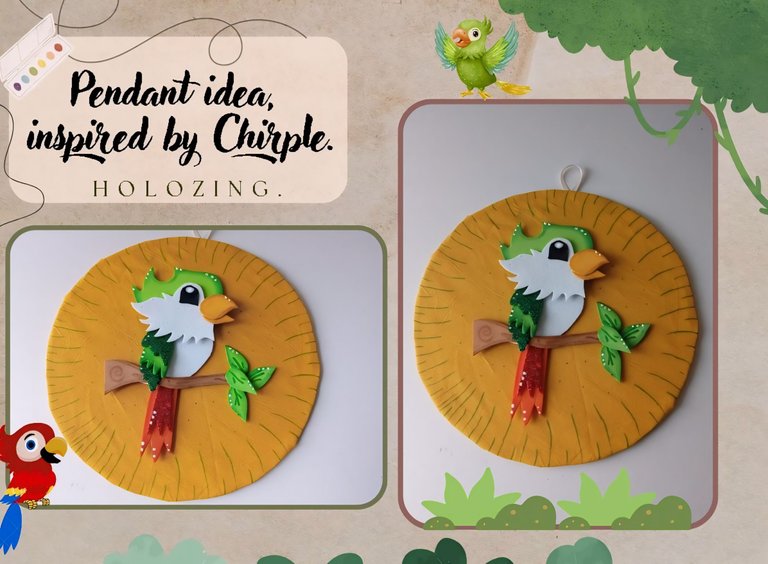
Good afternoon, holozing friends!I hope you are feeling pretty well, I am happy to stop by here again to share with you a pendant idea, inspired by Chirple. You don't know the nerves I had when creating this creature and I had never made anything similar, I have made birds, but it is something much simpler than a parrot with so many colors and details.
This time I didn't want to give myself a bad life, so I decided to make Chirple as simple as possible, but still look a lot like him and have many of his details.
🔸Without more to add, then I leave you with the step by step:
♥️ESPERO QUE TE GUSTE,
¡Empecemos!
♥️I HOPE YOU LIKE IT,
Let's start!

✂️ MATERIALES | ✂️ MATERIALS

- Cartón grueso.
- Tela amarilla.
- Foami verde, amarillo,
marrón y naranja. - Foami escarchado: blanco,
verde y rojo. - Pinturas y marcadores.
- Pegamento.
- Hoja blanca.
- Tijeras.
- Lápiz.
- Thick cardboard.
- Yellow fabric.
- Foami green, yellow,
brown and orange. - Frosted foam: white,
green and red. - Paints and markers.
- Glue.
- White sheet.
- Scissors.
- Pencil.

✨ PROCEDIMIENTO | ✨ PROCESS

- ✨ PASO 1:
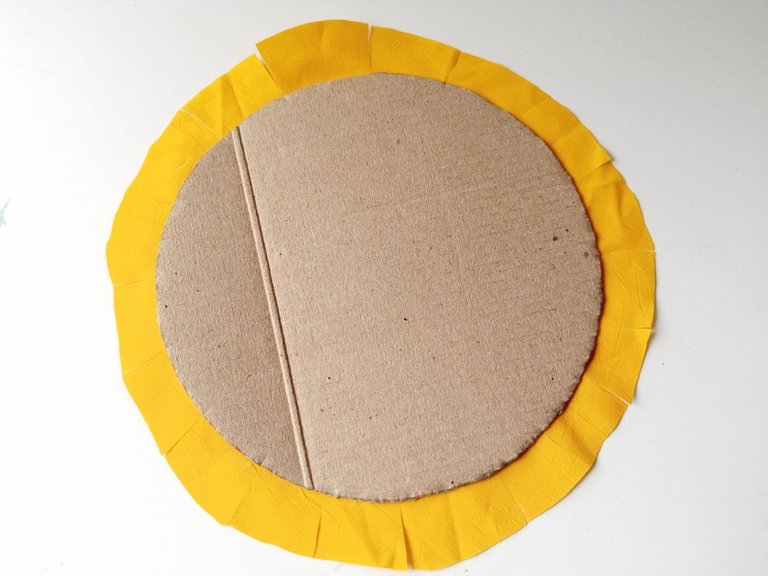
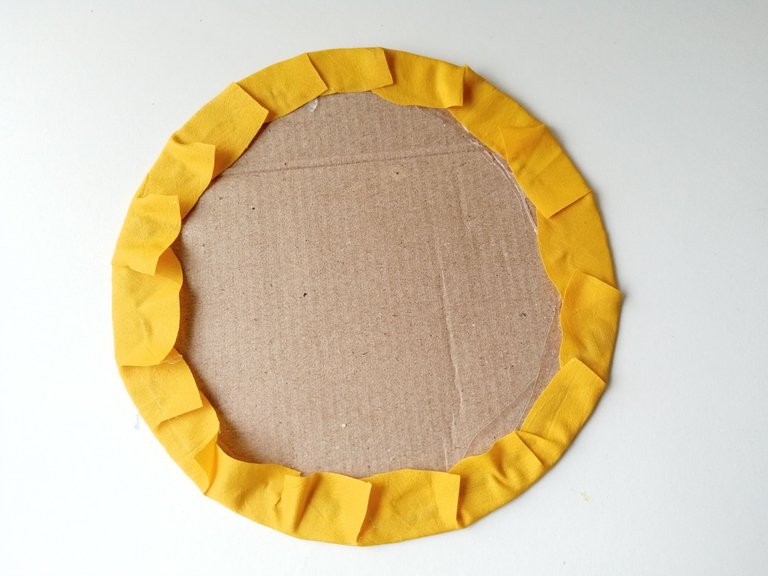
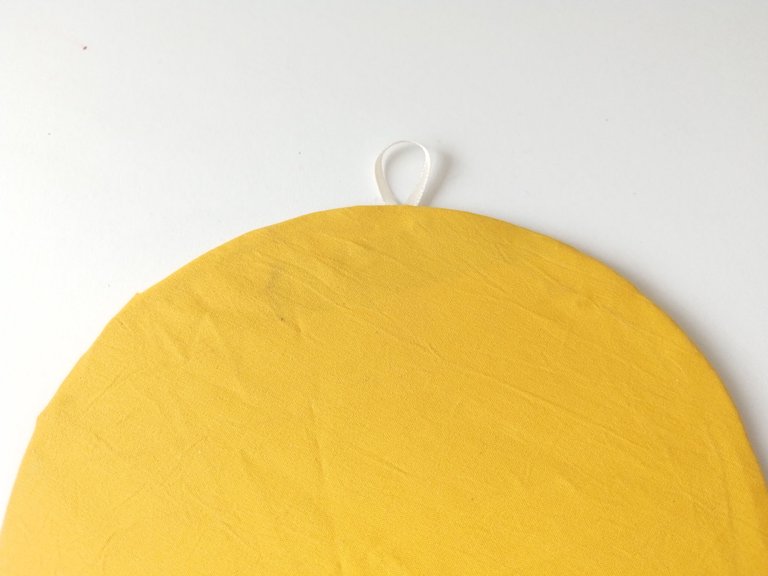
Lo primero que hice fue trazar con lápiz una circunferencia en el cartón grueso, utilizando las medidas de un plato pequeño y recorté. Seguidamente, recorté la tela en color amarillo, dejándola 1 cm más ancho que el círculo de cartón. Recorté el excedente de la tela en tiras, las cuales fui pegando una a una, hasta forrar todo el círculo. Finalmente, pegué una cinta en la parte superior para poder guindar el colgante.
- ✨ STEP 1:
The first thing I did was trace a circle on the thick cardboard with a pencil, using the measurements of a small plate and cut it out. Next, I cut out the fabric in yellow, leaving it 1 cm wider than the cardboard circle. I cut the excess fabric into strips, which I glued one by one, until I covered the entire circle. Finally, I glued a ribbon at the top so I could hang the pendant.


- ✨ PASO 2:
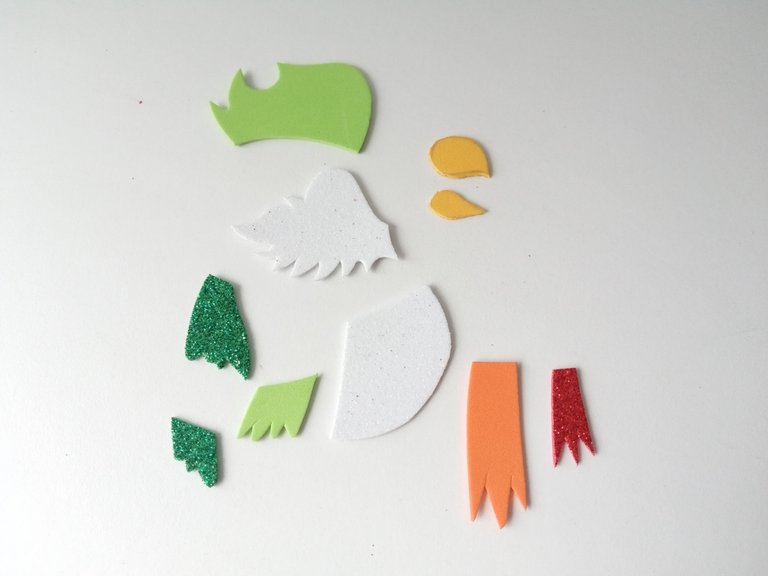
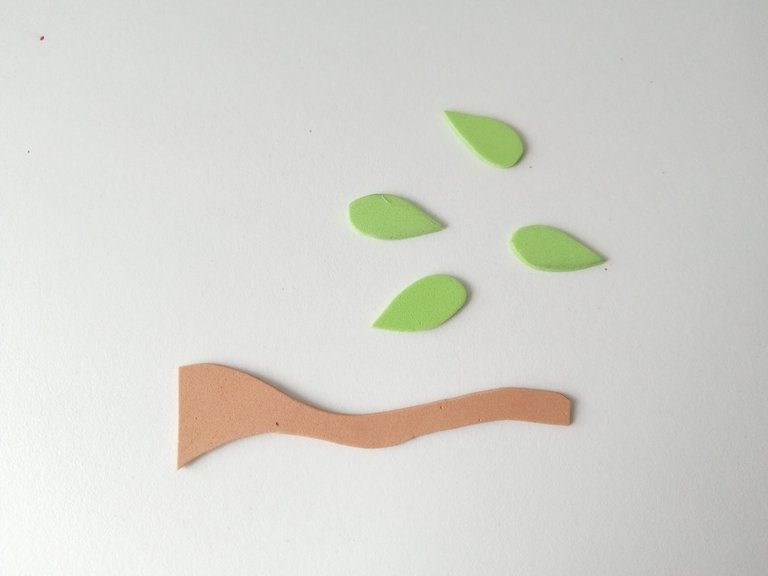
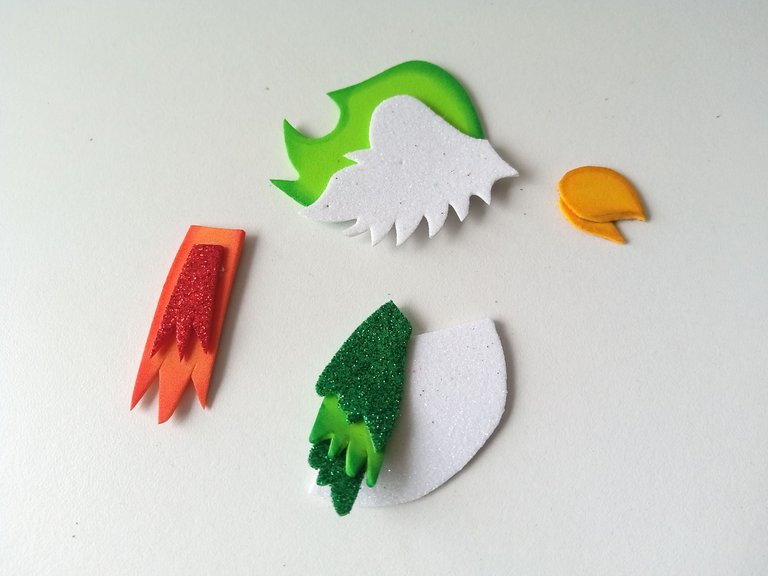
Ahora sí, es momento de dibujar los patrones para formar a Chirple, como he explicado anteriormente, es dibujar lo que deseamos, pero de manera individual cada una de las partes del cuerpo. Al estar listo, transferí cada una de las piezas a los colores correspondientes de foami, de la siguiente manera: cuerpo y cara en foami escarchado blanco, cresta y una de las alas en verde, el resto de alas en foami escarchado verde, cola en naranja, y parte interna en foami escarchado rojo y pico en amarillo. Por otra parte, para la rama del árbol en color marrón y las hojas en verde.
- ✨ STEP 2:
Now, it is time to draw the patterns to form Chirple, as I have explained previously, it is to draw what we want, but individually each of the parts of the body. When ready, I transferred each of the pieces to the corresponding colors of foam, as follows: body and face in white frosted foam, crest and one of the wings in green, the rest of the wings in green frosted foam, tail in orange, and internal part in red frosted foam and peak in yellow. On the other hand, for the tree branch in brown and the leaves in green.


- ✨ PASO 3:
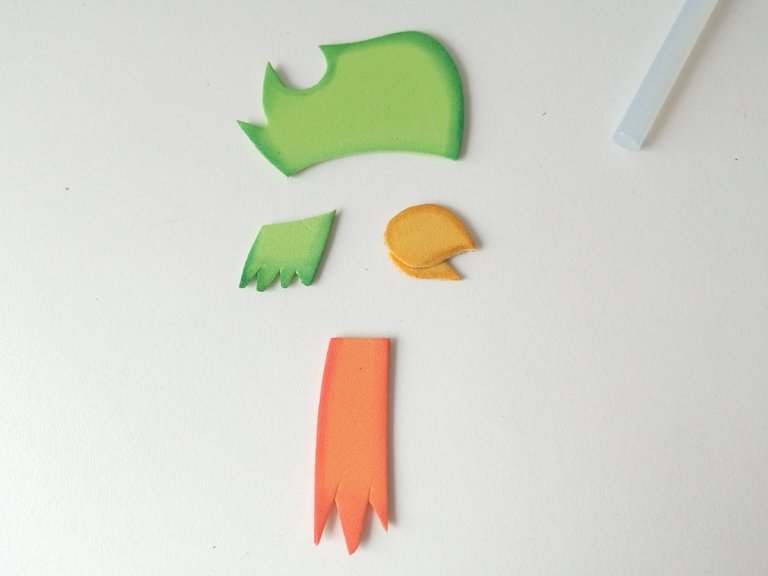
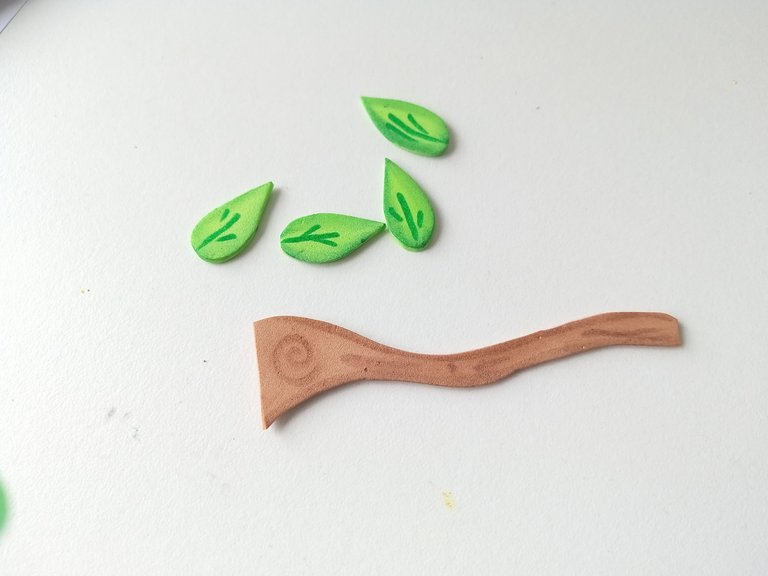
Una vez listas y recortadas cada una de las piezas, comencé a dar color a cada una de las piezas de foami liso utilizando pinturas un color más oscuro que cada uno de los colores y difuminé con ayuda de un pañito. También, aproveche de dar detalles con marcador a la rama del árbol y hojas.
- ✨ STEP 3:
Once each of the pieces were ready and cut out, I began to color each of the smooth foam pieces using paints a color darker than each of the colors and blended with the help of a cloth. Also, take advantage of giving details with a marker to the tree branch and leaves.


- ✨ PASO 4:
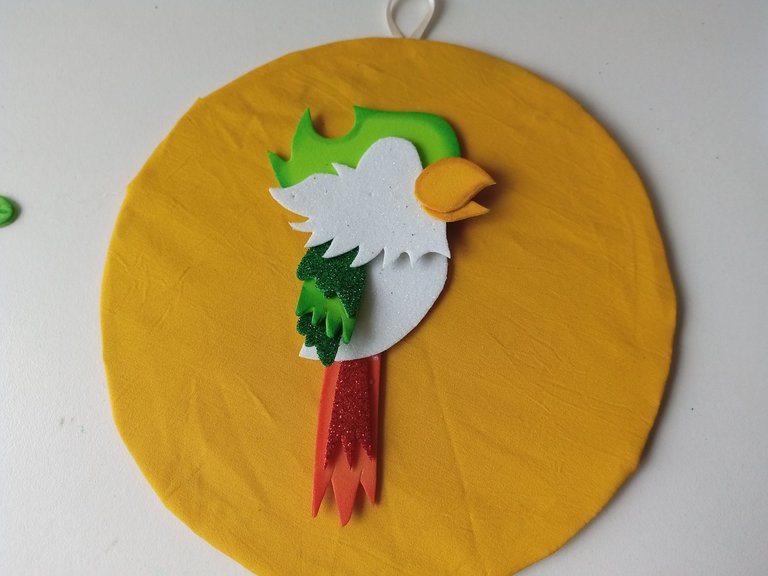
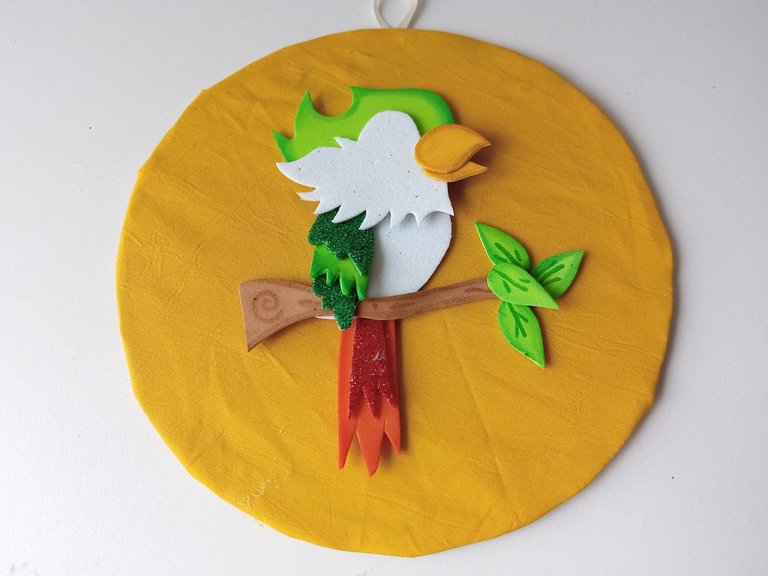
Comencé a pegar cada una de las piezas para formar a Chirple y luego uní hasta dar forma. Seguidamente, pegué a la criatura en medio del colgante que elaboramos al inicio, pegué la rama y hojas del árbol, sobrepuesto entre el cuerpo y alas.
- ✨ STEP 4:
I started gluing each of the pieces to form Chirple and then joined together until it was shaped. Next, I glued the creature in the middle of the pendant we made at the beginning, glued the branch and leaves of the tree, superimposed between the body and wings.


- ✨ PASO 5:
Luego dibujé, pinté, recorté el ojo en una hoja blanca y lo pegué en el lugar correspondiente. Seguidamente, di algunos puntos de luz con pintura blanca por todas las partes del cuerpo que creí que quedarían bien y para finalizar, hice algunas rayas por todo el borde del colgante de diferentes tamaños y puntos, utilizando el mismo color.
- ✨ STEP 5:
Then I drew, painted, cut out the eye on a white sheet of paper and glued it in the corresponding place. Next, I gave some highlights with white paint on all the parts of the body that I thought would look good and to finish, I made some stripes around the edge of the pendant of different sizes and points, using the same color.

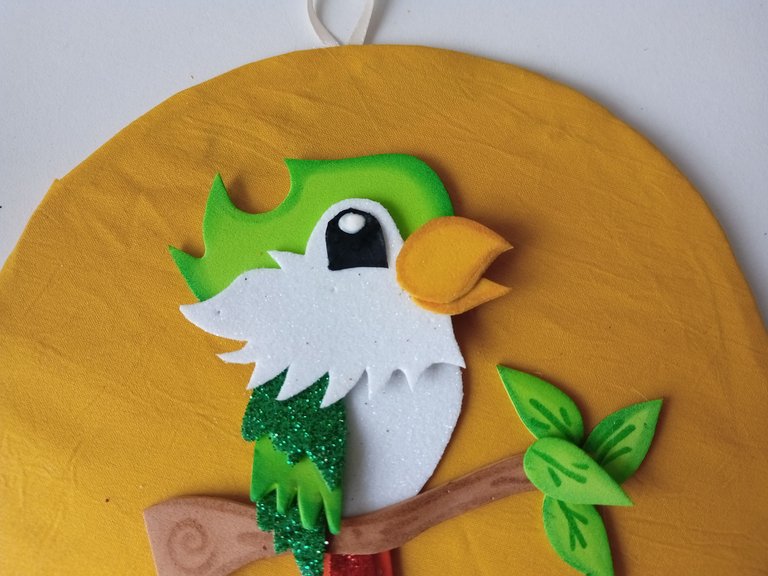
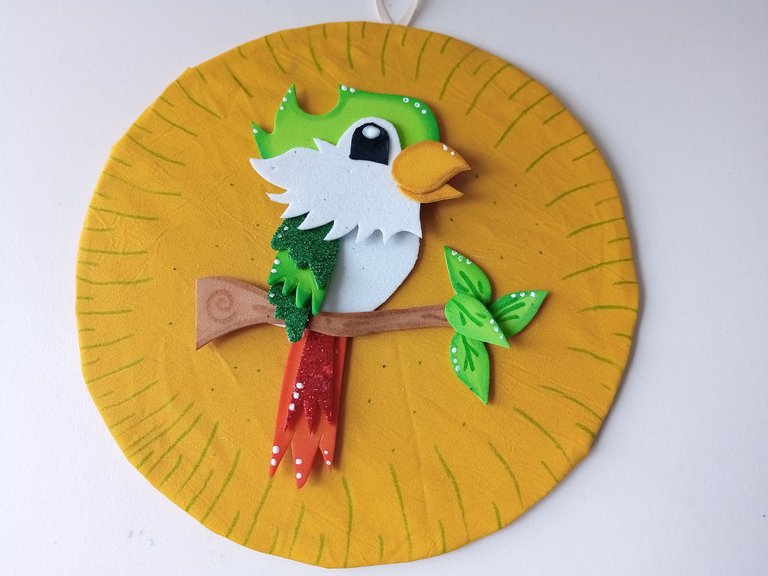

✨¡And ready!✨ This is how I made this pretty Chirple pendant. You don't know how happy I was with the final result of this creation, since for the first time I made a parrot, I definitely think it turned out very pretty. I hope you liked the step by step and are encouraged to make it.
❤️Until the next post.

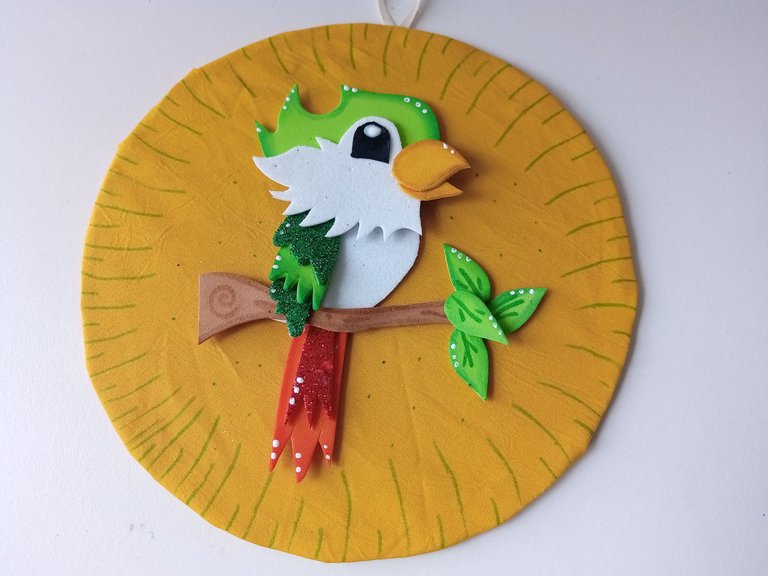
❤️ Hasta la próxima publicación.
❤️ Until the next post.


Todas las fotografías son de mi propiedad.
Separador y Fotos editadas en Canva
All photographs are my property.
Photos edited in Canva
Quedó hermoso y full de detalles que lo hacen ver más lindo aún
Muchas gracias Marlu!!! Me alegra mucho que te haya gustado.💕
Hasta yo quedé contenta con el resultado 😍
Muchas gracias Eve 🤭. Es que quedó lindo lindo 😄
Ami siempre destacándote haciendo bellezas, esta manualidad en particular me encantó, sobretodo por lo lindo que se ve ese pajarito en capas 😍
Gracias amiga bella, y tú siempre dejándome comentarios bellos 💕
Que hermoso quedó, me encantó 😍
Muchas gracias linda! Me alegra💕
Bello mi Valen, me encantó ese verde, es bastante vivo y lindo 😍
!PIZZA
$PIZZA slices delivered:
@danzocal(7/10) tipped @valenpba
You did it in your style, it's not the same as the original and that's the great thing about fanart, we can do in our own style what inspired us. It was very nice, it's a charm!
Muchísimas gracias, amigo! Totalmente, eso es lo bonito de los fanarts, poder crear un personaje a nuestro estilo, pero inspirado en el original.
Saludos ✨
No tenía idea que habías publicado esto.. te quedó realmente hermoso✨🥹🩷