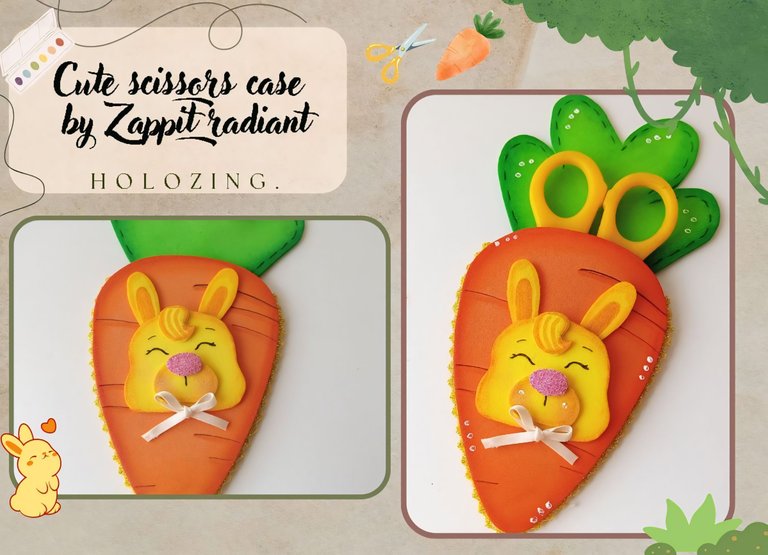
🔸Sin más que añadir, a continuación los dejo con el paso a paso:
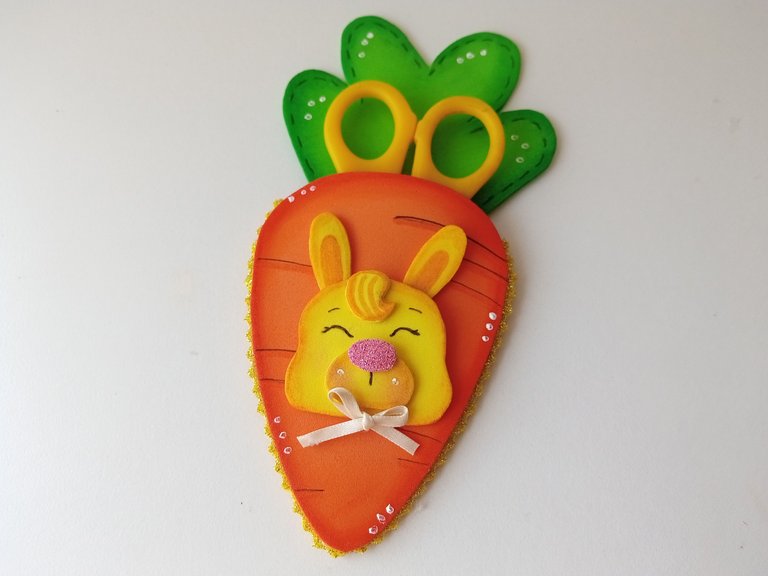
✨Good afternoon, holozing friends!✨ As always, I'm happy to stop by here again to share a nice idea for a scissors case, inspired by Zappit as Radiant. I don't want to flatter myself, as it's not normal for me haha, but I've been making some very nice creations for you lately and I hope that someone finds them inspiring. Thinking about some ideas, I remembered that it's been a long time since I made something with Zappit and the idea of a case came to me, but since I had already made one for markers or colors, I thought that with the shape of the carrot I had in mind, the best thing was to create a case for the scissors. Plus, it's safe for the little ones to take their scissors to school.
🔸Without more to add, then I leave you with the step by step:
♥️ESPERO QUE TE GUSTE,
¡Empecemos!
♥️I HOPE YOU LIKE IT,
Let's start!

✂️ MATERIALES | ✂️ MATERIALS

- Foami escarchado dorado.
- Foami escarchado rosado.
- Foami naranja.
- Foami verde.
- Pinturas y marcadores.
- Hoja blanca.
- Tijeras.
- Regla.
- Lápiz.
- Gold frosted foam.
- Pink frosted foam.
- Orange foam.
- Green foam.
- Paints and markers.
- White paper.
- Scissors.
- Ruler.
- Pencil.

✨ PROCEDIMIENTO | ✨ PROCESS

✨ PASO 1:
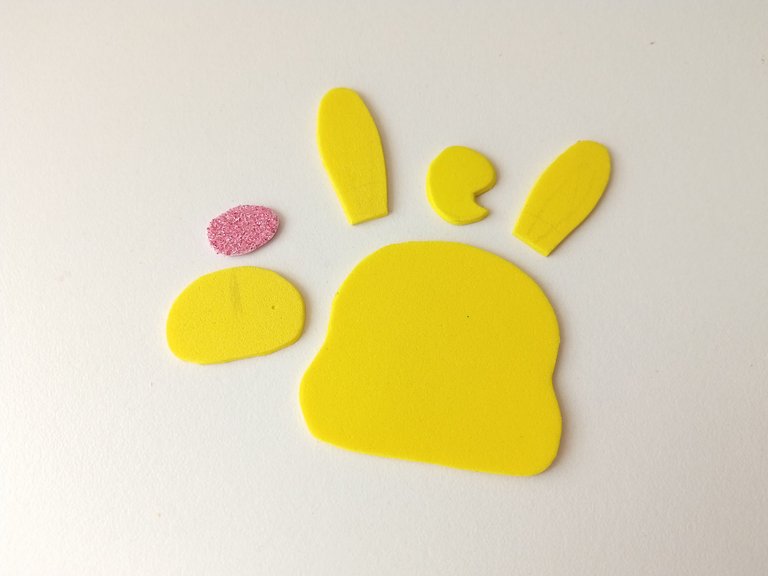
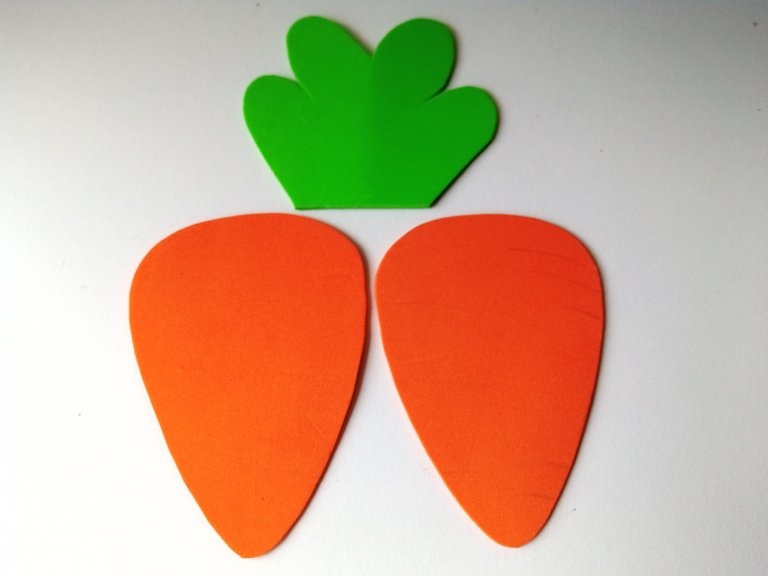
Lo primero es dibujar los patrones, en este caso a zappit le quise hacer como extra un poco de cabello en frente, me parece que se veía tierno y además hice el diseño de la zanahoria. Así que al tener listo lo que quería en la hoja blanca, lo pasé a los colores correspondientes de foami, como explico a continuación:
Zappit como Radiante:
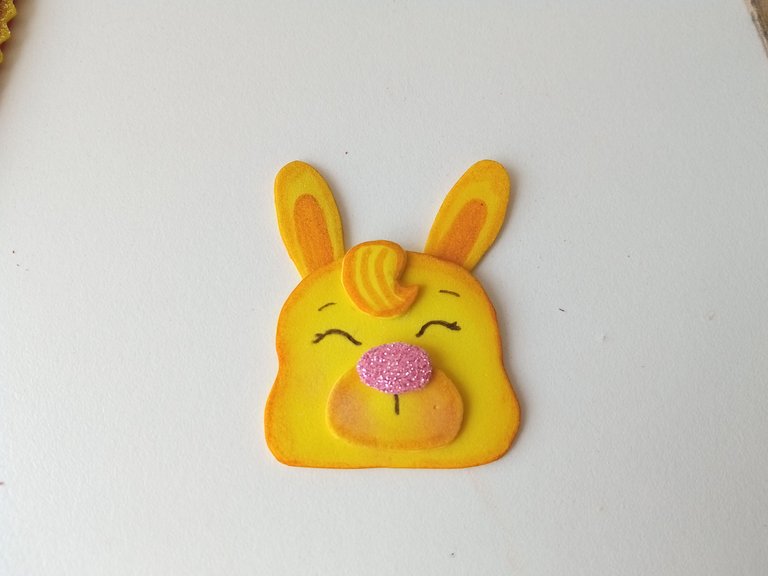
- Cabeza 4 cm, hocico 2.5 cm, orejas 2.5 cm y cabello 1.5 cm en foami amarillo.
- Nariz 1 cm en foami escarchado rosa.
Zanahoria:
- 2 piezas de 10.5 cm en foami naranja.
- Hojas 7.5 cm en foami verde.
✨ STEP 1:
The first thing is to draw the patterns, in this case I wanted to make a little extra hair in front of Zappit, I think it looked cute and I also made the design of the carrot, so when I had what I wanted ready on the white sheet, I transferred it to the corresponding colors of foam, as I explain below:
Zappit as Radiant:
- Head 4 cm, snout 2.5 cm, ears 2.5 cm and hair 1.5 cm in yellow foam.
- Nose 1 cm in pink frosted foam.
Carrot:
- 2 pieces of 10.5 cm in orange foam.
- Leaves 7.5 cm in green foam.


✨ PASO 2:
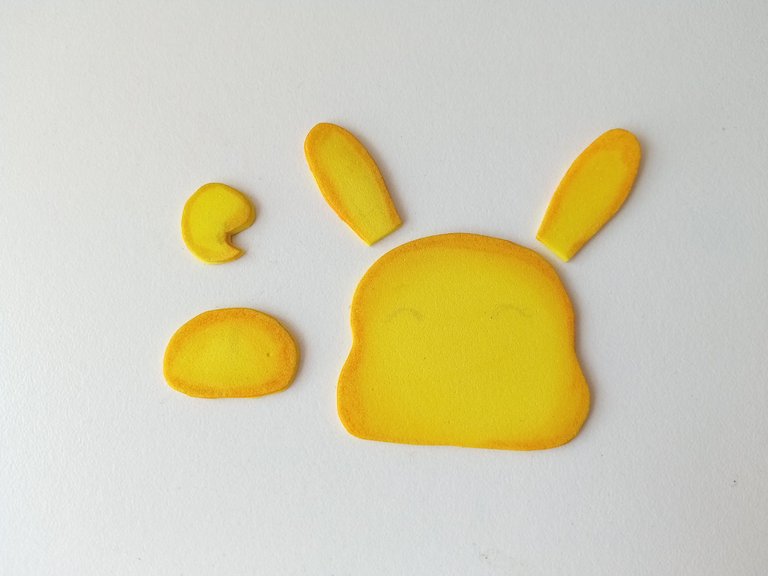
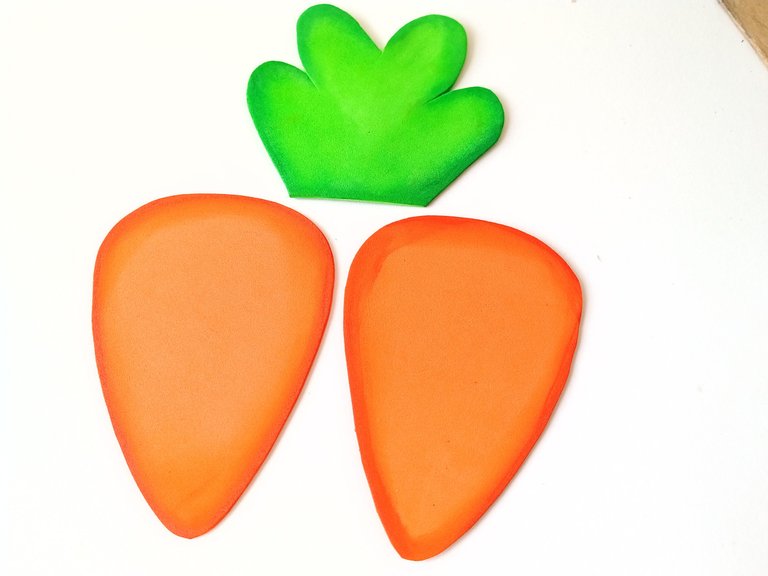
Al tener todas las piezas recortadas, comencé a dar color a los bordes con pinturas que hagan contraste. En este caso, para Zappit utilicé pintura naranja, para las dos piezas de la zanahoria utilicé rojo y naranja, y para las hojas utilicé verde oscuro.
✨ STEP 2:
Once I had all the pieces cut out, I began to color the edges with contrasting paints. In this case, for Zappit I used orange paint, for the two pieces of the carrot I used red and orange, and for the leaves I used dark green.


✨ PASO 3:
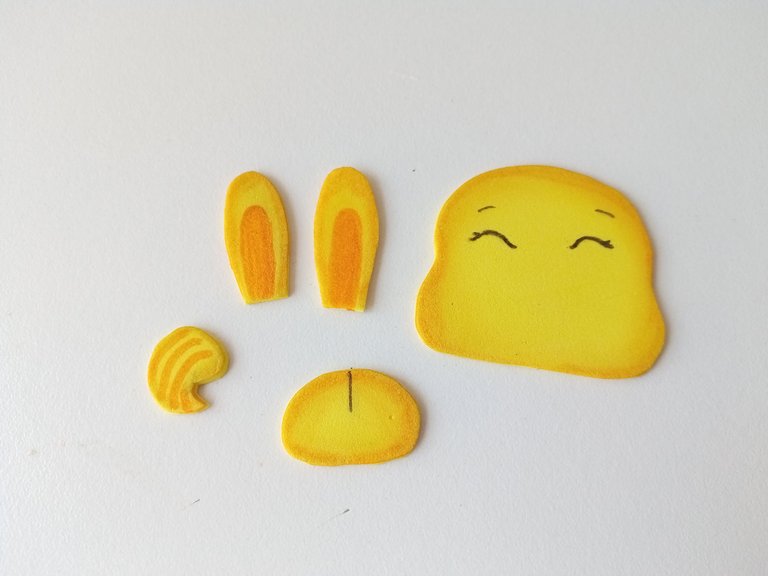
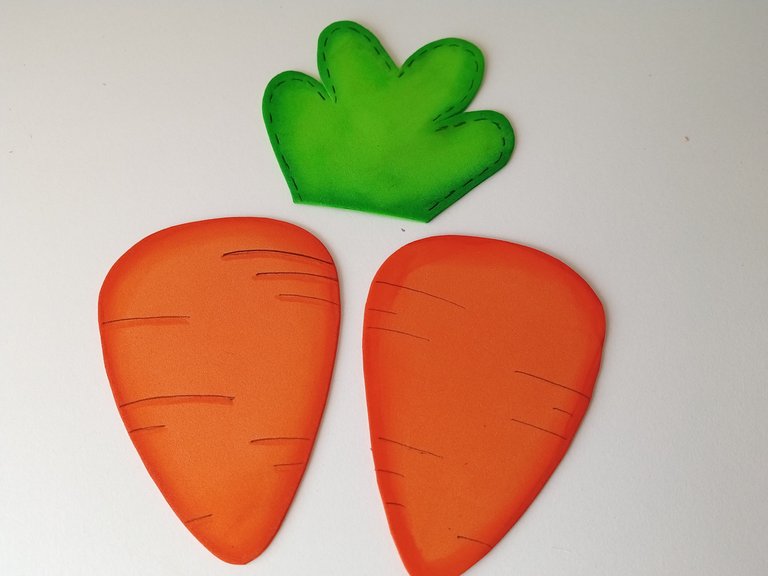
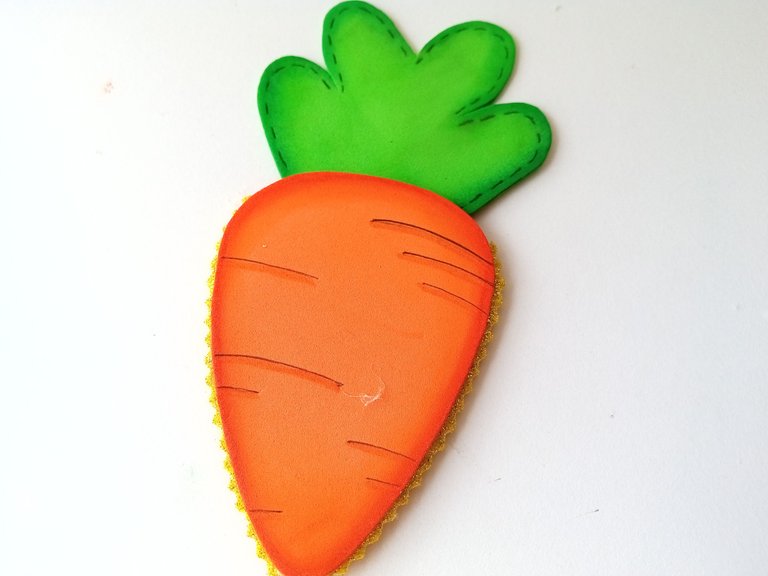
Al estar secas las piezas, di detalles con marcadores como los ojos, cejas, hocico, detalles extras para el cuerpo de la zanahoria con las típicas líneas y para las hojas, líneas como de costura por todo el borde.
✨ STEP 3:
Once the pieces were dry, I added details with markers such as the eyes, eyebrows, snout, extra details for the body of the carrot with the typical lines and for the leaves, sewing lines all around the edge.


✨ PASO 4:
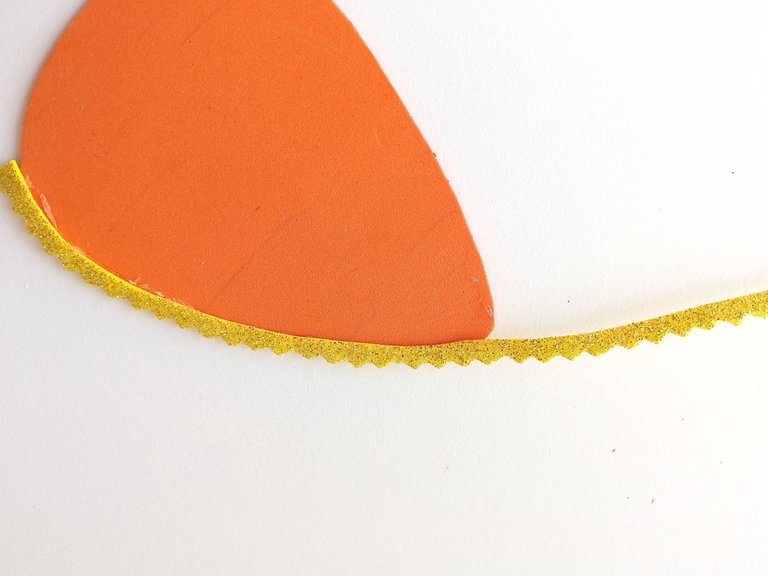
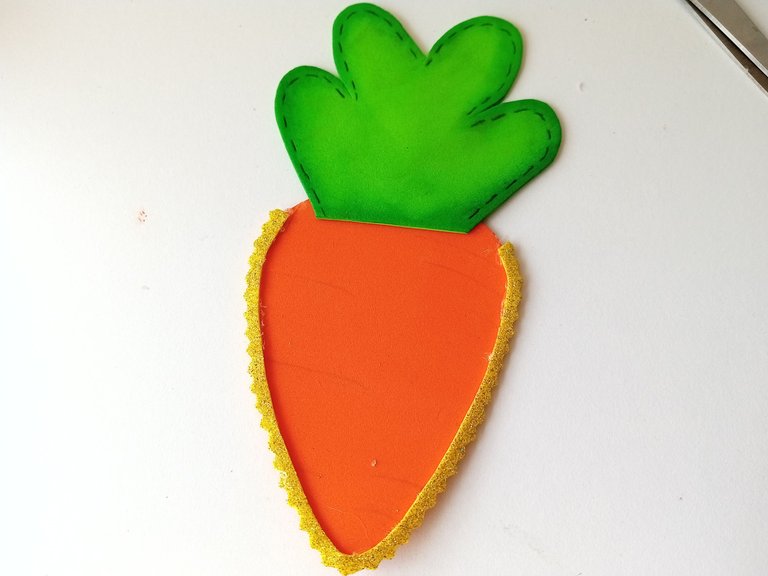
Tomamos la pieza que irá a la parte trasera de la zanahoria, recorté con tijeras con diseño una tira en foami dorado escarchado y la pegué por todo el borde de la zanahoria, sin que cubra la parte de arriba. En la parte de arriba, pegué las hojas y encima, justo por donde está la tira, pegué la otra pieza de la zanahoria, sin pegar en la parte de arriba que es por donde se meterán las tijeras.
✨ STEP 4:
We took the piece that will go on the back of the carrot, I cut out a strip of frosted gold foam with scissors and glued it all around the edge of the carrot, without covering the top. On the top, I glued the leaves and on top, right where the strip is, I glued the other piece of the carrot, without gluing the top part where the scissors will go in.


✨ PASO 5:
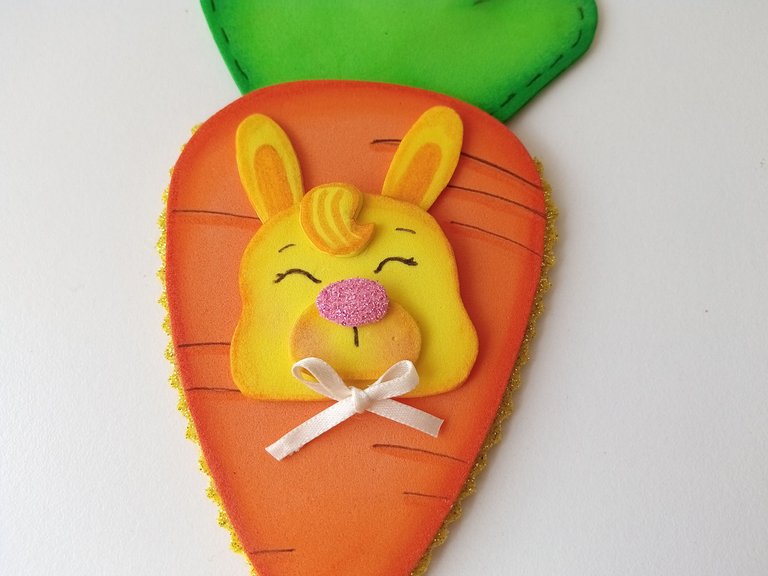
Seguidamente, comencé a pegar las piezas hasta formar a Zappit. Al estar listo, lo pegué en medio de la zanahoria, le coloqué un lacito en la parte baja de la cabeza y di puntos de luz a la zanahoria y en las mejillas de Zappit.
✨ STEP 5:
Next, I began to glue the pieces until I formed Zappit. When it was ready, I glued him in the middle of the carrot, placed a bow on the bottom of the head and gave points of light to the carrot and Zappit's cheeks.


❤️ Hasta la próxima publicación.
❤️ Until the next post.

Todas las fotografías son de mi propiedad.
Separador y Fotos editadas en Canva
All photographs are my property.
Photos edited in Canva
Posted Using INLEO
Nooo bueno, es que mi amiga casa vez crea cosas más y más bellassss 🩷🩷
Me encantaaaa!
Tu siempre haces cosas hermosas amiga! Amo este estuche
Que lindo quedó esto!!! Realmente haces arte con las manos. A mí me hubiese quedado una zanahoria mordida por un dragón. Jajaja
Jajaja ay no, seguro que te queda algo lindo o a tu estilo y es lo que importa 🤭✨
You made such a scissors case. It is so colorful and charming, excellent job friend. Thanks for sharing.
Thank you very much! That's right, it's a good idea for the little ones.💕
Ey girl,this is a lovely piece. It looks very clean and neat all around. I congratulate you for this talent you have for working with this material.
Thank you so much! I try to do my best 🤭. I'm so glad you liked it.
Es una gran idea para la seguridad de los niños y además esta tierno y hermoso amiga.
Totalmente Ami, de verdad que es una linda idea para los pequeños 🤭💕
Nunca había visto un porta tijeras tan bonitooo jajaaj. Está demasiado tiernoooo 😍😍😹
Congratulations @valenpba! You have completed the following achievement on the Hive blockchain And have been rewarded with New badge(s)
Your next target is to reach 11000 replies.
You can view your badges on your board and compare yourself to others in the Ranking
If you no longer want to receive notifications, reply to this comment with the word
STOP