
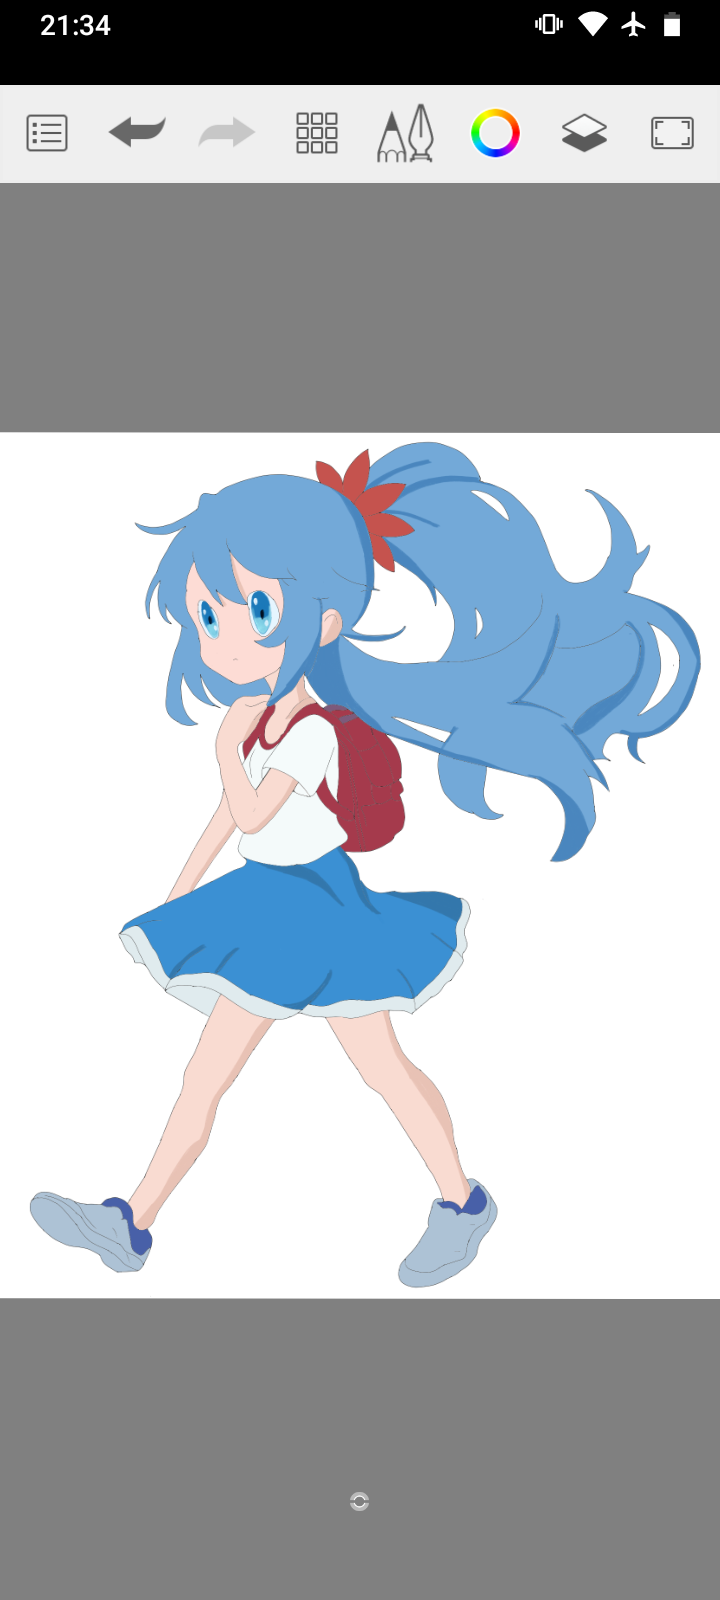
Hello, greetings to everyone, for this occasion I will be presenting my work of art for the holozing water healer.


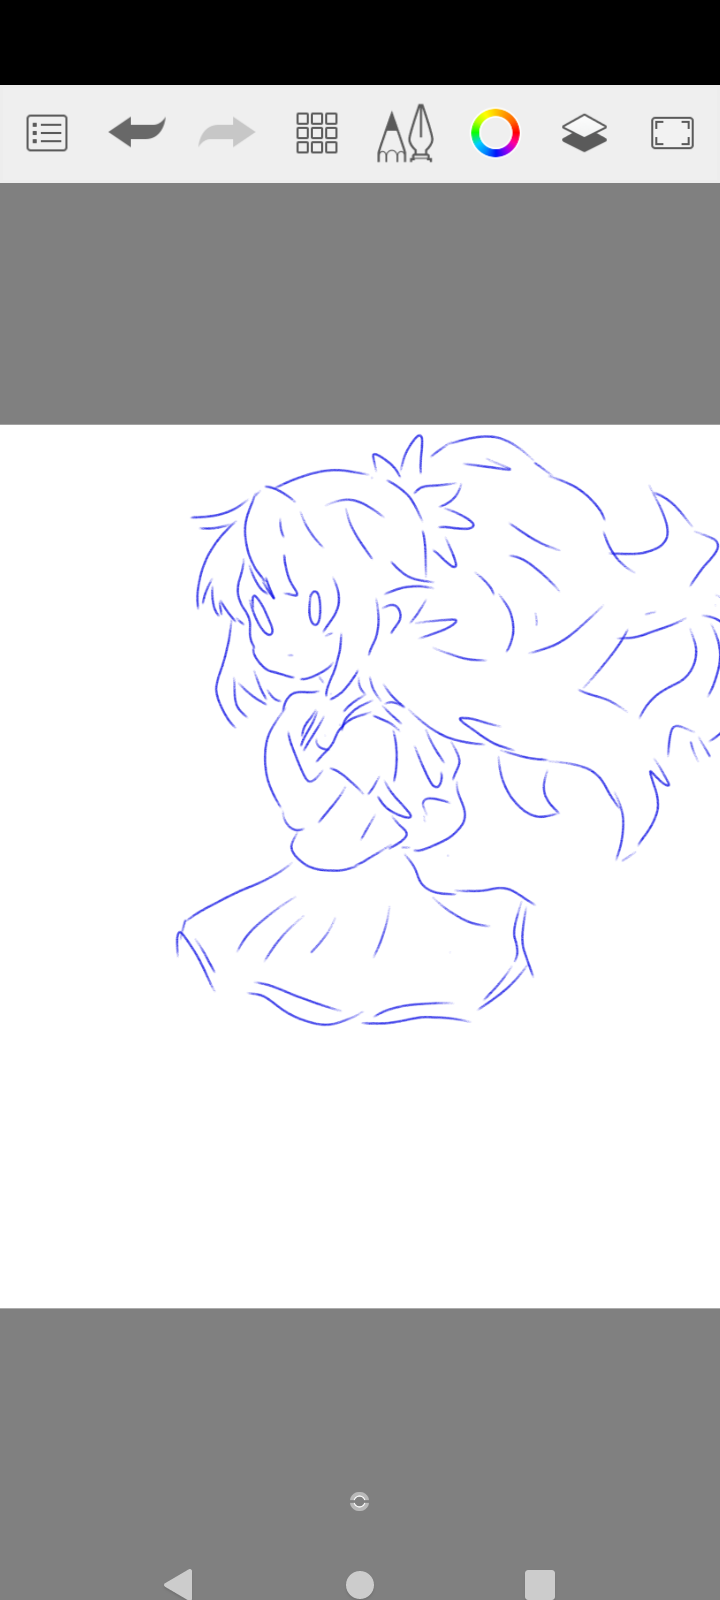
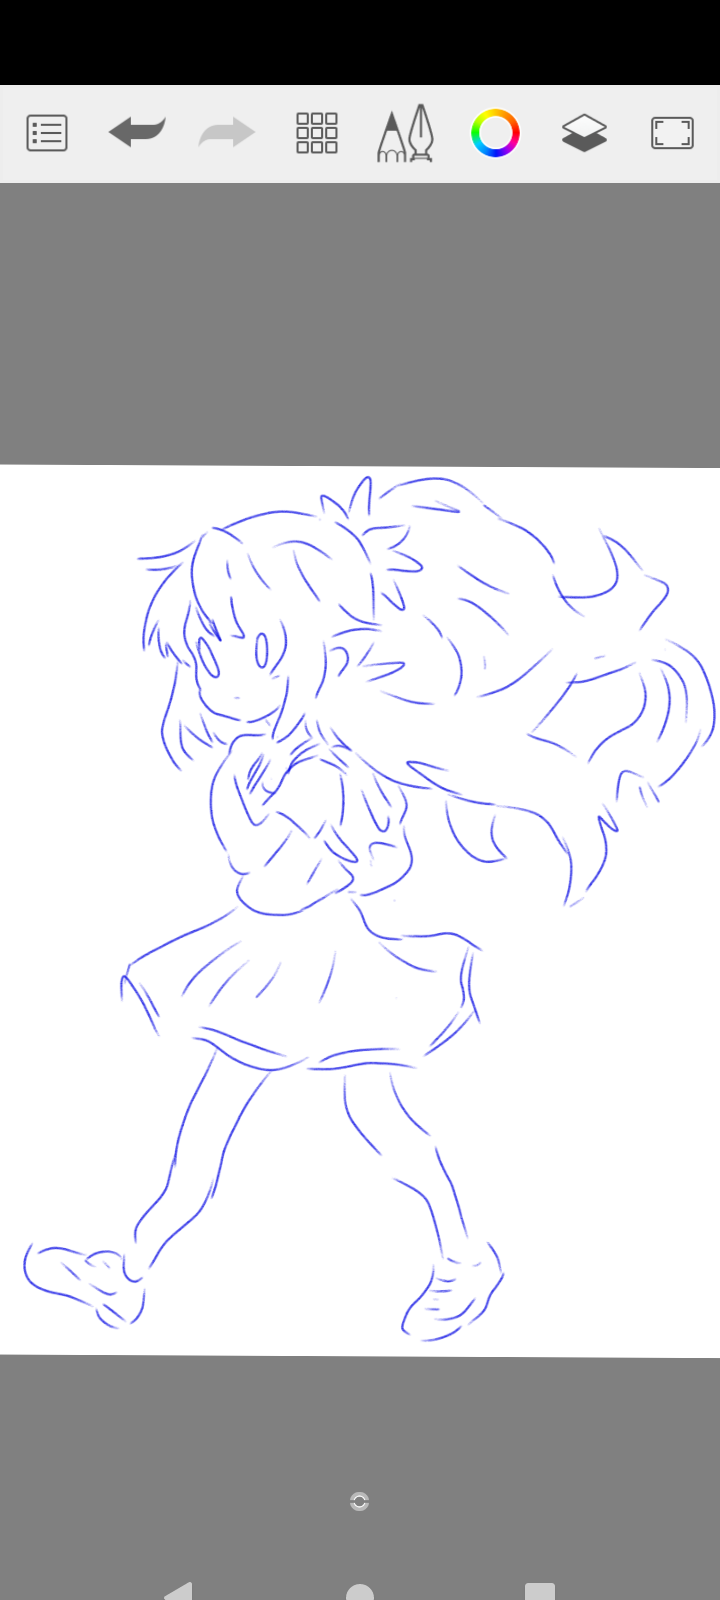

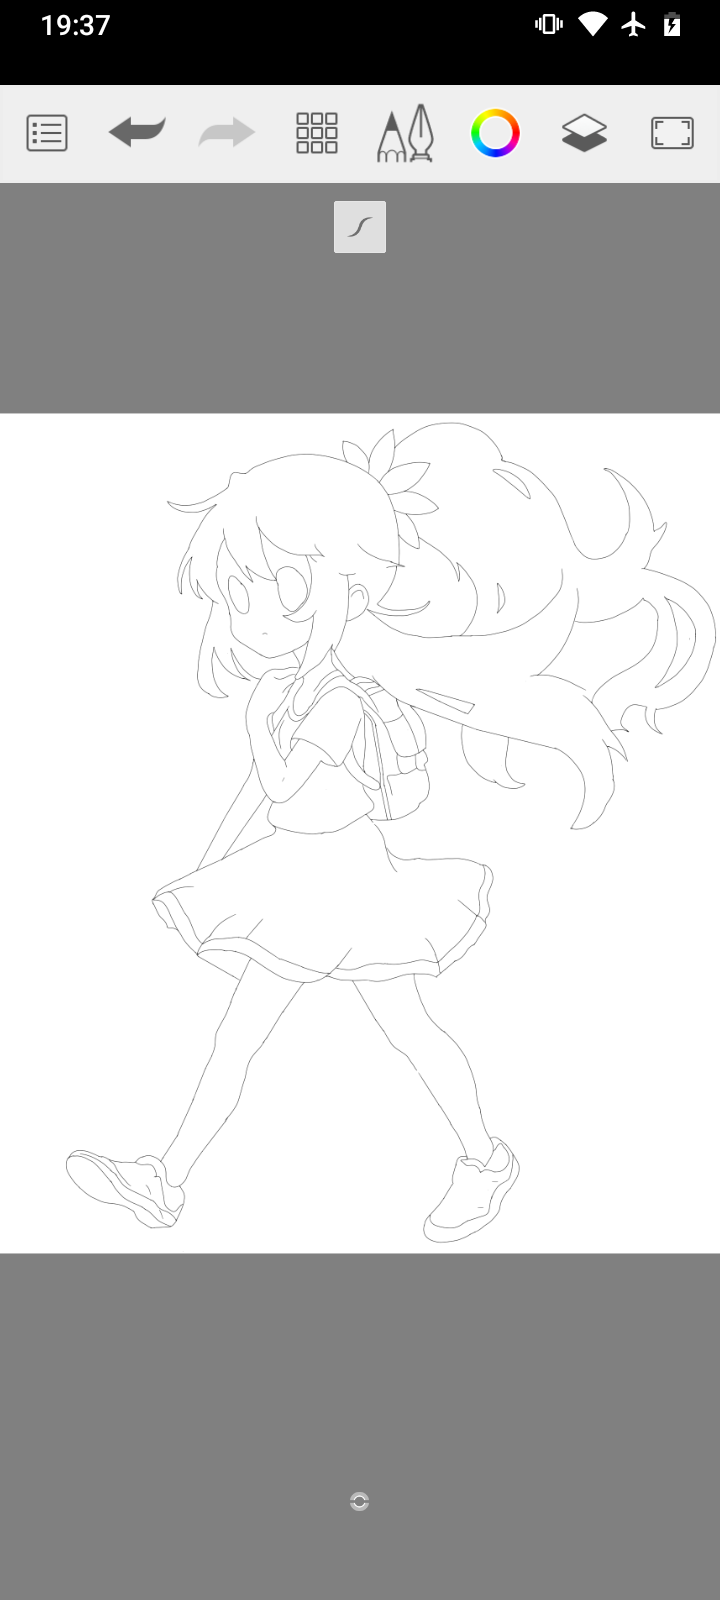

Step 1: Initial Sketch
We begin with a light sketch, using the pen in SketchBook to trace basic guide lines, defining the posture and general form of the Water Healer.
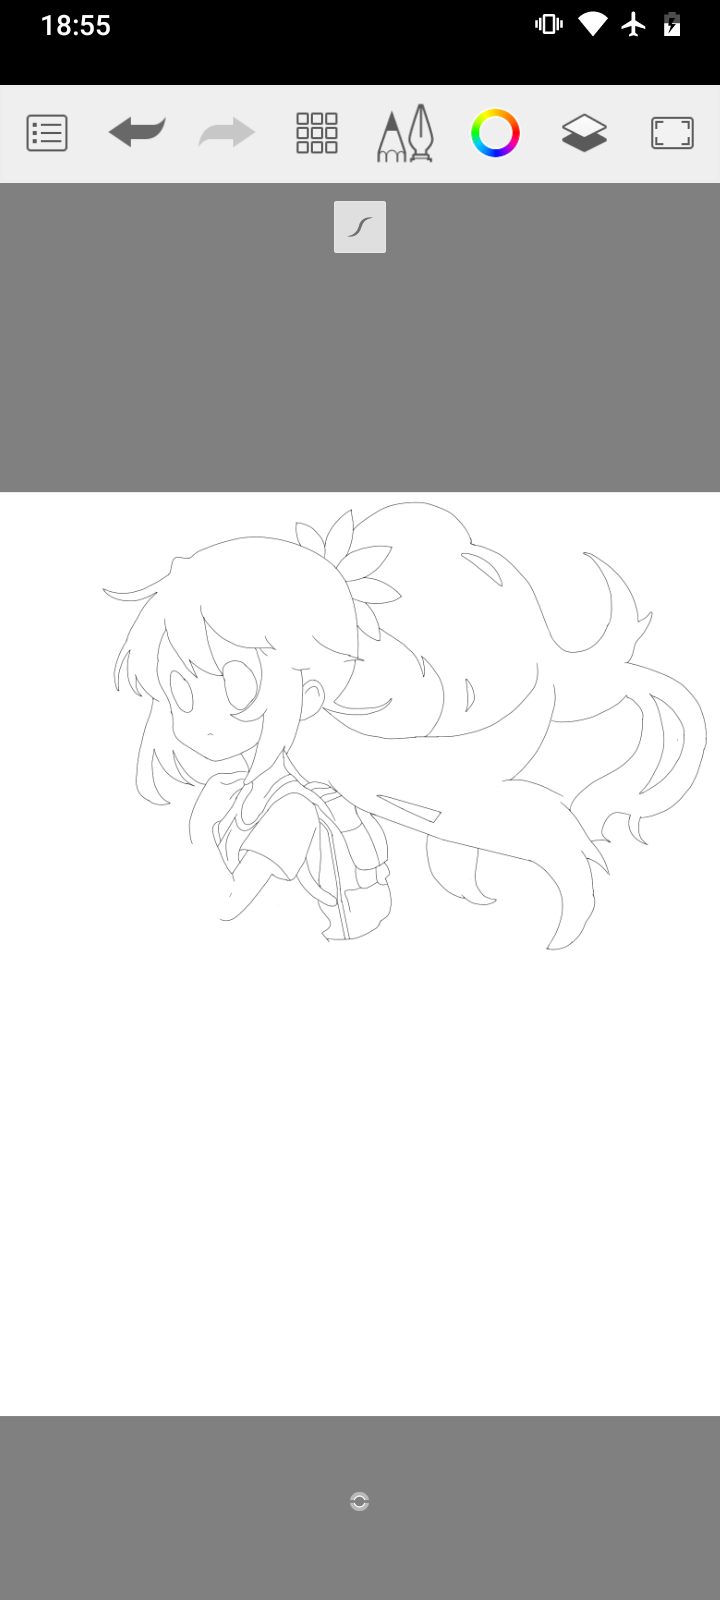
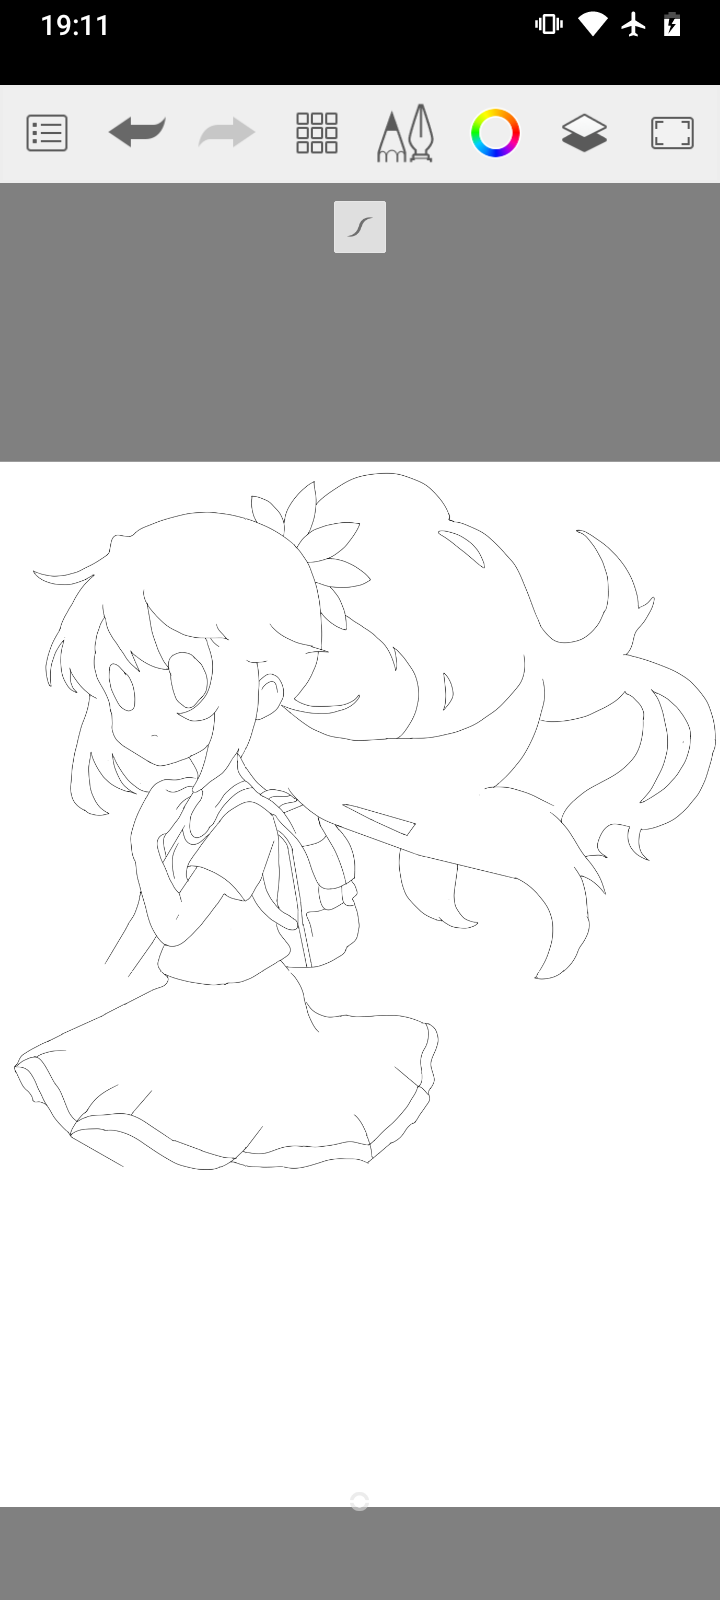
Step 2: Face and Body Details
We add details to the face and expression, as well as the contours of the body. With the pen, we ensure clean and precise lines, giving life to our healer.
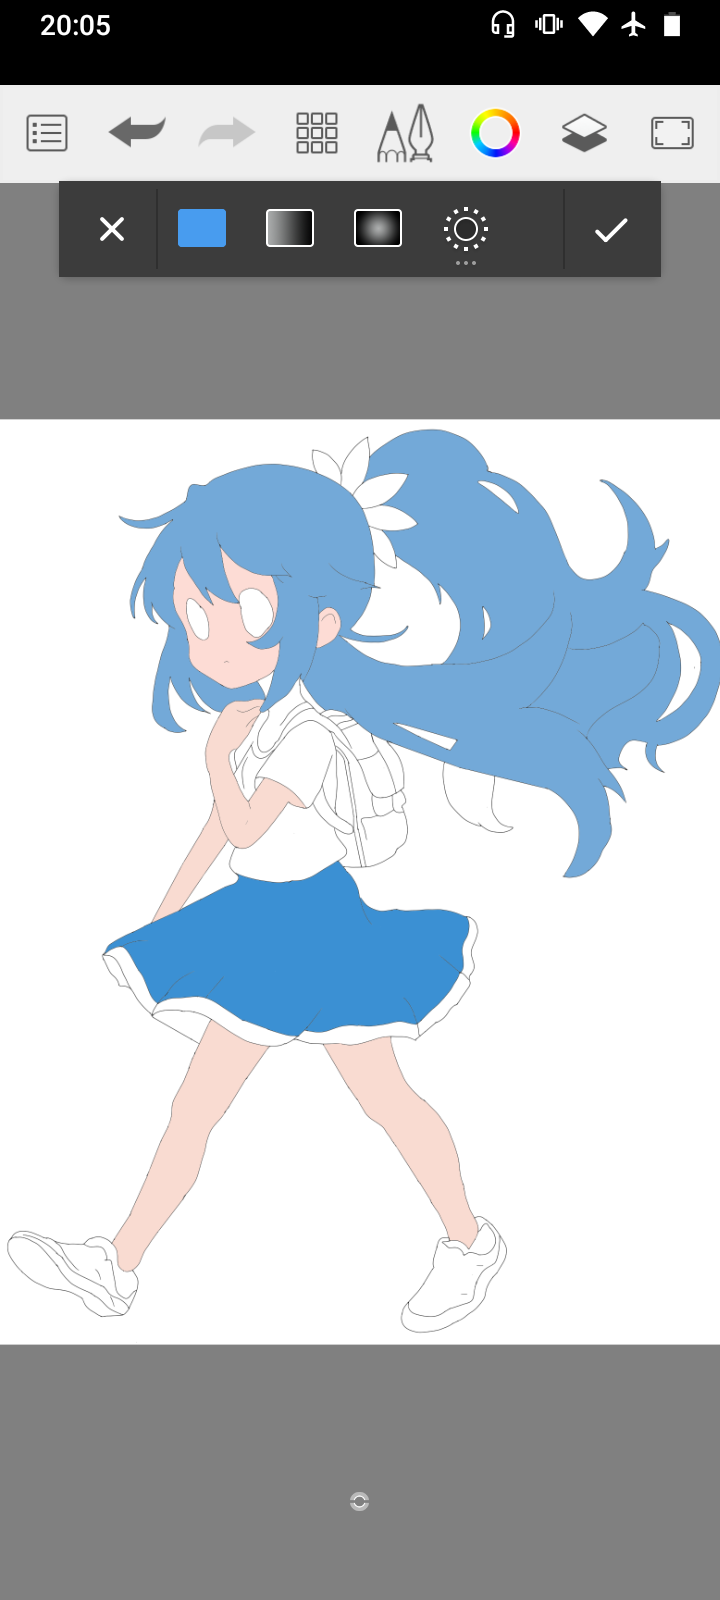
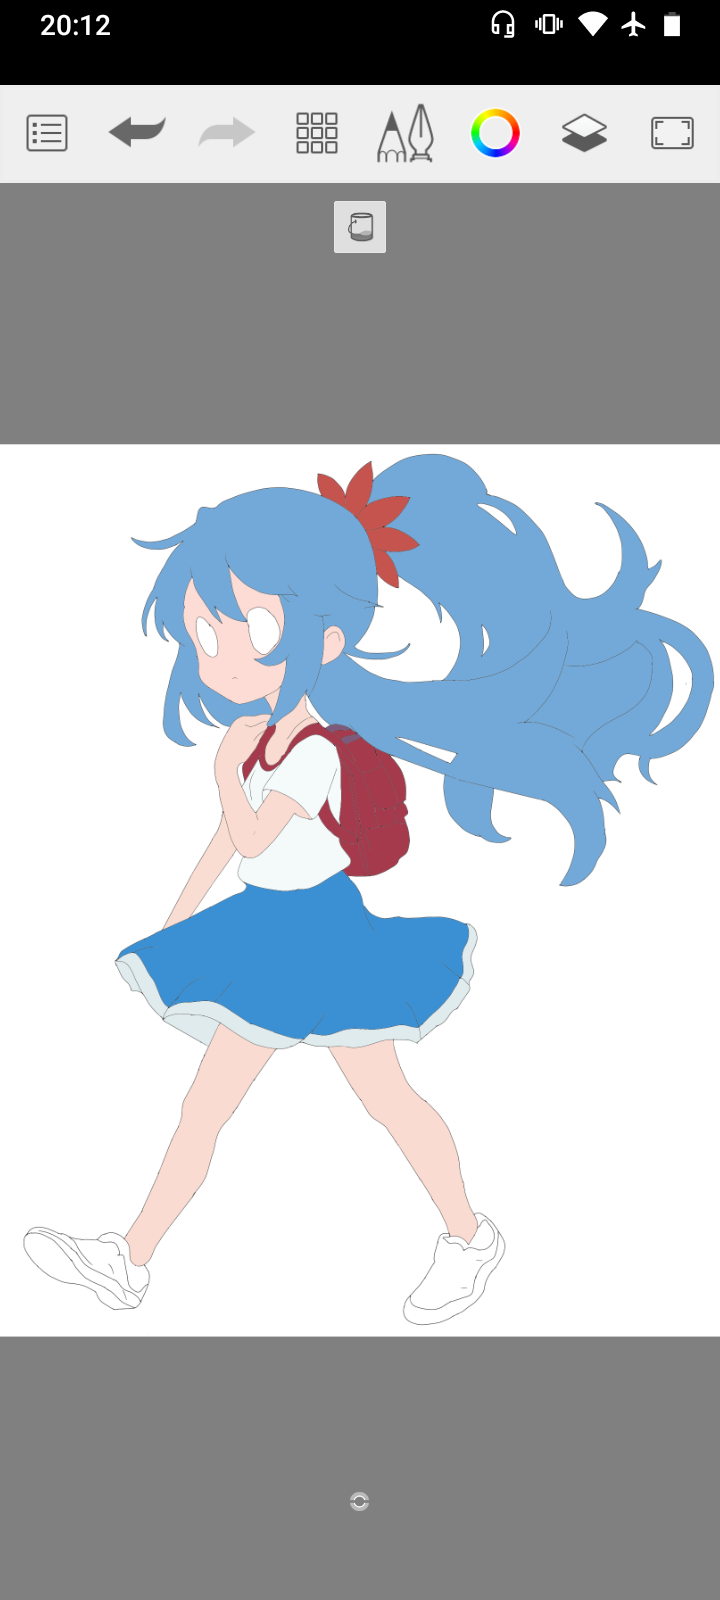
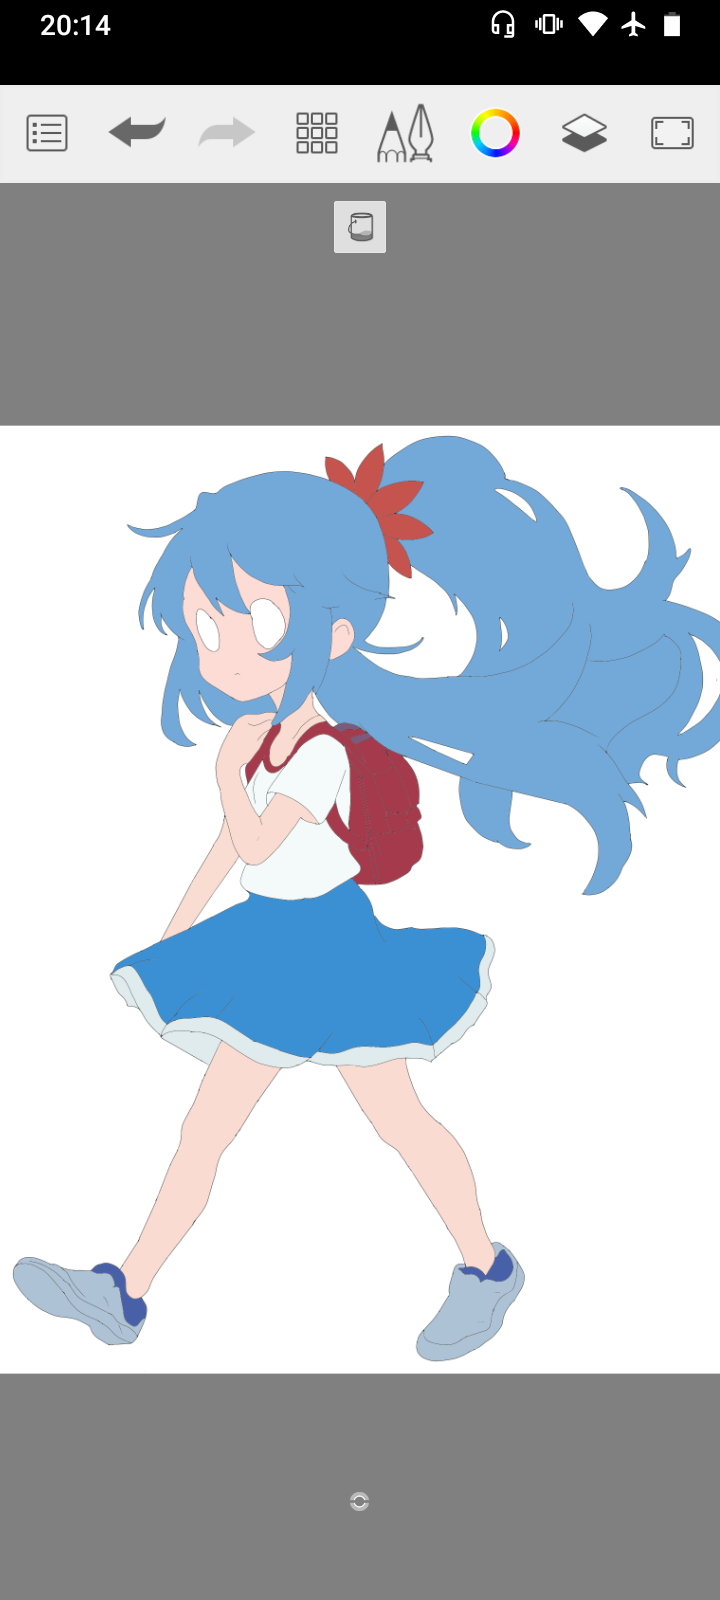
Step 3: Base Color
We used the paint can to apply the base colors, choosing blue tones that represent the water element.
Step 4: Shading
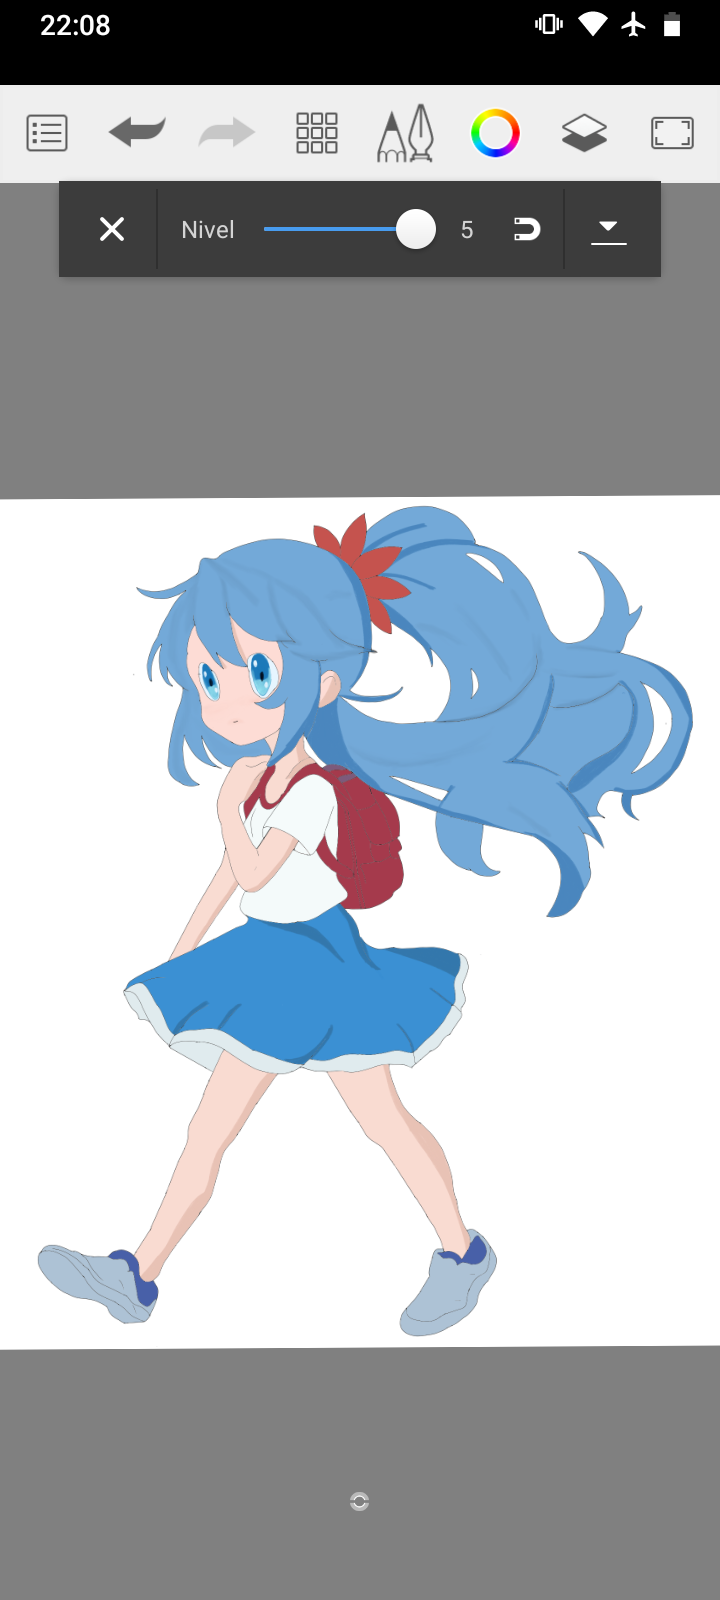
With the spray, we add soft shadows to give depth to the drawing, focusing on areas where light naturally cannot reach.
Step 5: Lighting
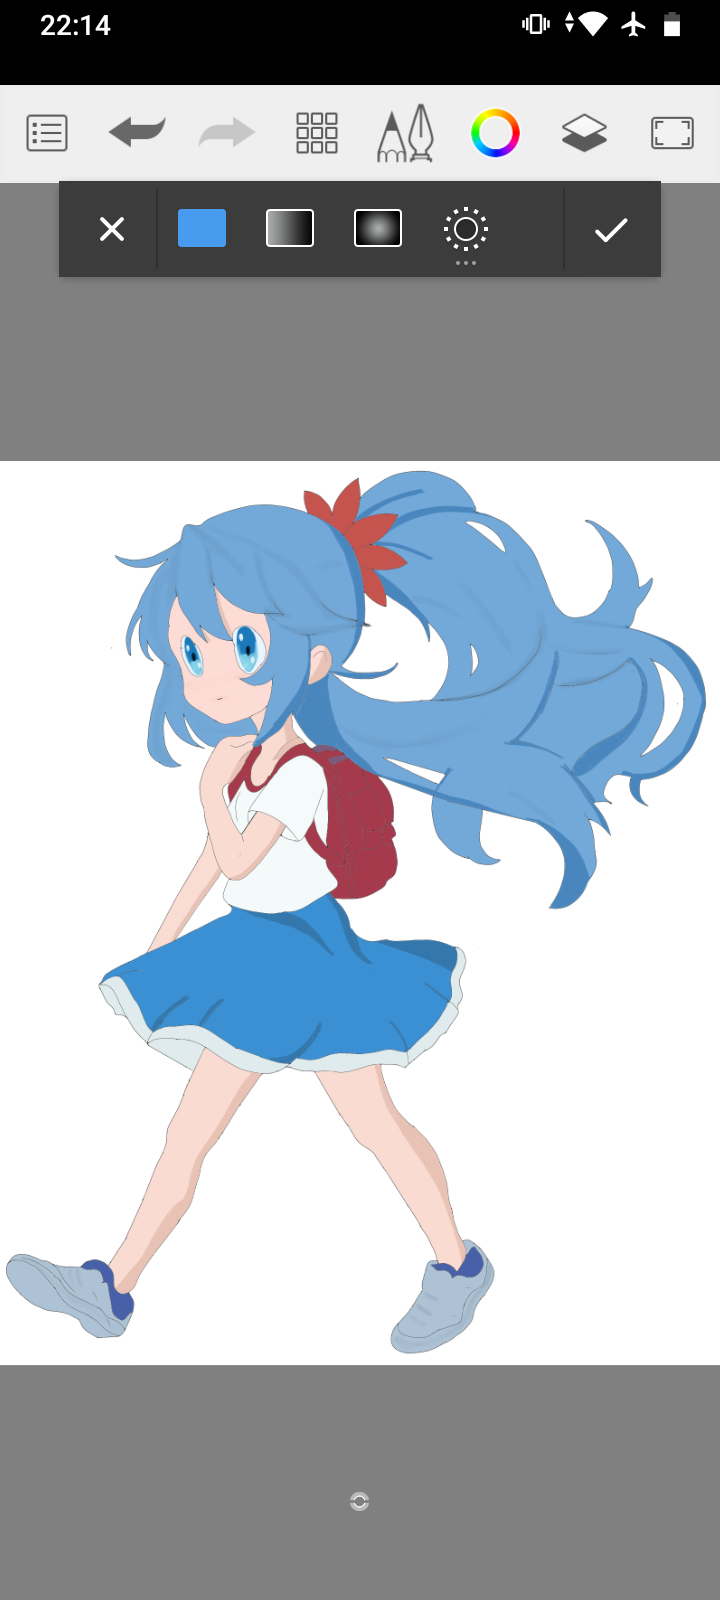
The blurr helps us soften the edges of the shadows and integrate the lighting, creating a more realistic and three-dimensional effect.
Step 6: Final Details
We return with the pen to add final details and accentuate certain areas, ensuring that each element of the drawing stands out appropriately.
Well this has been all, in my publication always hoping to improve and have that support and good comments, thank you very much.