Hello Everyone
How are you?
I hope you are well and leading a sound life with your loved ones. I'm here amongst you all again to share another one of my digital drawings. This one is a drawing of a holozing character called the Female Light Healer. And this is not it, this one is a collaboration of two characters from Holozing. I tried to combine both the Female Forest Healer and the Grass Racoon to create this new design. The original characters are amazing and good-looking. And I decided to present them to you with a new look. I hope you will like it.
I used my laptop, graphics tablet, stylus touch pen, and a drawing software called ibis Paint. I'll add all the steps of my drawing including gif files for each step so that I can explain the whole process easily.
Original Images
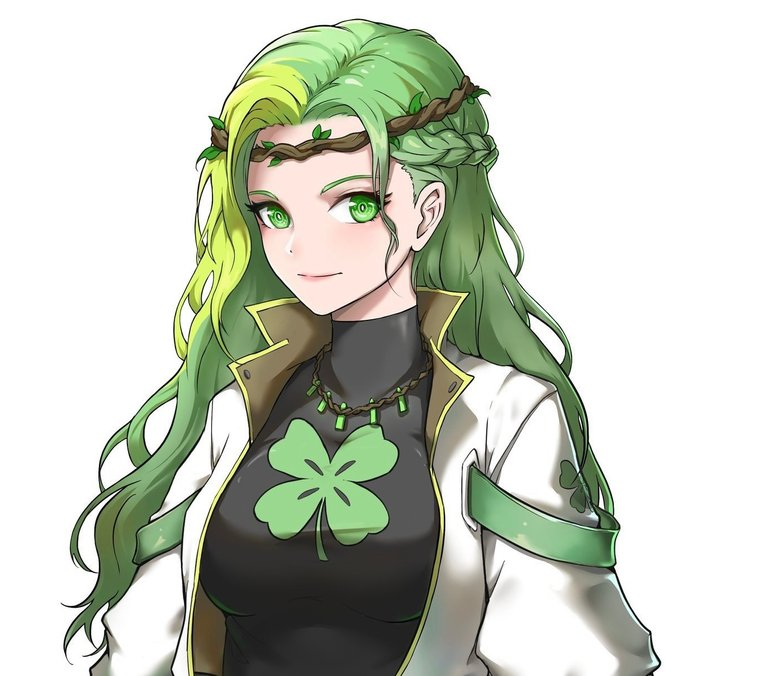
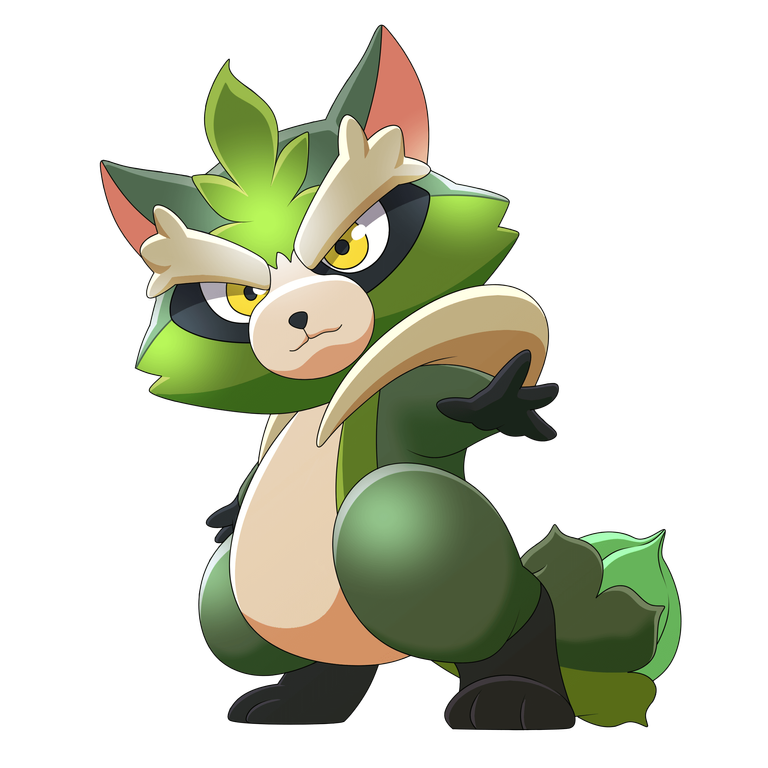
My Drawing
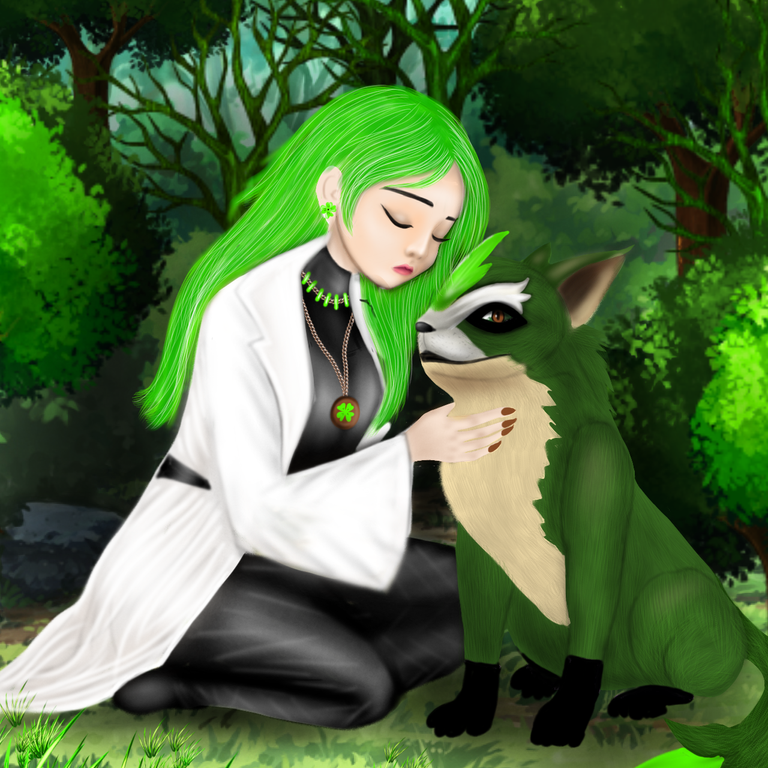
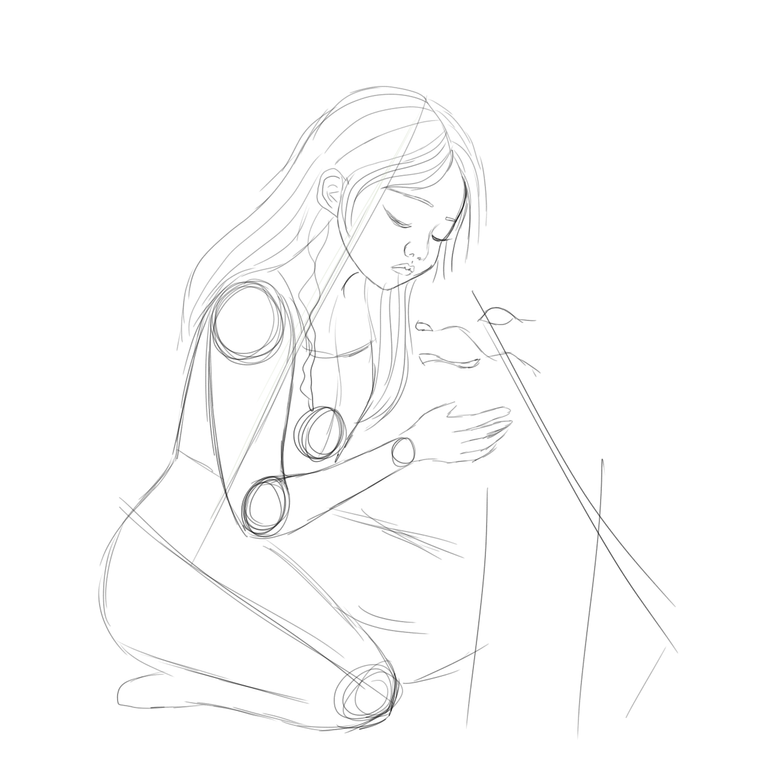
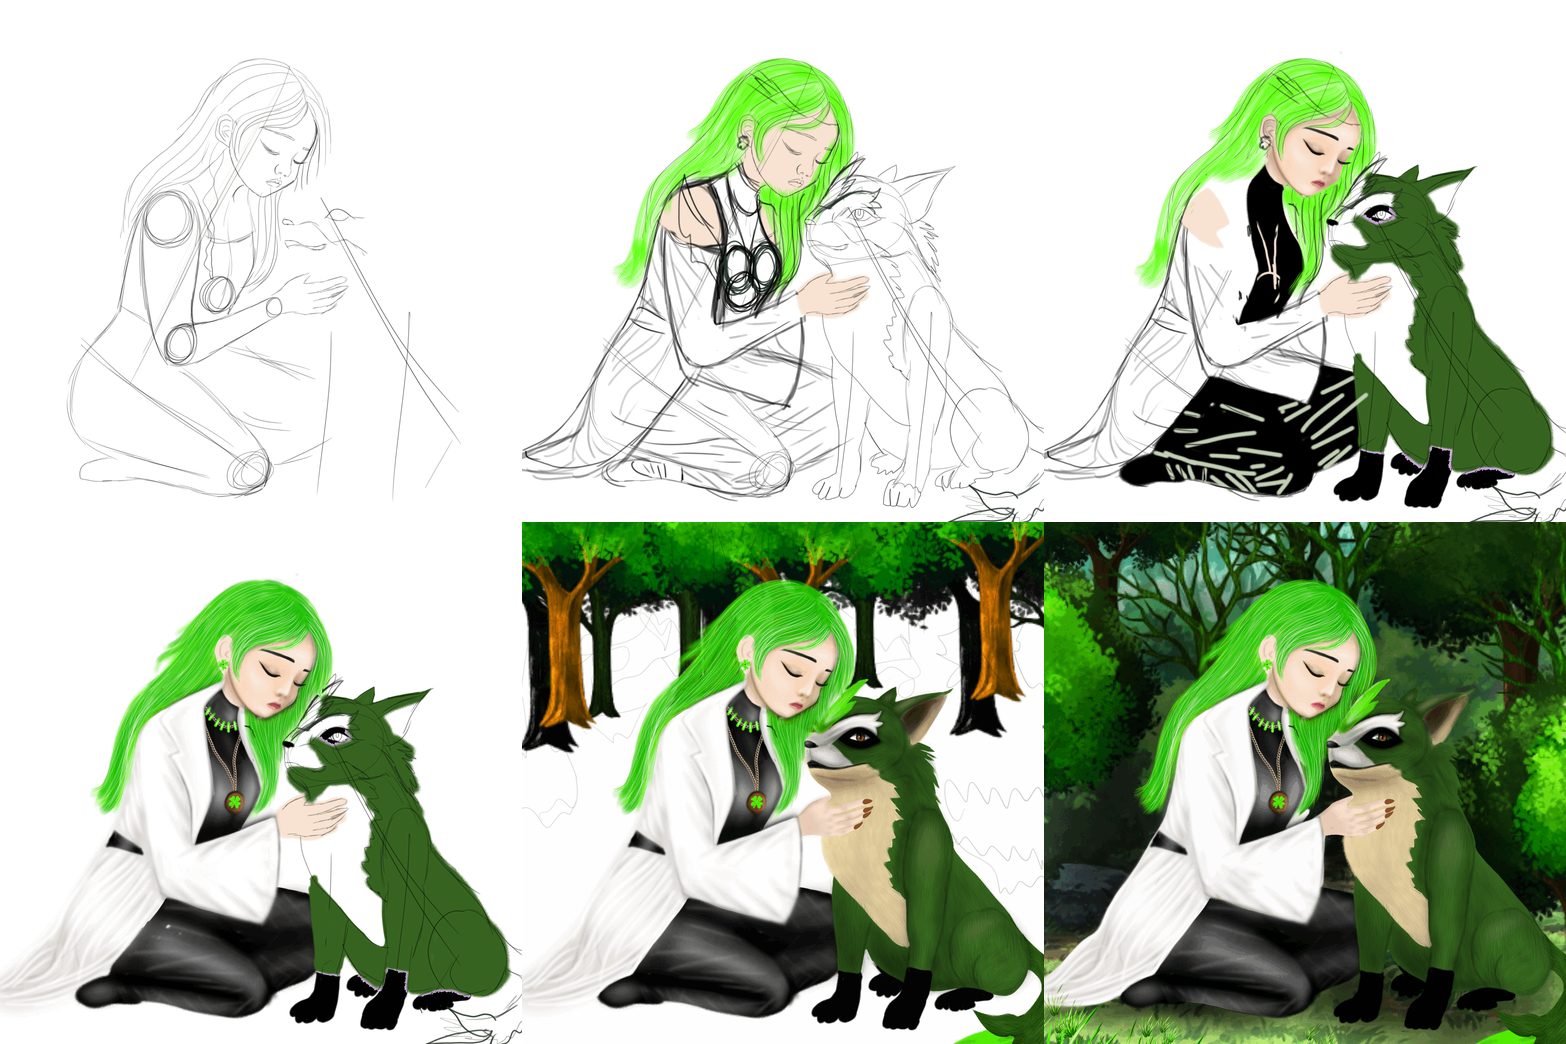
I began my drawing by sketching the structure of the Female Forest Healer and the Grass Racoon. It was really difficult for me. I'm not that good at drawing full-body drawings. Especially the one line where I have to make the character sit down and the body position of two separate characters has to match so that I can keep the theme as I wanted. I used my newly learned figure study skills in drawing the dummies of the sketch and this process was really helpful for me.
I used a 2B pencil to draw the structure of the sketch first and then added the details step by step. I had difficulties drawing the racoon's face. It was probably because I'm not that familiar with that. But, I gave it my best and this is the result of many trials.
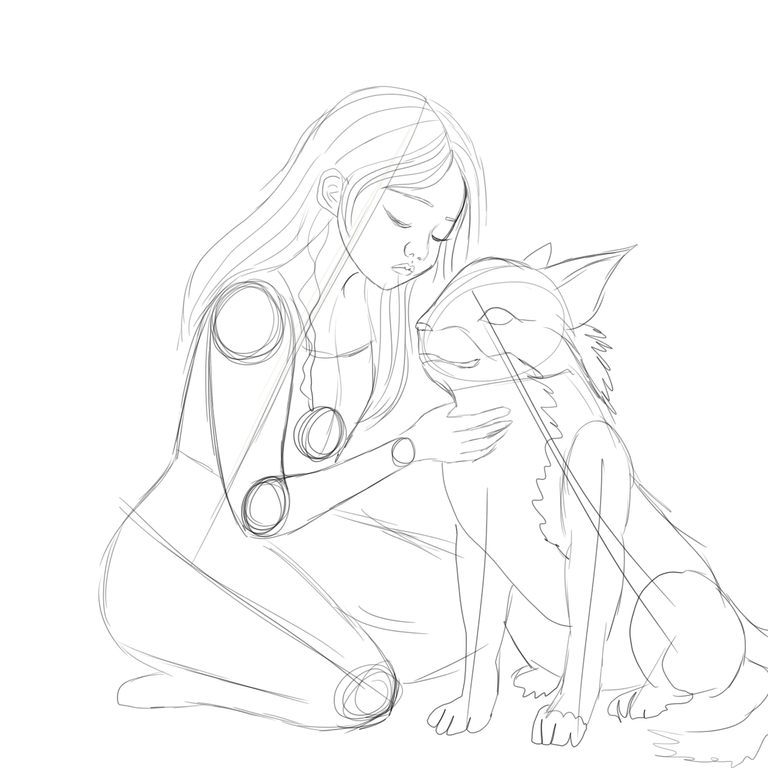
As you can see, I used an HB pencil here in this step. This was to separate the colour layers which you will find out in the colouring steps.
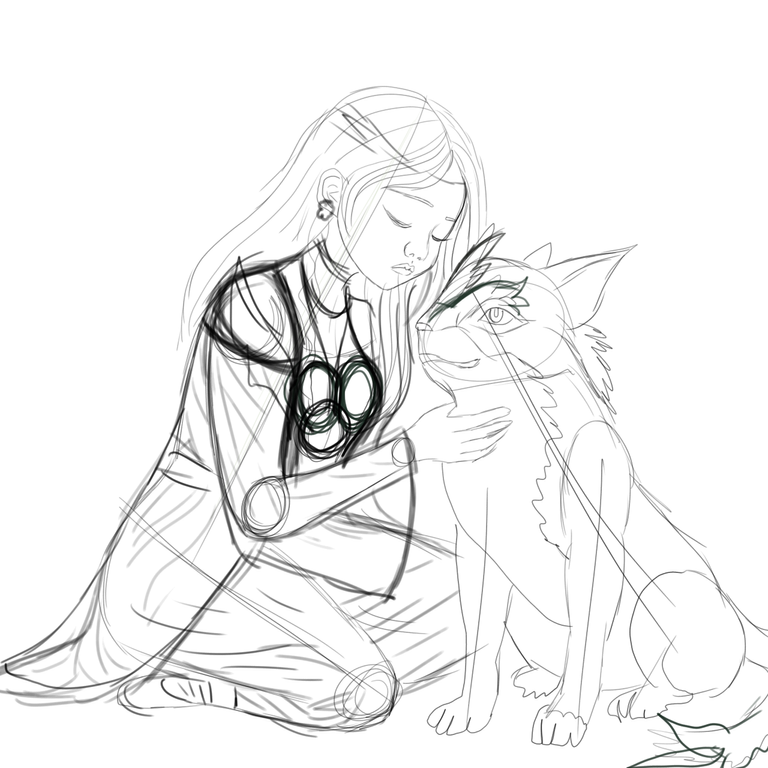
In this step, I added the primary colour layers to the sketch. I began with her skin colour and then added her hair and dress colour. And in the end, I added the primary colour for the racoon. There's some more need to be added to the racoon character but I decided to complete her drawing first and then focus on the racoon.
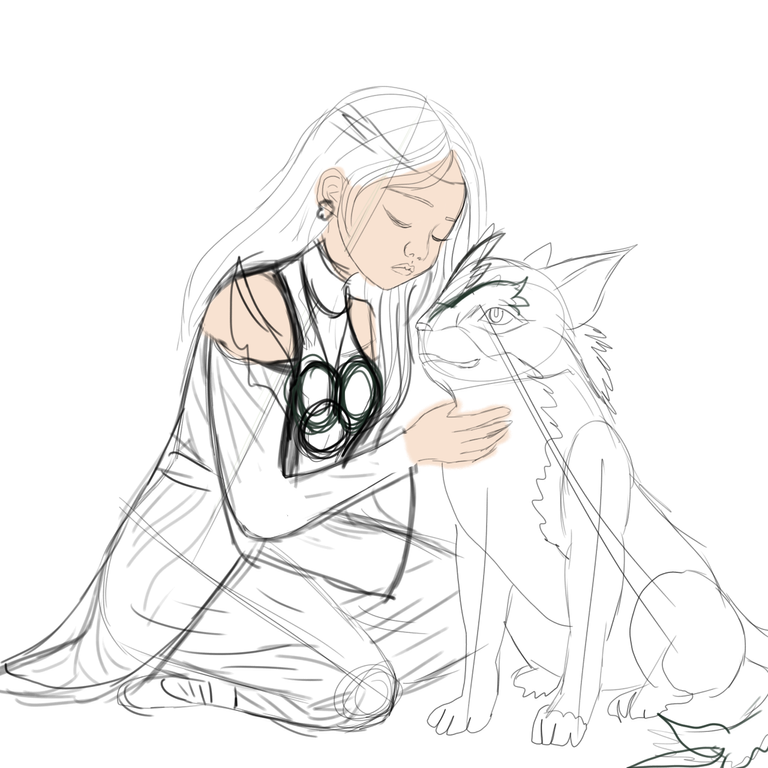
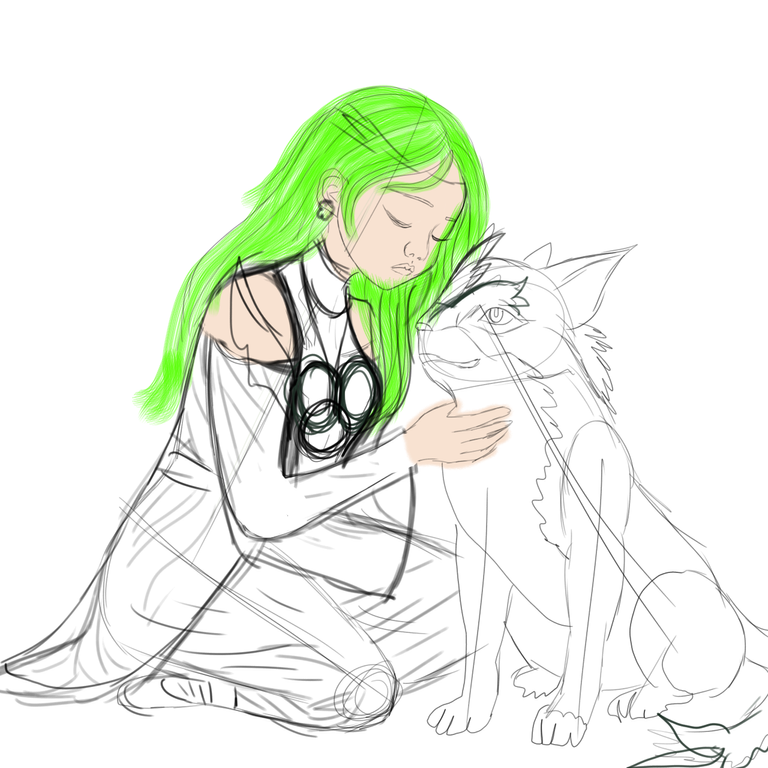
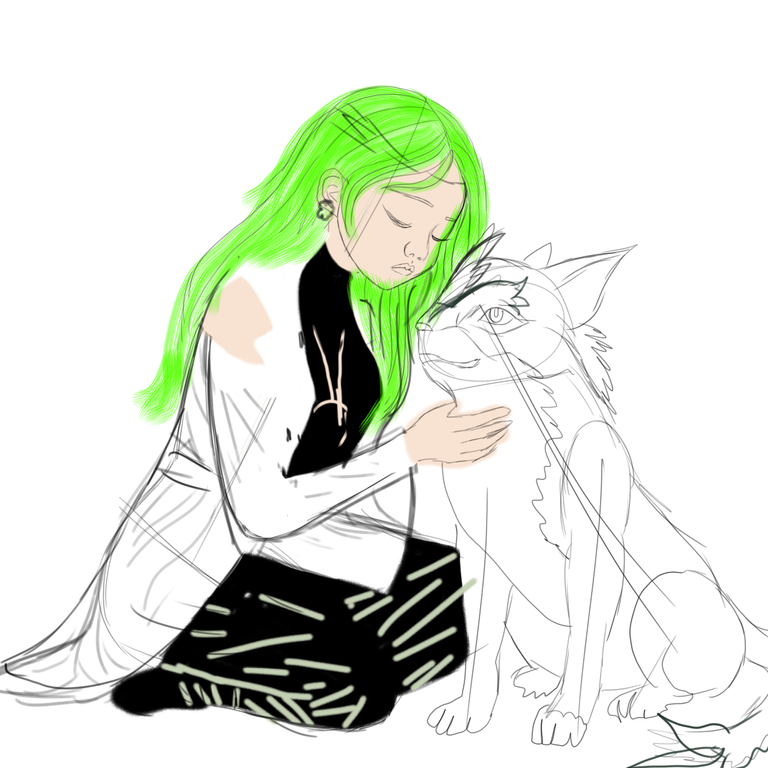
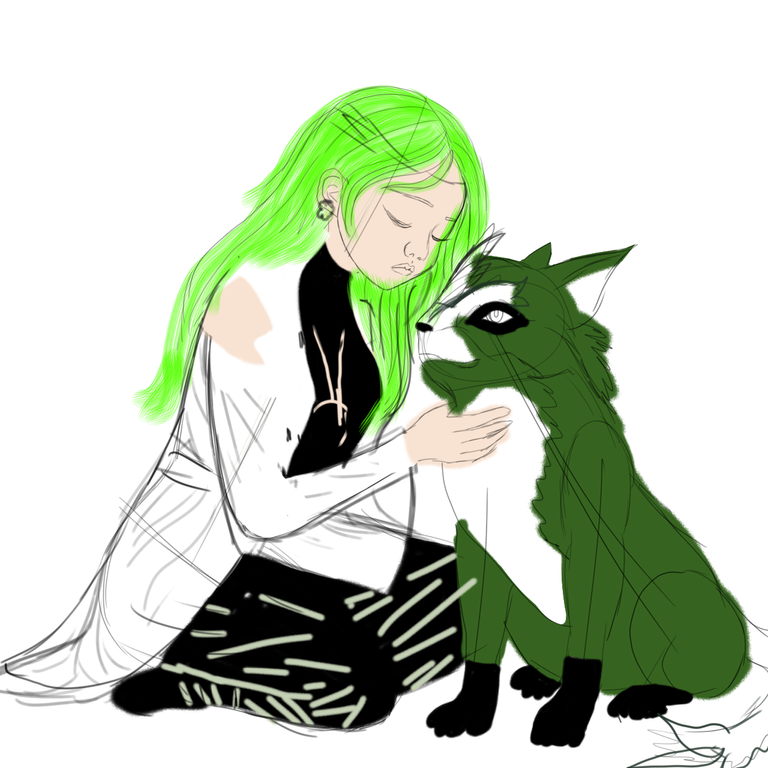
After putting on the primary colours, I started the shading process from this step. I first added a deeper colour layer on the edge area of her face and then used an oil brush to add a lighter colour layer overlapping it. And in the end, I used the blending tool and a smooth brush to blend in all the colours and reveal her smooth facial texture. After that, I started fixing the colour of her hair. I made her hair green following her character theme. I first changed the layer position to hide the sketch lines and then Added deeper and lighter colour strokes and finished it with thin pen strokes of light green colour. These strokes helped me to bring variation and texture to her hair colour. I also completed her dress and her jewellery in this step too. Drawing the curves on her white dress was tricky but it looks good.
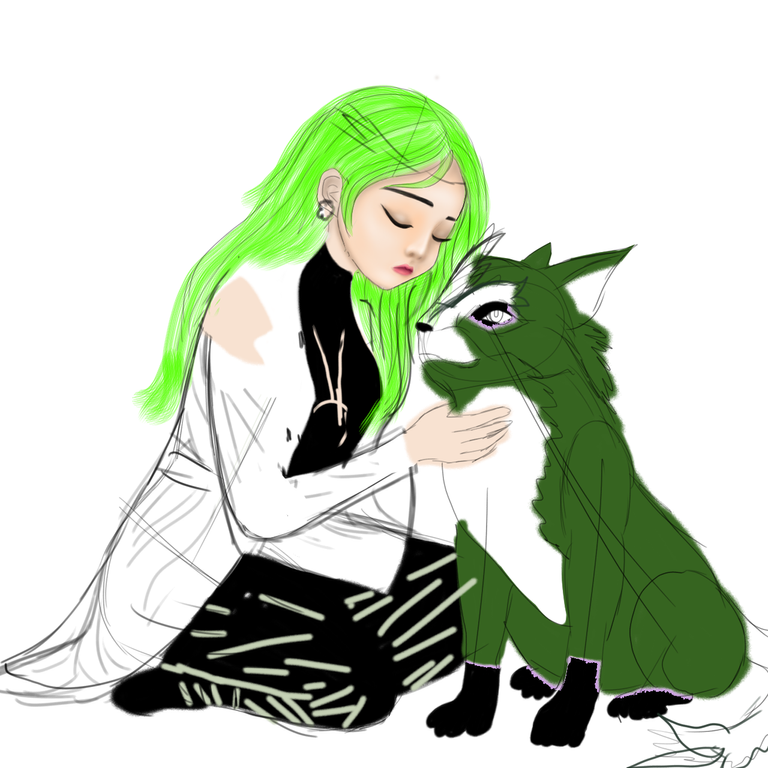
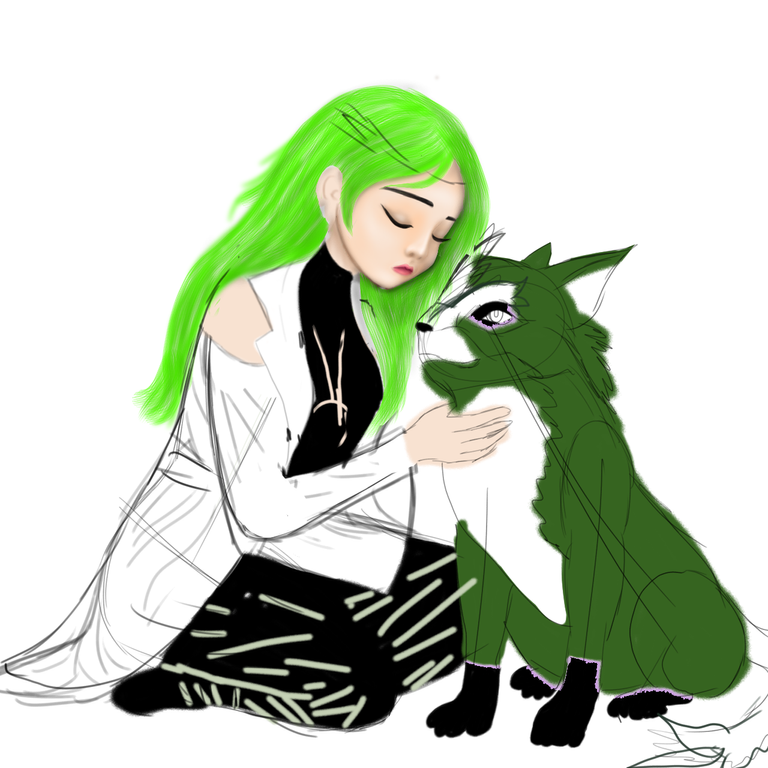
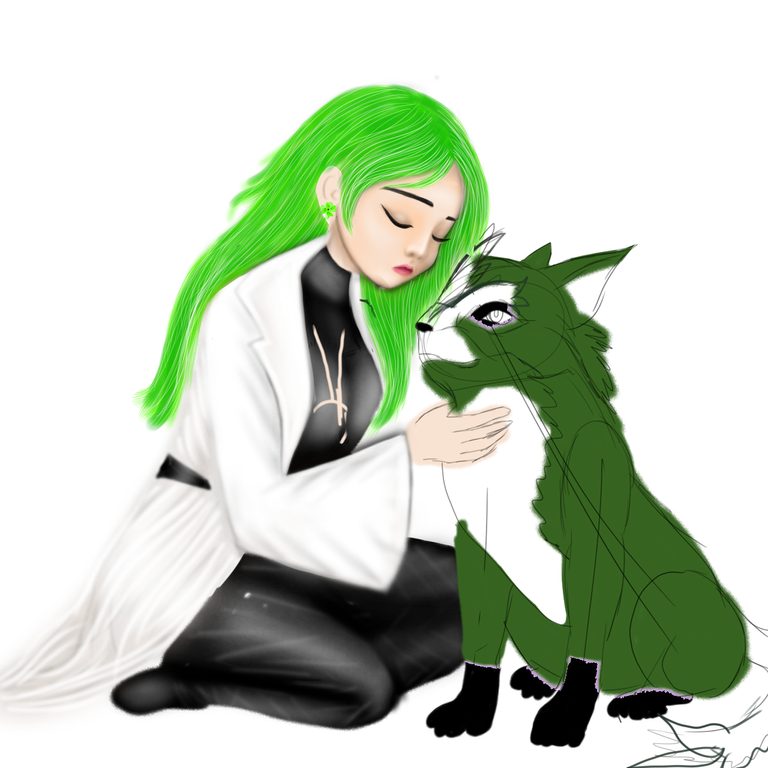
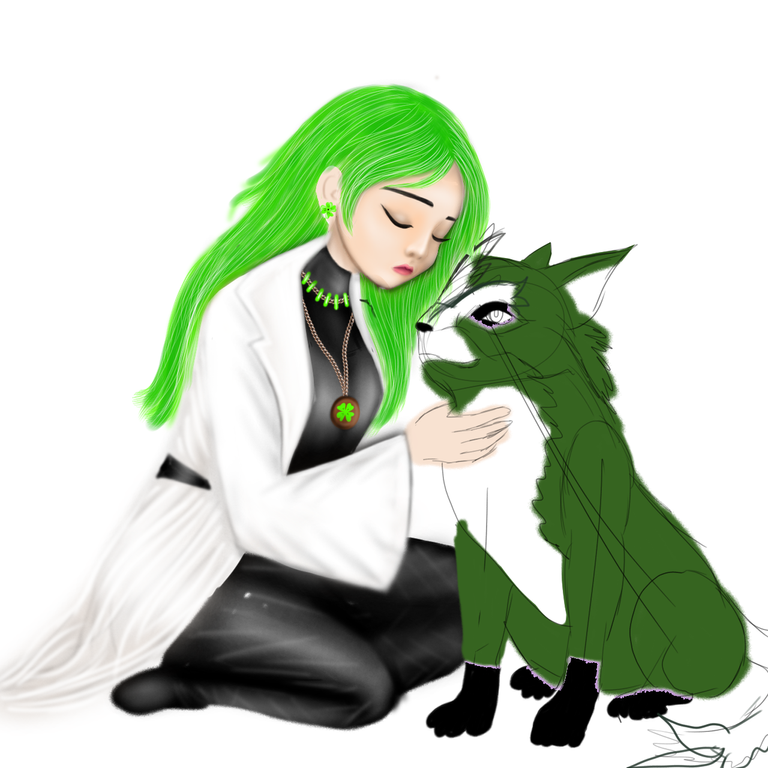
Now that I was done with her part, I started to draw the racoon in this step, after adding the colour layers. I used a pen to draw thin lines to visualize his hair. It took me a lot of time to draw all these lines one by one and I had to make sure that the lines stayed in the correct direction.
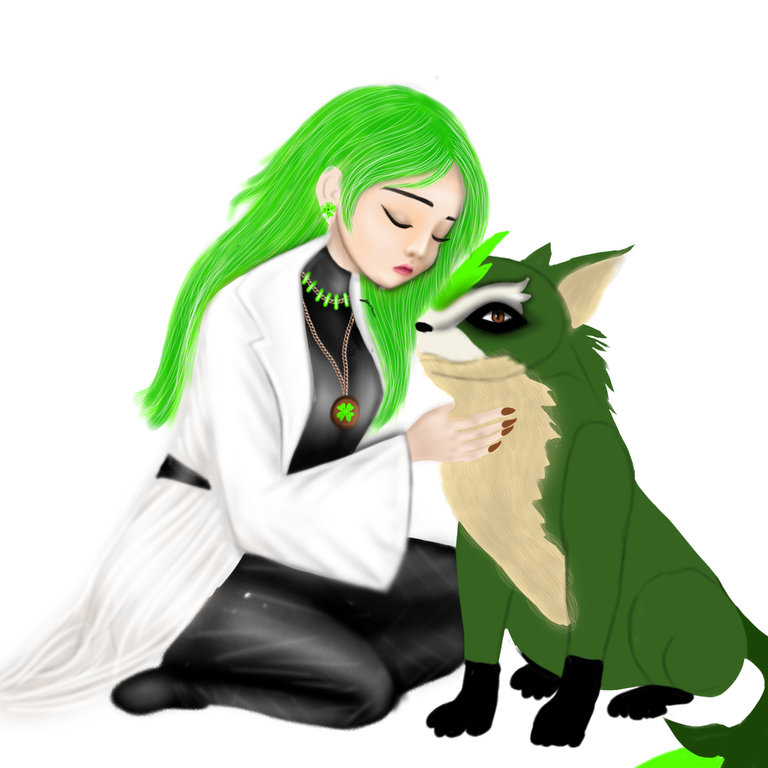
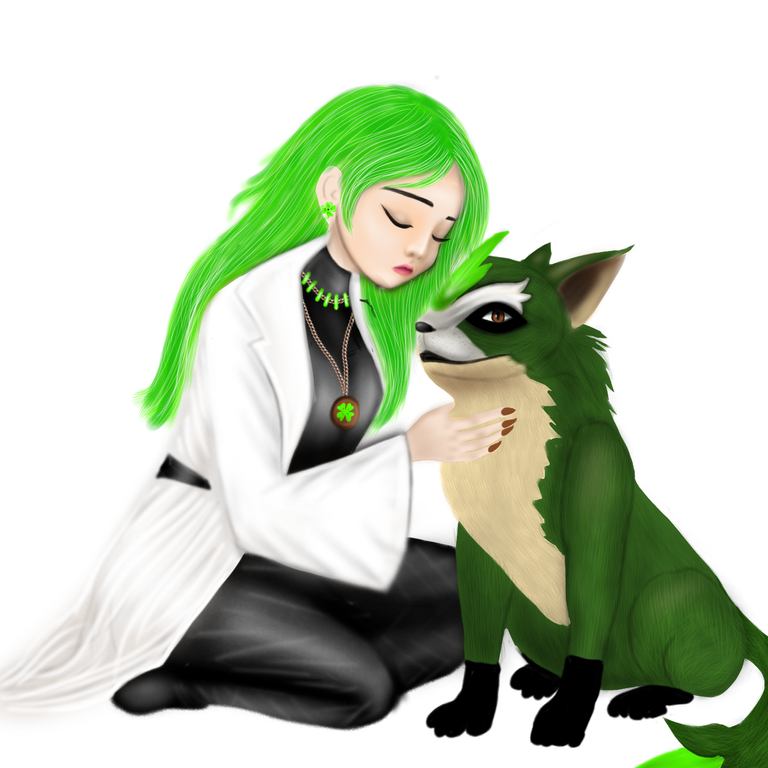
After being done with the main characters, it was time to draw the backgrounds. This drawing took me a lot of time to complete and I didn't want to add normal backgrounds from the software as I normally do. I don't have much experience of drawing backgrounds. But, I tried my best. Let me know your review.
I tried to sketch the trees but it seemed too difficult so I decided to directly draw them with a brush and acrylic colour tool.
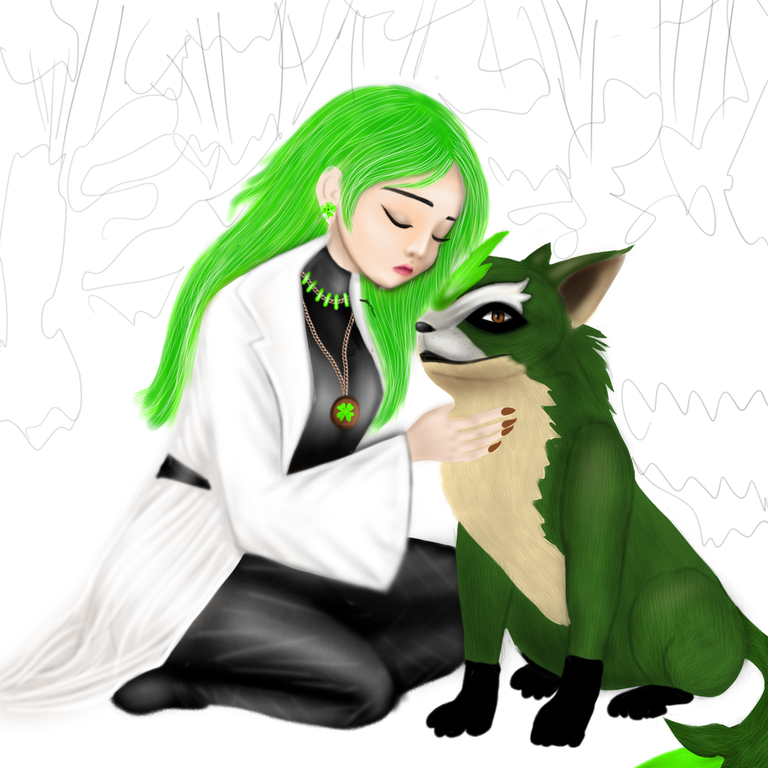
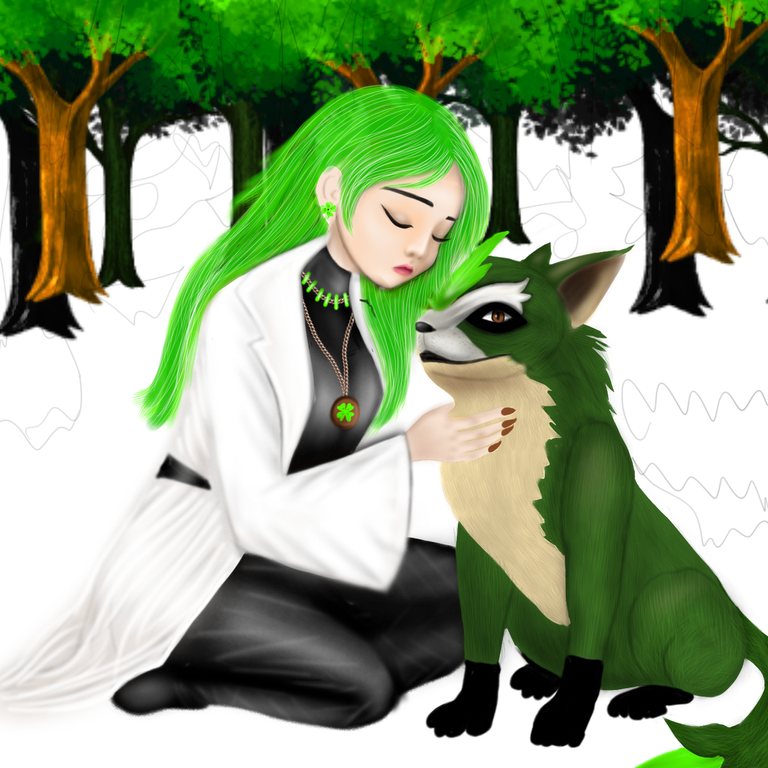
As you can notice in this image below, the bush and the shady forest background look kind of different from the tree I drew and the layers look messy too. It's because I added that part from the software and it's a copyright-free image. As I told you I wanted to do it by myself and I'm not too good with drawing backgrounds. So, I took a little help. Don't worry, you won't see this mismatch in the final image. Just see how I turn it into a beautiful peace.
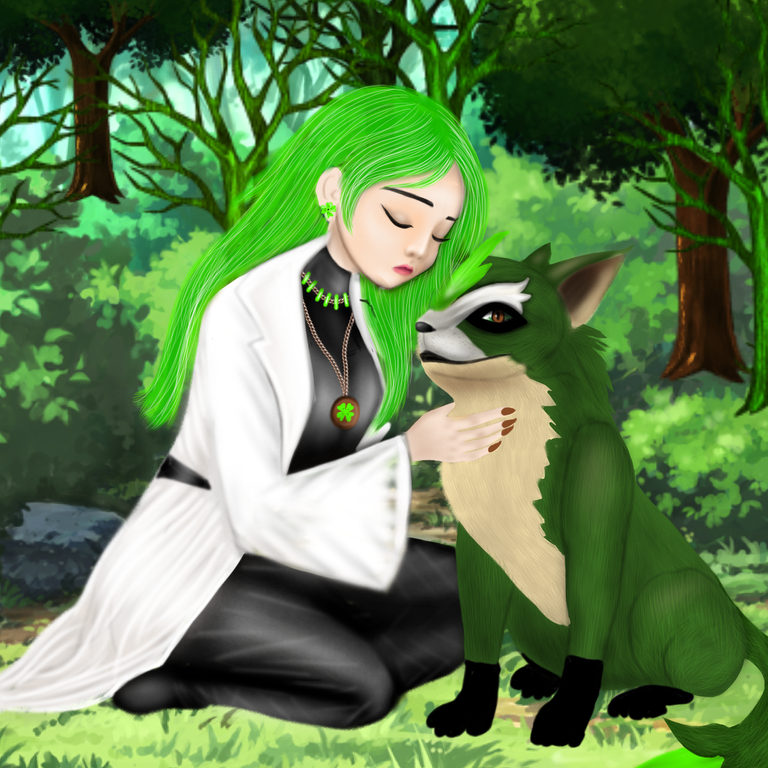
As you can see now, I managed the layers drew some bushes all by myself and put all my drawings in front of that background. That image is now representing the deeper part of the forest.
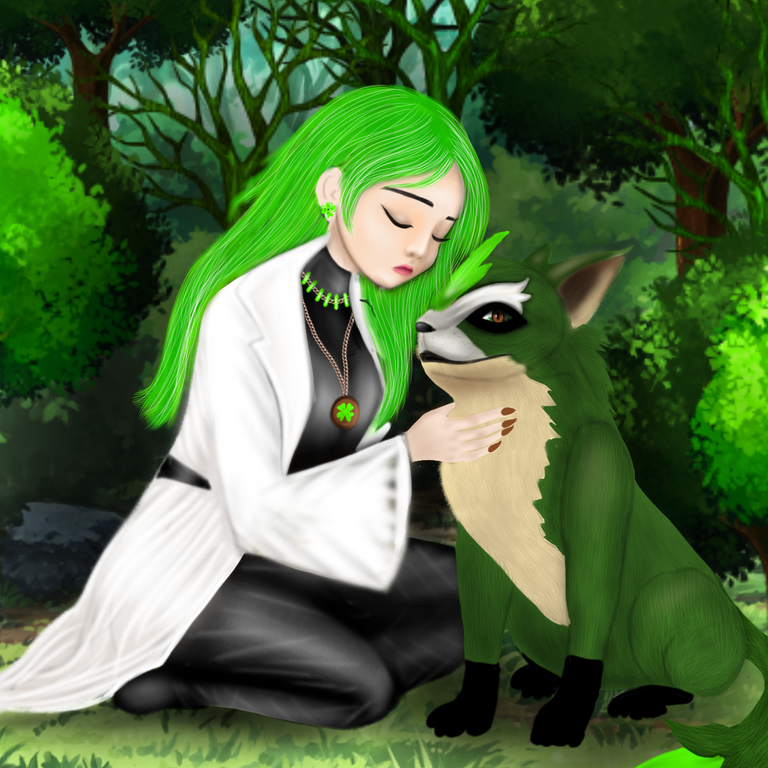
Final Image
In this step, I revised the whole drawing and made some small changes such as drawing the grass at the bottom and fixing her sleeve etc. And after all that, this is my final image:-

I hope you liked my work and thanks a lot for your time and effort to read my post. And here's a gif file below with all my work steps so that you can enjoy the whole process in seconds.
Forest healer is my favourite holozing character. And your art is just wow.. thank you for posting.
Nice drawing. @tipu curate 8
Upvoted 👌 (Mana: 0/75) Liquid rewards.
Congratulations @martina-sigulin! You have completed the following achievement on the Hive blockchain And have been rewarded with New badge(s)
Your next target is to reach 6000 upvotes.
You can view your badges on your board and compare yourself to others in the Ranking
If you no longer want to receive notifications, reply to this comment with the word
STOPCongratulations @martina-sigulin! You received a personal badge!
You can view your badges on your board and compare yourself to others in the Ranking