Zingu Kawaii Christmas! 🎄
Hello again Holozing friends 😁.
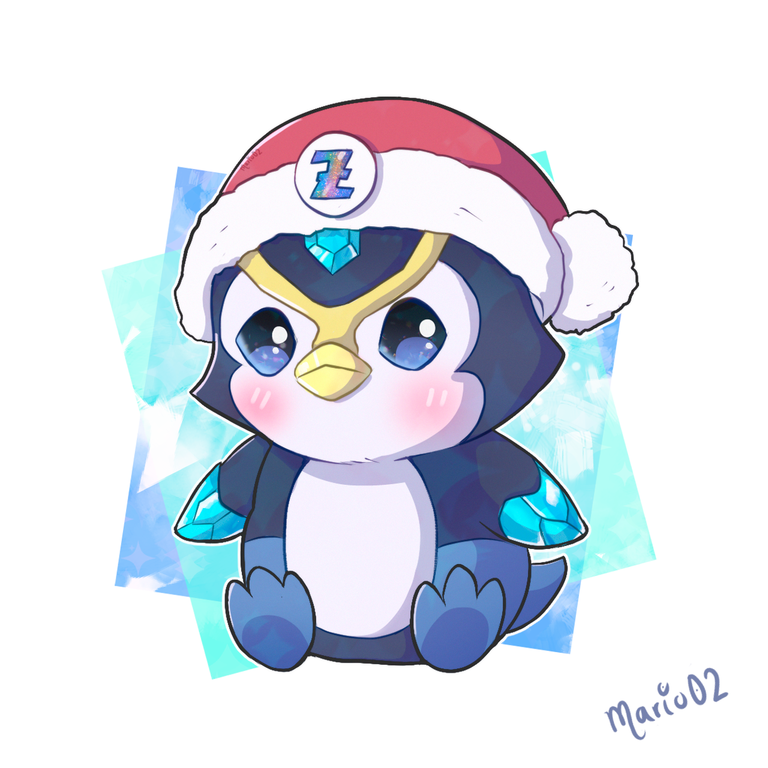
How are you preparing for Christmas? To tell you the truth I have been a little emotional these days, there are only a few days left to say goodbye to the year and it was certainly a year of many trials and teachings for me. Although I have not been able to upload content in a continuous way, whenever I can I start working on something new, such is the case of this little kawaii version of Zingu, in which I try to respect its original design but making it a little smaller and chubbier, I hope you like this version and without further ado I leave you with my process!
Hola de nuevo amigos de Holozing! 😁
¿Cómo se preparan para esas navidades? A decir verdad he estado algo emotivo estos días, quedan pocos días para despedir el año y sin duda fue un año de muchas pruebas y enseñanzas para mí. Aunque no he podido subir contenido de manera seguida, siempre que puedo me pongo a trabajar en algo nuevo, tal es el caso de esta pequeña versión kawaii de Zingu, en la que trate de respetar su diseño original pero haciéndolo un poco mas pequeño y gordito, ¡espero les guste esta versión y sin mas los dejo con mi proceso!

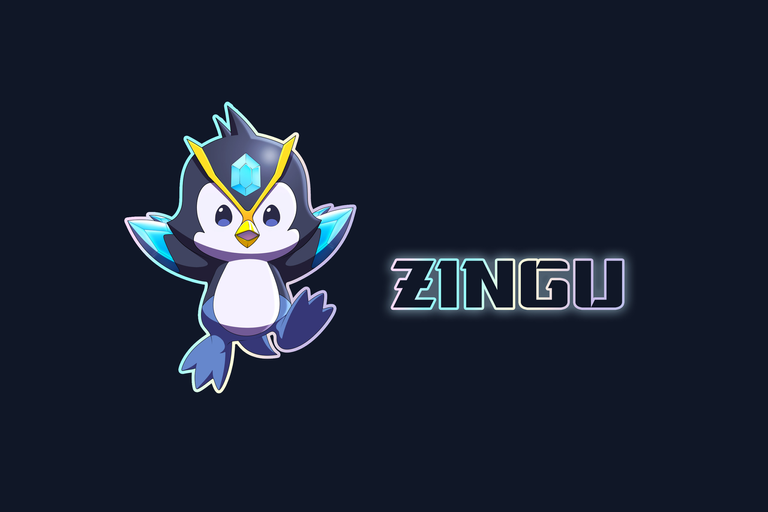
REFERENCE
Creative Process | Proceso Creativo📘✏️
Sketch and Lineart:
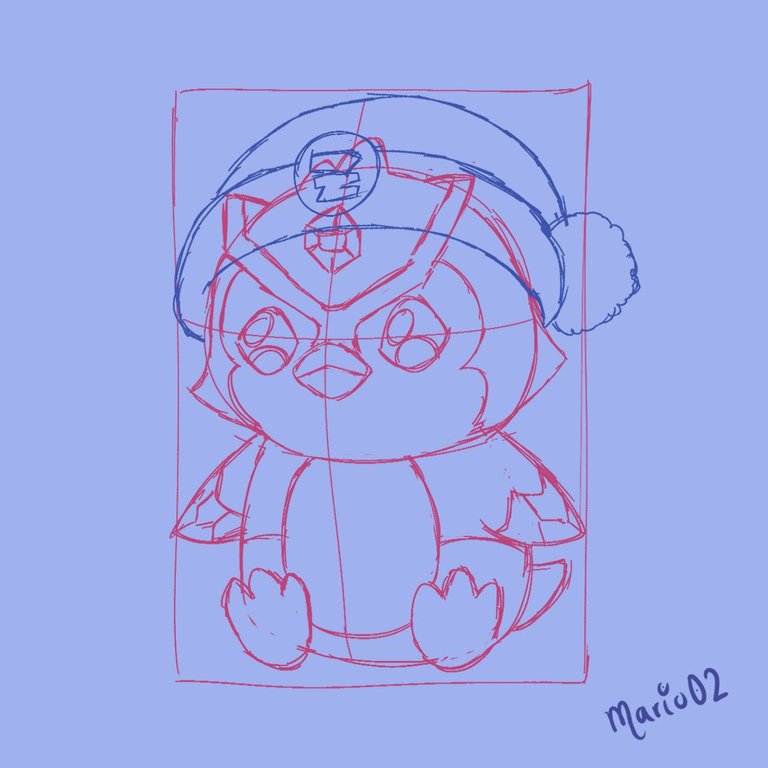
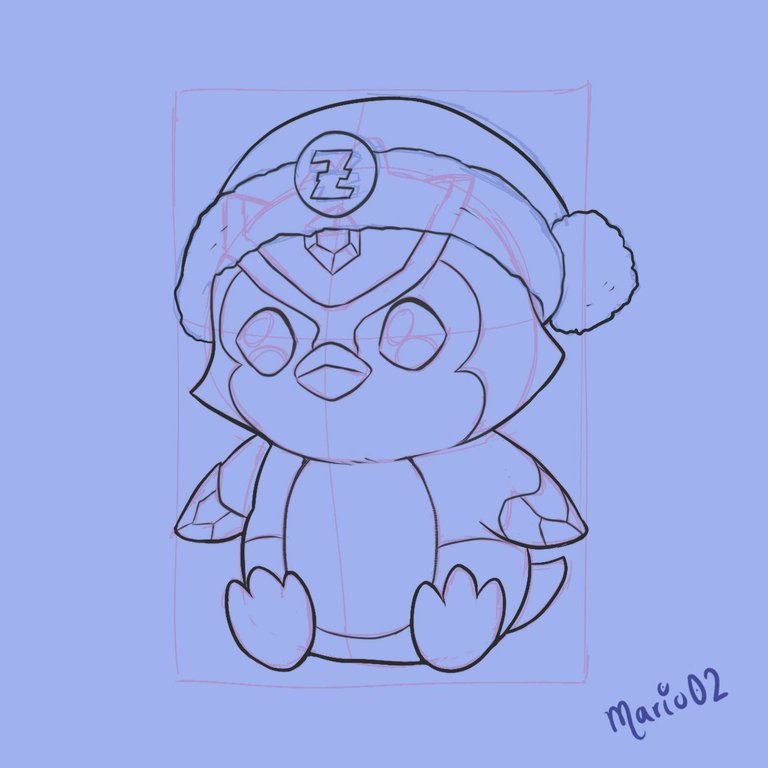
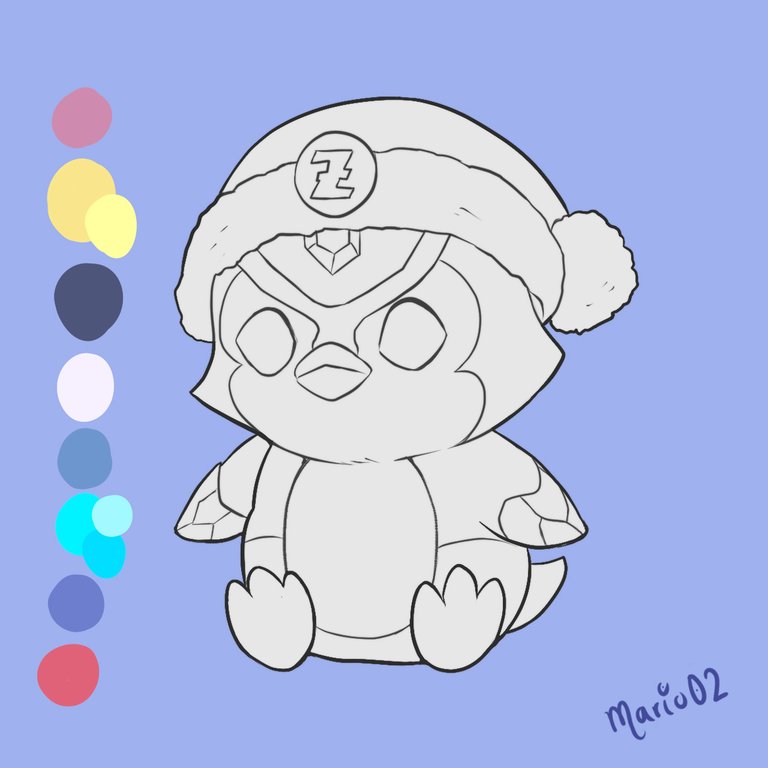
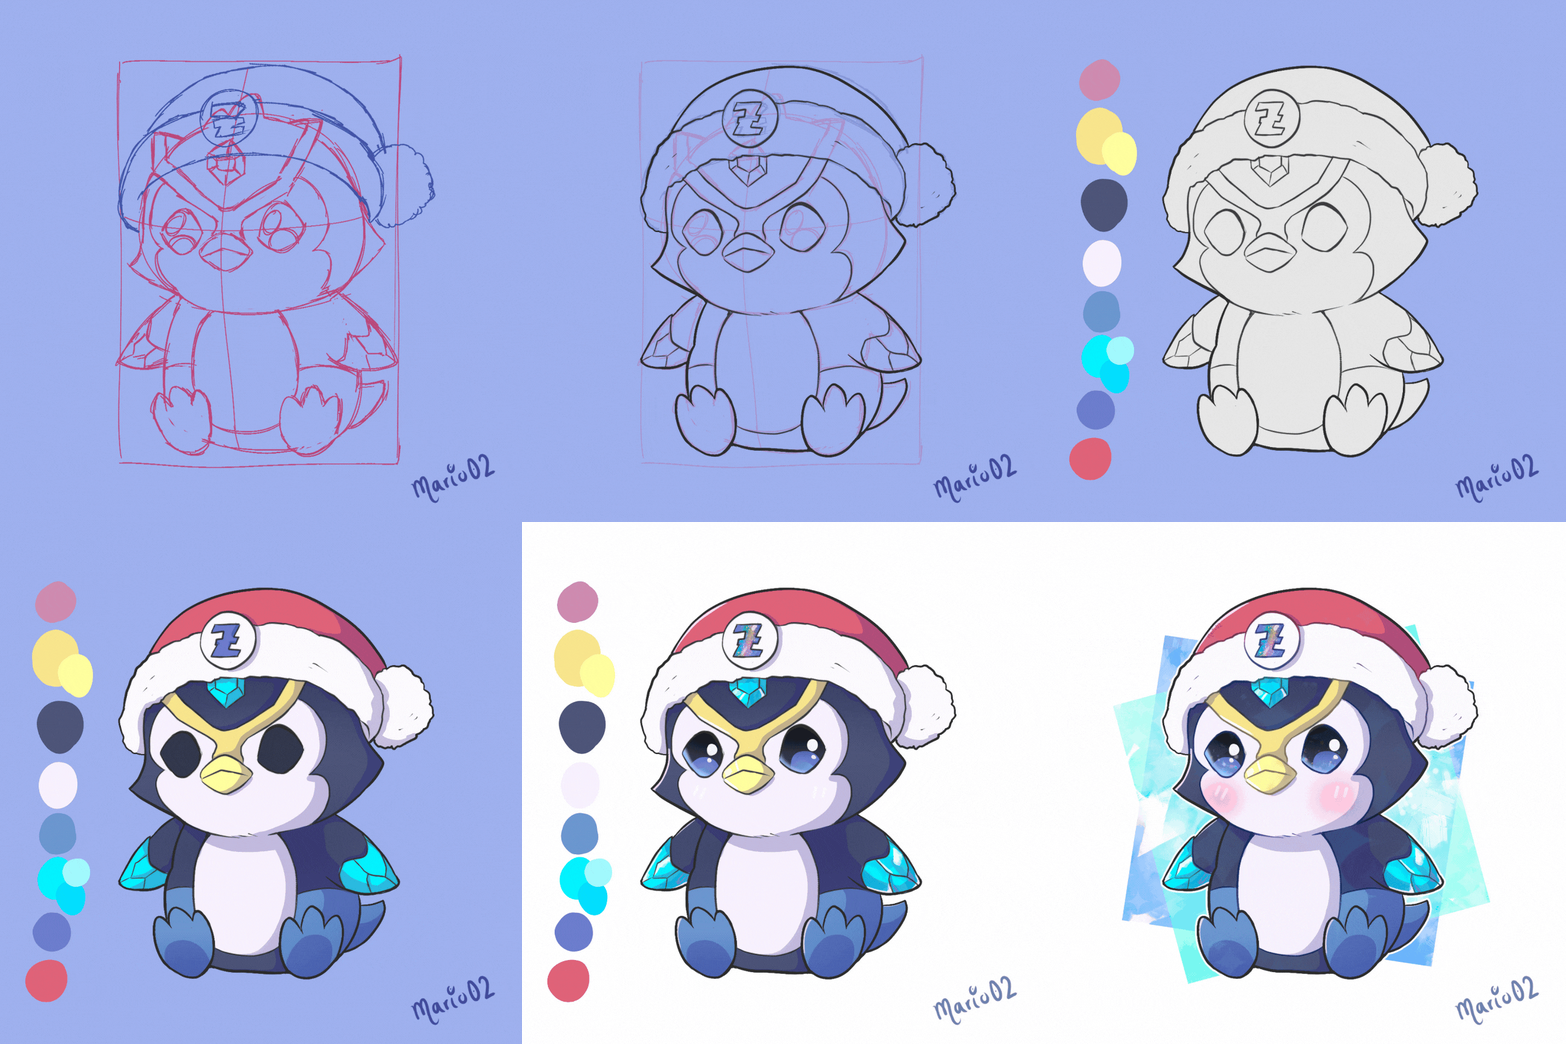
I started the idea from a thumbnail sketch, my plan was to make a smaller and chubbier version of the character which would have a small Christmas hat. After I had the sketch ready, I cleaned up the lines with a feather brush.
Comencé la idea a partir de un boceto en formato thumbnail, mi plan era hacer una versión mas pequeña y gordita del personaje el cual tendría un pequeño gorro de navidad. Luego de tener listo el boceto, fui limpiando las líneas con un pincel tipo pluma.
Base Colors:
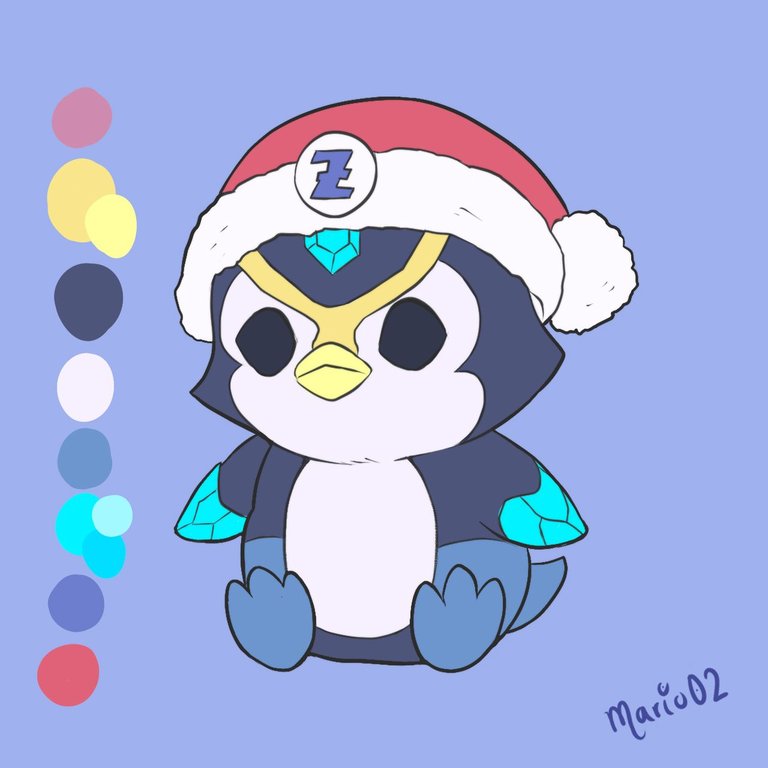
Then apply gray color to the whole character and apply the base colors of all elements in several layers.
Luego aplique color gris a todo el personaje y aplique los colores base de todos los elementos en varias capas.
Shadow application and final details:
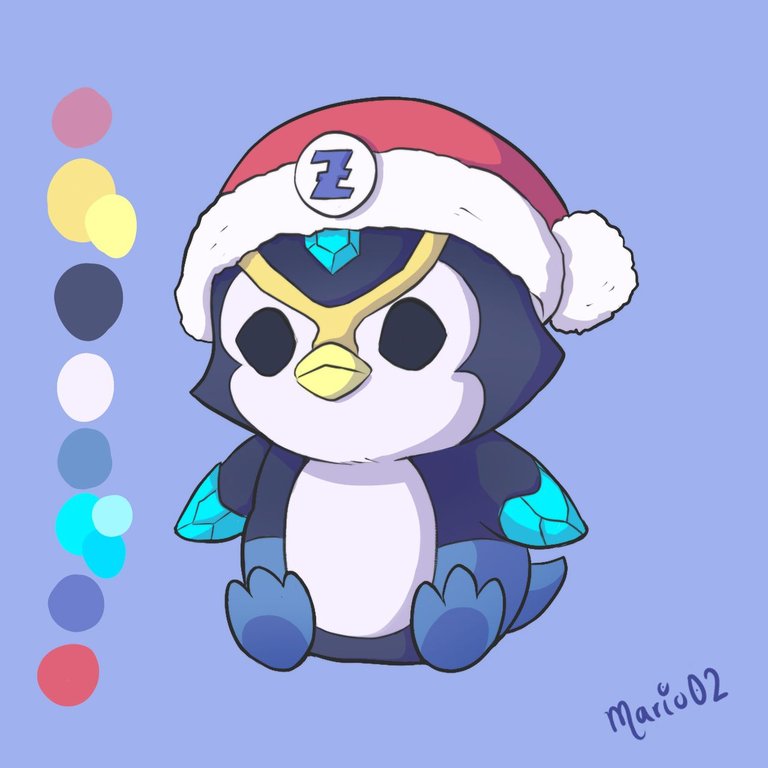
On top of the colors, I made the cell shading shadows to give volume to the character, then I applied the illuminations of the eyes, the ice and the letter of the cap, I also changed the color of the background to white.
Por encima de los colores, fui haciendo las sombras del tipo cell shading para dar volumen al personaje, después aplique las iluminaciones de los ojos, el hielo y la letra del gorro, también cambie de color el fondo por uno de color blanco.
Final Art | Arte Final
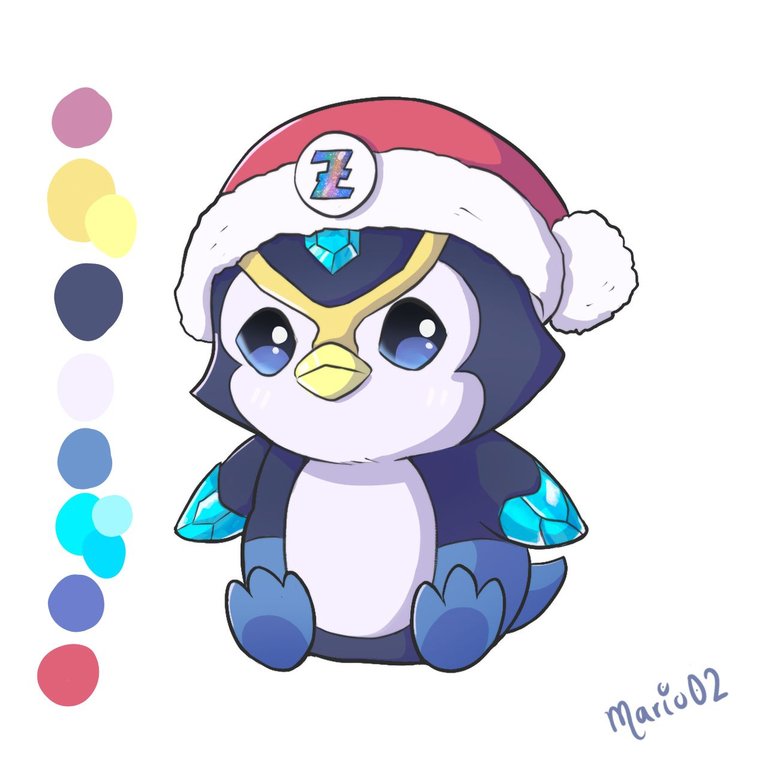
Finally add final details such as glitter in the eyes, a little blush on the cheeks and to present the character make some overlapping blue rectangles with snow effect.
Por último agregue detalle finales como brillitos en los ojos, un poco de rubor en los cachetes y para presentar al personaje realice unos rectángulos superpuestos de color azul con efecto nieve.
Thank you so much for reading and for all the support you give me.
See you in a future publication! 🙏
¡Muchas gracias por leer y por todo el apoyo que me brindan.
¡Nos vemos en una próxima publicación! 🙏


Join Here!
Tools Used | Herramientas Utilizadas:
- Photoshop CC versión 64 bits
- Clip Studio Paint
- Tablet Huion H610 PRO V2

The illustration and separators used in the post are my property.
Translated with DeepL (free versión)
Te quedó muy lindo el diseño del personaje y más con el tema de la navidad ☺️
Muchísimas gracias amigo!
Feliz Navidad!
elegiste el perfecto para darle el toque de navidad, un pinguino jaja, que te traiga mucho zing!
Si amigo, el personaje me pareció una gran idea
Te deseo una Feliz Navidad
Está muy bonito el diseño, pero da un poco la impresión de que el pingüino está por llorar.
Si, puede que sí. Quería que el personaje tuviera un aspecto muy emotivo
Feliz Navidad amigo!