Greetings friends art lovers and artists, welcome to my publication.
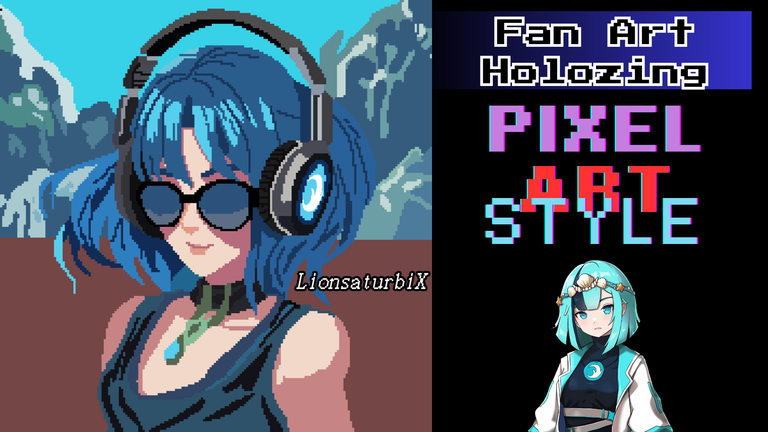
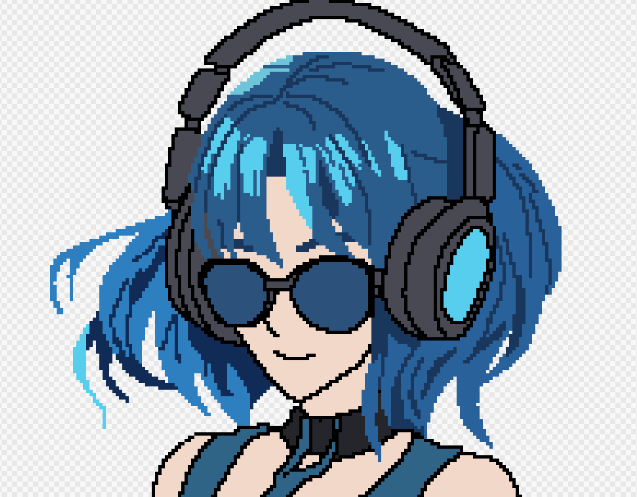
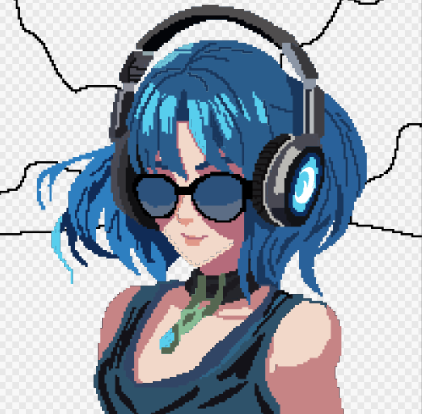
Today I share with you a new drawing about the water element curator, where this time I wanted to do it in a very different way, in the same pixel art style, but adding new decorations, such as sunglasses, an aquamarine necklace and headphones, also with a slightly simpler outfit and spectacular blue hair, only this is a little darker.
Spanish version
Saludos amigos amantes del arte y artistas, sean todos bienvenidos a mi publicación.
El día de hoy les comparto un nuevo dibujo tratándose de la curadora de elemento agua, donde esta vez la quise hacer una manera muy diferente, al mismo estilo pixel art, pero agregándole nuevas decoraciones, como unos lentes de sol, un collar de aguamarina y auriculares, también con un traje un poco más sencillo y si espectacular cabello de color azul, solo que este es un poco más oscuro.

 |  |
|---|
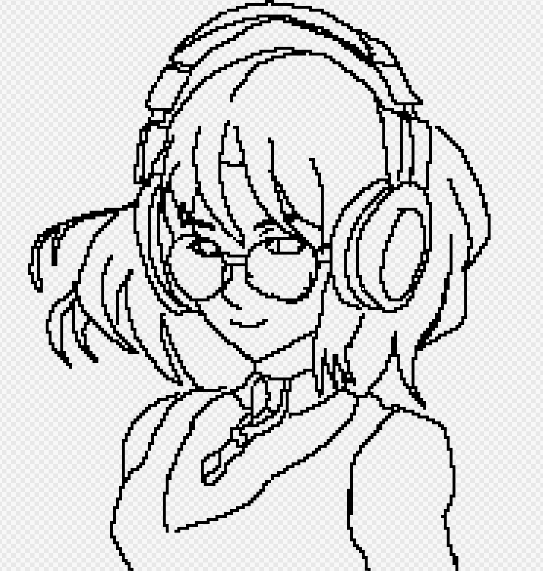
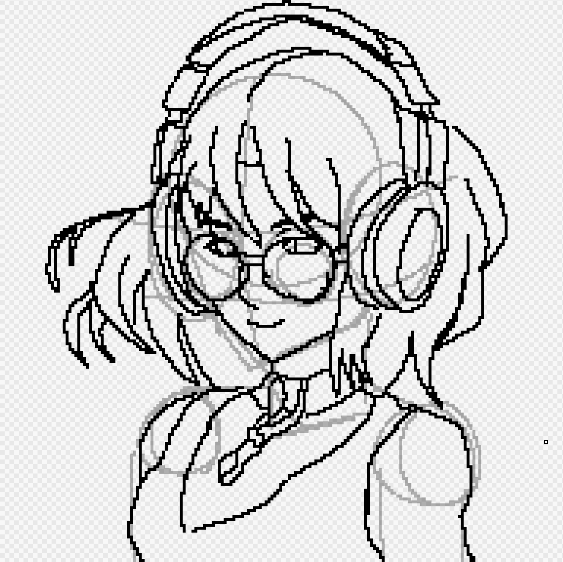
I wanted to copy a little the pose of my character with that of the original, since I wanted to show some flirtatiousness of the character with a 3/4 position, so I started creating a big circle for what would be the space of the hair, then I created two smaller ones to create the space of the sunglasses, another 2 more for the size of the headphones and 2 small ones a little lower to mark the area where the shoulders begin.
When I had the shape of the body of my character, I began to clarify this layer to be able to draw on it in a new layer, in doing so I could create the second part of my sketch with the silhouette of my character, in this step I used the stylus of my graphic tablet under my own pulse, this helps me to make a little faster the process of bringing to light the ideas that I have.
Once I finished the second part of my sketch, I deleted the previous layer where I had made the first sketch with geometric figures that I had clarified to be able to do this step.
Spanish version
Quería copiar un poco la pose de mi personaje con el de la original, ya que quería mostrar cierta coquetería del personaje con una posición 3/4, así que comencé creando un círculo grande para lo que vendría siendo el espacio del cabello, después cree dos más pequeños para crear el espacio de los lentes del sol, otros 2 más para el tamaño de los audífonos y 2 pequeños un poco más abajo para marcar la zona donde comienzan los hombros.
Al tener la forma del cuerpo de mi personaje, comencé a aclarecer esta capa para poder dibujar sobre ella en una nueva capa, al hacerlo pude crear la segunda parte de mi boceto con la silueta de mi personaje, en este paso usé el lápiz táctil de mi tableta gráfica bajo mi propio pulso, esto me ayuda a hacer un poco más rápido el proceso de sacar a la luz las ideas que tenga.
Una vez terminado la segunda parte de mi boceto, elimine la anterior capa donde había realizado el primer boceto con figuras geométricas que abia aclarecida para poder realizar este paso.
 |  |
|---|
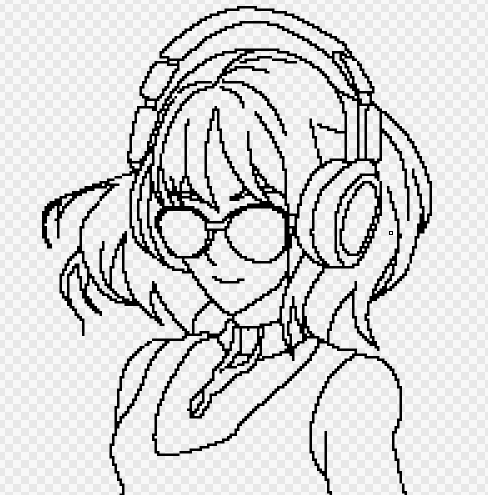
After that, I started to make the lines much neater again, using the ideal tools for this pazo and above all, closing each of the spaces so that when it is time to enhance it, I don't paint the whole background or other areas that I don't want to have the same color.
Thanks to that I started to add the base color with light blue, dark blue and flesh color for the skin.
Spanish version
Después, comencé a hacer nuevamente las líneas mucho más prolijas, usando herramientas ideales para este pazo y sobre todo, cerrando cada uno de los espacios para cuando toque valorizarlo, no me pinte todo el fondo u otras zonas que no quiero que tengan el mismo color.
Gracias a eso comencé agregar el color base con los colores azul celeste, azul oscuro y color carne para la piel.
 |  |
|---|
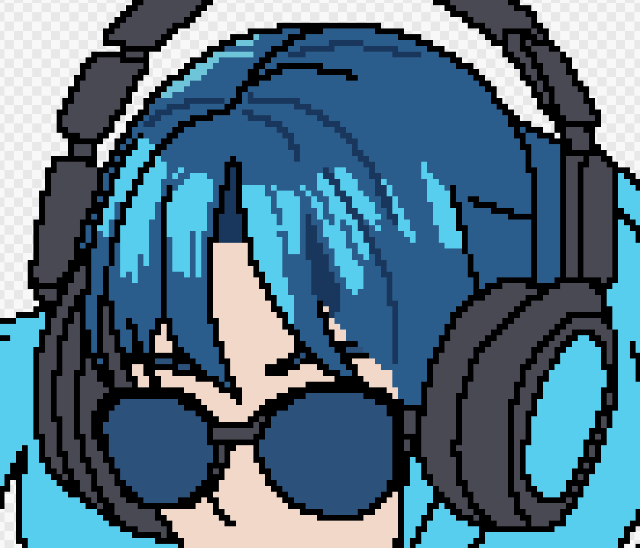
Once this part was finished, I started to work completely with all the layers of paint for the hair, using a much darker color to simulate the shading of the hair, additionally I left spaces so that a little brightness could be seen in some parts of the fringe of my character.
Next, using the same tone of the hair in all the border of the hair, I eliminated the black lines that I previously used as a guide so I didn't go out of the margin at the time of valuing.
Spanish version
Una vez terminada esta parte, comencé a trabajar completamente con todas las capas de pintura para el cabello, usando un todo mucho más oscuro para simular el sombreado del cabello, adicionalmente dejé espacios para que pudiera verse un pequeño brillo en algunas partes del flequillo de mi personaje.
Seguidamente, usando el mismo tono del cabello en todo el borde del mismo, elimine las líneas de color negro que anteriormente use como guía para no salirme del margen a la hora de valorizar.
 |  |
|---|
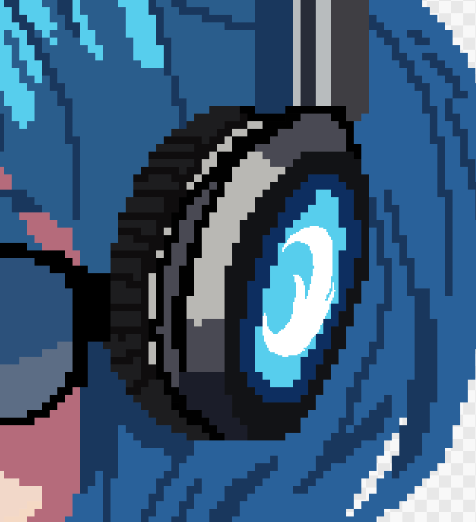
After finishing with the hair 100%, I started to work with the headphones and do the same process with the lines that I used as a guide, also in the front of one of the sides of the headphones, I placed the logo of the water element curator.
To be able to give 100% value to the headphones of my character, I had to play a little with the tonalities of it, since I had many parts where I had to create that perspective and make it look with the character and the position in which it is located.
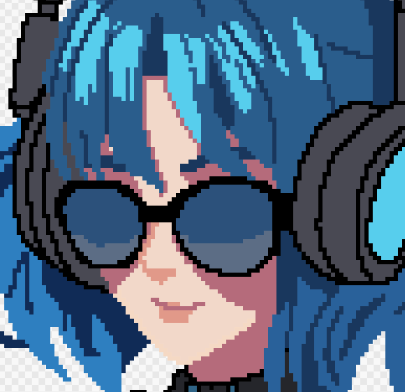
I also worked with the whole face area adding some shading and effects on the lenses to make them look much more.
Spanish version
Después de terminar con el cabello al 100%, comencé a trabajar con los audífonos y hacer el mismo proceso con las líneas que use como guía, también en la parte frontal de uno de los lados de los audífonos, coloque el logotipo de la curadora de elemento agua.
Para poder valorizar al 100% los audífonos de mi personaje, he tenido que jugar un poco con las tonalidades del mismo, ya que tenía muchas partes donde tenía que crear esa perspectiva y hacer que luciera con el personaje y la posición en la que este se encuentra.
También trabajé con toda la zona del rostro agregando algunos sombreados y efectos en los lentes para hacerlos lucir mucho más.
 |  |
|---|
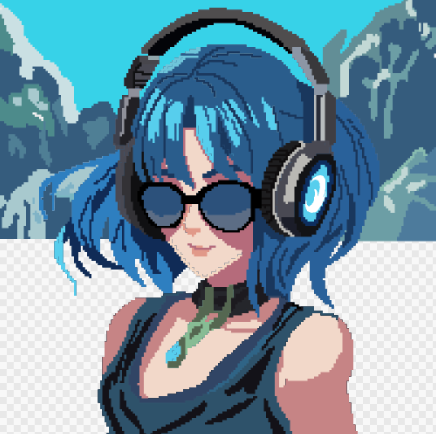
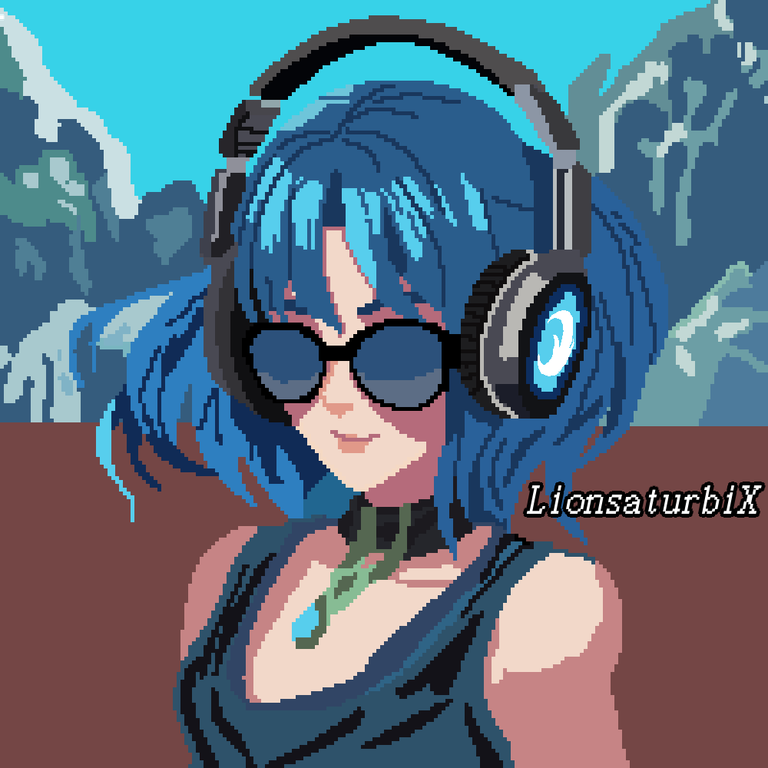
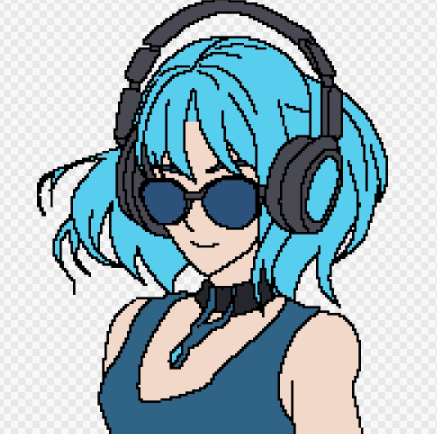
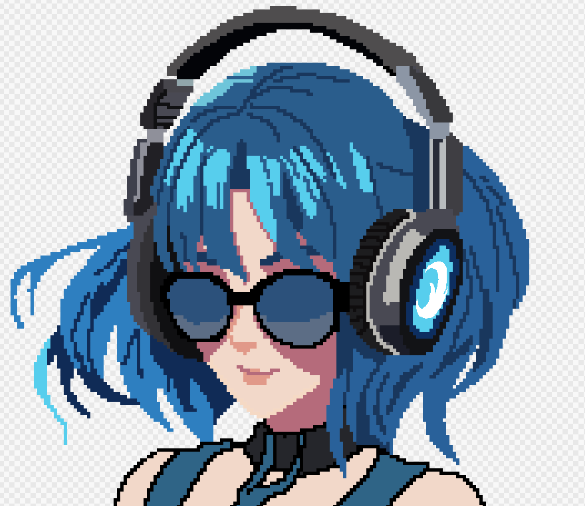
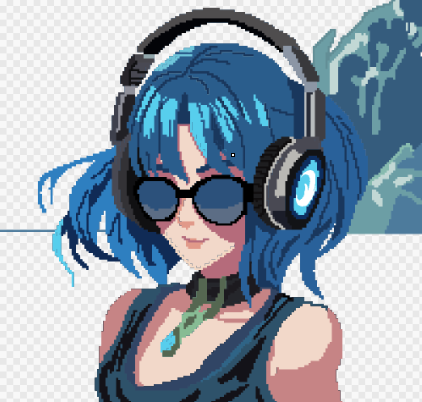
Lastly, I worked with the shoulders and clothes using darker tones to create the shading I was looking for, once that was done, I started to create a background, I made a quick sketch of some mountains on the back of my character.
Then I started to enhance the mountains with different colors to give a more striking touch to my drawing, to make it look like my character was passing through a park.
This way I was able to make my drawing of the day, thank you very much for having come this far in my publication, I hope you like it, see you next time.
Spanish version
Por último, trabajé con la parte de los hombros y la ropa usando tonos un poco más oscuros para poder crear el sombreado que estaba buscando, una vez hecho eso, comencé a crear un fondo, hice un pequeño boceto rápido de unas montañas en la parte de atrás de mi personaje.
Después comencé a valorizar las montañas con diferentes colores para poder darle un toque más llamativo a mi dibujo, para hacer parecer que mi personaje estuviera pasando por un parque.
De esta manera pude realizar mi dibujo del día, muchas gracias por haber llegado hasta aquí en mi publicación, espero les sea de su agrado, hasta la próxima.


Discord
LionSaturBix#7545
Los separadores son de mi autoría, las imágenes tienen su fuente, las capturas fueron realizadas en mi perfil de jugador en mi ordenador, las ediciones del GIF son creados por mí.
The separators are of my authorship, the images have their source, the screenshots were made in my player profile on my computer, the GIF edits are created by me.
Programas que utilicé para crear mi diseño es este:
This is the program I used to create my design:
Gif y portada cortesía de Canva
Gif and cover courtesy of Canva
Traducido por Deepl
Herramienta de dibujo, tableta digitalizadora Huion 420 black
Drawing tool, digitizing tablet Huion 420 black
Dibujo realizado en MediBan Paint Pro
Drawing made in MediBan Paint Pro