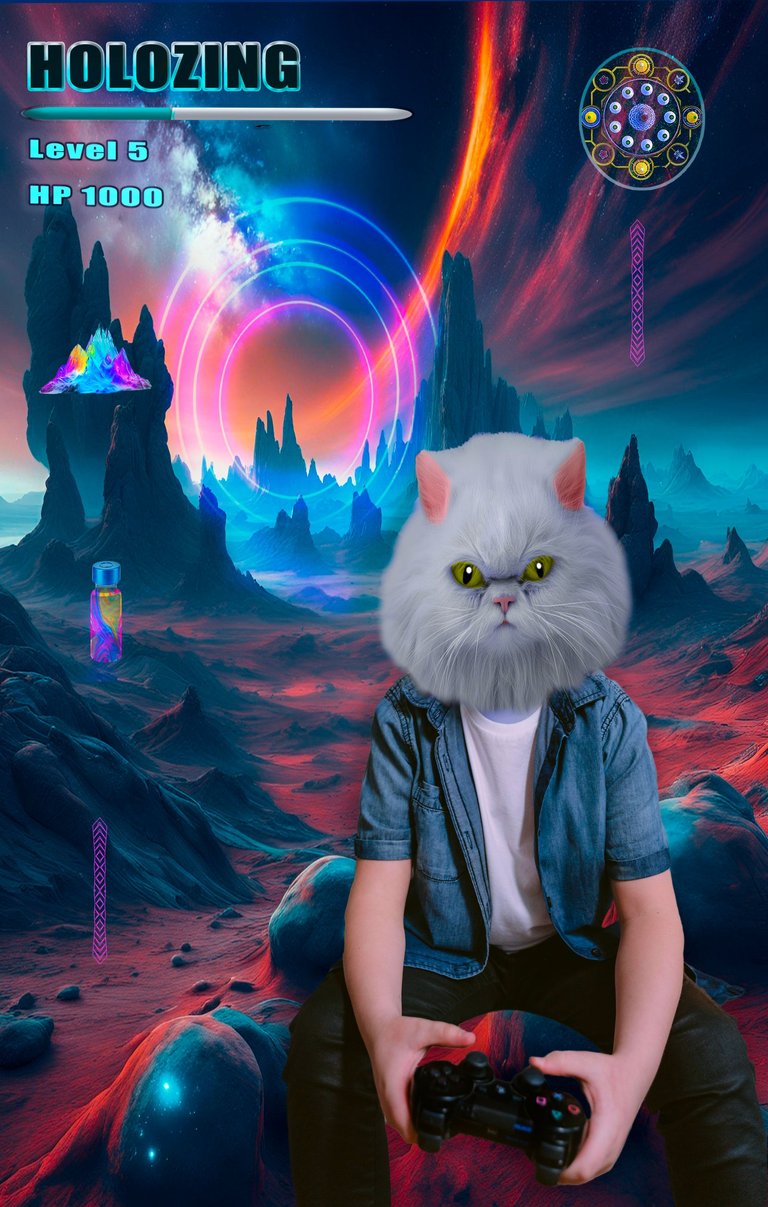

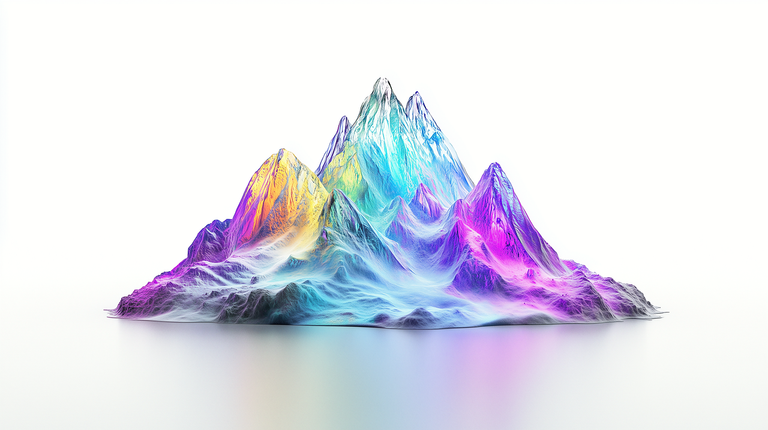
Hola, comunidad, para esta oportunidad les traigo una versión humana de Miu jugando Holozing, en un paisaje futurista.
Es un Arte Digital realizado en Photoshop usando imágenes de dominio público de Pixabay, Pexels, publicdomainpictures y wikipedia.
Espero les guste.
Hello, community, for this opportunity I bring you a human version of Miu playing Holozing, in a futuristic landscape.
It is a Digital Art made in Photoshop using public domain images from Pixabay, Pexels, publicdomainpictures and wikipedia.
I hope you like it.
🐱 Step by Step - Paso a Paso🐱
Fotografía Base:
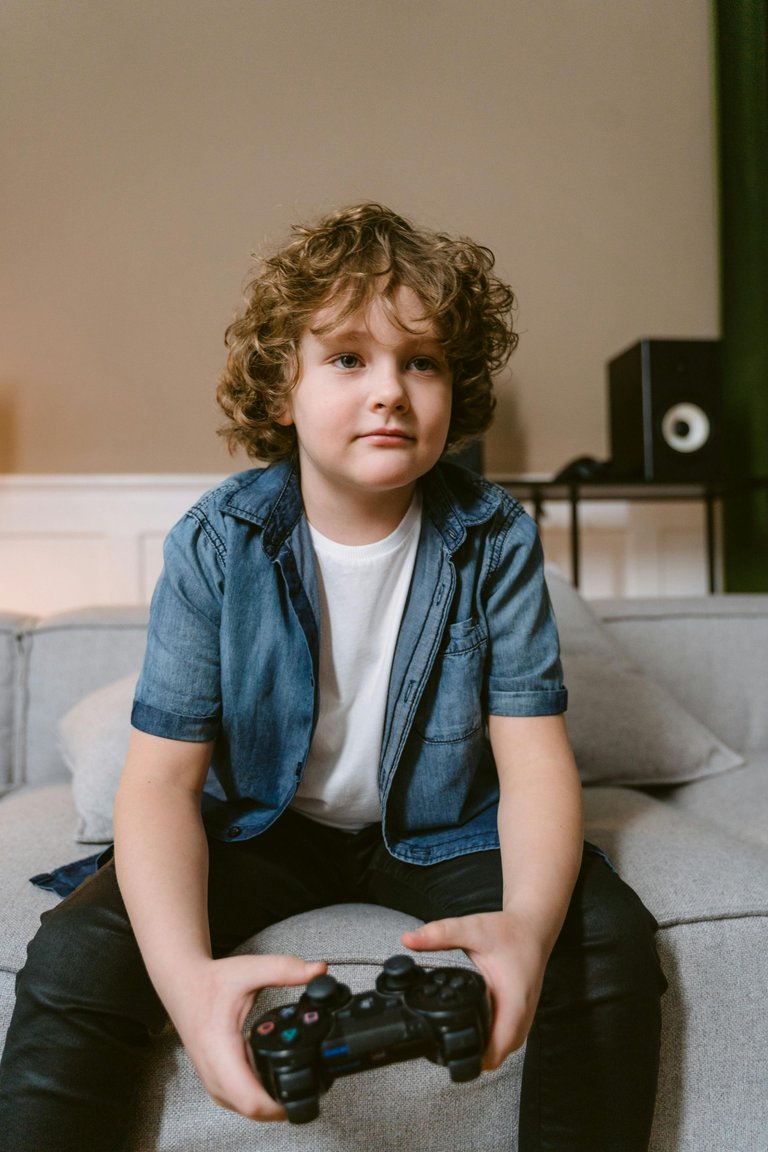
- Utilicé la fotografía de Tima Miroshnichenko: pexels
Gato
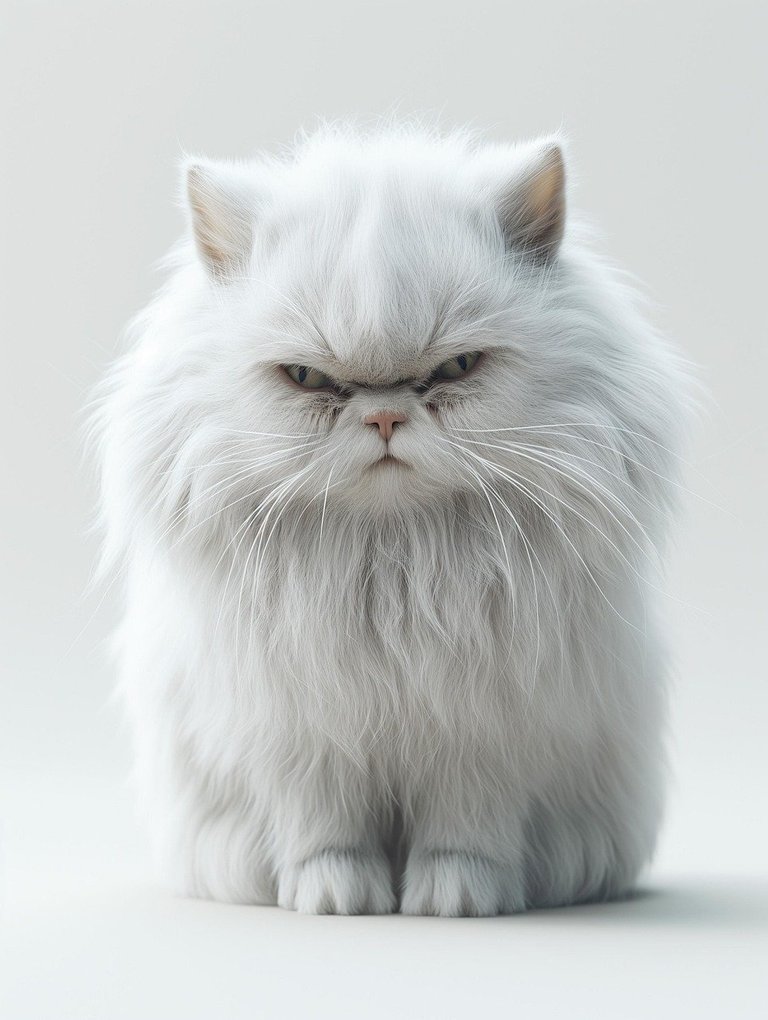
- Encontré una imagen de Aristal para la cabeza del gato en Pixabay.
Usé herramientas de selección y mascara de capa en Photoshop para retirar el fondo de las dos fotografias
- Ajusté el tamaño de la foto base
- Coloque la cara del gato, utilice la herramienta licuar para agrandar los ojos.
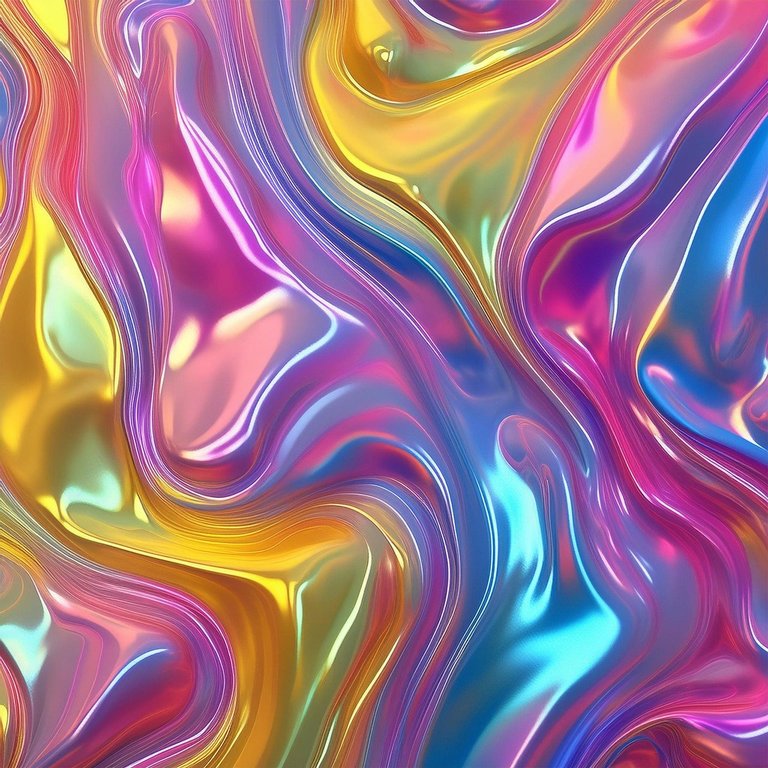
- ajuste el fondo
- Use la herramienta de texto para la palabra Holozing, nivel y HP
- Coloque la barra de vida y los demás accesorios.
- Para el mapa usé una imagen que simula una rueda
Pintar la cara del gato:
- Utilicé capas de pintura para la cabeza, ojos y orejas, para simular los colores de Miu
- Añadí capas de tono y saturación y usé modos de fusión para darle un aspecto realista
Ajustes Finales:
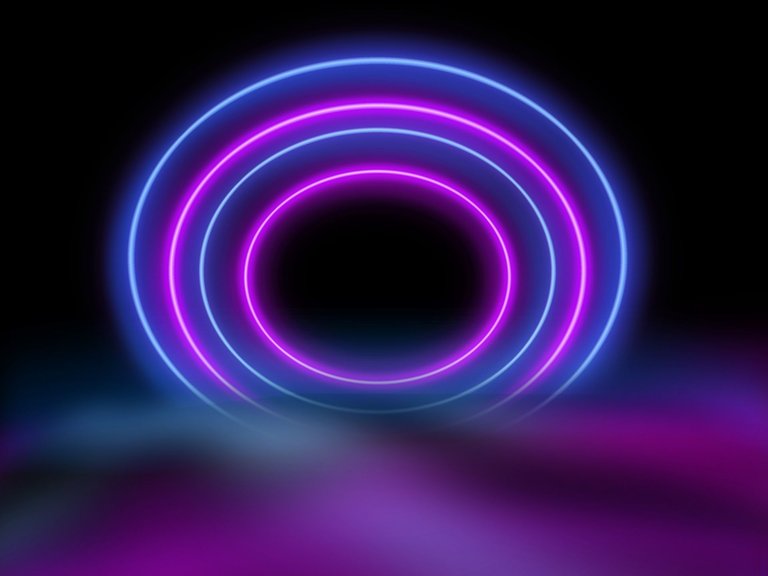
Añadí una imagen de círculos de neon y utilice la forma personalizada de Sapphire para las líneas verticales-
Para la capa de fondo le añadí una capa de consulta de colores para resaltar el azul
Se usaron 22 capas en Photoshop
Base Photograph:
- I used the photograph by Tima Miroshnichenko: pexels
Cat
- I found an image of Aristal for the cat's head on Pixabay.
I used selection tools and layer masks in Photoshop to remove the background from both photographs
- I resized the base photo.
- I placed the cat's face and used the liquify tool to enlarge the eyes.
- I adjusted the background.
- I used the text tool for the words Holozing, level, and HP.
- I placed the health bar and other accessories.
- For the map, I used an image that simulates a wheel.
Painting the Cat's Face:
- I used paint layers for the head, eyes, and ears to simulate Miu's colors.
- I added hue and saturation layers and used blending modes to give it a realistic look.
Final Adjustments:
I added an image of neon circles and used the custom shape of Sapphire for the vertical lines.
For the background layer, I added a color lookup layer to enhance the blue.
22 layers were used in Photoshop.

The process in a GIF created in PhotoScape
El proceso en un Gif realizado en PhotoScape
🐱 This art is inspired by my son @acont ,
who loves cats and video games.
Este arte está inspirado en mi hijo @acont que le encantan los gatos y los videojuegos.
Thank you - Gracias @eve66
Discord eve66
NFT Showroom @eve66
Ideogram eve66
Sources-Fuentes
 |
 |
 |
 |
 |
 |
 |
 |
 |
 |
pixabay ~ pexels ~ pixabay ~ pixabay~ pexels~ pixabay~ publicdomainpictures~ pixabay~ wikipedia
Photoshop
MIU-Holozing
Text dividers
Translated with deepl
Te quedó super bien!! me gusta la gana de colorido que elegiste y ese espacio en un planeta super cool!!! Muy bueno Eve!😃
Hola @avdesing Gracias
Hola, tu collage quedó muy colorido, y llamativo, excelente amiga.
Holaaaaaaaa, @cetb2008 Gracias por pasar
👌
@eve66, I paid out 0.030 HIVE and 0.014 HBD to reward 3 comments in this discussion thread.