Hola mis arañitas tiempo sin pasar por aqui pero ya estoy y con algo que hice hace dias, porque las arañitas siempre estamos haciendo algo nuestras manitas nunca estan quietas.
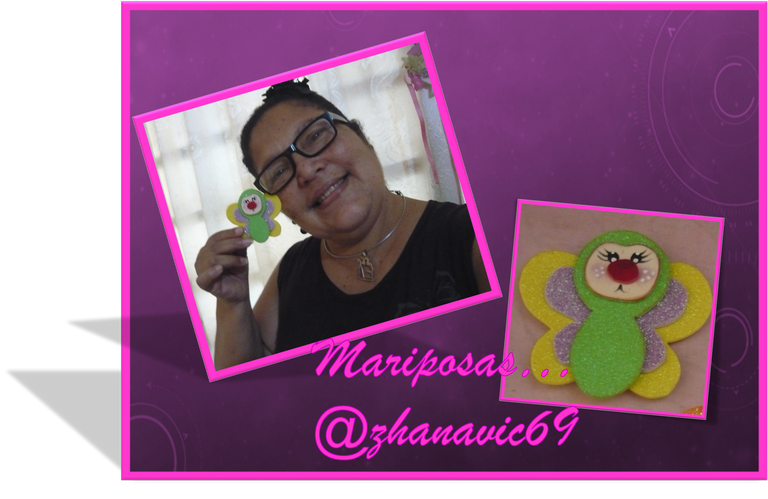
El material foami o gomaeva es una maravilla, útil para muchas manualidades, pero se debe tener mucho cuidado al trabajar con el porque el mas mínimo error se ve feo, hay que saber recortar, pintar sobre el, ser preciso y seguro, también es un material que se puede limpiar.
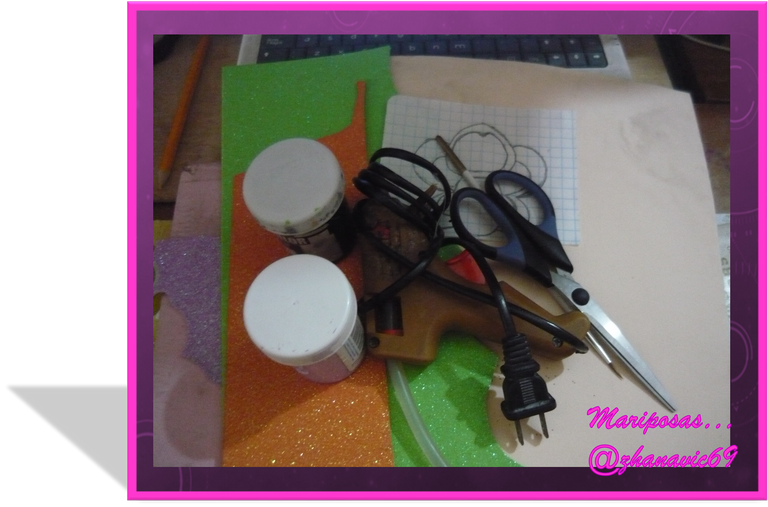
Para mis mariposas use lo siguiente: foami escarchado de varios colores, tijera, papel, lápiz, pistola/barra de silicon, tizas y pinturas, pincel, palillo.
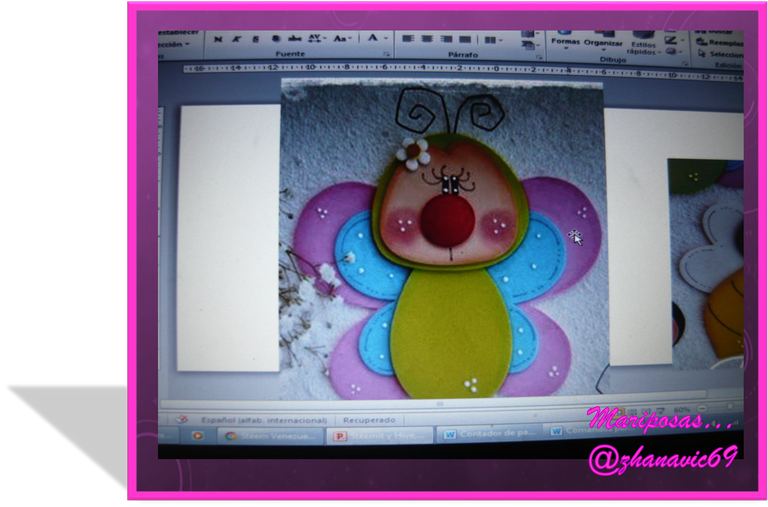
Primero buscar el diseño, desde hace mucho tiempo me la paso guardando imagenes, o que me la pasan en un grupo de manualidades que estoy en WhatsApp, la paso a PowerPoint para adaptarla al tamaño que yo quiera.
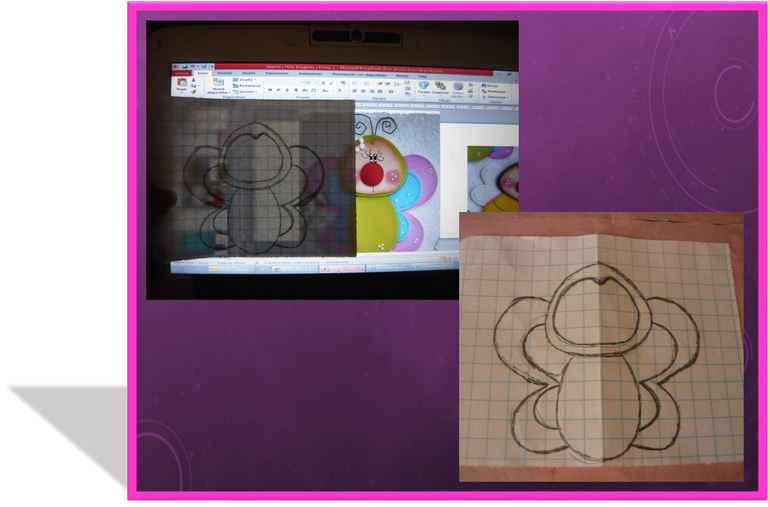
Y después el patrón, desde que mi hija me enseño a copiarlos desde la pc, no compre mas revista de foami y patrones, uno aprende cada día, de todos, hasta de quien menos crees. Si en una hoja de cuaderno reciclada, saco el patrón, el cual también lo recortare por piezaa.
Ahora con el patrón listo buscar los foamis, y marcar los patrones, cuando es foami escarchado, metalizado texturizado u otro se marca por el revés con el patrón también al revés.
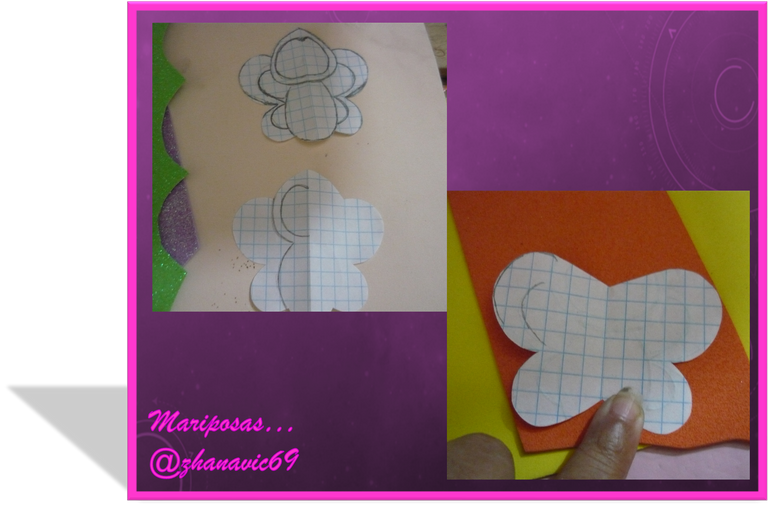
A mi me gusta primero marcar los patrones, luego recortar para después pegar o armar las figuras en este caso las mariposas.
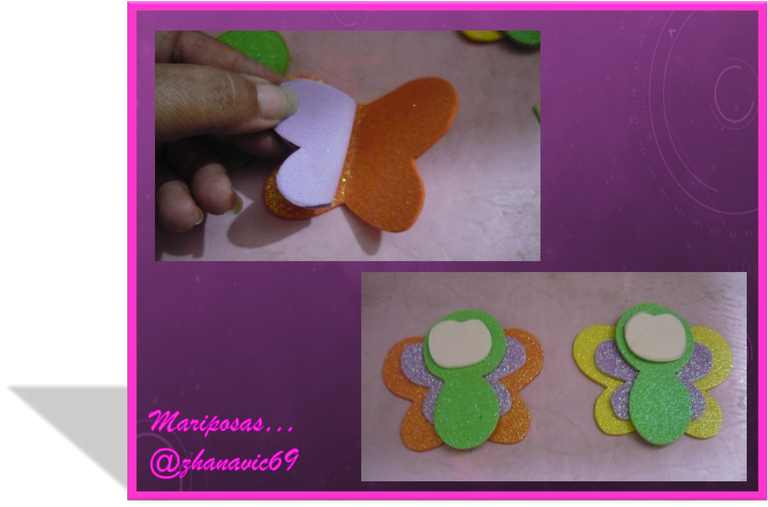
Tener mucho cuidado al pegar con la pistola de silicon, ya armada, pegada la figura viene pintar la carita, con pintura negra para los ojo, luego con tiza de colores, las mejillas, rojo para la boca y de ultimo puntear con blanco.
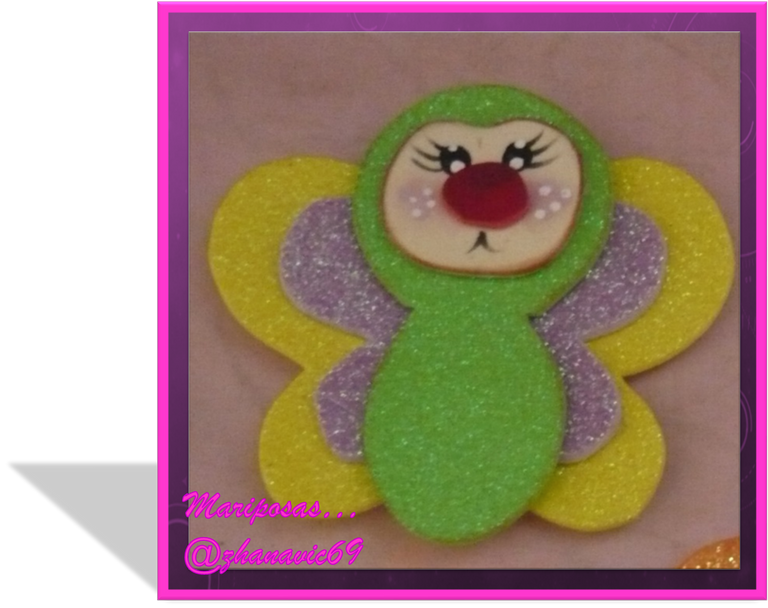
Y terminado me quedo lindo, me faltaron las antenitas je je je pero no me quedaba tiempo ya que los venia buscar para un arreglo, pero igual se ven linda.
Todas las fotos del paso gracias a mi cámara PANASONIC, desde ya andare buscando alguna otra manualidad que hacer para traérselas.

Hello my little spiders, I haven't been here for a long time but now I'm here and with something I did days ago, because we little spiders are always doing something, our little hands are never still.

The material foami or gomaeva is a marvel, useful for many crafts, but you must be very careful when working with it because the slightest mistake looks ugly, you have to know how to cut, paint on it, be precise and safe, it is also a material that can be cleaned.
For my butterflies I used the following: frosted foami of various colors, scissors, paper, pencil, glue gun/silicon stick, chalk and paints, brush, toothpick.

First I look for the design, for a long time I've been saving images, or I get them in a group of crafts that I'm in WhatsApp, I transfer them to PowerPoint to adapt them to the size I want.

And then the pattern, since my daughter taught me to copy them from the pc, I don't buy any more foami magazines and patterns, you learn every day, from everyone, even from those you least believe in. If in a recycled notebook sheet, I take out the pattern, which I will also cut it by piece.

Now with the pattern ready look for the foamis, and mark the patterns, when it is frosted foami, textured metallic or other is marked on the reverse side with the pattern also upside down.

I like to mark the patterns first, then cut them out and then glue or assemble the figures, in this case the butterflies.

Be very careful when gluing with the silicone gun, once the figure is assembled and glued, paint the face with black paint for the eyes, then with colored chalk, the cheeks, red for the mouth and finally stipple with white.

And finished it was nice, I missed the antennas heh heh heh but I did not have time because I was looking for them for an arrangement, but they still look nice.
All the photos of the step thanks to my PANASONIC camera, I'll be looking for another craft to bring them to you.
