Bueno aquí les traigo otra de mis manualidades navideñas, para que aun tengan tiempos de hacerlas y asi poder decorar, sus casas, como tambien vender o regalar a amistades especiales.
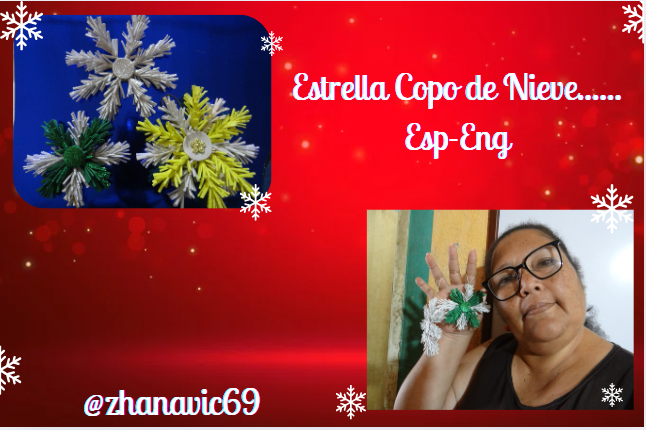
Los copos de nieves vistos a traves del lente de un microscopio, dicho por cientificos, no yo, tienen como forma de estrellitas, muy lindas y nosotros solo vemos una bola de nieve.
Ahora veamos las que hice para que tambien las hagan.
Materiales y mas…
-Foami escarchado de color que deseen yo use blanco amarillo, plateado, verde navidad.
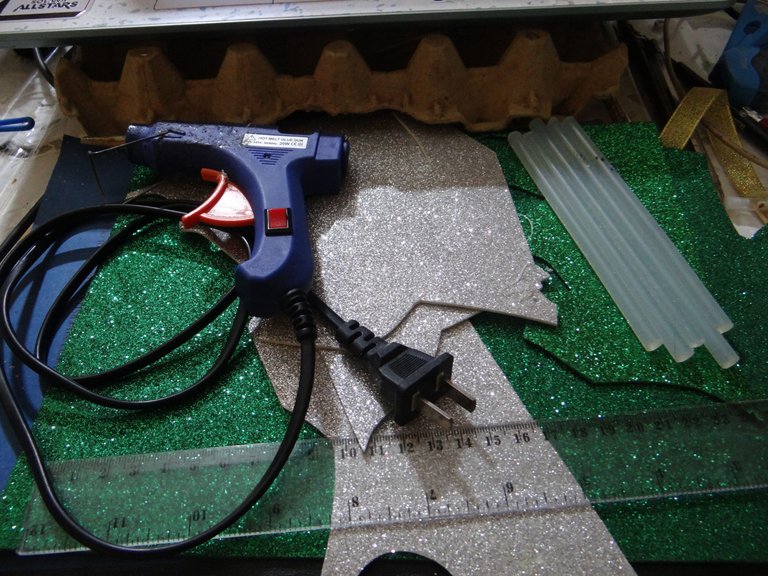
-Pistola y barras de silicon.
-Palillos de madera o mondadientes.
-Regla, lapiz, tijera.
-Cordon dorado.
Paso a Paso:
Estas estrellas se pueden hacer de dos maneras, pero les enseñare una de ellas, la otra veran la foto y tendran la idea de como se hace.
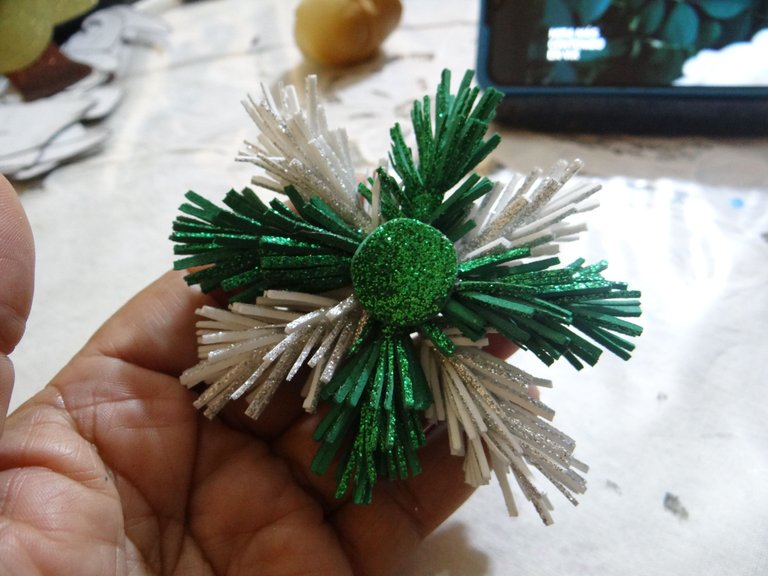
1.-Hice la estrella de dos colores verde navidad y plateado.
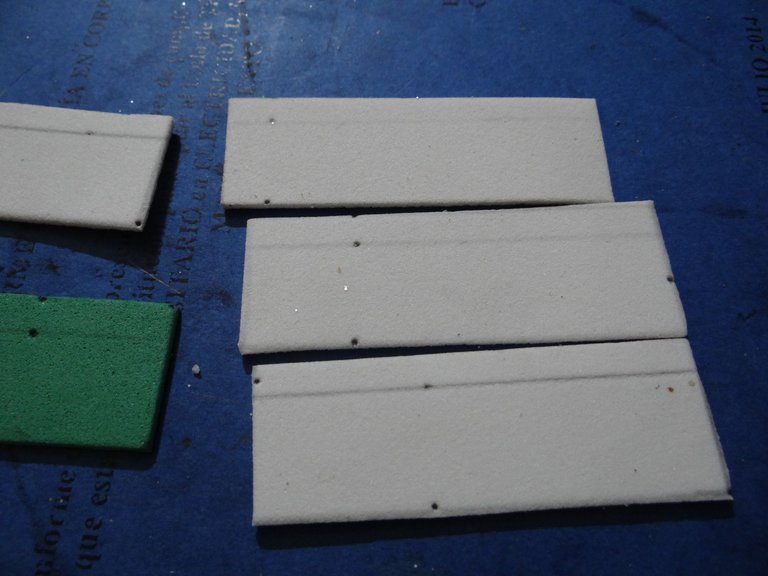
2.-Medimos tantos rectangulos de 2 x 6 cms como queremos la estrella, yo solo marque 8, 4 de cada color.
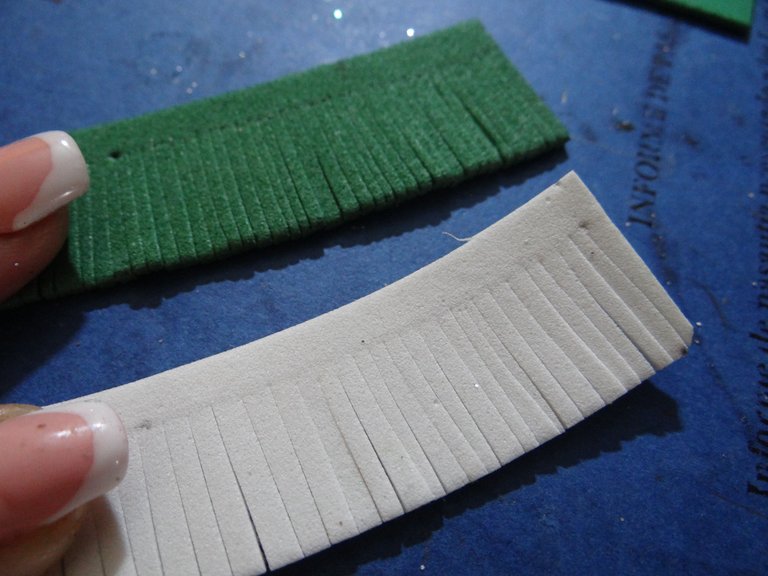
3.-Luego las recorte, despues marque a lo largo en uno de los bordes largos 0,5 cms, trace una linea, porque debemos recortar en forma muy finita, delgada con la tijera hasta esa linea.
4.-Siempre es bueno tener todos las partes listas para luego solo armar, que aquí es donde usamos la pistola de silicon.
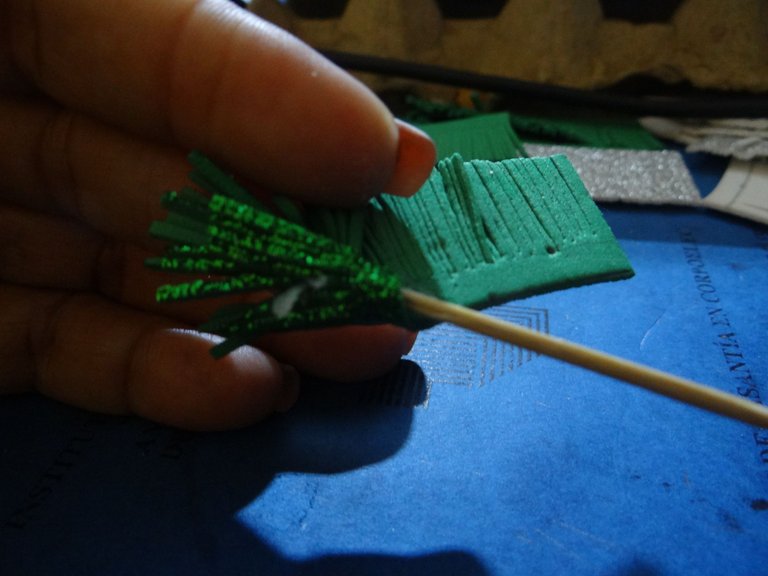
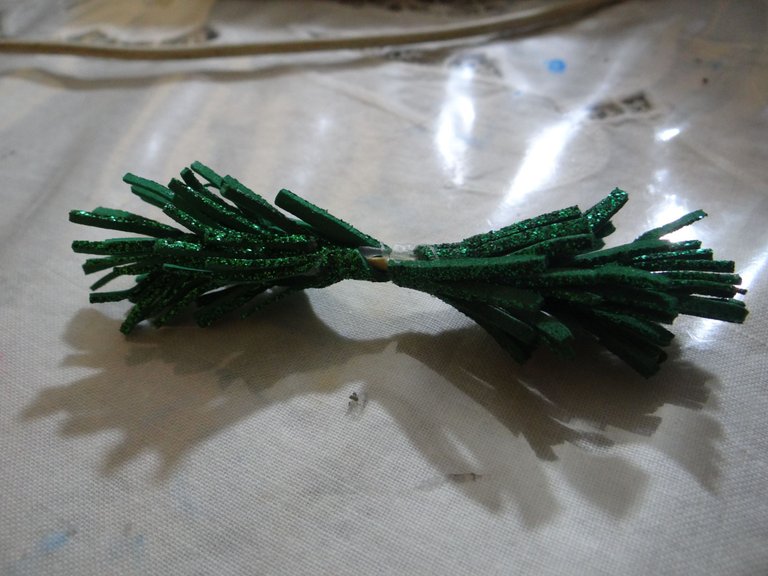
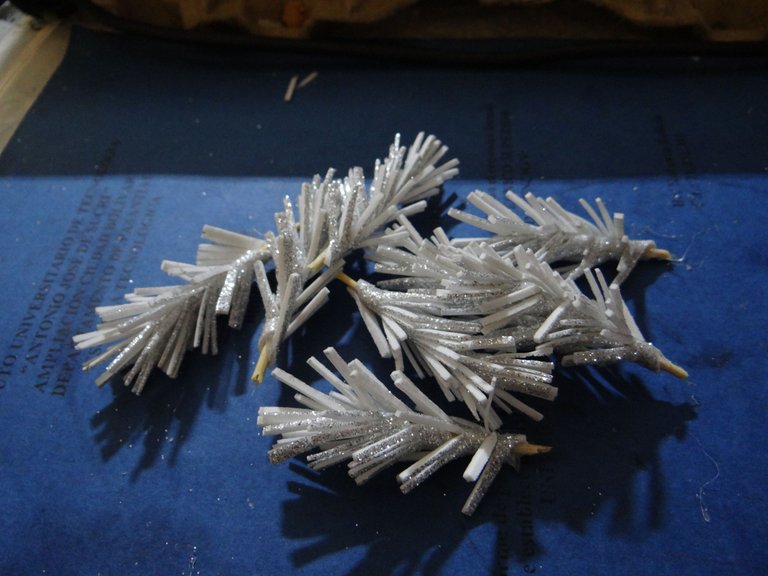
5.-Aqui se puede empezar por cualquier color, desde la punta del palillo con silicon vamos enrrollando el foami hacia abajo y a la mitad del palillo, luego hacemos lo mismo del otro extremo del palillo, es decir que el centro debe quedar como descubierto.
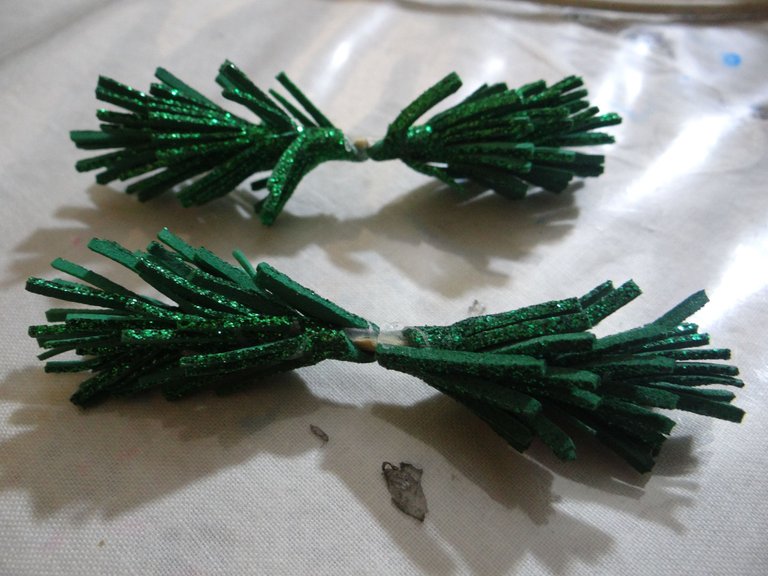
6.-Asi hacemos con todos.
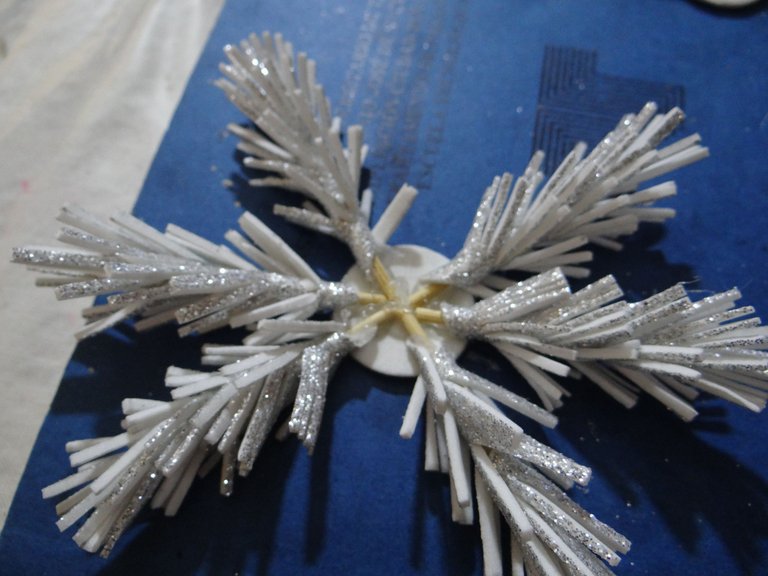
7.- Primero tomamos los palillos con el foami verde y pegamos en el centro quedando una forma como de X o una cruz.
8.-Igual con los palillos con el fomai plateado.
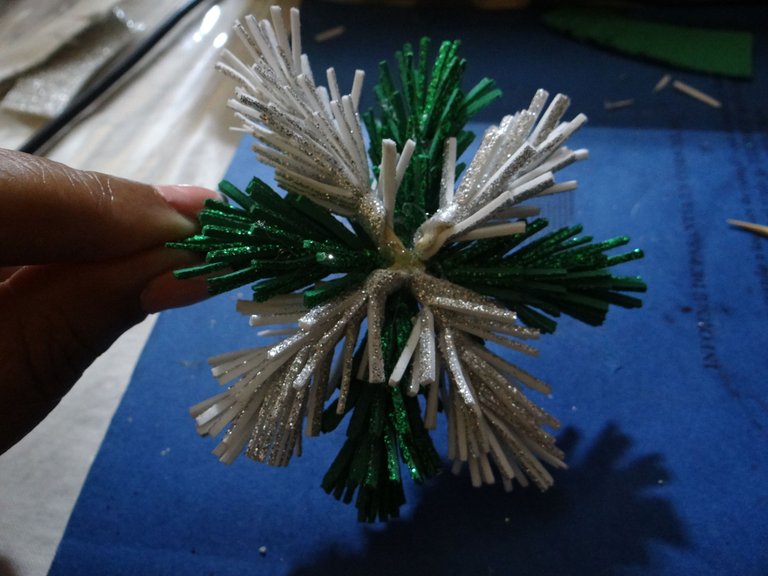
9-Despues pegamos ambas cruces o equis en el centro con silicon.
10.-Con algun retazo del foami usado hacemos dos circulos pequeños para poner en los centros donde se pegaron ambos palillos.
11.-Con el cordon dorado, se toma un poco y se coloca en una de las puntas y pegas con silicon, ya asi tenemos la estrella lista.
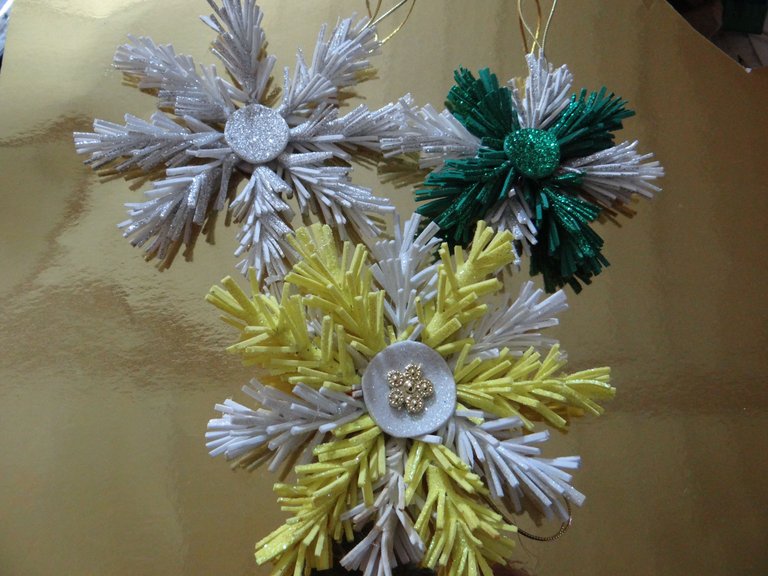
12.-Para la segunda estrella es el mismo proceso, solo que esta es unicolor, con 8 palillos, igual corte los 8 rectangulos de 2 x 6 cms, corte finito, pegue en los palillos de arriba hacia abajo enrrollando el foami hasta donde de.
13.-Corto unos circulos del diametro como de una moneda, ahi vamos pegando uno a uno los palitos, luego encima ponemos el otro circulo, poner el cordon y ya listos las estrellas.
Deben verse bellas muchas y colgantes con un lineo nylon, que se ve muy poco y estas estaran como en suspension al apagar la luz y solo se veran las estrellas.
El paso a paso lo tome con la camara Sony, para luego pasarla a la pc, para hacer mi publicacion.
Esten atentos que pronto vendra la otra manualidad navideña, si navidad y mas navidad.
Contenido original y propio.
Traducido con la app DeepL.
ESPAÑOL❄️❄️❄️❄️❄️❄️❄️❄️❄️❄️❄️ ENGLISH
Well here I bring you another of my Christmas crafts, so that you still have time to make them and so you can decorate your home, as well as sell or give to special friends.

The snowflakes seen through the lens of a microscope, said by scientists, not me, have the shape of little stars, very cute and we only see a snowball.
Now let's see the ones I made so you can make them too.
Materials and more...
-Frosted Foami in the color of your choice, I used white, yellow, silver, and Christmas green.
-Silicone gun and glue sticks.
-Wooden toothpicks or toothpicks.
-Ruler, pencil, scissors.
-Gold cord.
Step by Step:
These stars can be made in two ways, but I will show you one of them, the other you will see the photo and you will have the idea of how it is done.
1.-I made the star in two colors, Christmas green and silver.
2,-We measure as many rectangles of 2 x 6 cms as we want the star, I only marked 8, 4 of each color.
3.-Then cut them out, then mark along one of the long edges 0.5 cm, draw a line, because we must cut very thinly, thinly with the scissors to that line.
4.-It is always good to have all the parts ready and then just assemble, this is where we use the silicone gun.
5.-Here you can start with any color, from the tip of the stick with silicone we roll the foami down and half of the stick, then do the same at the other end of the stick, that is to say that the center should be as uncovered.
6.-So we do with all of them.
7.-First we take the toothpicks with the green foami and glue in the center leaving a shape like an X or a cross.
8.-Same with the toothpicks with the silver foami.
9-Then glue both crosses or X's in the center with silicon.
10.-With a piece of the used foami we make two small circles to put in the centers where both sticks were glued.
11.-With the golden cord, take a little bit and place it on one of the ends and glue it with silicone, and so we have the star ready.
12.-For the second star is the same process, only this is unicolor, with 8 sticks, the same cut the 8 rectangles of 2 x 6 cms, cut thin, stick on the sticks from top to bottom rolling the foami as far as it will go.
13.-Cut some circles of the diameter of a coin, there we glue one by one the sticks, then put the other circle on top, put the string and the stars are ready.
They should look beautiful and hanging with a nylon line, which is very little visible and these will be as if in suspension when you turn off the light and only the stars will be seen.
The step by step I took it with the Sony camera, and then transfer it to the pc, to make my publication.
Stay tuned that soon will come the other christmas craft, yes christmas and more christmas.
Original and own content.
Translate with the app DeepL.

Quedaron realmente espectaculares, una buenísima opción para decorar en estas festividades
Asi es mi amiga y cuando uno hace las cosas quedan como mas bonitas porque las hacemos con amor
Que hermosas amiga te quedaron. Bendiciones 🤗.
Saludos, gracias bellam trate de hacerlas y si las queremos mas grandes con los palillos de pinchos ....