Hola manitas creadoras, aqui algo tarde, para entrar al concurso, pero como hice la tarjeta, igual voy a enseñarles como la hice.
Tuve muchos contratiempos personales, como de tecnologia:energia, internet y la pc.
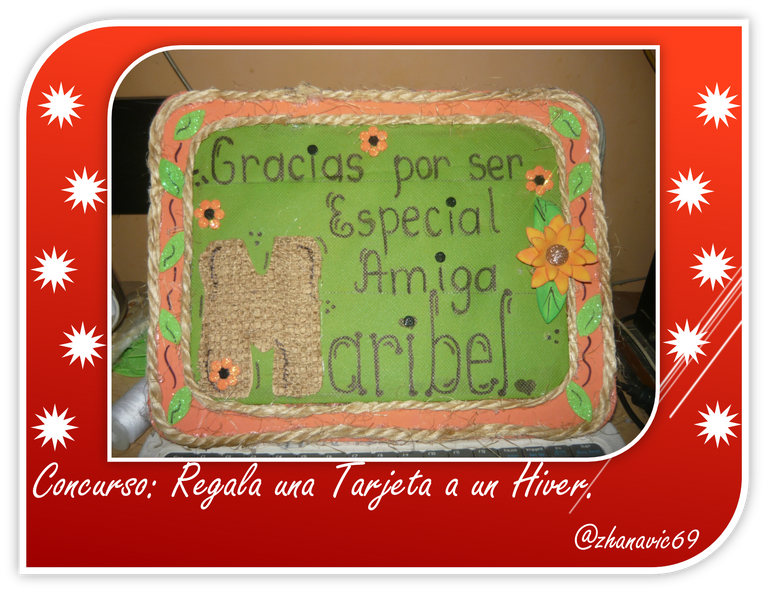
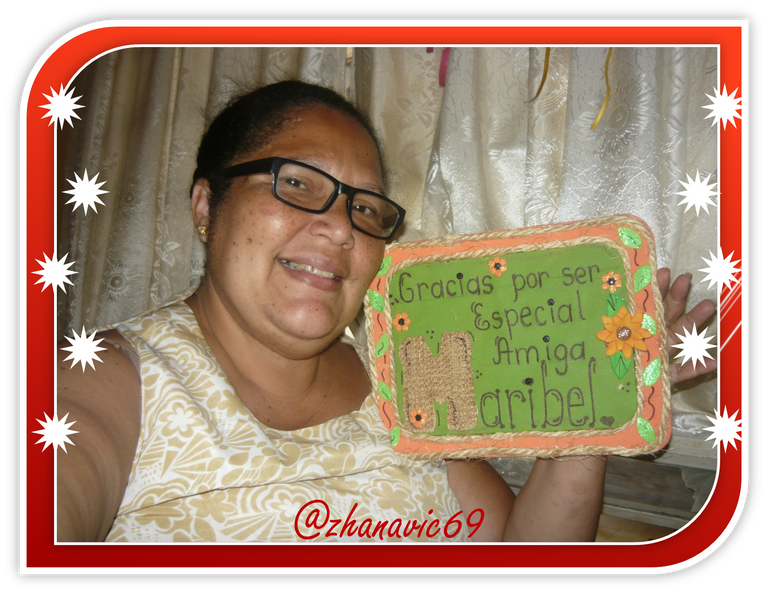
La tarjeta que elabore es de una sola cara, una tarjeta tipo cuadro, para una Hivers muy especial para mi.
A traves de esta plataforma han nacido nuevas amistades que lo unico que falta es conocernos realmente ya que hablamos por las redes sociales.
Una de esas Hivers de gran influencia para mi es Maribel, pero aqui no se concoe asi, sino como @marybellrg que creo tenemos el mismo tiempo en la plataforma, pero ella sabe mas que yo ja ja, estamos tan cerca porque estamos en el mismo pais, pero algo distanciadas, ella esta en Puerto La Cruz y yo en Ciudad Bolivar, asi que quien quita en este año en vacaciones llegue por alla a llevarle su tarjeta.
Mi tarjeta tenia tiempo que no hacia una, asi que con hacer esta me desperto la creatividad, asi que les dire mi paso a paso:
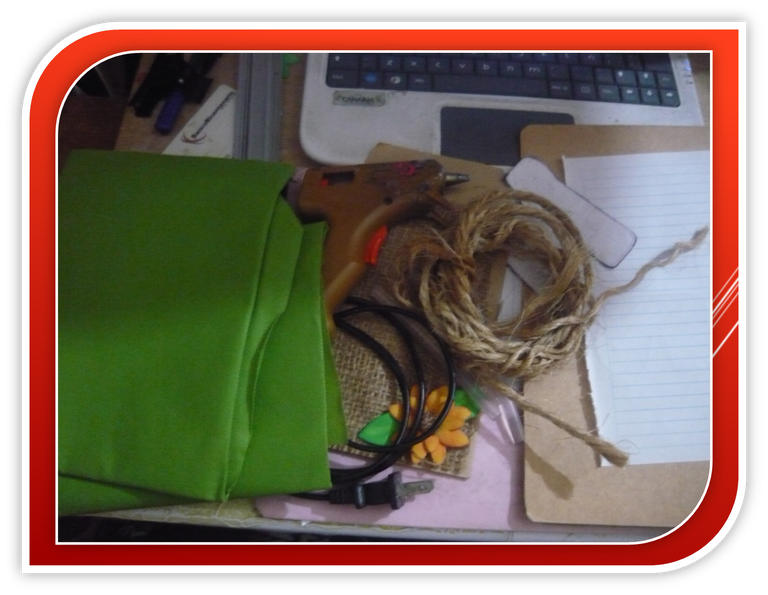
Materiales: todos los que pude tener y conseguir en casa: foami de varios colores, mecatillo, pistola y silicon, tijeras, cartones de libretas, retazo de yute(tela de saco), otras cosas mas.
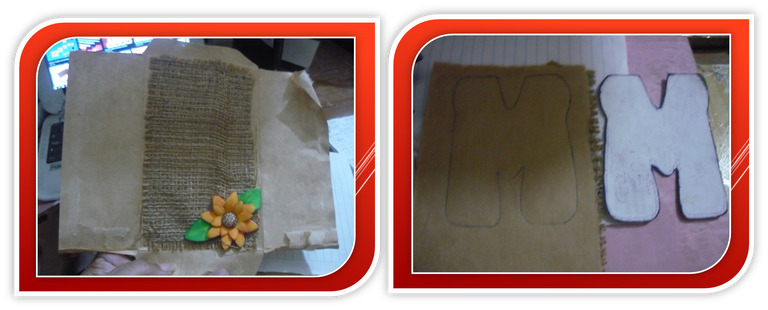
Me gustan mucho las cosas personalizadas y una tarjeta es asi, son especial para una persona, como es para Maribel, entonces empee con la letra M, como tengo varios patrones de letras, busque la mas acorde.
Tenia un retazo pequeño de yute o tela de saco, para la letra, como estaba pegado en un pedazo de papel mejor para marcar la letra y recortarla. Ya lista la letra la reserve.
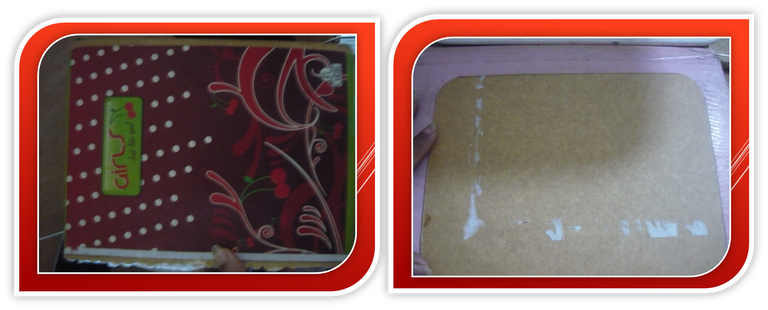
Ahora la base de la tarjeta, use las tapas de una libreta, que son resistentes, use las dos, una era para el centro debia ser mas pequeña y la otra un poc mas grande para que quedara como un marco de la otra.
Tenia tela Pop o quirurgica de color verde, y se me ocurrio que la tapa mas pequeña, que es la central, le pegue, por el frente la pegue toda la orilla con silicon caliente, deje un borde para la parte de atras y tambien le pegue, aparte a un lado.
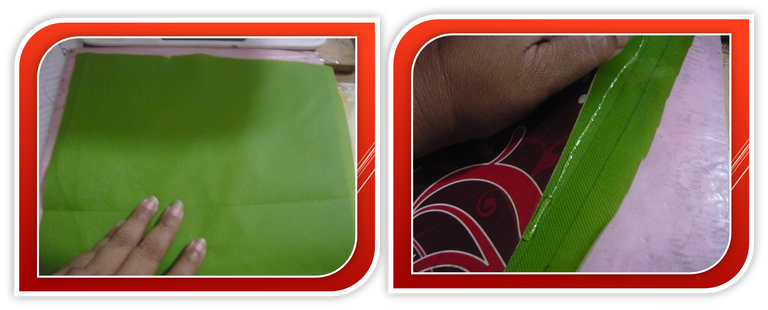
Para la otra tapa, use un foami anaranjado, le hacia contraste al color verde, peque y deje un pequeño borde, una vez lista esta tapa, pegue la otra en el centro.
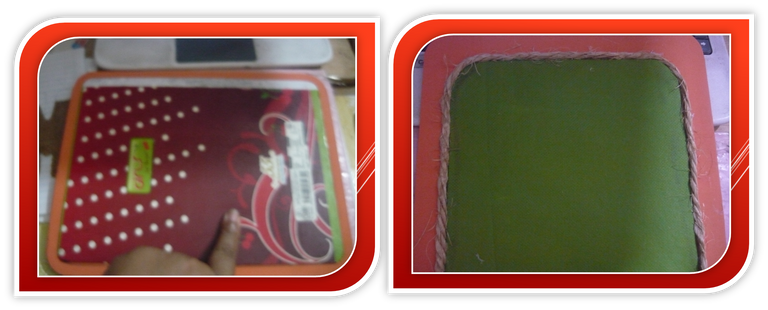
Seguido a esto pegue en todo el contorno de ambas tapas el mecatillo con el silicon caliente.
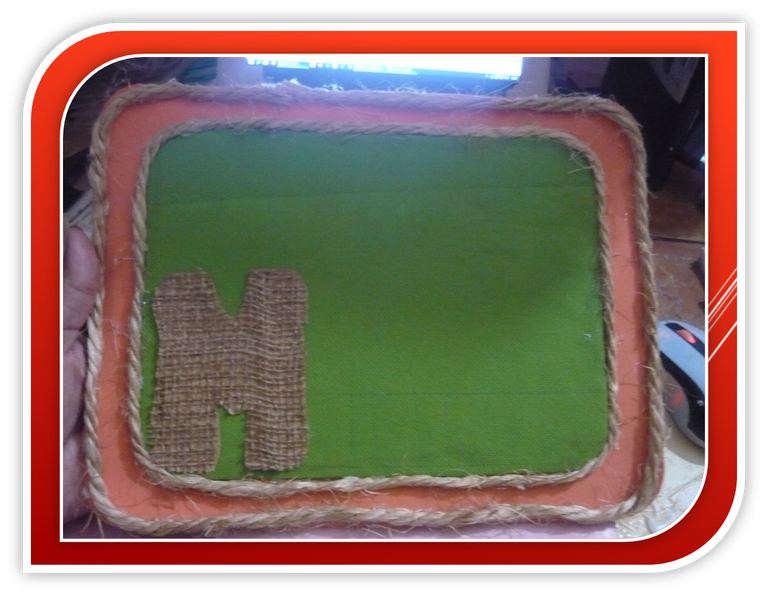
En la parte inferior de la tarjeta, ubique la letra M, el resto del nombre con marcador negro, pero antes escribi con lapiz de grafito, y asi mismo hice con el resto de los escritos.
Decore con unas hojitas verdes en los lados, una flor de girasol que ya tenia hecha y unas pequeñas florecitas hechas con taquitos de foami anaranjado y negro.
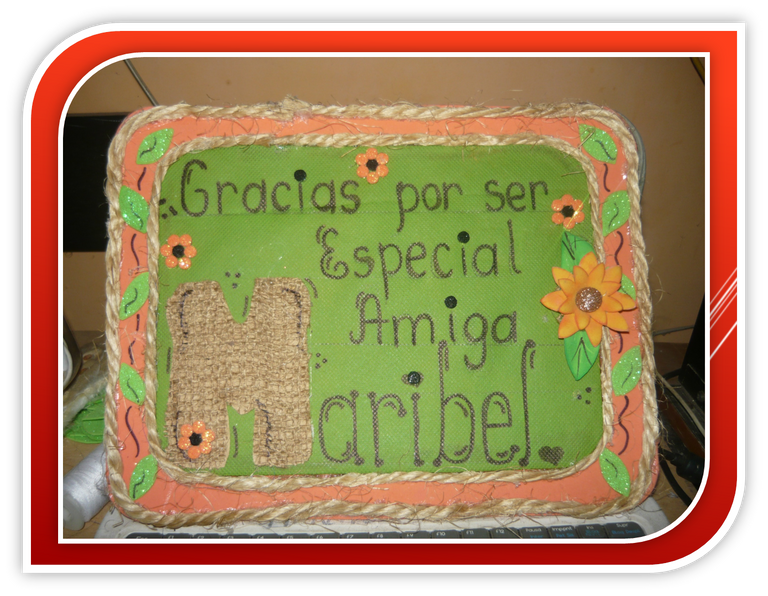
Y ahora solo me quda esperar la guardare muy bien para cuando tenga la oportunidad de ir a Puerto La Cruz, este año (mente positiva), para llevarselo, ya que ahi dice Maribel, no Zhandra je je.
Ella es como la hermana mayor, esta pendiente de mi le consulta cuando tengo dudas, me dice cosas que debo hacer y otras no, cuando me descarrilo, me encarrila de nuevo ja ja ja.
Las fotos del paso a paso las tome con mi camara PANASONIC, editadas en PowerPoint y para traducir use la aplicacion DEEPL.
Igualmente dejo el enlace del concurso https://hive.blog/hive-130560/@hive-130560/concurso-regala-una-tarjeta-a-un-hiver-ganadores-del-concurso-anterior-contest-give-a-card-to-an-hiver-as-a-gift--winners-o para el proximo estare mas pilas.

Hello creative hands, I'm a little late to enter the contest, but since I made the card, I'm still going to show you how I did it.
I had a lot of personal setbacks, as well as technology: energy, internet and pc.
The card I made is a one sided card, a picture card, for a very special Hivers for me.

Through this platform new friendships have been born and the only thing missing is to really know each other since we talk through social networks.
One of those Hivers of great influence for me is Maribel, but here is not known as such, but as @marybellrg that I think we have the same time on the platform, but she knows more than me ha ha, we are so close because we are in the same country, but somewhat distanced, she is in Puerto La Cruz and I in Ciudad Bolivar, so who knows if this year on vacation I get there to take her card.
I hadn't made a card for a long time, so making this one awakened my creativity, so I will tell you my step by step:
Materials: all I could have and get at home: foami of various colors, mecatillo, gun and silicone, scissors, cardboard notebooks, jute (sackcloth), other things.

I like very much the personalized things and a card is like that, they are special for a person, as it is for Maribel, so I started with the letter M, as I have several patterns of letters, I looked for the most appropriate.
I had a small piece of jute or sackcloth, for the letter, as it was glued on a piece of paper better to mark the letter and cut it out. Once the lettering was ready, I put it aside.

Now the base of the card, I used the covers of a notebook, which are resistant, I used both, one was for the center should be smaller and the other a little bigger to be like a frame of the other.

I had some green Pop or surgical fabric, and it occurred to me to glue the smaller cover, which is the central one, on the front I glued it all around the edge with hot glue, I left a border for the back and also glued it, separately on one side.

For the other lid, I used an orange foami to contrast the green color, small and leave a small border, once this lid was ready, I glued the other one in the center.

Next I glued all around the contour of both lids with the hot glue.
</div

At the bottom of the card, place the letter M, the rest of the name with black marker, but first I wrote with graphite pencil, and I did the same with the rest of the writings.
I decorated with some green leaves on the sides, a sunflower flower that I had already made and some little flowers made with orange and black foami blocks.

And now I just have to wait, I will keep it very well for when I have the opportunity to go to Puerto La Cruz, this year (positive mind), to take it with me, because it says Maribel, not Zhandra heh heh.
She is like a big sister, she is there for me, she consults me when I have doubts, she tells me things to do and things not to do, when I get off track, she puts me back on track ha ha ha ha.
The step by step photos were taken with my PANASONIC camera, edited in PowerPoint and for translation I used the DEEPL application.
Anyway I leave the link of the contest https://hive.blog/hive-130560/@hive-130560/contest-give-a-card-to-a-hiver-winners-of-previous-contest-answer-give-a-card-to-an-hiver-as-a-gift--winners-o for the next one I'll be more stacked.


Nunca es tarde amiga; lo que vale es la intención, la tarjeta quedó muy linda. Bendiciones
Si yo se que no es tarde para publicar pero para el concurso si ja a ja la idea es participar y ganar comentarios gracias
Espectacular tarjeta, siempre haces trabajo y detalles muy lindos @zhanavic69 felicitaciones y mucho éxito.
Hol mi bella pues que te puedo decir debo aprovechar el don que se me dio je je graciassssssssss