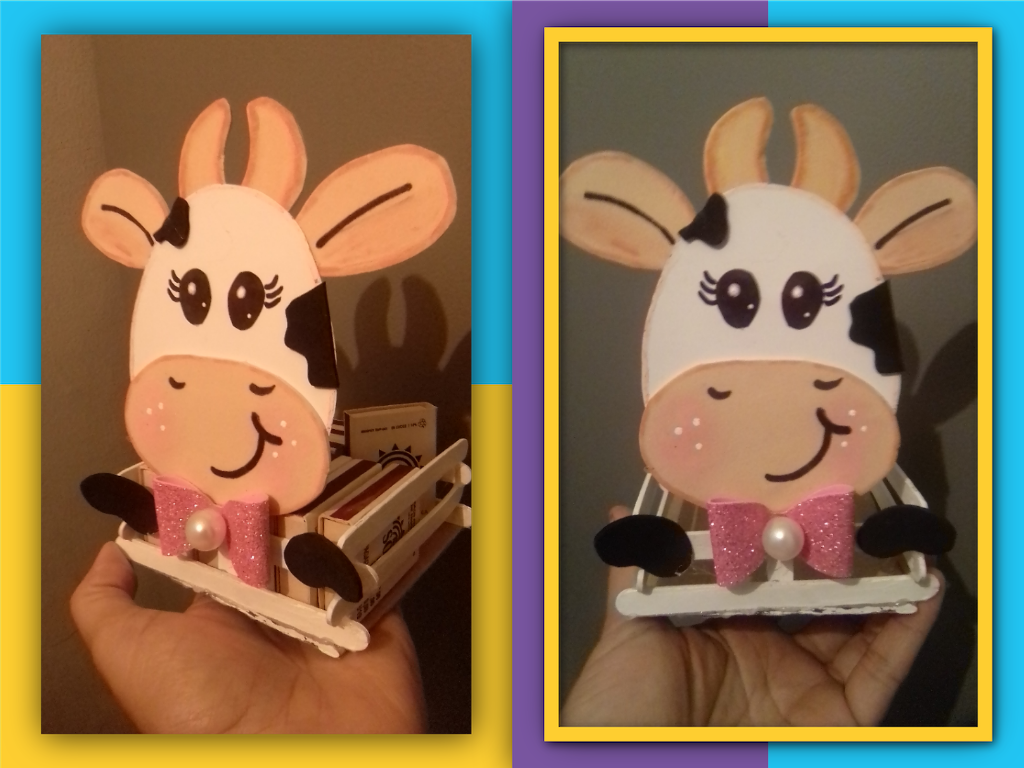
Saludos para todos los Hivers creativos de esta gran comunidad de Hive Diy, retomando nuevamente las publicaciones, luego de tres semanas, debido a problemas de salud, pero aquí estamos para presentar mis proyectos, para el día de hoy realice una linda manualidad de utilidad para nuestras cocinas, y para tener a mano los cerillos en imprevistos cortes de energía, se trata de un lindo organizador para las cajas de cerillos con temática de una coqueta vaca, para lo cual recicle paletas de helados, a continuación te digo como lo hice en unos sencillos pasos.
Greetings to all the creative Hivers of this great community of Hive Diy, resuming again the publications, after three weeks, due to health problems, but here we are to present my projects, for today I made a nice craft useful for our kitchens, and to have on hand the matches in unforeseen power outages, it is a nice organizer for matchboxes with a flirty cow theme, for which recycle popsicle sticks, then I tell you how I did it in a few simple steps.
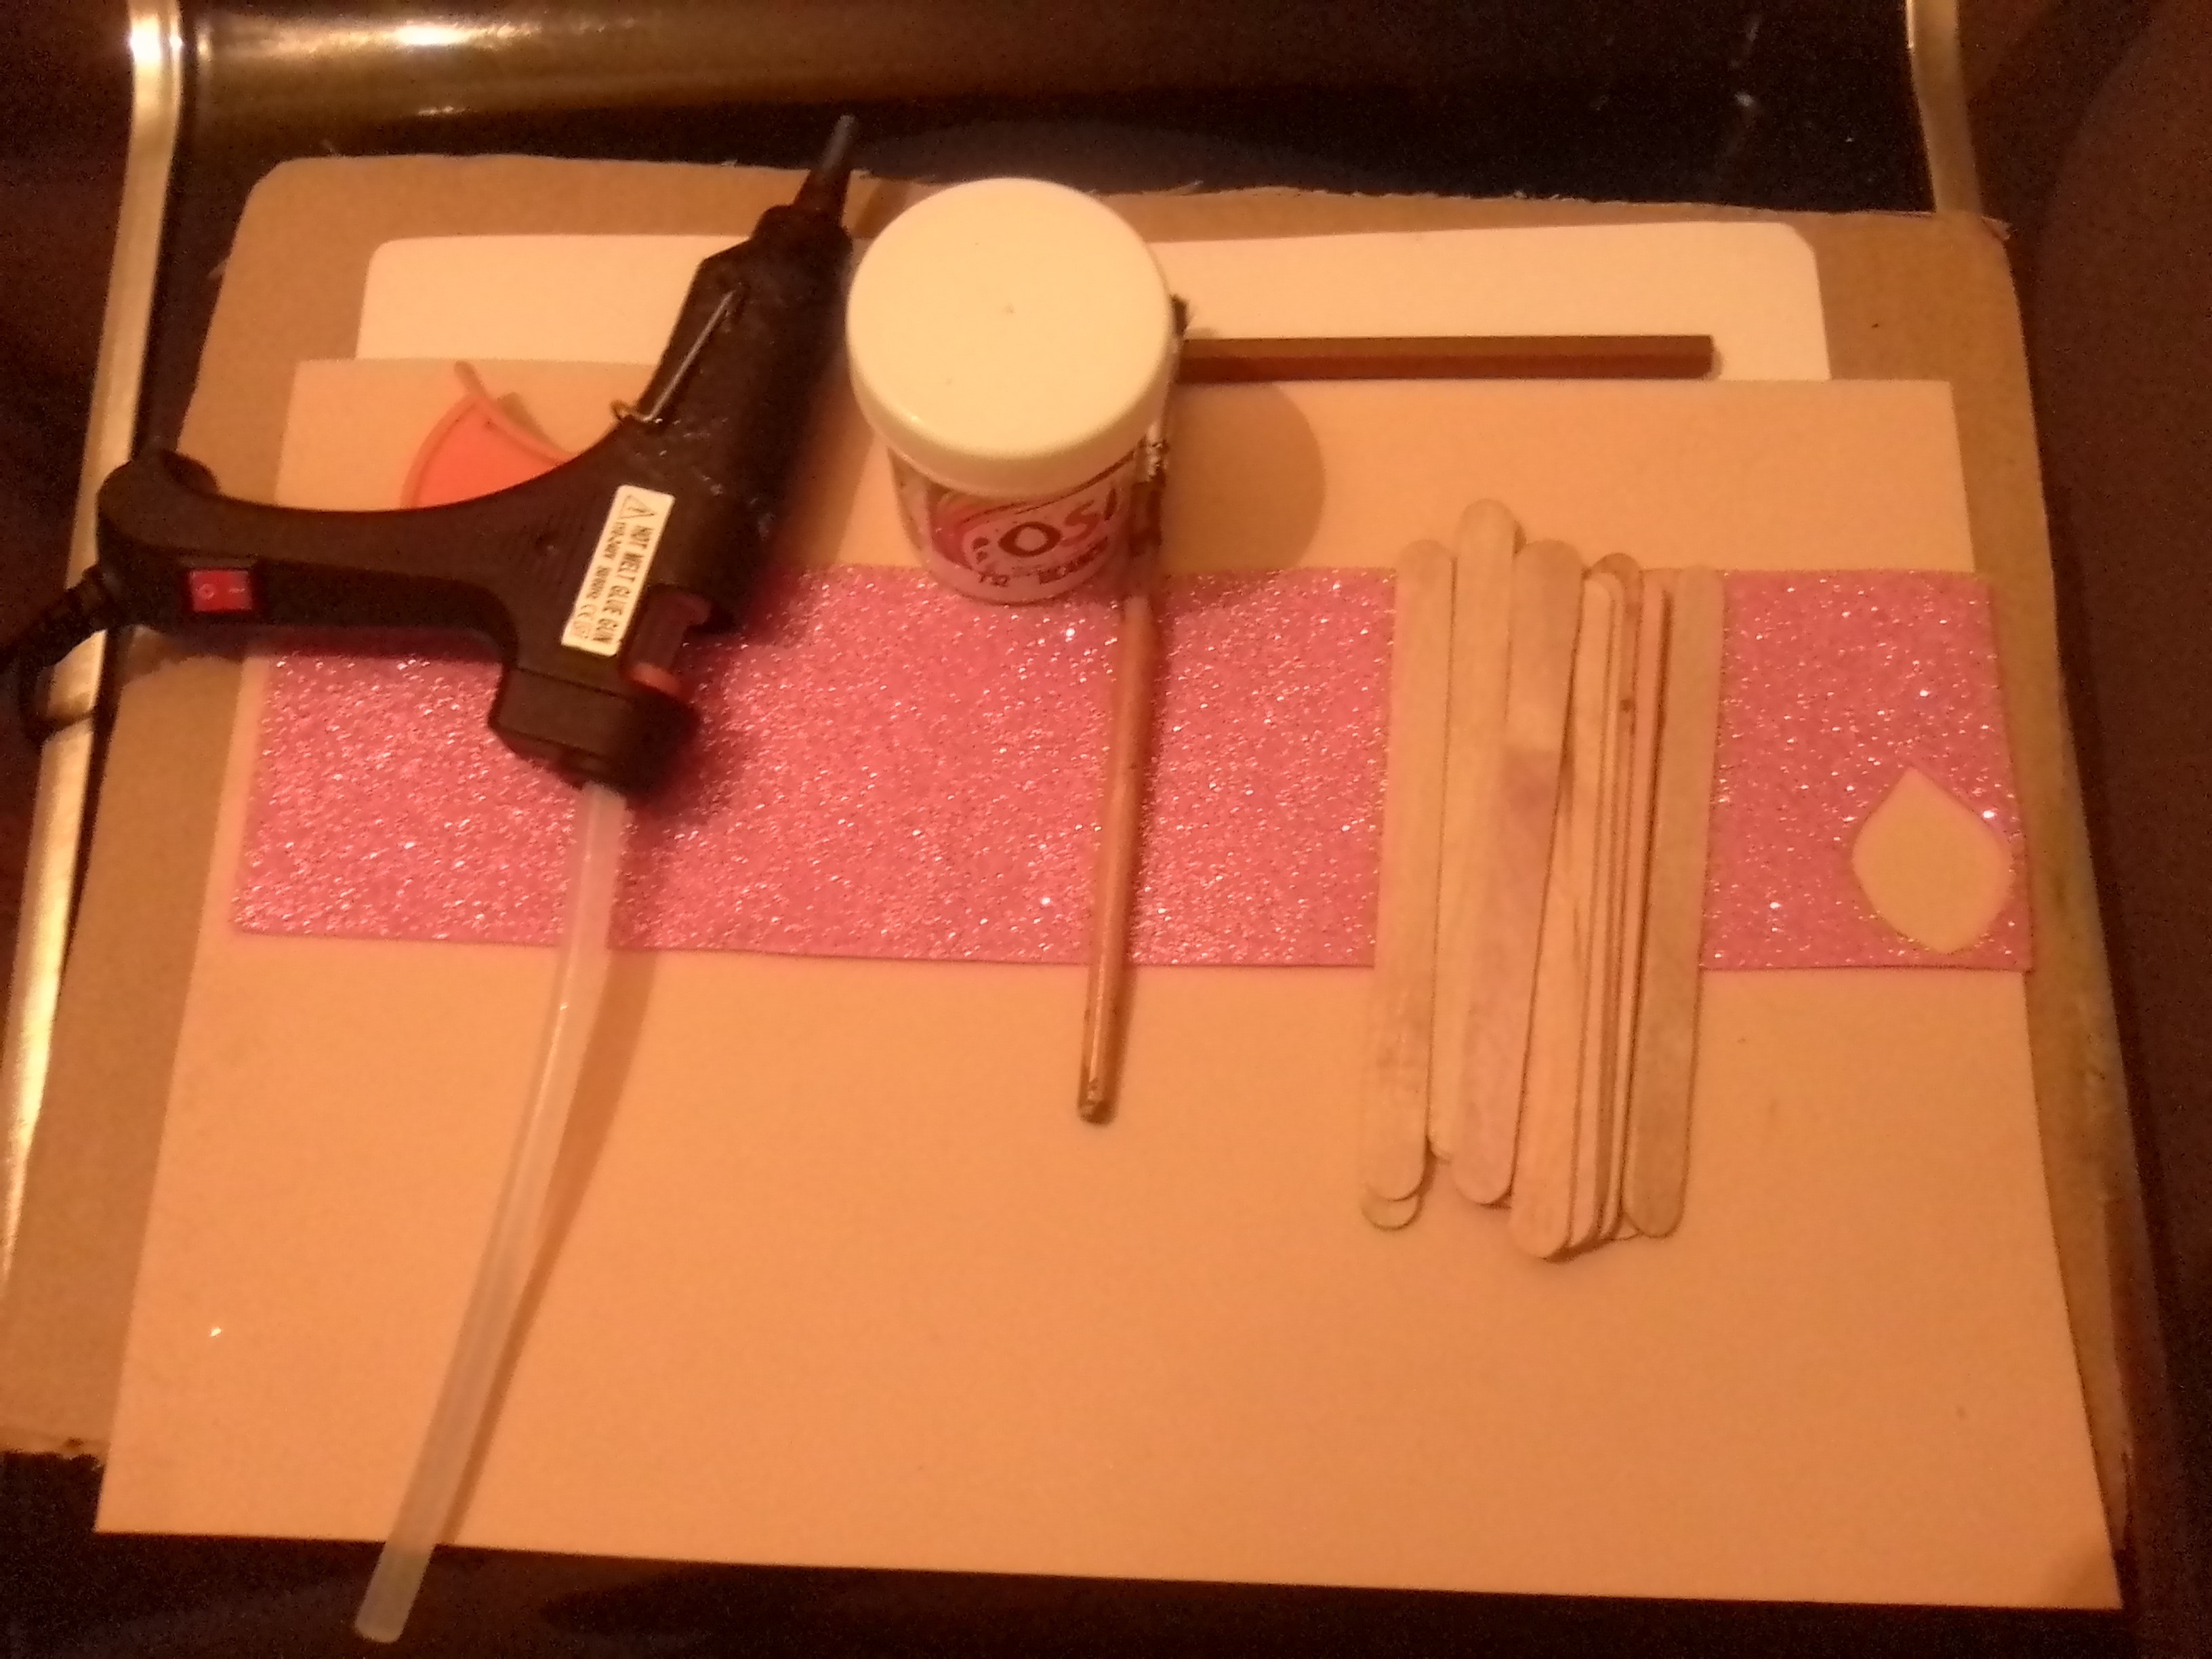
Materiales / Materials
- Paletas de helados
- Pintura de color blanco y pincel.
- Cartón
- Foami de color blanco, negro, rosado y color piel.
- Pistola y barra de silicon.
- Marcador negro.
- Lápiz de color marrón.
- Tijera.
- Perla.
- Popsicle sticks
- White paint and paintbrush.
- Cardboard
- Foami of white, black, pink and skin color.
- Gun and silicone stick.
- Black marker.
- Brown pencil.
- Scissors.
- Pearl.
Paso a paso / Step by Step
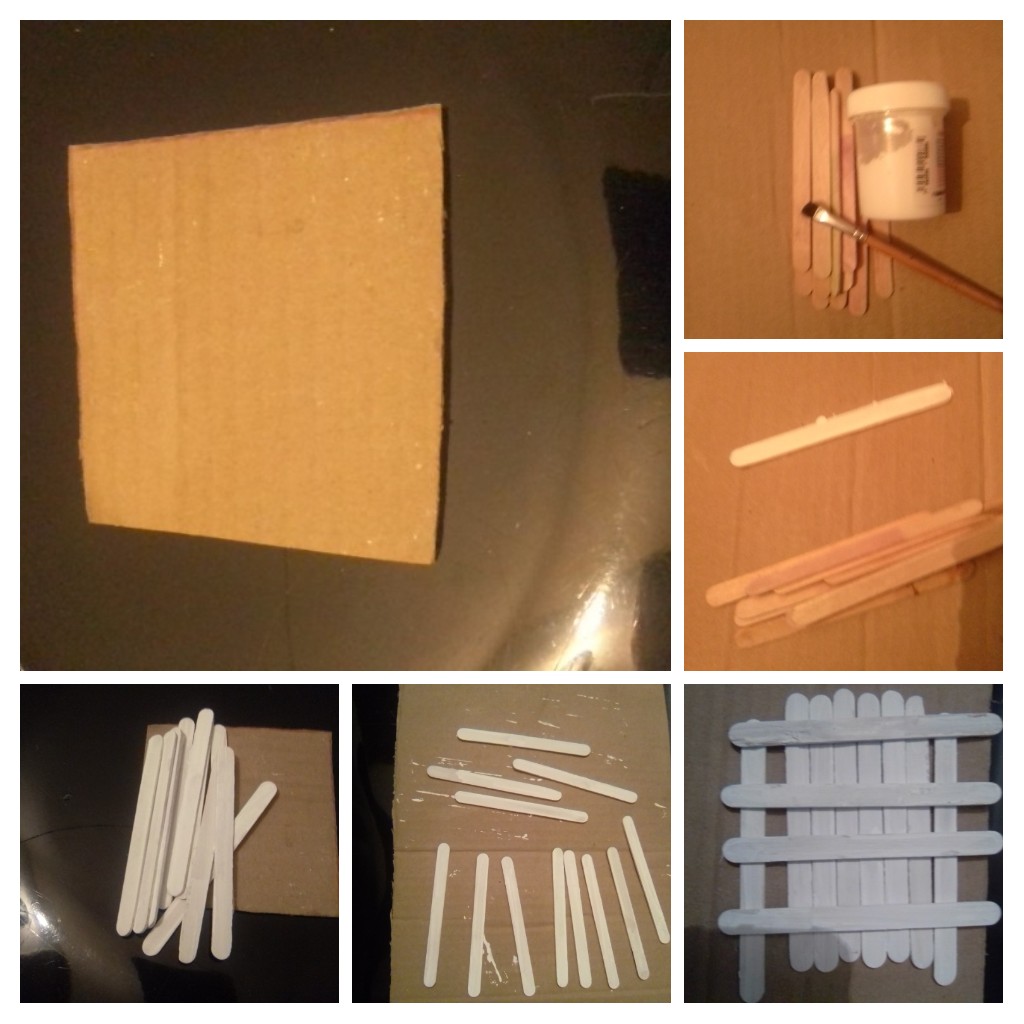
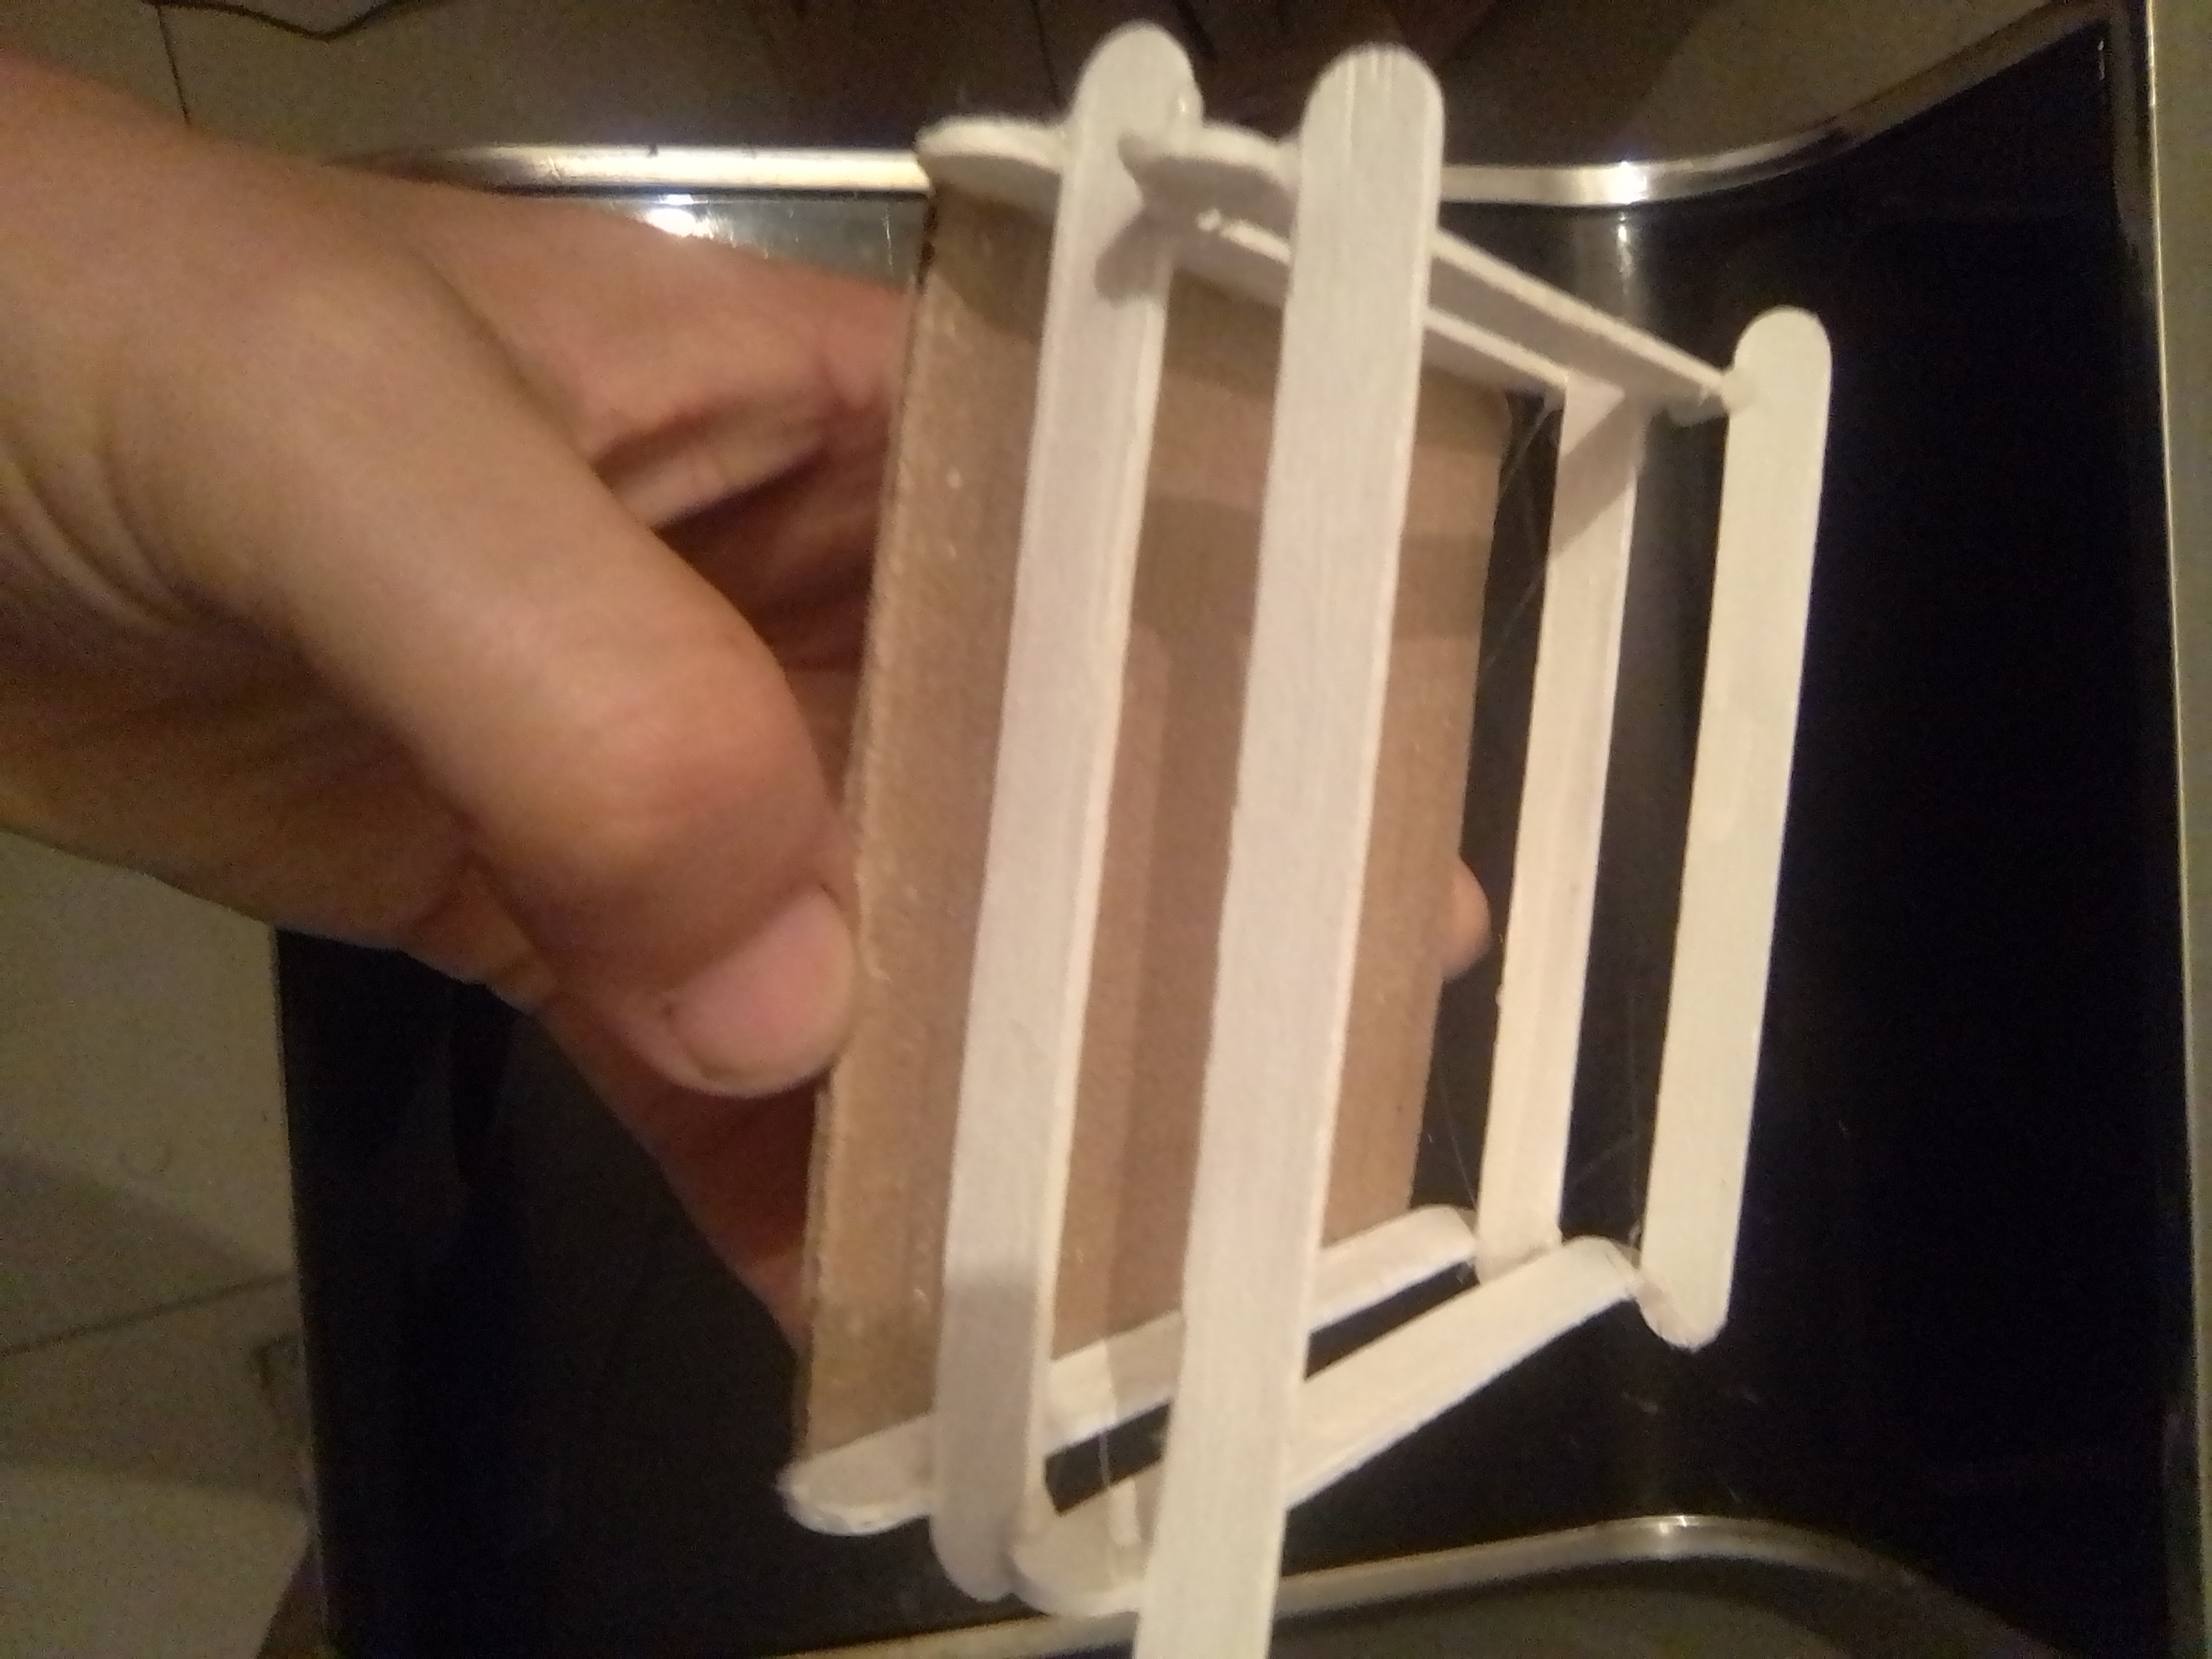
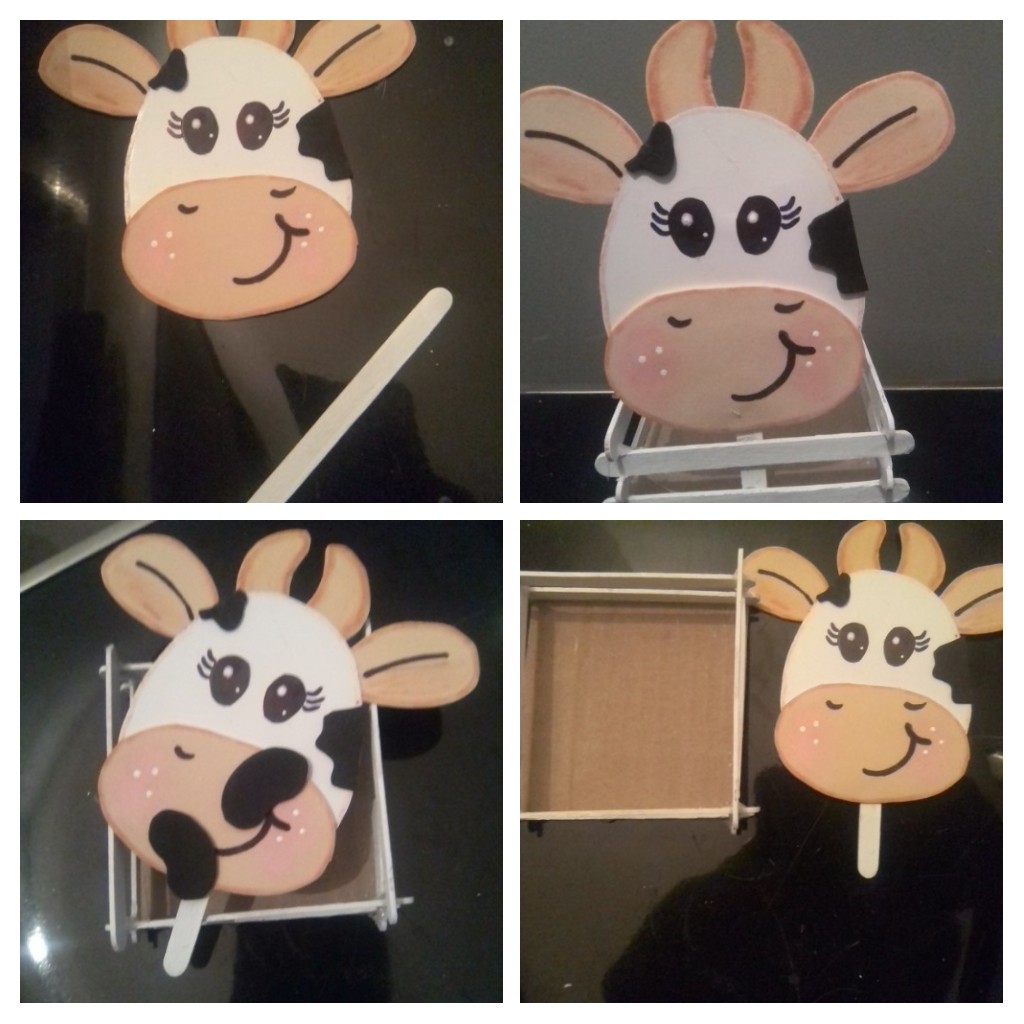
Inicie mi manualidad, pintando de color blanco las paletas de helados y recortando un trozo de cartón de 10x10 centímetros. Deje secar muy bien las paletas para luego armar con con el cartón una cesta tipo huacal, para ello coloque Silicon caliente en en borde de la paleta para pegar en dos extremo del cartón, y seguidamente pegando sobre los extremos de la paletas y repitiendo una nueva ronda, es importante dejar un sobrante de unos centímetros al pegar las paletas, para así lograr un efecto entrelazado en las esquinas.
I started my craft by painting the popsicle sticks white and cutting out a 10x10 centimeter piece of cardboard. Let the popsicles dry very well and then assemble with the cardboard a basket type huacal, for this I put hot silicon on the edge of the pallet to paste on two ends of the cardboard, and then gluing on the ends of the pallets and repeating a new round, it is important to leave an excess of a few centimeters when gluing the pallets, to achieve an interlocking effect in the corners.
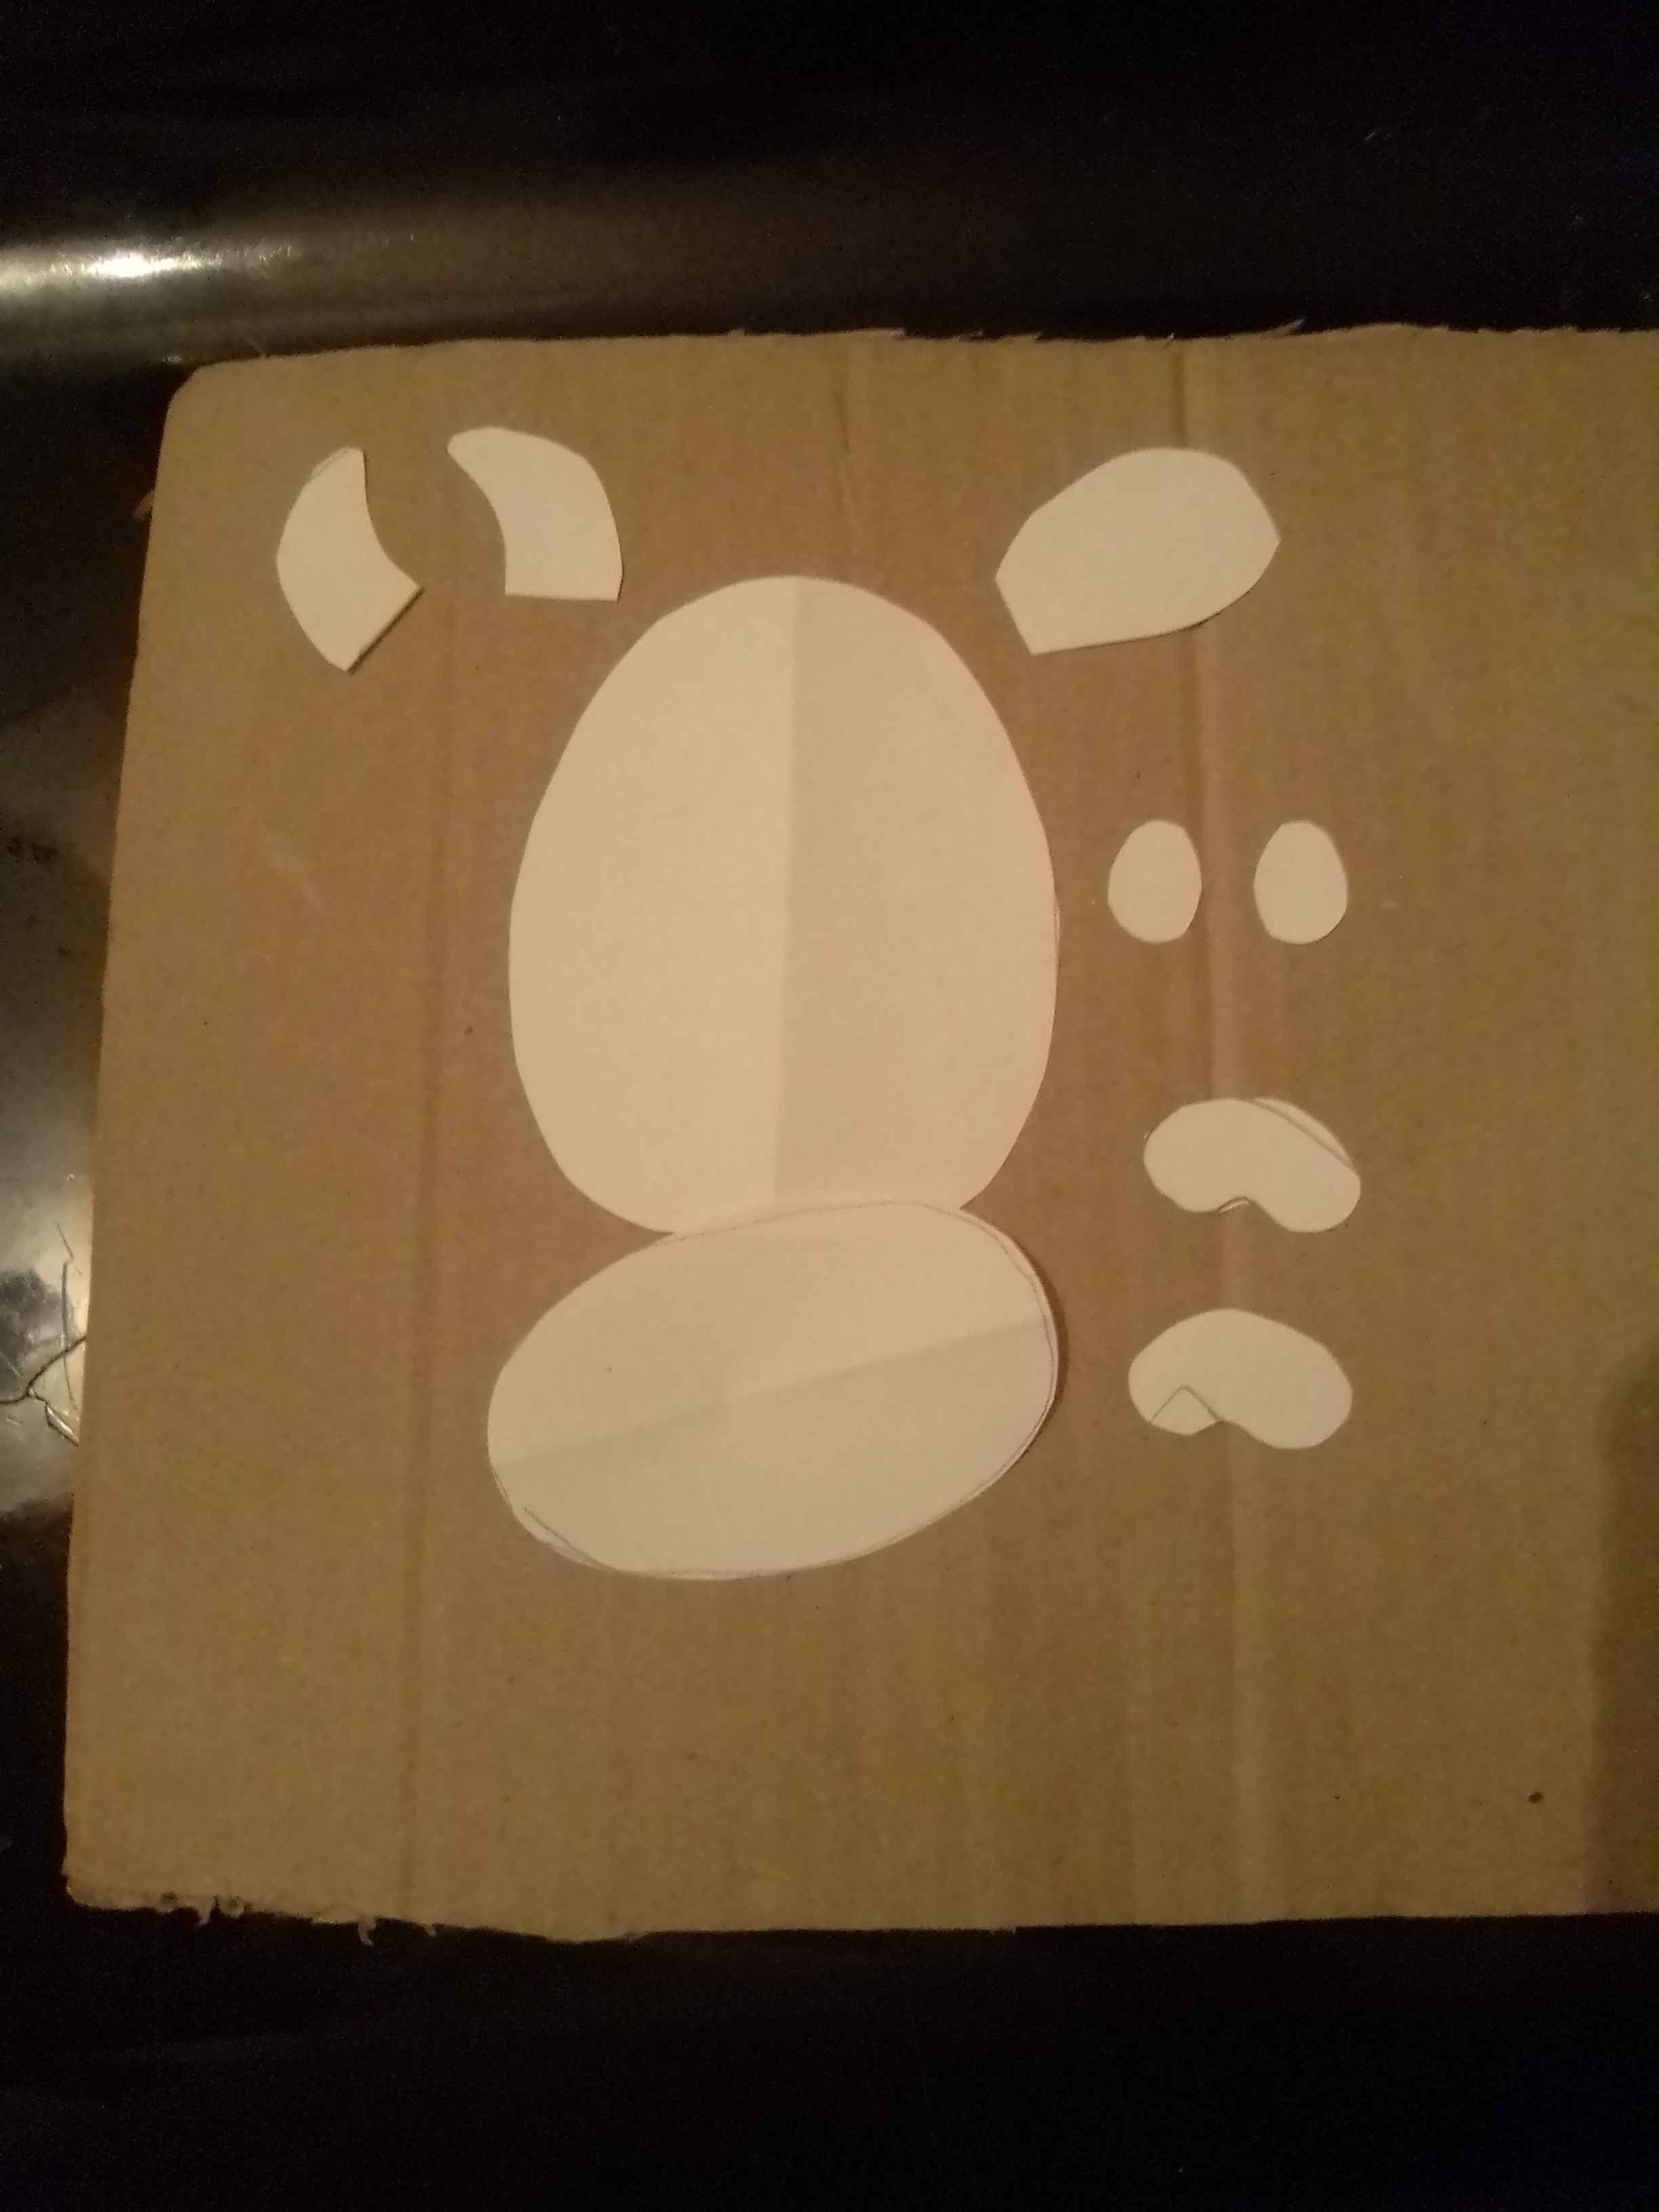
A continuación me dispuse a diseñar mi vaca, elabore los moldes, de las partes de la vaca como la cabeza, orejas, cuernos, ojos, patas. Los cuales transferí a los colores de foami correspondiente.
Then I started to design my cow, I made the molds of the parts of the cow such as the head, ears, horns, eyes, legs. I transferred them to the corresponding colors of foami
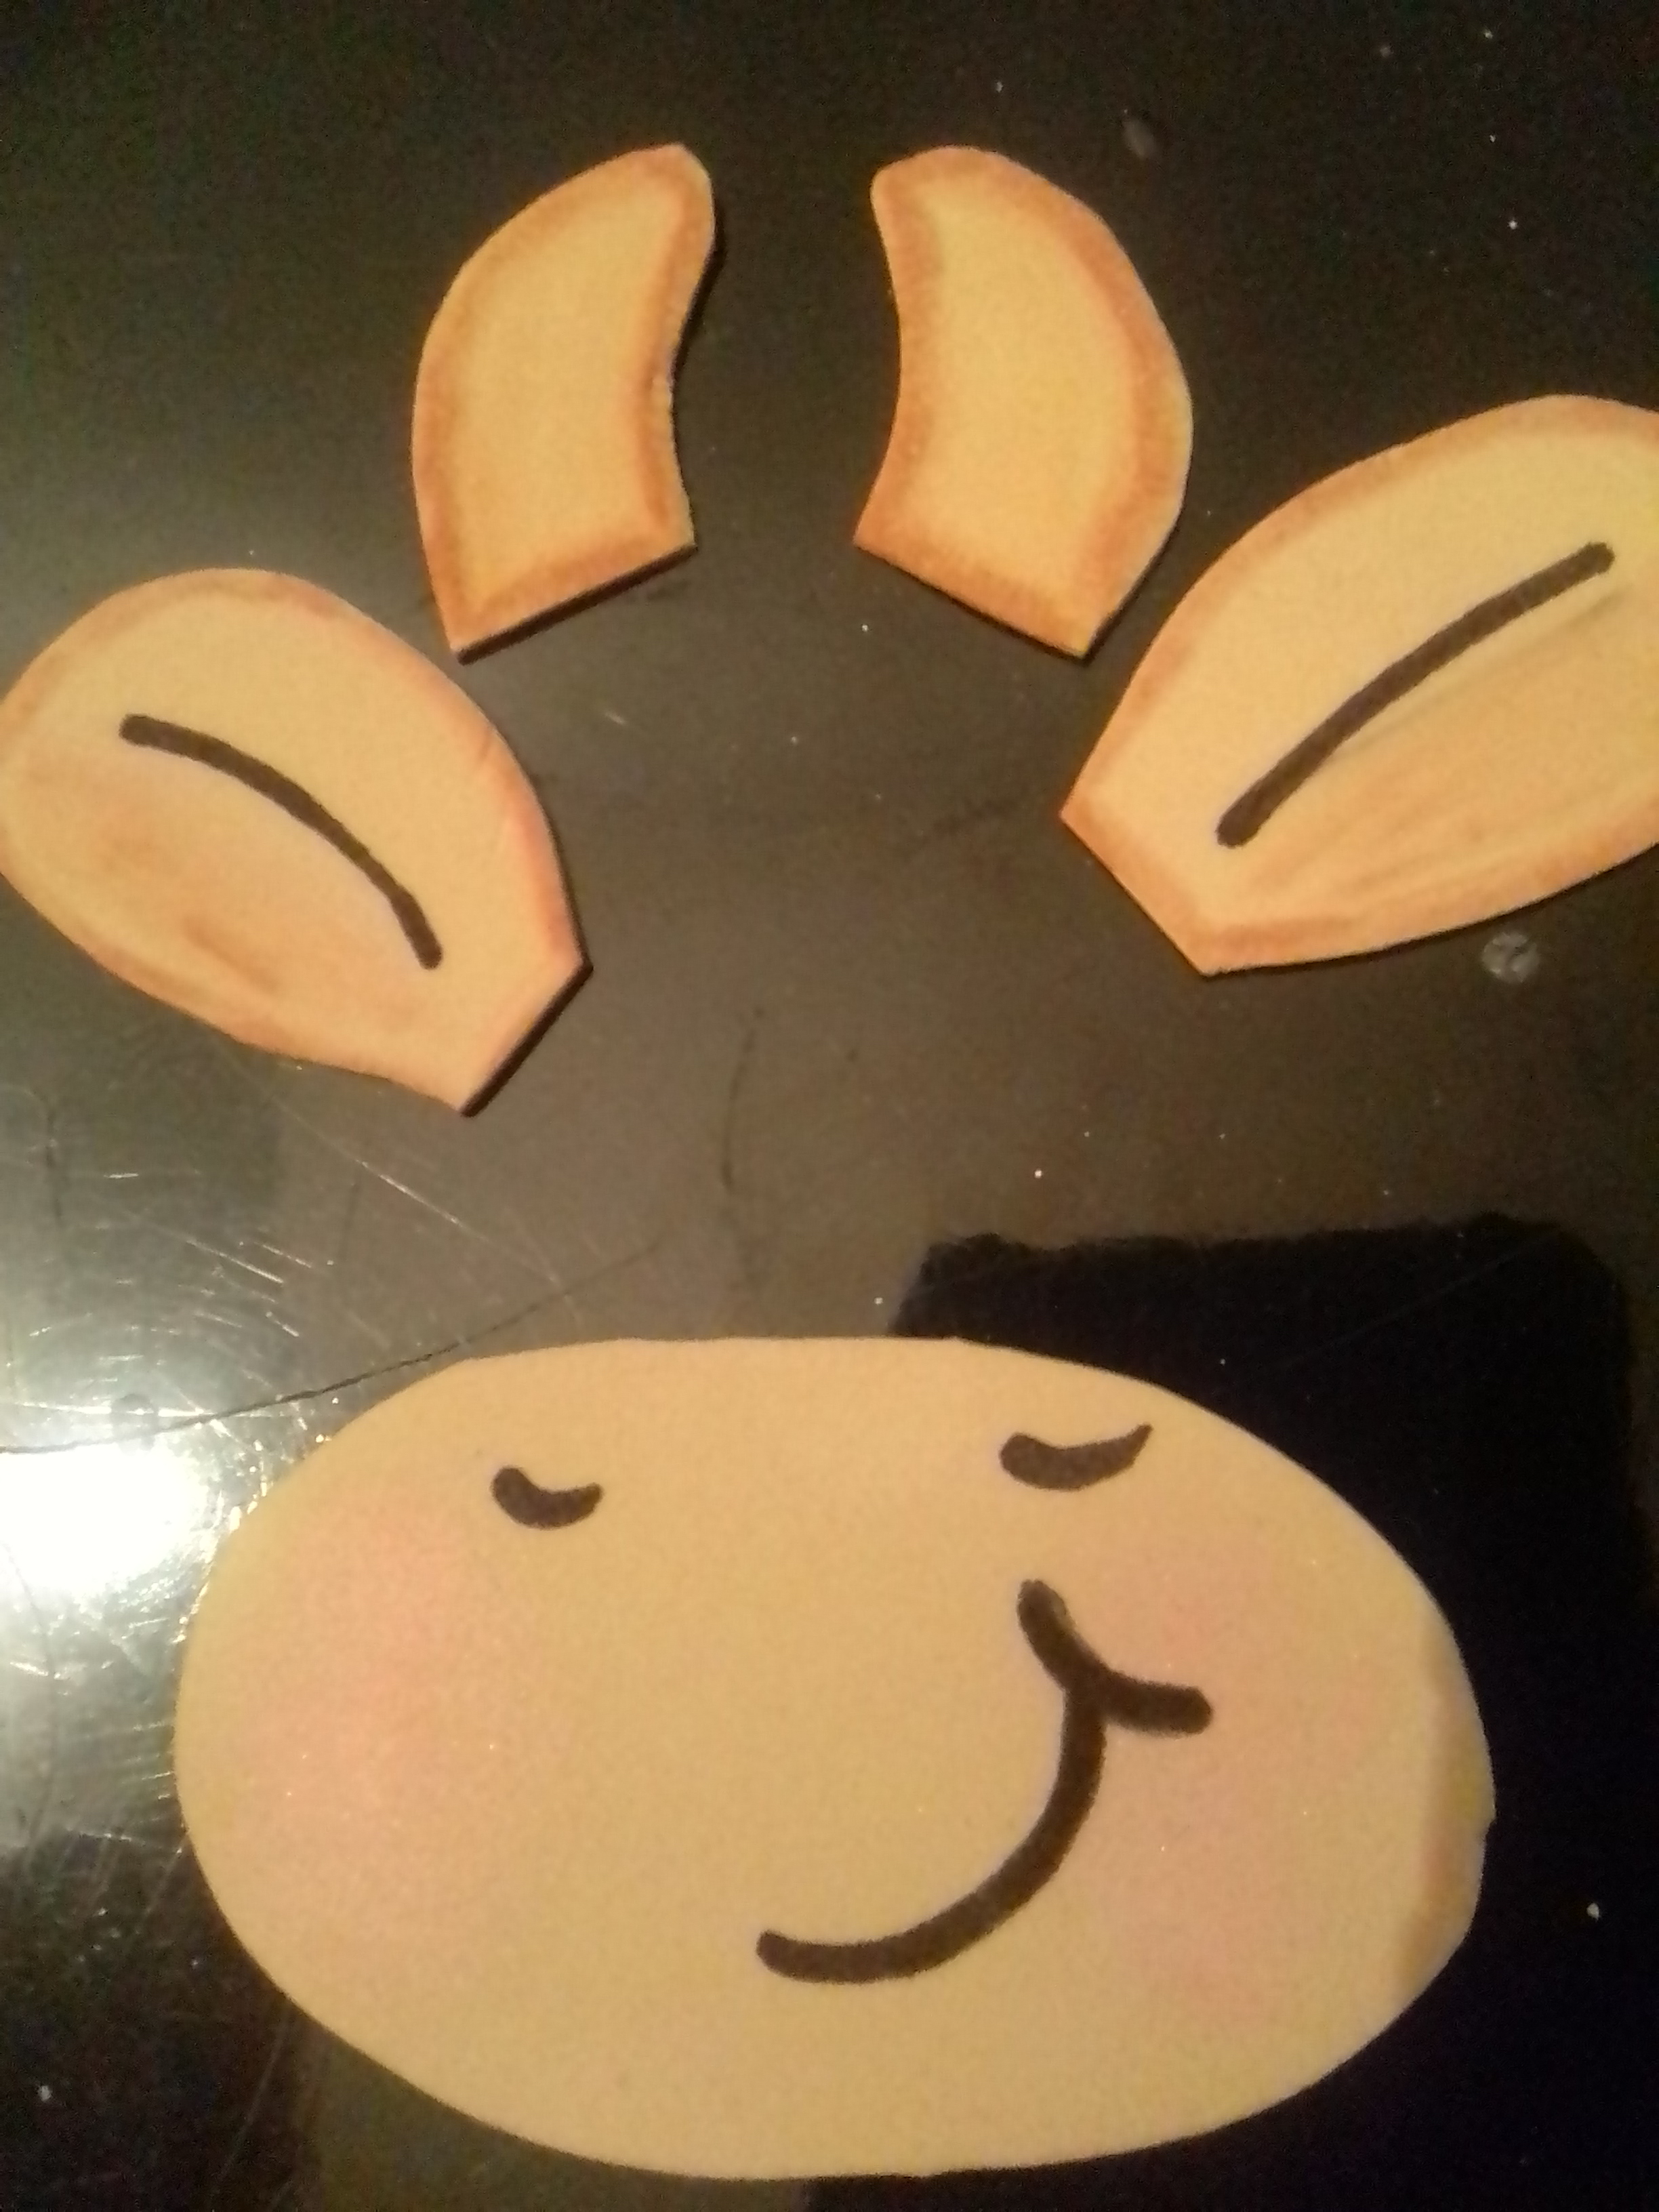
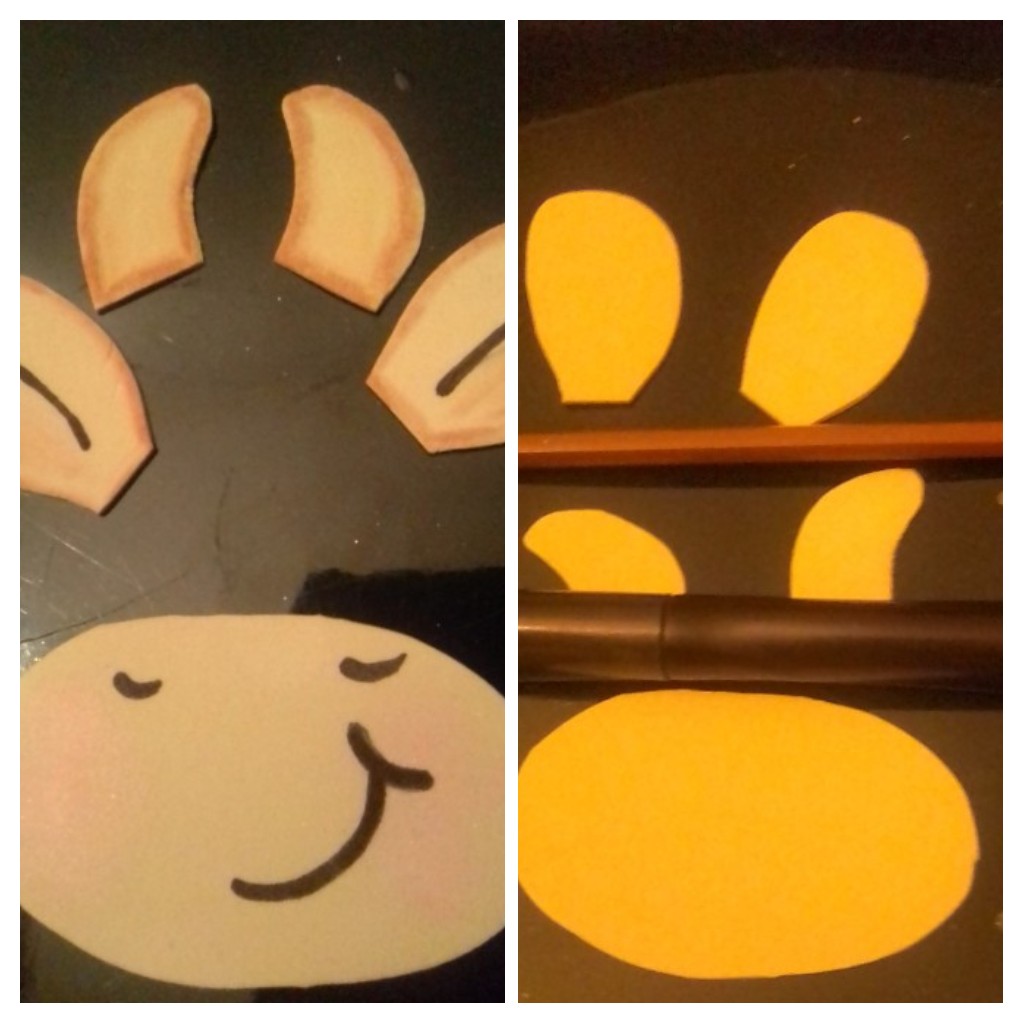
Para agregar naturalidad a la vaca difumine los bordes de la cara, hocico, orejas y cuernos con color marrón. A las orejas les realice una línea con marcador negro, y en el hocico elabore la nariz y la boca, así mismo coloque de manera difuminada rubor sobre las mejillas de la vaca.
To add naturalness to the cow blur the edges of the face, muzzle, ears and horns with brown color. On the ears draw a line with black marker, and on the muzzle draw the nose and mouth, as well as blur blush on the cow's cheeks.
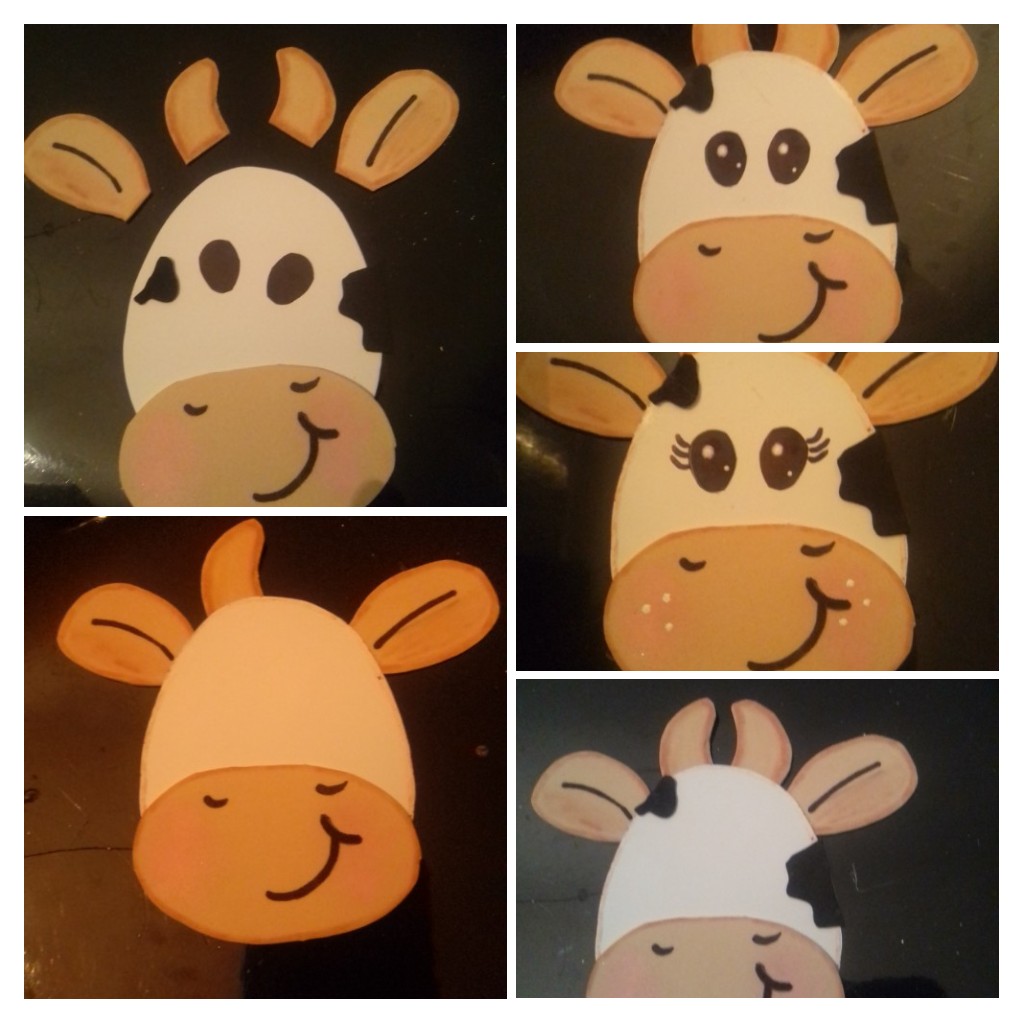
El próximo paso es recortar los ojos en foami negó y colocar dos puntos blancos en cada ojo. Ya con todos los elementos listos procedo entonces a ensamblar mi vaca, pegando el hocico, las orejas y los cuernos, luego ubique los manchas negras de la vaca y por último fijé los ojos para luego realizar con marcador las pestañas, y colocar puntos blancos sobre las mejillas. Lista la cara de la vaca la pegue sobre una paleta de helados ya pintada de blanco y la fijo con silicon caliente en el centro de un lado de la cesta.
The next step is to cut out the eyes in black foami and place two white dots on each eye. With all the elements ready, I proceeded to assemble my cow, gluing the snout, ears and horns, then I placed the black spots on the cow and finally I fixed the eyes and then I made the eyelashes with marker and placed white dots on the cheeks. Ready the face of the cow I glued it on a ball of ice cream already stitched in white and fixed it with hot silicon in the center of one side of the basket.
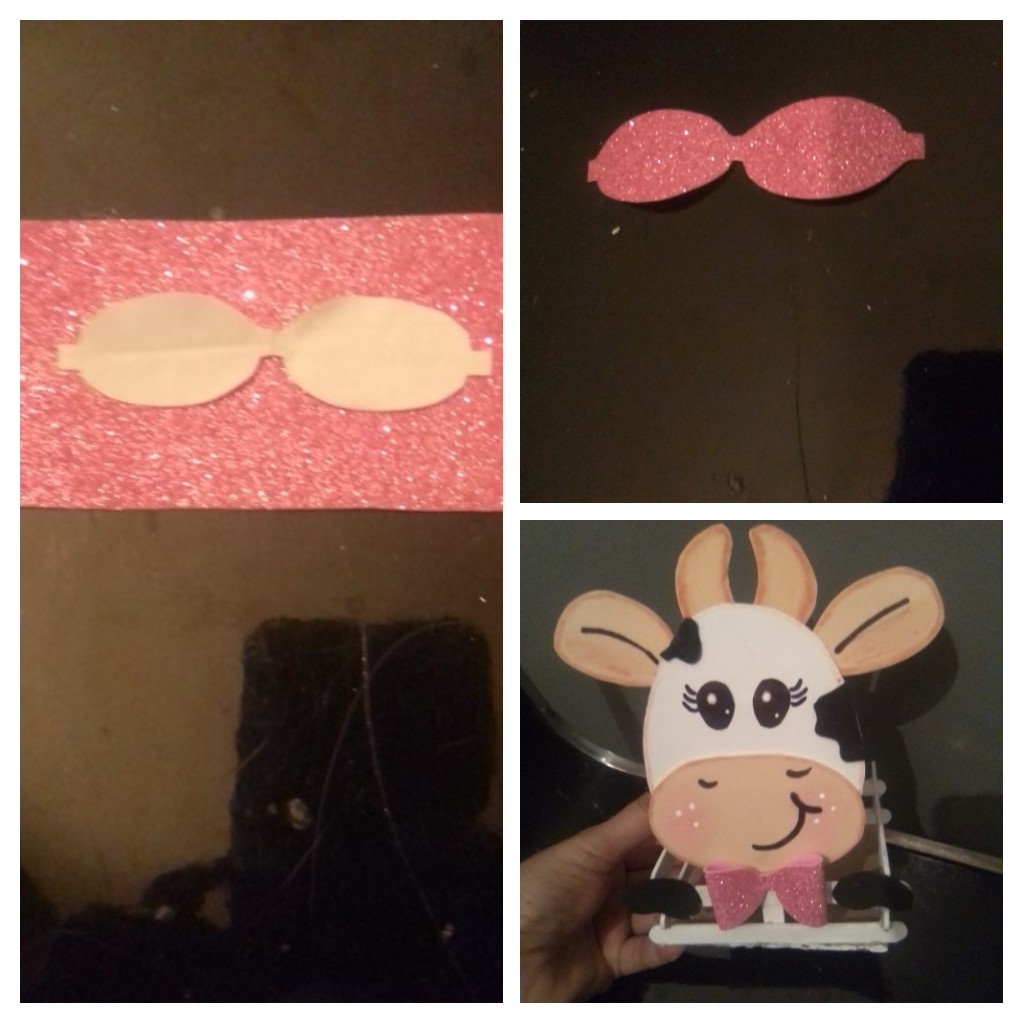
Para finalizar realice un molde para un lazo, el cual lo elabore en foami rosado escarchado, le ubique en el centro y le coloque una perla y a los lados pegue las patas de la vaca. De esta manera ya tengo listo un útil y hermoso organizador para las caja de los cerillos, esta es una manualidad sencilla que podemos realizar en casa y la vez decorar el área de nuestra cocina.
Finally I made a mold for a bow, which I made in pink frosted foami, I placed it in the center and placed a pearl and on the sides I glued the cow's legs. In this way I have ready a useful and beautiful organizer for the matchbox, this is a simple craft that we can do at home and at the same time decorate the area of our kitchen.
Resultado/ Result
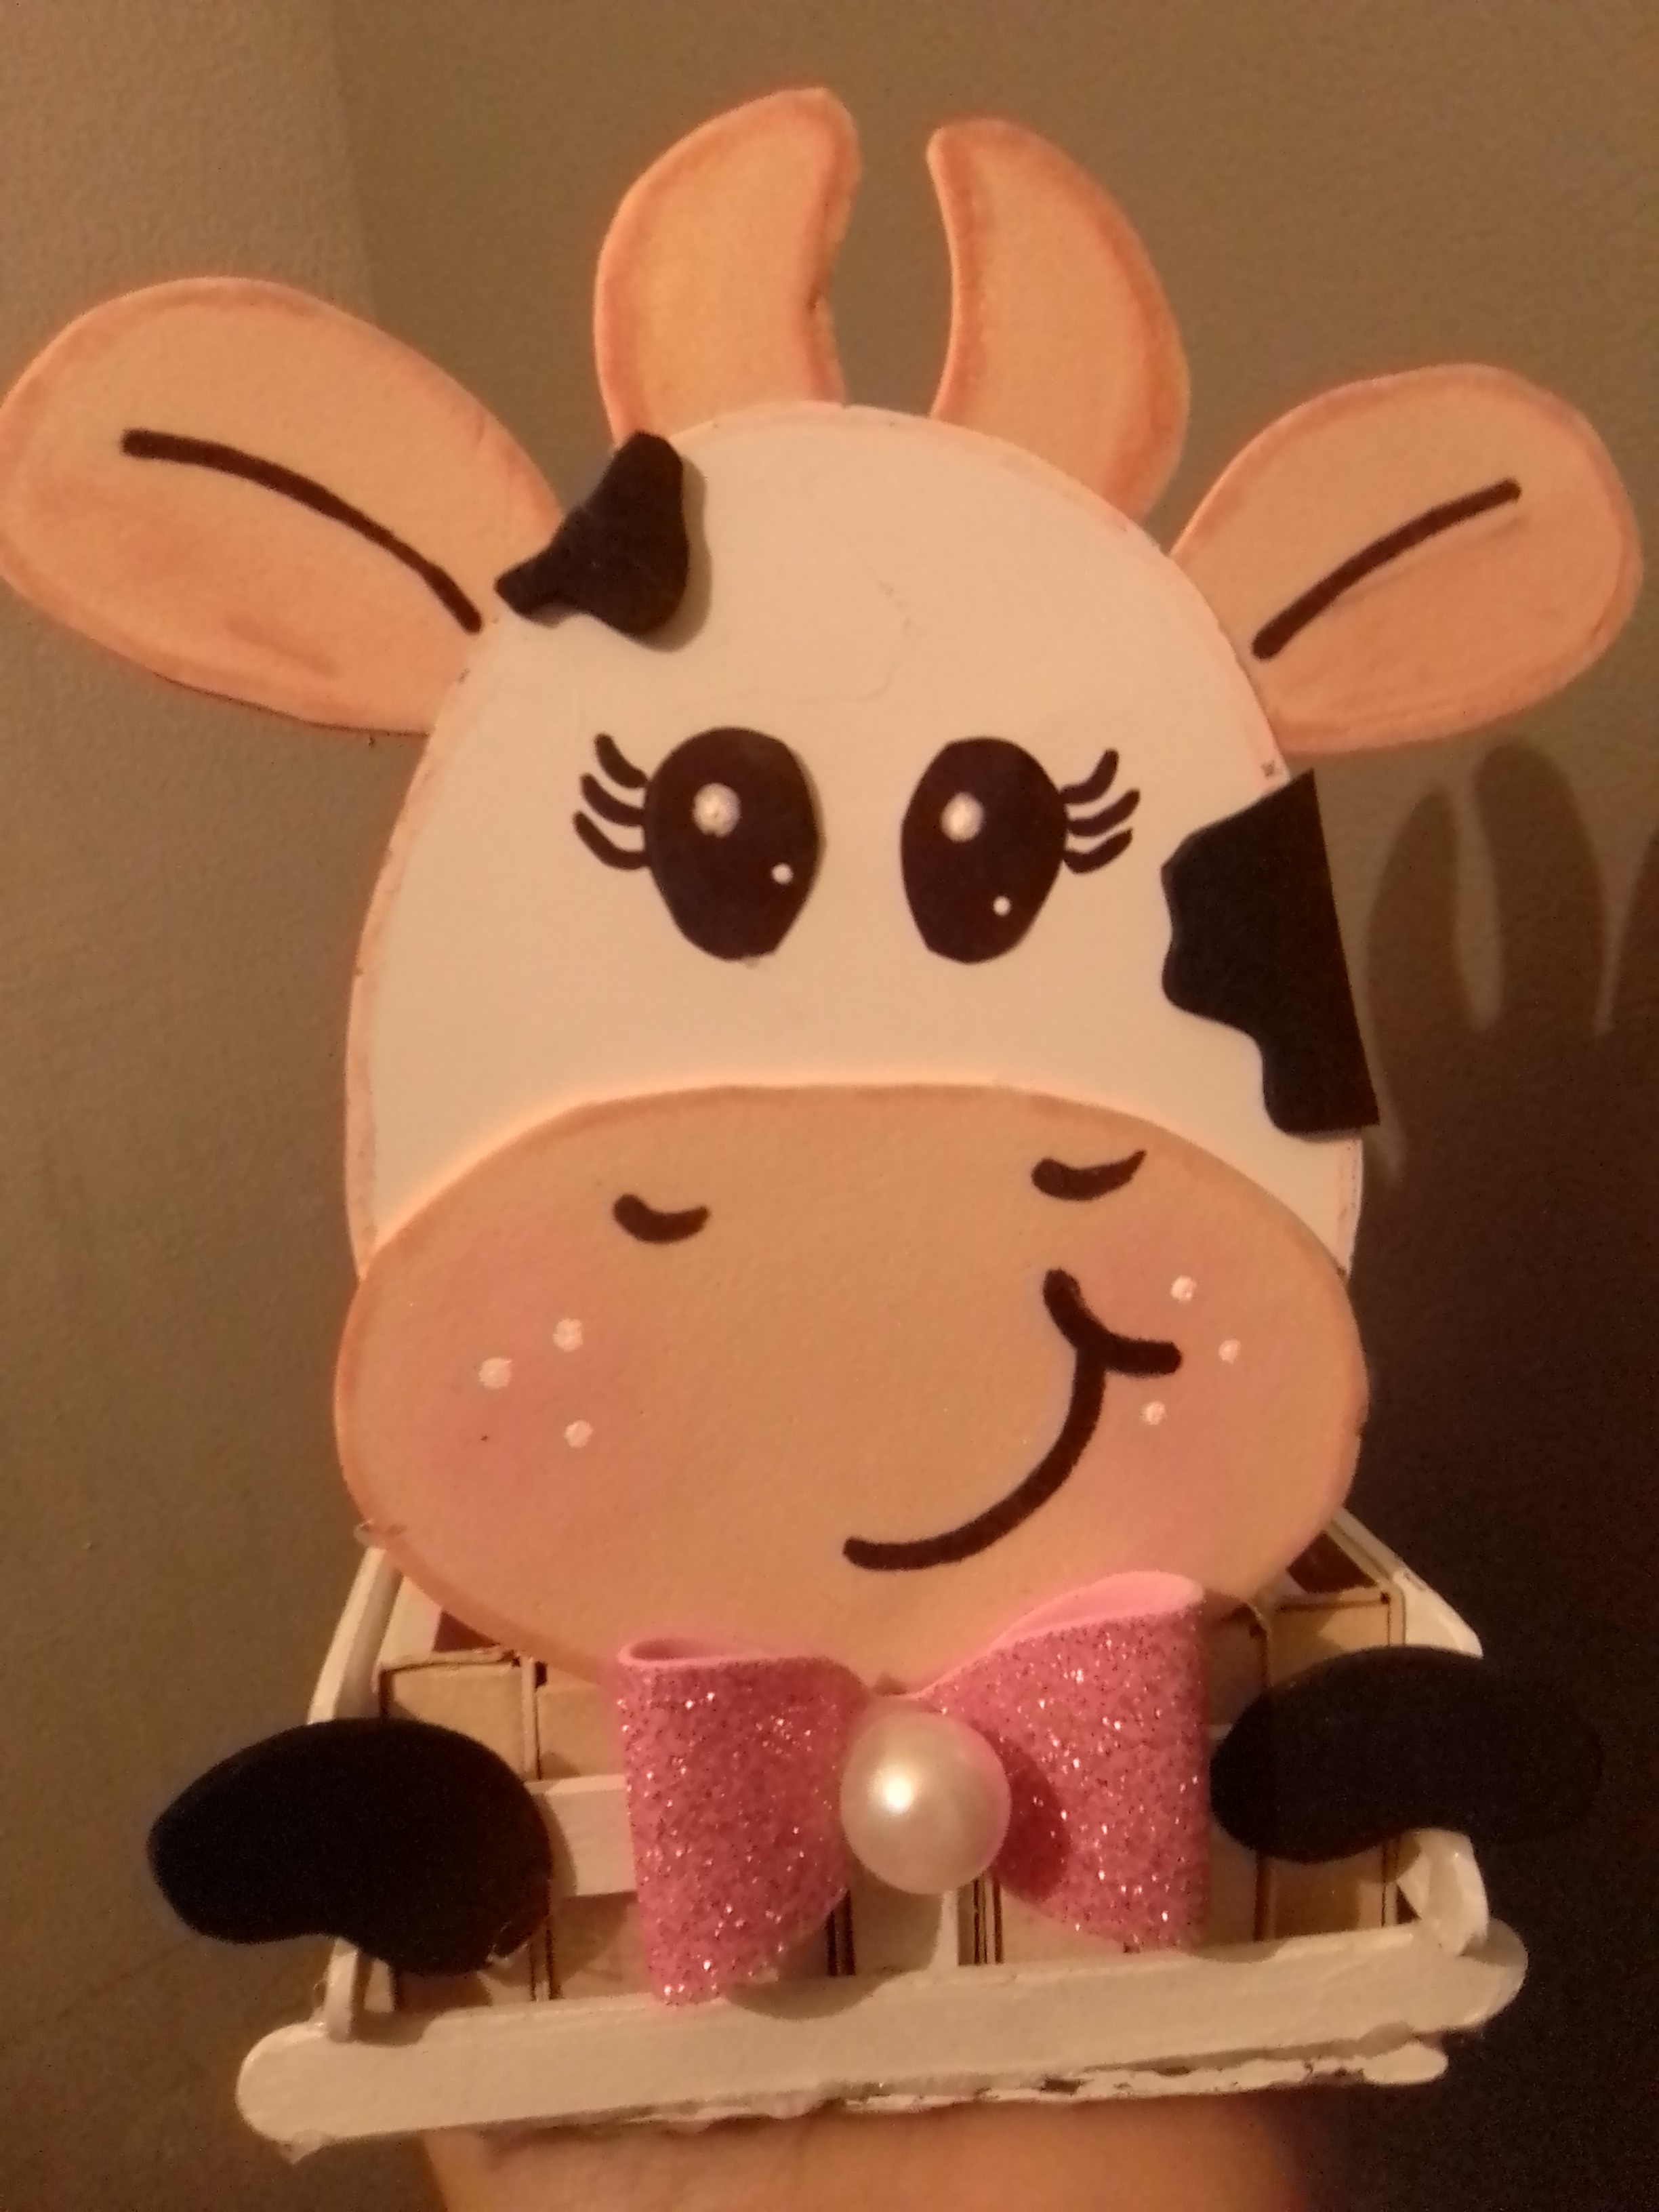
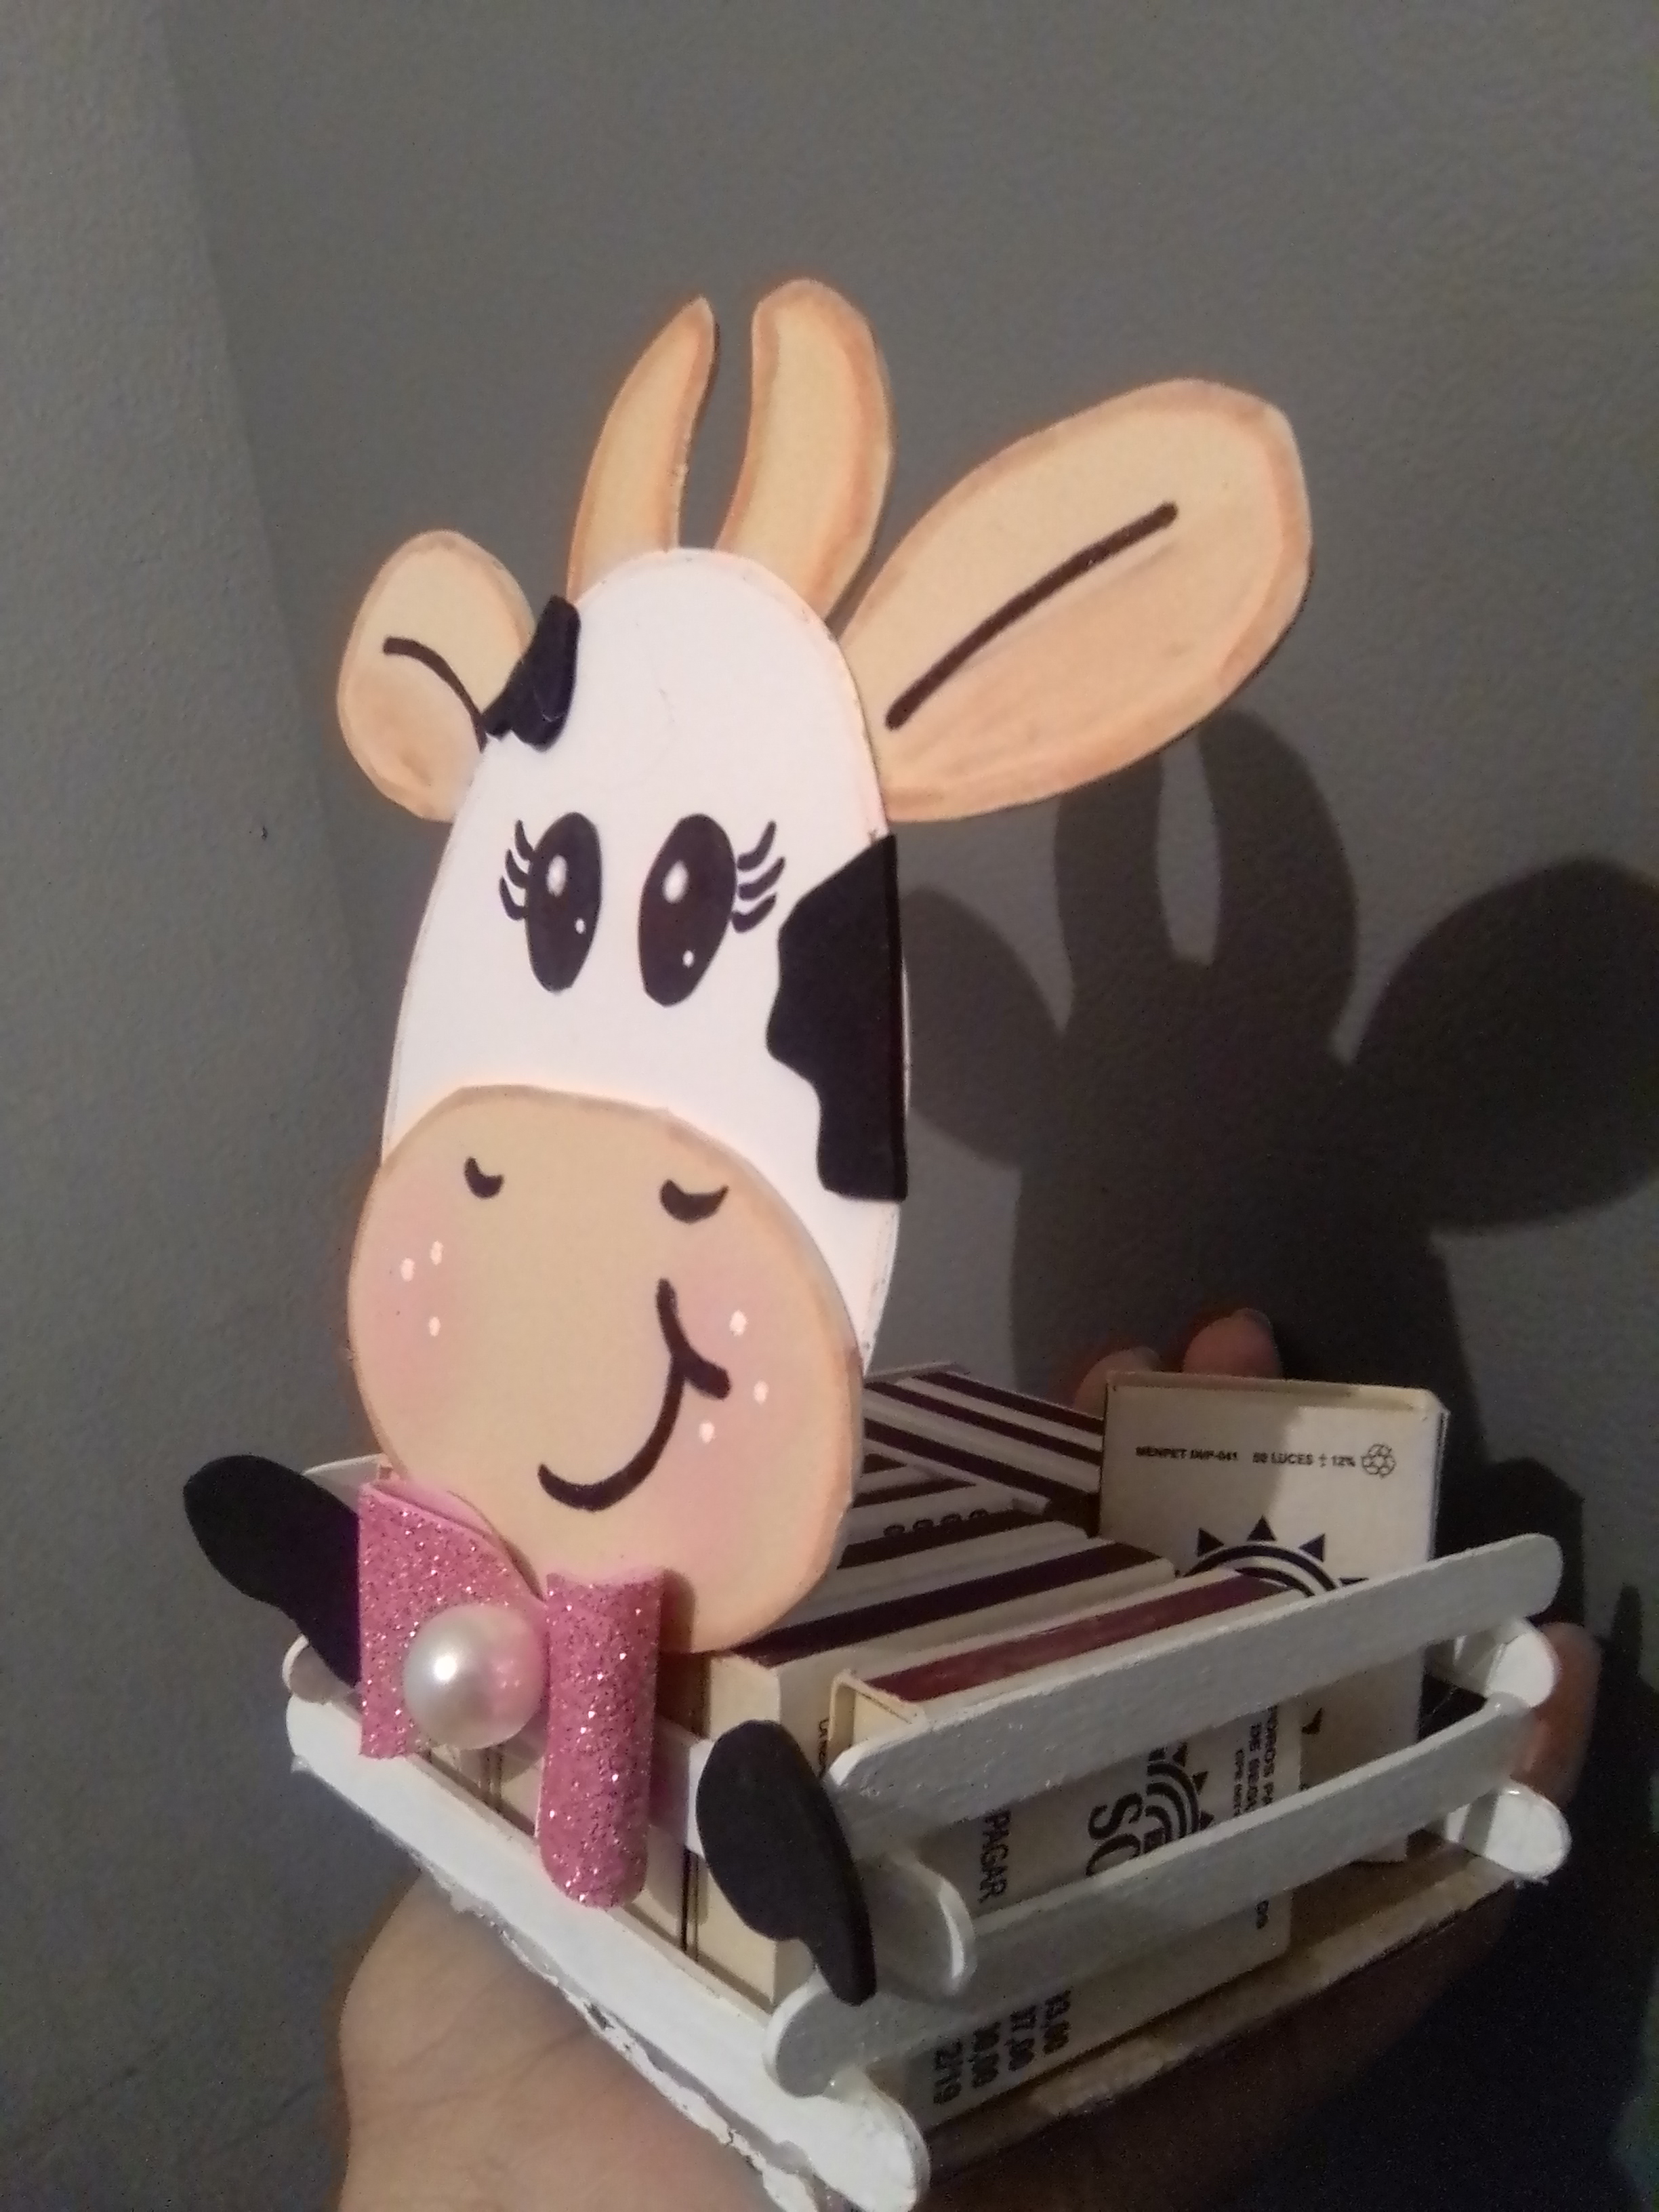
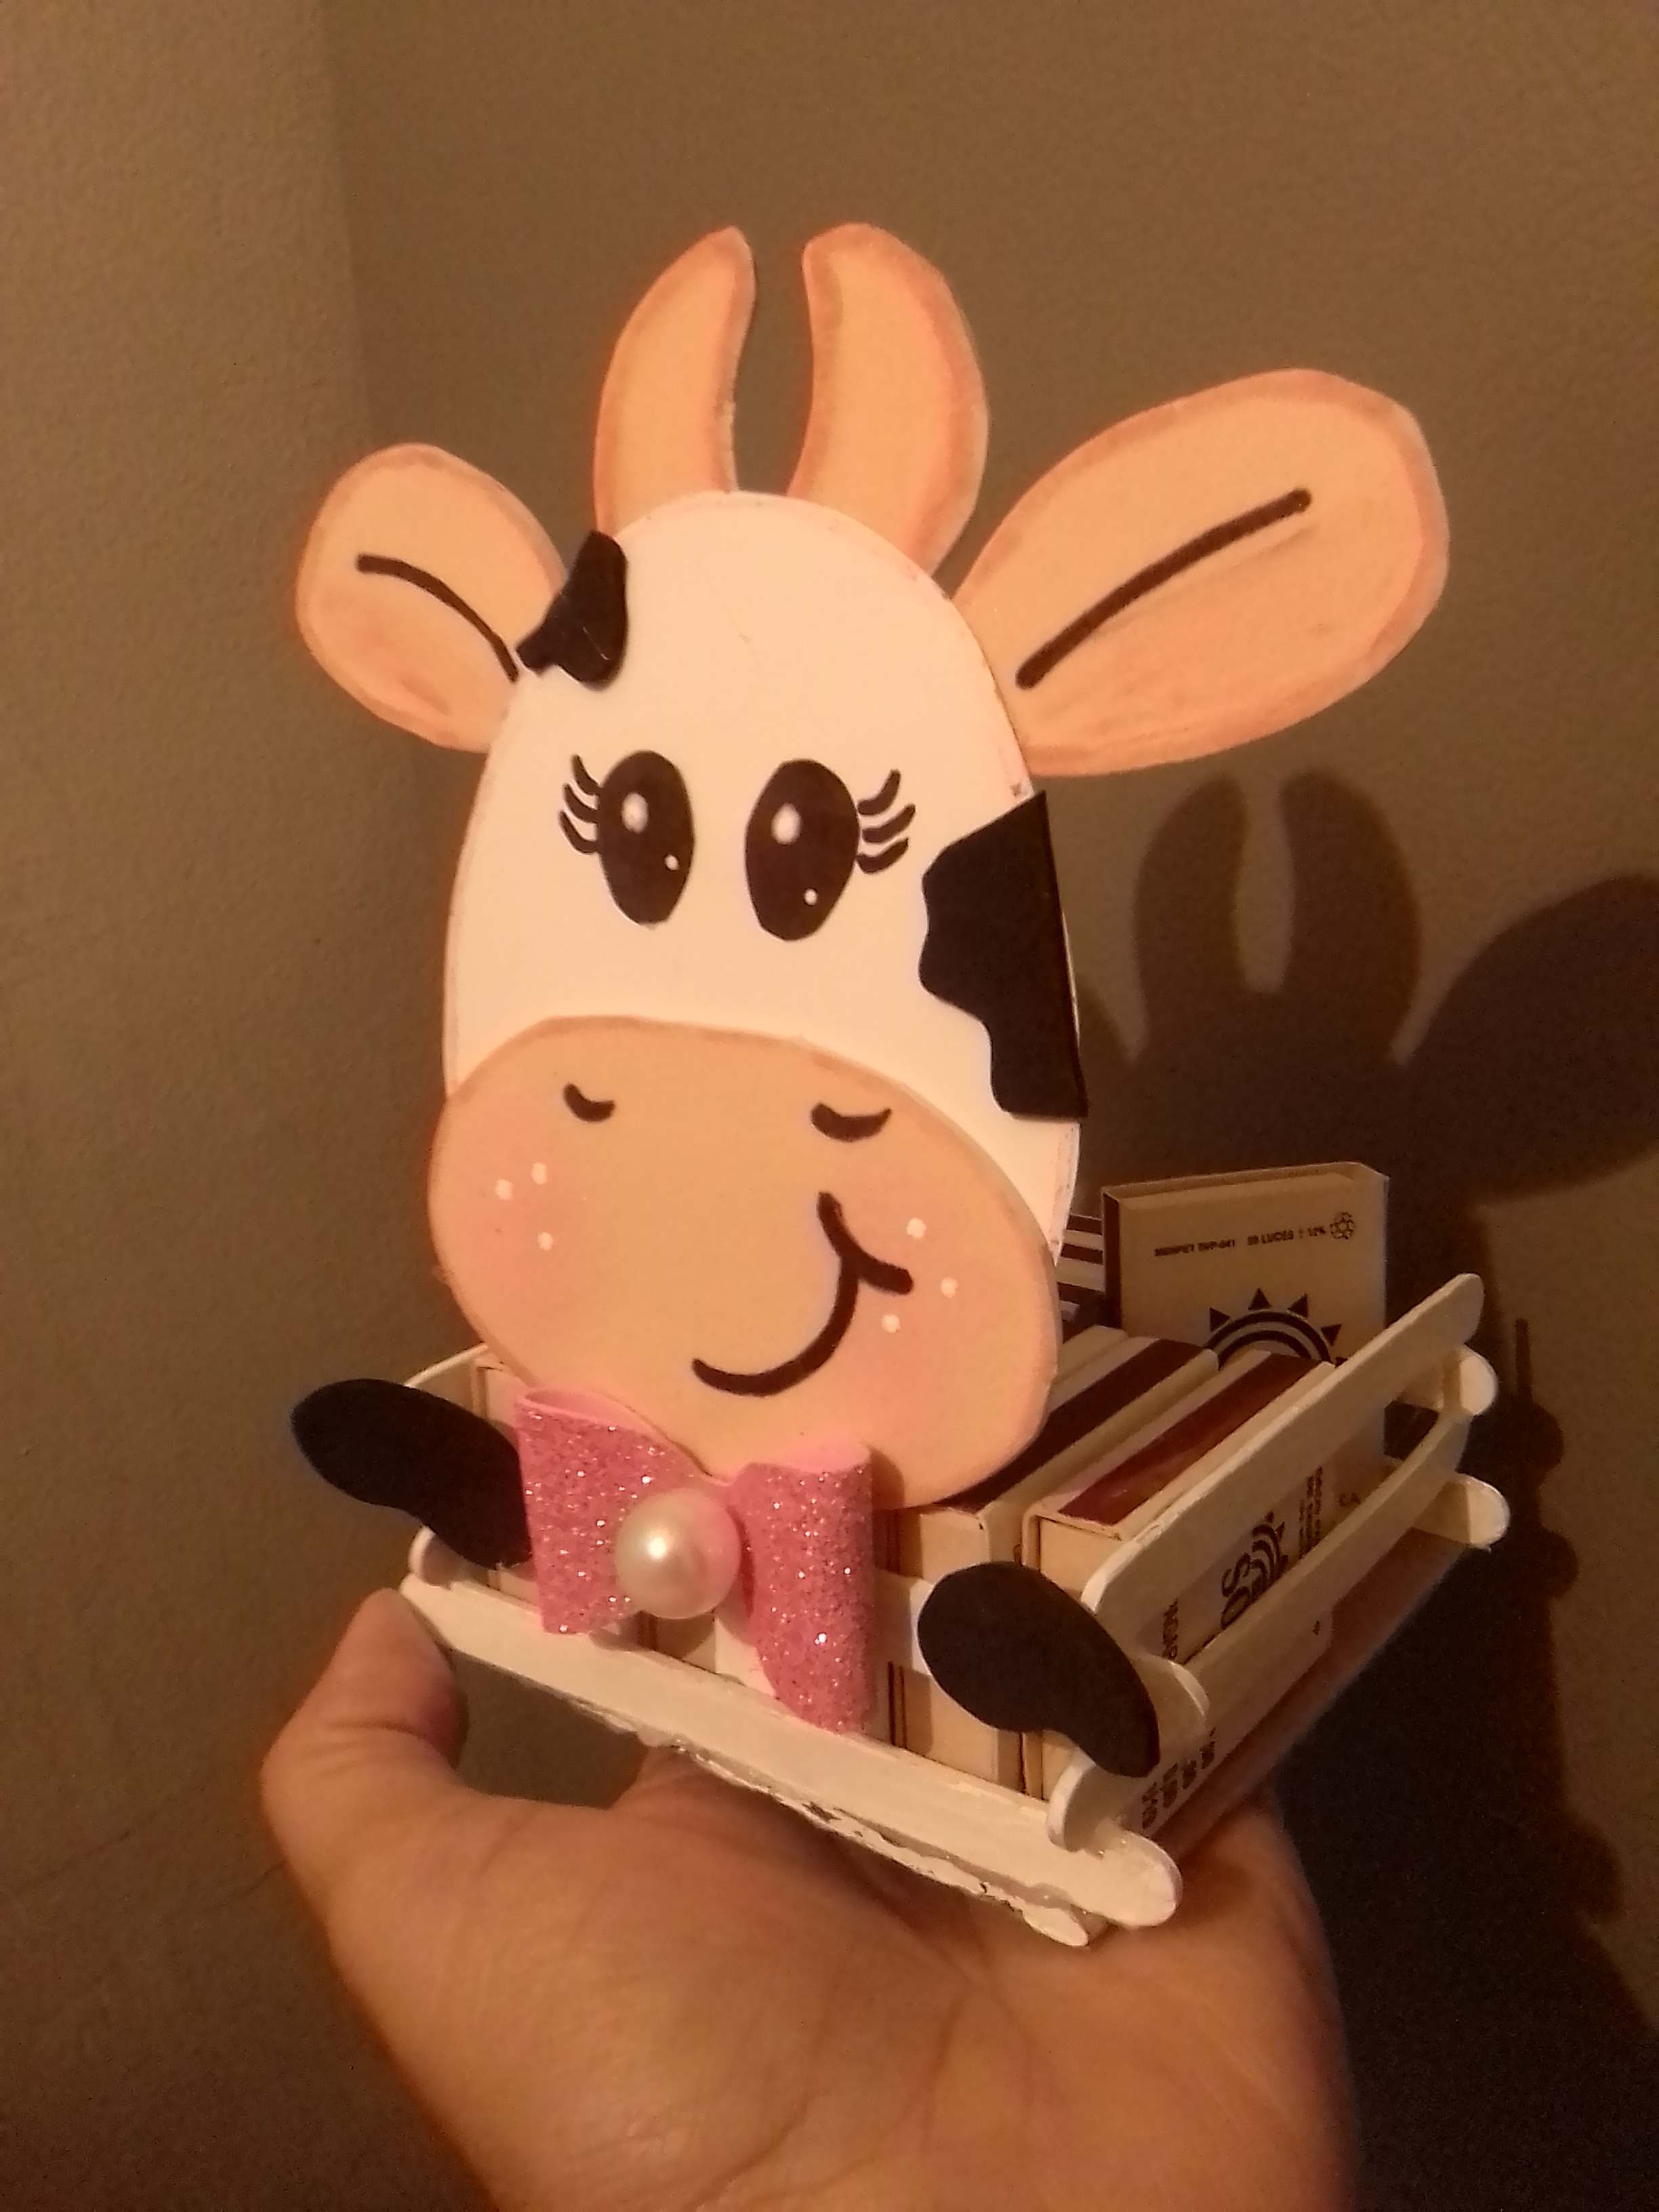
Este es un trabajo manual realizado para esta ocasión y espero sea de su agrado.
This is a manual work done for this occasion and I hope you like it.
Las fotos son de mi propiedad tomadas exclusivamente en este proyecto.
The photos are my property taken exclusively for this project.
Los collages del procedimiento los hice con la herramienta de mi Blue C6 y el principal en Picsart .
I made the collages of the procedure with my Blue C6 tool and the main one in Picsart .
Traductor usado
Translator used
DeepL Traductor
Gracias por leer y apoyar mi blog
Thank you for reading and supporting my blog
Me gustan cuando comparten en la comunidad cosillas que pueden ser realmente útiles y prácticas para nosotros. Me encanta ver este tipo de contenido por acá porque nos muestra que las cosas hechas por nosotros mismos sí se pueden usar en casa.
Gracias por compartir esta hermosa cesta de una vaquita muy adorable. Saludos cordiales.
Muchísimas gracias por tan lindo comentario, de eso se trata, de realizar cosas hermosas que podamos utilizar en nuestras casas, y muy importante es dar una nueva vida a materiales que se piensa que no se pueden usar. 🤗
Thank you for sharing this amazing post on HIVE!
non-profit curation initiative!Your content got selected by our fellow curator @hafizullah & you just received a little thank you via an upvote from our
You will be featured in one of our recurring curation compilations and on our pinterest boards! Both are aiming to offer you a stage to widen your audience within and outside of the DIY scene of hive.
Join the official DIYHub community on HIVE and show us more of your amazing work and feel free to connect with us and other DIYers via our discord server: https://discord.gg/mY5uCfQ !
If you want to support our goal to motivate other DIY/art/music/homesteading/... creators just delegate to us and earn 100% of your curation rewards!
Stay creative & hive on!
Congratulations @yusma21! You have completed the following achievement on the Hive blockchain and have been rewarded with new badge(s):
Your next target is to reach 4000 upvotes.
You can view your badges on your board and compare yourself to others in the Ranking
If you no longer want to receive notifications, reply to this comment with the word
STOPSupport the HiveBuzz project. Vote for our proposal!