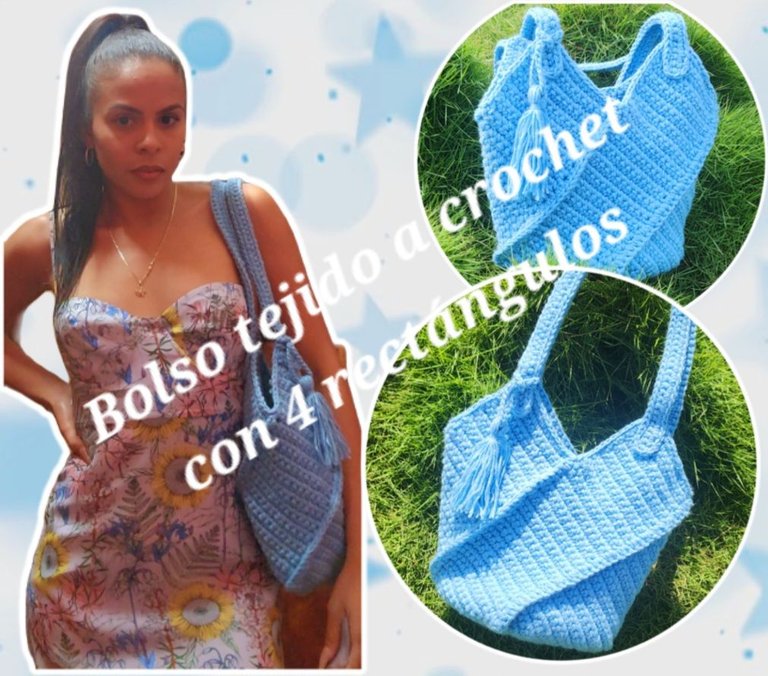
Hermosa noche para todos los amigos creativos de esta comunidad y del mundo entero. Espero que se encuentren en excelentes condiciones y si no es así, les mando todos mis buenas vibras para que salgan de esta, tal vez, mala situación y que la afronten de la mejor manera posible. Por mi parte estoy bien y agradecida con Dios por un nuevo despertar.
Beautiful night to all the creative friends in this community and around the world. I hope you are in excellent conditions and if not, I send you all my good vibes to get through this, perhaps, bad situation and face it in the best possible way. As for me, I am well and grateful to God for a new awakening.
Hoy les traigo el tutorial de un bolso 👜 tejido completamente a crochet. Yo como siempre les digo quedé enamorada, y dirán que siempre digo lo mismo jajaj 😂, pero es la verdad, amigos, no recuerdo un proyecto del que no me haya enamorado y esta vez no fue la excepción 😁.
Today I bring you the tutorial for a crochet 👜 handbag. As always, I fell in love, and you will say I always say the same thing hahaha 😂, but it is true, friends, I do not remember a project that I have not fallen in love with and this time was no exception 😁.
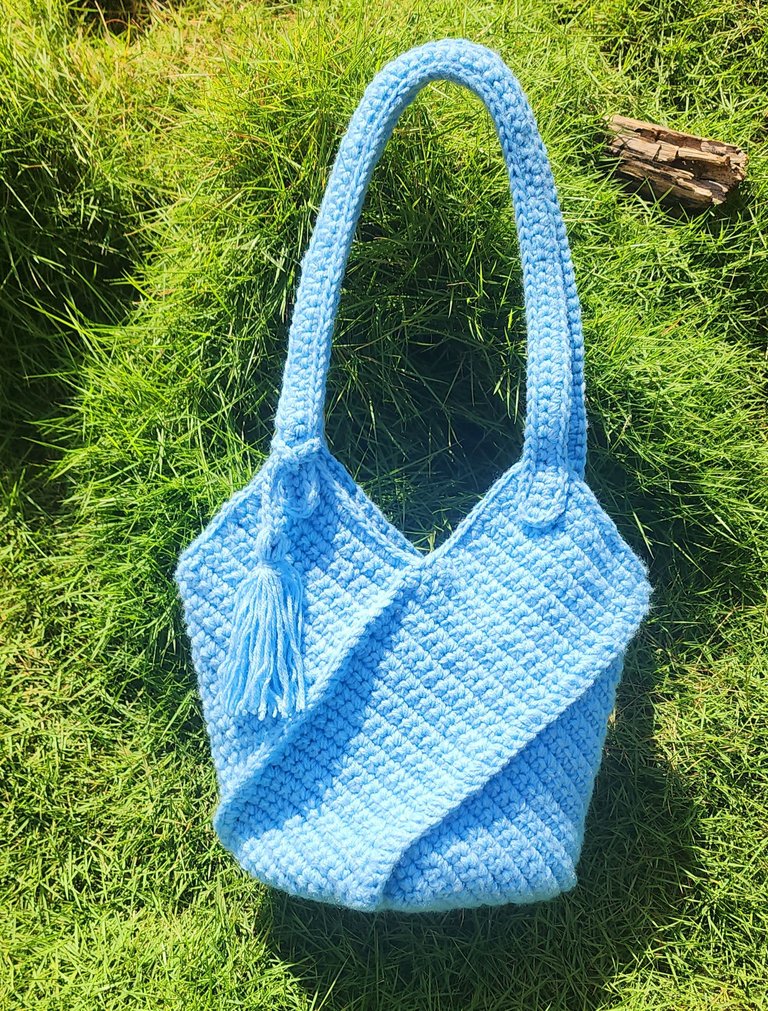
Este bolso queda muy bonito y tiene un modelo elegante, no es muy grande, pero tiene un tamaño apropiado como para hachar varias cosas. Yo lo quise de este tamaño porque lo necesitaba para cuando saliera y tuviera que echar varias cosas, pero no muy grande por mi tamaño, pues no soy grande.
This handbag looks very nice and has an elegant design, it is not very large, but it has an appropriate size to carry several things. I wanted it this size because I needed it for when I went out and had to carry several things, but not too big because of my size, as I am not big.
Chicos, la verdad me encantó, van a amarlo realizarlo también 😁. Y sin más que decir les muestro como lo realicé.
Guys, I really loved it, you will love making it too 😁. And without further ado, I show you how I made it.
✨️💫Materiales✨️💫
- Lana de color azul.
- Agujeta.
- Tijera.
- Marcadores.
- Aguja lanera.
✨️💫Materials✨️💫
- Blue yarn.
- Crochet hook.
- Scissors.
- Markers.
- Tapestry needle.
💫✨️Step by Step / Paso a paso💫✨️
V1 - Comenzamos haciendo 14 cadenas, hacemos una cadena más y en la tercera cadena meto mi gancho y realizo mi primer punto bajo, y continúo así hasta el final de la vuelta.
V1 - We start by making 14 chains, make one more chain and in the third chain, insert my hook and make my first single crochet, and continue like this until the end of the row.
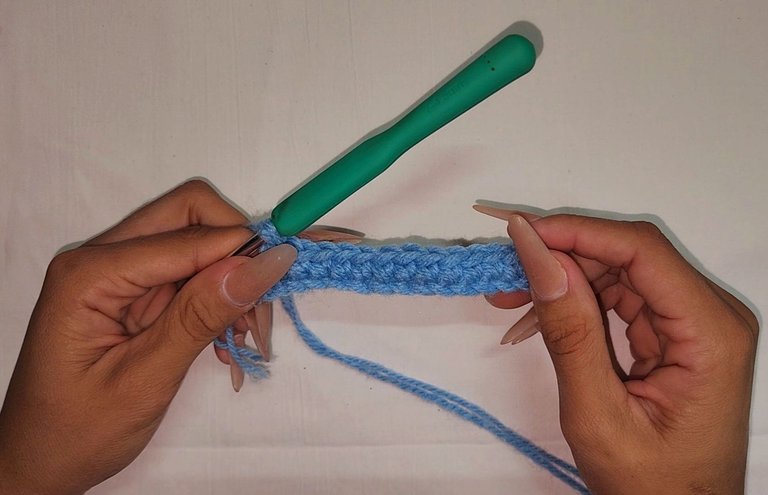
V2 - Subo una cadena, giro mi tejido y realizo toda la vuelta de puntos bajos.
V2 - Chain up one, turn your work, and make a full row of single crochets.
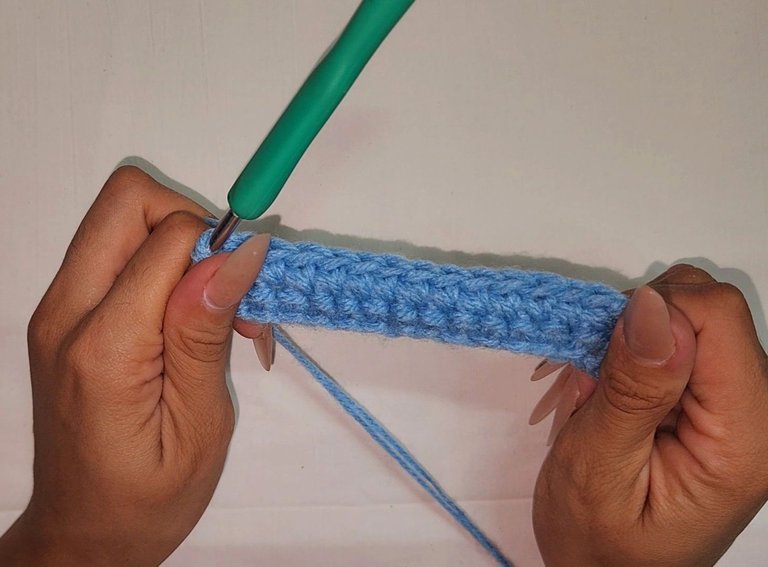
V3 - Subo una cadena, giro mi tejido y realizo toda la vuelta de puntos bajos y esto lo continúo haciendo hasta tener un total de 44 vueltas.
V3 - Chain up one, turn your work, and make a full row of single crochets and continue doing this until you have a total of 44 rows.
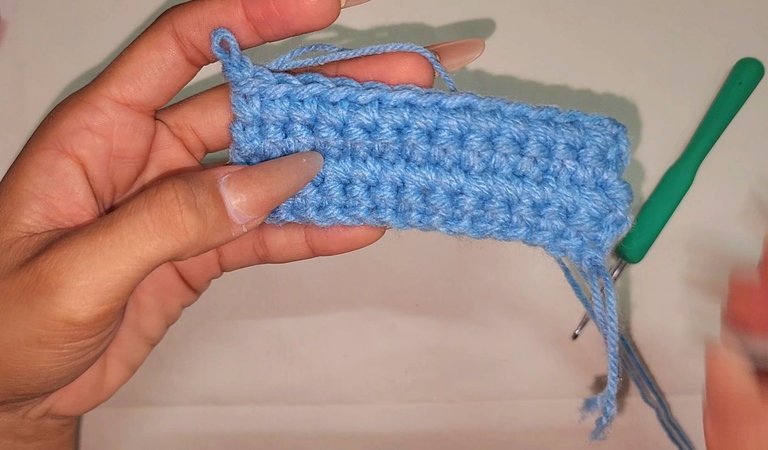
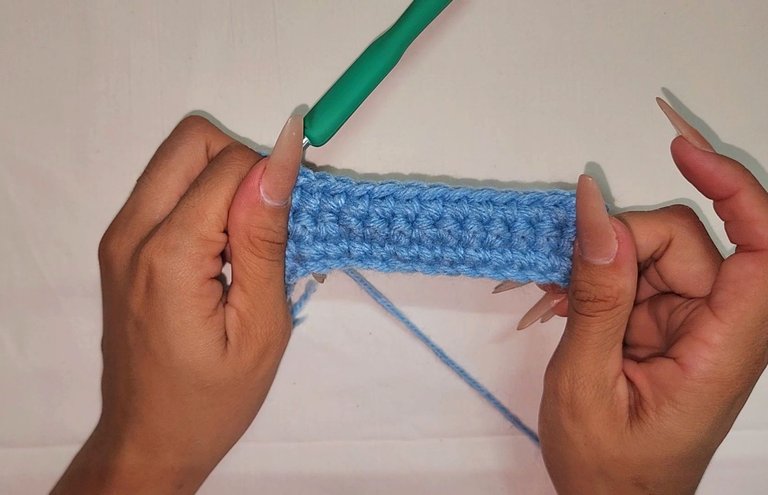
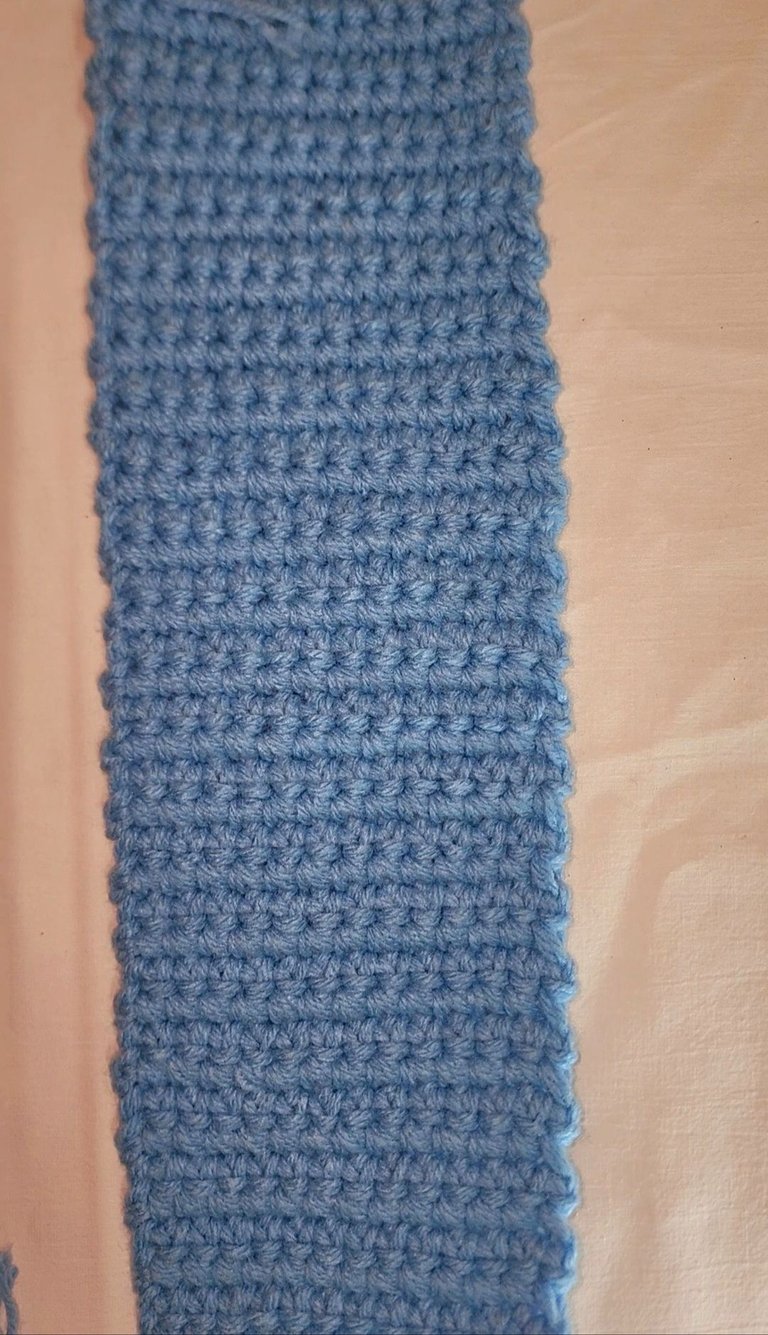
💥 Así queda nuestro primer rectángulo, ahora necesitamos tener 4 rectángulos iguales, nos faltarían hacer 3 rectángulos más.
💥 This is how our first rectangle looks, now we need to have 4 identical rectangles, we would still need to make 3 more rectangles.
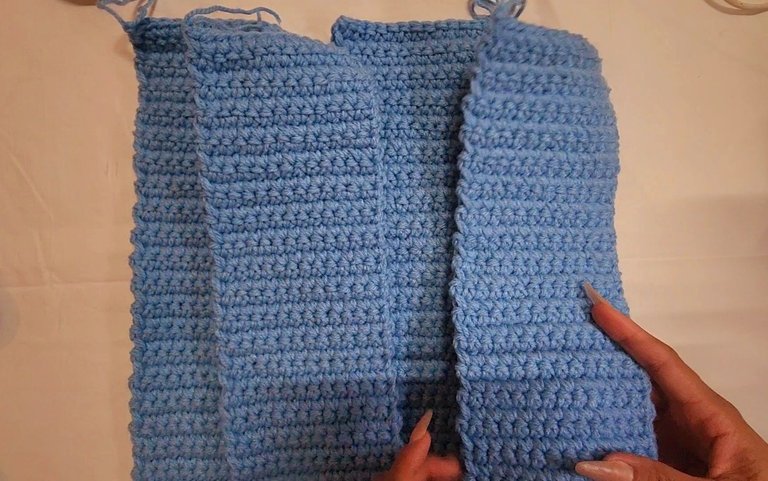
Ahora que ya tenemos nuestros 4 rectángulos, vamos a colocarlos de esta manera.
Now that we have our 4 rectangles, let's arrange them this way.
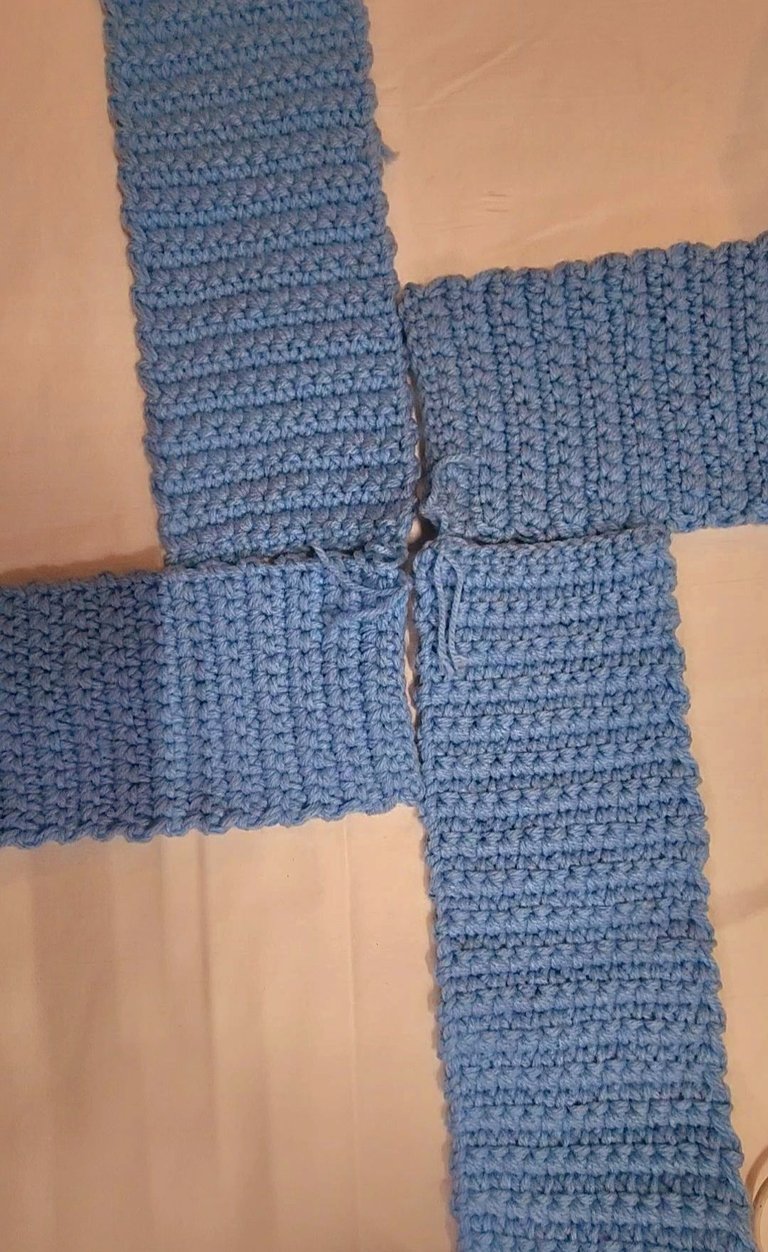
Luego de tenerlos colocados, así vamos a unir con la ayuda de marcadores donde terminan los lados cortos a los lados largos.
After having them arranged, we will join them with markers where the short sides end to the long sides.
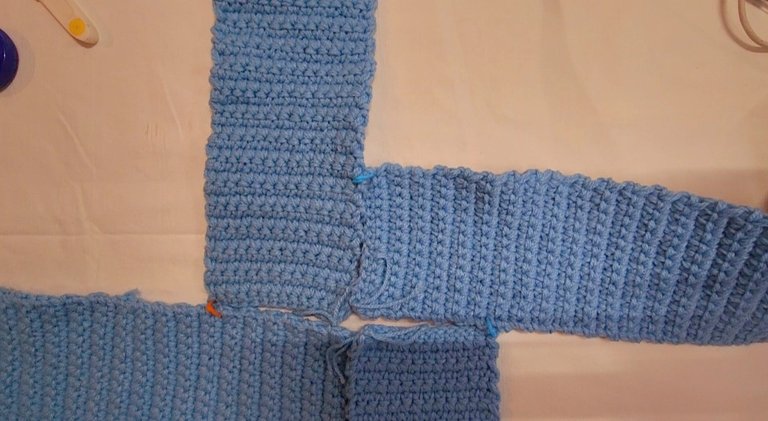
Ahora que ya tenemos unidos los 4 rectángulos, vamos a comenzar a coserlos con el punto bajo.
Now that we have joined the 4 rectangles, we will start sewing them with single crochet stitches.
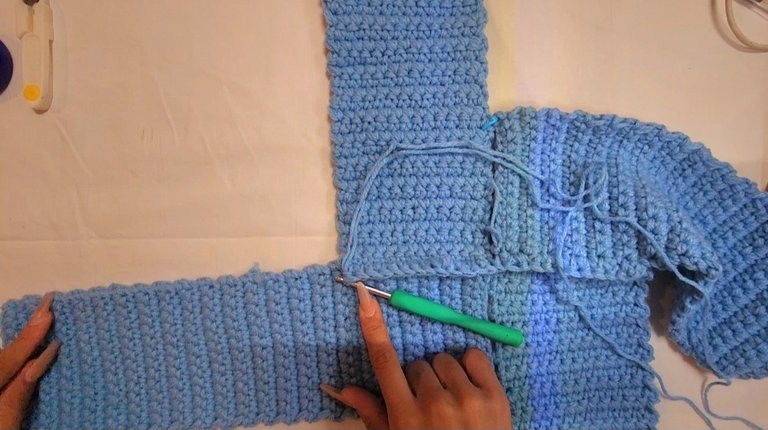
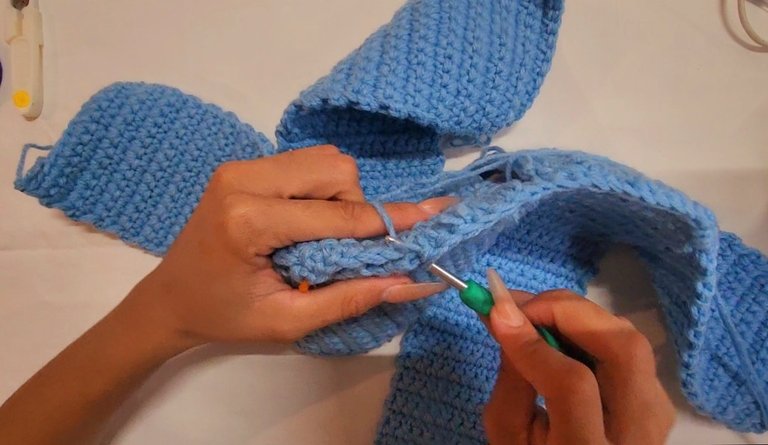
Luego de tener unidos la parte central que sería el fondo de nuestro bolso, vamos a coser los laterales, y lo haremos uniendo los lados largos de los rectángulos.
After having the central part that would be the bottom of our handbag joined, we will sew the sides, joining the long sides of the rectangles.
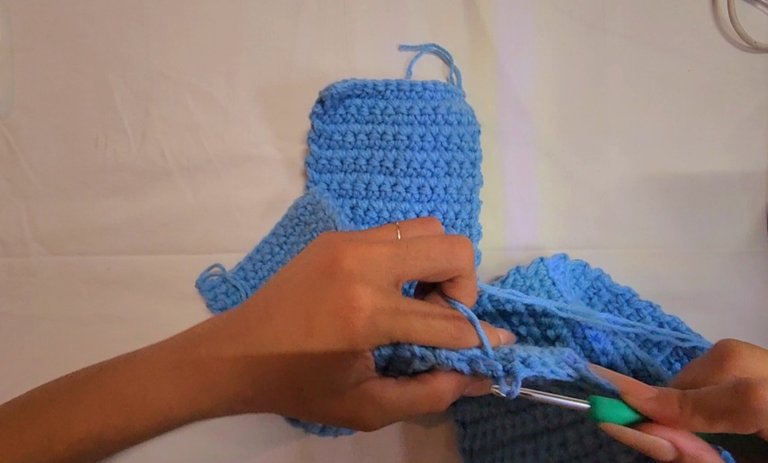
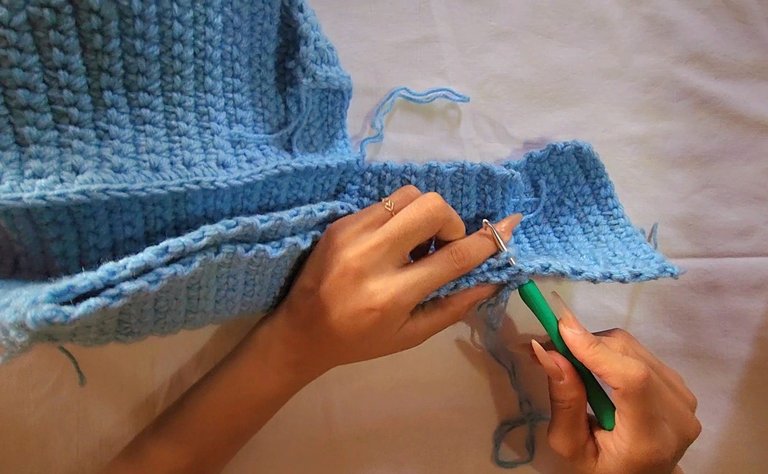
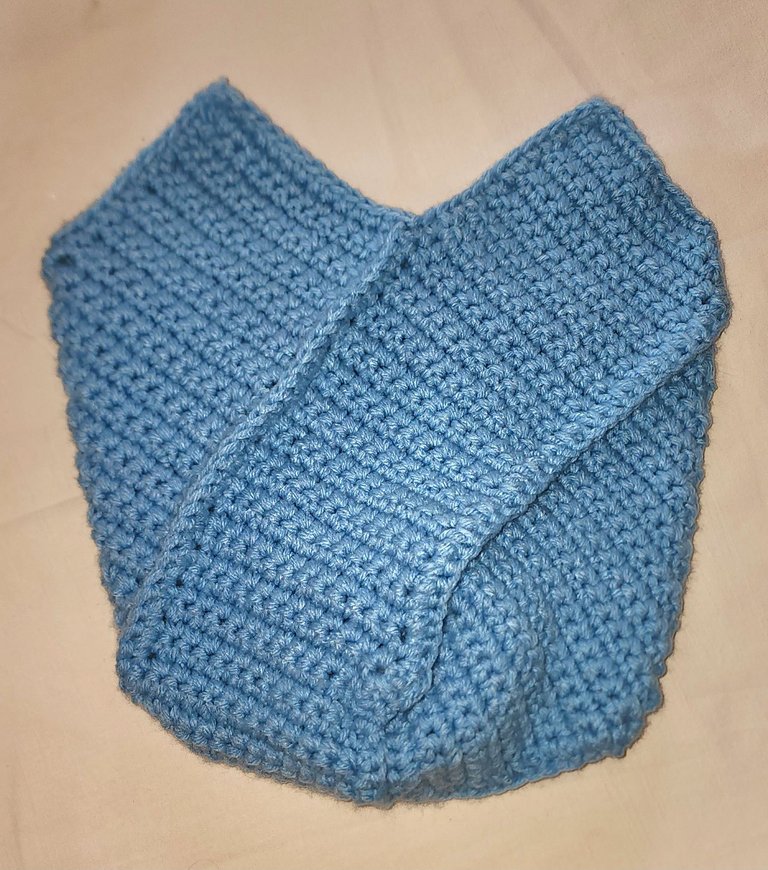
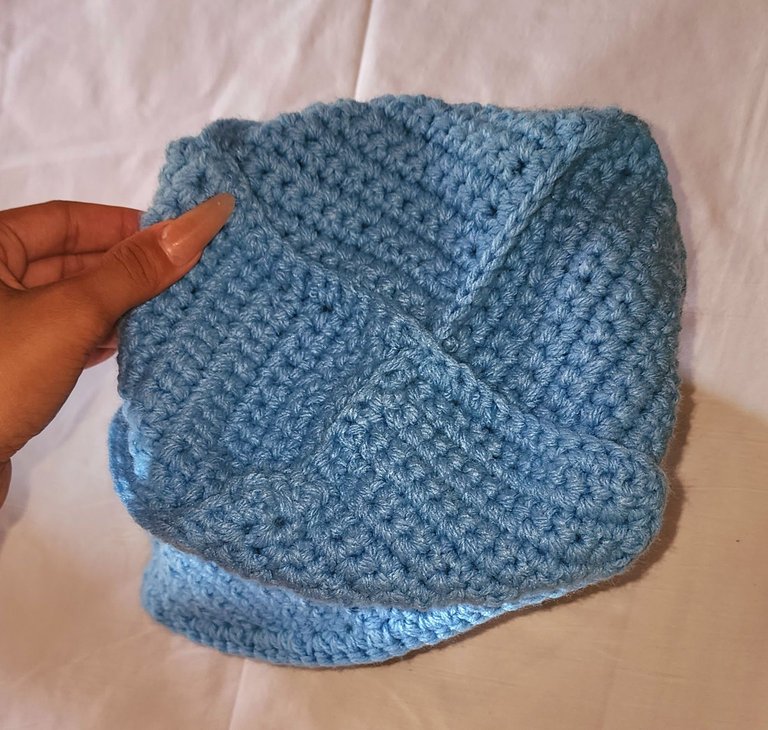
Ahora ya tenemos el cuerpo del bolso casi listo, solo debemos tejer la orilla con puntos bajos dándole una vista más bonita y un terminado más profesional.
Now we have the body of the handbag almost ready, we just need to crochet the edge with single crochets to give it a nicer look and a more professional finish.
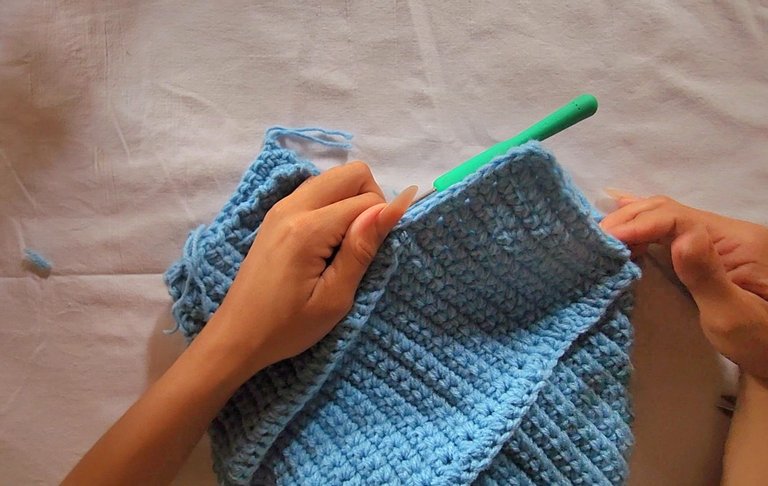
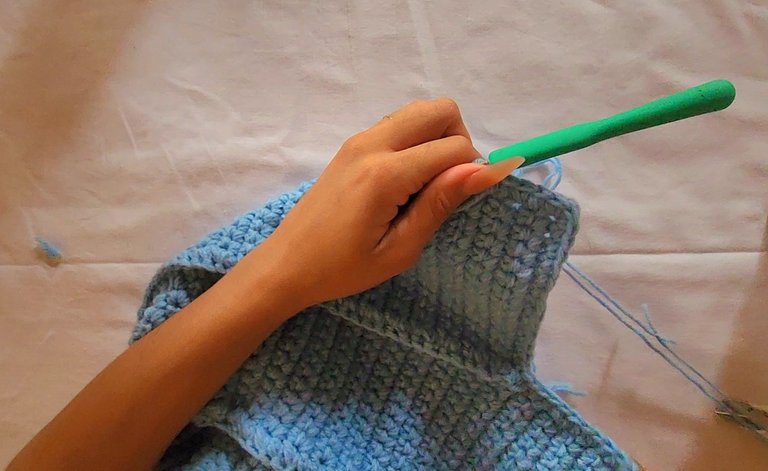
💫✨️Ahora vamos a hacer las asas / Now let's make the handles💫✨️
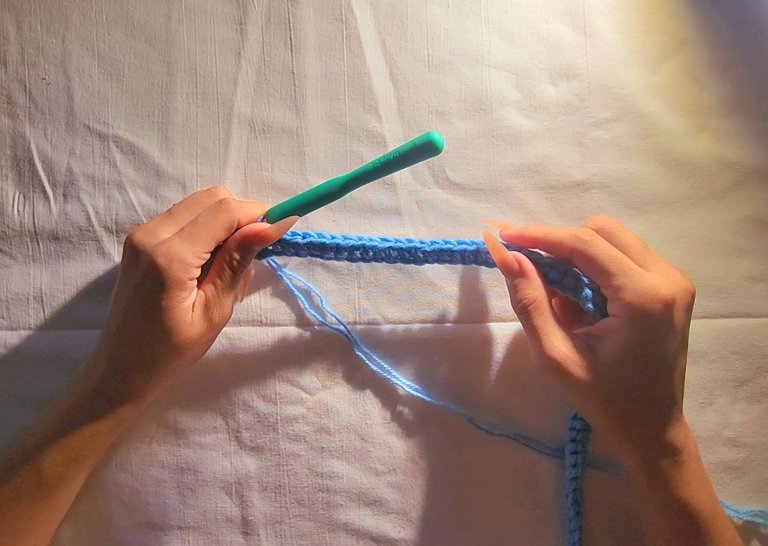
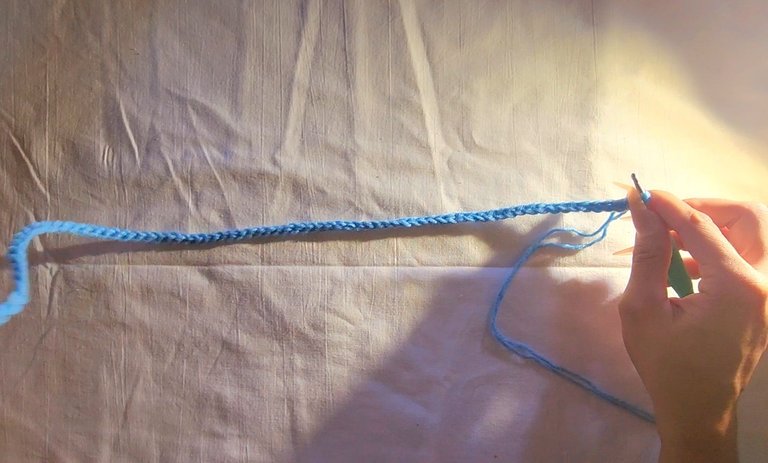
V1 - Comenzamos haciendo 81 cadenas, subimos una cadena más y en la tercera hacemos 1 pb y continuamos haciendo puntos bajos hasta el final de la vuelta.
V1 - We start by making 81 chains, chain up one more and in the third chain make 1 sc and continue making single crochets until the end of the row.
V2 - Subimos una cadena, giramos el tejido y hacemos hasta el penúltimo punto de la vuelta puntos bajos, en el último punto hacemos 3 puntos bajos en el mismo punto.
V2 - Chain up one, turn the work, and make single crochets until the second to last stitch of the row, in the last stitch make 3 single crochets in the same stitch.
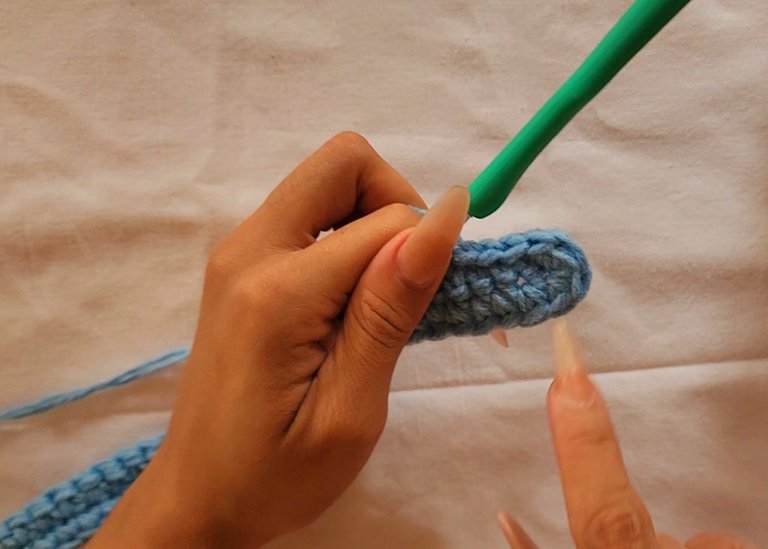
V3 - Ahora vamos a hacer puntos deslizados por toda la orilla de la parte donde comenzamos con cadenetas y en el último punto hacemos 2 puntos bajos, que con el que ya estaba hecho serían 3 puntos bajos, y cerramos con punto deslizado en el siguiente punto. Hacemos una cadena al aire, cortamos hilo y escondemos.
V3 - Now we are going to make slip stitches all around the edge of where we started with chains and in the last stitch, make 2 single crochets, which with the one that was already made would be 3 single crochets, and close with a slip stitch in the next stitch.
Chain one, cut the yarn and hide it.
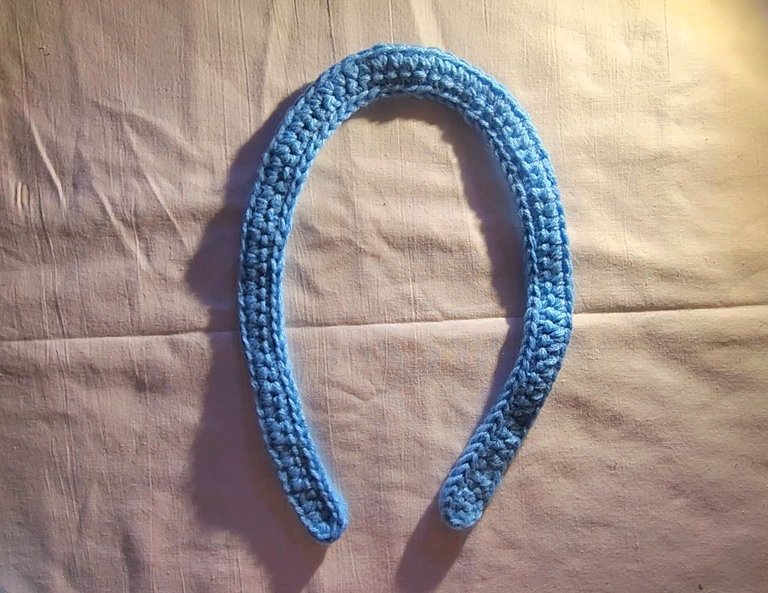
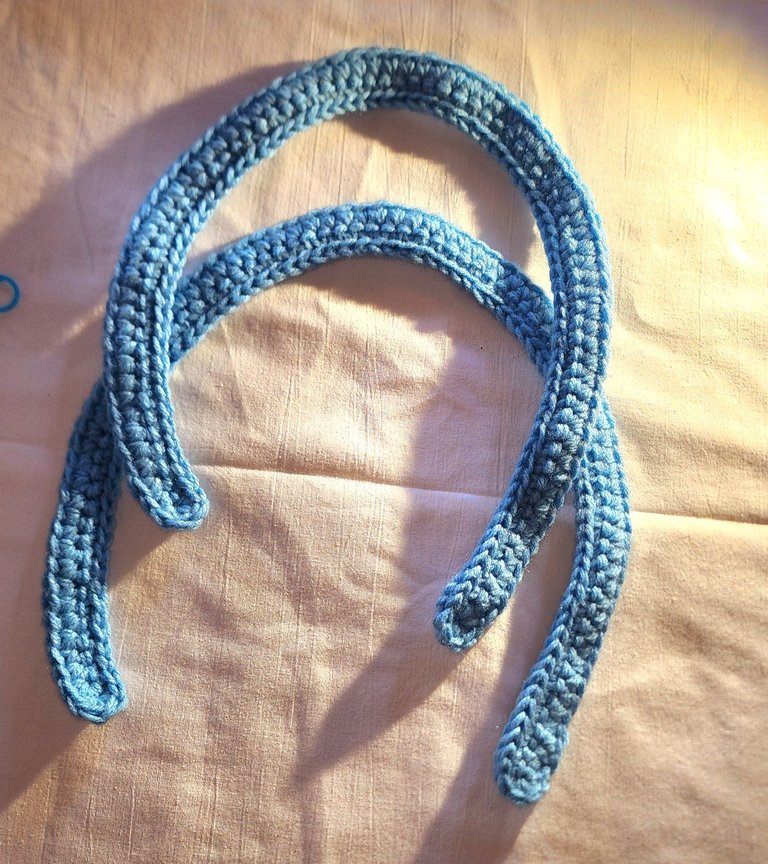
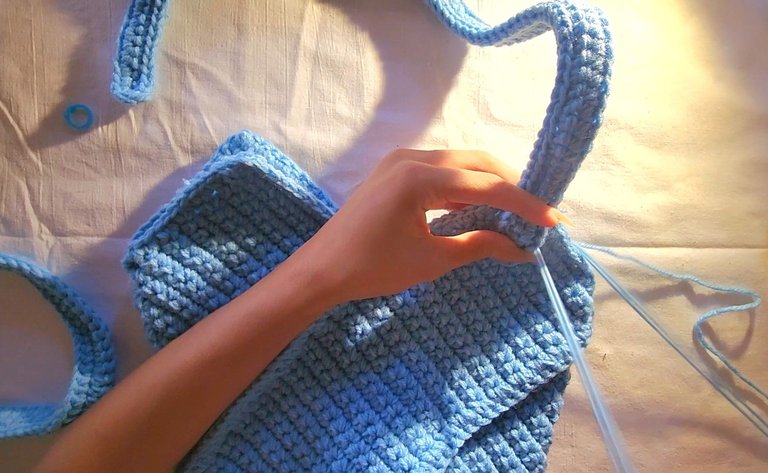
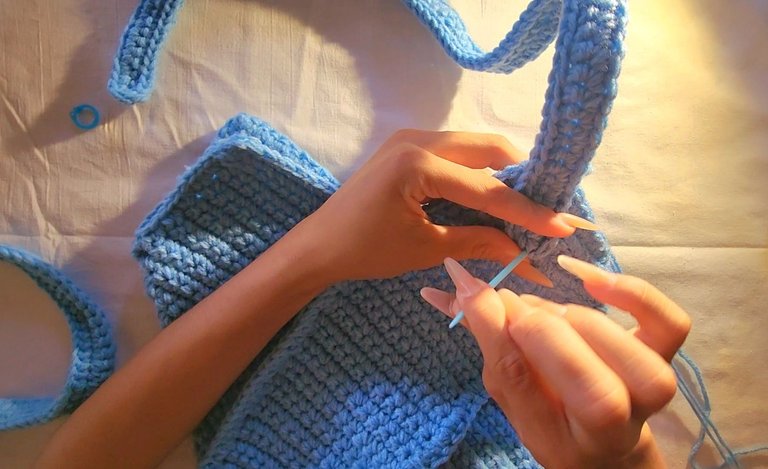
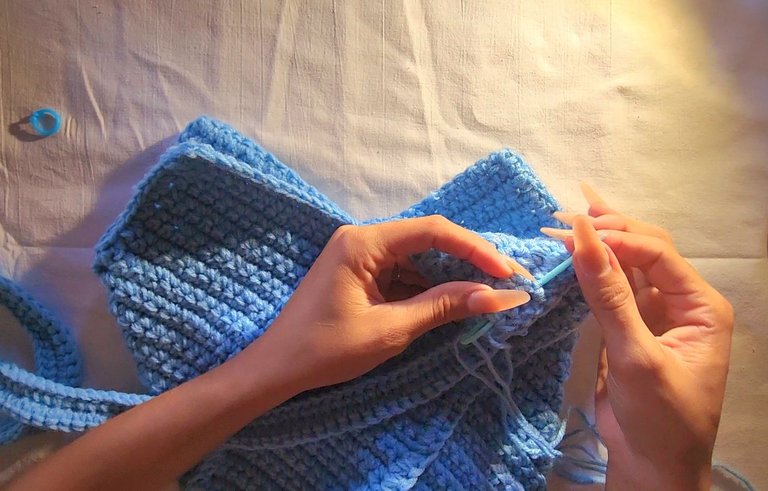
Debemos hacer dos asas iguales. Con la ayuda de la aguja lanera cosemos las asas al cuerpo del bolso, una por delante y una por detrás. Y escondemos los hilos que nos van quedando.
We must make two identical handles. Using the tapestry needle, sew the handles to the body of the handbag, one in the front and one in the back. And hide the remaining threads.
Le agregué un pompón como detalle y se lo colgué.
I added a pompom as a detail and hung it.
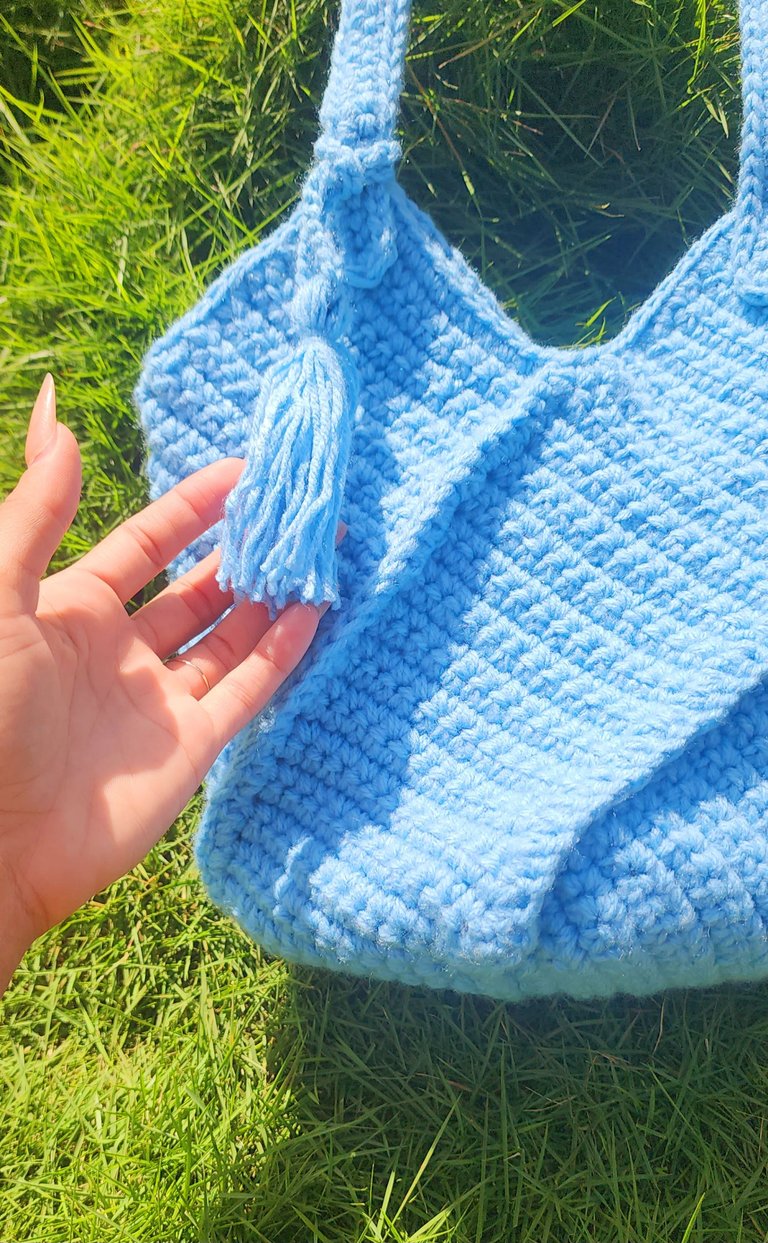
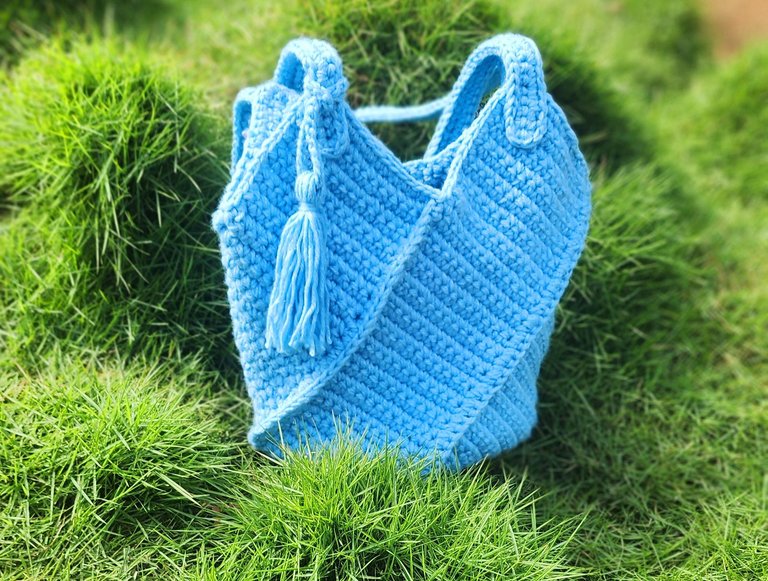
Y listo amigos, así queda esta belleza de bolso tejido a crochet, con 4 rectángulos. En muy poco tiempo se puede hacer y es fácil de realizar. Espero les guste, los leo en los comentarios.
And there you go, friends, this beautiful crochet handbag with 4 rectangles. It can be made in a very short time and is easy to do. I hope you like it, I'll read your comments.
Bendiciones, miles 😍 y abrazos virtuales 🤗.
Blessings, lots 😍 and virtual hugs 🤗.
Hasta una nueva publicación 😊.
Until the next post 😊.
Recursos empleados
| RECURSO / RESOURCE | FUENTE / SOURCE |
|---|---|
| Edición / Edition: | @yunacrochet |
| Imágenes / Pictures: | Samsung Galaxy s22 Ultra / Inshot |
| Translated / Traducción: | Hive Translator by @noakmilo |
Muy hermoso como siempre tus tejidos, adoré este bolso tiene un diseño precioso y de buen tamaño para llenarlo de cosas 😁, excelente trabajo, saluditos y bendiciones 🥰
Muchas gracias amiga, así es, me gustó ese tamaño porque cabe lo mucho y lo poco jajaj. Bendiciones amiga 😘 y besitos.
This is such a creative and unique creation friend, you did an amazing job with the bag.
Thank you very much, I loved the result and it's a useful bag for days when we need to go out with several things. Blessings 😘.
the results are good.
Thank you very much. Blessings 😘.
You're welcome.
Congratulations @yunacrochet! You have completed the following achievement on the Hive blockchain And have been rewarded with New badge(s)
Your next target is to reach 400 replies.
You can view your badges on your board and compare yourself to others in the Ranking
If you no longer want to receive notifications, reply to this comment with the word
STOP