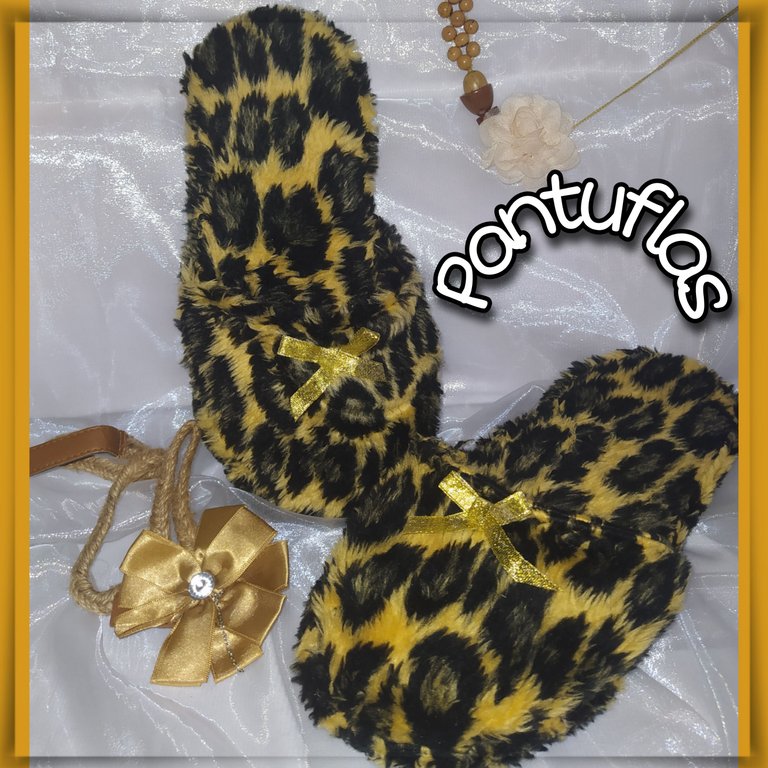
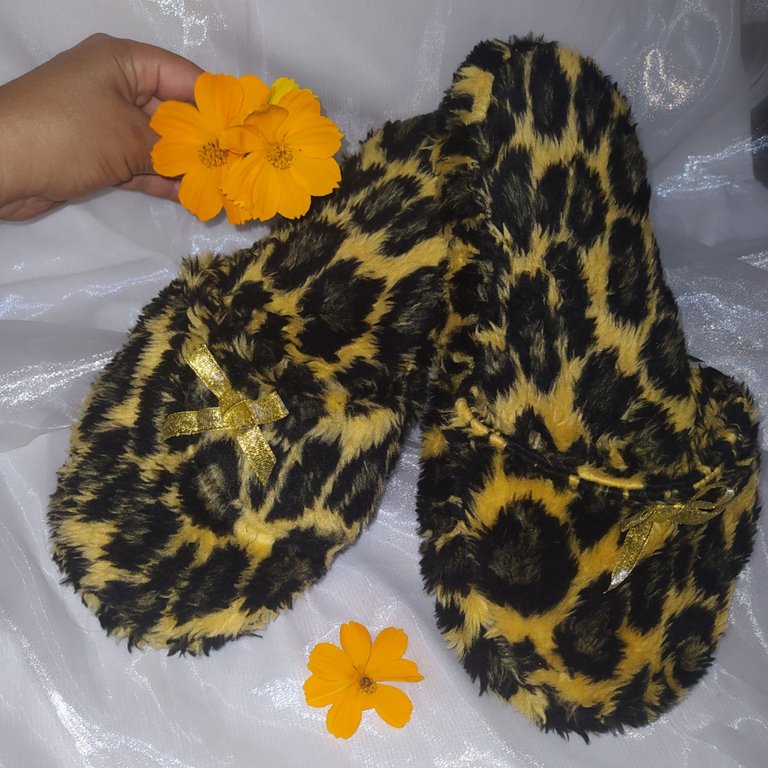
Hola, hola queridos Hivers amigos creativos, feliz inicio de semana.
Y nada más sabroso que iniciar la semana con unas Tiernas y Calientitas Pantuflas, así que les he traído el tutorial de como las realice de una forma simple, rápida y sencilla y utilizando algunos materiales de provecho,la tela de animal print que utilice es de un disfraz de mi nieta que ya estaba viejo.
En mi caso yo las realice las pantuflas en la máquina de coser pero si te animas y no tienes máquina también la puedes coser a mano o incluso utilizar solo pega.
Así que mis amores por acá les dejo los materiales que utilice.
Hello, hello dear Hivers creative friends, happy start of the week.
And nothing tastier than starting the week with some Tender and Warm Slippers, so I have brought you the tutorial of how to make them in a simple, quick and easy way and using some useful materials, the animal print fabric I used is from a costume of my granddaughter that was already old.
In my case I made the slippers on the sewing machine but if you dare and you don't have a machine you can also sew them by hand or even just use glue.
So my loves, here are the materials I used.
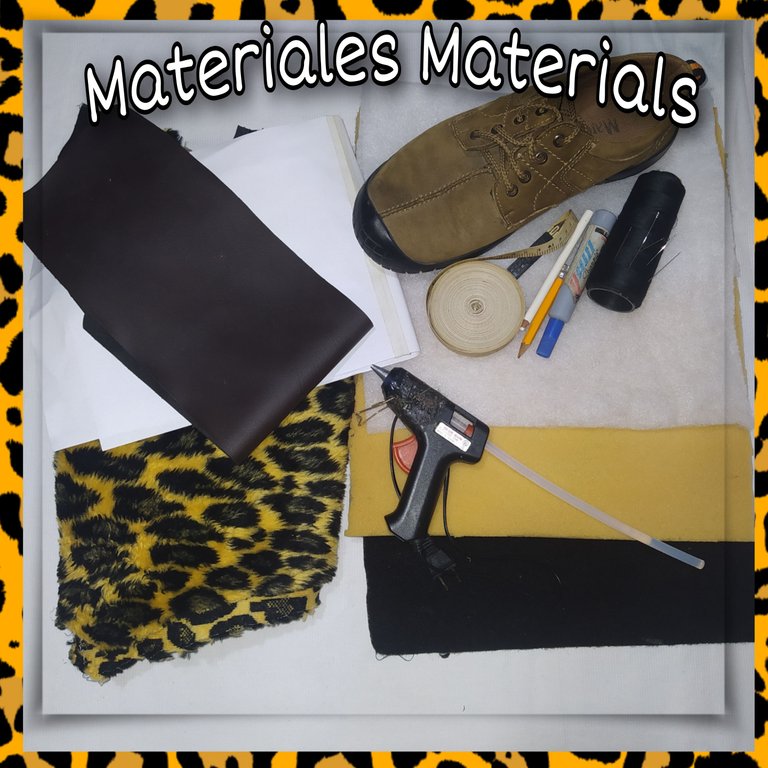
Materiales.
- Tela de animal print (utilice un viejo disfraz)
- Esponja.
- Guata.
- Alfombra delgada.
- Cuerina.
- Hilo.
- Agujas.
- Silicón.
- Pistola de silicón.
- Hojas blancas.
- Zapato.
- Lapiz.
- Lápiz de color blanco.
- Marcador.
- Cinta métrica.
Ahora pasemos a la forma como las realice.
Materials.
- Animal print fabric (use an old costume) * Sponge.
- Sponge.
- Wadding.
- Thin carpet.
- Leather.
- Yarn.
- Needles.
- Silicone.
- Silicone gun.
- White sheets.
- Shoe.
- Pencil.
- White color pencil.
- Marker.
- Tape measure.
Now let's move on to how to make them.
 |  |  |
|---|
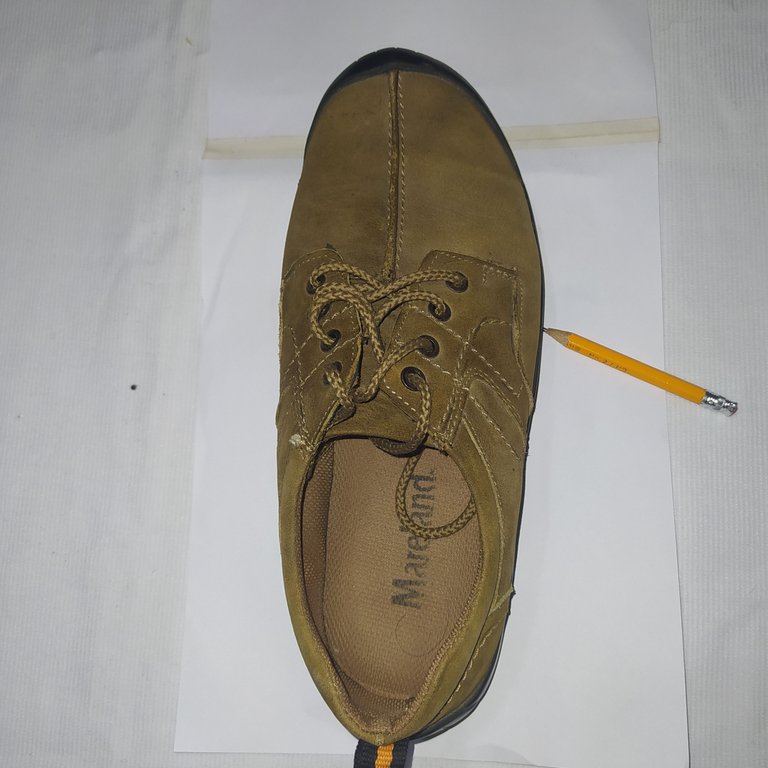
Patrón de la plantilla.
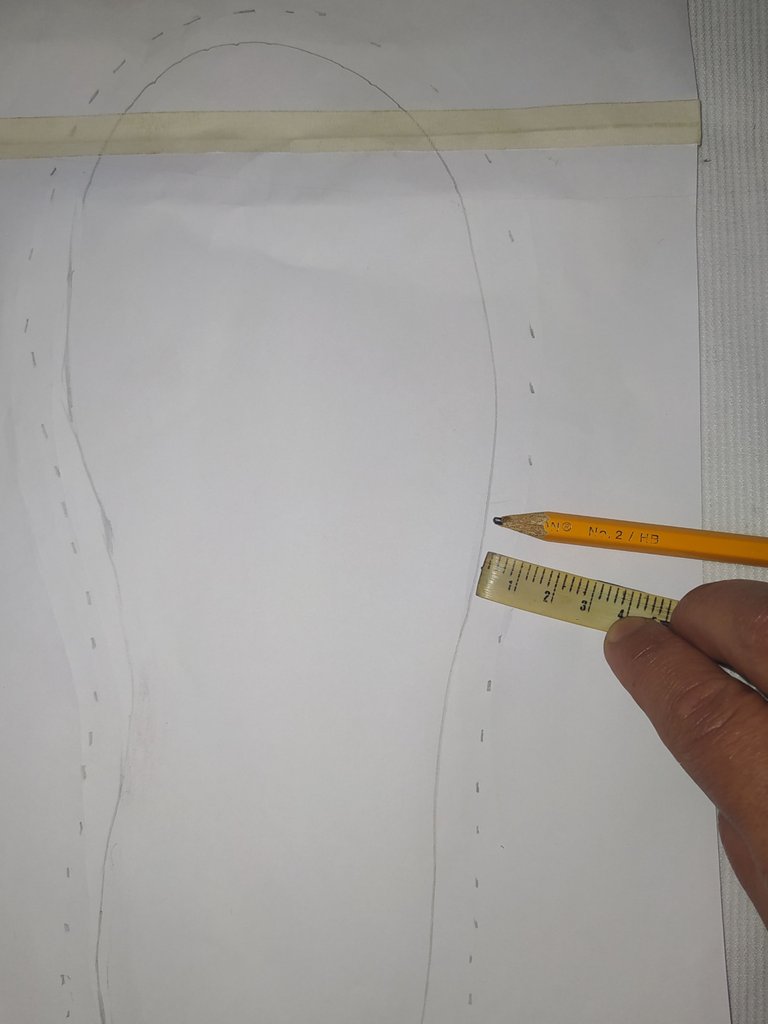
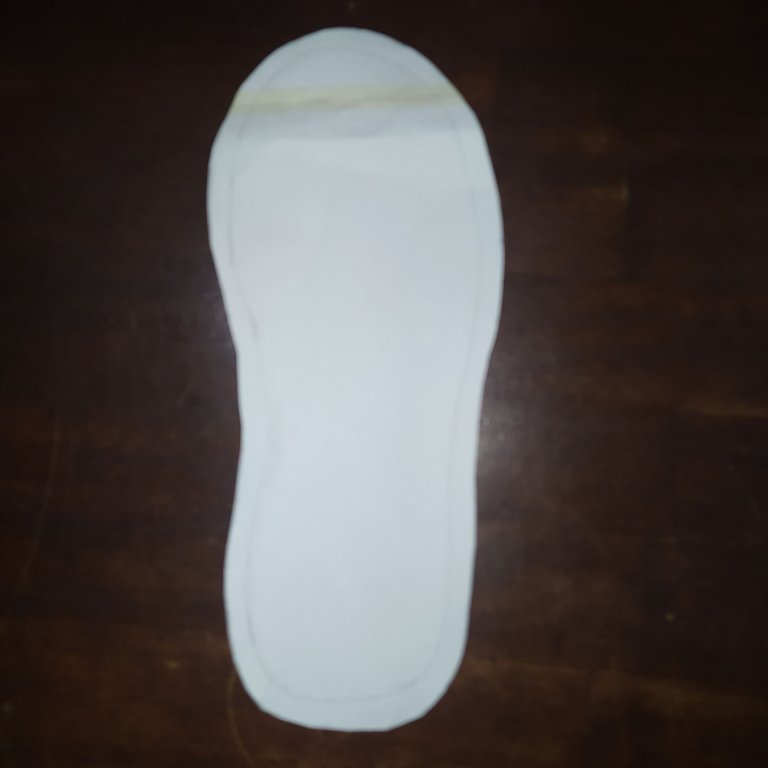
- Para sacar el patrón coloque el zapato encima de las hojas blancas, luego con el lápiz dibuje su forma por todo el borde y retire el zapato.
- Tome la cinta métrica y aumente un centímetro a todo el borde y colocando pequeñas rayitas las cuales luego uno todas con el lápiz.
Insole pattern.
- To draw the pattern place the shoe on top of the white sheets, then with the pencil draw its shape all around the edge and remove the shoe.
- Take the tape measure and increase one centimeter all around the edge and place small lines which you then join together with the pencil.
 |  |
|---|
Patrón Capella o parte de arriba.
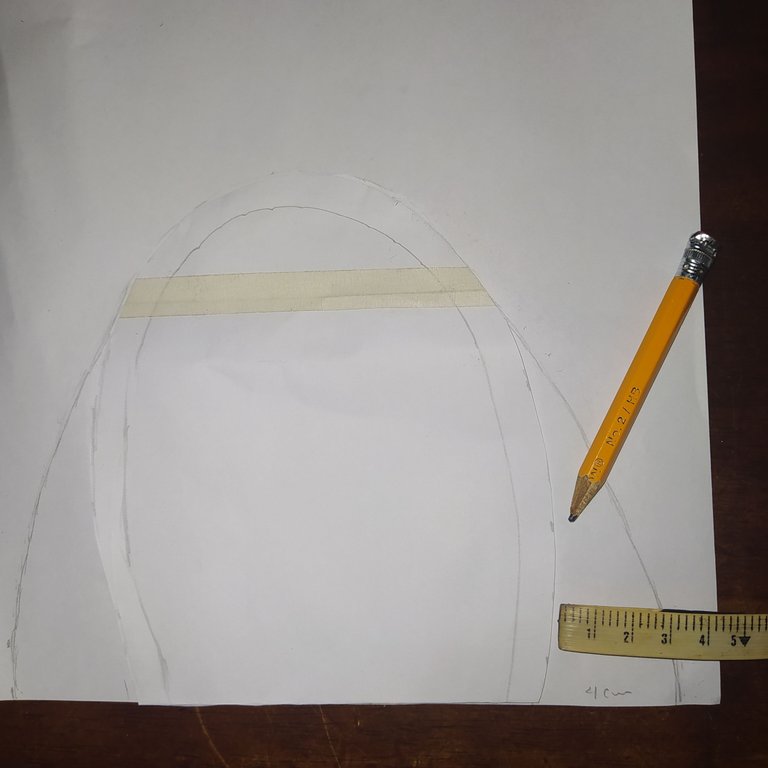
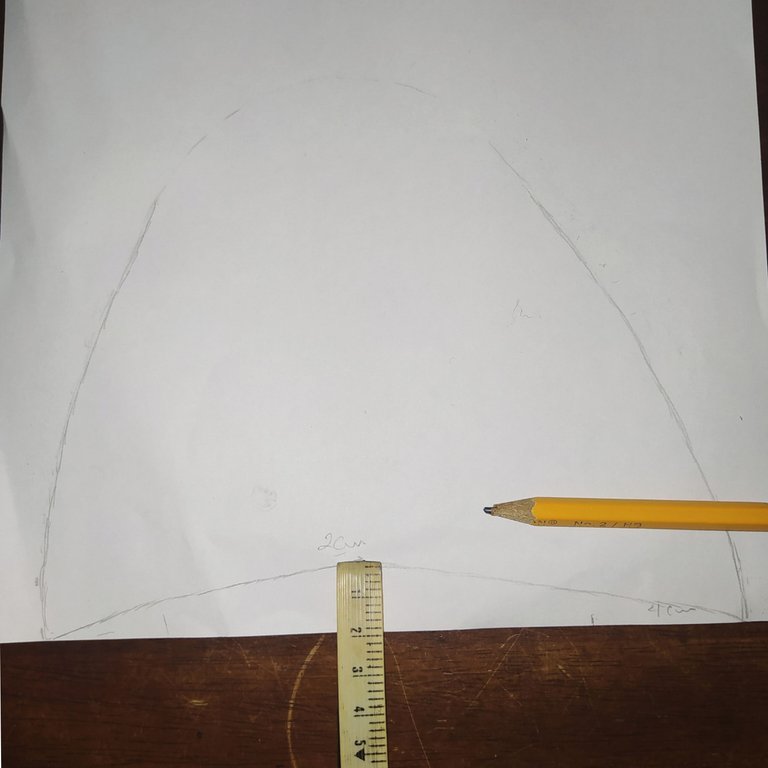
- Doble el patrón de la plantilla a la mitad y tomando como referencia la parte hacia la punta lo coloque en una hoja blanca y en la parte de abajo en cada lado le aumente tres centímetros.
- En el centro de la capella o parte de arriba en la parte baja le subí dos centímetros dándole gomaci.o de media luna.
Capella pattern or top.
- Fold the pattern of the template in half and taking as a reference the part towards the tip I placed it on a white sheet and on the bottom on each side I increased it by three centimeters.
- In the center of the capella or top at the bottom I raised it two centimeters giving it a half-moon shape.
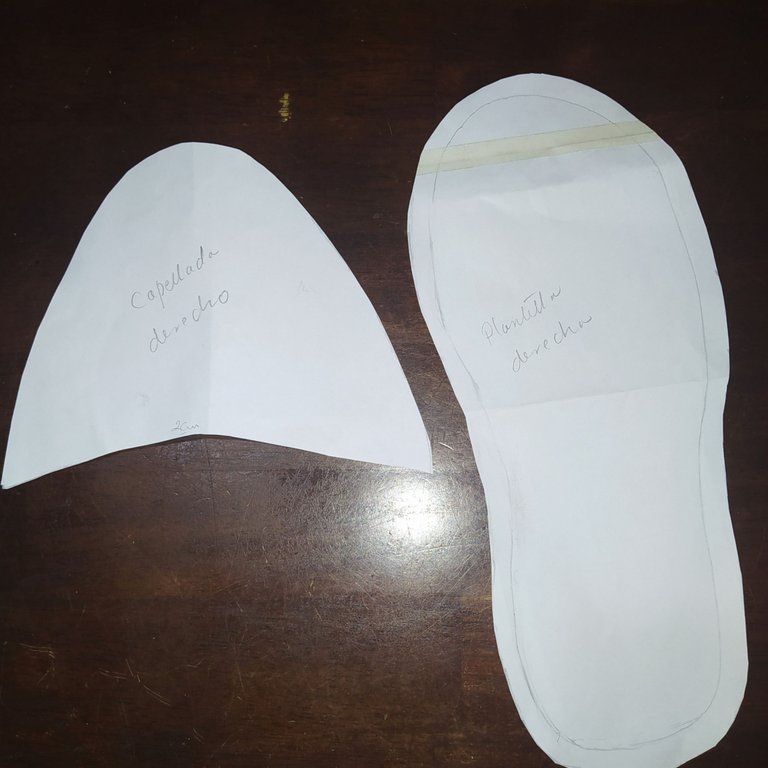
De esta firma tengo el patrón de la plantilla y de la capella o parte de arriba.
From this firm I have the pattern for the insole and the capella or top.
 |  |
|---|
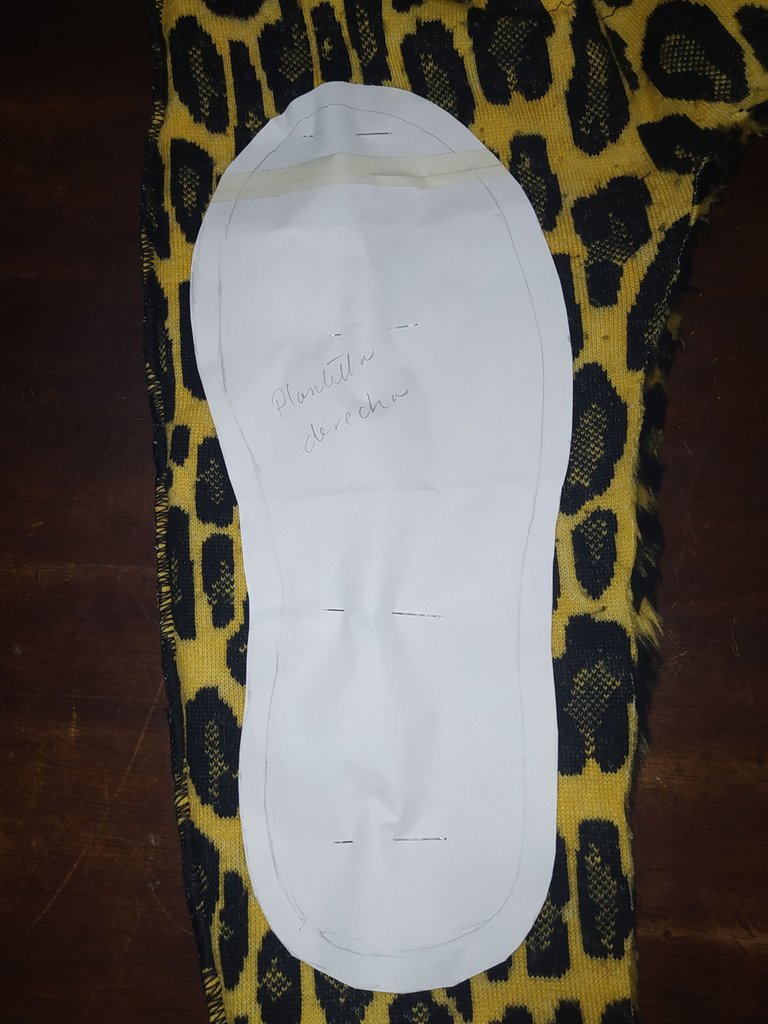
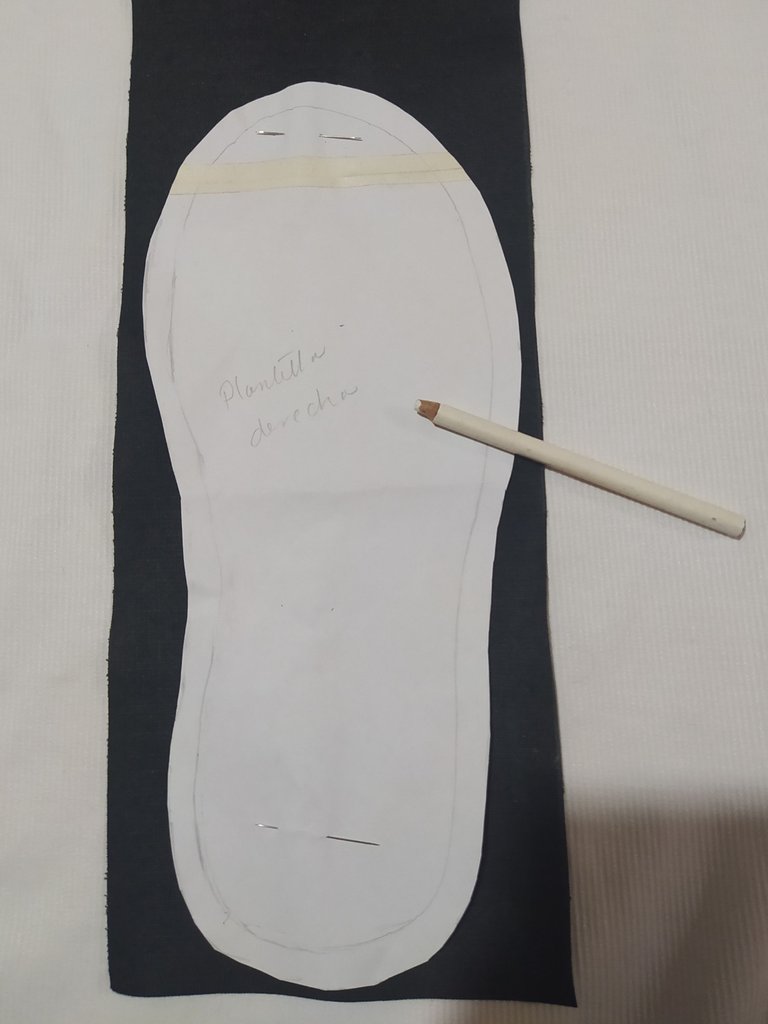
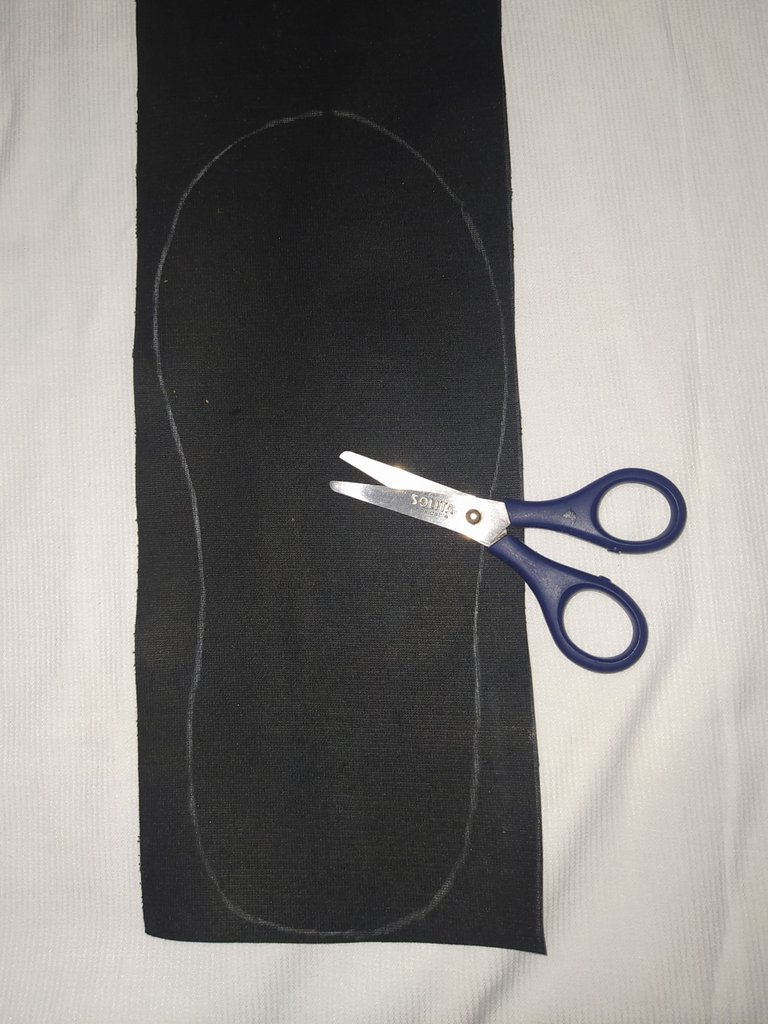
- Tomamos la tela de animal print y la colocamos por el revés, le colocamos la plantilla por el lado derecho y procedemos a marcar y recortar
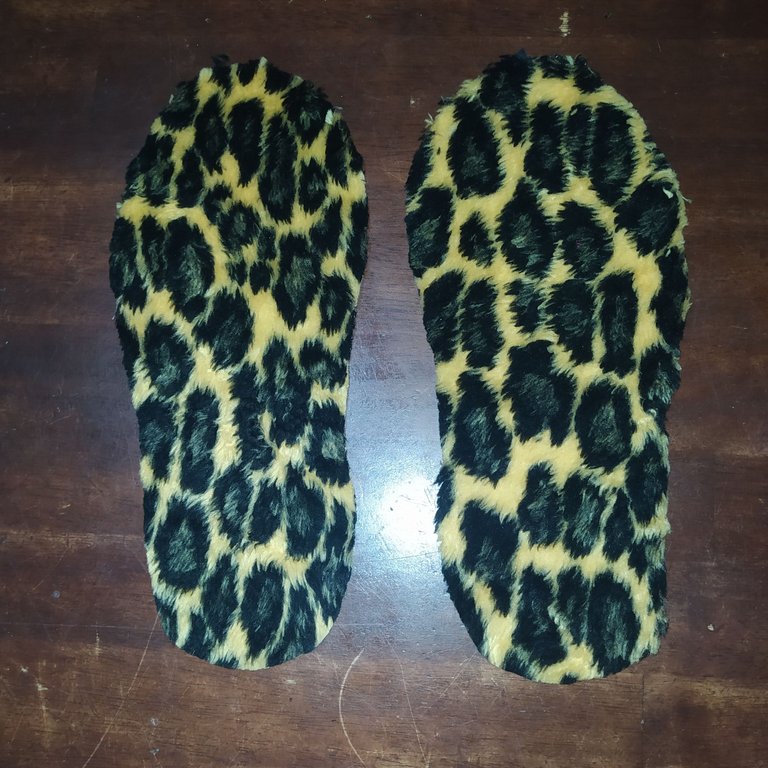
- Luego para sacar el del otro pie dejamos la tela igual por el revez pero el patrón de la plantilla si le damos vuelta y lo colocamos por la parte de atrás del derecho y así de esta forma sacamos la plantilla del lado derecho y del lado izquierdo.
- We take the animal print fabric and place it on the back side, we place the template on the right side and proceed to mark and cut it out.
- Then to remove the other foot we leave the fabric the same on the back side but the template pattern if we turn it over and place it on the back of the right side and in this way we remove the template from the right side and the left side.
 |  |
|---|
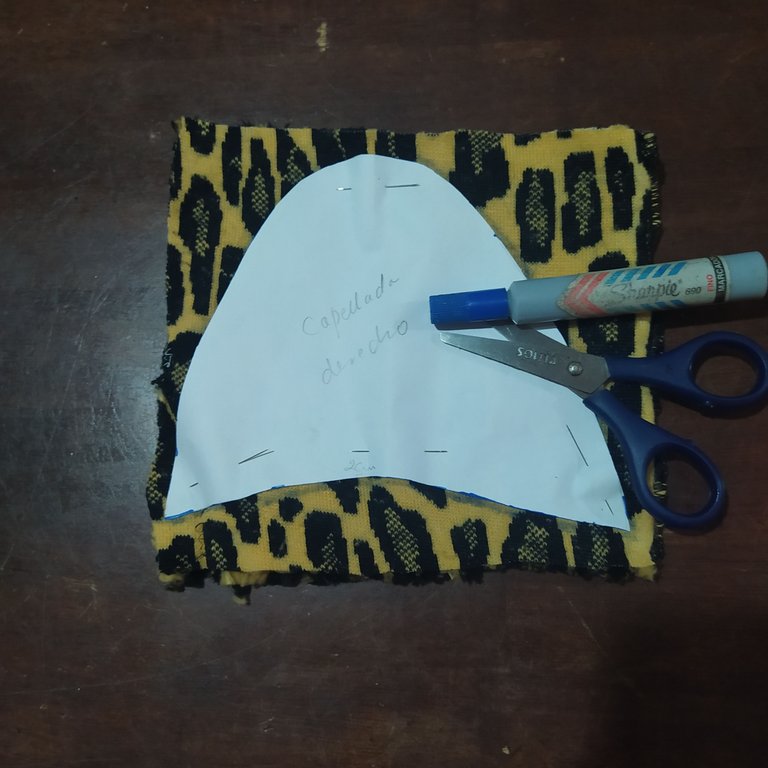
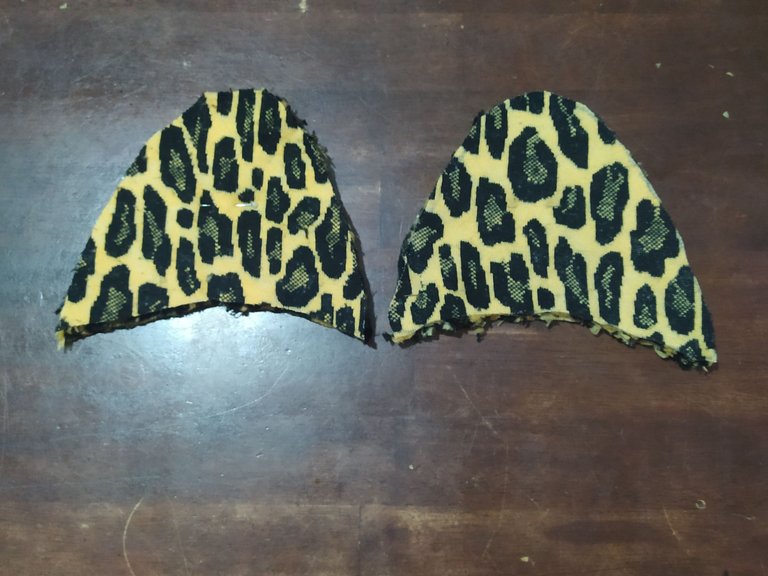
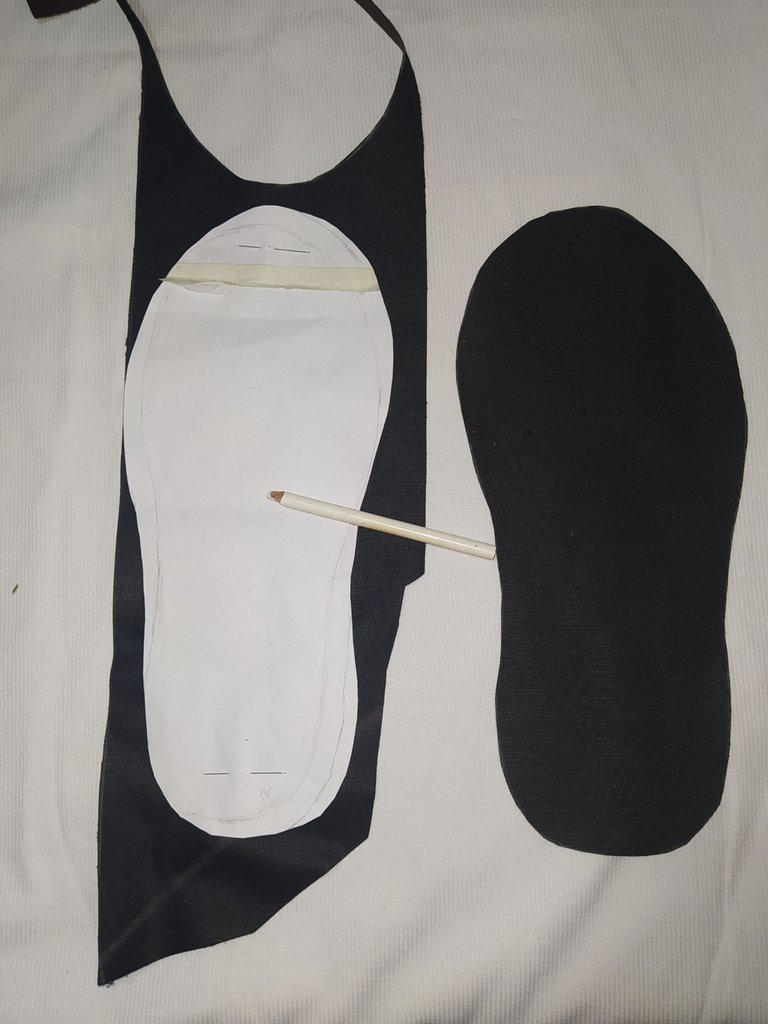
La capella o parte de arriba para cada pantufla lleva doble tela
- A si que para sacar tomo dos pedazos de tela y los coloco derecho con derecho, luego le pongo el patrón por el lado derecho y saco la de una pantufla.
- Luego repito el mismo proceso con las telas pero solo tengo que voltear el patrón por la parte de atrás del derecho.
The capella or top for each slipper has double fabric.
- So I take two pieces of fabric and place them right side together, then I put the pattern on the right side and take out the one of a slipper.
- Then I repeat the same process with the fabrics but I only have to flip the pattern right side out.
 |  |
|---|
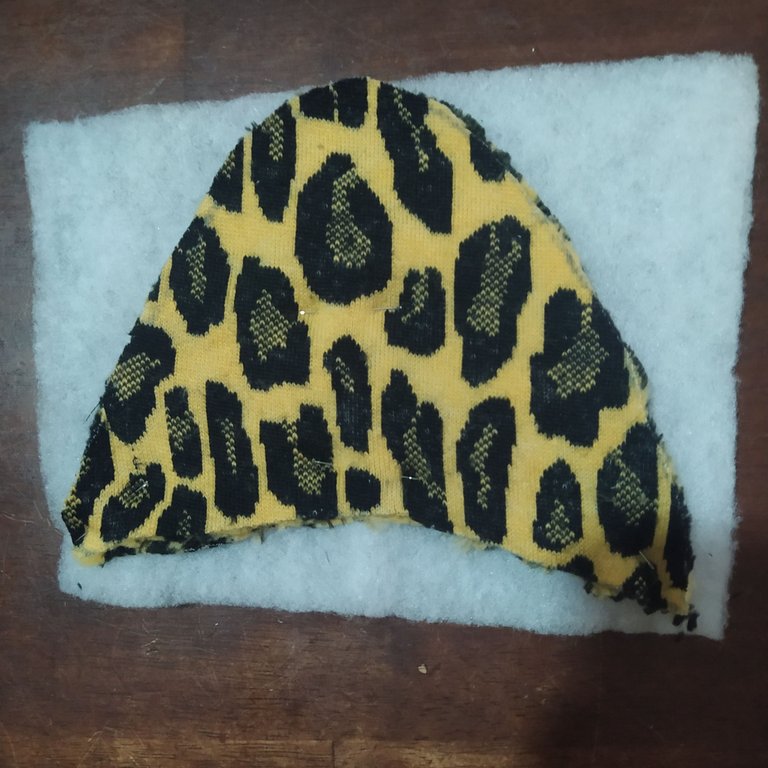
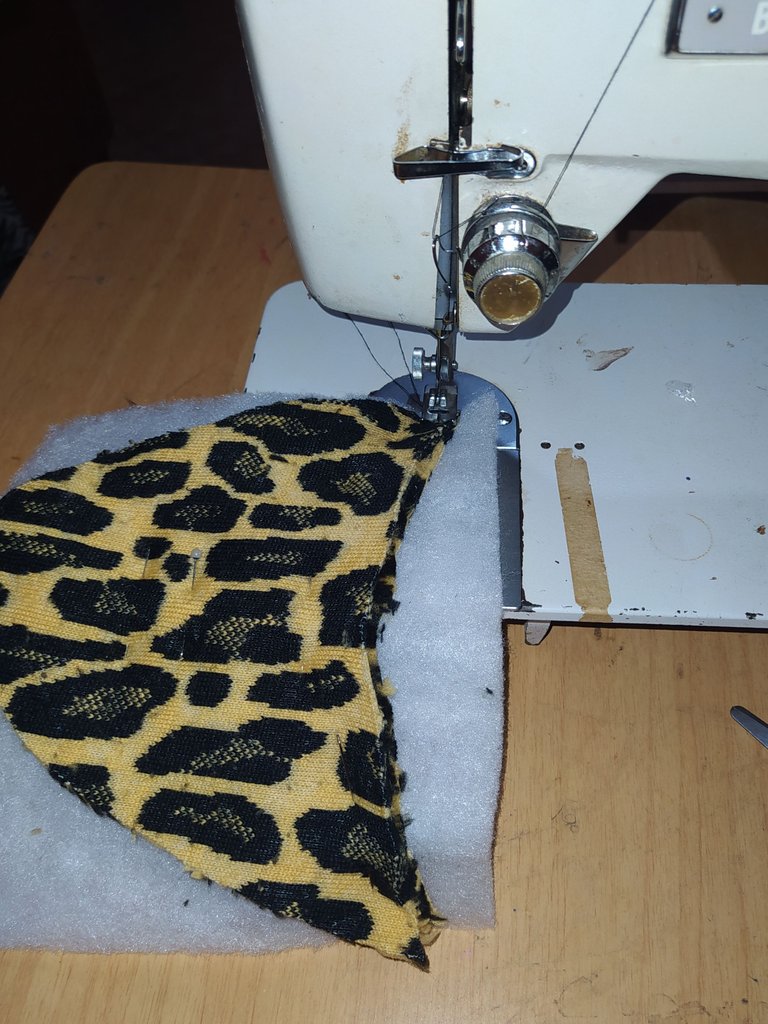
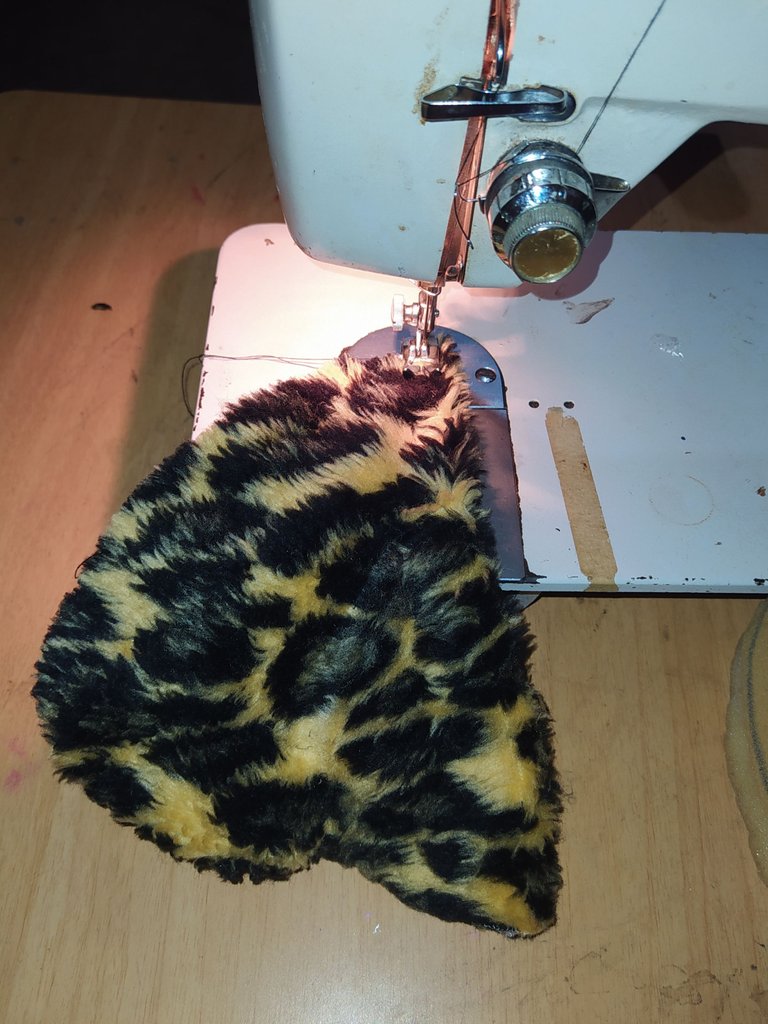
- Tomamos un pedazo de guata y encima le colocamos la capella o parte de arriba, aseguramos con alfiler.
- Sin recortar llevamos a la máquina y cocemos.
- Take a piece of wadding and place the capella or top part on top, secure with a pin.
- Without trimming, we take it to the machine and bake.
 |  |
|---|
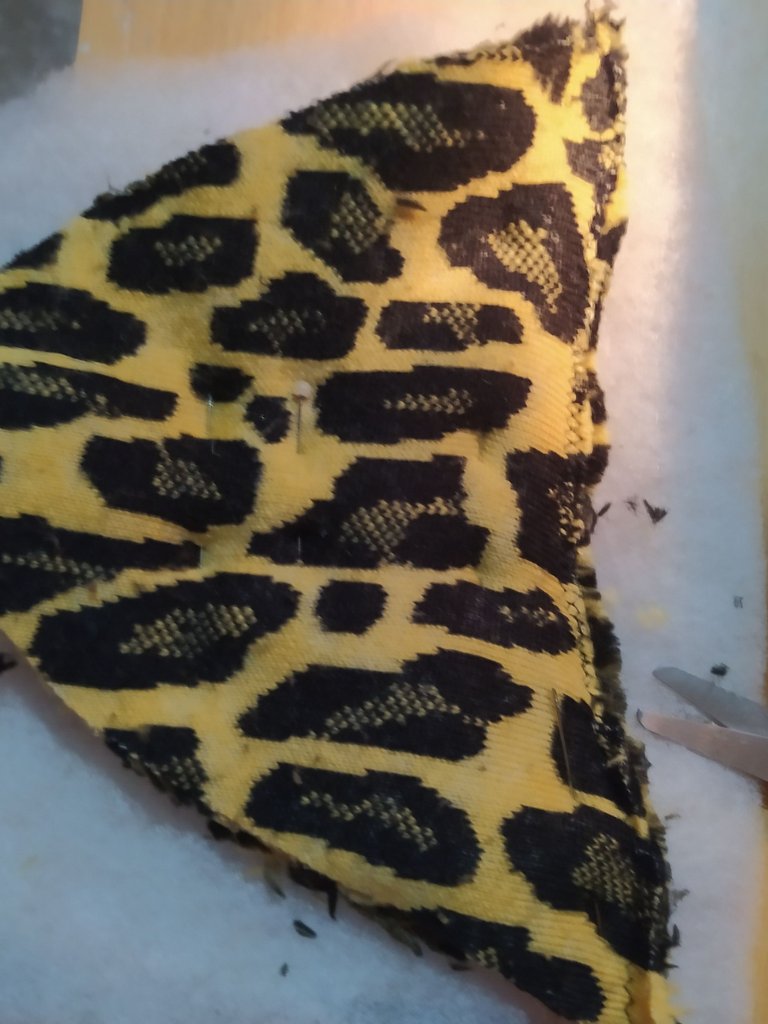
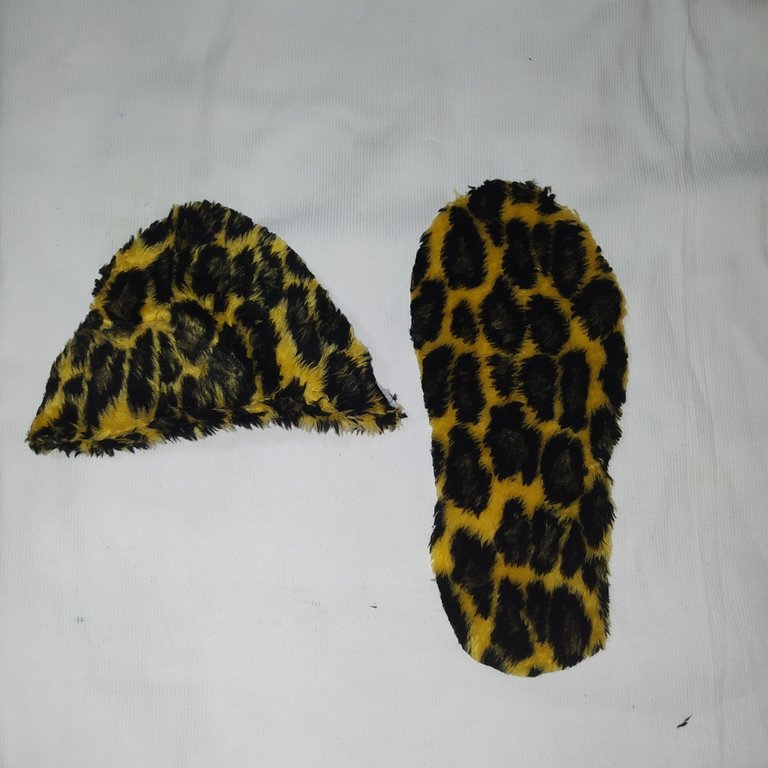
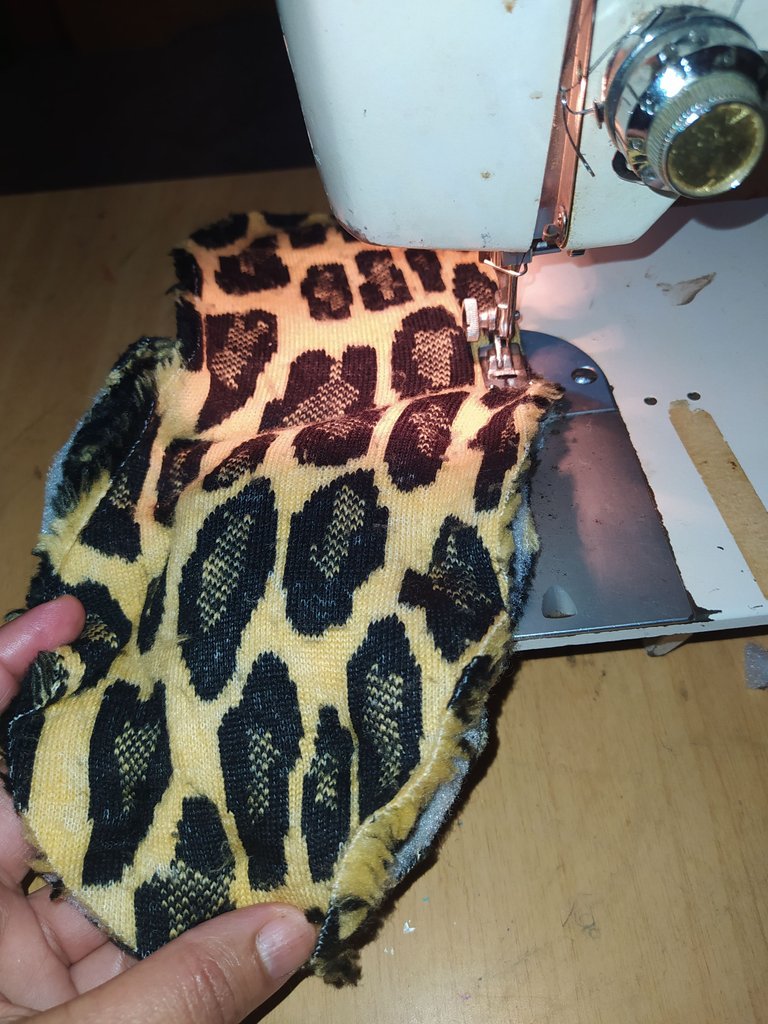
- Luego de cocido por el revés le damos la vuelta a las telas y recortamos la guata (la cual queda en el centro de las dos telas).
- Llevamos nuevamente a la máquina y le pasamos una costura para asegurar los bordes.
- After the back side is cooked, we turn the fabrics inside out and cut the wadding (which remains in the center of the two fabrics).
- We take it back to the machine and sew a seam to secure the edges.
 |  |  |
|---|
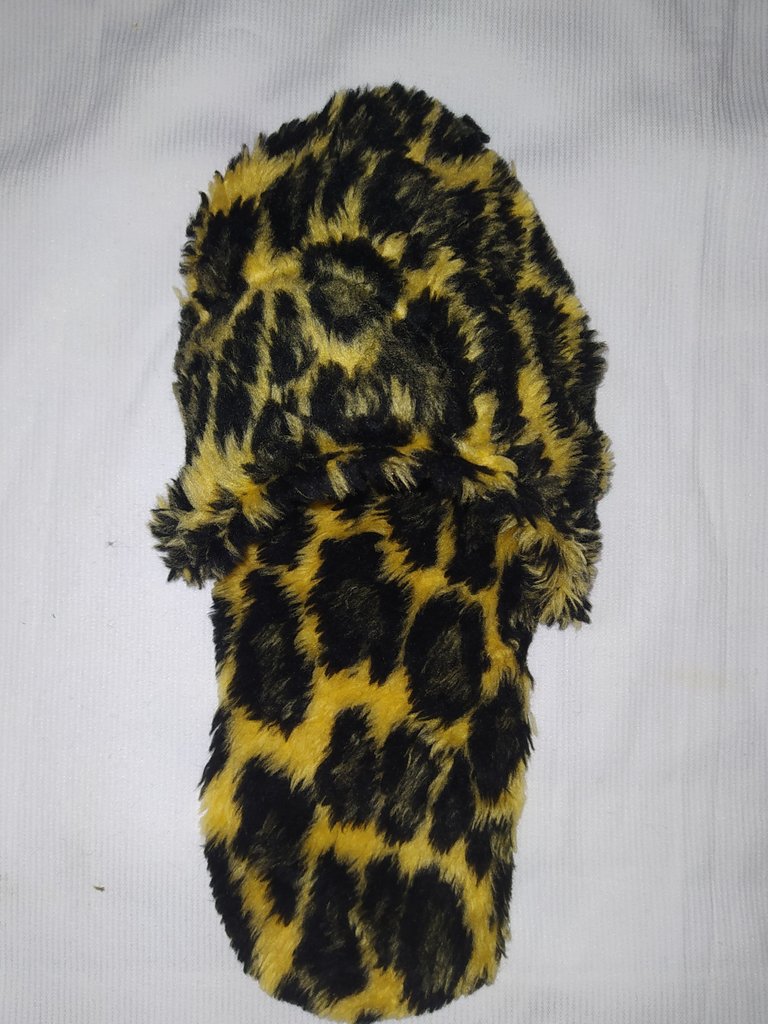
- Una vez lista la capella o parte de arriba la colocamos encima de la plantilla aseguramos con alfileres y llevamos a coser a la máquina.
- Once the capella or top is ready, we place it on top of the template, secure it with pins and sew it on the machine.
 |  |  |
|---|
Suela de la pantufla.
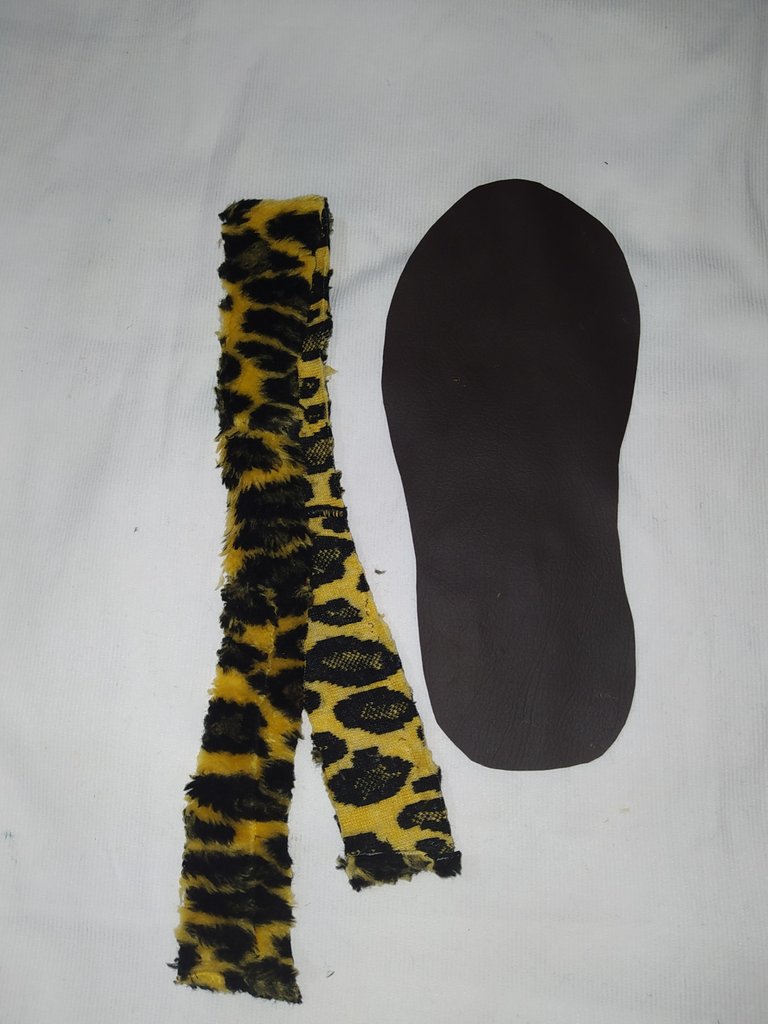
- Tomamos la plantilla la colocamos en la cuerina y tomamos en cuenta que hay que voltear la plantilla al momento de marcar para que salga el pie derecho y el pie izquierdo.
Sole of the slipper.
- We take the insole and place it on the leather and we take into account that we have to turn the insole when marking so that the right and left foot come out.
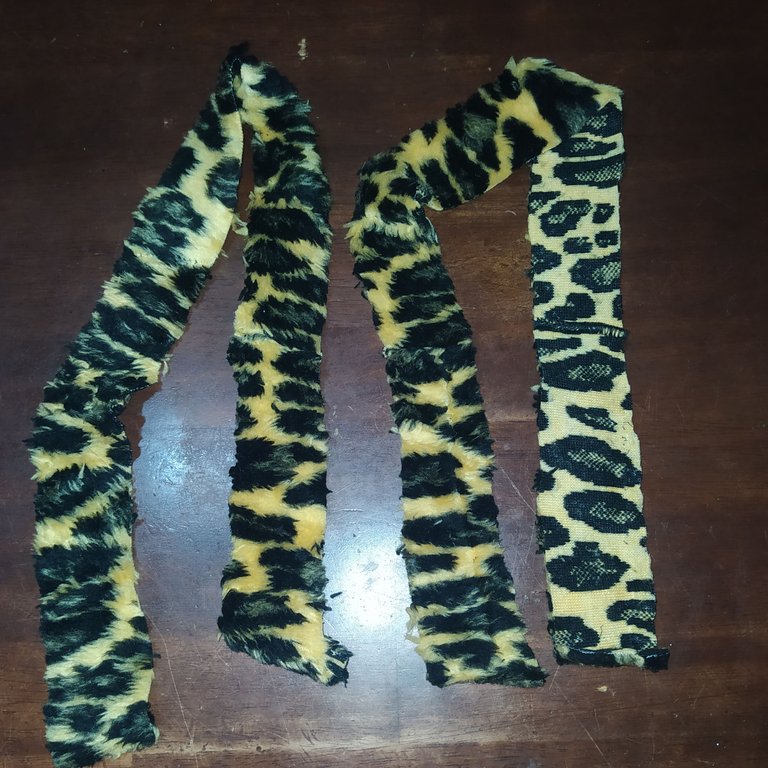
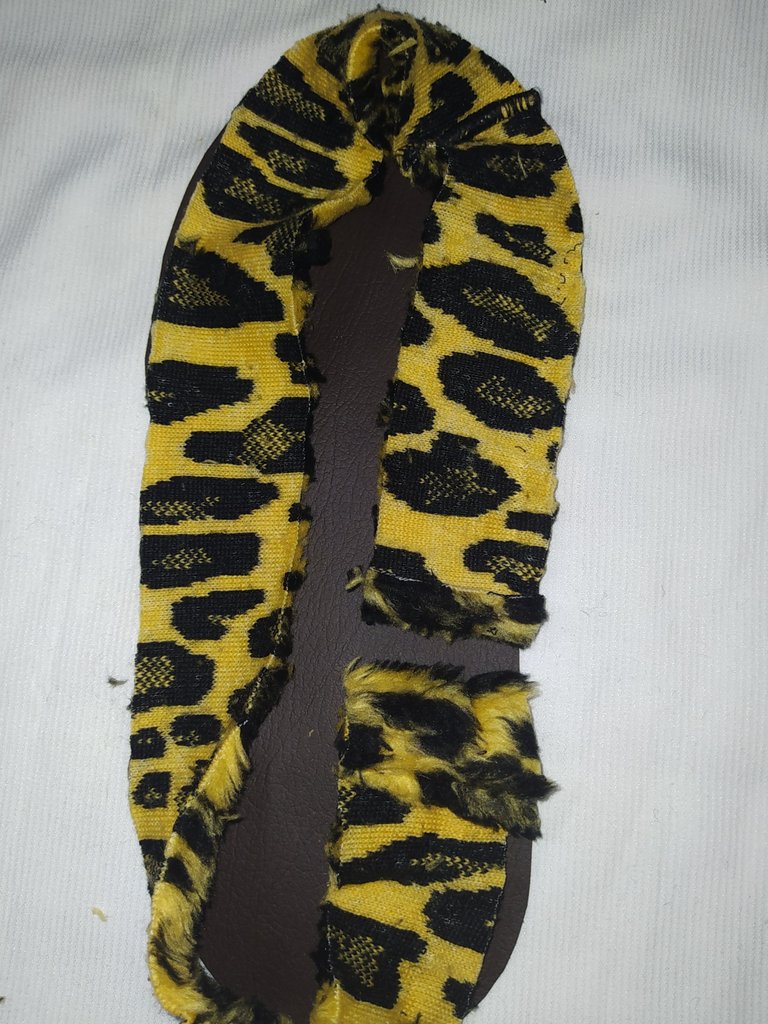
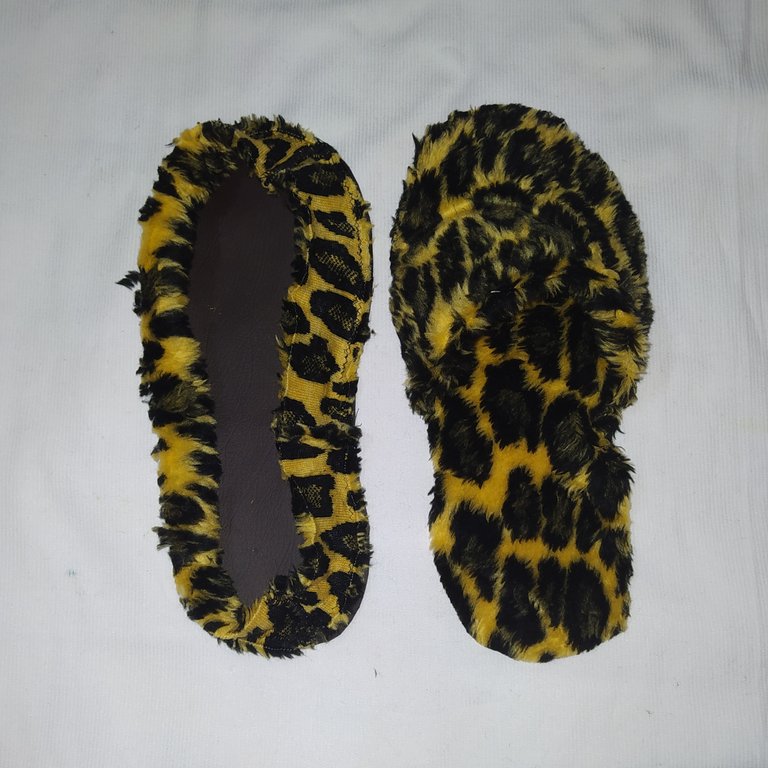
- Medimos todo el borde de la plantilla y sacamos una tira de 4.50 centímetros de ancho por el largo más un centímetros de costura.
(Está tira midió 75 cm de largo más 1 centímetro para la unión de la costura entonces sería 76 cm de largo por 4.5 de ancho)
- We measure the entire edge of the template and take a strip of 4.50 centimeters wide by the length plus one centimeter of seam allowance.
(This strip measured 75 cm long plus 1 centimeter for the seam allowance so it would be 76 cm long by 4.5 cm wide).
 |  |  |  |
|---|
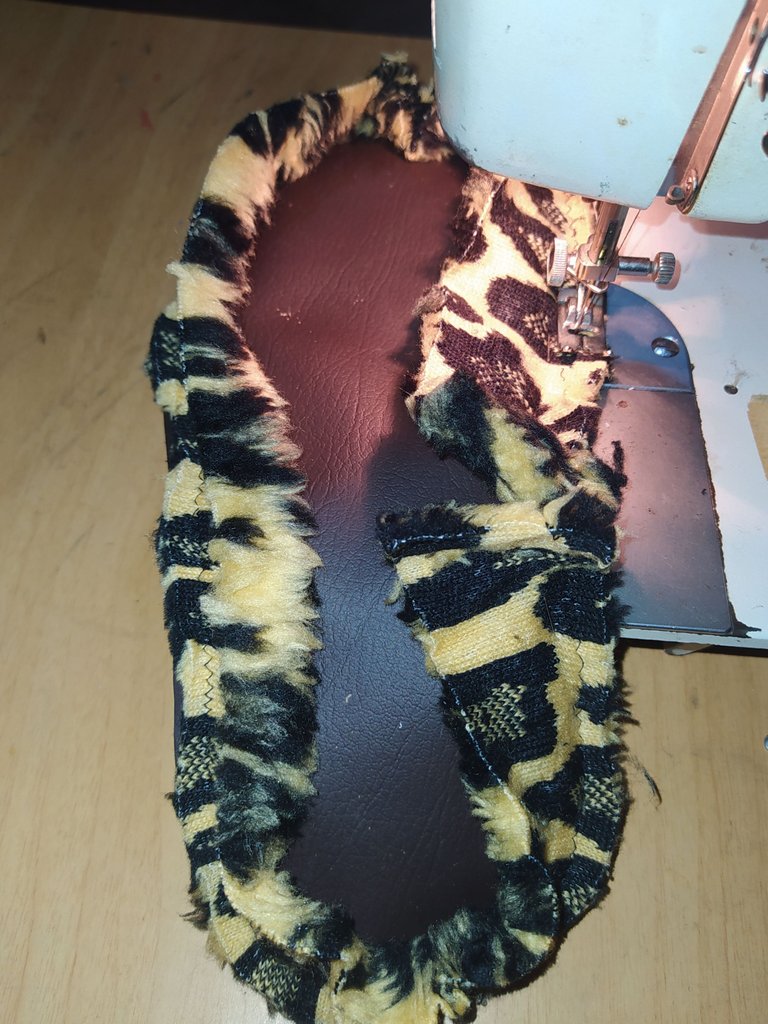
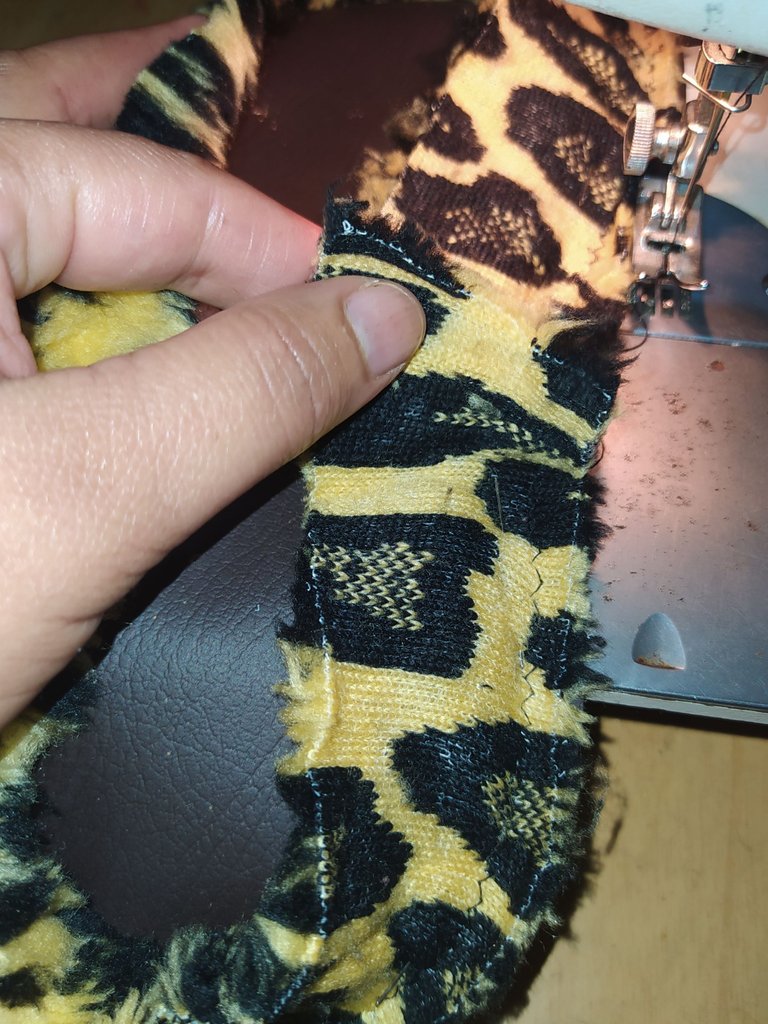
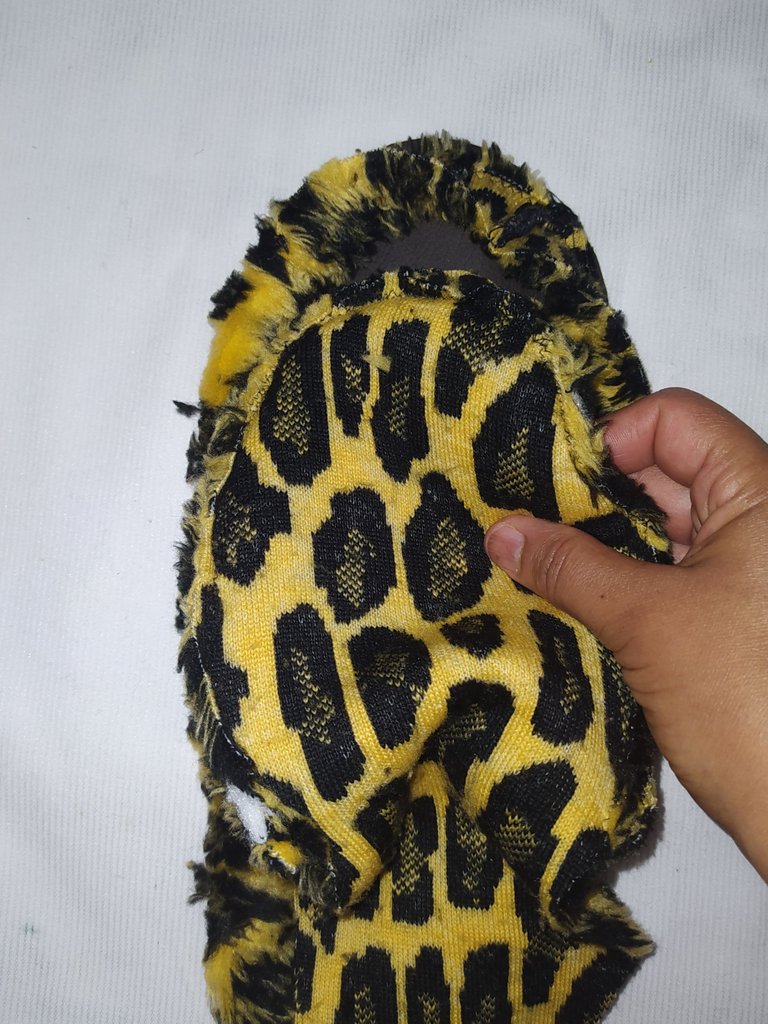
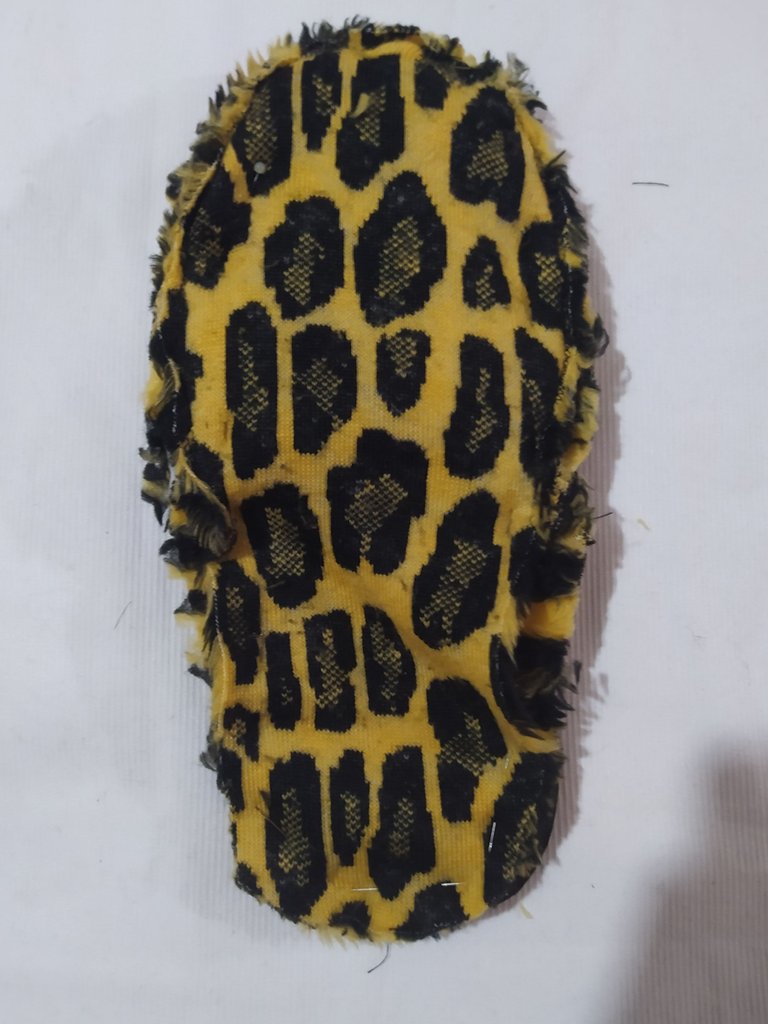
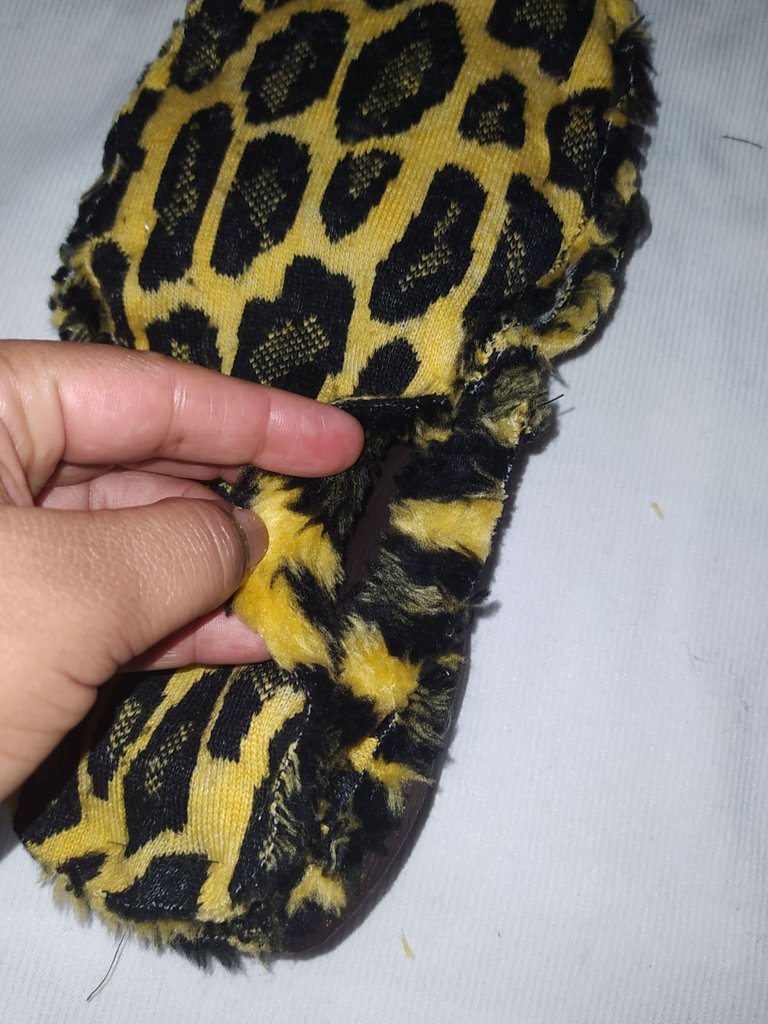
- Colocamos la tira encima de la plantilla de la suela derecho con derecho aseguramos con alfileres y dejamos el espacio donde al llegar la costura en ese punto retiramos de la máquina unimos esas dos puntas y luego terminamos de coser todo el borde
- We place the strip on top of the sole insole right sides together, secure it with pins and leave the space where the stitching arrives at that point, remove it from the machine, join those two ends and then finish sewing the entire edge.
 |  |  |  |
|---|
Union parte de arriba de la pantufla con la suela.
- Colocamos la parte de la suela y luego le colocamos encima la parte de arriba de la pantufla revisamos que queden derecho con derecho.
- Aseguramos todo alrededor con los alfileres.
- Llevamos a la máquina y cosemos.
- Dejamos una abertura aproximadamente como de 6 centímetros.
- Por esa abertura volteamos al lado derecho.
Union the top of the slipper with the sole.
- We place the part of the sole and then we place the top of the slipper on top of it, we check that they are right side to right side.
- We secure all around with the pins.
- We take to the machine and sew.
- We leave an opening of approximately 6 centimeters.
- Through this opening we turn to the right side.
 |  |  |
|---|
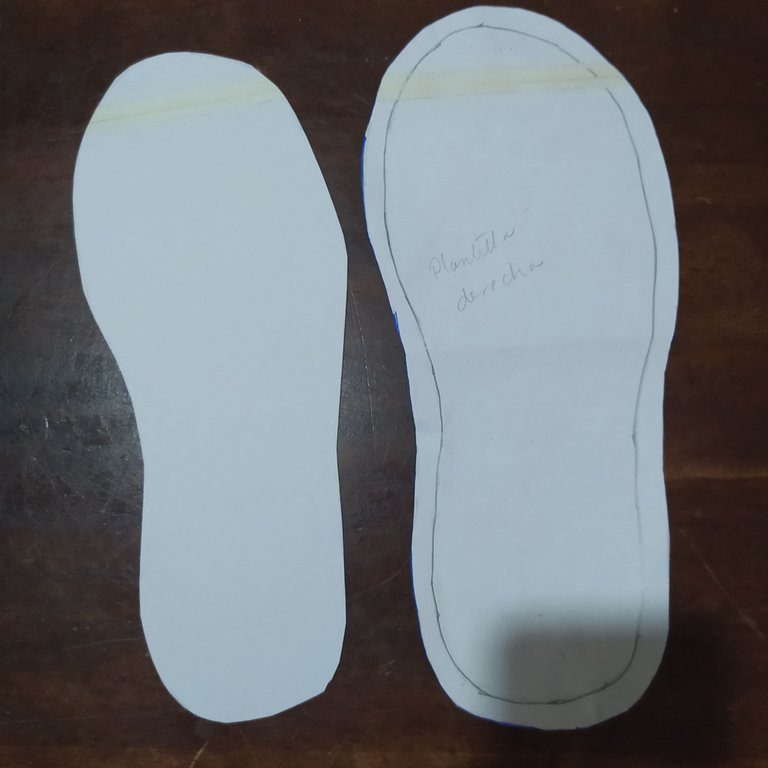
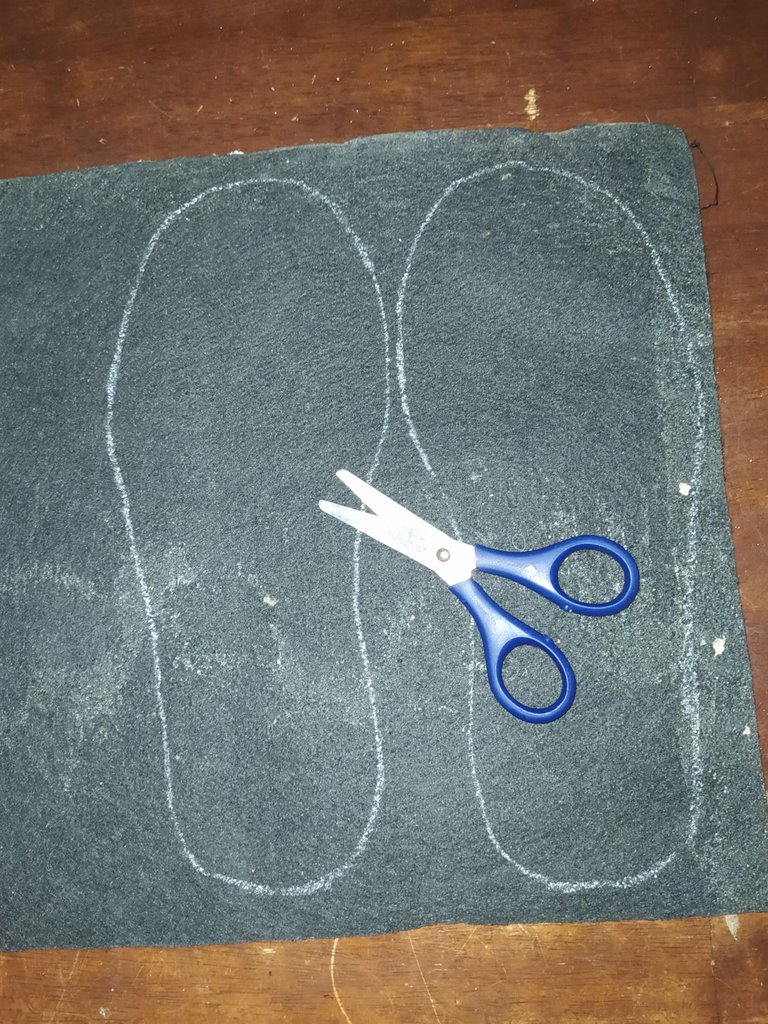
Patrón de la plantilla interna de la pantufla.
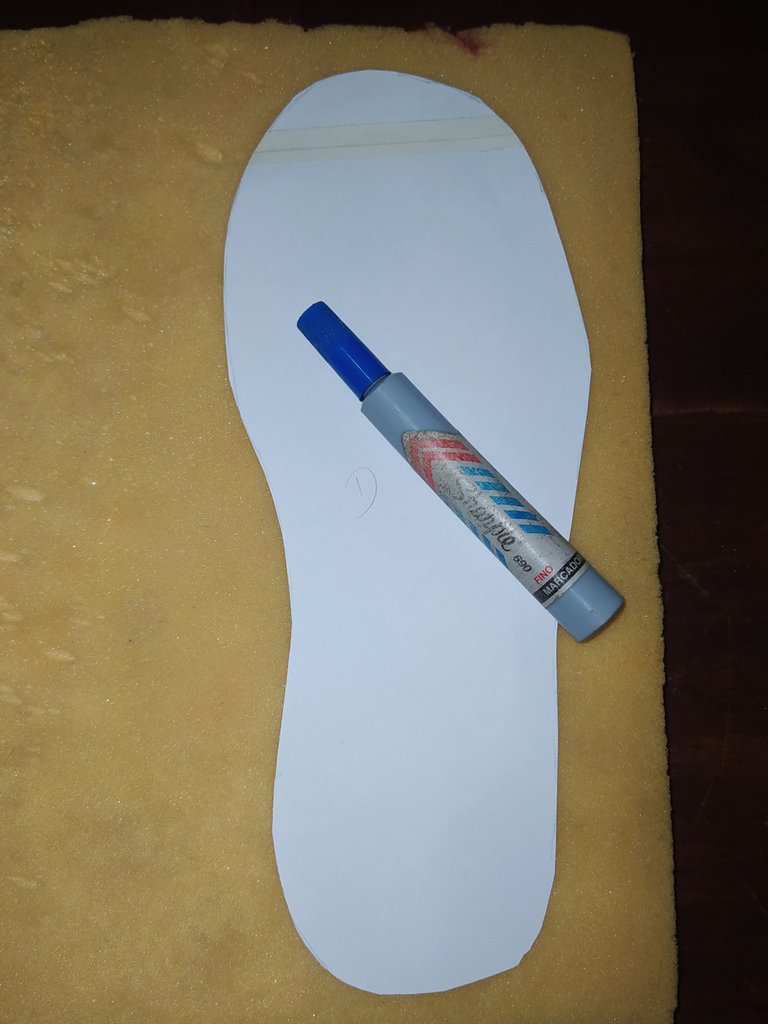
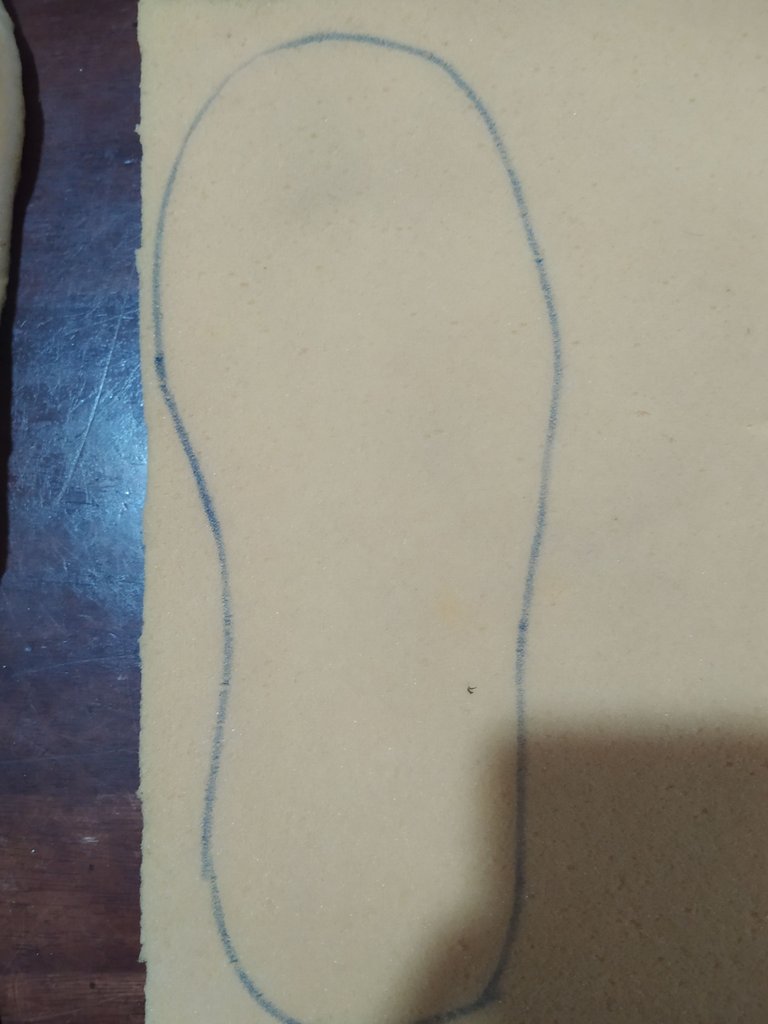
- En una hoja sacamos la parte interna del patrón de la plantilla ( lo que hacemos es quitarle el centímetro que habíamos aumentado)
- Lo marcamos en la esponja siempre teniendo en cuenta de voltear la plantilla para sacar el pie derecho y el izquierdo.
Pattern of the internal template of the slipper.
- On a sheet of paper we take out the inner part of the pattern of the insole (what we do is to remove the centimeter that we had increased).
- We mark it on the sponge, always keeping in mind to turn the insole over to remove the right and left foot.
 |  |
|---|
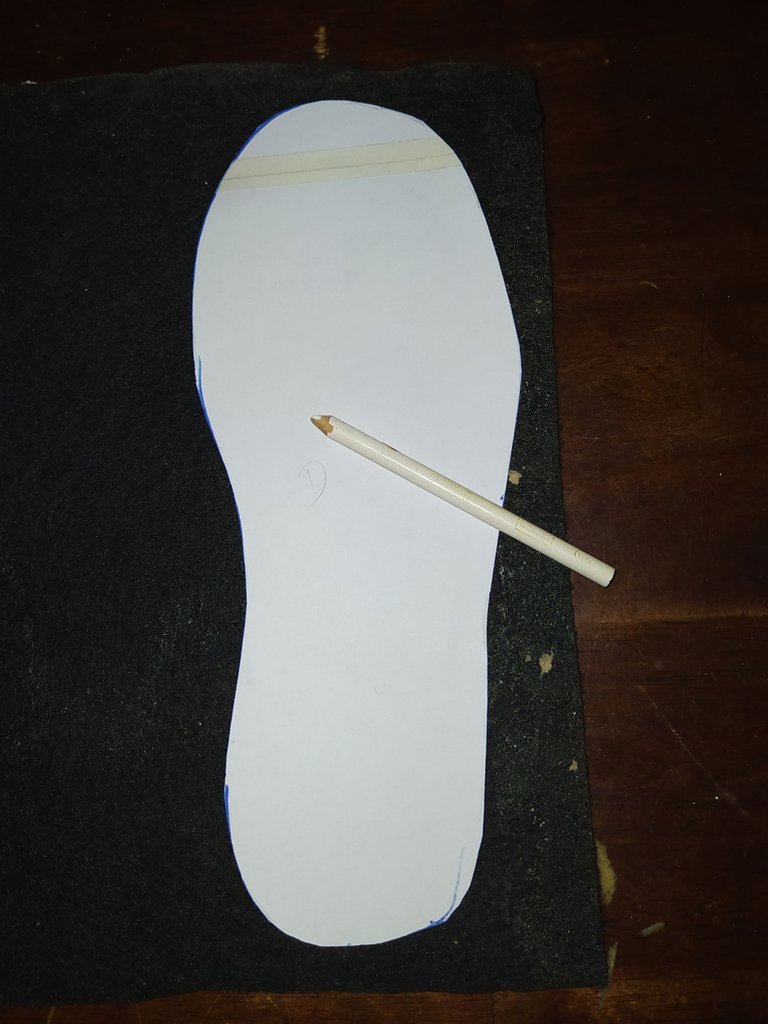
- Repetimos el mismo proceso con la alfombra.
- Repeat the same process with the carpet.
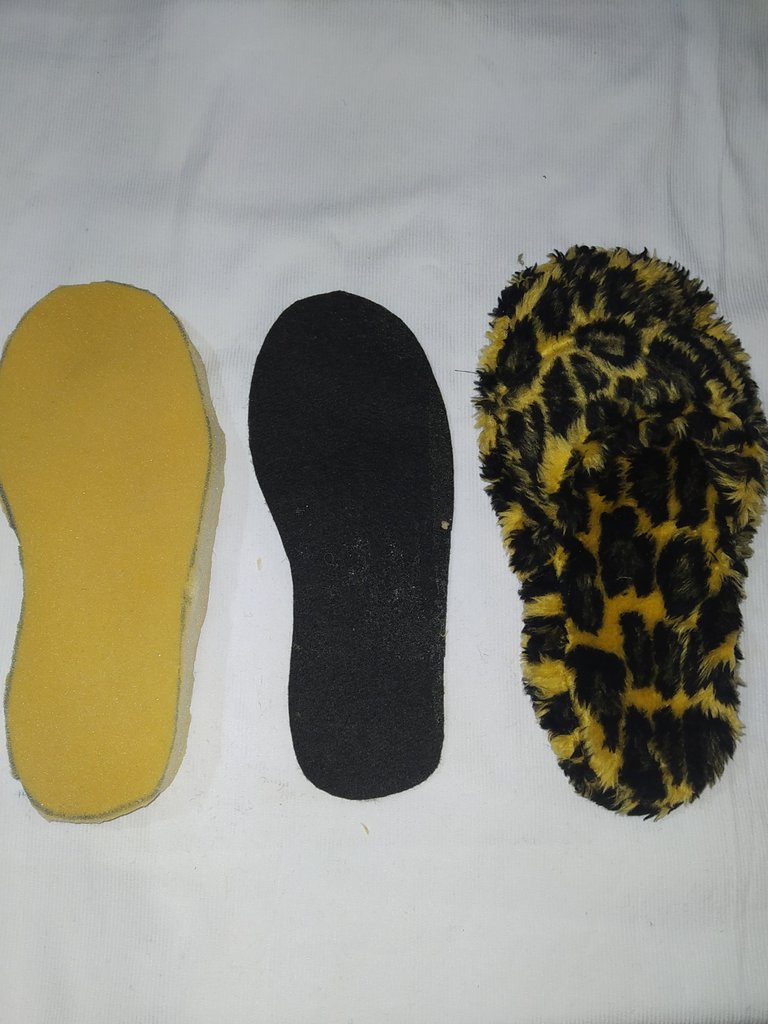
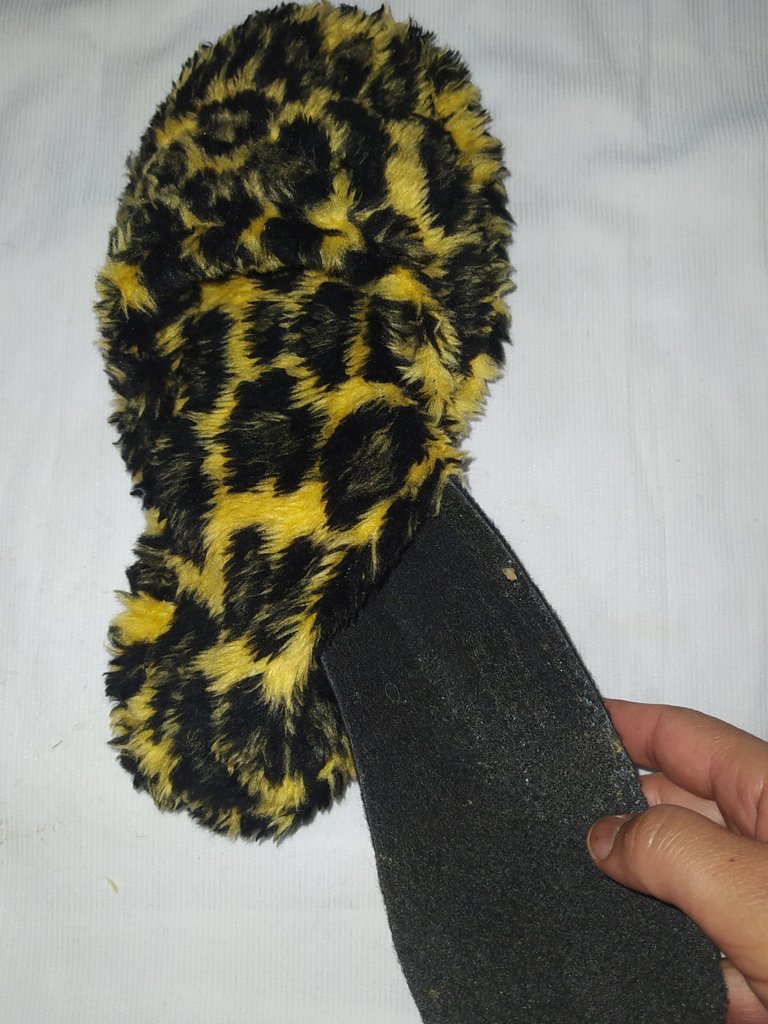
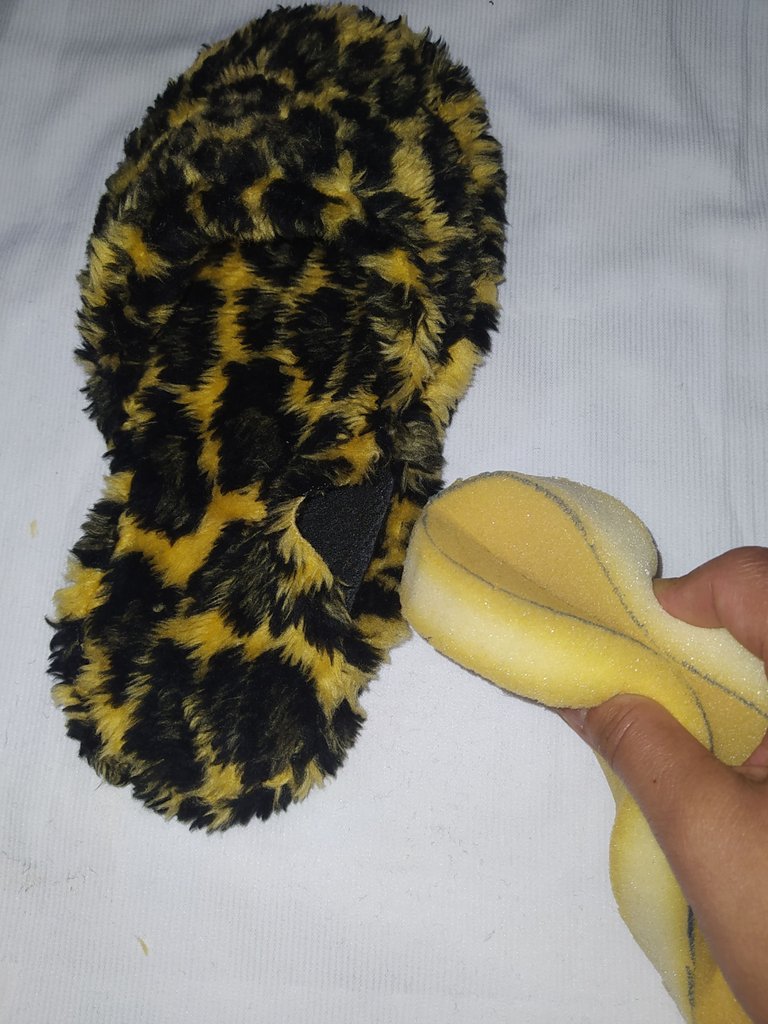
Armado de la pantufla.
Slipper assembly.
 |  |  |
|---|
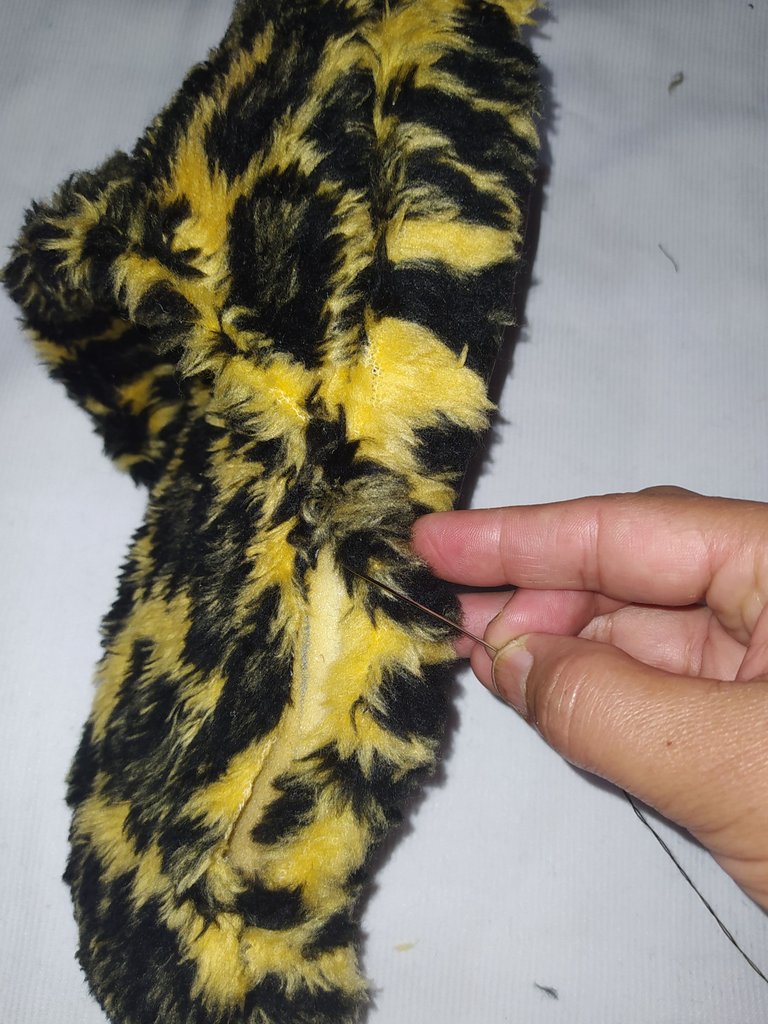
- Por la abertura que de 6 centímetros que habíamos dejado introducimos primero la plantilla en alfombra y la esponja doblando la para que se haga más fácil introducirla.
- Luego con aguja e hilo cocemos a mano la abertura.
- Through the opening of 6 centimeters that we had left we introduce first the template in carpet and the sponge folding it so that it becomes easier to introduce it.
- Then with needle and thread we hand sew the opening.
- Then at the bottom of the template with the silicone gun we make some zig zag so that this firm are Antiresbalante.
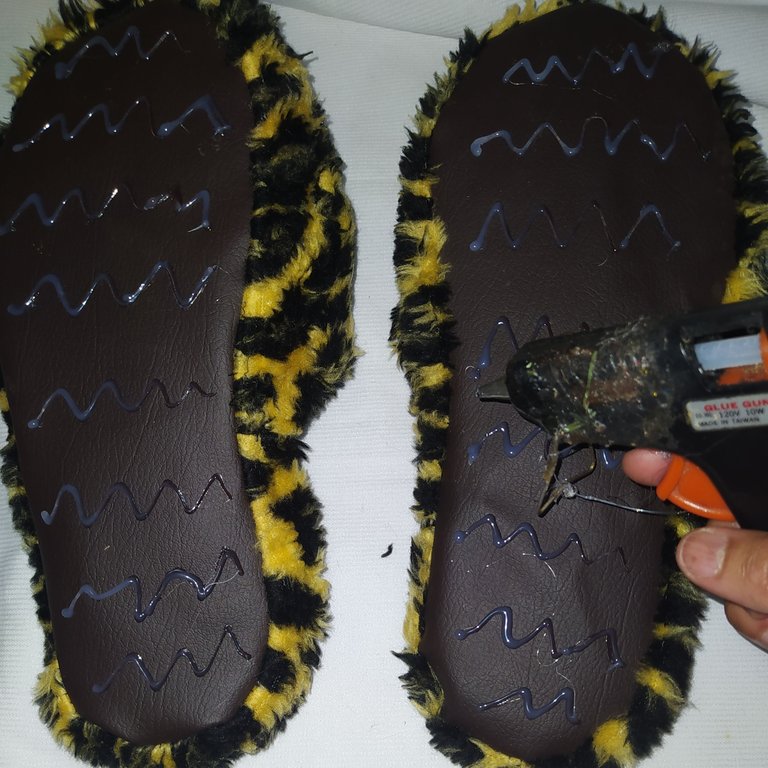
- Luego en la parte de abajo de la plantilla con la pistola de silicón le hacemos unos zig zag para que de esta firma queden Antiresbalante.
- Then at the bottom of the template with the silicone gun we make some zig zag so that this firm are Antiresbalante.
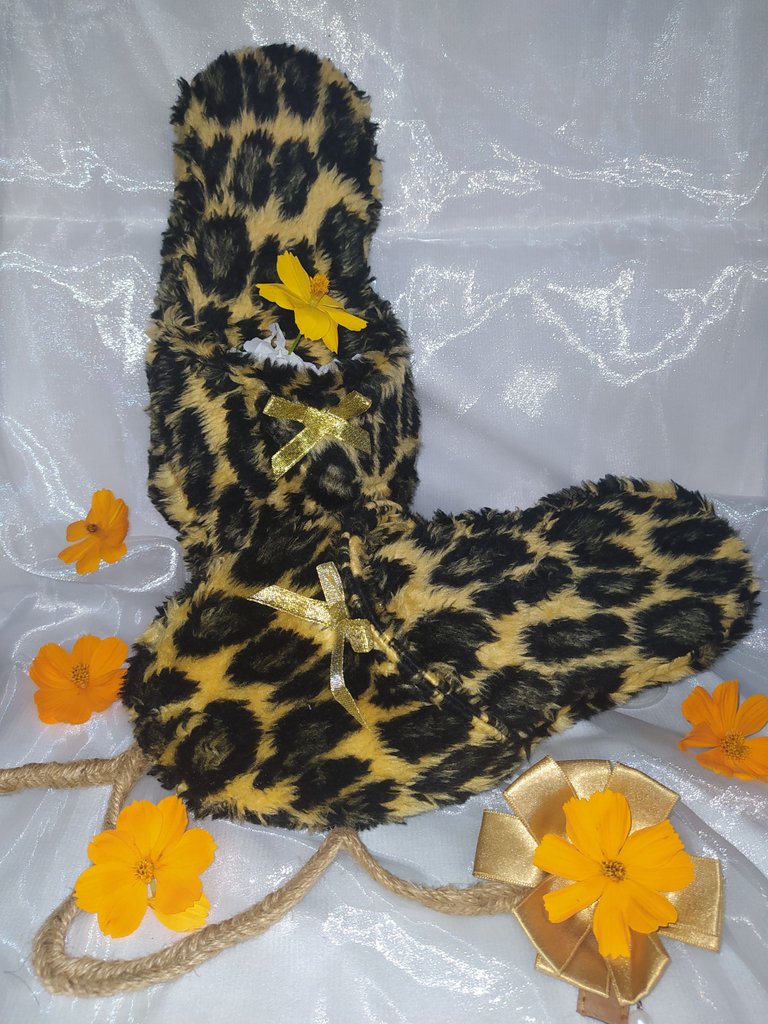
Queridos amigos así de linda quedaron las pantuflas, sin una muy buena alternativa a momento que queremos regalar un poco de amor creado por nosotros mismos.
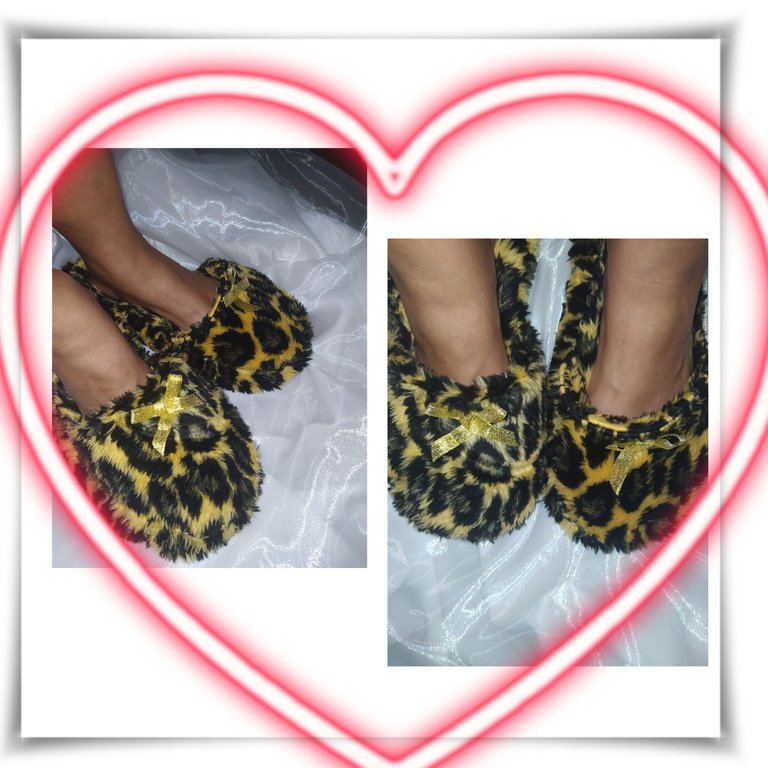
No sé imaginan lo cómoda que son, mis pies se sienten muy calientitos y consentidos con estas hermosas pantuflas
Gracias por haberme acompañado y no te olvides de dejarme tus comentarios ya que es una bonita forma de interactuar.
I can't imagine how comfortable they are, my feet feel very warm and pampered with these beautiful slippers.
Thanks for joining me and don't forget to leave me your comments, it's a nice way to interact with me.
(
- Todo el contenido es de mi autoría.
- Fotos tomadas con teléfono Xiaomi redmi note 8.
- Banner realizado editor PicsArt.
- Traductor DeepL.
- All content is my own.
- Photos taken with Xiaomi redmi note 8 phone.
- Banner made by PicsArt editor.
- Translator DeepL.
Repurpose👌. Rethink♻🧠.
Thank you, the best thing is to be able to recycle
♻️♻️♻️♻️🙌🙌🙌💯💯💯✨✨✨😘😘🤗🌺🌺🎉🌹🌹👍🥰❤️💤🌟🌼😍🌸☺️🙌👏🌟🥰🥰❤️👍👍🎉🌺🤗😘💯✨✨💯🌺🎉🌹👍🤩🤩🤩🥰🥰❤️👍🌹🌺🤗😘✨☺️🙌👏🌟❤️🌹🎉🤗💯✨🌟🥰🤩
Thank you for sharing this amazing post on HIVE!
Your content got selected by our fellow curator @rezoanulvibes & you just received a little thank you via an upvote from our non-profit curation initiative!
You will be featured in one of our recurring curation compilations and on our pinterest boards! Both are aiming to offer you a stage to widen your audience within and outside of the DIY scene of hive.
Join the official DIYHub community on HIVE and show us more of your amazing work and feel free to connect with us and other DIYers via our discord server: https://discord.gg/mY5uCfQ !
If you want to support our goal to motivate other DIY/art/music/homesteading/... creators just delegate to us and earn 100% of your curation rewards!
Stay creative & hive on!
@rezoanulvibes @hivehub
Thank you for your support I appreciate your consideration of my post.
🥰❤️❤️😘🌼🙌😍👏👏😍🙌😘🥰🤩🙌😍👏👏🥰🥰❤️❤️❤️😘🌼🌼🤩😍👏👏👏😍🌟🤩❤️🌹🤗🤗🤗🤗🌺☺️☺️💯💯✨👍🌸🌸🎉👍🤗🌹🥰❤️😘🎉👏🌟🌼😘🌺☺️☺️✨👍🌸
You're welcome!
Una forma ingeniosa de reciclar. Se ven muy cómodas.
Si son muy cómodas y calientitas gracias por comentar infinitas bendiciones
🤩🥰🌟🤗🎉❤️❤️♻️🤩🌟✨💯🎉🌹❤️❤️👍🌺😘🙌👏♻️♻️♻️👏🙌☺️🌺👍😍❤️❤️❤️🌹🎉🌟🤩🤩🙌☺️😘🌹❤️🎉🌟🙌😘👍😍❤️
Hola que bien quedaron tus pantuflas, se ven comodas y muy coquetas...
Hola amiga si sin muy comodas gracias por tu comentario
😍🌟🙌👏🌹🌼🤗🤩✨😘☺️💯🌟🙌😍👍👏🌹🤗😘🌼🤩✨💯😭☺️🌺🌸
Hola amiga estan hermosas y se ven comodísimas provocan usarlas
🤗