
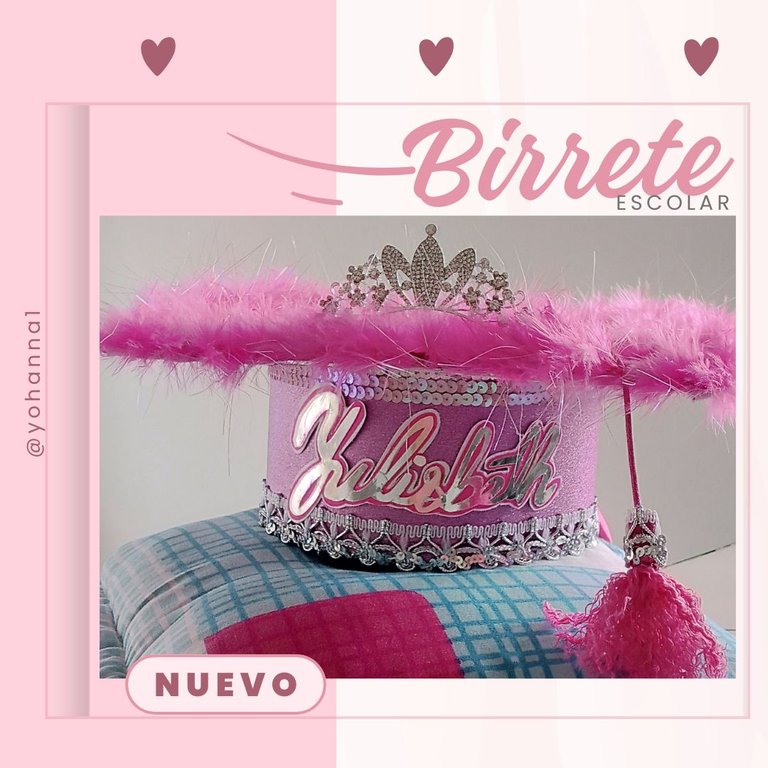
Llego mes de julio, mes de culminación de las clases escolares y el comienzo de los preparativos para la graduación de los niños y jóvenes que son promovidos a la básica, secundaria y los que culmina el bachillerato. Entre los preparativos se encuentra el buscar la documentación, la ropa, cancelar paquetes de grados e infinidades de cosas que se debe tener listo para ese día tan importante. Entre esas cosas es lucir un elegante y hermoso birrete, hoy les traigo el paso a paso para la realización de uno, el cual puede adaptar a tu gusto, así que manos al papel.
The month of July has arrived, the month of the culmination of school classes and the beginning of preparations for the graduation of children and young people who are promoted to basic, secondary and those who complete high school. Among the preparations is finding documentation, clothing, canceling degree packages and countless things that must be ready for that important day. Among those things is showing off an elegant and beautiful cap, today I bring you the step by step for making one, which you can adapt to your taste, so let's get down to paper.
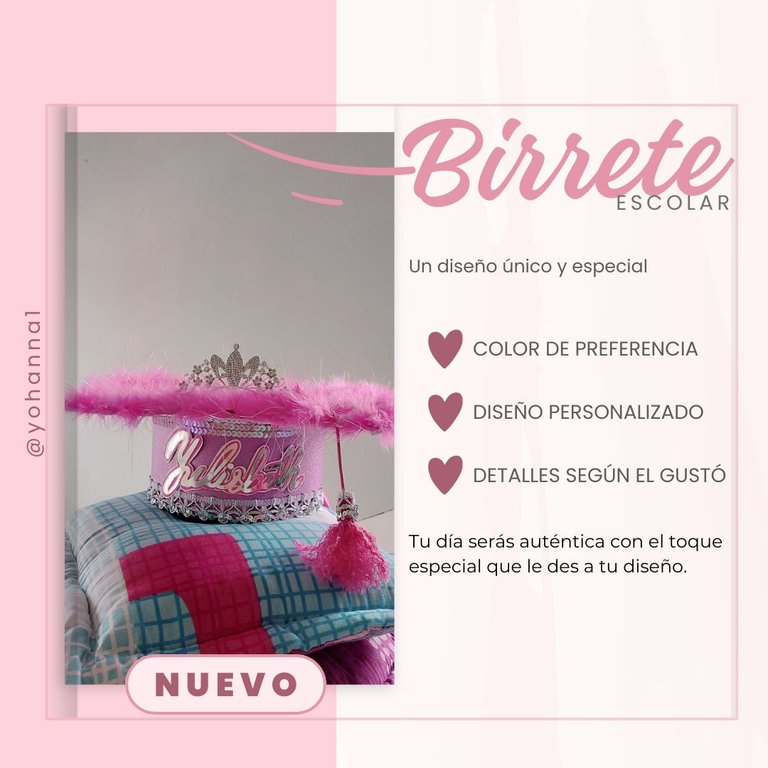

Materiales
- Cartulina del color de preferencia
- Silicón líquido y en barra
- Pega
- Tijera
- Pistola de Silicón
- Detalle al gusto ( corona, cinta decorativa, letra, nombre, mariposa)
Materials

• Cardboard in the color of your choice
• Liquid and stick silicone
• Job
• Scissors
• Silicone gun
• Detail to taste (crown, decorative ribbon, letter, name, butterfly)

Procedimiento
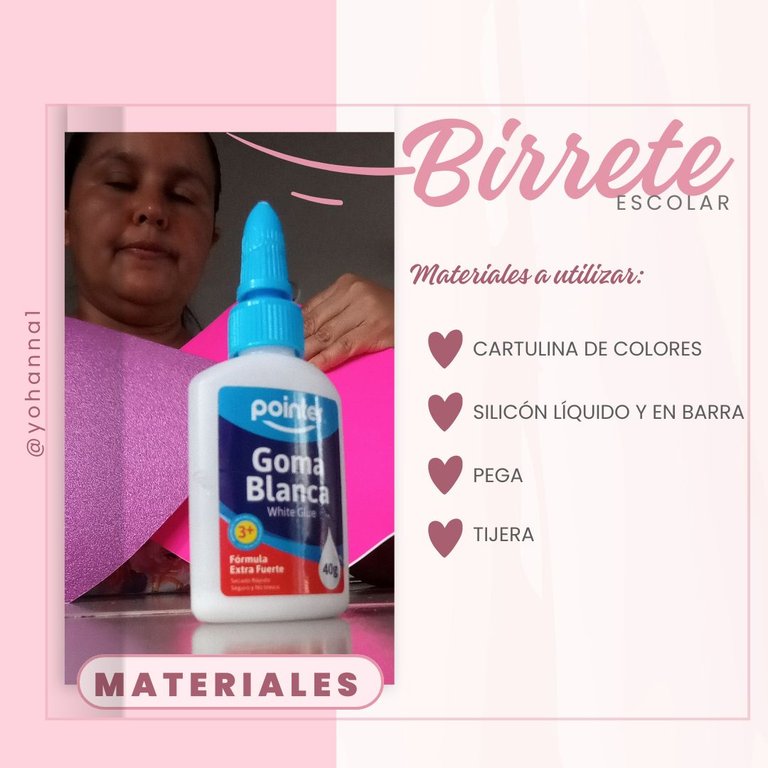
- Seleccionar la cartulina a utilizar en este caso el color utilizado es lila escarchado.
- Para reforzar se utiliza como base una cartulina doble fax color fucsia.
- Medimos dos tira de 11,5 cm por 58,5 de largo, dos rectángulo de 24 por 27 cm, y marcamos un círculo en el centro de unos de los rectángulos. Las medidas también dependerá del tamaño de la persona.
Procedure

• Select the cardboard to use in this case, the color used is frosty lilac.
• To reinforce, a fuchsia double fax cardboard is used as a base.
• We measure two strips measuring 11.5 cm by 58.5 cm long, two rectangles measuring 24 by 27 cm, and we mark a circle in the center of one of the rectangles. The measurements will also depend on the size of the person
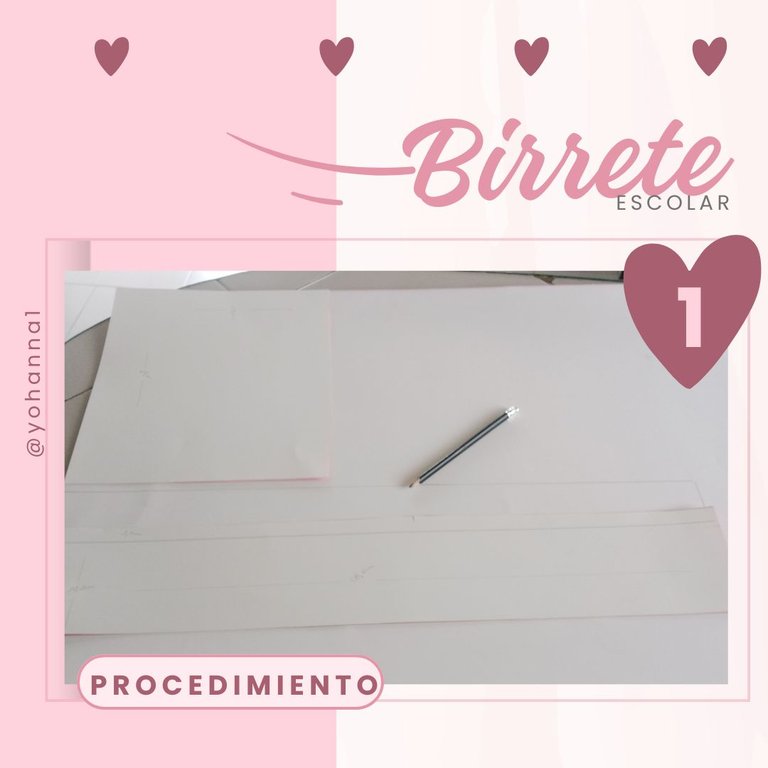

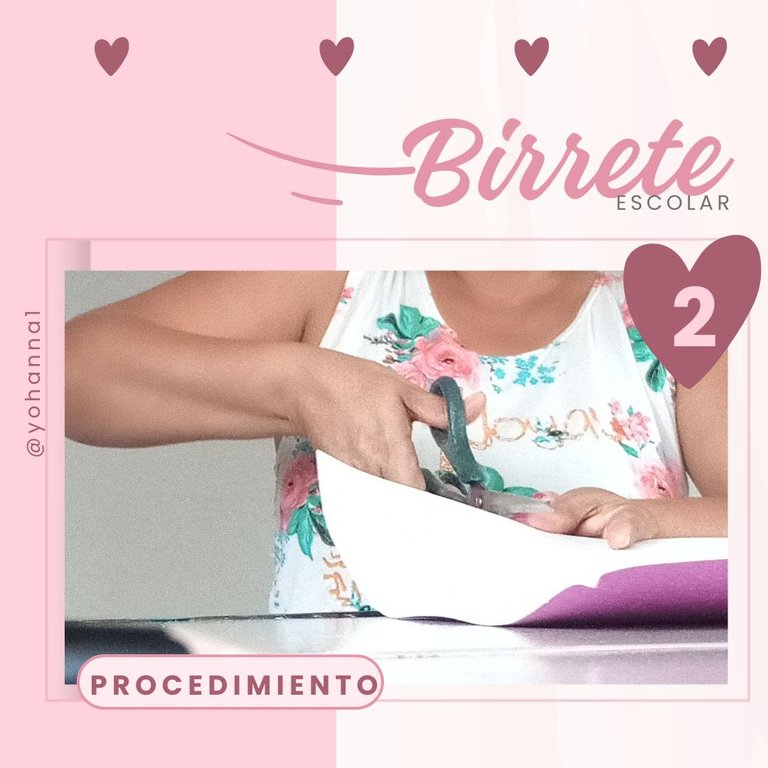
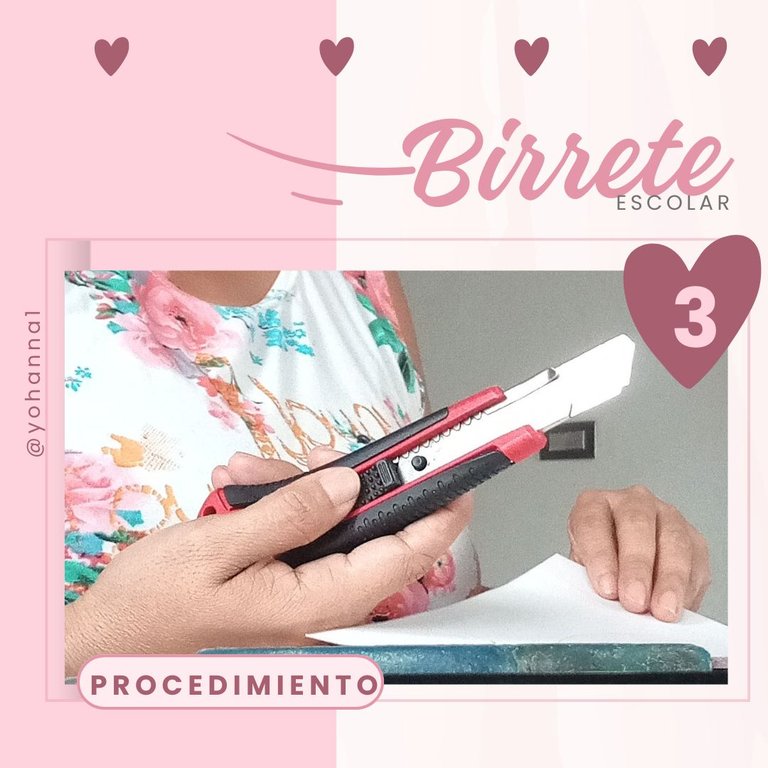
- Iniciamos a cortas cada pieza marcada con ayuda de la tijera y si es necesario usar un cortador de cartón para sacar el circulo.
• We begin to cut each marked piece with the help of scissors and, if necessary, use a cardboard cutter to remove the circle.
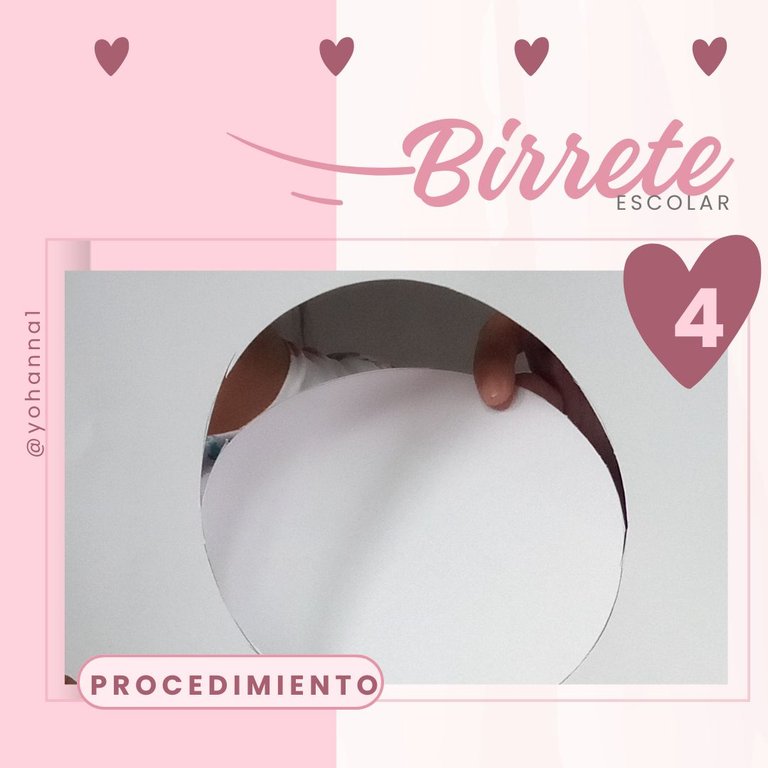

- Medimos cada pieza, para comenzar a pegar, utilizando pegamento blanco para unir cada pieza que servirá de base, la otra pieza escarchada se recomienda utilizar silicón líquido para mayo refuerzo.
We measure each piece, to begin gluing, using white glue to join each piece that will serve as a base, the other frosted piece is recommended to use liquid silicone for reinforcement.
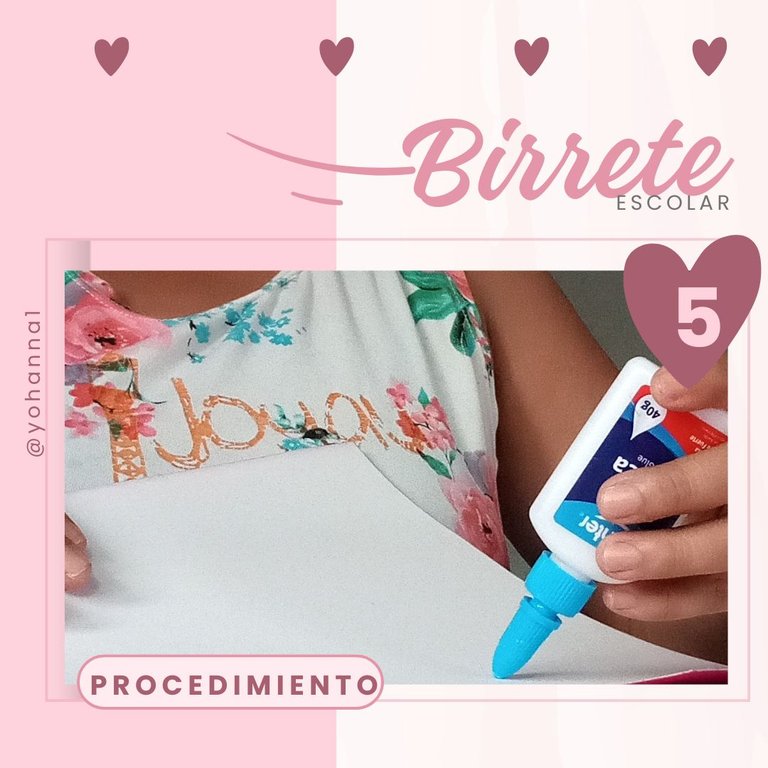
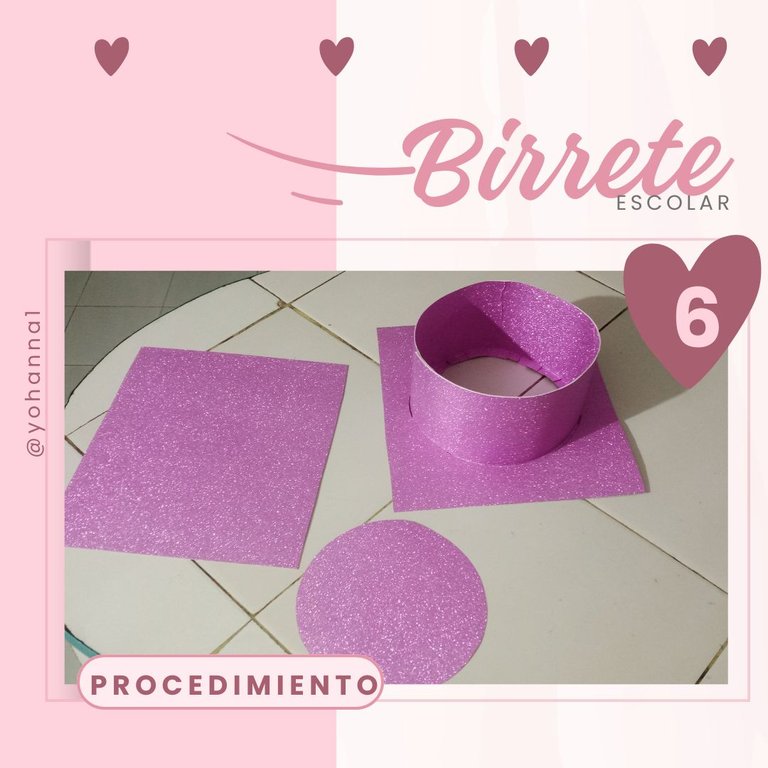

- Como veras ya está tomando forma el birrete, es hora de dejar reposar para que el pegamento se tome su tiempo de secado y poder continuar con la colocación de los detalles.
As you will see, the cap is already taking shape, it is time to let it rest so that the glue can take its time to dry and we can continue with placing the details.
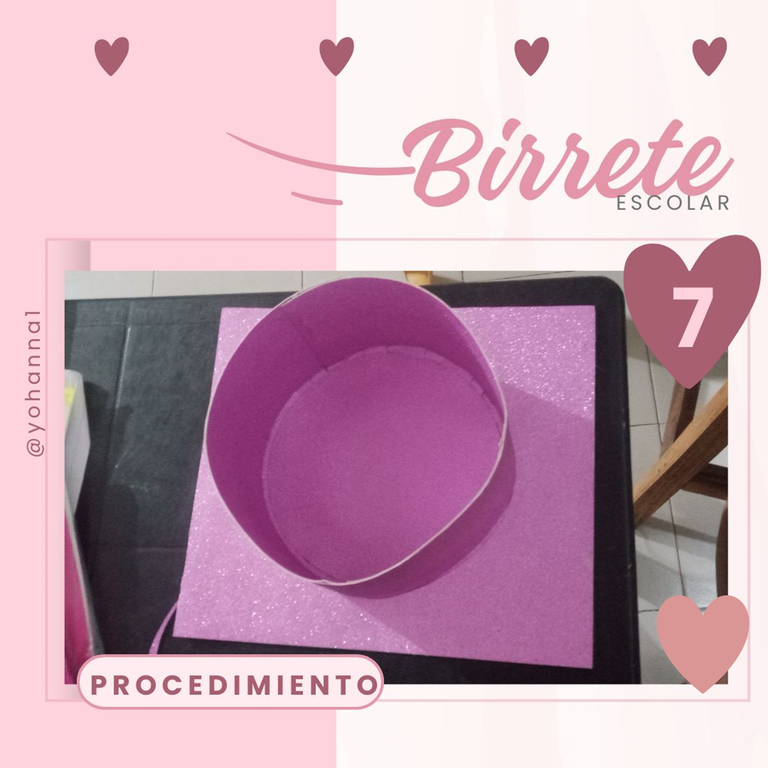

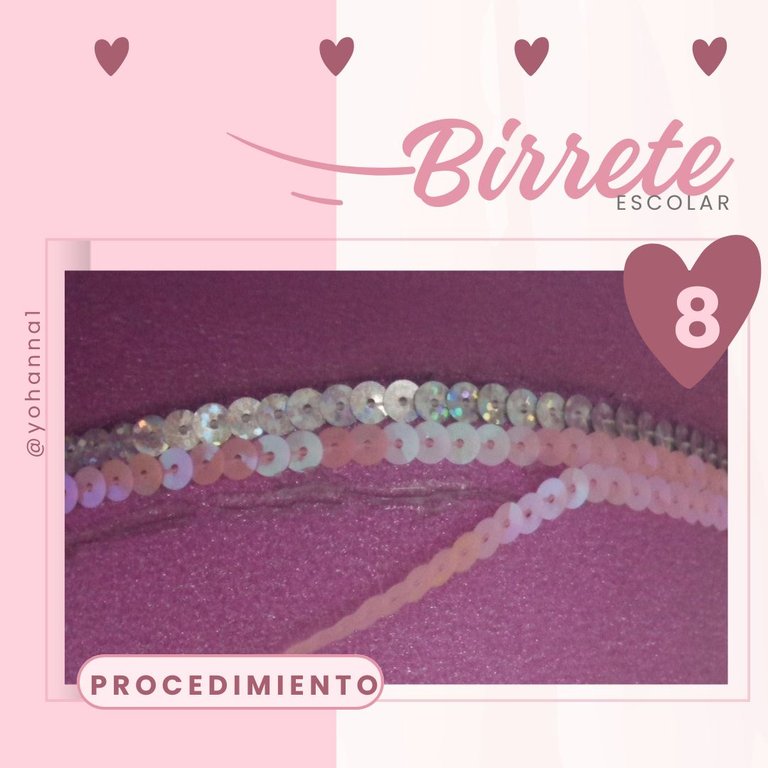
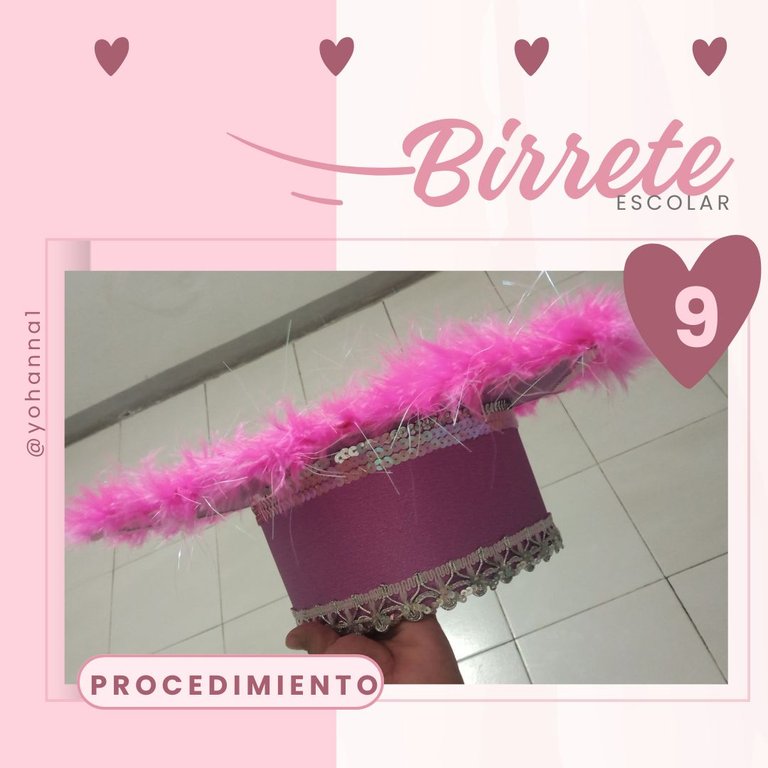
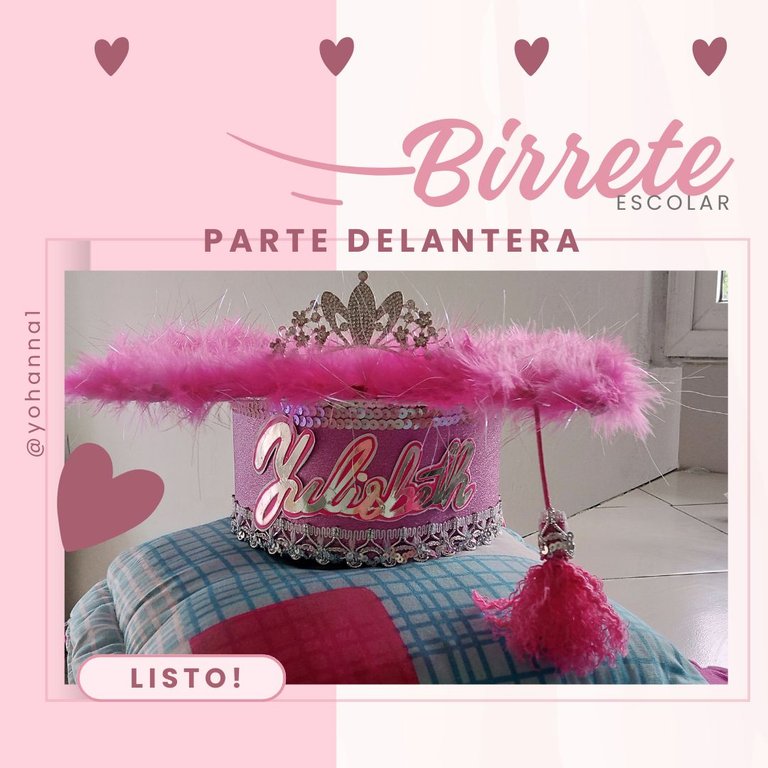
- Una vez pegado bien el birrete se inicia a pegar los detalles, las cintas, las lentejuelas de color plateado y rosado tornasol con ayuda del silicón en barra y la pistola caliente, la cartulina escarchada es muy delicada y hay que estar muy atentos a la hora de hacer el pegado. Una vez lita la parte inferior se continua con la parte superior, allí se coloca boa de color rosado fuerte para hacer contrate ya que es para una adolecente muy coqueta, llevara su nombre y una coronita de princesa.
- Once the cap is well glued, begin to glue the details, the ribbons, the silver and iridescent pink sequins with the help of the silicone stick and the hot gun, the frosted cardboard is very delicate and you have to be very attentive to the time to do the gluing. Once the lower part is finished, we continue with the upper part, there we place a bright pink boa to make a contract since it is for a very flirtatious teenager, it will have her name and a princess crown.

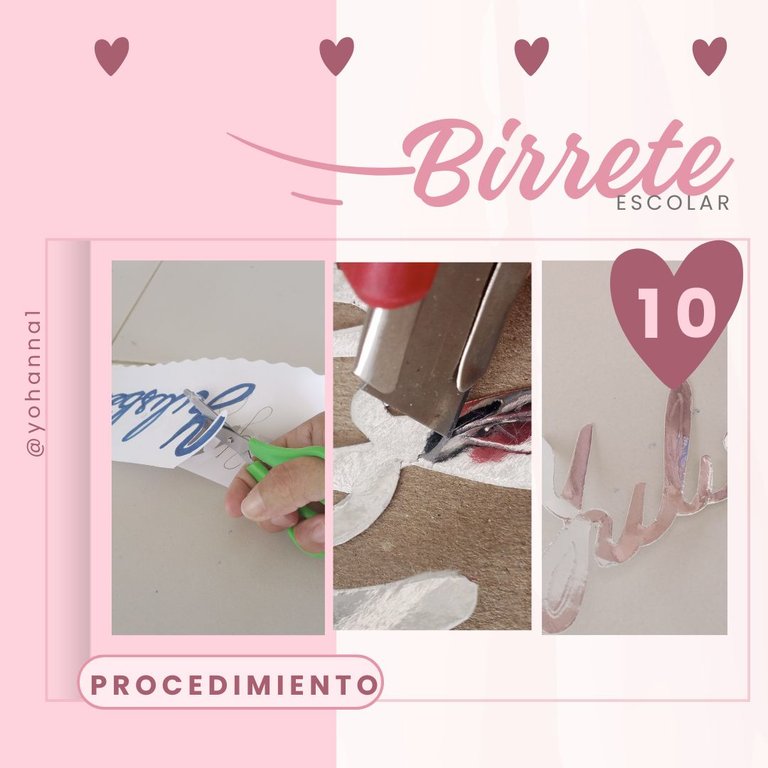
- El nombre se hizo a mano, lo primero que escribir es el nombre en una hoja para sacar el molde, posteriormente se colocó encima de la cartulina plateada para repujar y poder cortar con ayuda del cortador de cartón, para hacer contraste se pegó encima de una cartulina fucsia y una blanca.
The name was made by hand, the first thing to write is the name on a sheet to remove the mold, later it was placed on top of the silver cardboard to emboss and be able to cut with the help of the cardboard cutter, to make contrast it was glued on top of a fuchsia cardboard and one white.

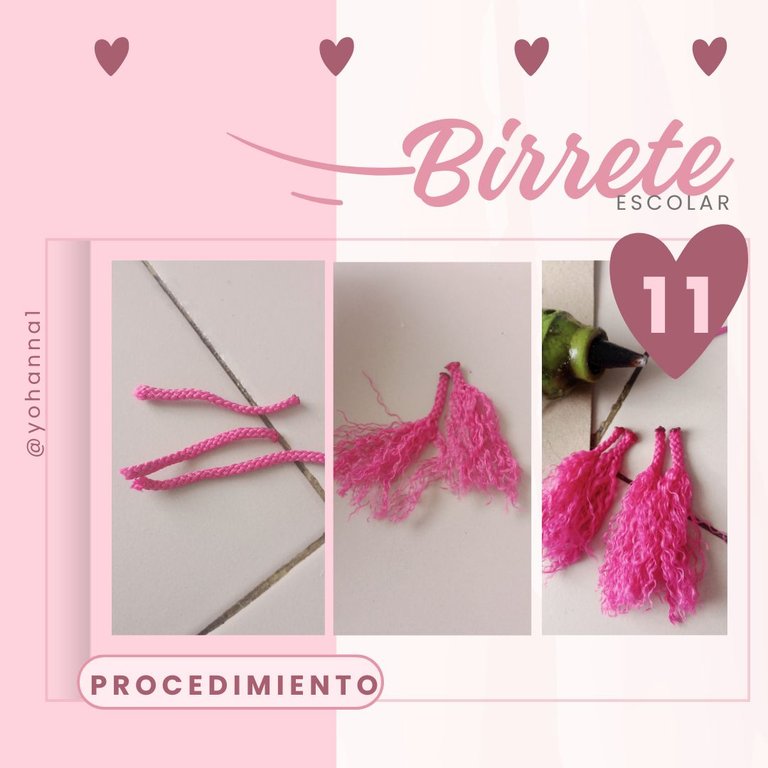
- Para la boina se utilizó meno de medio metro de cola de ratón, se recortó 4 trocito de 4 cm, para espelucarlos y luego unirlos con silicón y una cinta plateada para que hiciera contrate con el birrete, una vez listo se pegó al birrete.
For the beret, less than half a meter of mouse tail was used, 4 small pieces of 4 cm were cut out, to comb them and then join them with silicone and a silver ribbon to make a contrast with the cap, once ready it was glued to the cap.

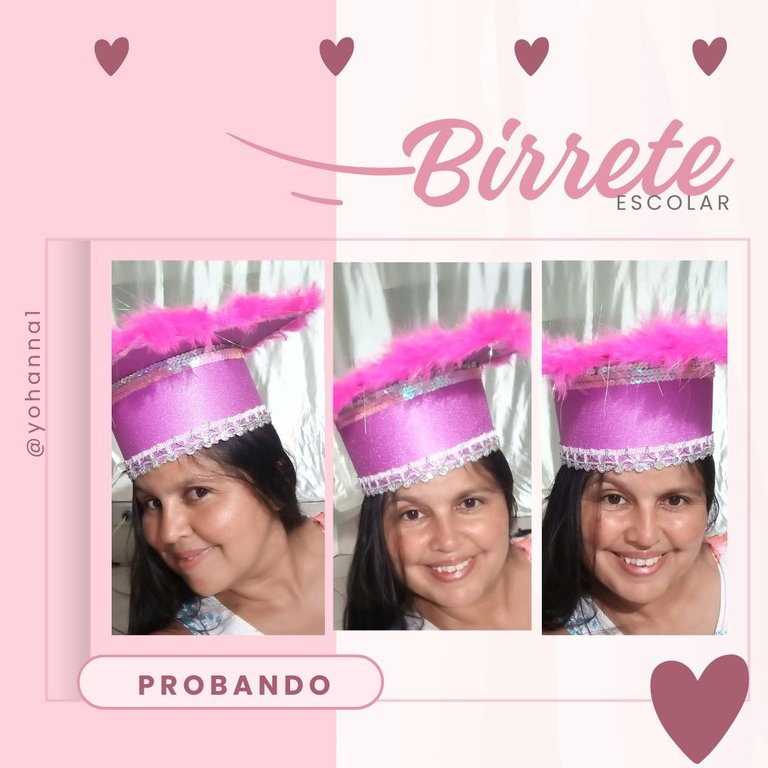
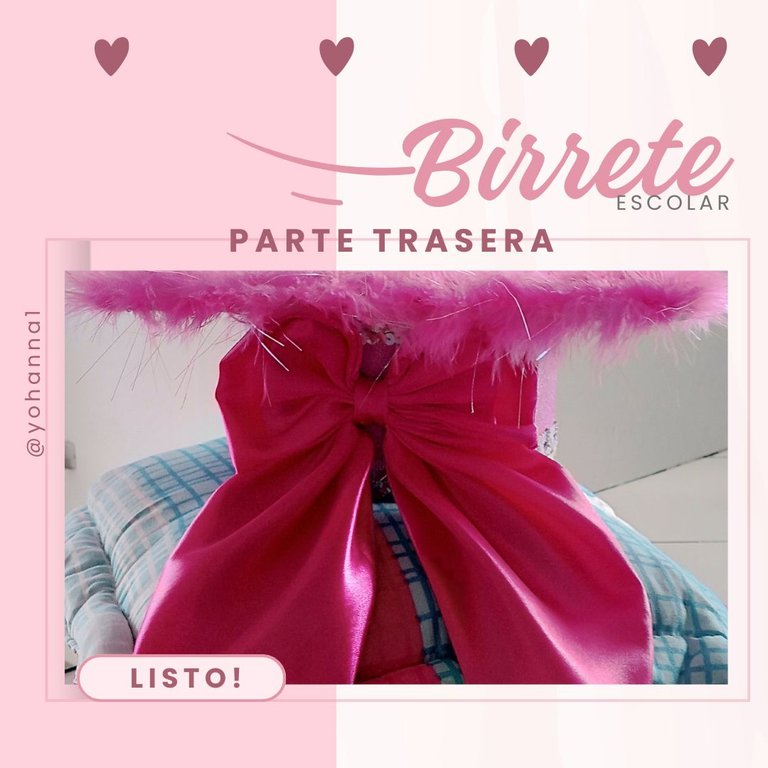
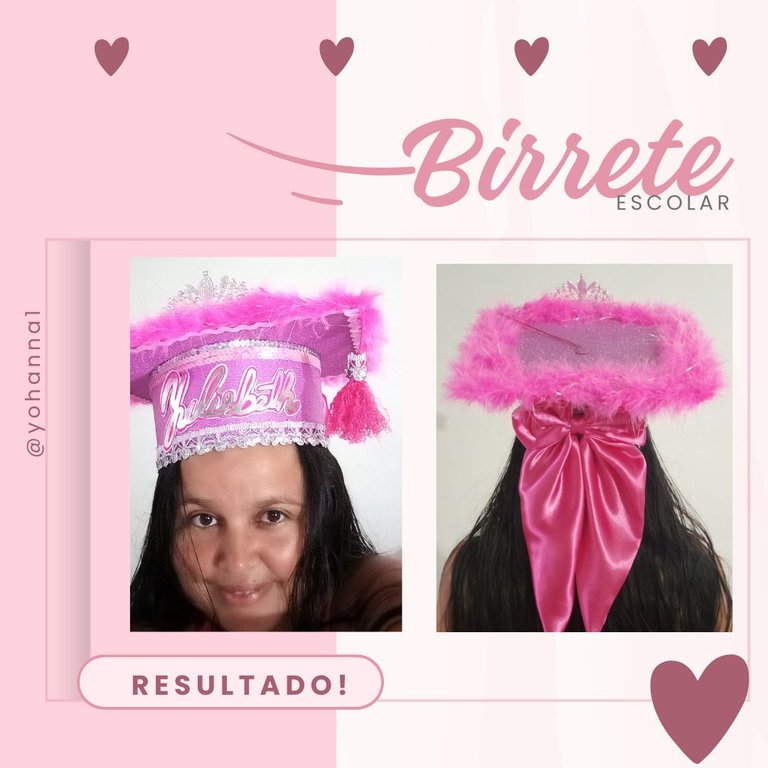
- Luego de pegado el nombre, la boina, la corona, se pegó un lazo clásico color fucsia para terminar de darle el toque de princesa coque. Me lo coloque para probar su resistencia, quedo cómodo y ligero.
- After gluing the name, the beret, and the crown, a classic fuchsia bow was glued to finish giving it the coke princess touch. I put it on to test its resistance, it was comfortable and light.
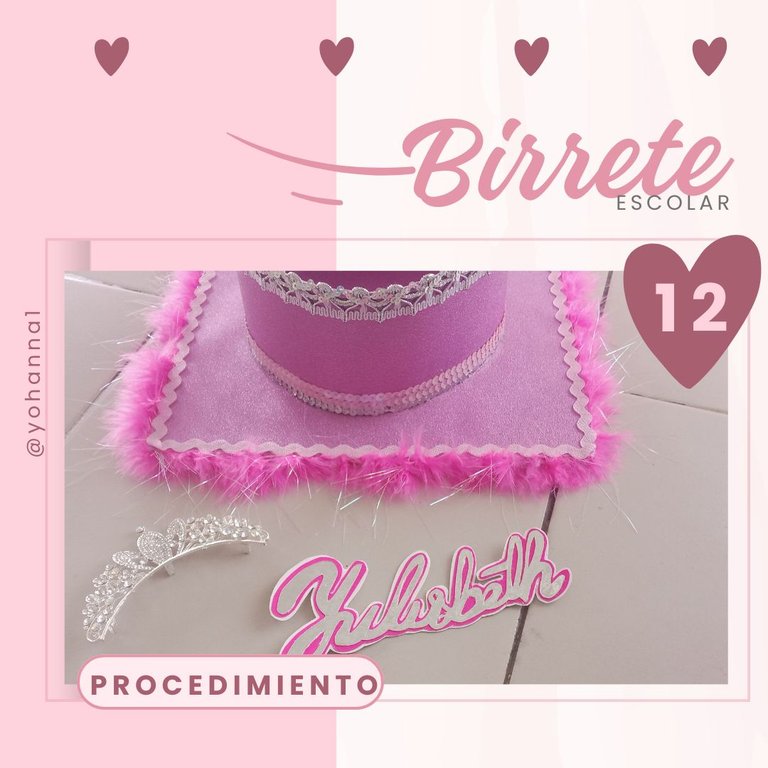

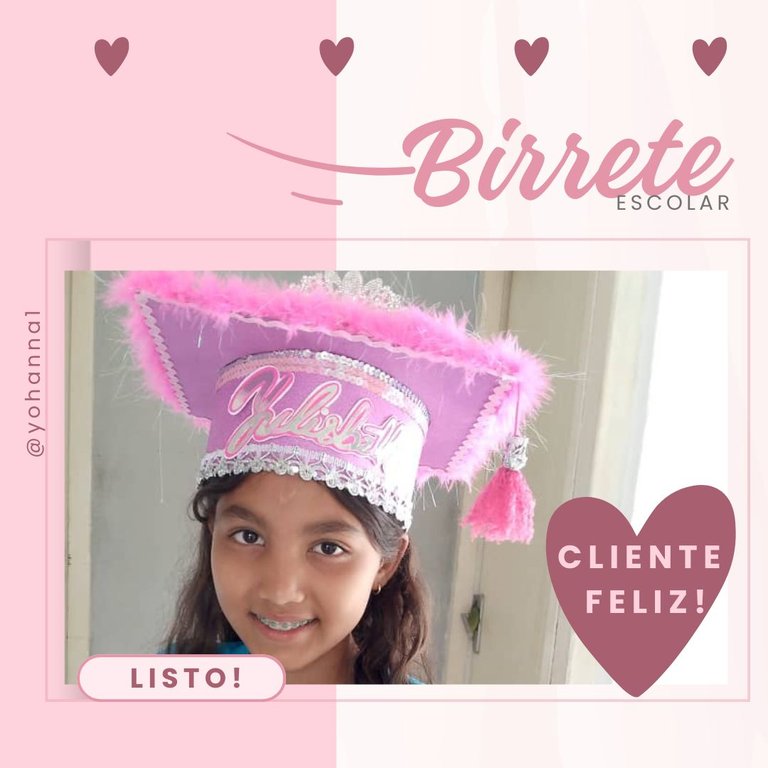
Una vez terminado fue entregado a nuestras cliente, la cual quedo feliz con el resultado.
Once finished, it was delivered to our client, who was happy with the result.

Espero le guste! Agradecida por cada apoyo. Dios los bendigas!
I hope you enjoy it! Grateful for every support. God bless you!

Contenido: Original del Autor.
Imágenes: Originales tomadas con mi teléfono
Recursos: Computador y teléfono infinix hp 10
Programa: Canva y Polish
Traducido con traductor google
Todos los Derechos Reservados: @yohanna1
Content: Original by the Author.
Images: Originals taken with my phone
Resources: Computer and phone infinix hp 10
Program: Canva and Polish
Translated with google translator
All Rights Reserved: @yohanna1

Excelente explicación, el resultado es hermoso 🤗 gracias por compartir!
Gracias!, un gusto poder compartir.
Quedo muy bonito y original, el color es maravilloso, gracias por tan excelente explicación
Gracias!
Beautiful craftsmanship for the upcoming graduations. You did a great job, thanks for sharing your step by step.
Gracias! un gusto en poder compartir.
Realmente nos compartes un hermoso trabajo, con un paso a paso detallado y excelentes imagenes.
Gracias por compartir tu proceso creativo.
Solo te sugiero que hagas una pequeña corrección en el error que tuviste en el título en la palabra escolar y que tengas un poco de interacción con las publicaciones de los demás artesanos de la comunidad. Que tengas un lindo domingo...
!discovery 40
Saludos @dayadam, gracias por la observación. Un gusto en compartir, cada detalle es súper importante.
This post was shared and voted inside the discord by the curators team of discovery-it
Join our Community and follow our Curation Trail
Discovery-it is also a Witness, vote for us here
Delegate to us for passive income. Check our 80% fee-back Program
Congratulations @yohanna1! You have completed the following achievement on the Hive blockchain And have been rewarded with New badge(s)
Your next target is to reach 50 upvotes.
You can view your badges on your board and compare yourself to others in the Ranking
If you no longer want to receive notifications, reply to this comment with the word
STOPCheck out our last posts:
Gracias por compartir el paso a paso, te quedó muy hermoso❤️✨
Gracias!