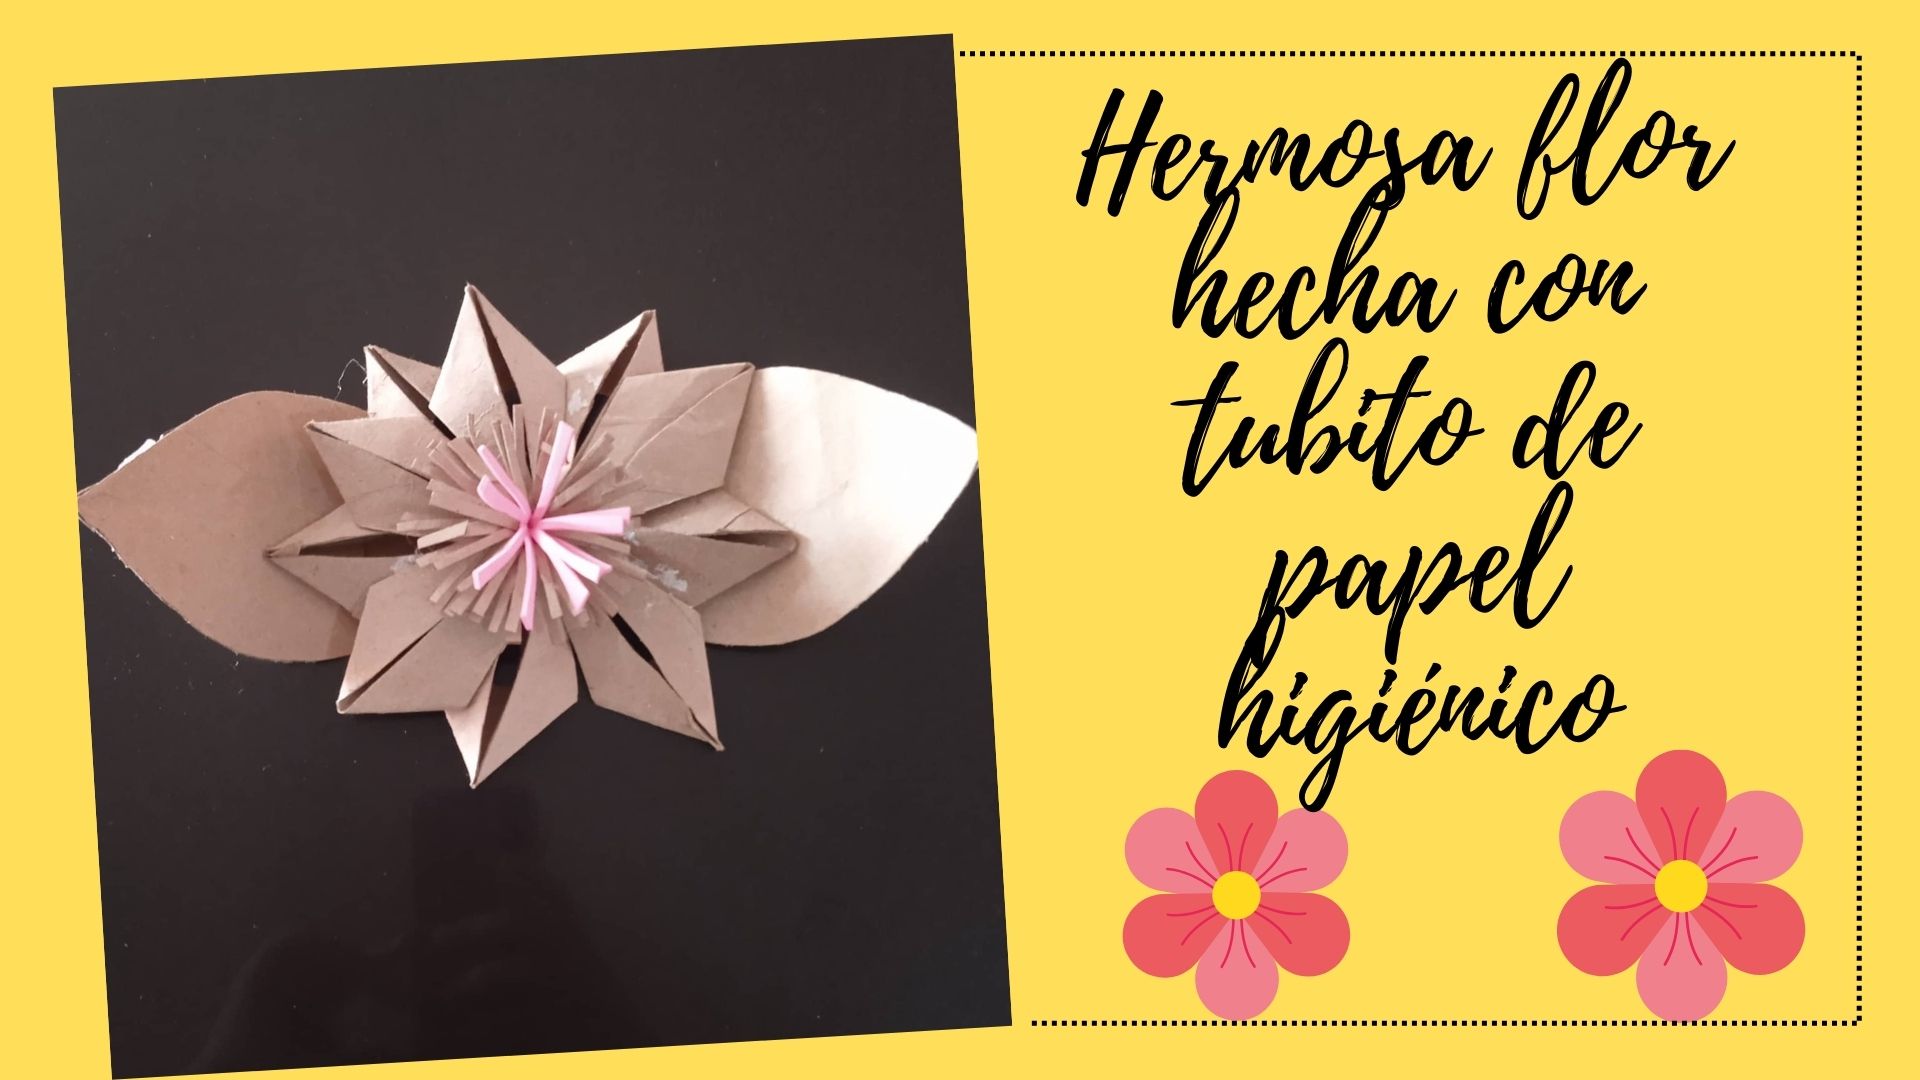
 Deseo que todos se encuentren muy bien, es un placer para mí estar compartiendo nuevamente con todos y cada uno de ustedes,hoy les quiero compartir una hermosa flor hecha con material de provecho, la verdad que tenía varios tubitos de papel en casa y decidí hacer algo muy lindo para decorar la pared de nuestra casa o cualquier otra cosa que nosotros queramos, veamos el paso a paso.
I wish you all well, it is a pleasure for me to be sharing again with each and every one of you, today I want to share a beautiful flower made with useful material, the truth is that I had several paper tubes at home and decided to make something very nice to decorate the wall of our house or anything else we want, let's see the step by step.
.jpg)
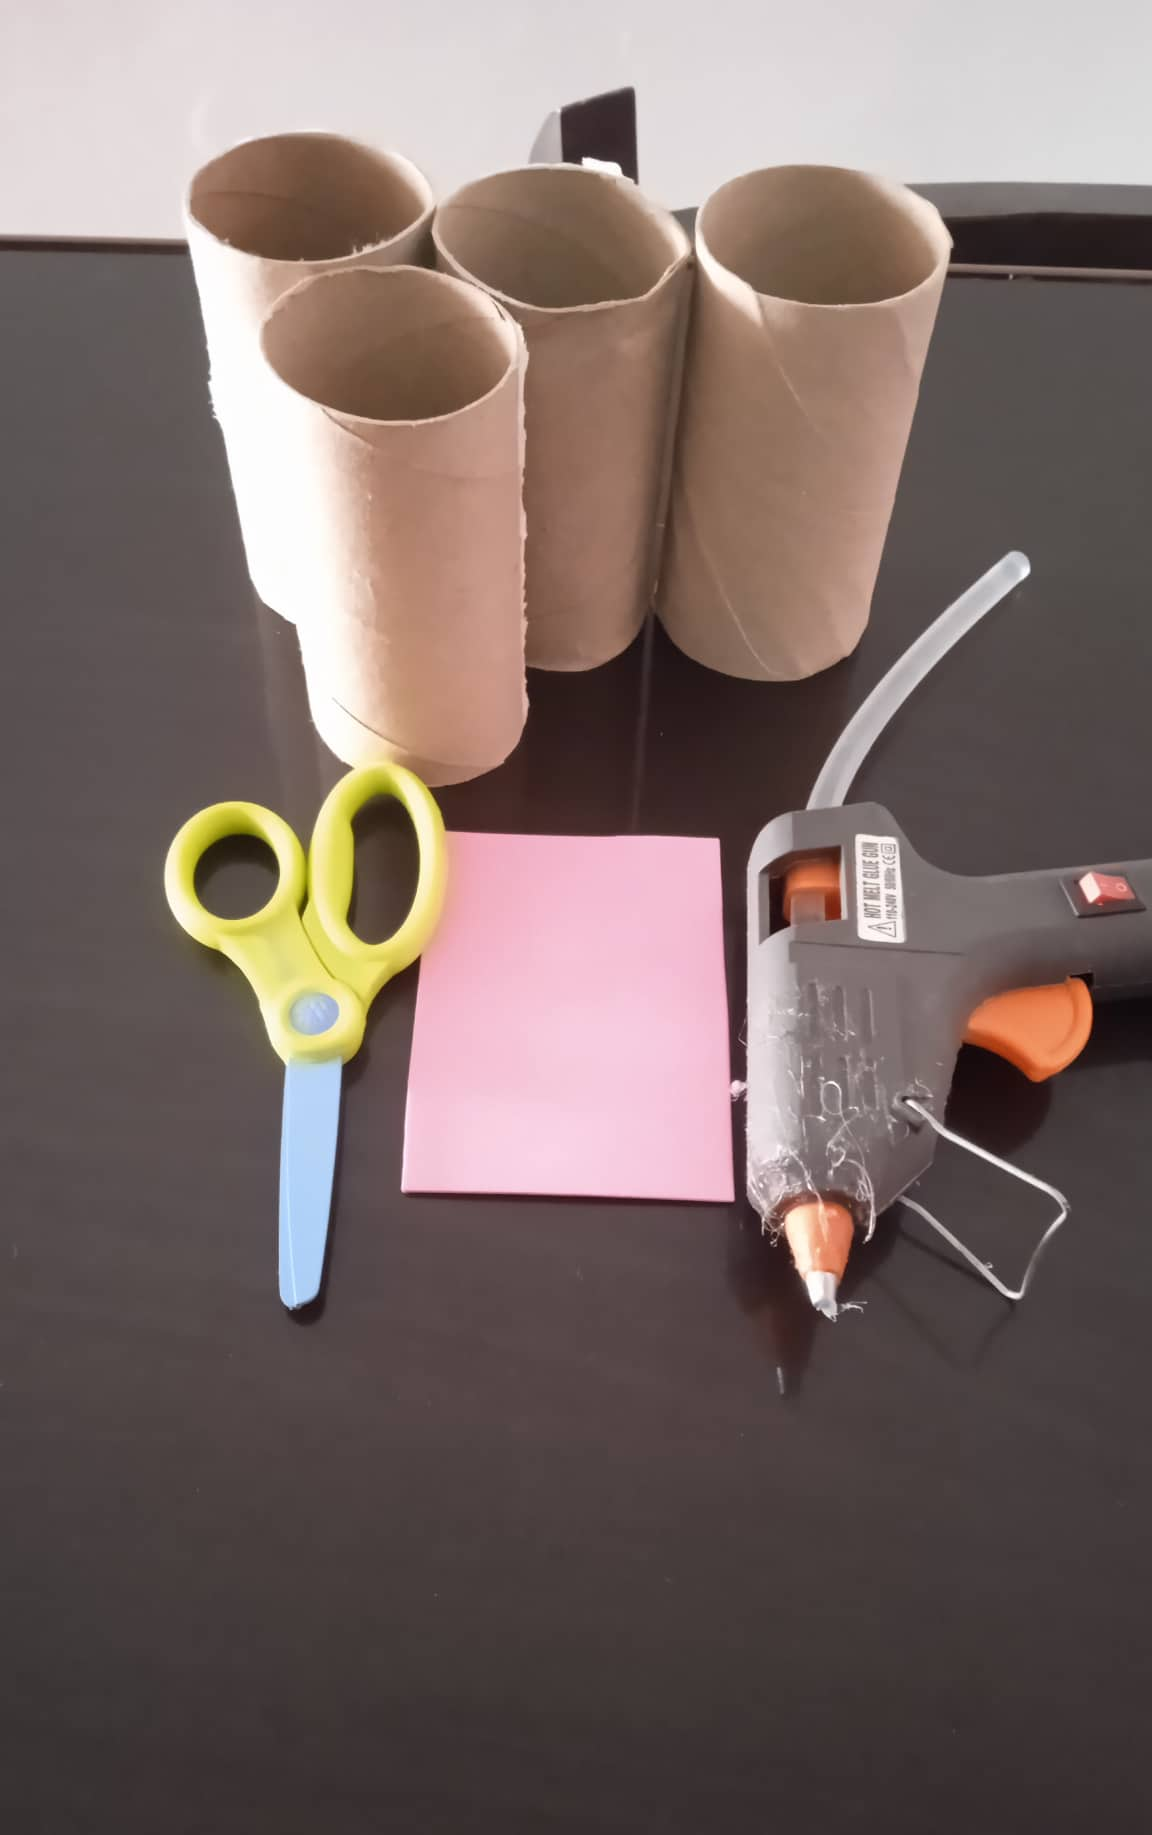
- Los materiales a utilizar son:
- 4 tubitos de papel higiénicos.
- Tijera.
- Silicón en barra.
- Retazo de foami rosado o de cualquier otro color que desee.
- The materials to be used are:
- 4 toilet paper tubes.
- Scissors.
- Silicone stick.
- Piece of pink foami or any other color you wish.
.jpg)
.jpg)
- Paso 1: Primeramente abrimos el tubito de papel higiénico, luego lo doblamos a la mitad y procedemos a recortar la forma de hoja, cabe destacar que debemos sacar dos partes iguales.
- Step 1: First we open the toilet paper tube, then we fold it in half and proceed to cut out the leaf shape, it is important to note that we must take out two equal parts.
.jpg)
.jpg)
- Paso 2: Luego de obtener las hojas, procedemos a recortar varias partes del tubito en forma de triángulos pero que quede una esquina más punteada que la otra, luego comenzamos a doblar las puntas de cada una de las partes, deberá quedar como muestra la tercera imágen lo cual serán los pétalos de la flor, deberán ser 10 pétalos.
- Step 2: After obtaining the leaves, we proceed to cut several parts of the tube in the form of triangles but that one corner is more dotted than the other, then we begin to bend the tips of each of the parts, it should be as shown in the third image which will be the petals of the flower, there should be 10 petals.
.jpg)
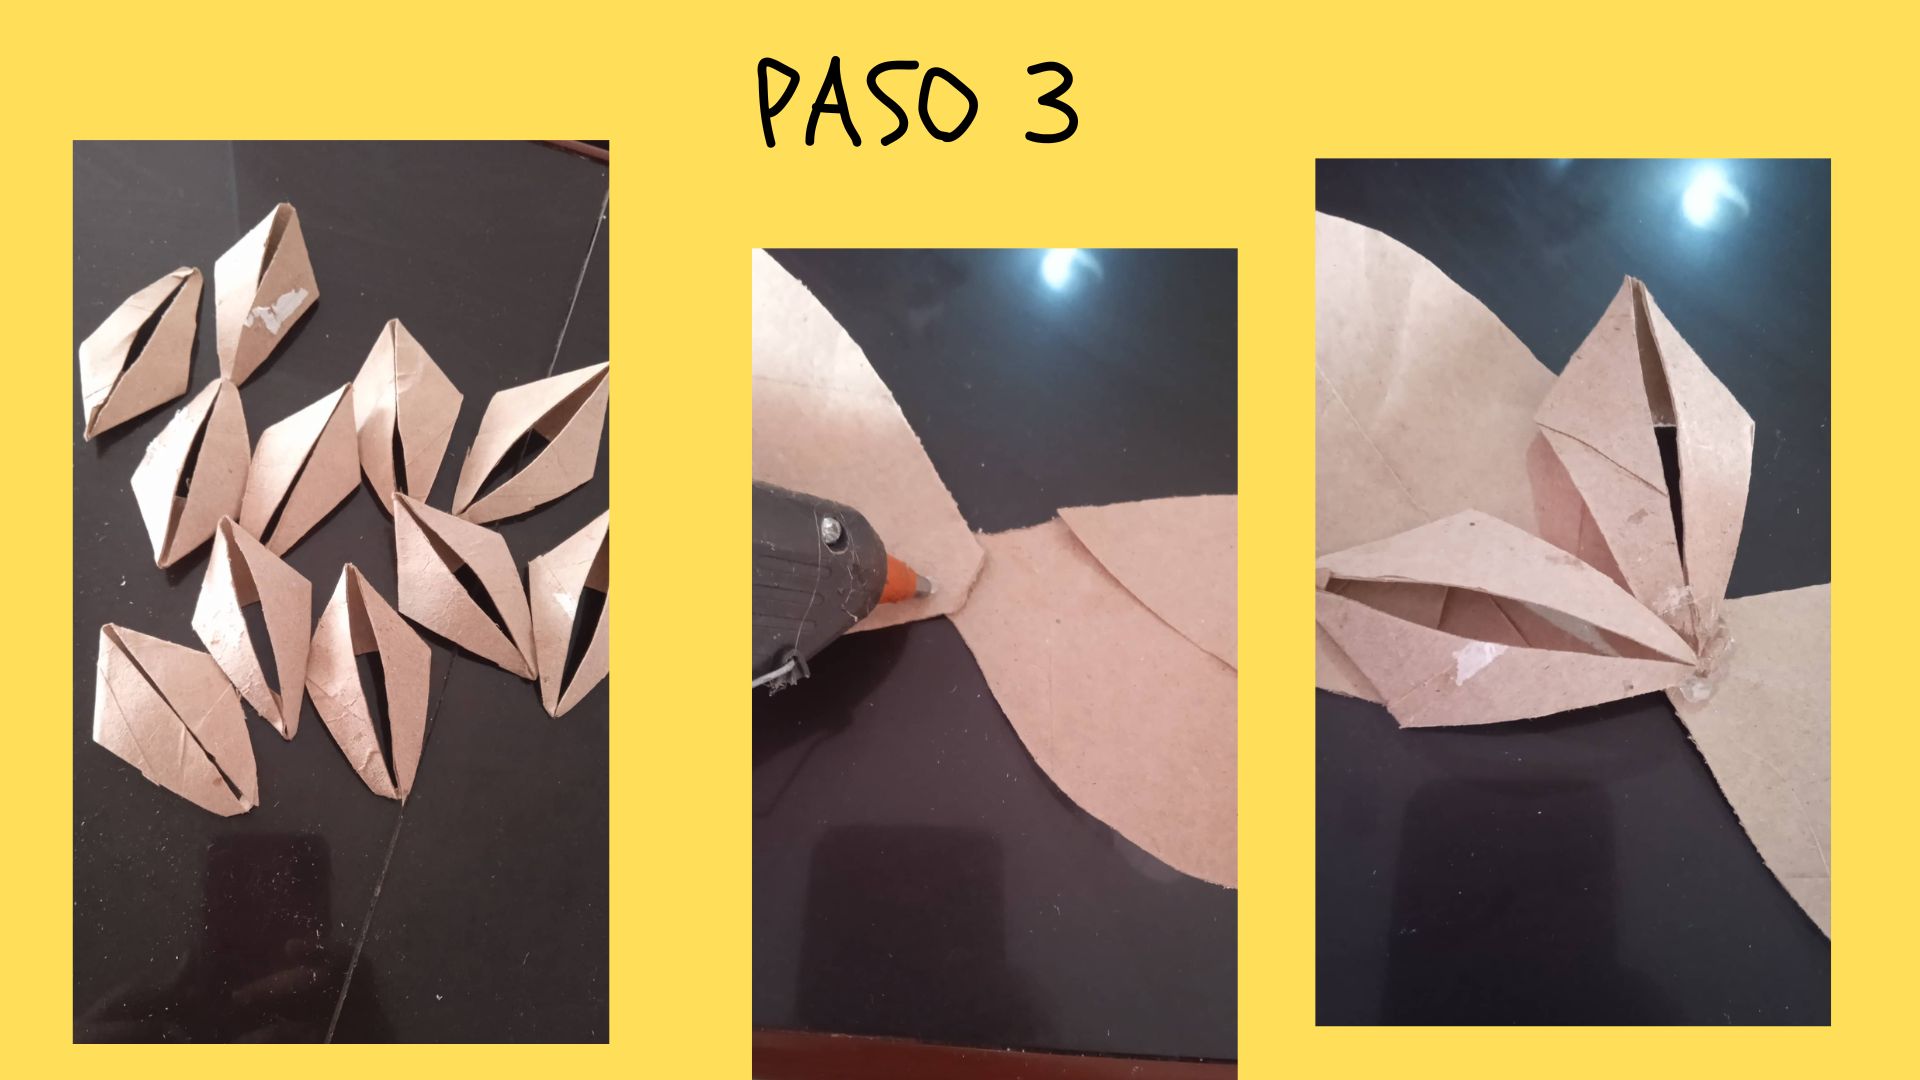
- Paso 3: Una vez que tenemos los 10 pétalos pegamos las hojas punta con punta, luego colocamos los pétalos uno a uno en todo el centro de las hojas.
- Step 3: Once we have the 10 petals we glue the leaves tip to tip, then we place the petals one by one in the center of the leaves.
.jpg)
.jpg)
- Paso 4: Una vez colocados los primeros 5 pétalos, procedo a colocar encima los otros 5, deberá quedar como muestra la tercera imágen.
- Step 4: Once the first 5 petals are placed, proceed to place the other 5 petals on top, as shown in the third image.
.jpg)
.jpg)
- Paso 5: Luego agarramos un pedazo del tubito de cartón de apróximadamente 2 dedos de ancho, lo abrimos y comenzamos a cortarlo en tiritas muy delgadas, luego lo enrollamos y lo pegamos en el centro de la flor.
- Step 5: Then we take a piece of cardboard tube about 2 fingers wide, open it and start cutting it into very thin strips, then we roll it up and glue it in the center of the flower.
.jpg)
.jpg)
- Paso 6. Luego con el retazo de foami, lo cortamos también en tiras delgadas, lo enrollamos y lo pegamos también en el centro de la flor.
- Step 6. Then, with the piece of foami, we also cut it into thin strips, roll it up and glue it in the center of the flower.
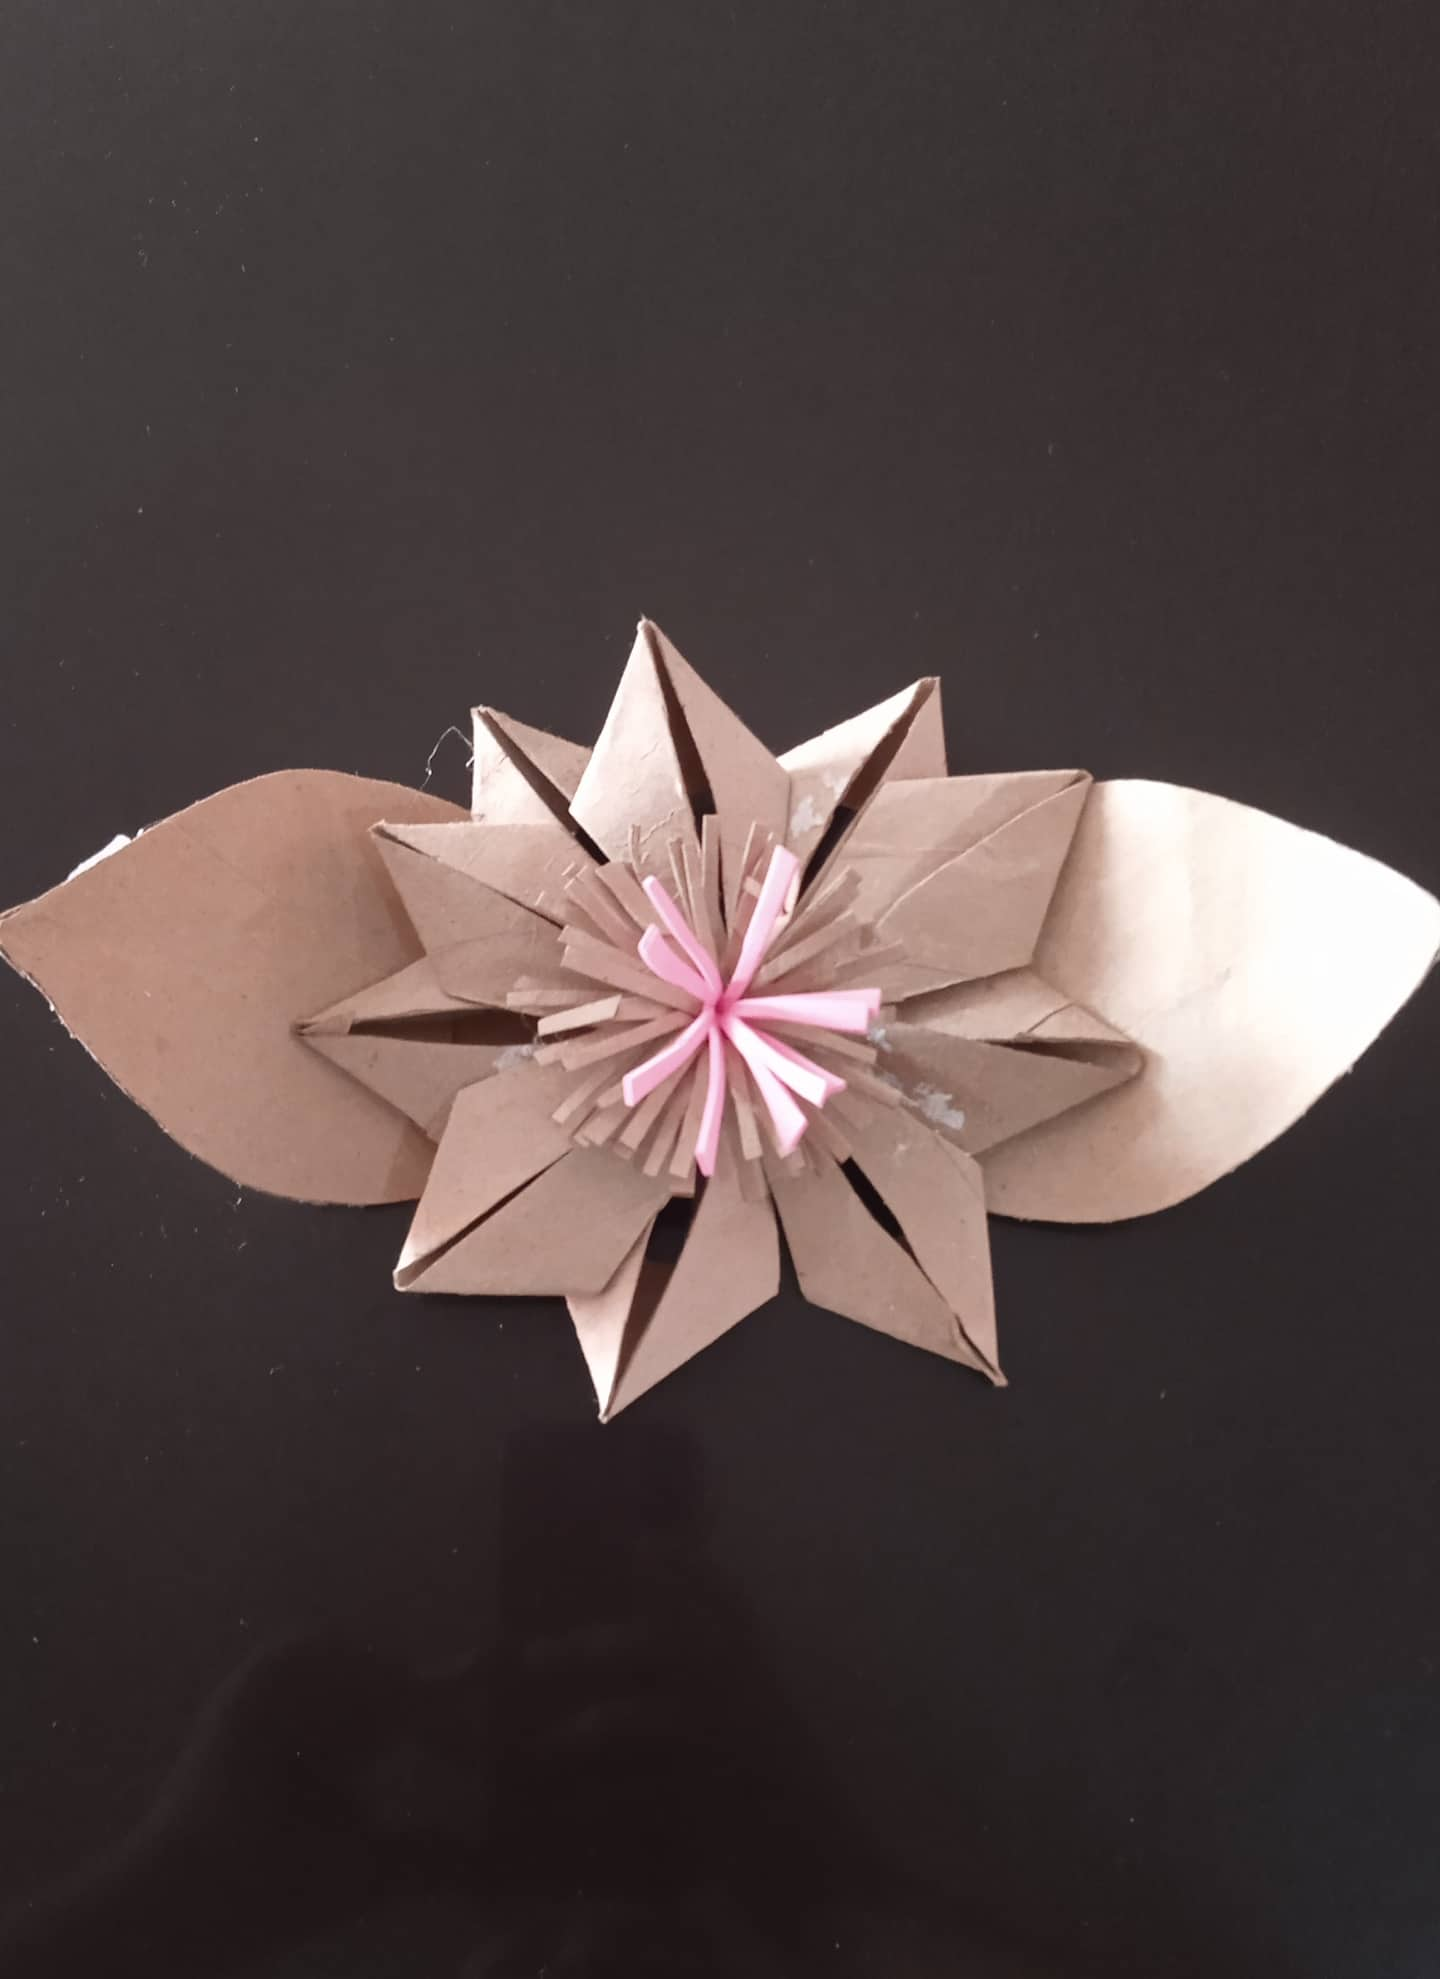
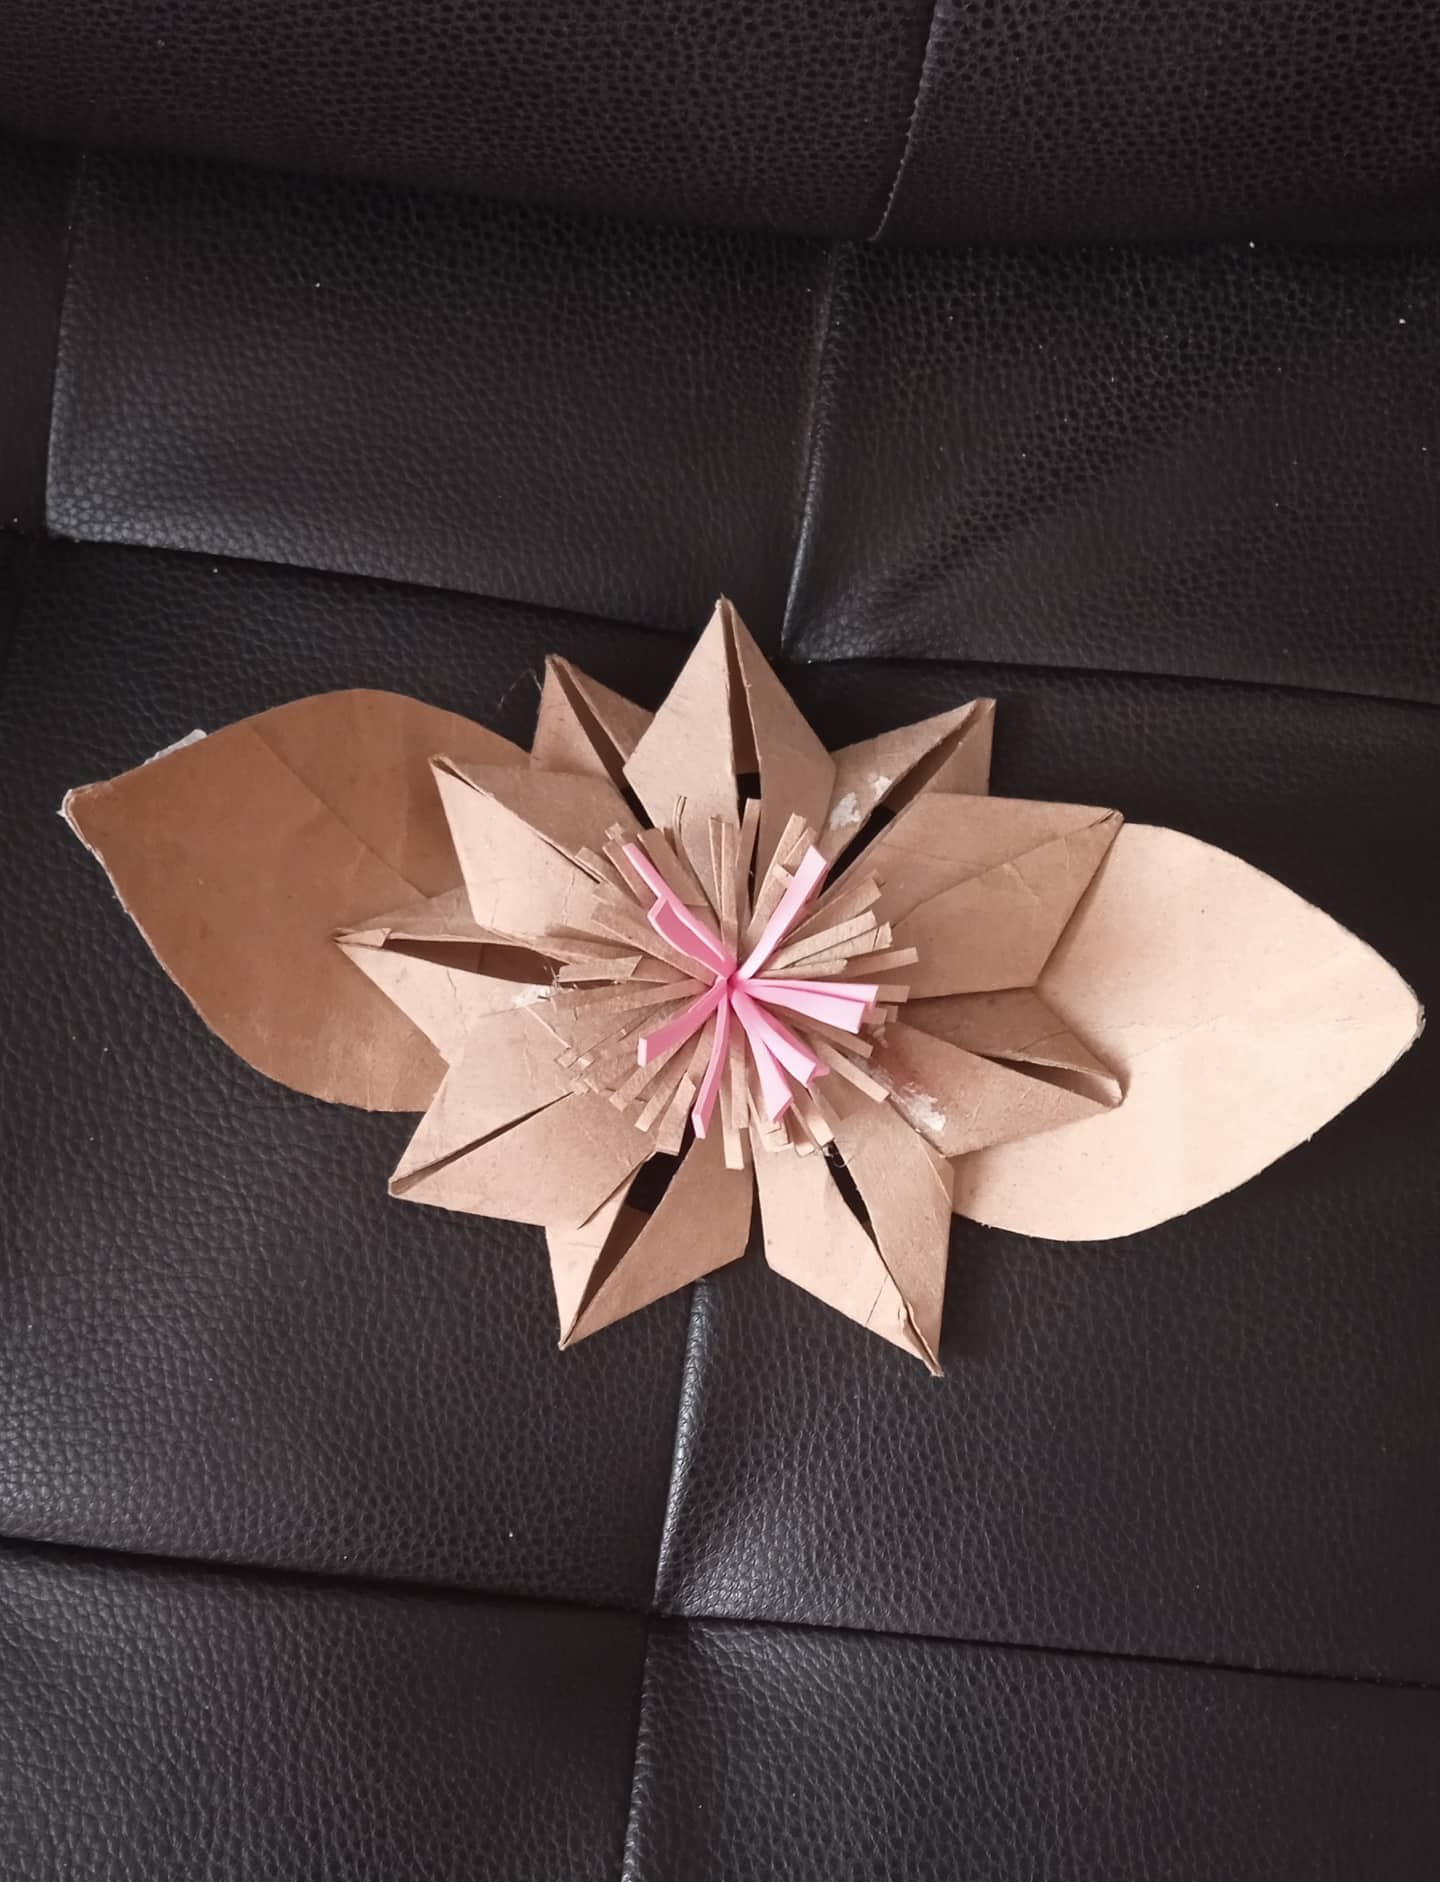
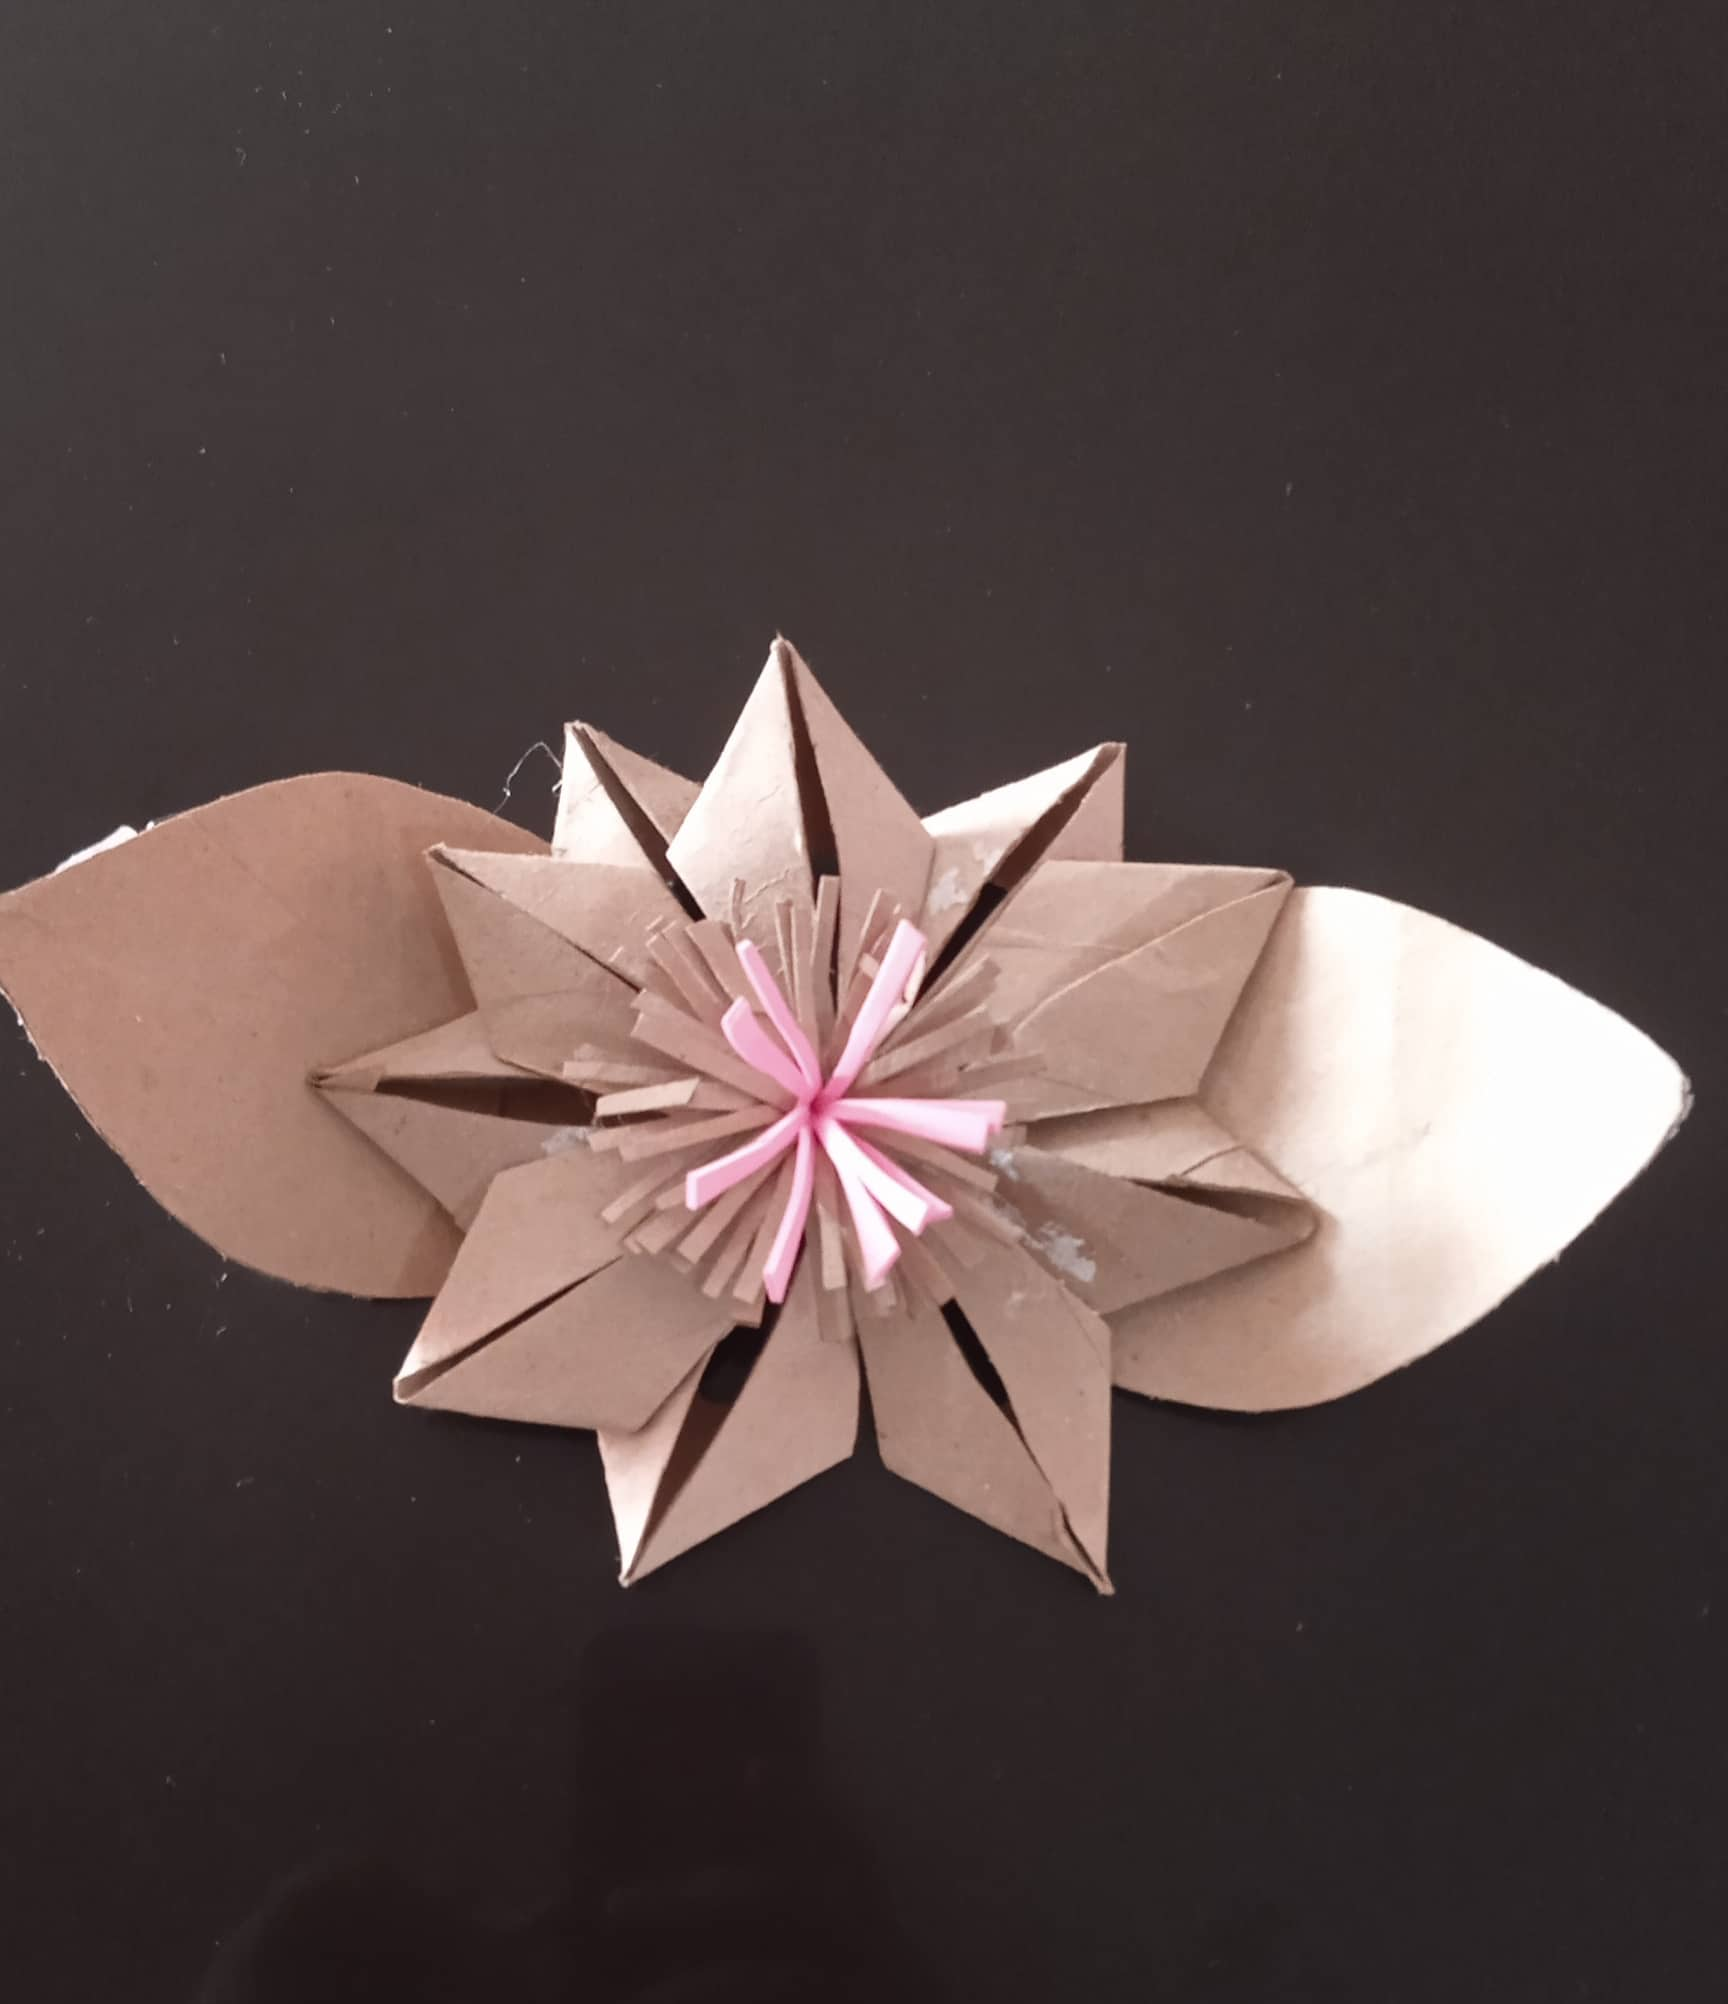
.jpg) Aqui tenemos nuestro resultado final.
Here we have our final result.
Aqui tenemos nuestro resultado final.
Here we have our final result.
.jpg) Todas las fotos son de mi autoría, y editadas desde canva.
All photos are of my authorship, and edited from canva.
Todas las fotos son de mi autoría, y editadas desde canva.
All photos are of my authorship, and edited from canva.
.jpg)


.jpg)

.jpg)
.jpg)
.jpg)
.jpg)
.jpg)

.jpg)
.jpg)
.jpg)
.jpg)
.jpg)
.jpg)
.jpg)


.jpg)
.jpg)

Hermoso. Parecen flores De navidad. Estan bellisimas.
Muchas gracias.Saludos.
Y se pintan de rojo o con escarcha y quedan de navidad
Así es amiga, gracias por comentar.
Thank you for sharing this amazing post on HIVE!
non-profit curation initiative!Your content got selected by our fellow curator @rezoanulvibes & you just received a little thank you via an upvote from our
You will be featured in one of our recurring curation compilations and on our pinterest boards! Both are aiming to offer you a stage to widen your audience within and outside of the DIY scene of hive.
Join the official DIYHub community on HIVE and show us more of your amazing work and feel free to connect with us and other DIYers via our discord server: https://discord.gg/mY5uCfQ !
If you want to support our goal to motivate other DIY/art/music/homesteading/... creators just delegate to us and earn 100% of your curation rewards!
Stay creative & hive on!