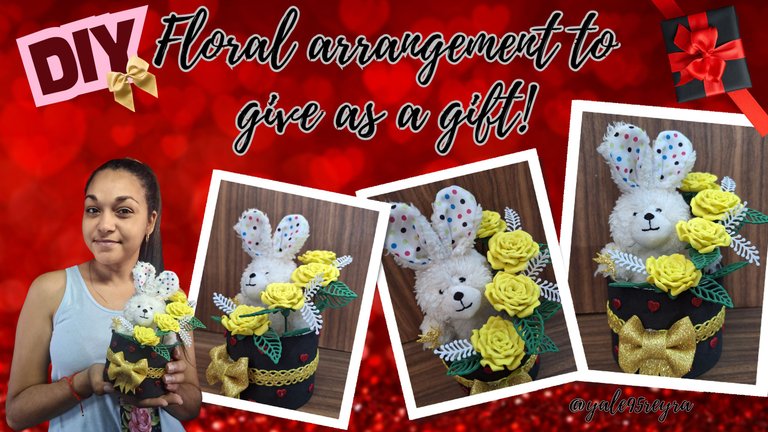
Hello, how are you crafting friends? As I had already shared with you in a previous unboxing, I have bought some new tools and I was eager to try them in my crafts. Taking advantage of the approaching day of love and friendship, I decided to bring you a tutorial where I will show you how to make a beautiful floral arrangement to give as a gift on this special day, which has as main elements a white teddy bear and some bright yellow flowers. Why yellow? Because I had never made them in this color, and it caught my attention, because they look beautiful. I hope you like it and it motivates you to create one to give to your favorite person. Below, I show you the materials I used and the step by step of the creative process.
Hola, ¿qué tal amigos amantes de las manualidades? Como ya les había compartido anteriormente en un unboxing, he comprado algunas nuevas herramientas y estaba ansiosa por probarlas en mis manualidades. Aprovechando que se avecina el día del amor y la amistad, he decidido traerles un tutorial donde les mostraré cómo elaborar un hermoso arreglo floral para regalar este día tan especial, el cual tiene como elementos principales un peluche blanco y unas llamativas flores amarillas. ¿Por qué amarillas? Porque nunca las había hecho de este color, y me llamó la atención, porque quedan hermosas. Espero que te guste y te motive a crear uno para que se lo regales a tu persona favorita. A continuación, te muestro los materiales que utilicé y el paso a paso del proceso creativo.
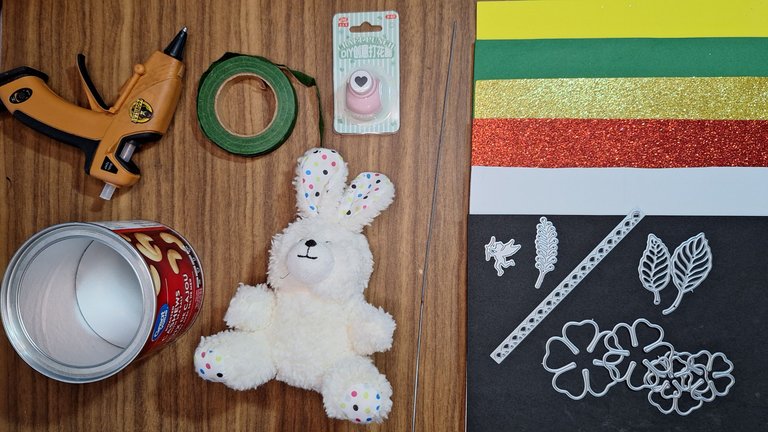
🎀Materials // Materiales🎀
- Recycled tin can / Lata reciclada
- Plush doll / Muñeco de peluche
- Foami of various colors / Foami de varios colores
- Flower, leaf, cupid and lace dies / Troqueles de flores, hojas, cupido y encaje
- Heart punch / Ponchadora de corazón
- Floral tape / Tape floral
- Wire / Alambre
- Silicone / Silicona
🎀Step by step // Paso a paso🎀
 |  |
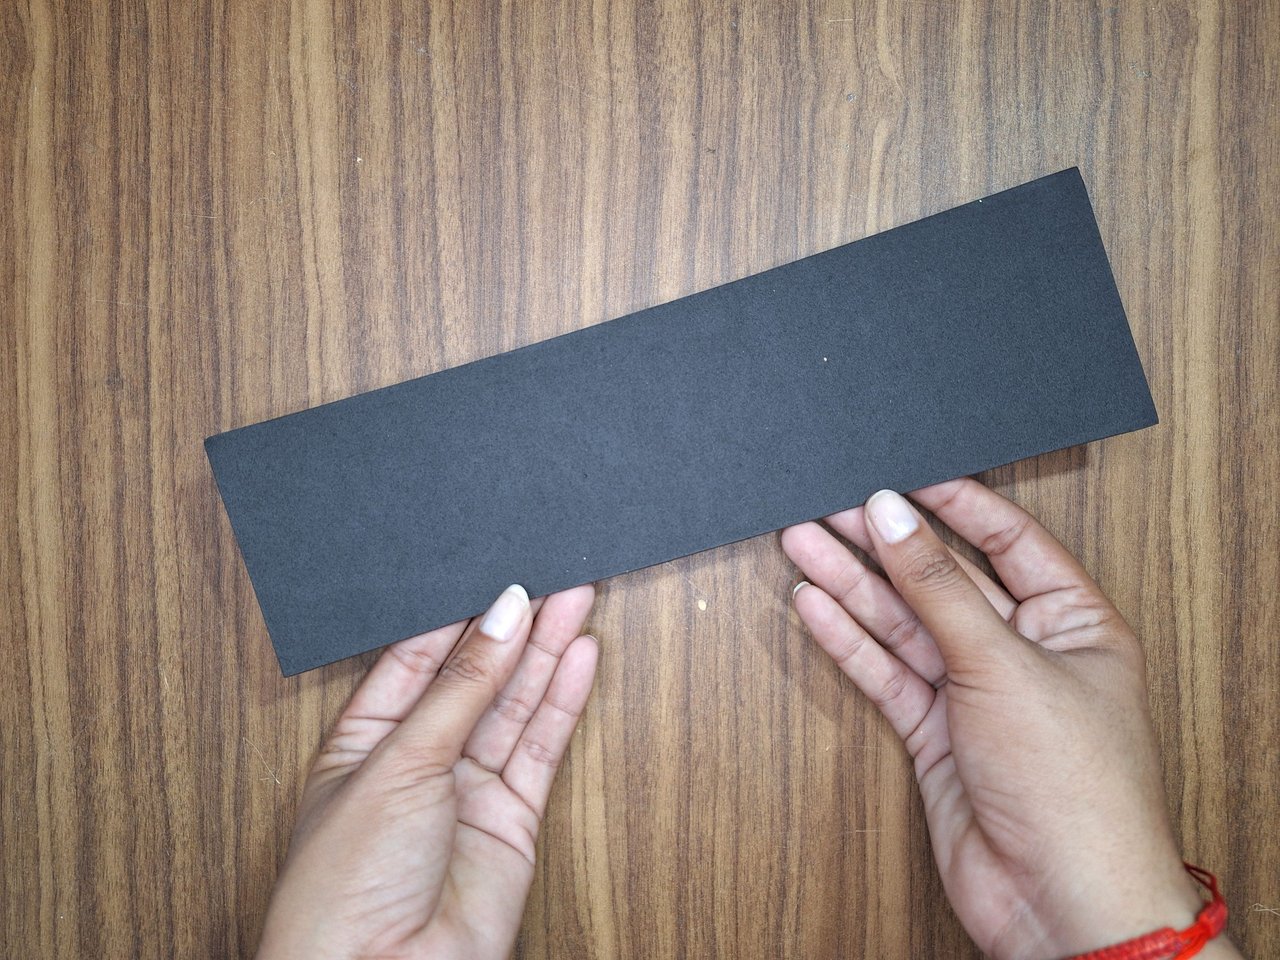 | 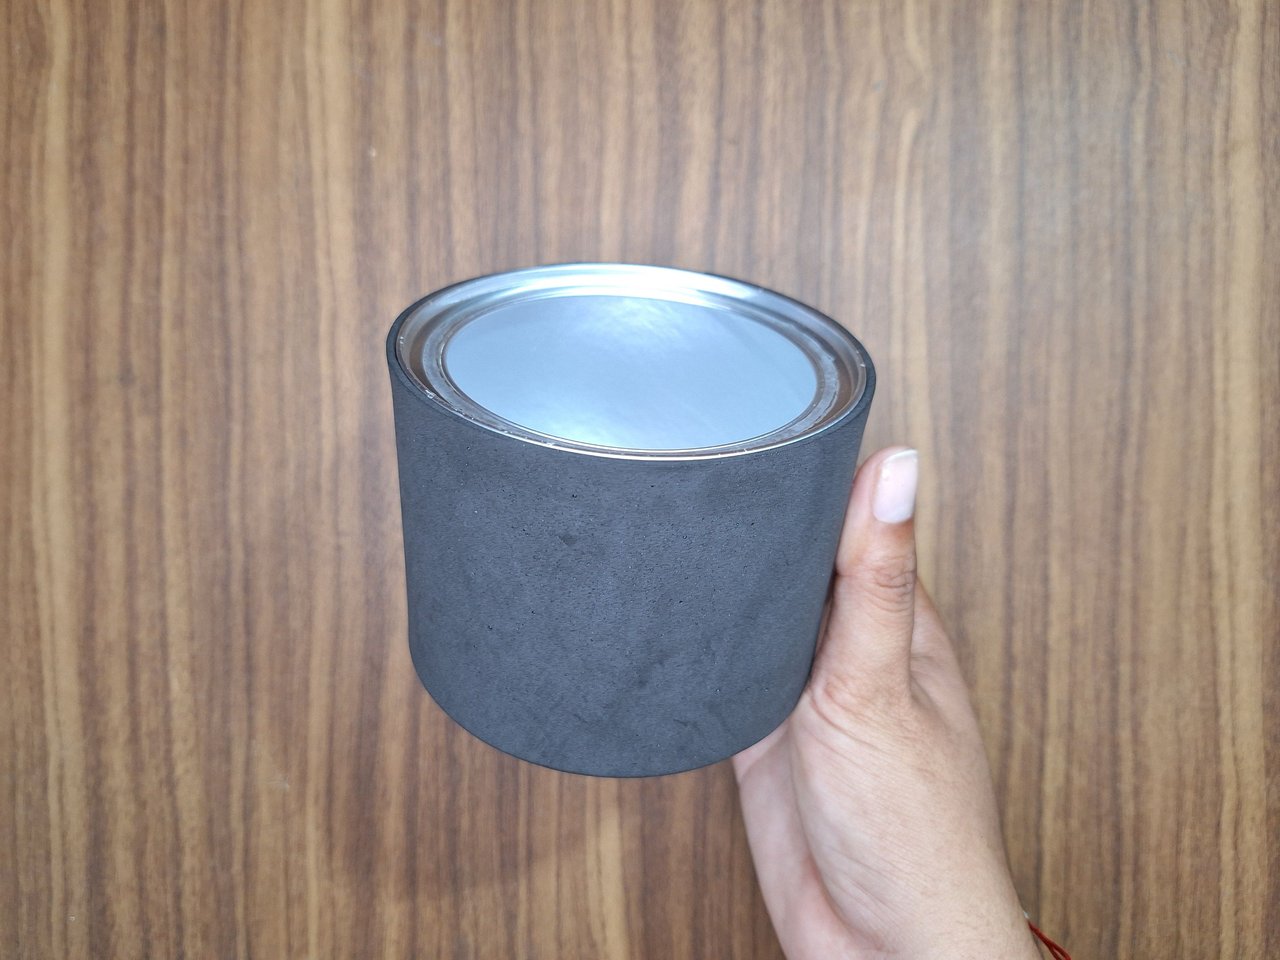 |
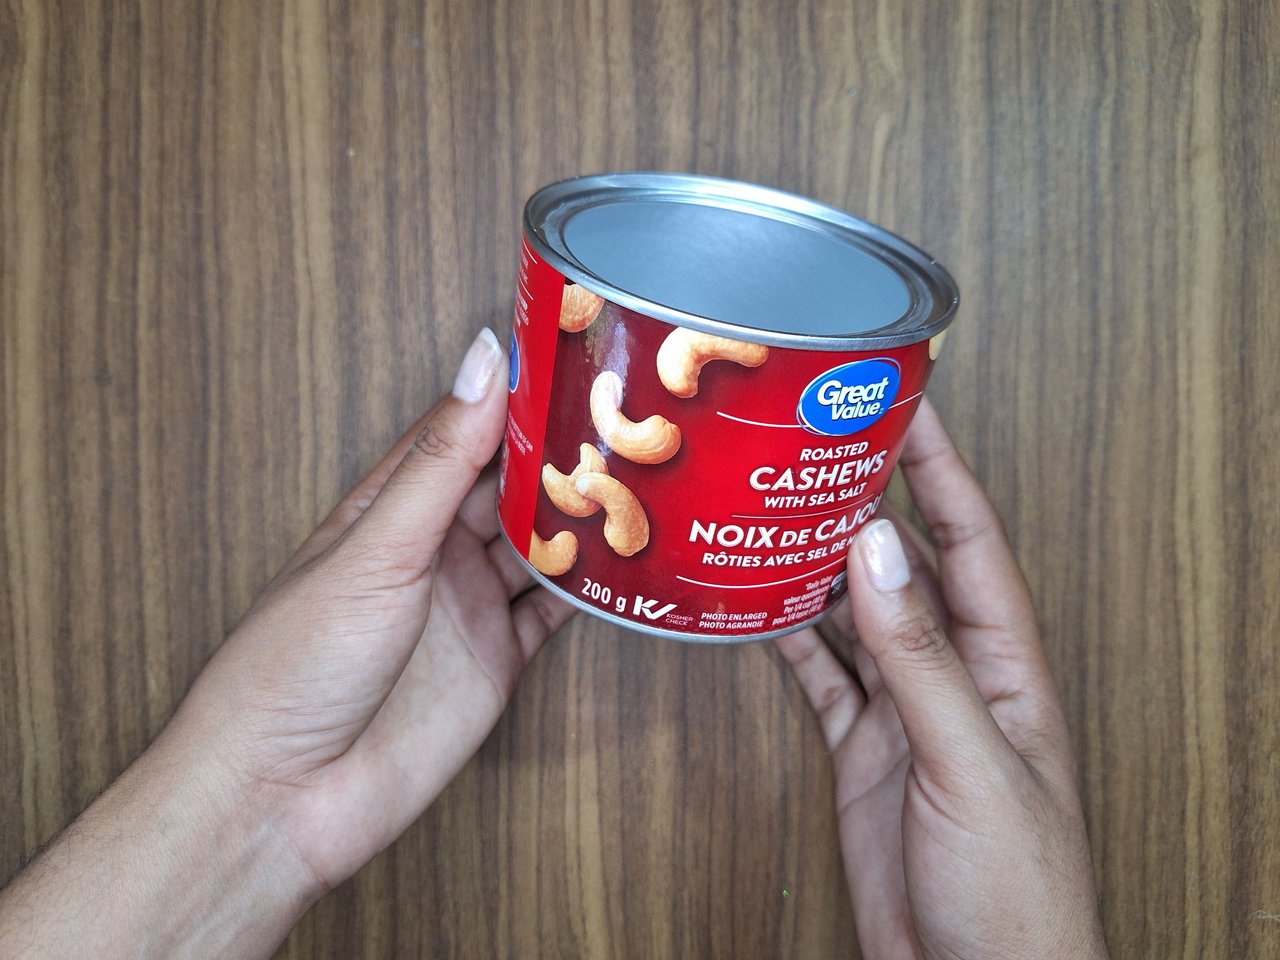
For the base I used a recycled can 8 cm wide, it all depends on the size of the stuffed animal you want to put inside. You can also use a box. Line the entire surface of the can with black foami.
Para la base utilicé una lata reciclada de 8 cm de ancho, todo depende del tamaño del peluche que quieras colocar dentro. Puedes utilizar también una caja. Forrar toda la superficie de la lata con foami de color negro.
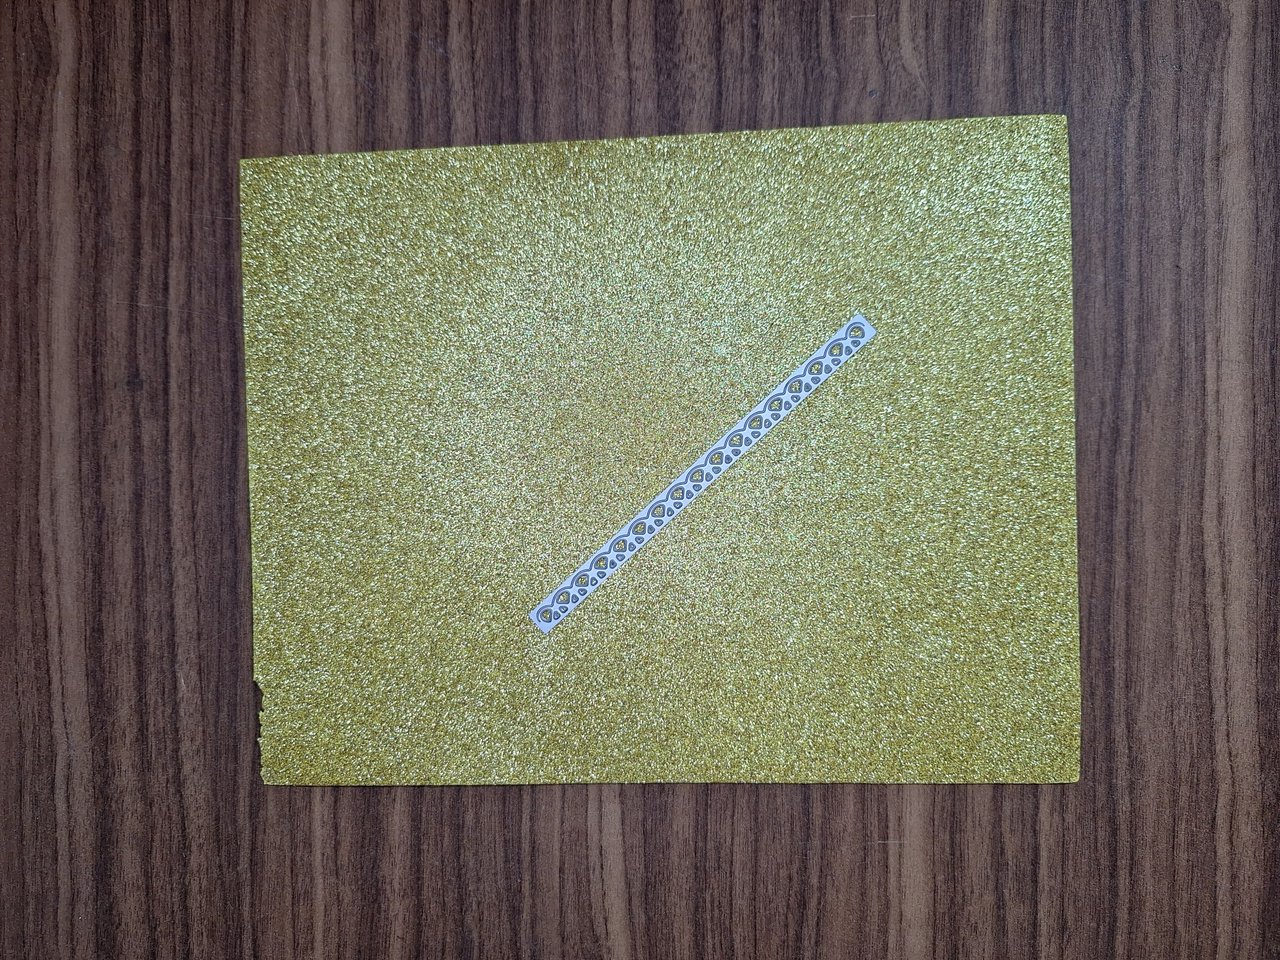 |  |  |
To decorate the base I used gold colored foami and a die with a lace design to place in the center. Since it was very thin, I joined two of them together to make it look wider and glued them around the entire surface.
Para decorar la base utilicé foami de color dorado y un troquel con un diseño de encaje para colocarlo en el centro. Como era muy fino, uni dos para que se viera más ancho y los pegué alrededor de toda la superficie.
 |  |  |
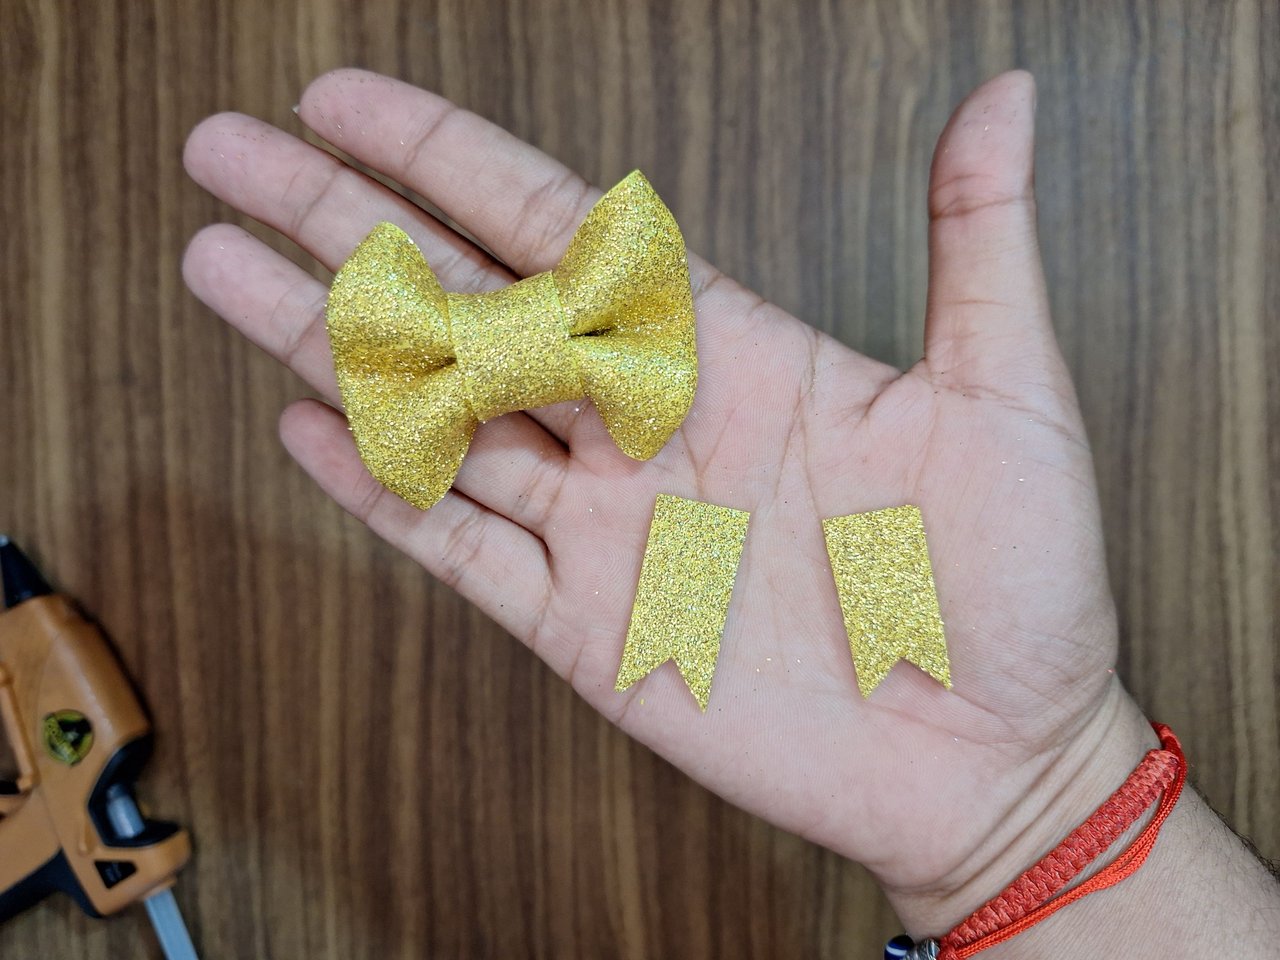 | 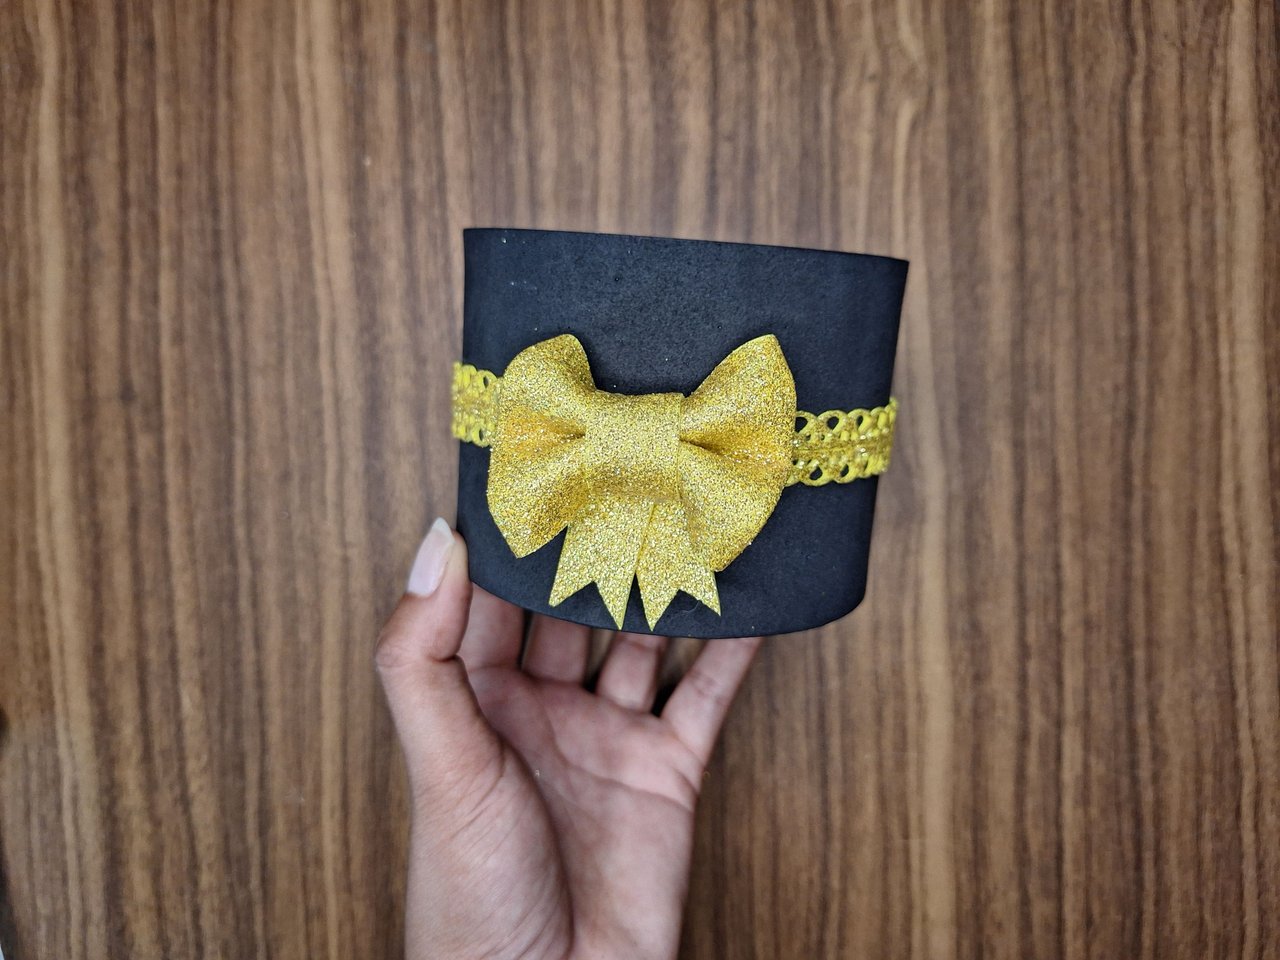 |
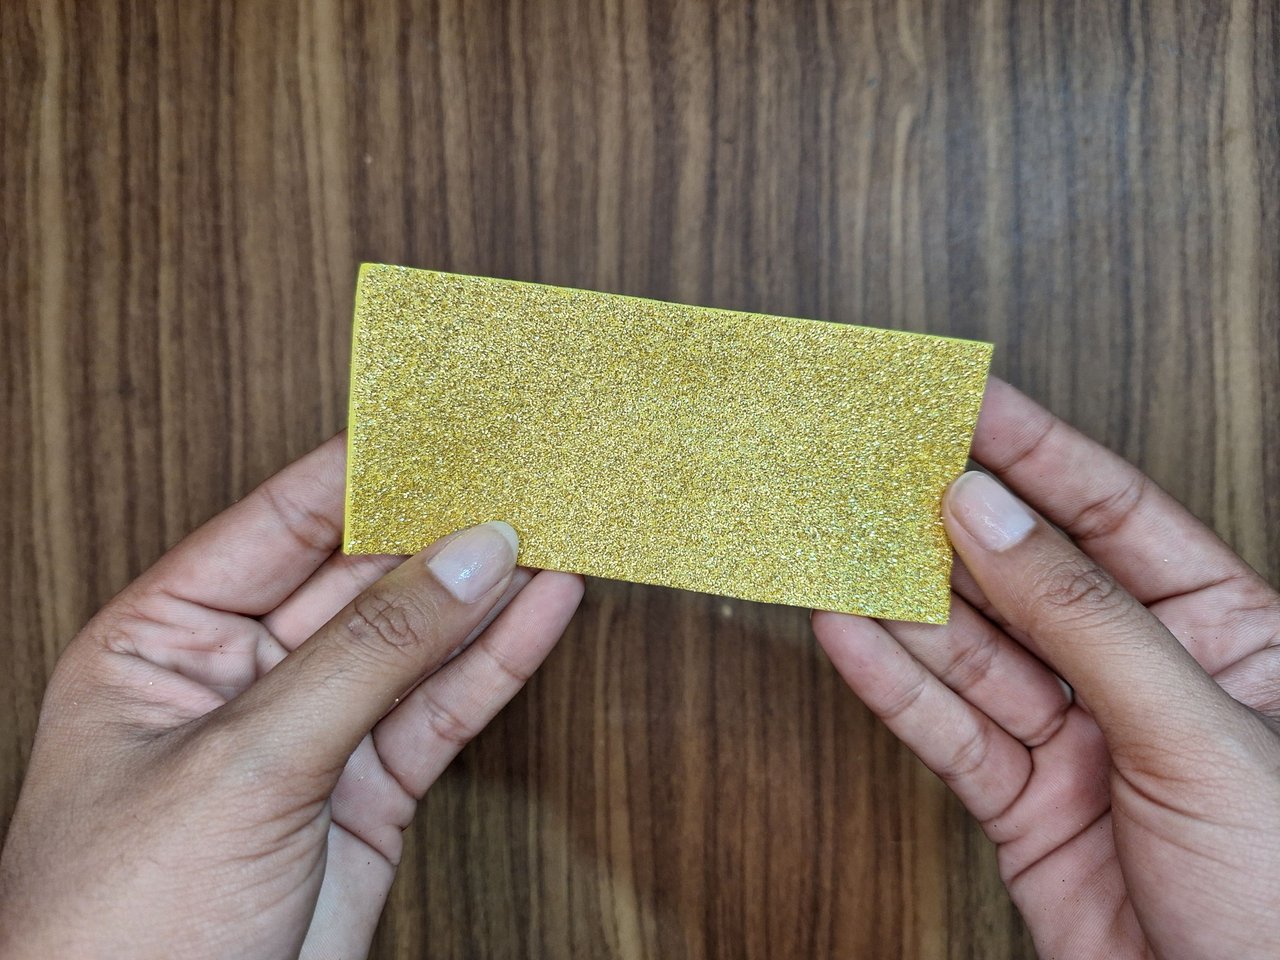
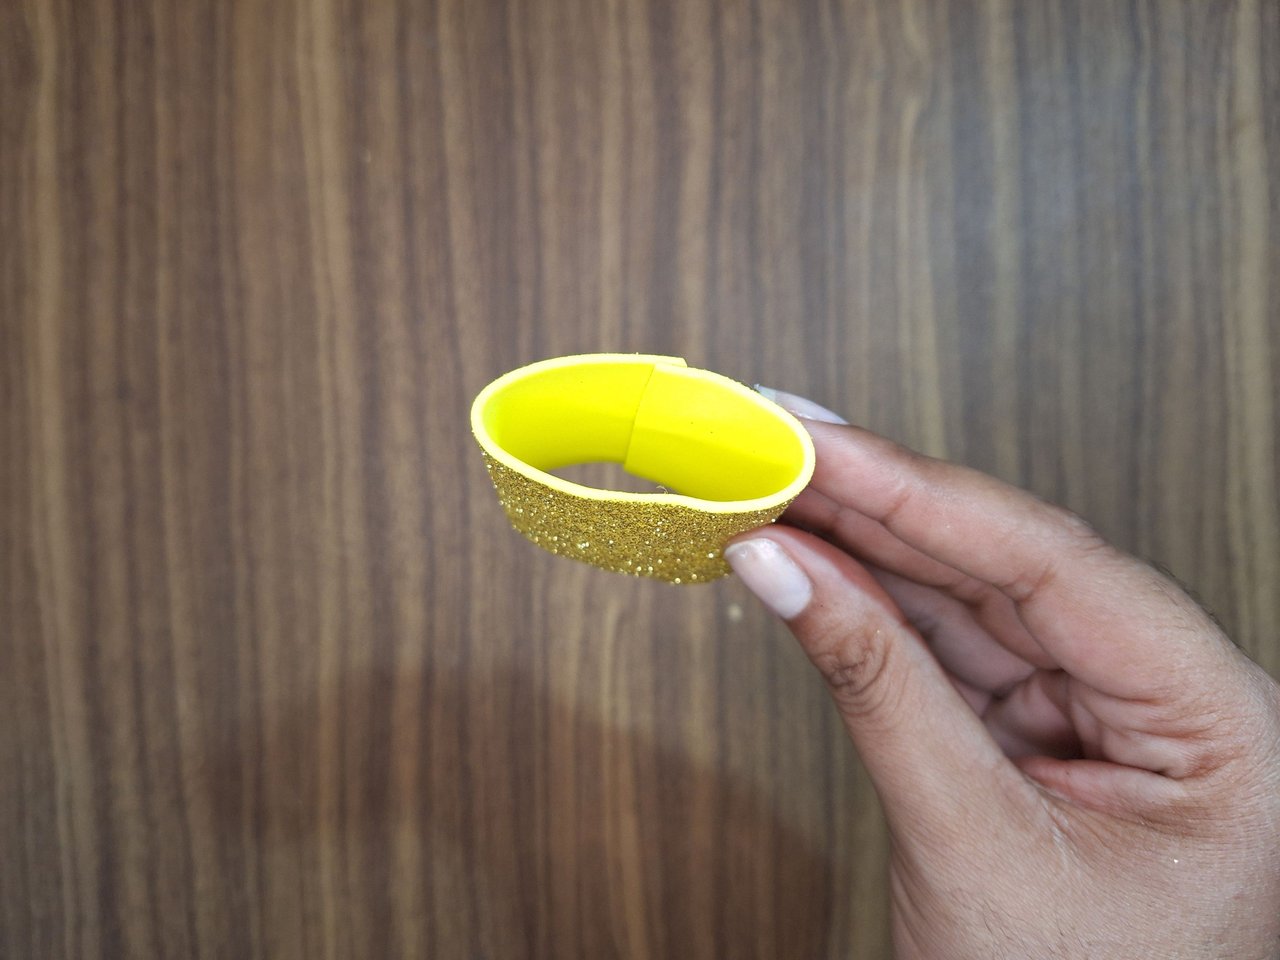
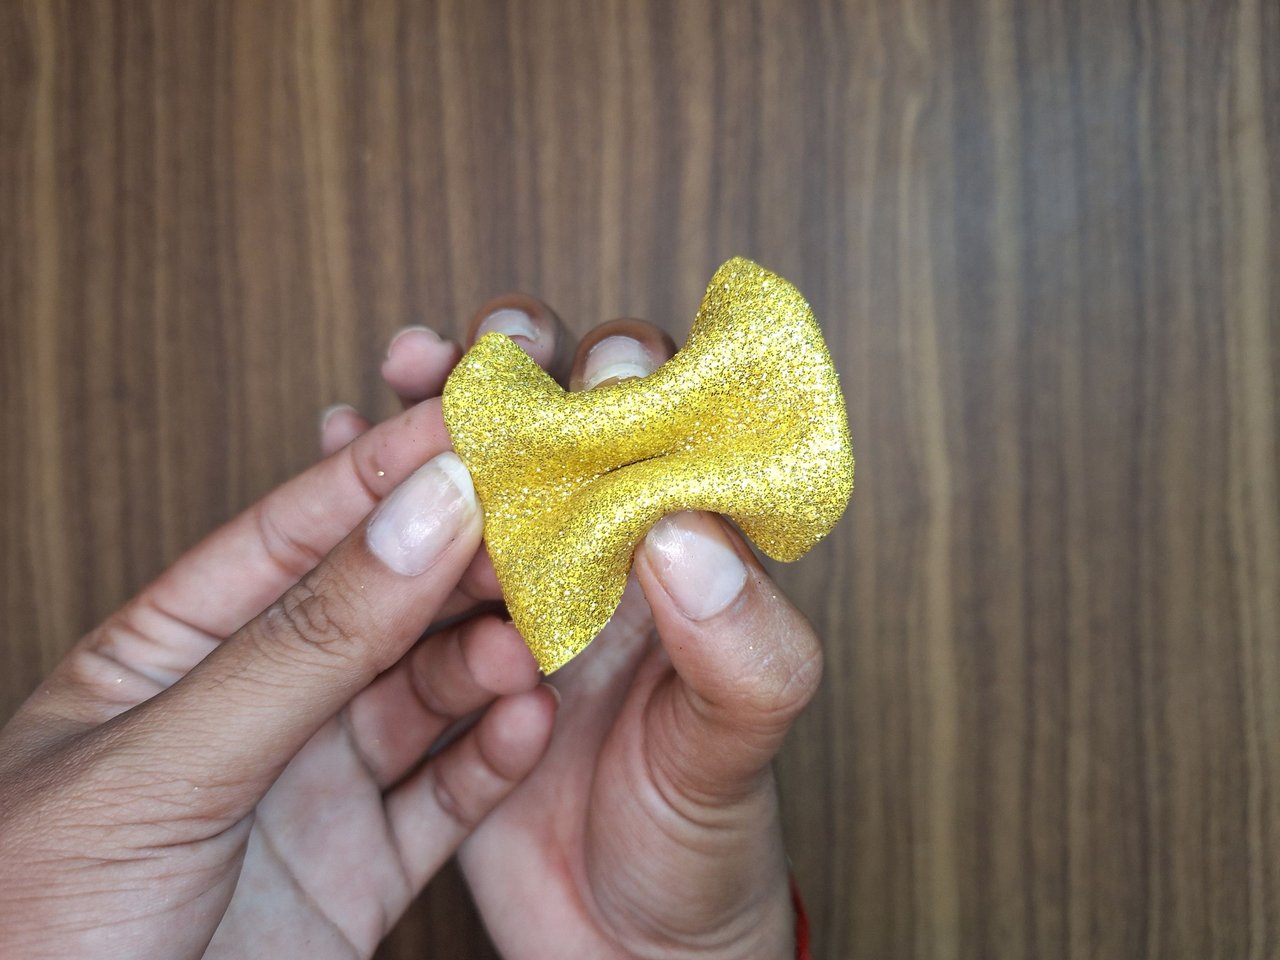
On the front I added a golden bow to match the lace. For this I took a piece of foami of 6 cm x 10 cm for its elaboration.
En el frente añadí un lazo dorado para que combinara con el encaje. Para ello tomé una pieza de foami de 6 cm x 10 cm para su elaboración.
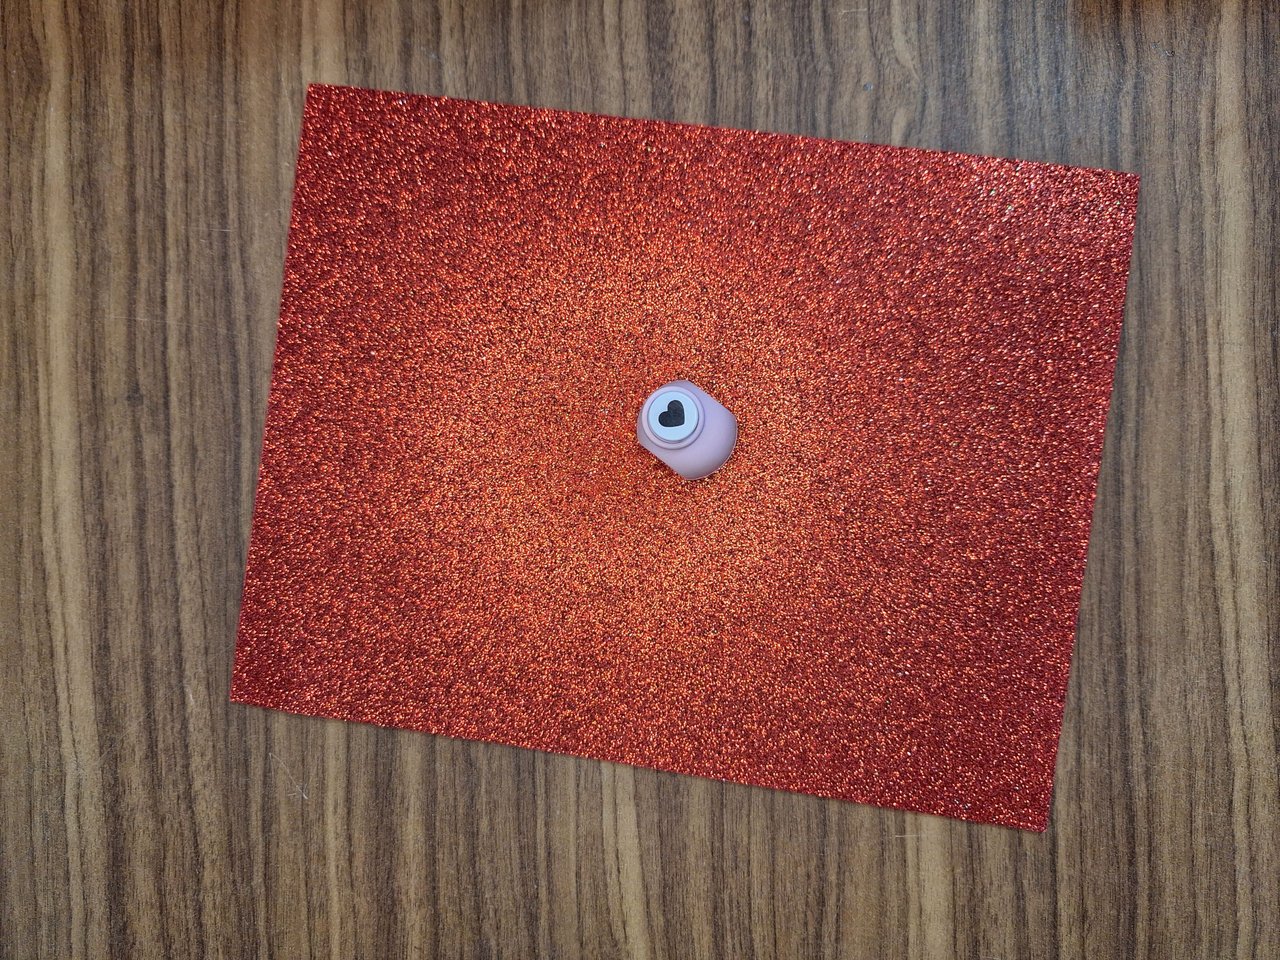 | 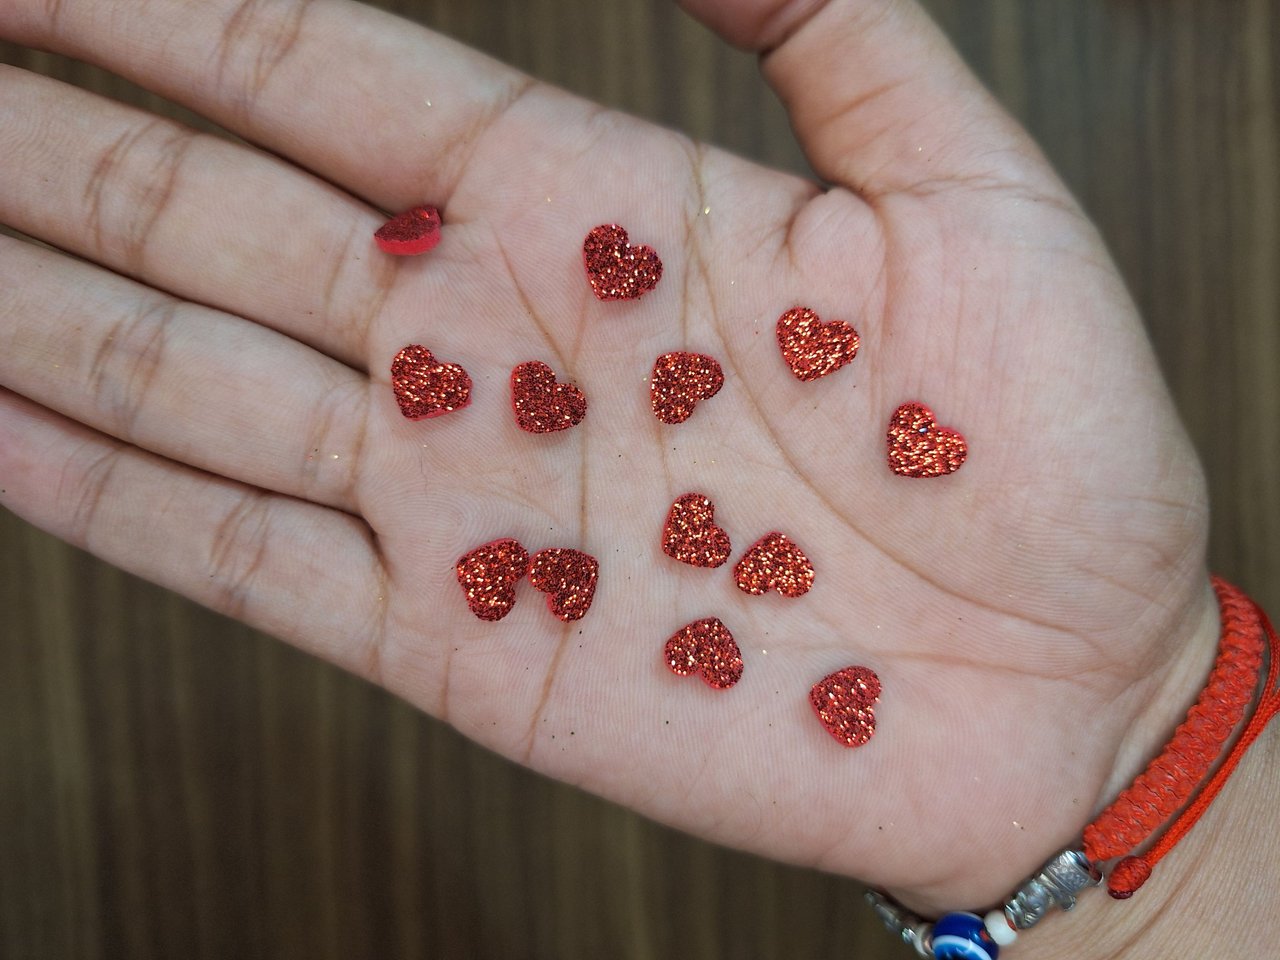 | 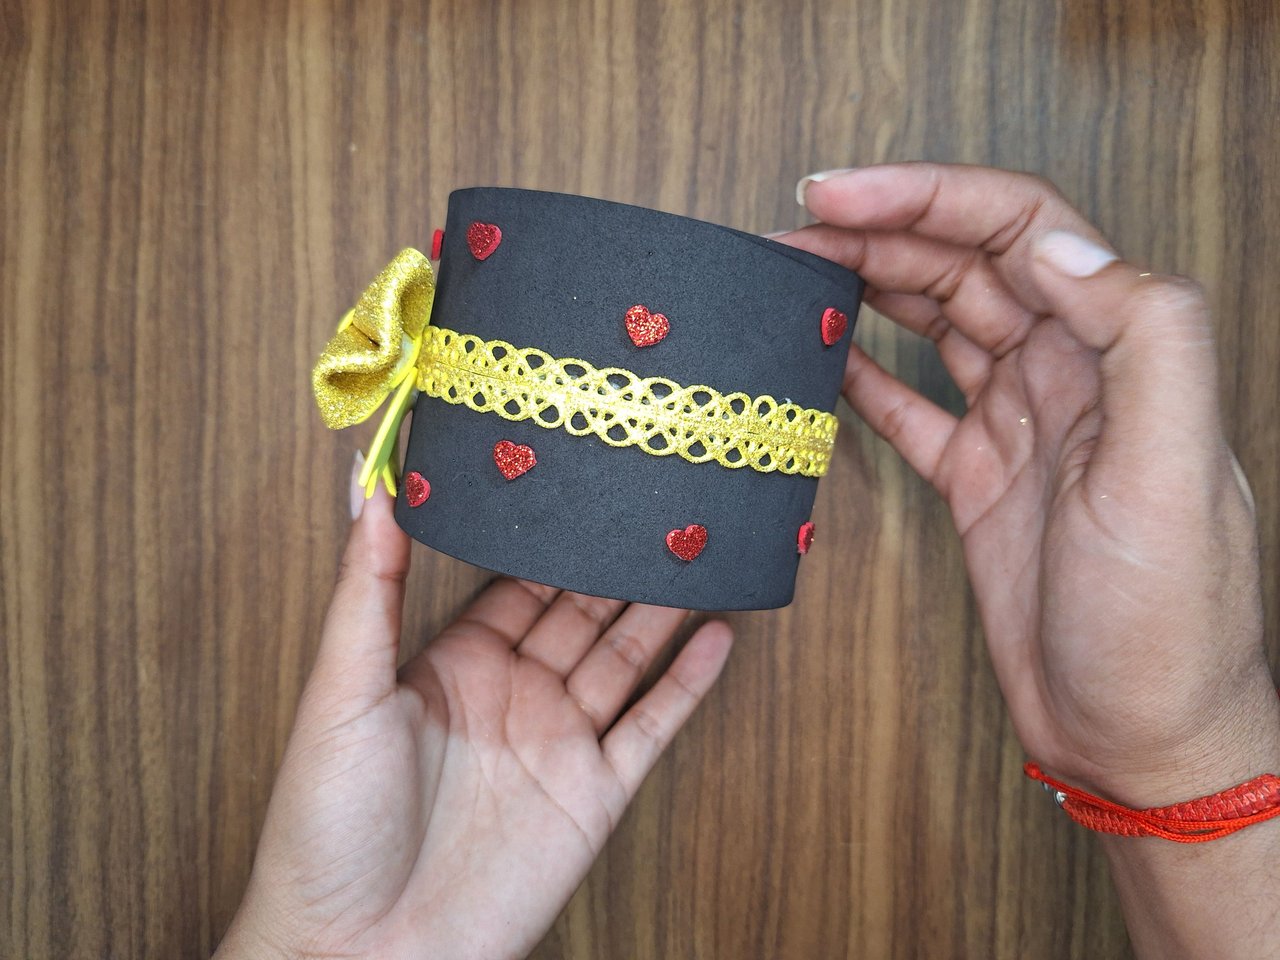 |
With the help of a heart-shaped punching machine, I made several small hearts of about 1 cm and placed them on top of the black foami, all over the base.
Con la ayuda de una ponchadora con la forma de corazón, hice varios corazoncitos pequeños de 1 cm aproximadamente y los coloqué encima del foami negro, por toda la base.
 |  |  |
 |  |
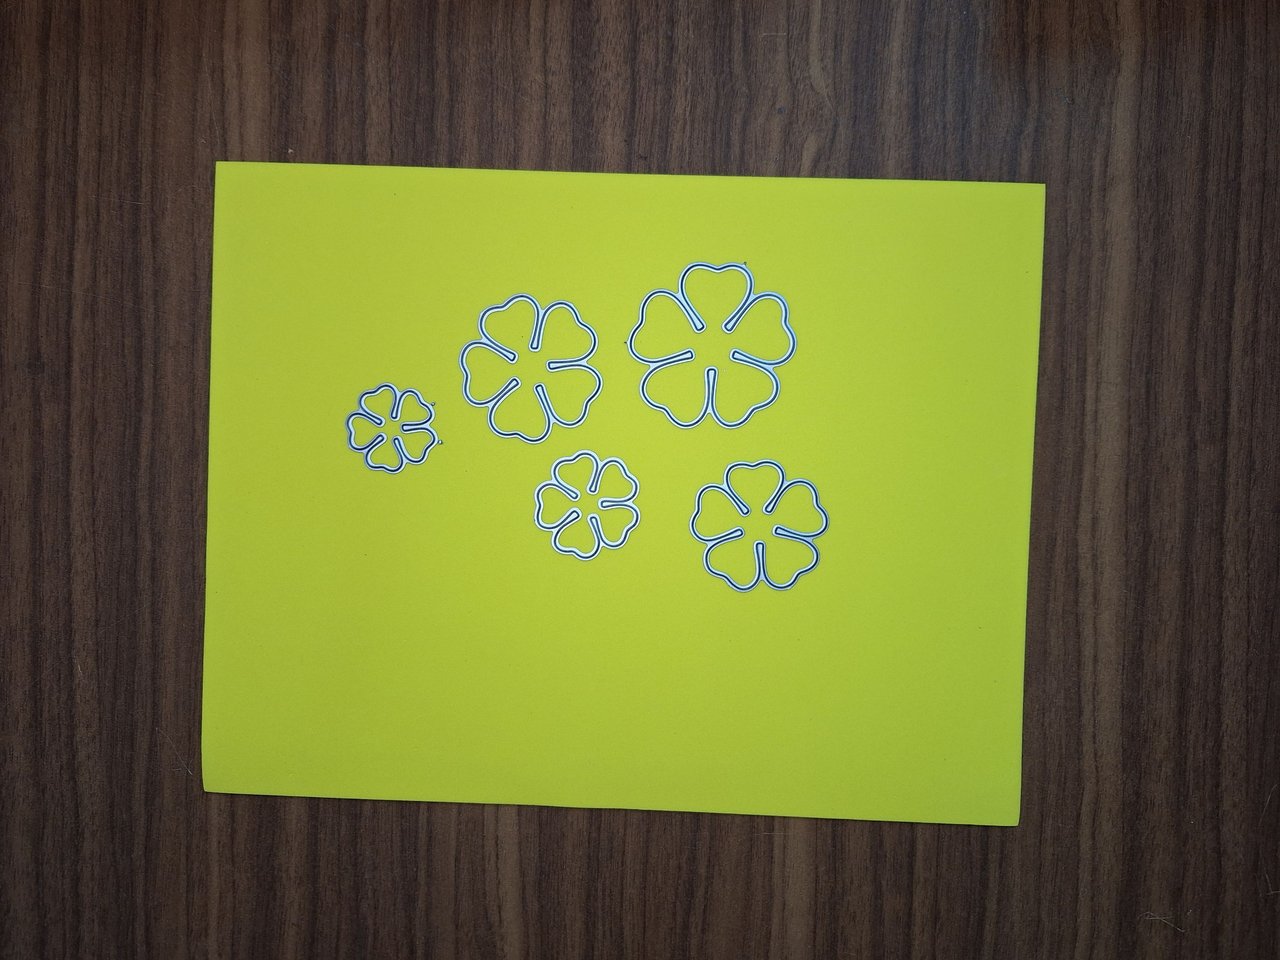
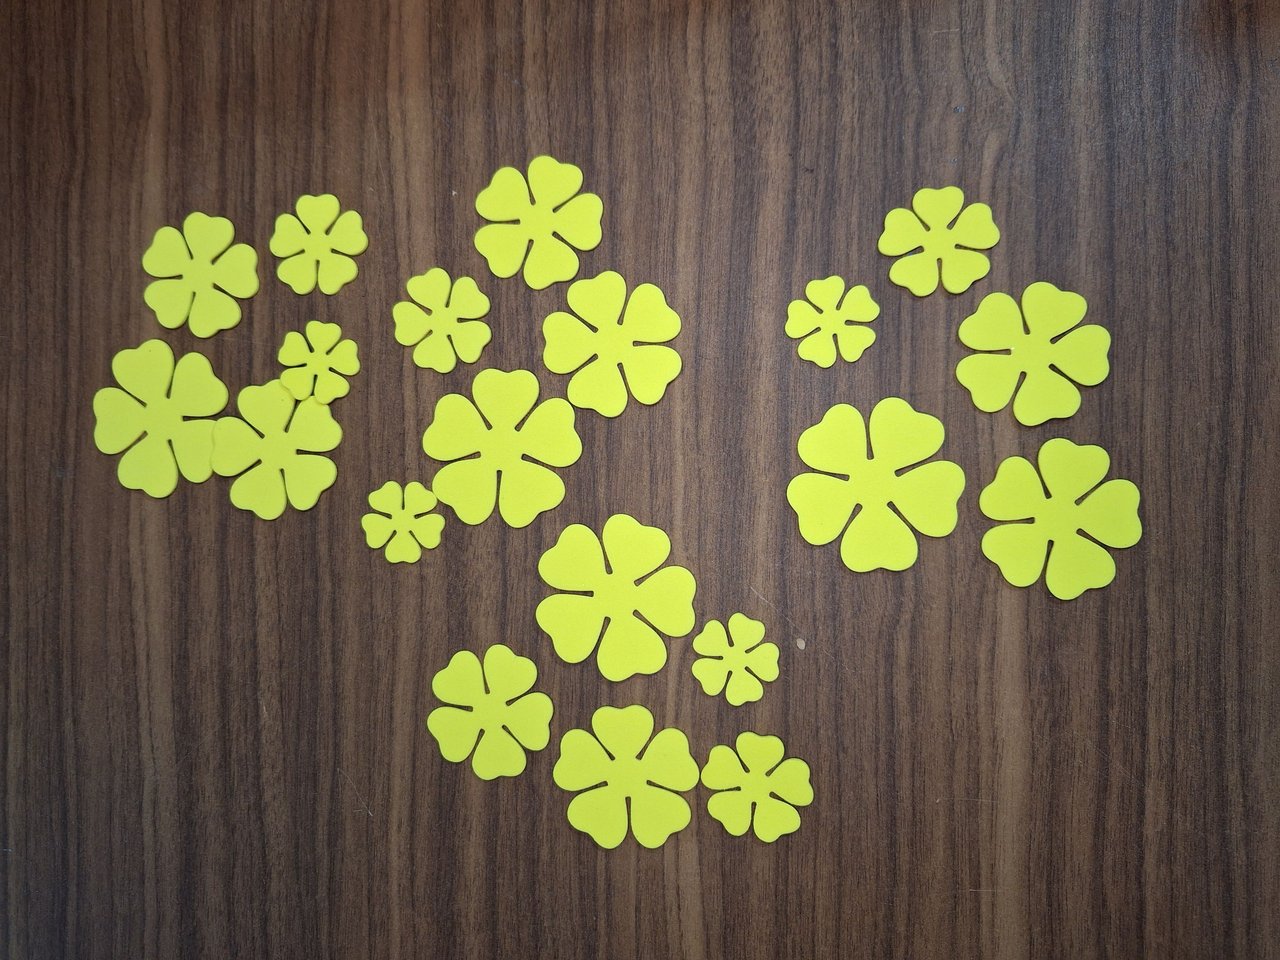
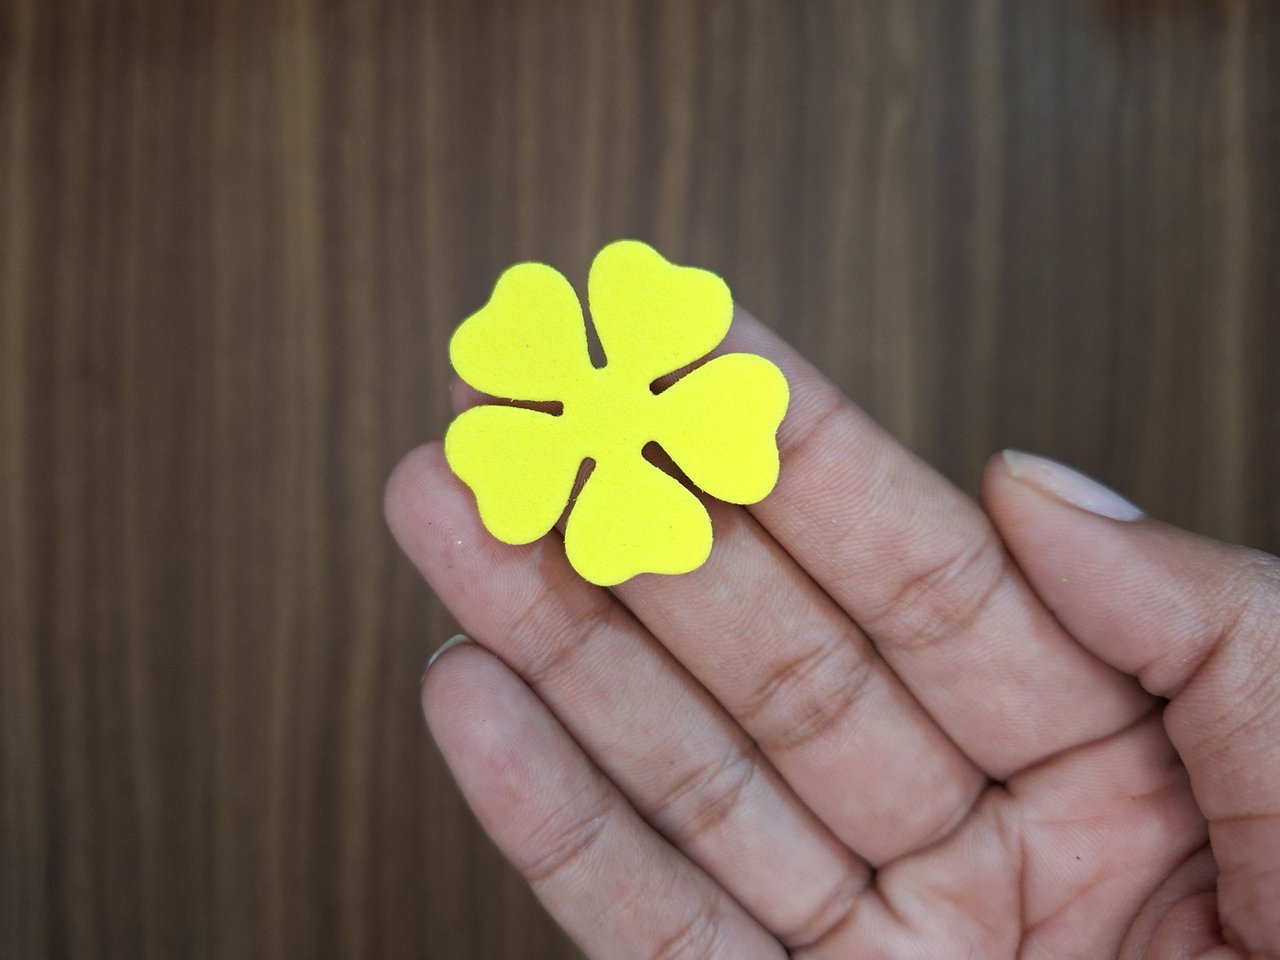
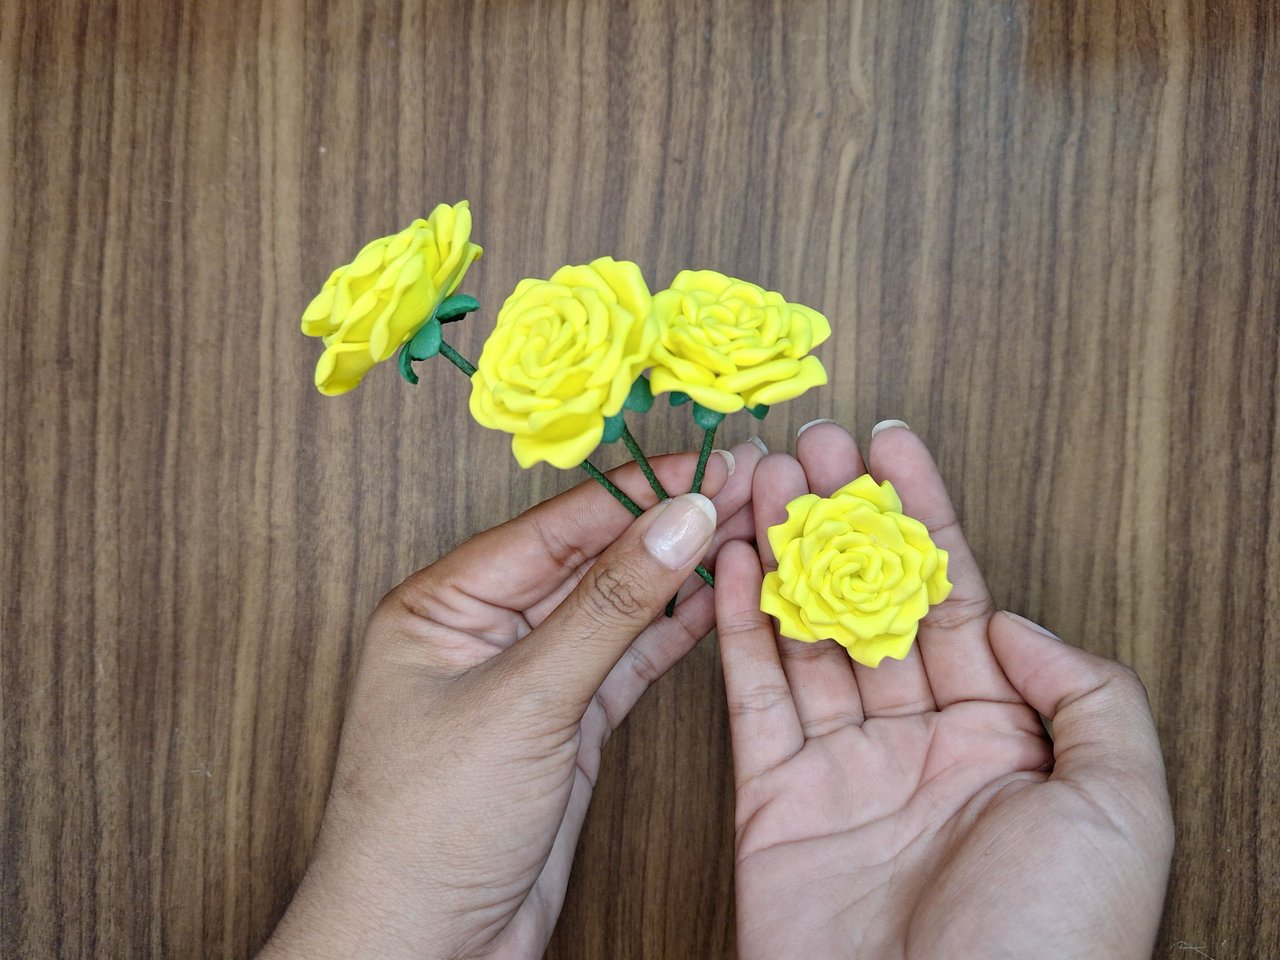
Using dies in the shape of rose petals, cut out the pieces needed to form four yellow roses. Each would have 5 layers of petals in ascending order of size. When all the pieces were cut, I started to thermoform each petal, one by one, because I just wanted to bend the tip of them. This process was a bit long, I can say that I even got bored bending petals. 😅
Con unos troqueles con la forma de los pétalos de rosas, corte las piezas necesarias para formar cuatro rosas amarillas. Cada una tendría 5 capas de pétalos en orden ascendente de tamaños. Cuando estaban todas las piezas cortadas, comencé a termoformar cada pétalo, uno por uno, porque solo quería doblar la punta de ellos. Este proceso fue un poco largo, puedo decir que hasta me aburrí doblando pétalos. 😅
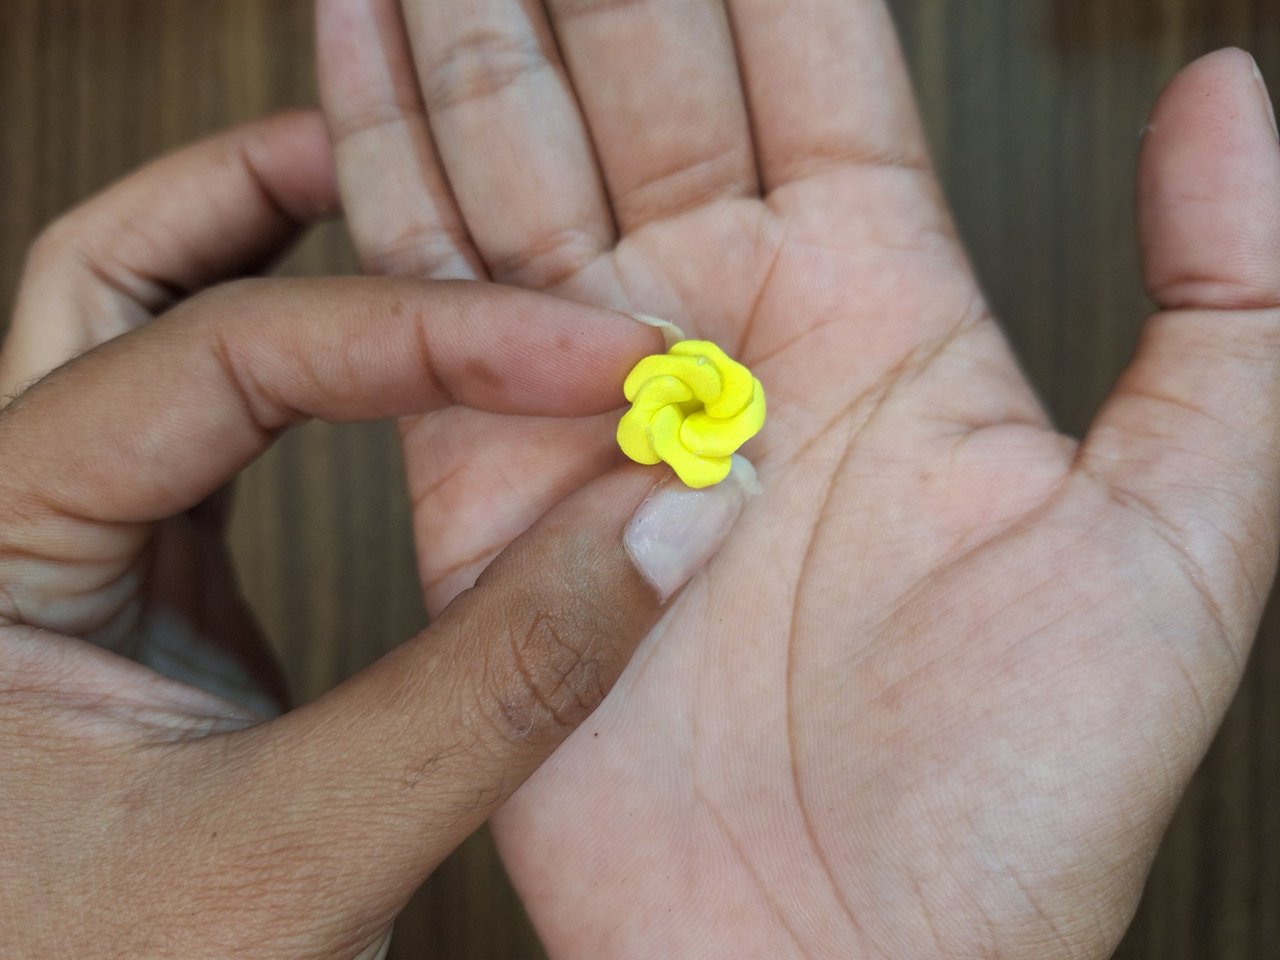 | 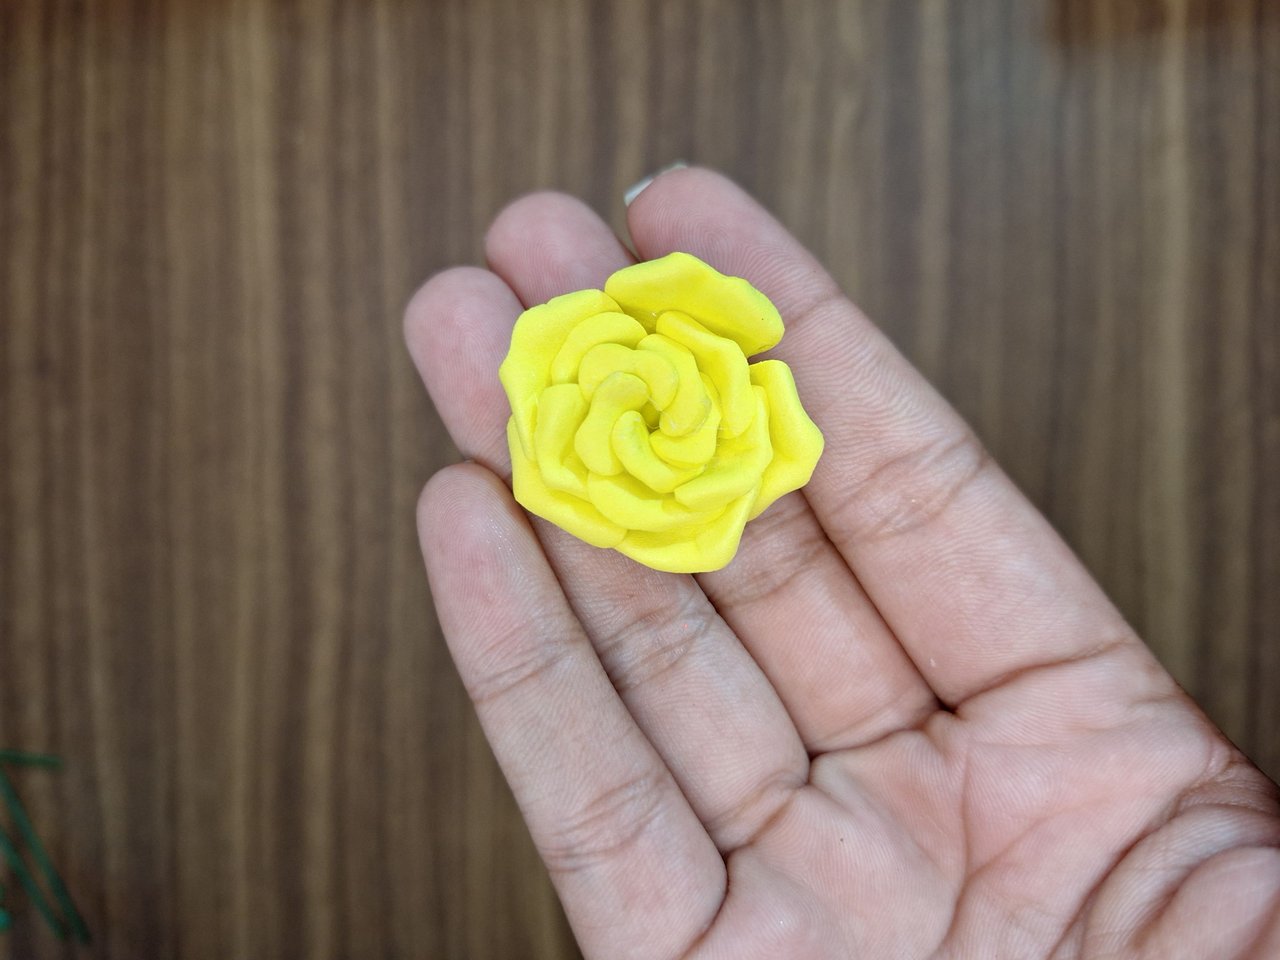 | 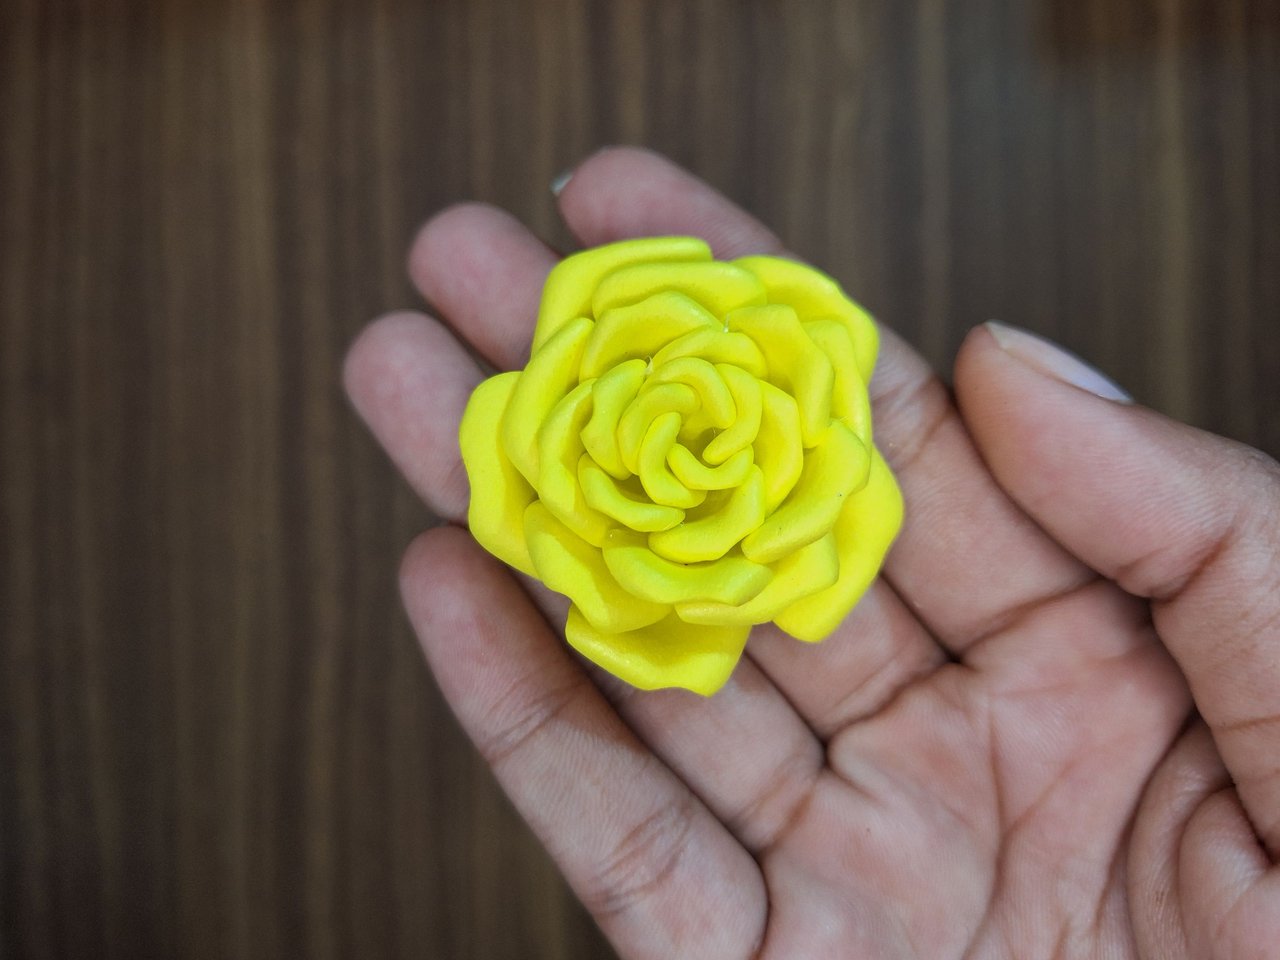 |
After thermoforming them all, to form the rose, glue each petal by a corner until it is closed, always from smallest to largest size. This way you can choose the size of the rose.
Luego de termoformarlos todos, para formar la rosa, se va pegando cada pétalo por una esquina hasta cerrarse, siempre de menor a mayor tamaño. Así puedes escoger el tamaño de la rosa.
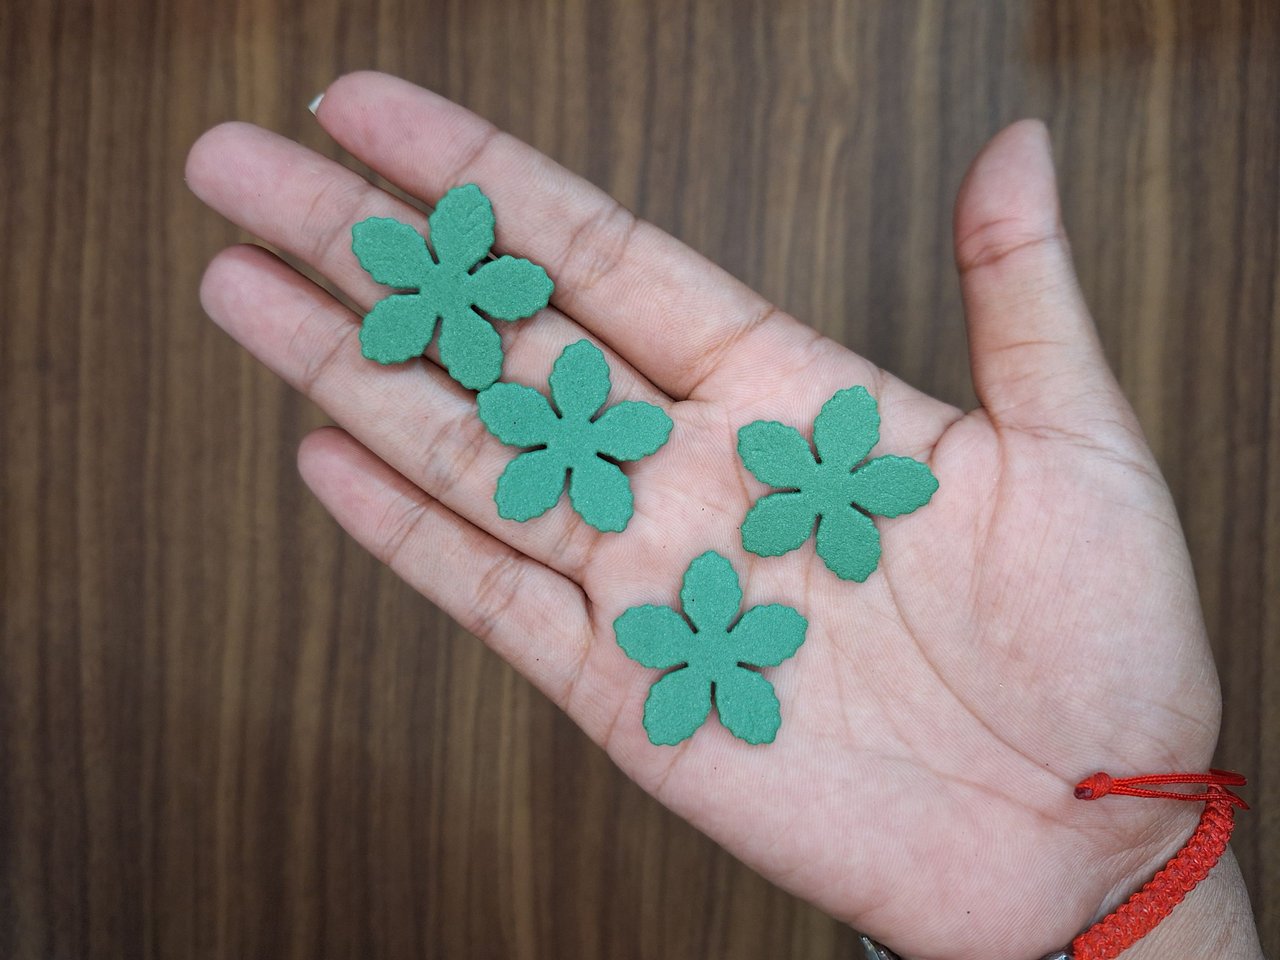 | 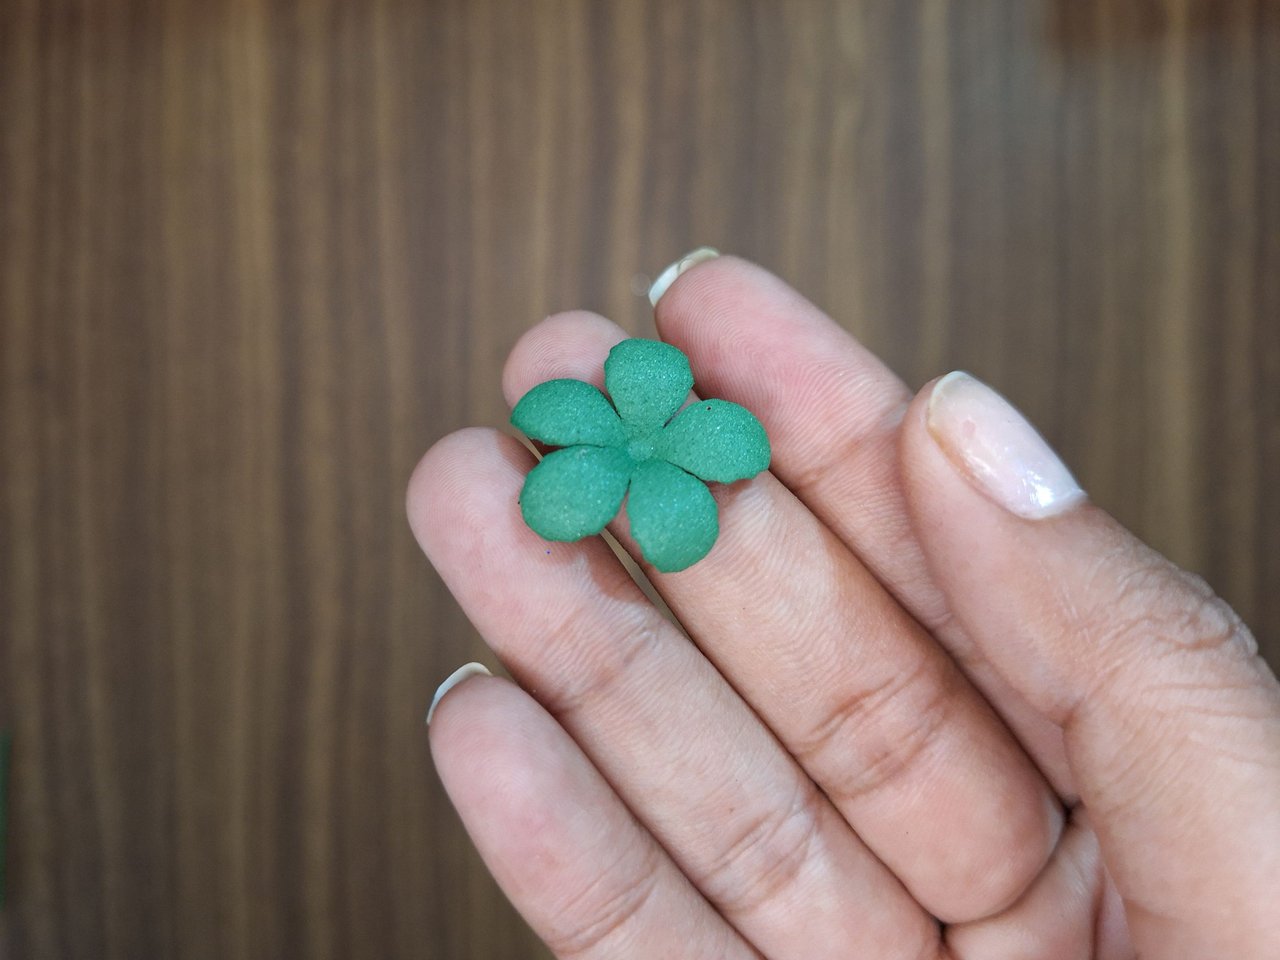 | 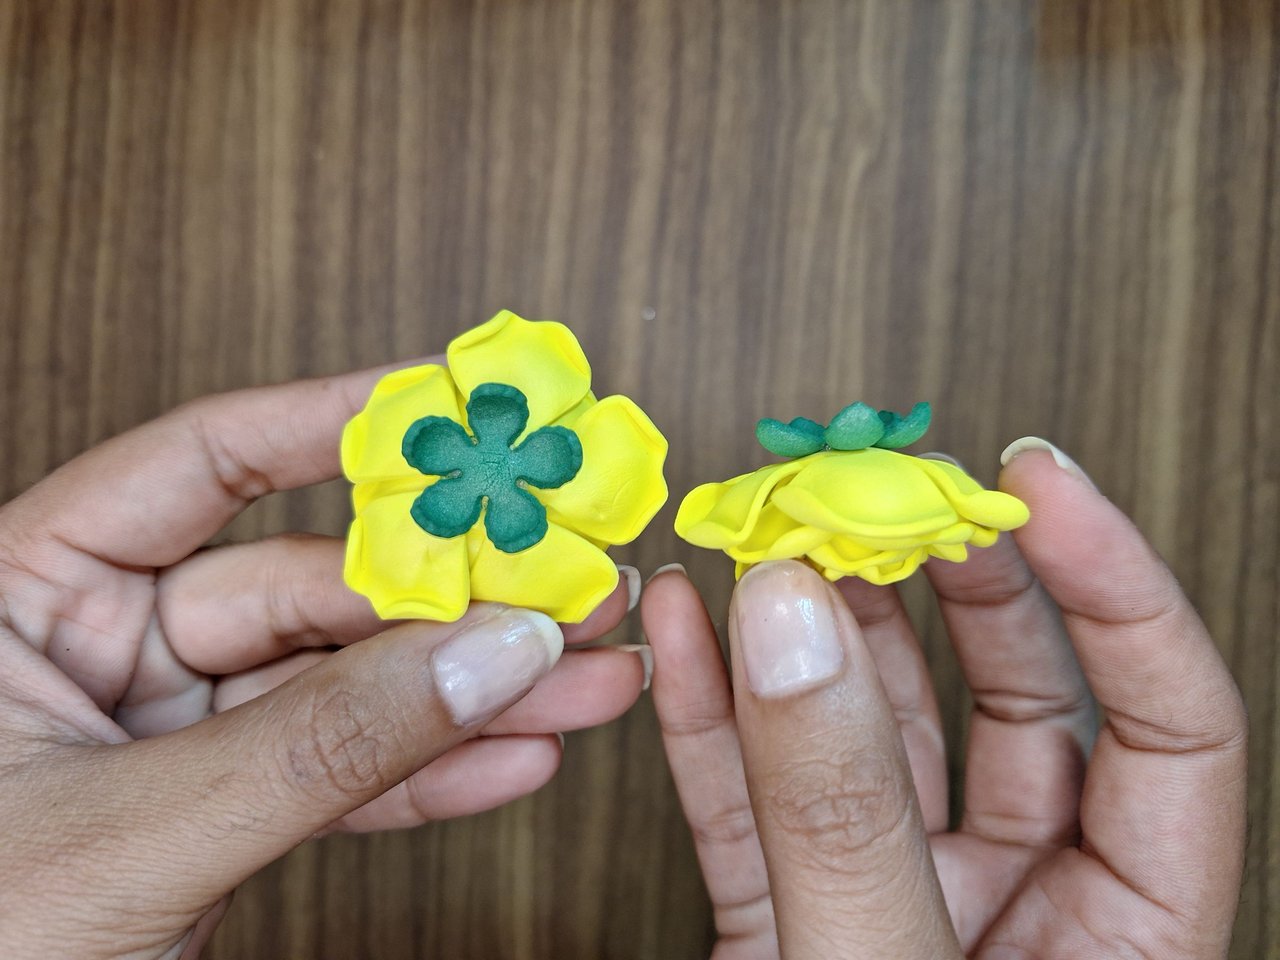 |
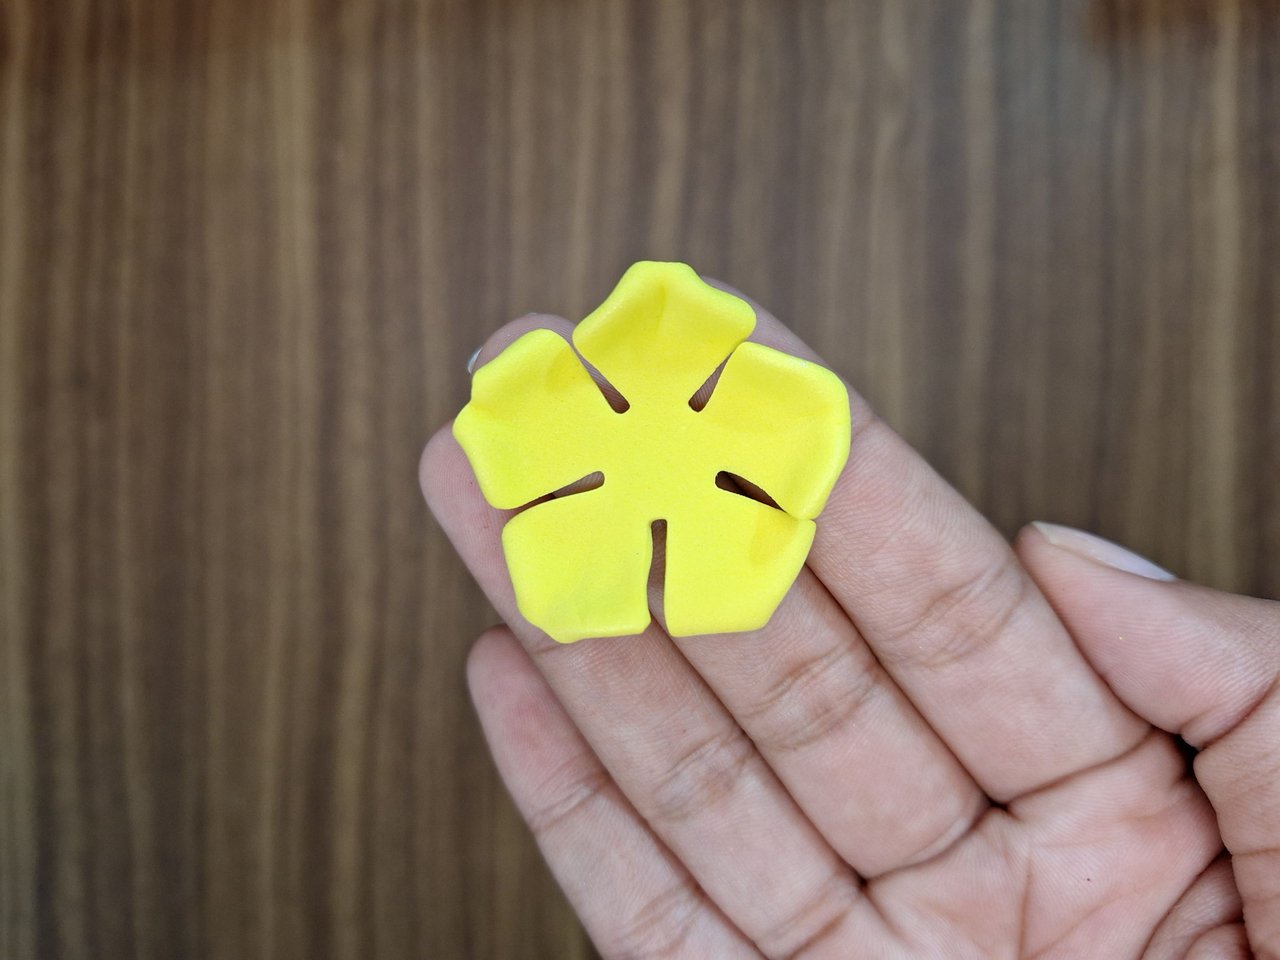
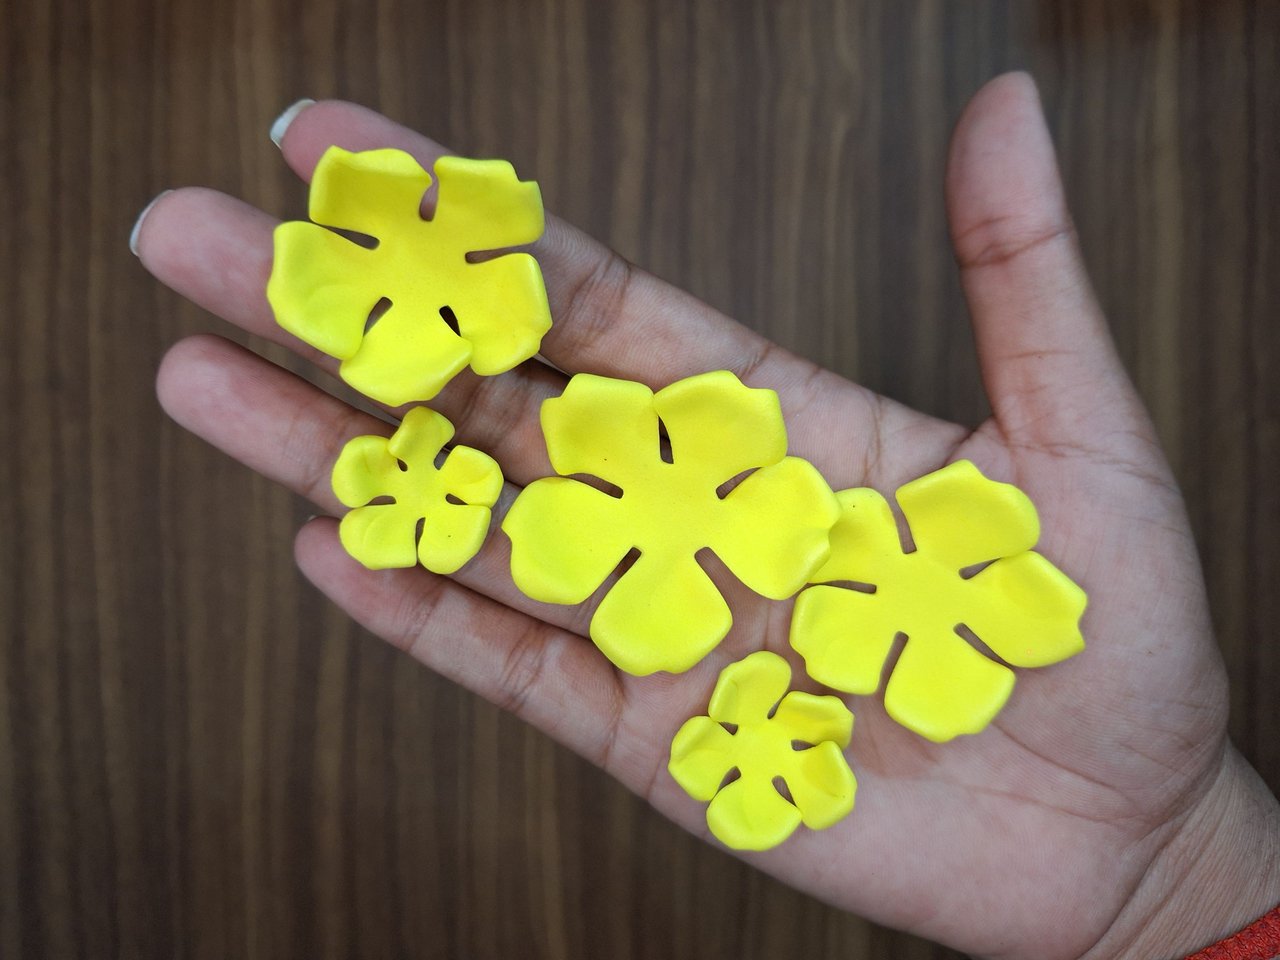
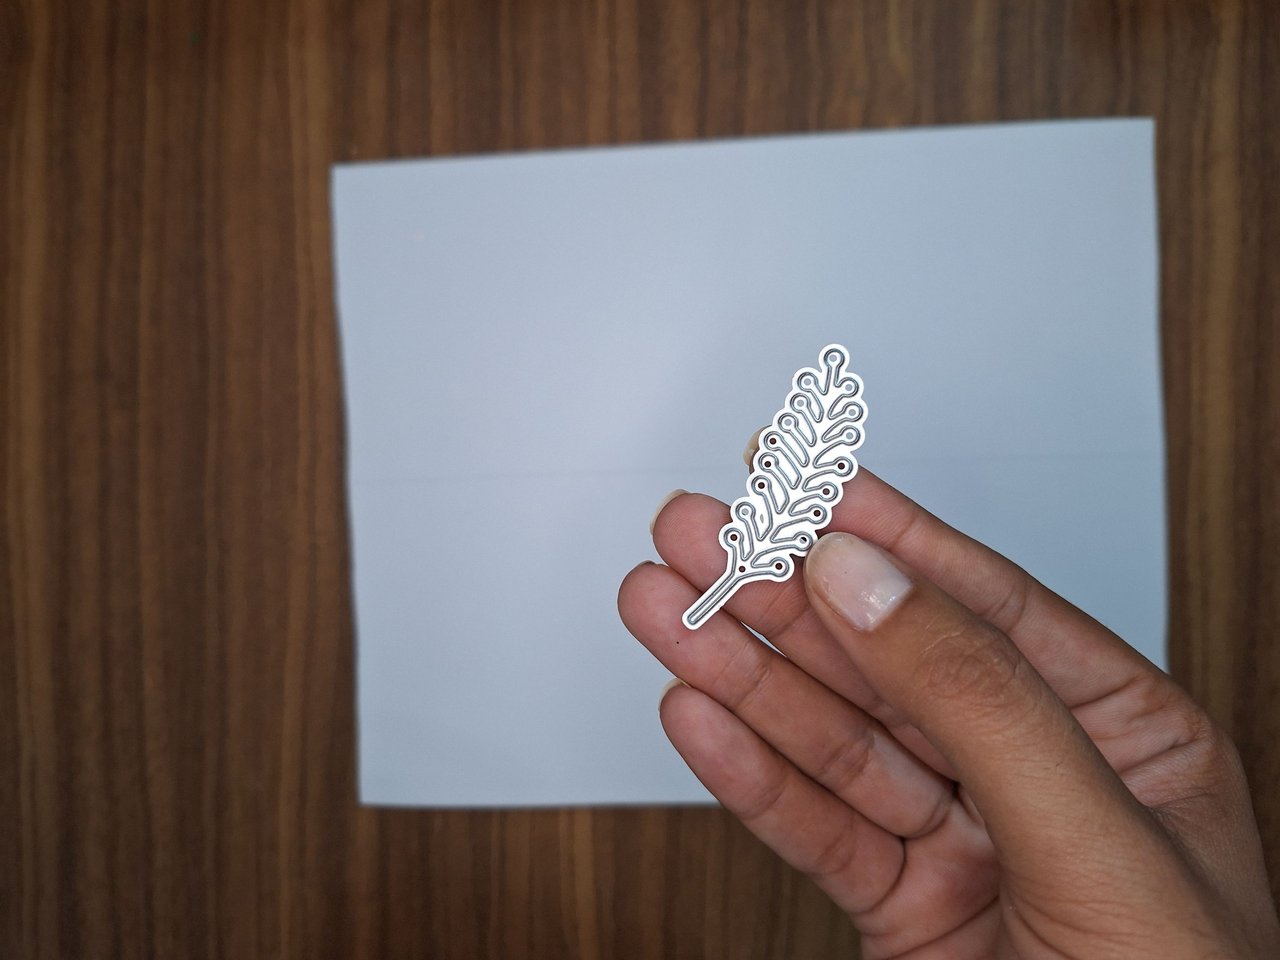
To make the sepals of the roses I used a die of a flower that had five petals and could serve me, so I cut 4 pieces and when I thermoformed them they are like this with the tips down. Then they are placed at the bottom of each rose.
Para hacer los sépalos de las rosas utilicé un troquel de una flor que tenía cinco pétalos y me podía servir, así que corte 4 piezas y al termoformarlas quedan así con las puntas hacia abajo. Luego se colocan en la parte inferior de cada rosa.
 |  |  |
 | 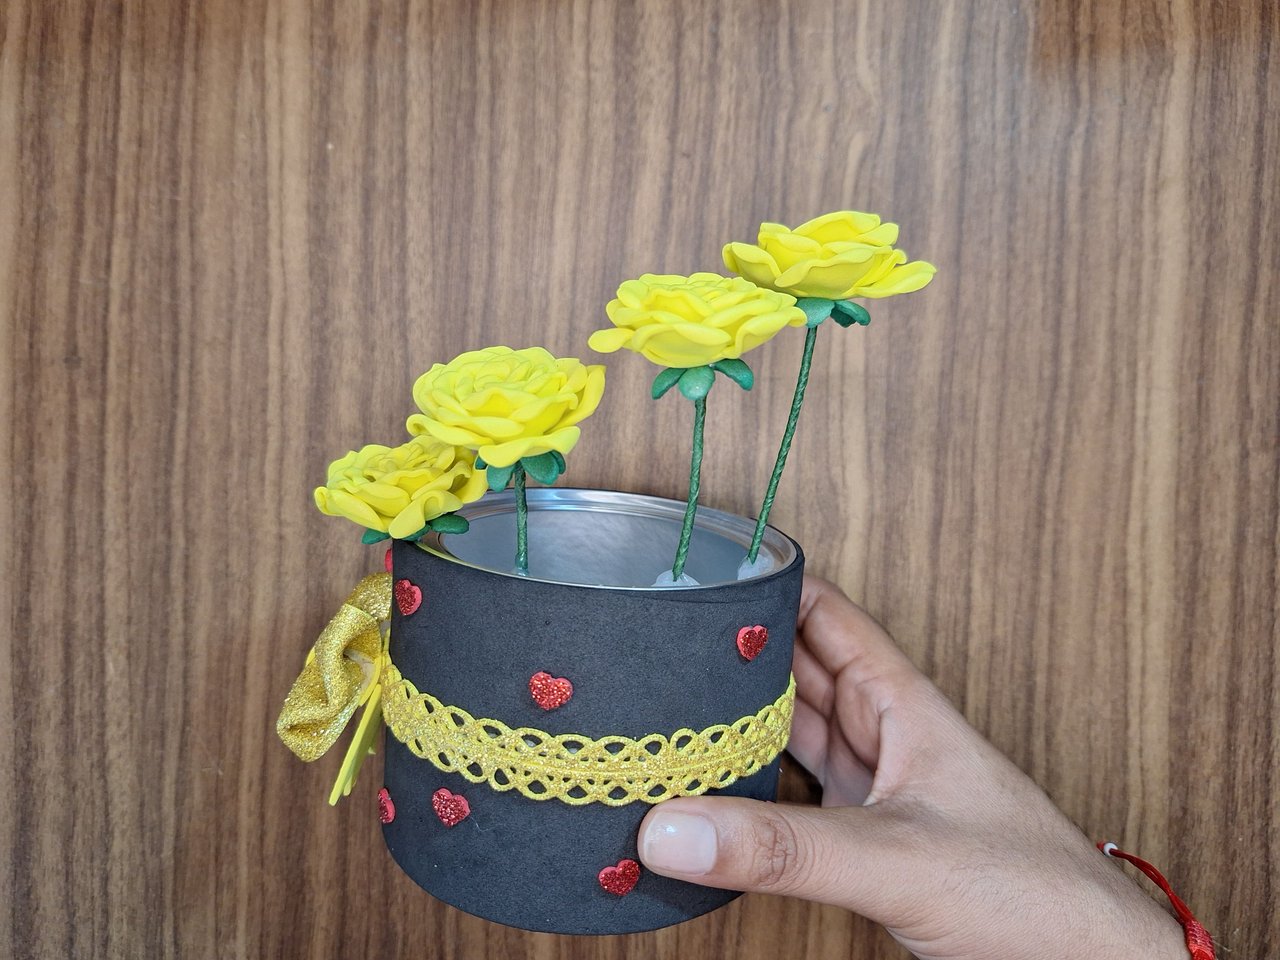 | 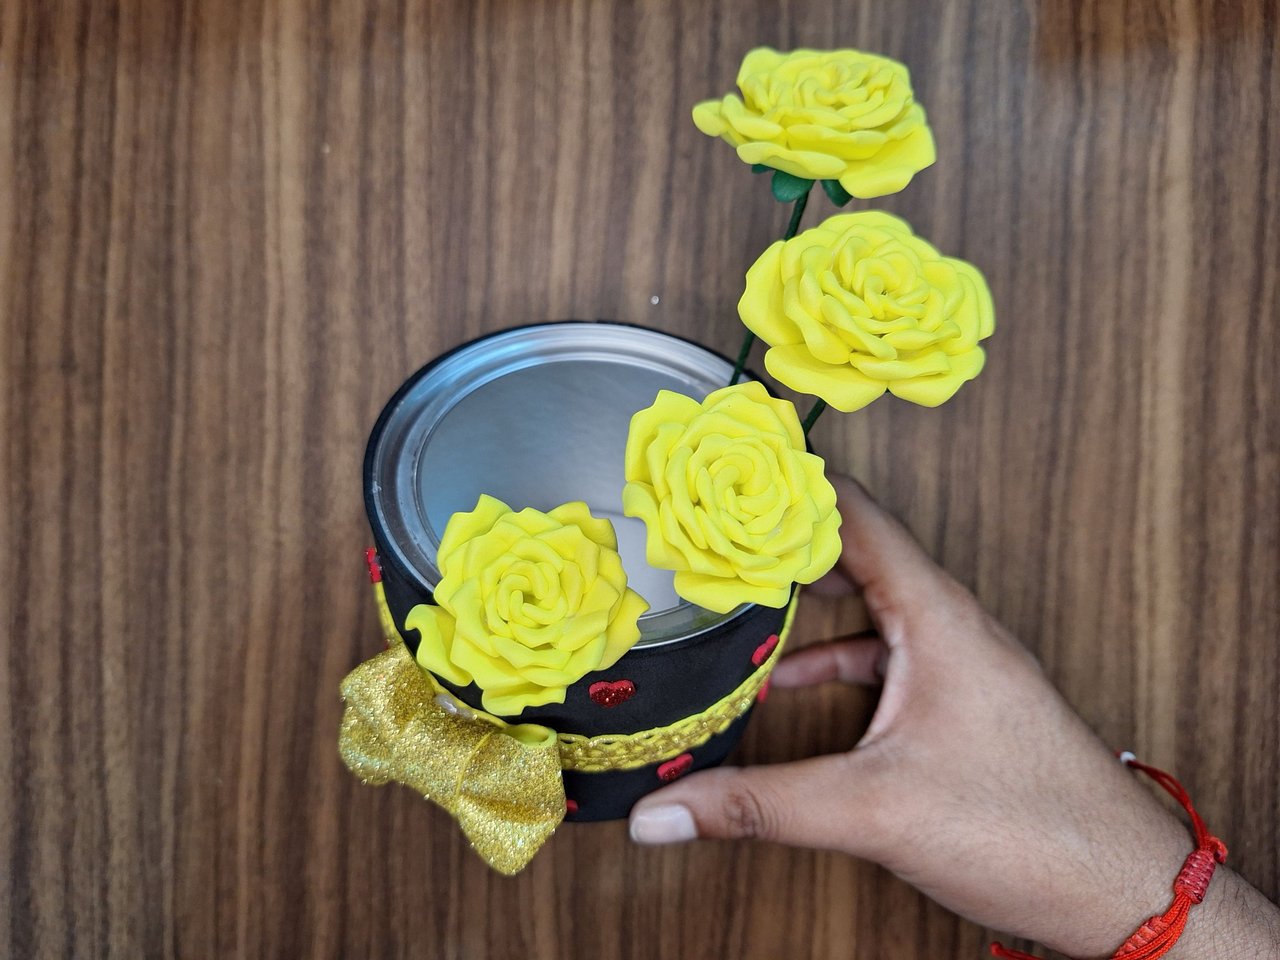 |
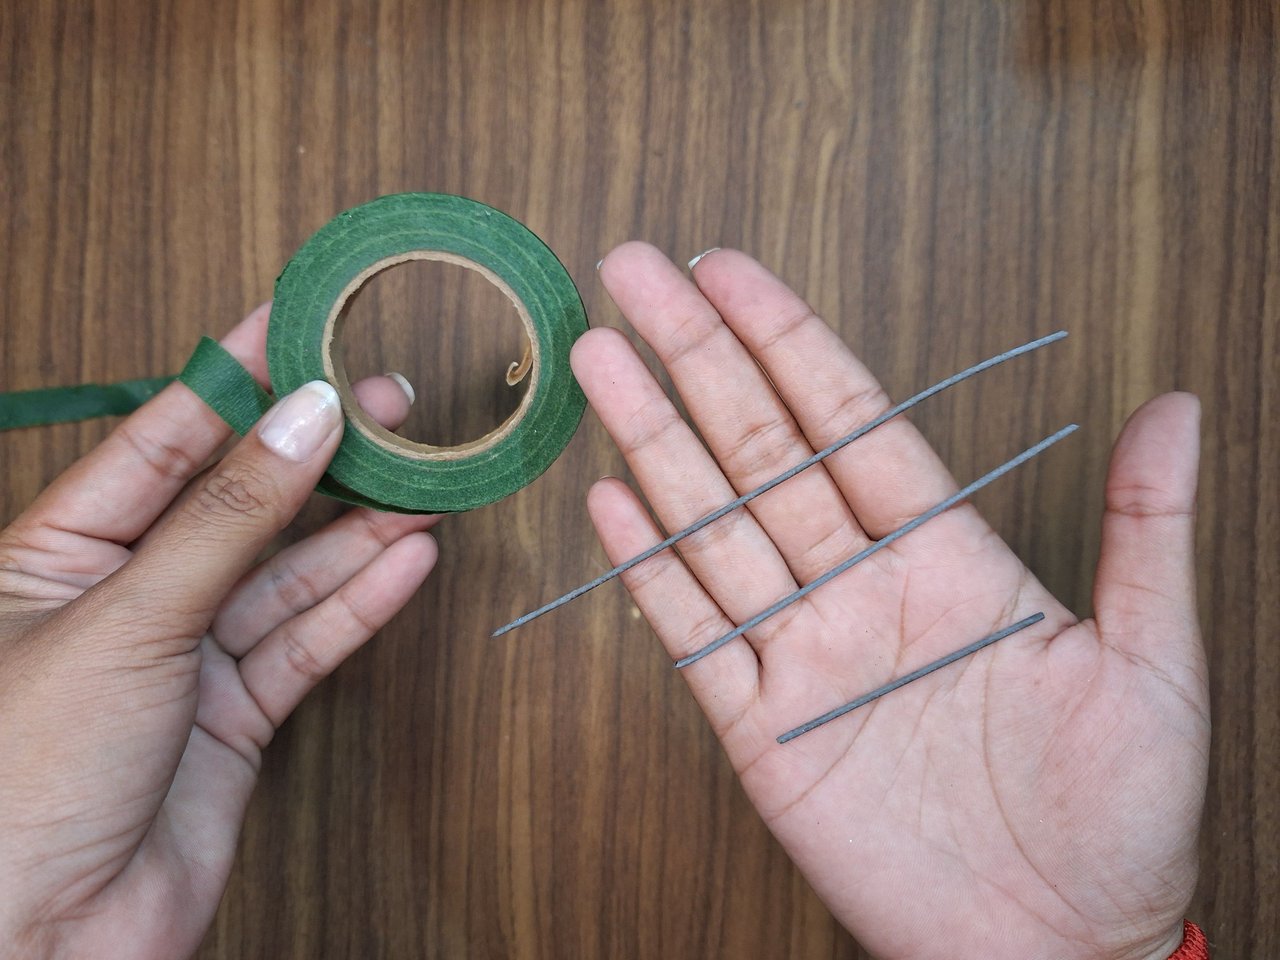
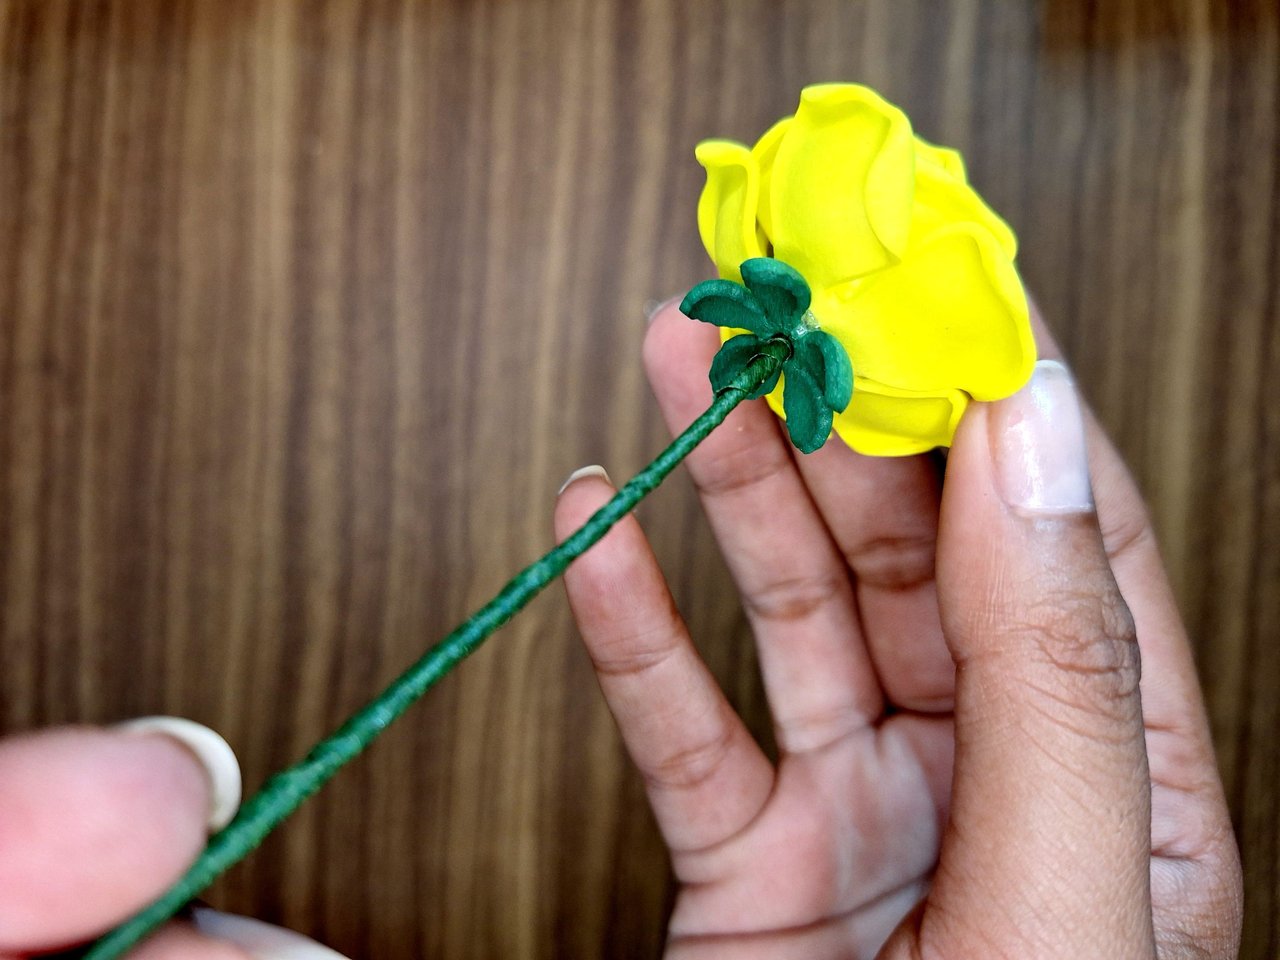
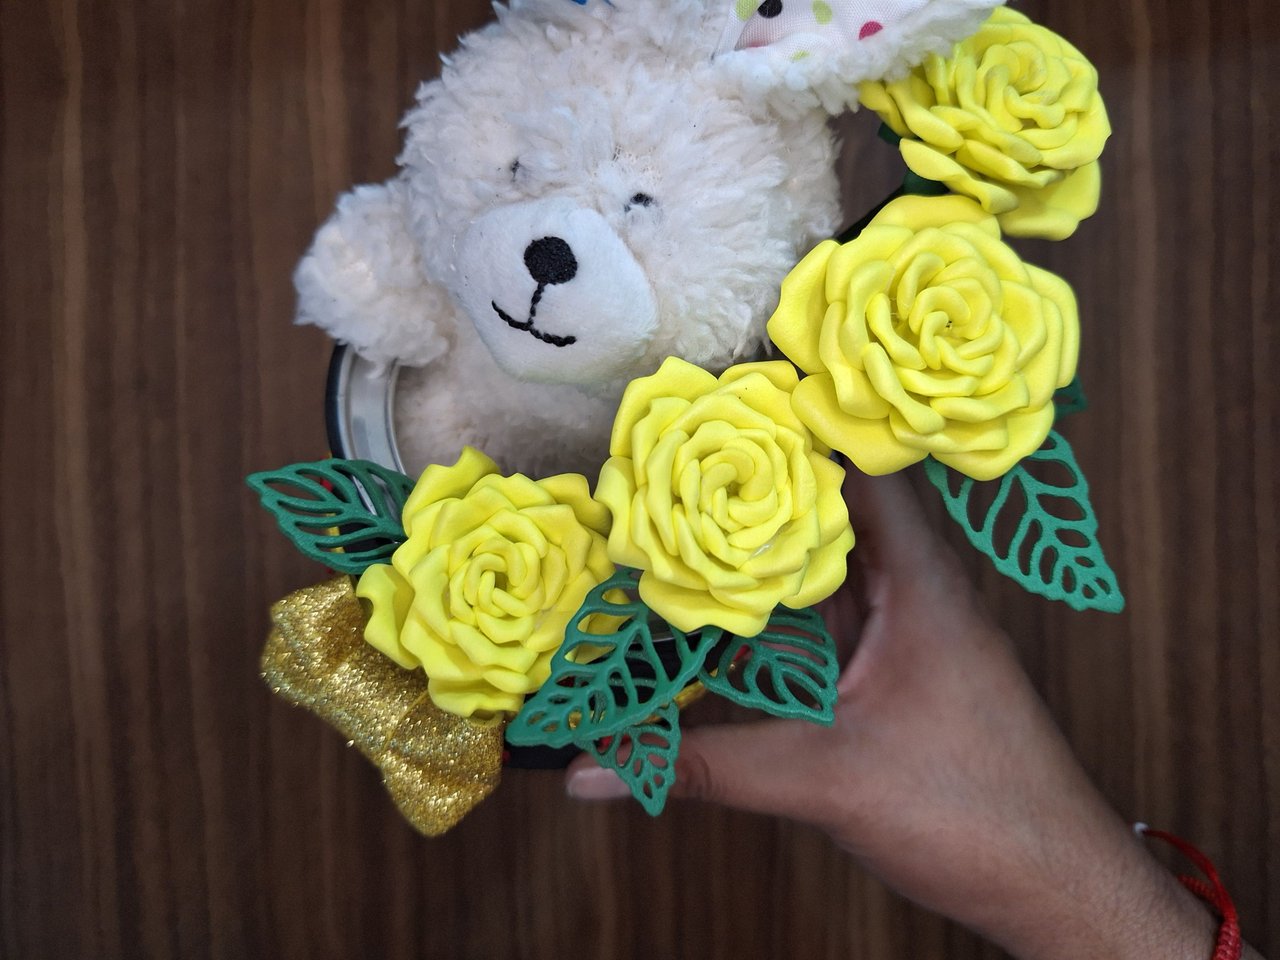
For the stem I used hard wire and covered it with floral tape. Then I inserted it right through the center of the sepal, but without it coming out to the surface of the petals, so that it does not show. I placed the stem on only three roses, as the remaining one is glued to the rim of the can. They are placed in ascending order on one side of the base, leaving the other side to place the doll.
Para el tallo utilicé alambre duro y lo cubrí con tape floral. Luego lo introduje justo por el centro del sépalo, pero sin que saliera a la superficie de los pétalos, para que no vea. El tallo se lo coloqué solo a tres rosas, pues la otra restante va pegada al borde de la lata. Se ubican en orden ascendente por un lateral de la base, dejando el otro lateral para colocar el muñeco.
 |  |
Before placing the stuffed animal inside, you can place another detail that you want to give as a gift, such as candies and chocolates.
Antes de colocar el muñeco de peluche dentro, puedes colocar otro detalle que quieras regalar, como caramelos y bombones.
 |  |  |
 |  |  |
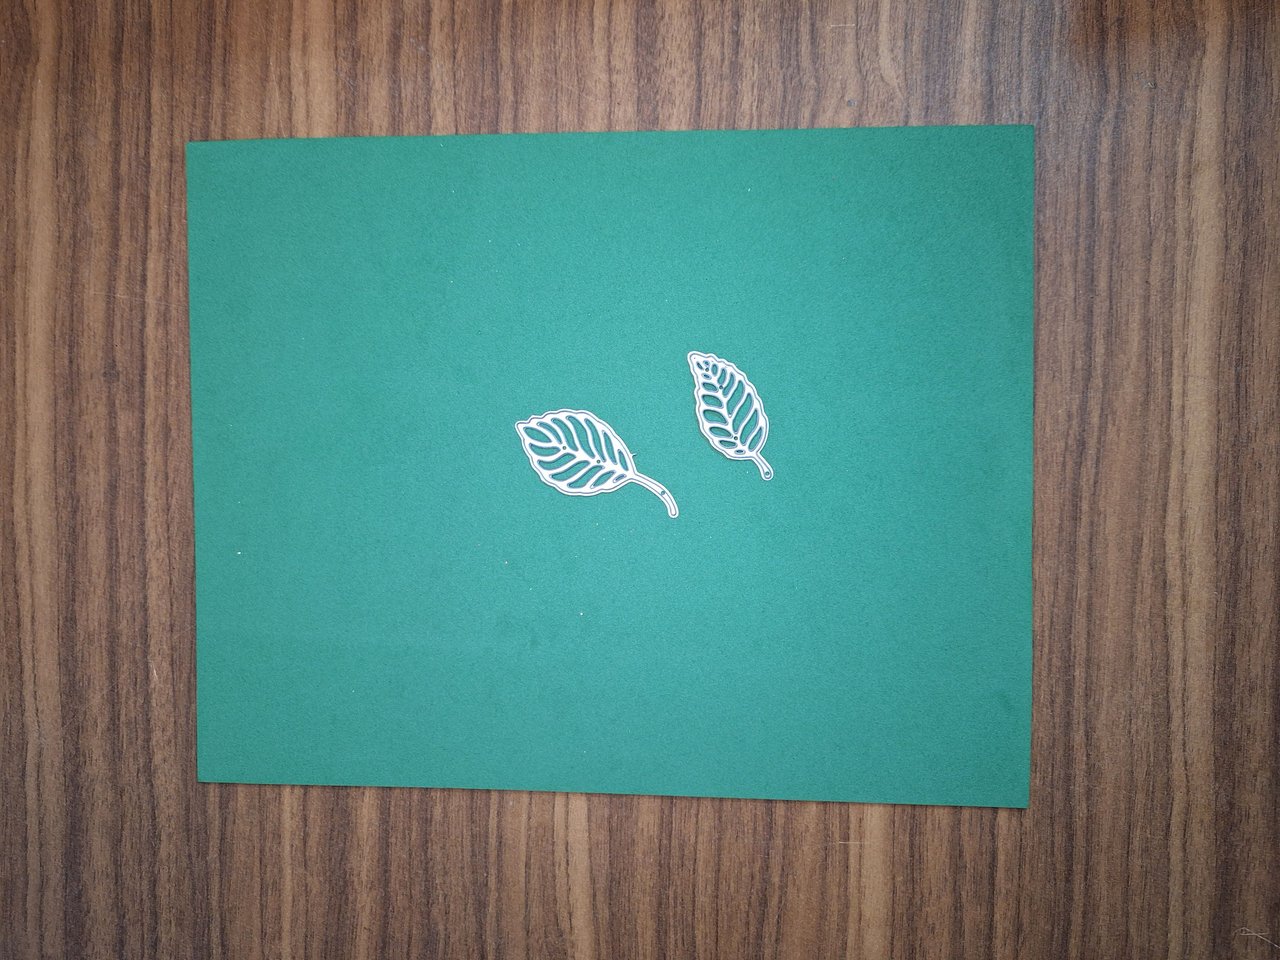
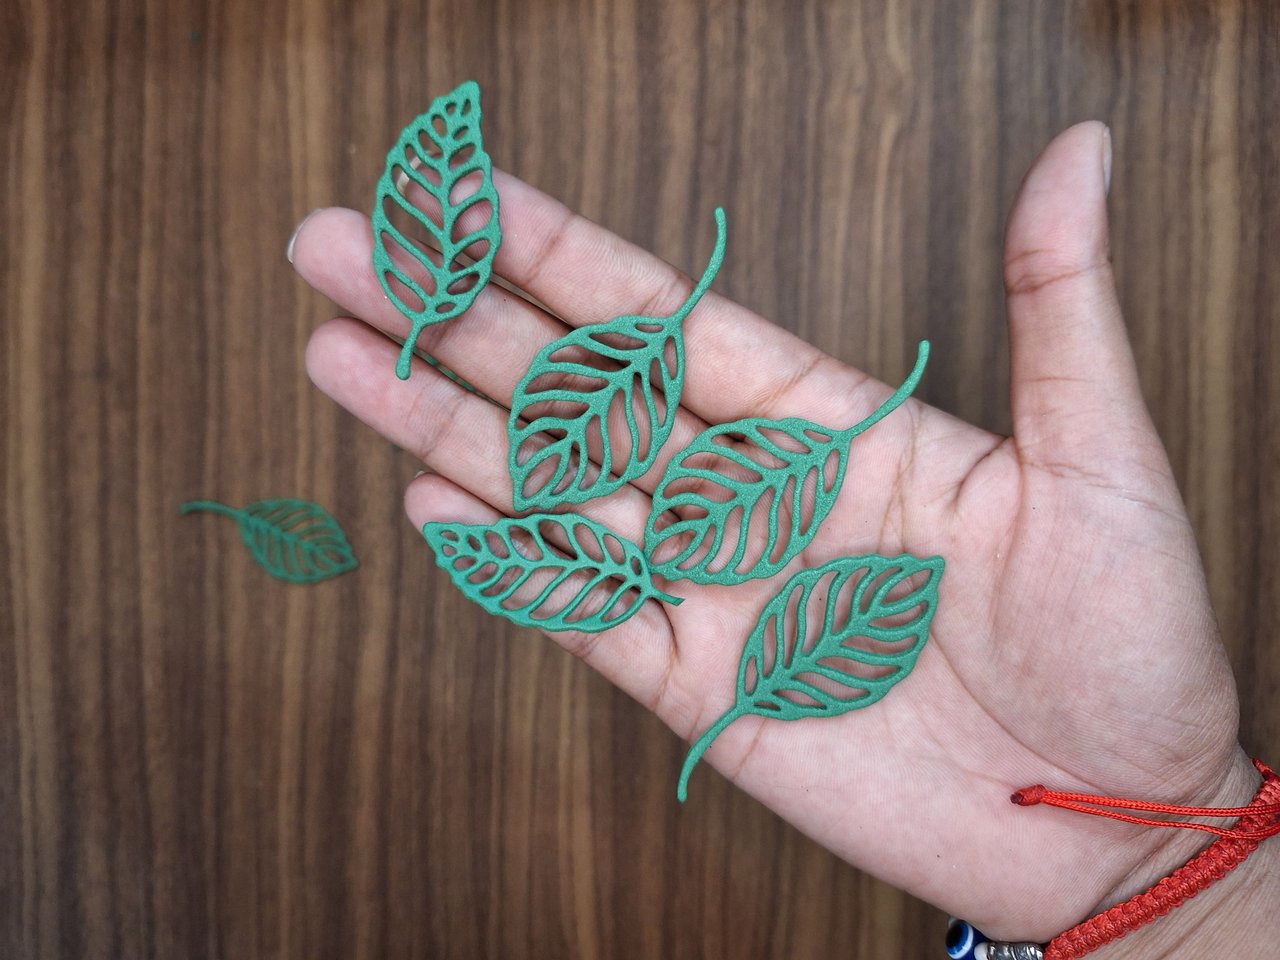
With the help of leaf-shaped dies, I made several pieces, which I placed covering the empty spaces between the roses, without overloading it of course.
Con la ayuda de troqueles con forma de hojas, hice varias piezas, las cuales coloqué cubriendo los espacios vacíos entre las rosas, sin sobrecargarlo claro.
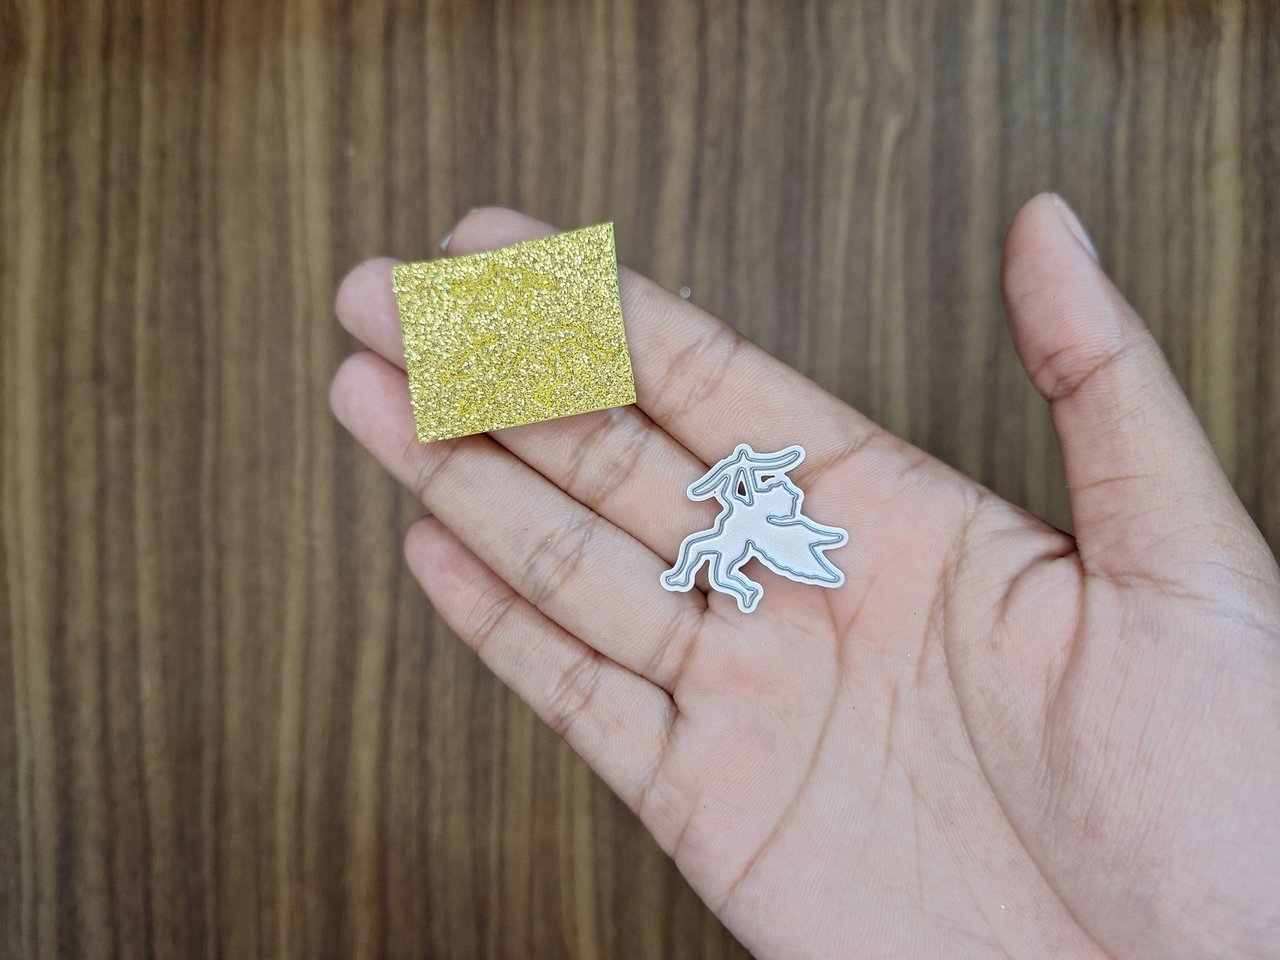 | 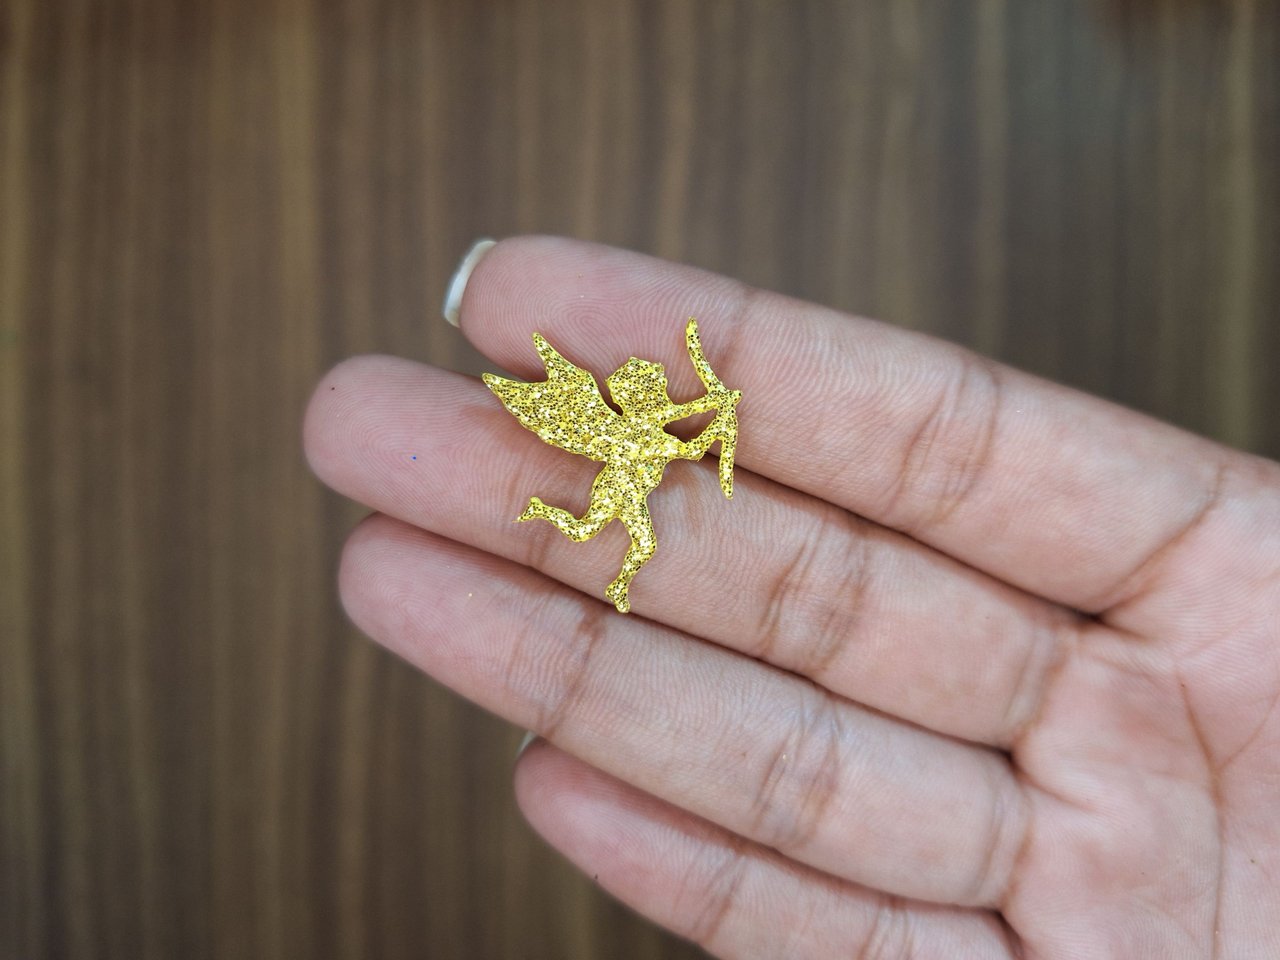 | 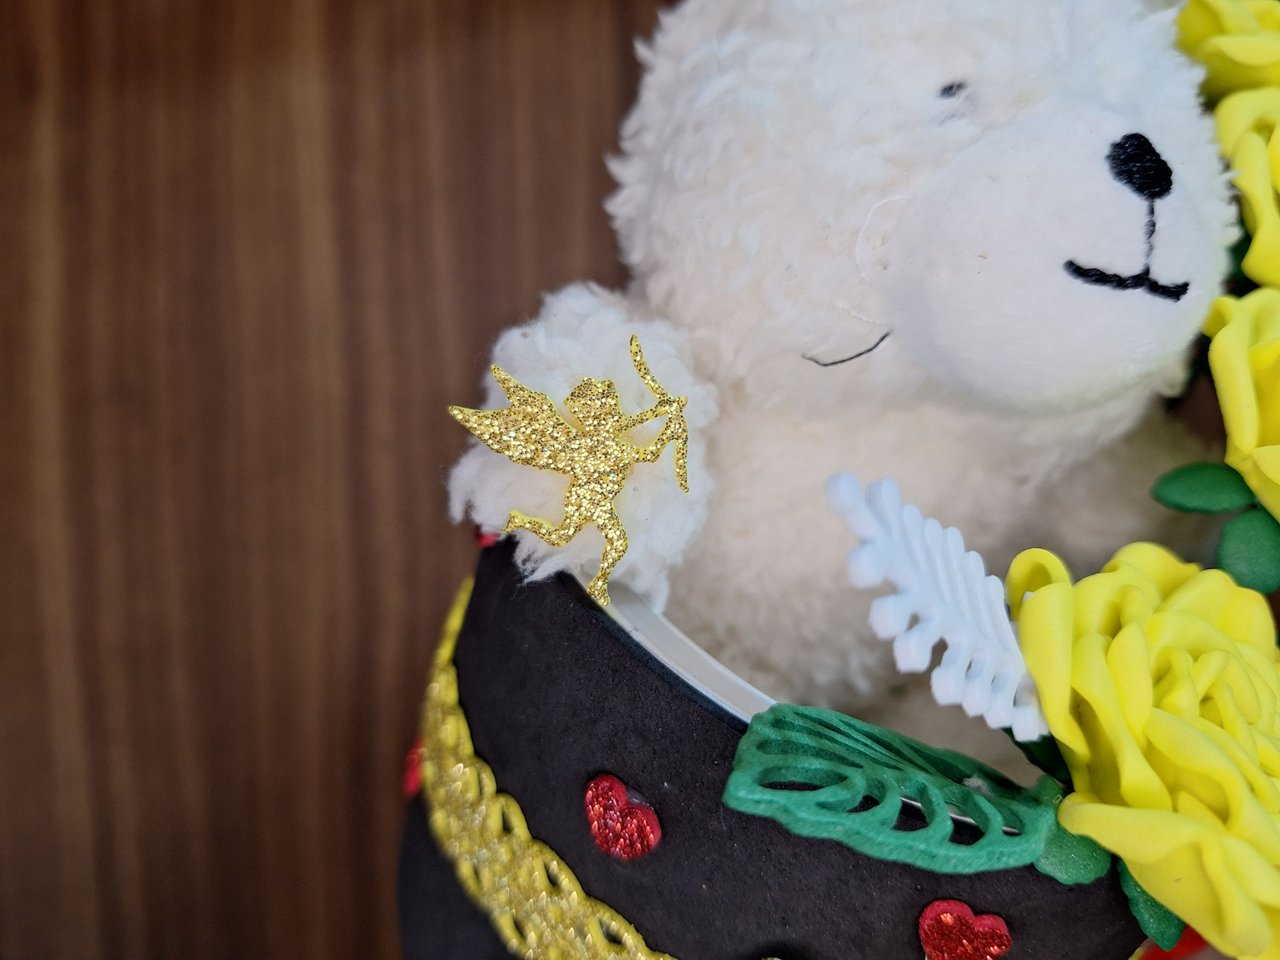 |
Taking advantage of the occasion, I had a die cut in the shape of a cupid and decided to cut one out to glue it to the side of the stuffed rabbit.
Aprovechando la ocasión, tenía un troquel con la forma de cupido y decidí cortar uno para pegarlo en una patica del conejo de peluche.
 |  |
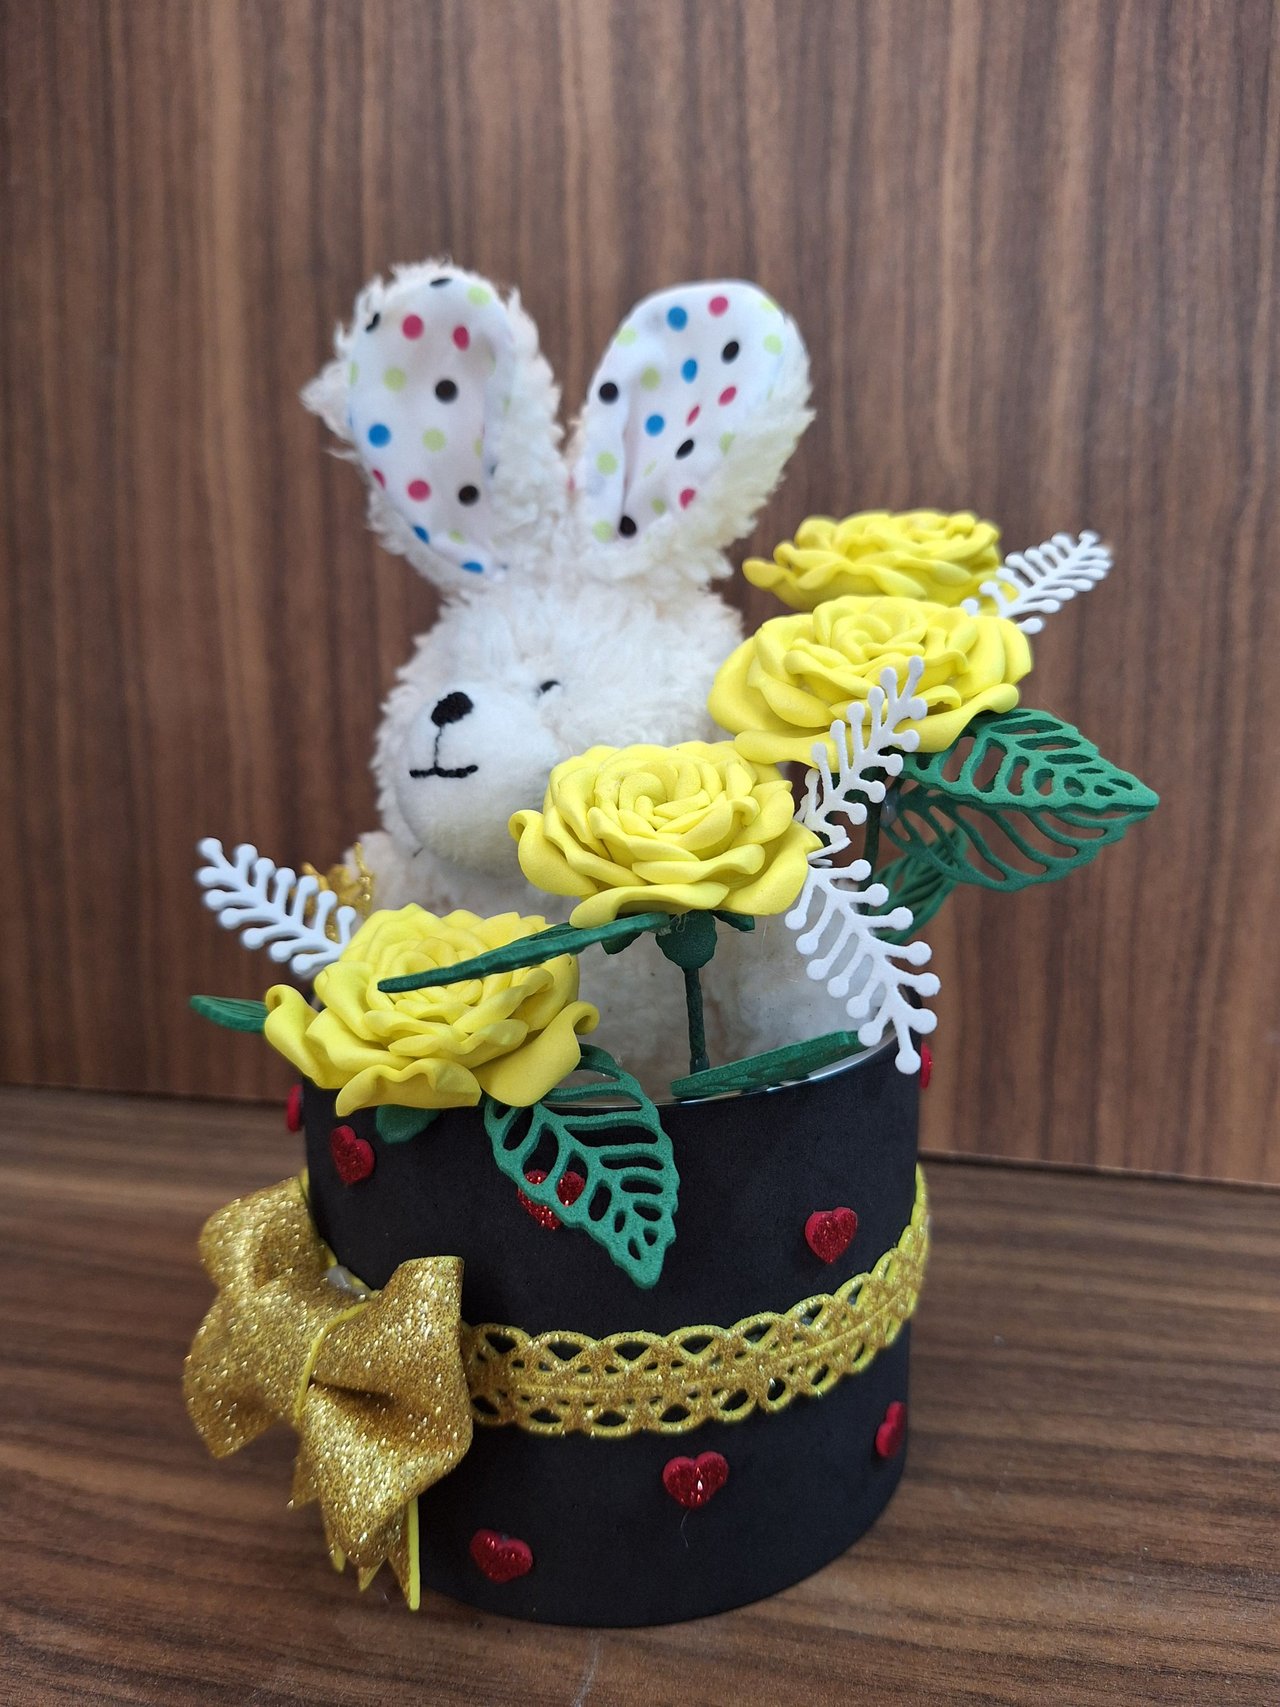 | 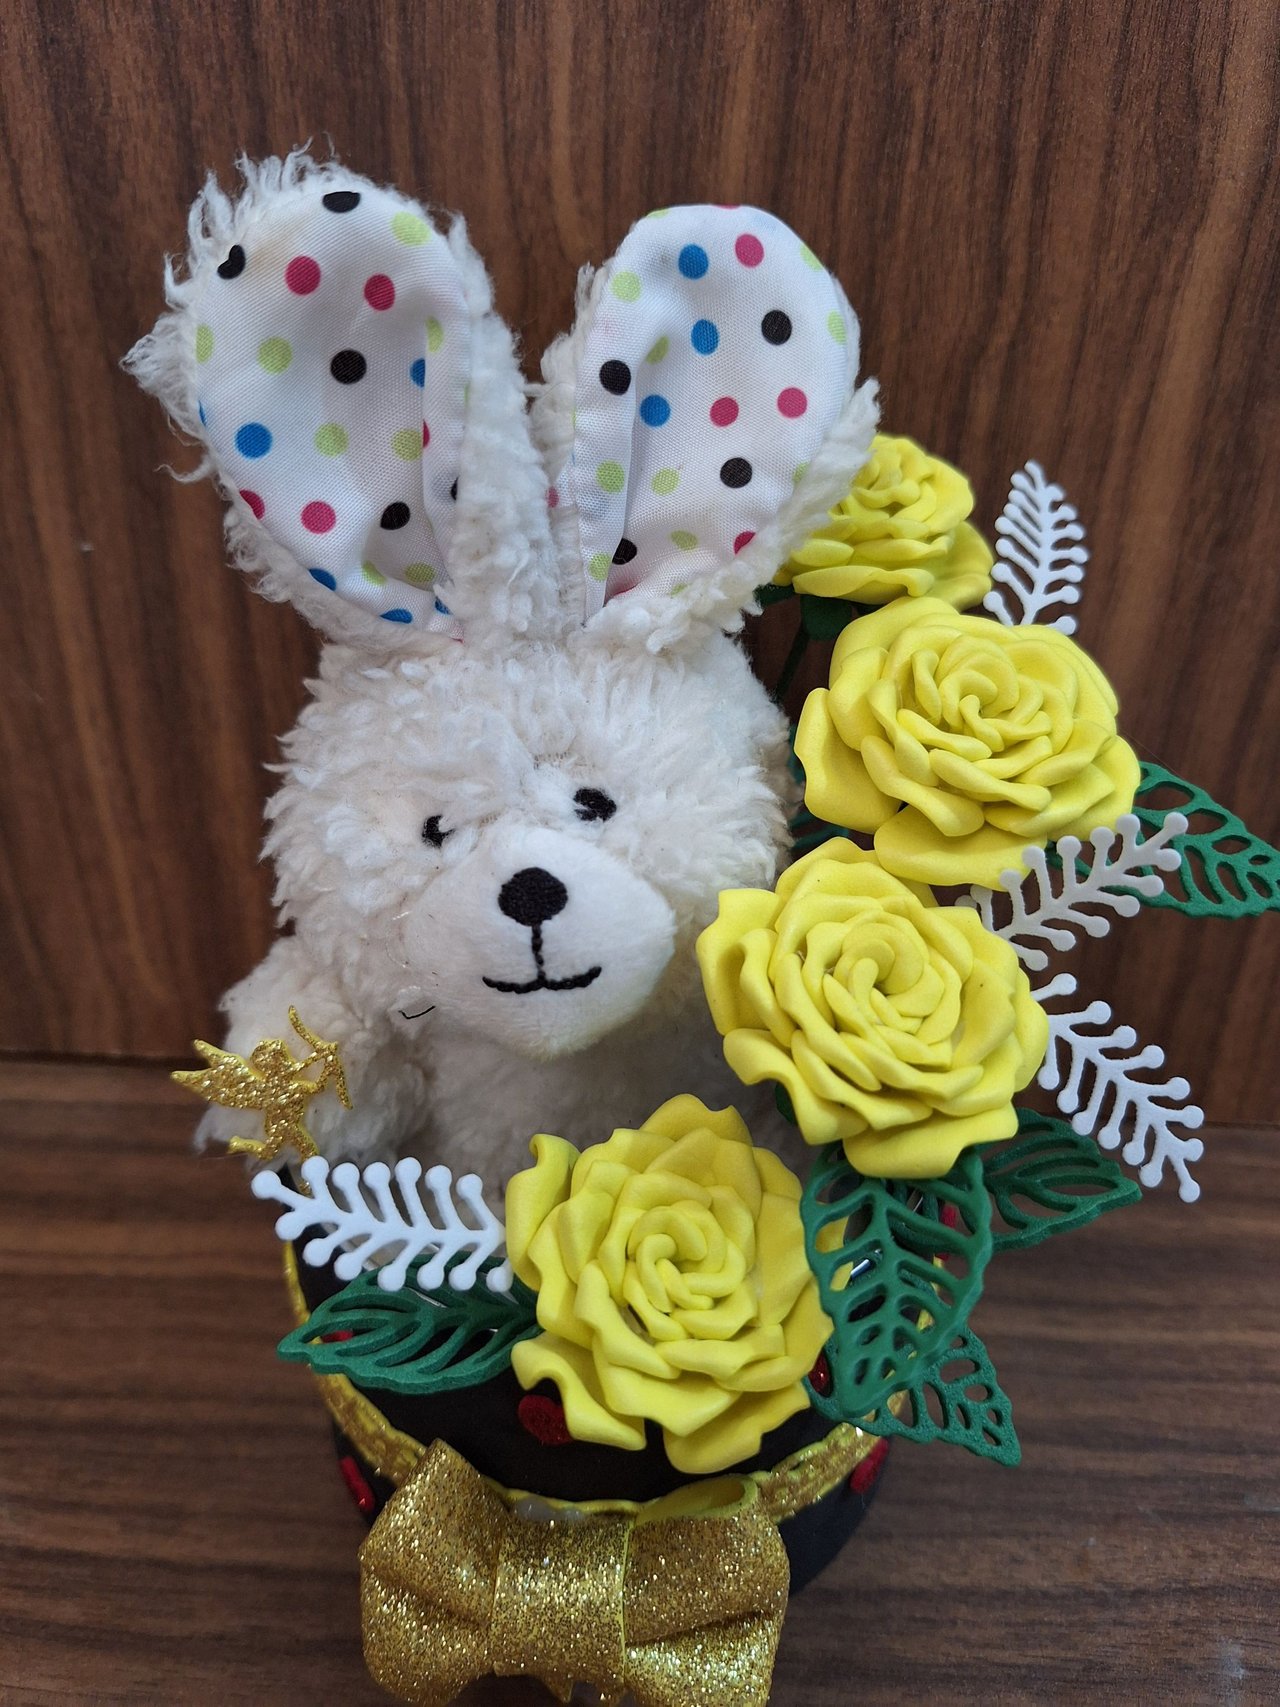 |
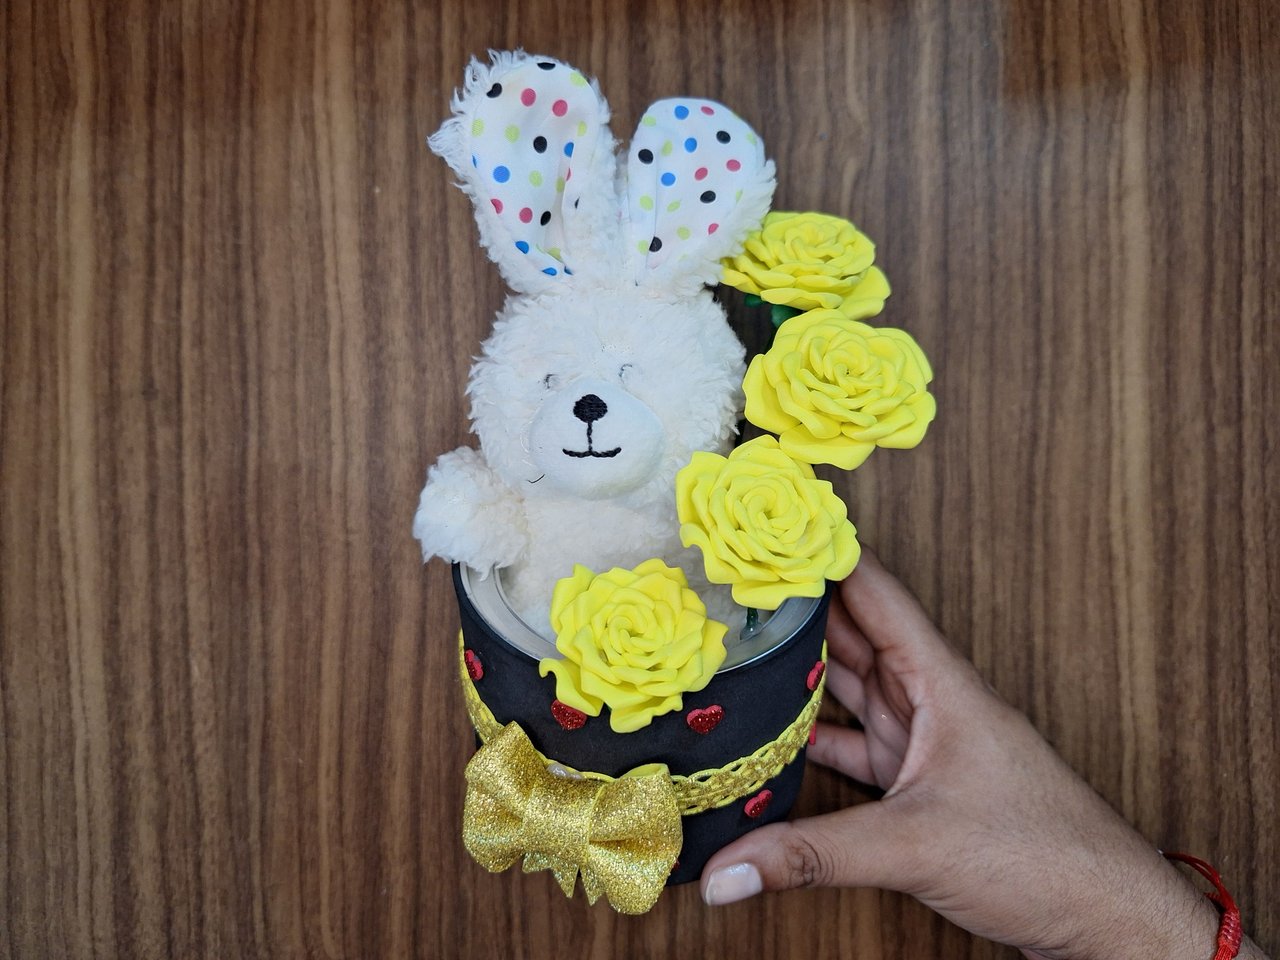
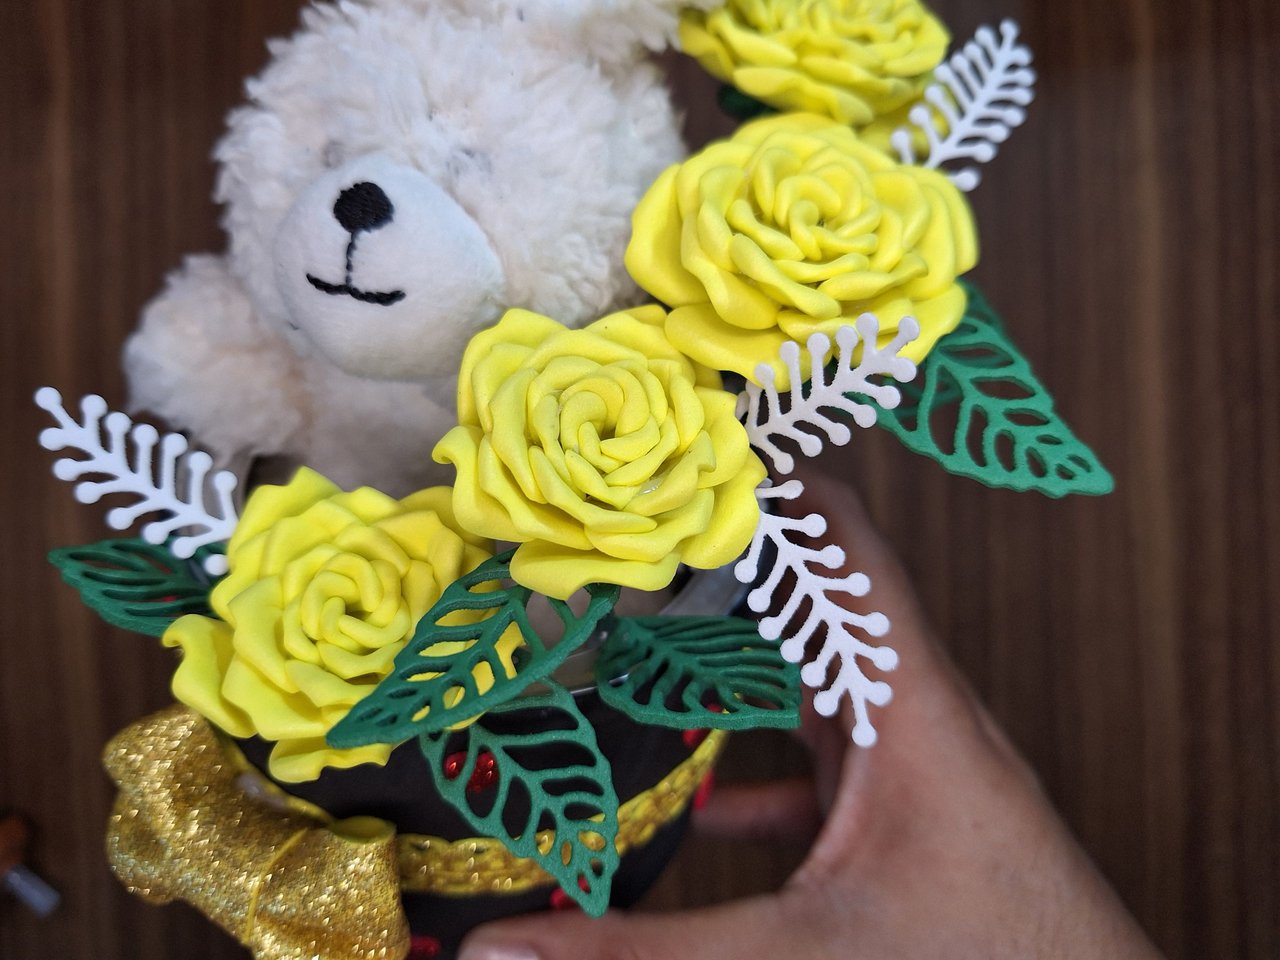
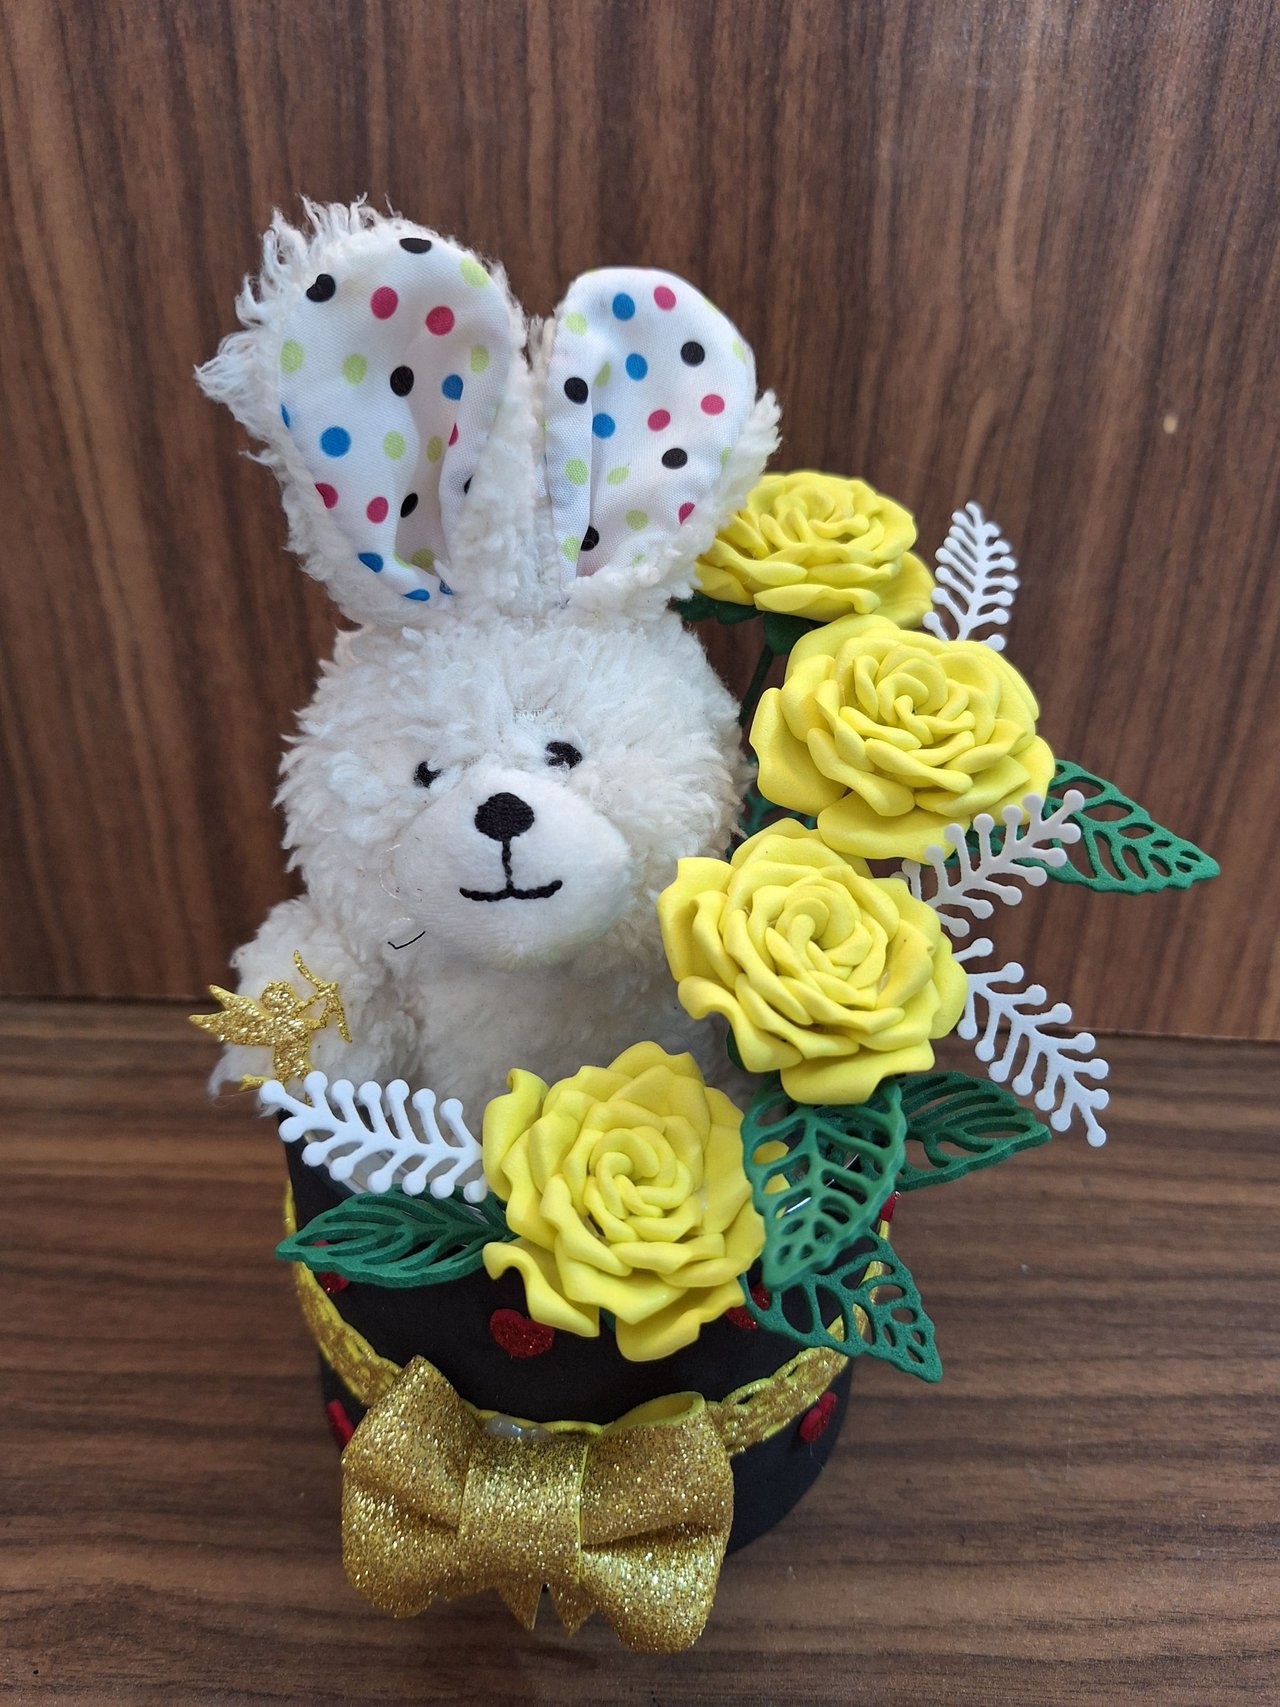
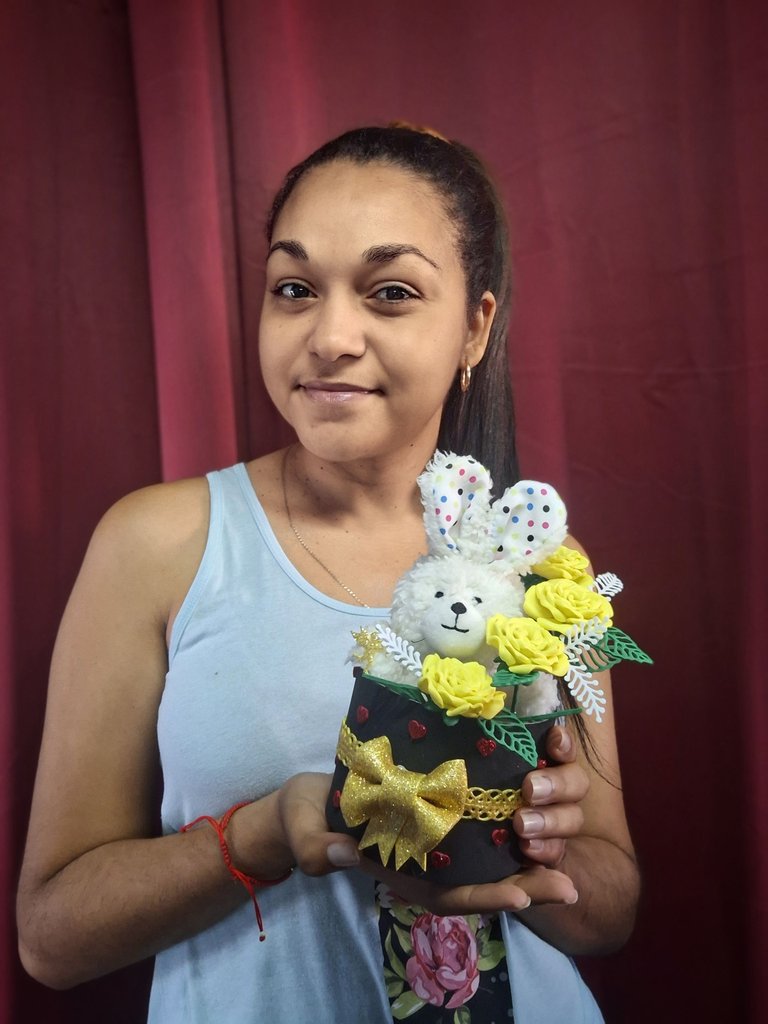
As you can see, this is how this beautiful floral arrangement is finished, with teddy bear included, that we can give as a gift for a special occasion. It would be the perfect gift for the approaching date, February 14, Valentine's Day, so if you have not thought about what to give, this is your chance to do it yourself. I hope you liked it, leave me in the comments what you thought and new suggestions. Best regards.
Como pueden observar, así queda terminado este precioso arreglo floral, con peluche incluido, que podemos regalar en una ocasión especial. Sería el regalo perfecto para la fecha que se aproxima, el 14 de febrero, día de San Valentín, así que si no tienes pensado qué regalar, esta es tu oportunidad de hacerlo tú mismo. Espero que les haya gustado, déjame en los comentarios qué te pareció y nuevas sugerencias. Un saludo.
Cover made in Canva
English is not my native language, translated by DeepL
Posted Using INLEO
Mind blowing, 👍I like it's
Thank you very much, I'm glad you liked it. 🤗
Welcome 🌹
Quedó bien bonito amiga, quería preguntarte, con que pegas el foami moldeable a las tasas
Puedes utilizar silicona pero yo no uso nada, como está húmedo se pega solo, tienes que pegarlo rápido antes de que seque, si vas a dejarla de adorno así te sirve, si es para usarla y tomar en ella, si tienes que darle una capa de resina epóxica cuando termines para que no se dañe.
Aa ya. Vale. Gracias amiga. Quiero hacerme una dormí en una jarra, pero no sabía se se secaba y se quedaba pegado. Muchas gracias
No hay de qué 🥰
Uyyy que bonito quedó eso. Me encantó.
Gracias, me esmeré jjj 🥰
that looks so cute , you are amazng keep up the good work and keep sharing such great content.
Oh thank you so much 🥰, I'm so glad you liked my content, of course I'll keep it up.
Hermoso arreglo floral 😍. Me gustó mucho. Saludos ☺️
Muchas gracias, saludos 🤗
Quedó muy lindo amiga. Lo adoré, bello. Bendiciones 😘.
Muchas gracias 🥰
Congratulations @yale95reyra! You have completed the following achievement on the Hive blockchain And have been rewarded with New badge(s)
Your next target is to reach 45000 upvotes.
You can view your badges on your board and compare yourself to others in the Ranking
If you no longer want to receive notifications, reply to this comment with the word
STOPEstá muy bonito el resultado! Como dices perfecto para el 14 de febrero
Muchas gracias, ideal para esa fecha.
Que hermoso el osito le da un detalle más bonito y las flores amarillas resaltan mucho 😍
Muchas gracias 🥰