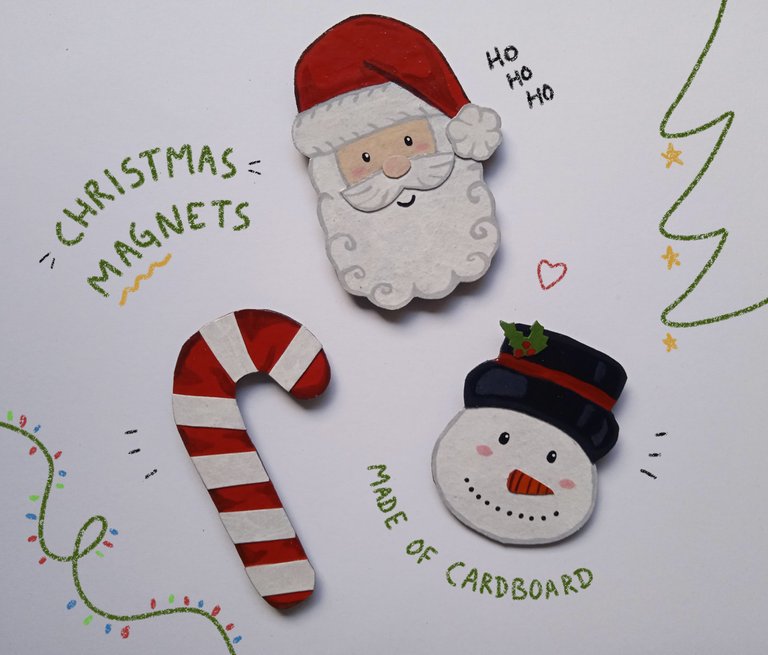
Greetings to all! ✌🏼 The countdown begins for the month of December, a month full of glitter, colorful lights and beautiful decorations. For the store windows fill the atmosphere with frosting and tree stands full of gifts.
If we are aware ☝🏼 to renew the arsenal of decoration we would need quite a bit of strength. 😅💲That's why I think Christmas is like a creative springboard, you can do everything. Recycling what we already have or investing very little, we can create the most beautiful things, there is no limitation, so any idea is valid.
I tell you that in my house there was the habit of putting ornaments even on the fridge 😅 my mom spent a lot of time shopping through catalogs and when December arrived, there was everything with a Christmas theme. You can imagine all the Christmas magnets my mom could buy. My mom kept them for years, but there came a time when the color was already pale and the plastic was too weak, so they passed to a better life.
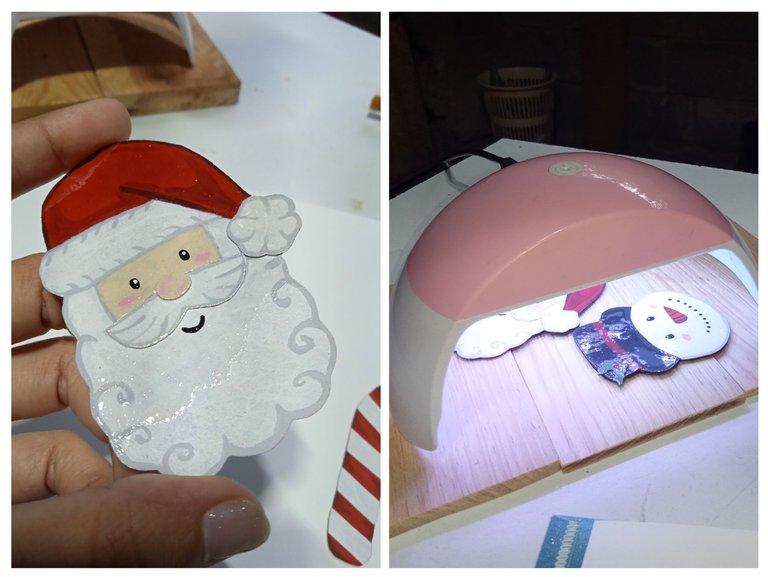
And since I always want to get hands-on when it comes to gift giving, I'll show you how you can make these Christmas fridge magnets. I will be using a manicure lamp and the top coat that is used to seal nail art, but this is not a necessary implement, instead you can use water based glitter or glue.
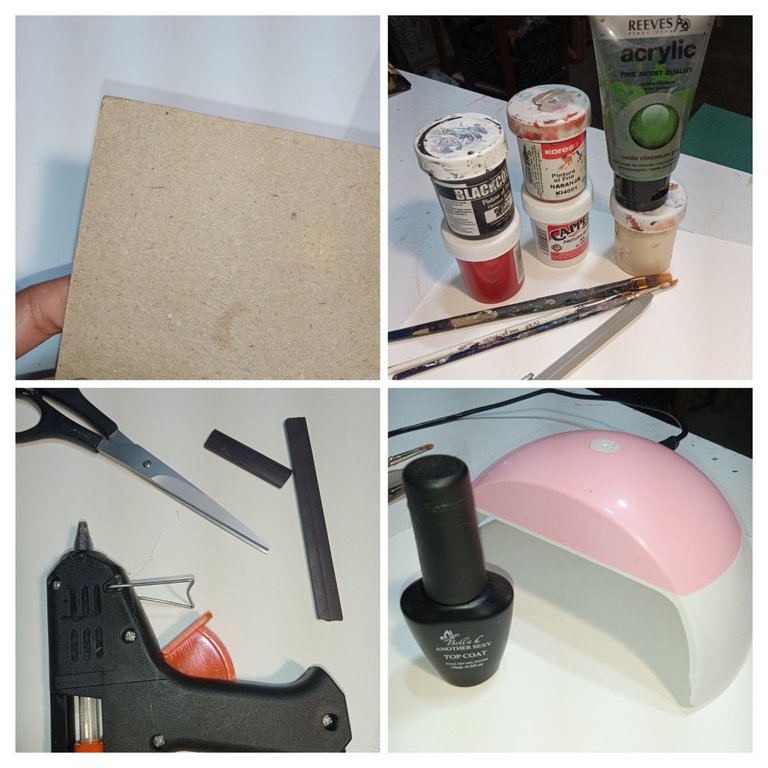
These are the materials:
- Cardboard.
- Scissors.
- Glue.
- Silicone gun.
- Magnets.
- Cold paint in colors: white, blue, orange, black, red, green and peach.
- Manicure lamp.
- Top coat.

Step 1
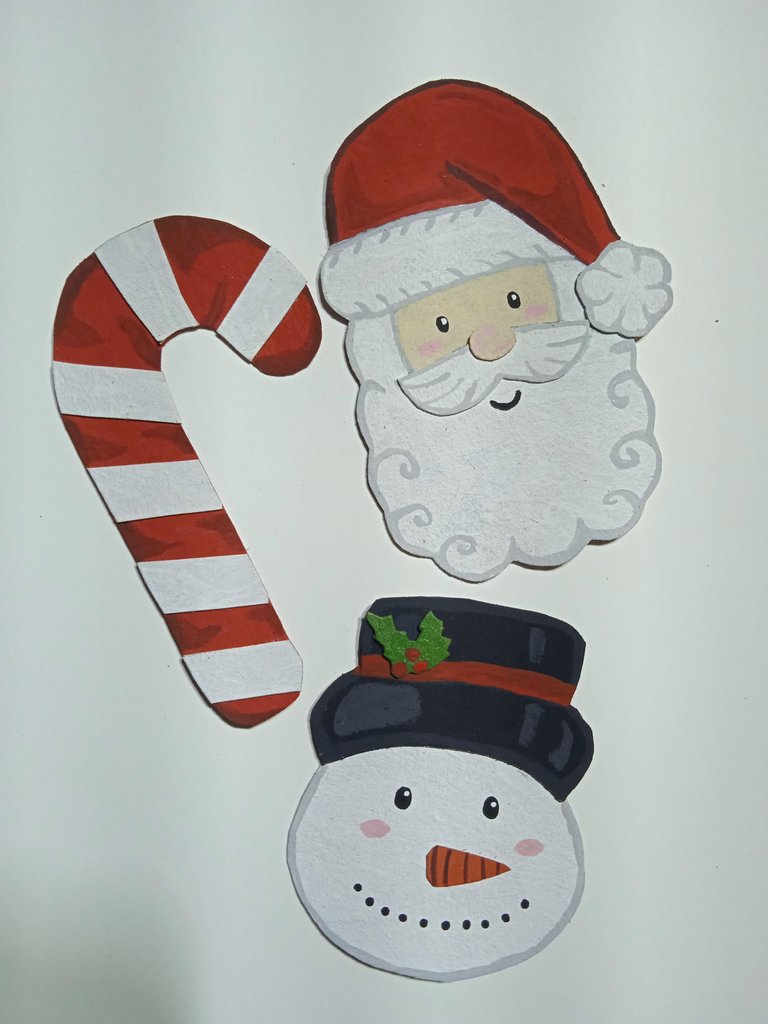
Time to draw... below I will be leaving the sketch that we will transfer to the cardboard, after we have drawn each piece, we cut it out.
The candy stripes are made by cutting out a strip of cardboard that is simply glued to the candy.
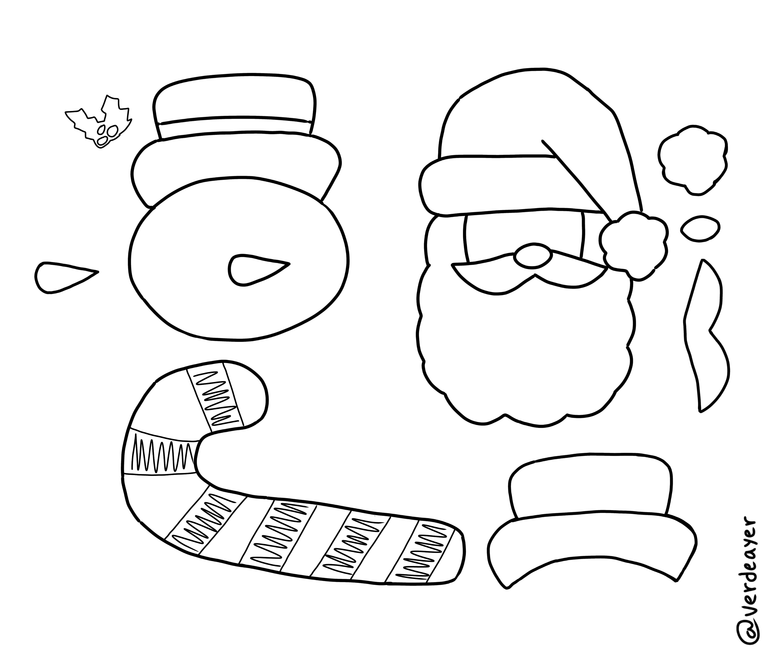
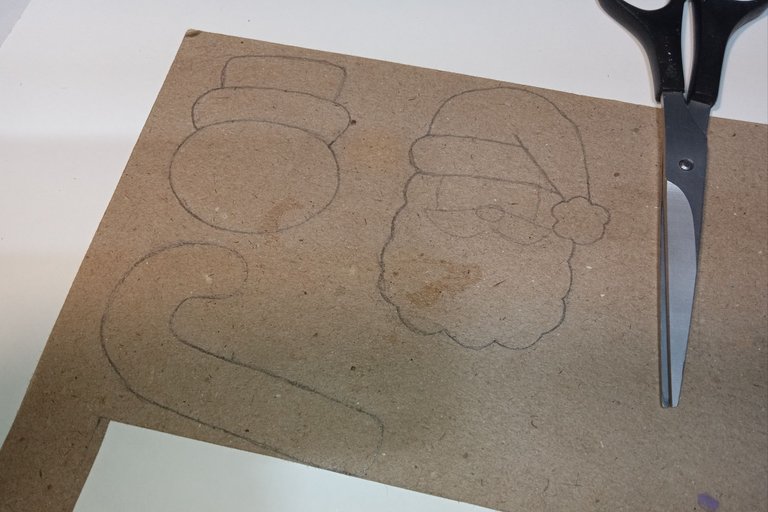
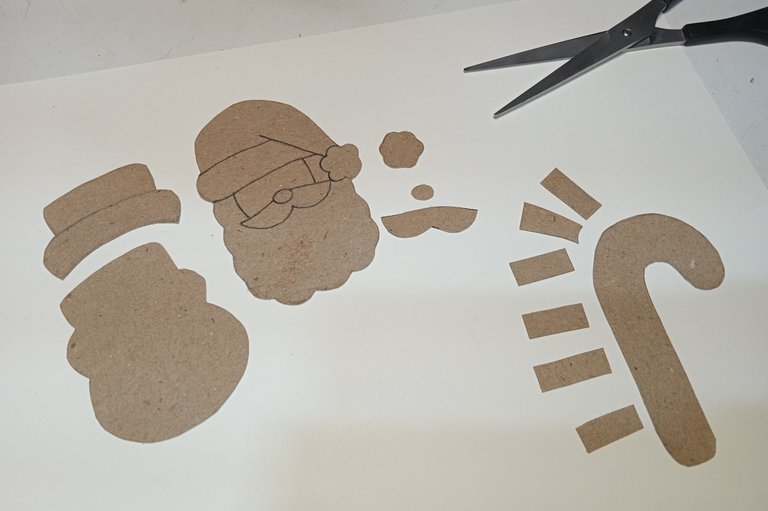
You can print the design in any size you like, to give you an idea of the size I chose; each design fits inside a poker card.

Step 2
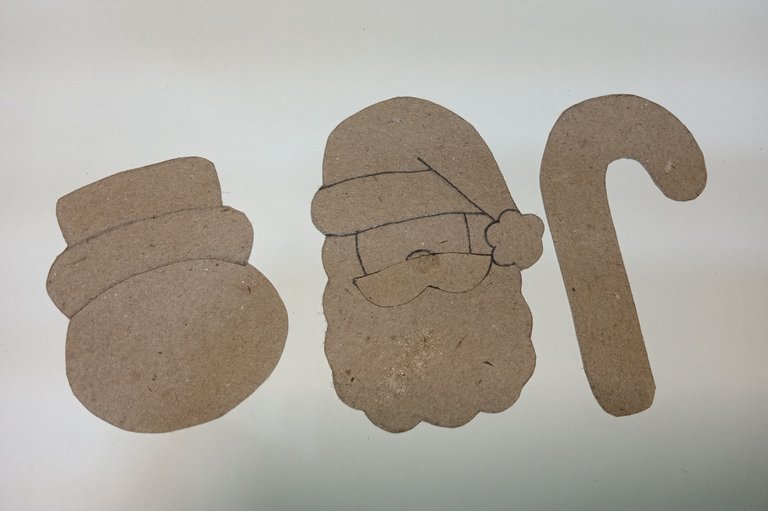
We glue the pieces corresponding to each character and the candy stripes we will glue them after painting.
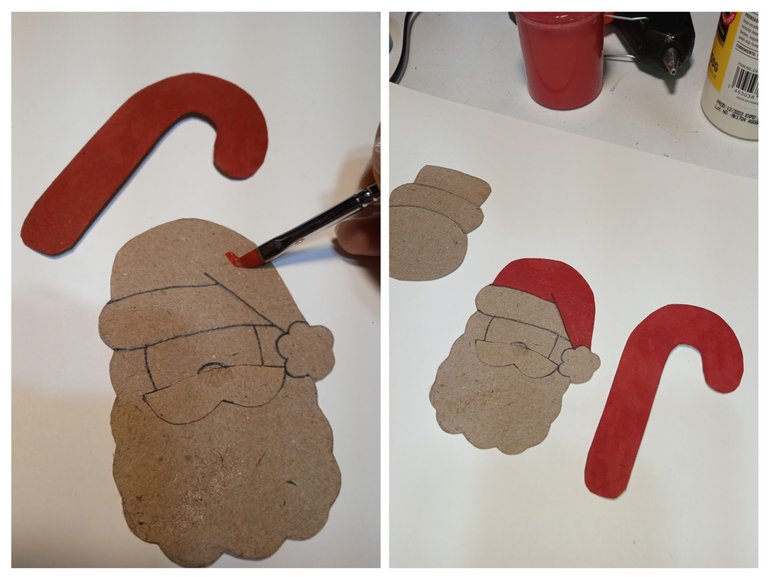
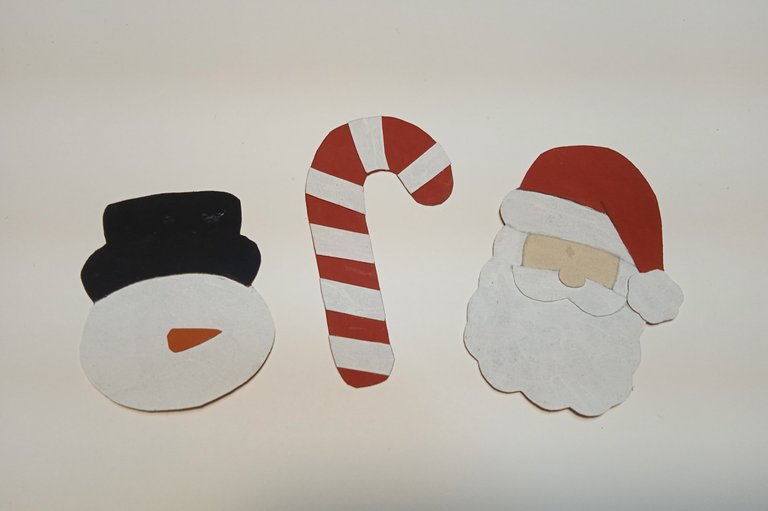
The santa hat and the candy are red, so we'll start by painting this.
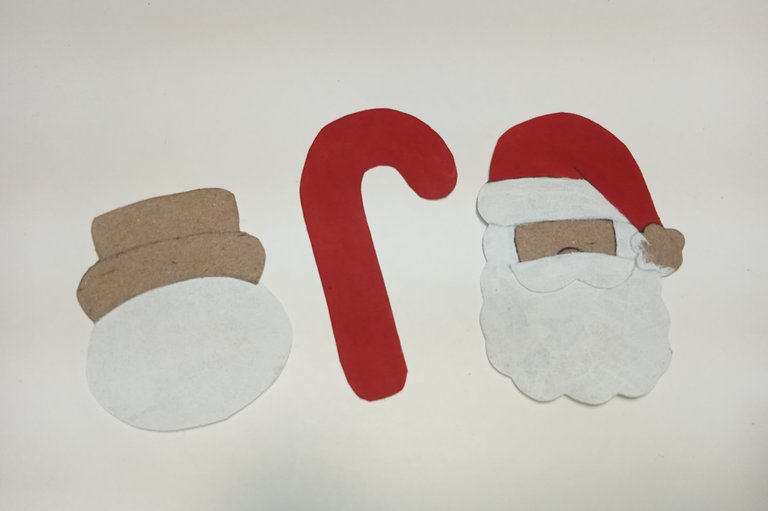
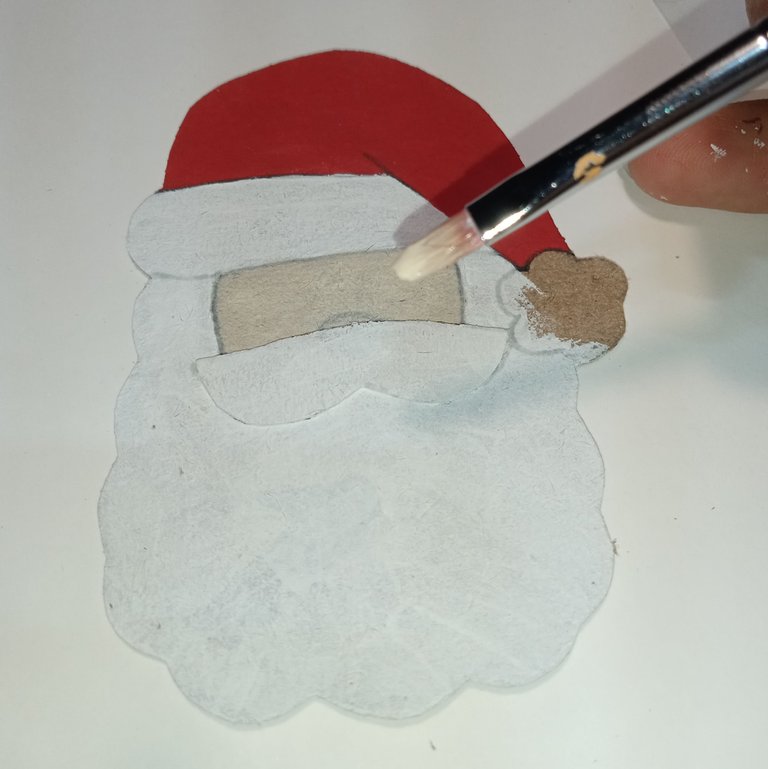
Now let's go with the white areas; the snowman's face, santa's beard and the details of his hat.
A little bit of peach color for santa's face, also black color for the snowman's hat and orange for his nose.

Step 3
We mix very little black and white to obtain a very light gray and with this we make some details in Santa's beard, his hat and mustache.
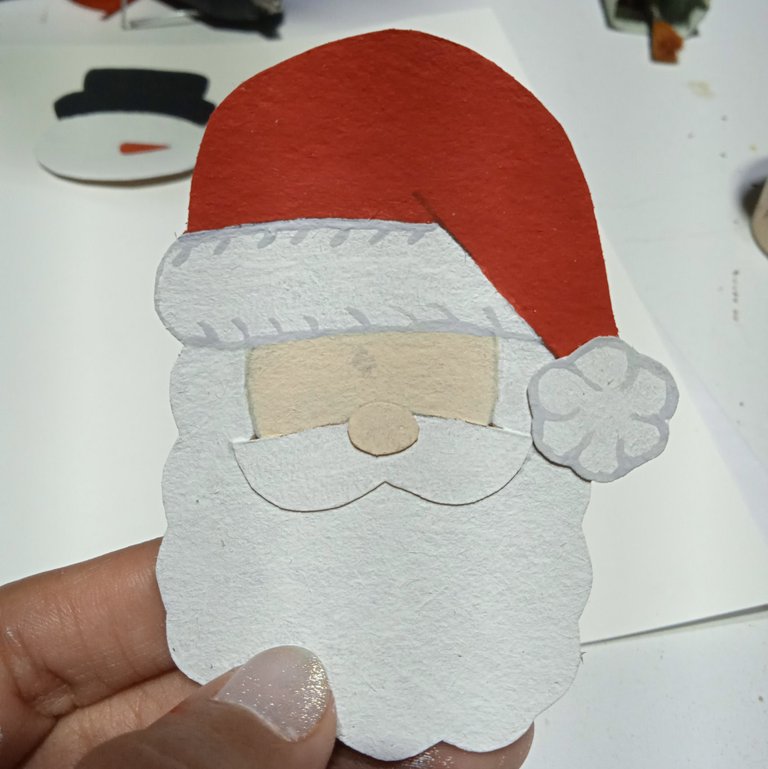
That same gray we will use on the hat to make some shadows and also around the face.
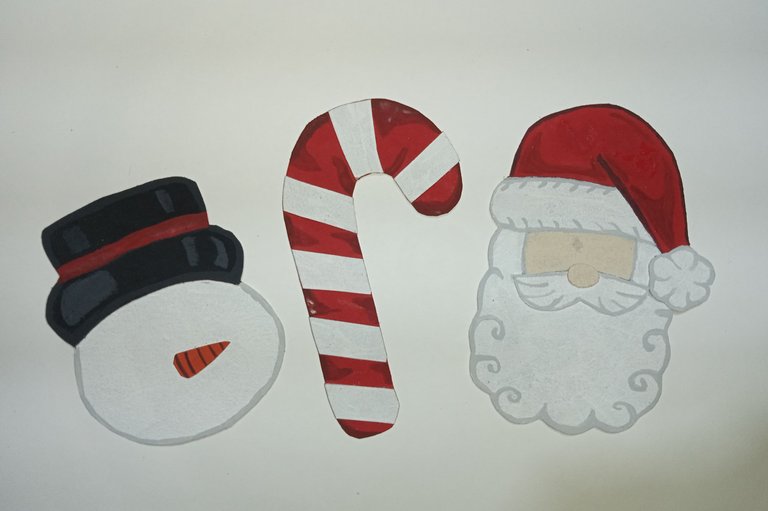
I made the shadows in the red color by mixing red with a little bit of gray.

Step 4
The final details: smile, eyes and colored cheeks.
I give them a coat of top coat to give them a glossier finish.
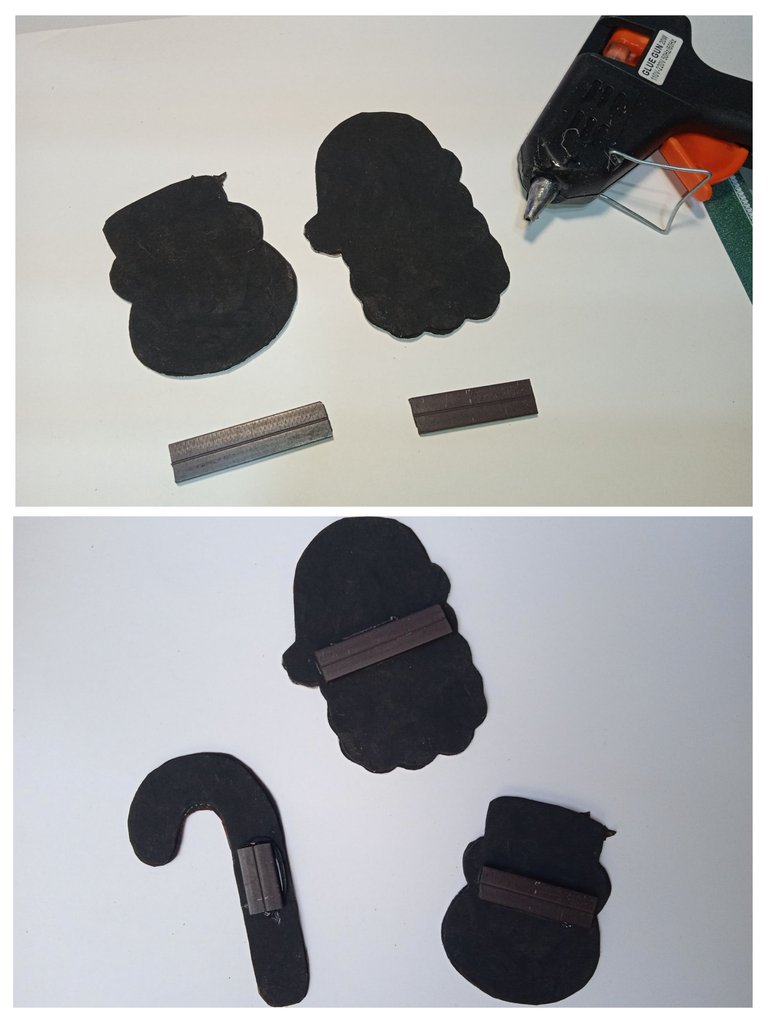
To the back of each design I put another layer of cardboard painted black, but you can also put felt. Finally we glued the magnet to be able to use them ✌🏼
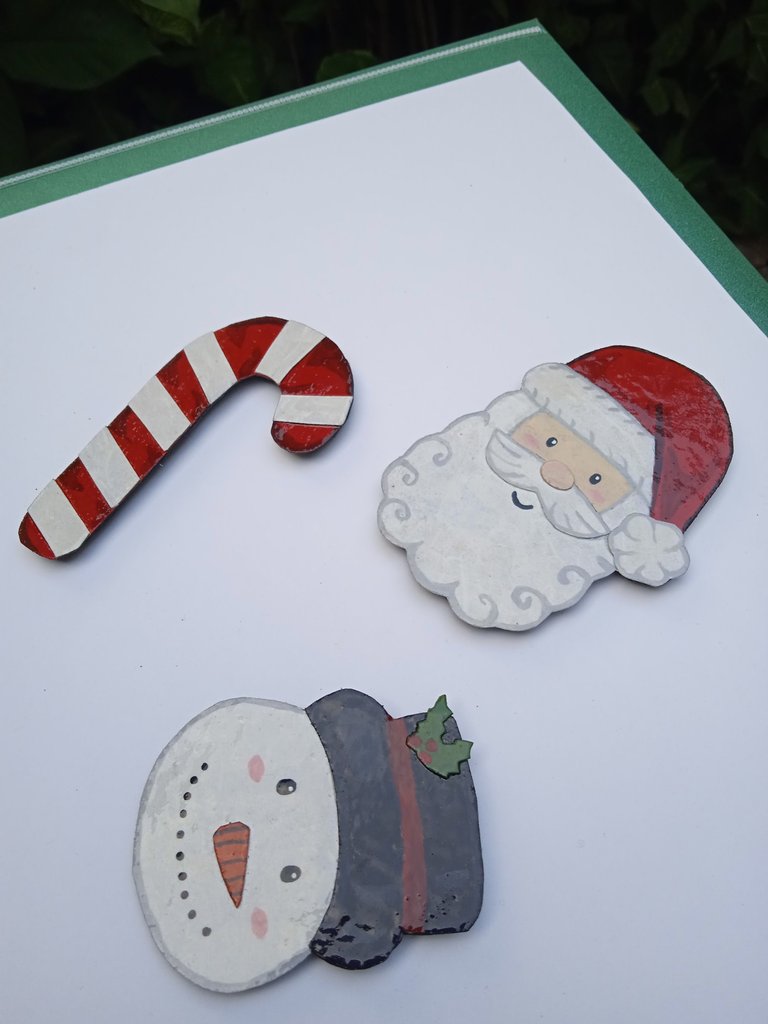
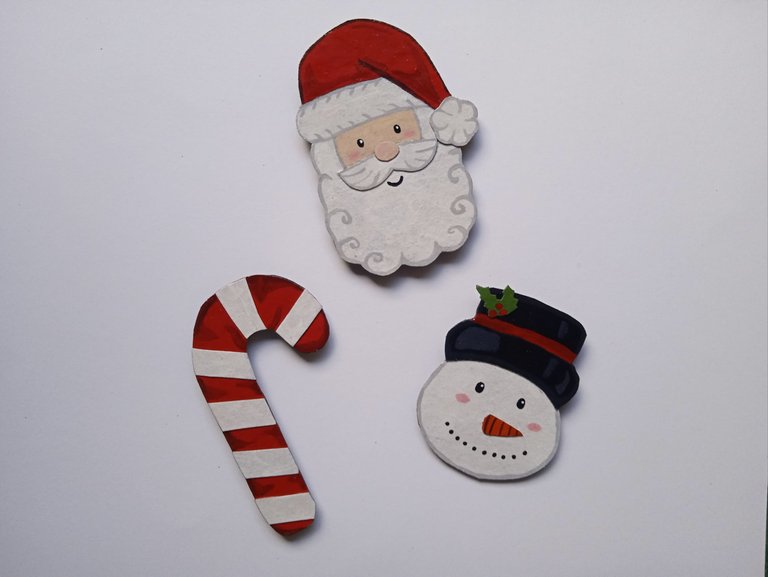
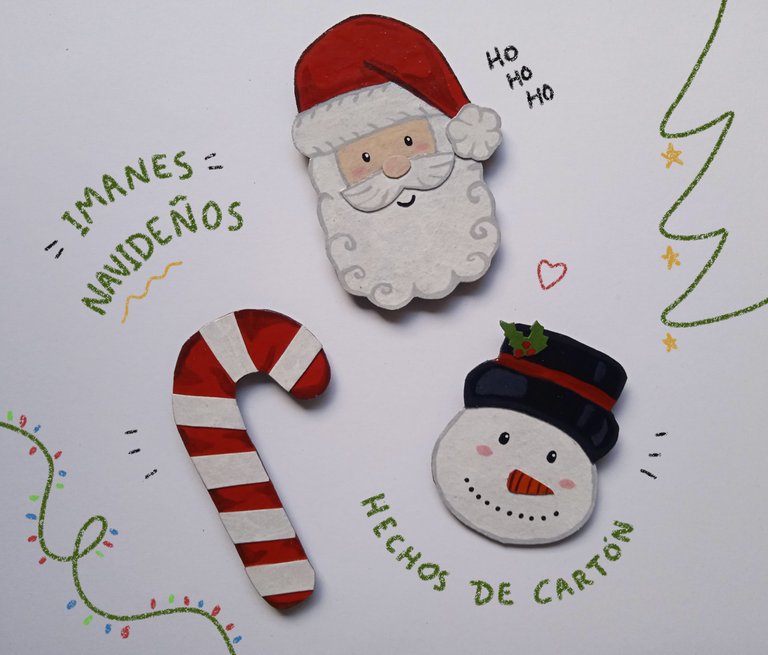
This is how beautiful they look 😊 would you believe that before it was only cardboard? And we didn't have to order them by catalog ⛄ I'm sure that my dear @torre-alba also has very cool ideas with a Christmas theme, I'm telling you, get active!
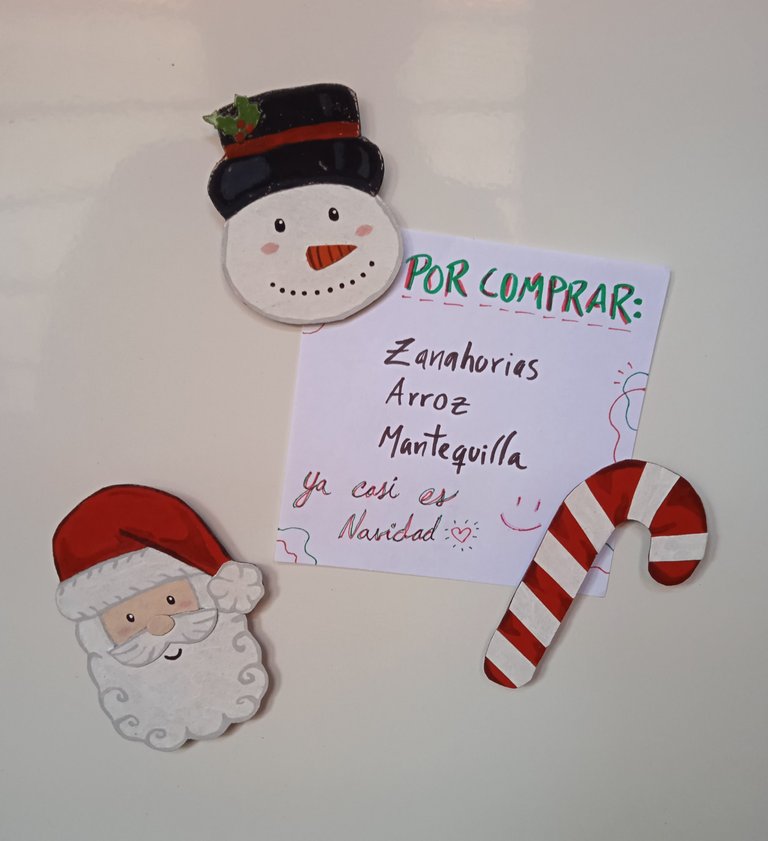
See you in another post with more ideas 🐝 happy day!
Credits
- Translated at DeepL.
- Photos edited with IbisPaint X.

¡Saludos a todos! ✌🏼 Comienza la cuenta regresiva para el mes de diciembre, un mes lleno de brillo, luces de colores y adornos hermosos. Pues las vitrinas de las tiendas llenan la atmósfera de escarcha y arbolitos llenos de regalos.
Si somos conscientes ☝🏼 para renovar el arsenal de decoración necesitaríamos bastante fuerza. 😅💲Por eso creo que la Navidad es como un trampolín creativo, se puede hacer de todo. Reciclando lo que ya tenemos o invirtiendo muy poco, podemos crear las cosas más bonitas, no hay ninguna limitación, o sea cualquier idea es válida.
Les cuento que en mi casa había la costumbre de poner adornos hasta en la nevera 😅 mi mamá se la pasaba comprando por catálogos y al llegar diciembre, pues había de todo con temática navideña. Ya se imaginan todos los imanes navideños que mi mamá podía comprar. Mi mamá los guardó por años, pero llegó un momento en donde simplemente el color ya estaba pálido y el plástico muy débil, así que pasaron a mejor vida.
Y como yo siempre quiero poner manos a la obra a la hora de obsequiar algo, les enseñaré como pueden realizar estos imanes navideños para la nevera. Estaré usando una lámpara para manicura y el top coat que se emplea para sellar los trabajos en uñas, pero esto no es un implemento necesario, en lugar de eso pueden usar brillo al agua o pega.
Estos son los materiales:
- Cartón.
- Tijera.
- Pega.
- Pistola de silicona.
- Imanes.
- Pintura al frío en color: blanco, azul, naranja, negro, rojo, verde y durazno.
- Lámpara para manicura.
- Top coat.


Paso 1
Hora de dibujar... más abajo estaré dejando el boceto que pasaremos al cartón, después de haber dibujado cada pieza, recortamos.
Las franjas del caramelo se hacen recortando una tira de cartón que simplemente se pega al caramelo.


Pueden imprimir el diseño en el tamaño que quieran, para darles una idea del tamaño que yo elegí; cada diseño cabe dentro de una carta de poker.

Paso 2
Pegamos las piezas correspondientes a cada personaje y las franjas del caramelo las pegaremos luego de pintarlo.

El gorro de santa y el caramelo son de color rojo, así que comenzaremos pintando esto.

Ahora vamos con las zonas de color blanco; la cara del hombre de nieve, la barba de santa y los detalles de su gorro.

Un poquito de color durazno para la cara de santa, también color negro para el sombrero del hombre de nieve y naranja para su nariz.


Paso 3
Mezclamos muy poco negro y blanco para obtener un gris muy claro y con este hacer unos detalles en la barba de santa, su gorro y bigote.


Ese mismo gris lo usaremos en el sombrero para hacer unas sombras y también alrededor de la cara.
Las sombras en el color rojo las hice mezclando rojo con un poquito de gris.

Paso 4
Los detalles finales: sonrisa, ojos y cachetes colorados.

Les doy una capa de top coat para que tengan un acabado más brillante.


A la parte de atrás de cada diseño le puse otra capa de cartón pintada de color negro, pero también puedes poner fieltro. Por último les pegamos el imán para poder usarlos ✌🏼
Así han quedado de bonitos 😊 ¿podrías creer que antes solo era cartón? Y no tuvimos que encargarlos por catálogo ⛄ estoy segura de que mi querido @torre-alba también tiene ideas muy chéveres con temática navideña, desde ya le digo ¡actívate!


Nos vemos en otro post con más ideas 🐝 ¡feliz día!

Créditos
- Traducido en DeepL.
- Fotos editadas con IbisPaint X.
Posted Using InLeo Alpha
Muy lindos. Bendiciones 😘.
Gracias ✨
Hola mi bella, están muy lindos estos imanes decorativos para utilizarlos en estas venideras fechas navideñas.
Gracias por dejarnos esta bonita idea, con un paso a paso fácil de seguir.
!discovery 35
Muchas gracias ☺️🤗, les puse espíritu navideño para ver si atraemos en casa prosperidad, armonía y abundancia para el 2025 ✌🏼✨
This post was shared and voted inside the discord by the curators team of discovery-it
Join our Community and follow our Curation Trail
Discovery-it is also a Witness, vote for us here
Delegate to us for passive income. Check our 80% fee-back Program
What beautiful decorative magnets you leave us today. A great and easy idea to make for this coming Christmas. Thank you for letting us know your creative process.
Thank you for always supporting with a nice comment ✌🏼✨ and now is that there are missing crafts to do 😁.
Thank you! ✌🏼
Qué idea tan práctica, fácil y muy bonita para decorar la nevera. Me encantaron, te felicito porque quedaron hermosos. Saludos.
¡Muchísimas, gracias!🤗⛄ Sí está súper fácil y se pueden hacer tantos como uno quiera 🤭
Hermoso y creativo, me gustó 😉🤶🏽
Gracias! 🤗 La navidad ya está llegando a Hive 😁
Una belleza y ligera en ejecución jejejeje, bueno vamos a ver qué se proyecta por aquí en el atelier!!