✨¡Hola amigos amantes de la creatividad! Espero que estén todos bien.✨
🔸Sin más que añadir, a continuación los dejo con el paso a paso:
✨¡Hello friends who love creativity! I hope you are all well.✨
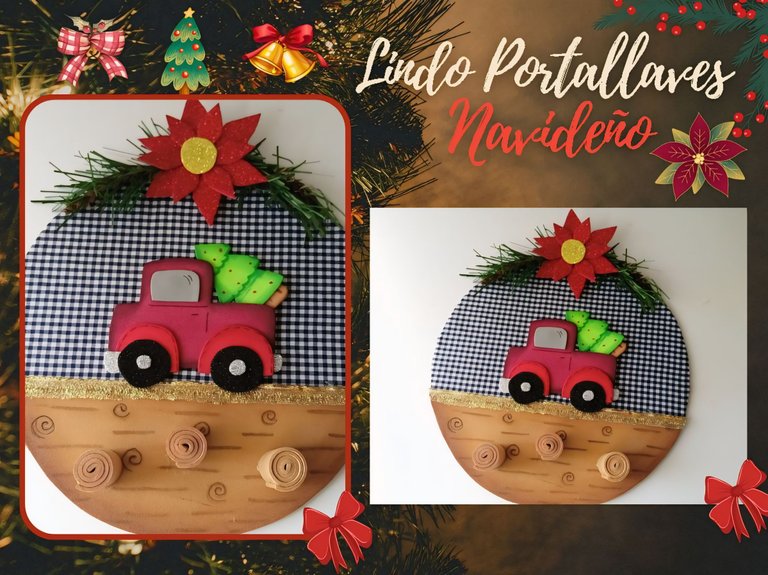
Good afternoon, friends! I hope you are having a great week. For my part, I'm happy to stop by and share a new creation with you. This time I share with you the step by step to make a nice Christmas themed key holder idea. A few months ago I made a key holder for the home and while I was making the list of Christmas ideas for this year, I remembered that I had never made a Christmas themed key holder, so I got a little creative and came up with this beautiful idea.
I wanted to make something fairly simple, with materials that most of us have on hand, but they are also fairly inexpensive materials.
🔸Without more to add, then I leave you with the step by step:
♥️ESPERO QUE TE GUSTE,
¡Empecemos!
♥️I HOPE YOU LIKE IT,
Let's start!

✂️ MATERIALES | ✂️ MATERIALS

Cartón delgado.
Tela del color deseado.
Foami escarchado plateado, dorado, negro y rojo.
Foami marrón, rojo, gris y verde.
Pinturas y marcadores.
Guirnalda.
Cinta delgada.
Hoja blanca.
Tijeras.
Regla.
Lápiz.
Thin cardboard.
Fabric of the desired color.
Silver, gold, black and red frosted foami.
Brown, red, gray and green foami.
Paints and markers.
Garland.
Thin ribbon.
White sheet.
Scissors.
Ruler.
Pencil.

🌟 PROCEDIMIENTO | 🌟 PROCESS

✨PASO 1:
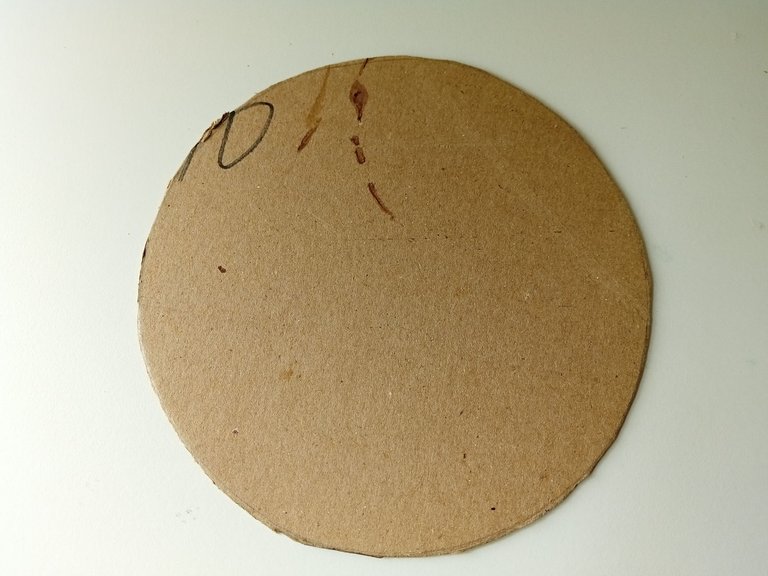
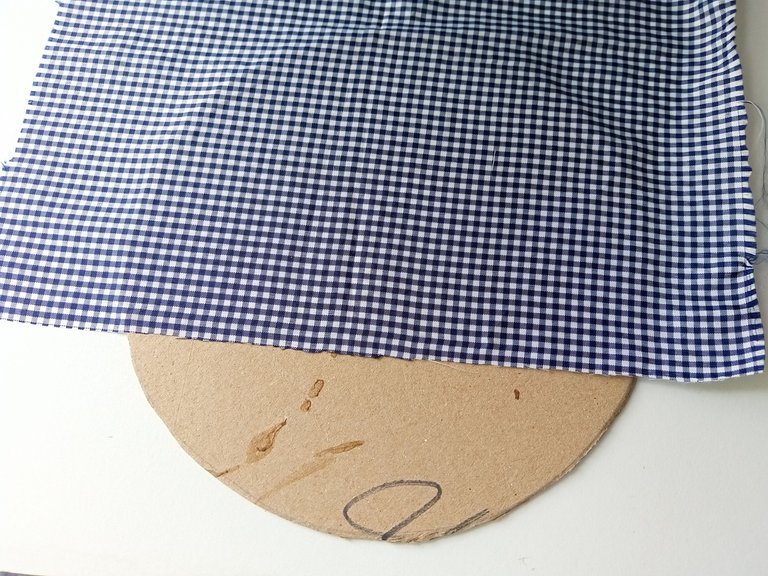
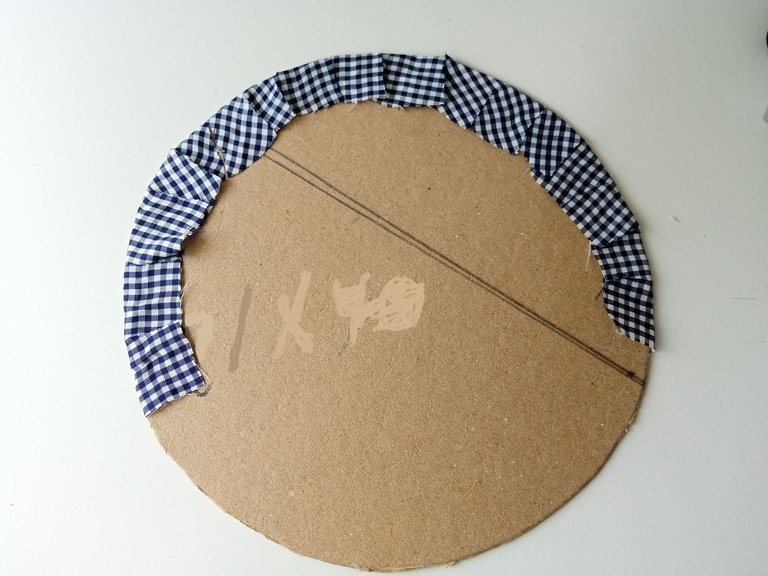
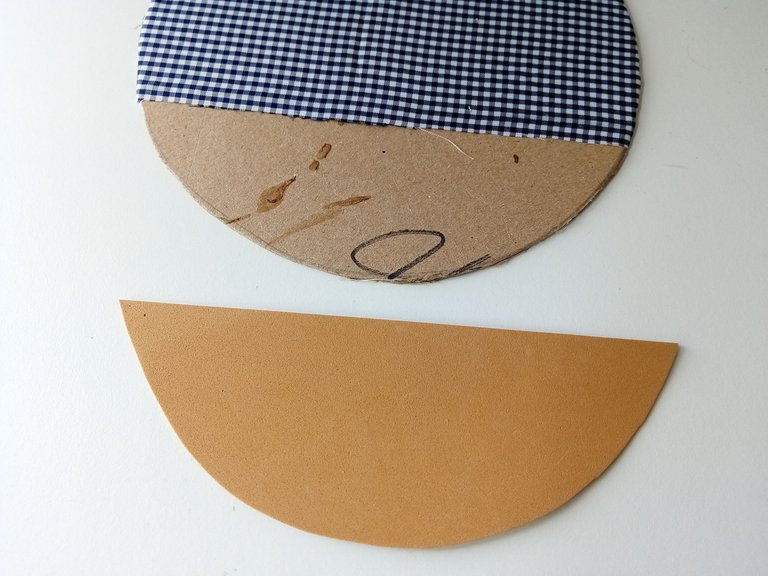
Lo primero que hice fue trazar y recortar en cartón delgado (pueden utilizar el cartón de su preferencia), la base del colgante, que en este caso las medidas fueron de un plato medianamente pequeño de 20 cm de circunferencia. Luego de recortar, tomé la tela para forrar un poco más de la mitad del círculo, recorté dejando un borde de 2 cm, para luego pegar el sobrante a la parte de atrás de la base.
📌Si desean, para que la parte trasera quede más prolija, pueden recortar y pegar cartulina a la parte trasera y cubrir.
✨STEP 1:
The first thing I did was to trace and cut in thin cardboard (you can use the cardboard of your preference), the base of the pendant, which in this case the measurements were of a medium-small plate of 20 cm in circumference. After cutting, I took the fabric to line a little more than half of the circle, I cut leaving a border of 2 cm, and then glued the excess to the back of the base.
📌If you wish, to make the back a little neater, you can cut out and glue cardboard to the back and cover.

 |  |  |

✨PASO 2:
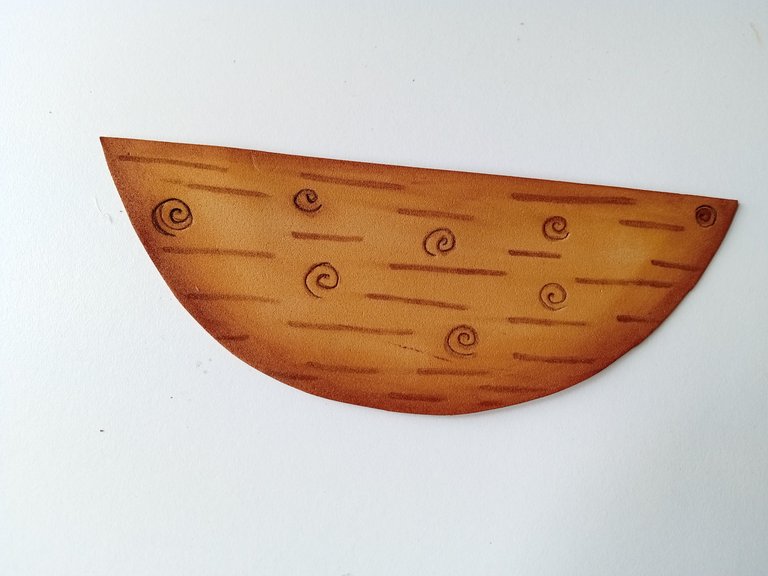
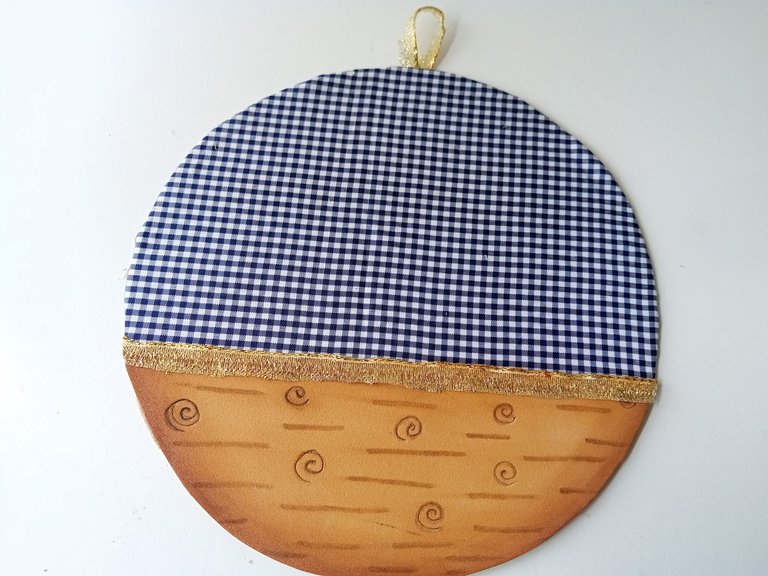
Seguidamente, tomé las medidas del sobrante de la base, recorté foami marrón con estas medidas, di color a los bordes con pintura marrón y dibujé la madera con marcador marrón. Además, remarqué por encima con marcador negro y al estar seco, pegué a la base. En la parte superior, pegué la cinta para colgar y en medio de ambas divisiones de la tela y el foami, también pegué de la misma cinta.
✨STEP 2:
Next, I took the measurements of the excess of the base, cut out brown foami with these measurements, colored the edges with brown paint and drew the wood with brown marker. I also outlined the top with black marker and when it was dry, I glued it to the base. At the top, I glued the ribbon for hanging and in the middle of both divisions of the fabric and the foami, I also glued the same ribbon.

 |  |  |

✨PASO 3:
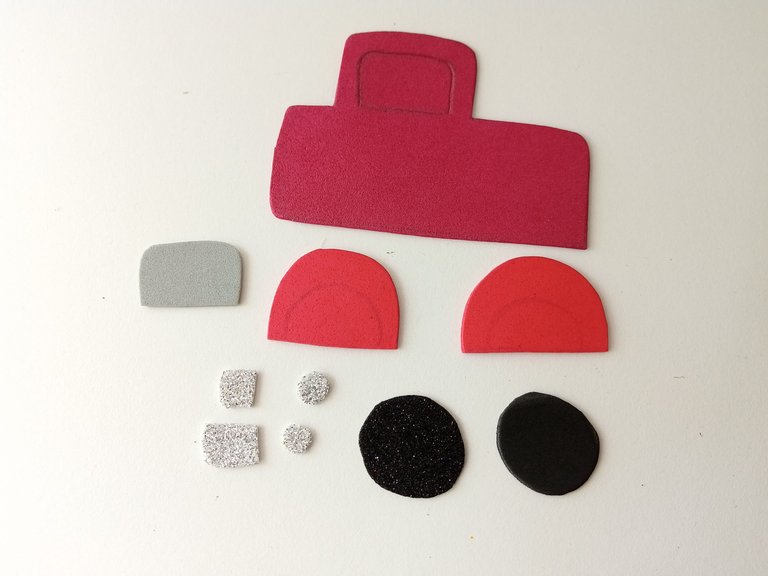
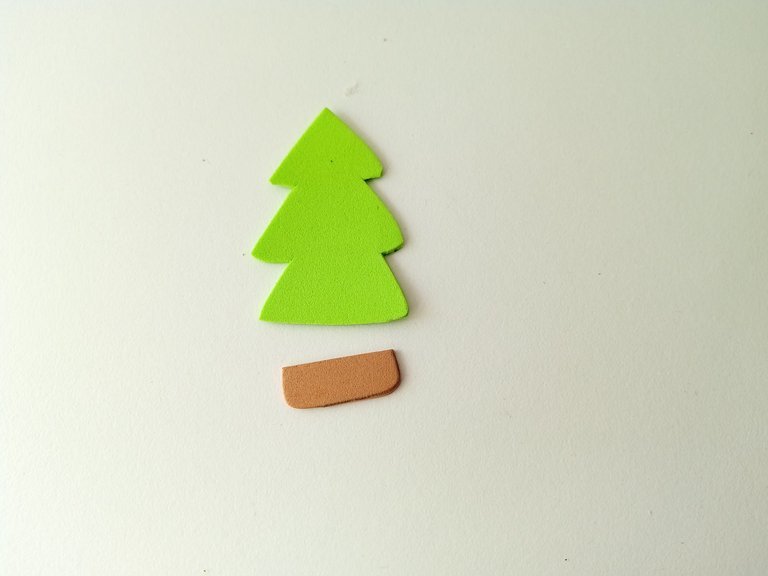
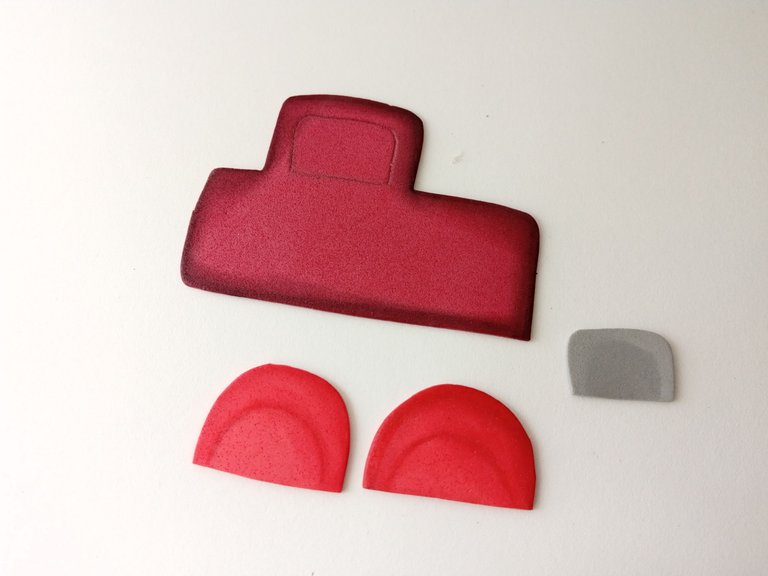
Ahora vamos con la decoración, en este caso quise elaborar una camioneta para que en la parte trasera llevara un árbol de Navidad. Al tener la idea y buscar un dibujo que coincidiera, dibujé el patrón en una hoja blanca y luego transferí cada una de las piezas a los colores correspondientes de foami, como explico a continuación:
Para la camioneta:
- Cuerpo de la camioneta en foami rojo.
- Ruedas en foami escarchado negro.
- Ventana en foami gris o el reverso del plateado escarchado.
- Pequeños detalles en foami plateado.
Para el árbol:
- Pino en foami verde.
- Tronco en foami marrón.
✨STEP 3:
Now let's go with the decoration, in this case I wanted to make a truck with a Christmas tree on the back. Having the idea and looking for a matching pattern, I drew the pattern on a white sheet and then transferred each of the pieces to the corresponding colors of foami, as I explain below:
For the truck:
- Body of the truck in red foami.
- Wheels in black frosted foami.
- Window in gray foami or the back of the silver frosted foami.
- Small details in silver foami.
For the tree:
- Pine tree in green foami.
- Trunk in brown foami.

 |  |

✨PASO 4:
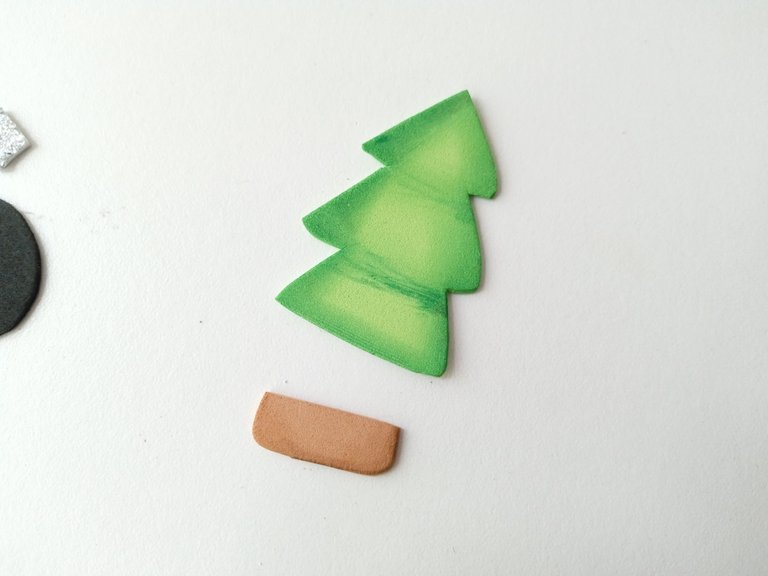
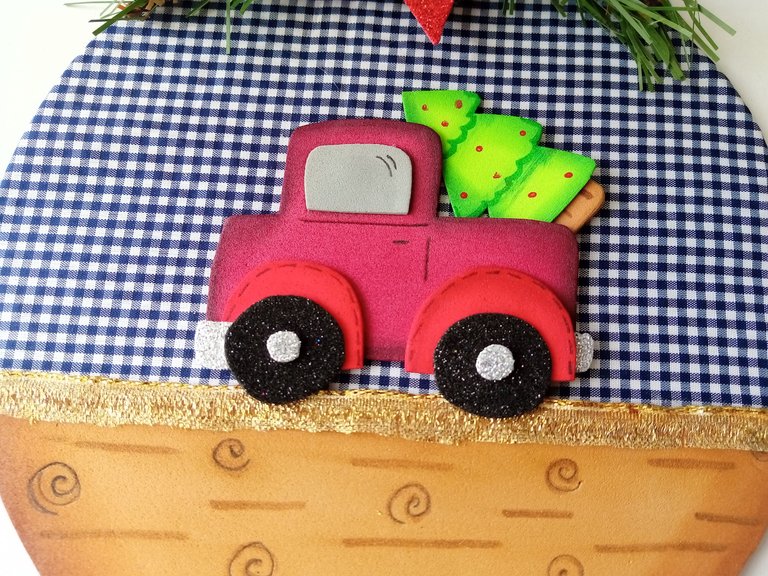
Al tener todas las piezas recortadas, llegó el momento de dar color a los bordes con pinturas que hagan contraste o que resalten cada pieza. Luego, dejé secar y di más detalles para definir con marcadores algunas partes del auto y aún más al pino. Seguidamente, pegué hasta formar la decoración y pegué en el centro del colgante.
✨STEP 4:
Once I had all the pieces cut out, it was time to color the edges with contrasting or highlighting paints for each piece. Then, I let it dry and gave more details to define with markers some parts of the car and even more to the pine tree. Next, I glued to form the decoration and glued in the center of the pendant.

 |  |  |

✨PASO 5:
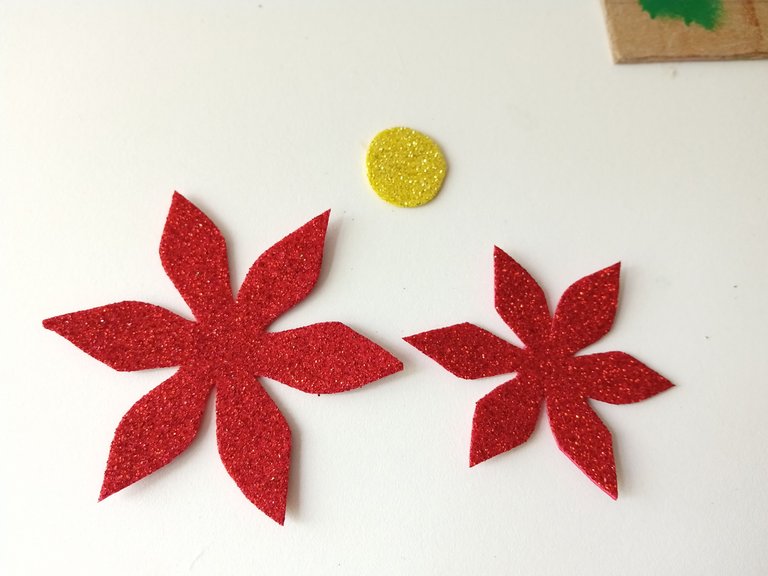
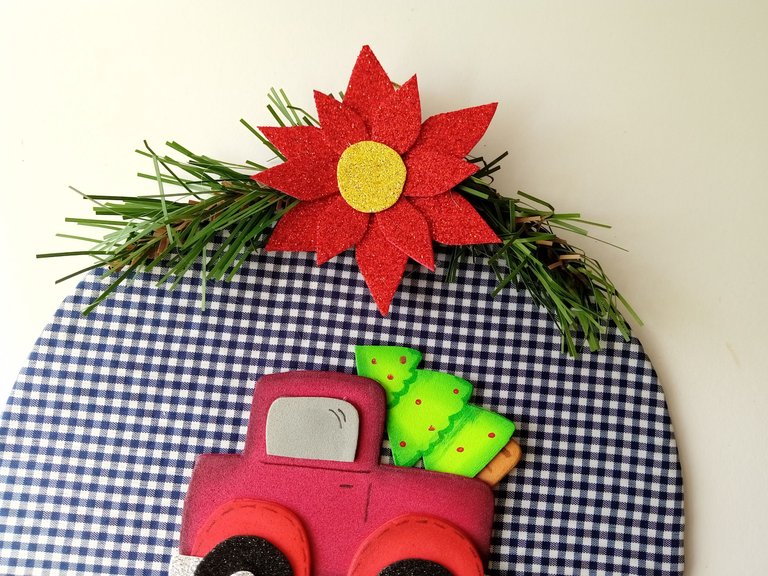
Para agregar más decoración, recorté dos flores de distinto tamaño y el centro en foami escarchado dorado. Seguidamente, uní las piezas hasta formar la flor y pegué en la parte superior junto con un trozo de guirnalda, dejando en medio la flor.
✨STEP 5:
To add more decoration, I cut out two flowers of different sizes and the center in gold frosted foami. Next, I joined the pieces together to form the flower and glued on top along with a piece of garland, leaving the flower in the middle.

 |  |

✨PASO 6:
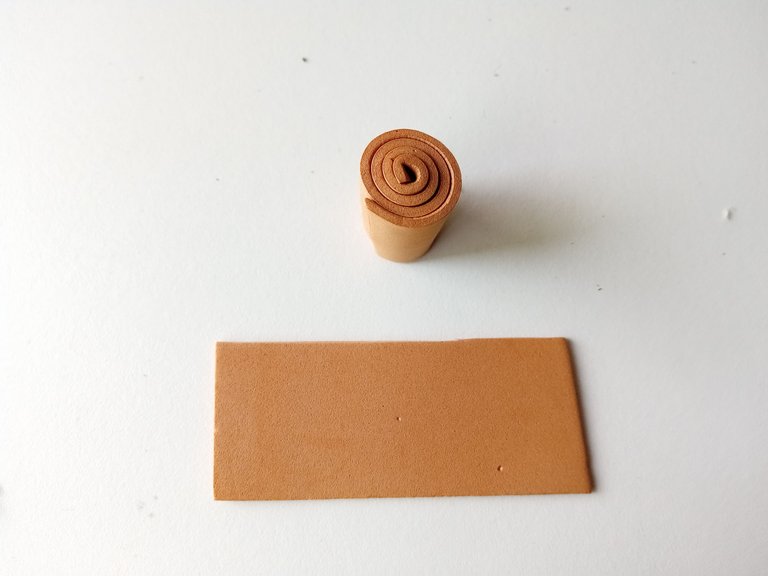
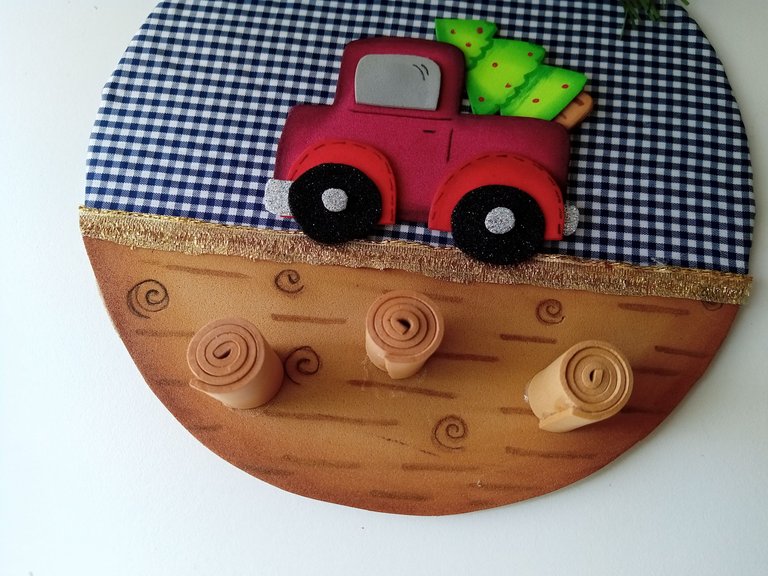
Seguidamente, recorté 3 tiras de 7 cm x 3 cm en foami marrón, enrollé cada una individualmente y pegué en el orden deseado a la parte baja del colgante, para poder colgar las llaves.
✨STEP 6:
Next, I cut 3 strips of 7 cm x 3 cm in brown foami, rolled each one individually and glued in the desired order to the bottom of the pendant, to hang the keys.

 |  |

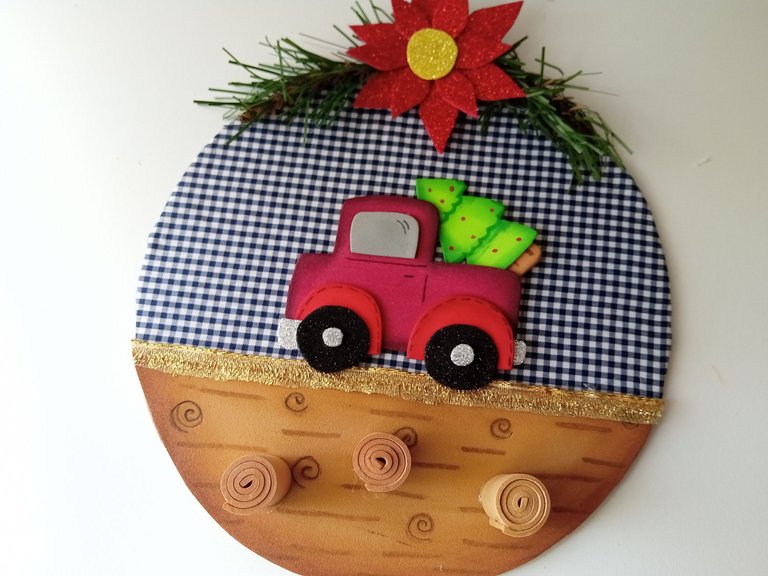
✨And that's it folks, this is how you can make a nice Christmas themed key holder or whatever theme you want. The truth is that I am proud of how cute it turned out, I even think it is one of my favorite decorations this year, although I think I have said the same thing every week haha. I hope you liked the step by step and I encourage you to elaborate it.
❤️Until the next post.

✨RESULTADO: | ✨RESULT:



Todas las fotografías son de mi propiedad.
Separador y Fotos editadas en Canva
All photographs are my property.
Photos edited in Canva
Posted Using InLeo Alpha
Hermoso trabajo como todos los que nos regalas.
Feliz inicio de la navidad...
!discovery 40
Muchas gracias bella! Me alegra mucho que te haya gustado, y gracias por tan lindas palabras.
Feliz comienzo de la navidad 💕
Me encanta este porta llaves navideño, quedó espectacular ese carro llevando atrás un árbol
Gracias Ami bella! Me alegra que te haya gustado 💕
Hola ami bella, te ha quedado preciosa, me encantó la idea de que el carro llevará el árbol atrás❤️, súper lindo Ami
Hola mi Yage! Me alegra que te haya gustado 🤭. Una ideita para que hasta el lugar de las llaves esté decorado jaja 💕
Amiga que ingenioso esto de enrollar el foami para hacer la percha, además se ve hermoso!!
Lo otro es la importancia de los detalles, las piezas por sí solas no se ven lindas pero al poner las sombras bordes y luces es otra cosa!
Bello bellísimo
Si Ami, además si soporta las llaves 🤭💕. Totalmente Ami, le da más vida a las piezas lisas de foami .
Gracias preciosa.💕
The key holder that leaves us with this Christmas theme is beautiful. Thank you for your step-by-step and very thorough creative process. Happy start to Christmas.
Thank you so much! I'm so glad you liked it so much. Happy start to Christmas 🤭💕🎄
Muchas gracias por el apoyo amigos 💕
This post was shared and voted inside the discord by the curators team of discovery-it
Join our Community and follow our Curation Trail
Discovery-it is also a Witness, vote for us here
Delegate to us for passive income. Check our 80% fee-back Program
Muchas gracias por apoyar mi contenido 💕🎄✨
Amiga ese portallaves está demasiado bello y por supuesto útil! Me encanta que siempre haces cosas tan bonitas! 💯🥰
Qué linda amiga! Agradezco tu lindo comentario y que siempre te gusten mis creaciones 💕✨
Ay no que cuchitura amiii😍😍 me encanta la idea del carrito llevando el arbol jeje
Congratulations, your post has been curated by @dsc-r2cornell. You can use the tag #R2cornell. Also, find us on Discord
Felicitaciones, su publicación ha sido votada por @ dsc-r2cornell. Puedes usar el tag #R2cornell. También, nos puedes encontrar en Discord
Muchas gracias por el apoyo amigos 💕✨
Se ve demasiado lindo, me encanto la camioneta cargando el árbol, es una idea que conquista, todo quedo de ternura.💗😘
Muchísimas gracias! Que bonito que te haya gustado tanto , agradezco mucho tus palabras. Saludos bella! 💕✨
Gracias bella.
¡Saludos!!🙂
Ay nooo, que belleza! Me encanto la idea mi Valen, nunca había visto un porta llaves así antes con esa temática o tipo de decoración, me parece bastante original y hermoso 😍❤️