✨🎄¡Hola amigos amantes de la creatividad! Espero que hayan pasado un muy buen comienzo de semana.🎄✨
🔸Sin más que añadir, a continuación los dejo con el paso a paso:
✨🎄¡Hello friends who love creativity! I hope you had a very good start to the week.🎄✨
I hope you are doing well and that you had a wonderful holiday and a very happy new year, friends. On this occasion I share with you the step by step of a beautiful letter for Three Kings Day. I know that in Venezuela people do not usually write letters or ask for a gift on Three Kings' Day, or at least in my case, it was never like that, but I know that in other countries it is usually done and that is why the idea occurred to me. to prepare a beautiful letter, related to this celebration that also leads us to share a moment of love and family unity in many homes. I wanted to make something simple, with few materials and to color a little, which you will know I really like doing.
🔸Without more to add, then I leave you with the step by step:
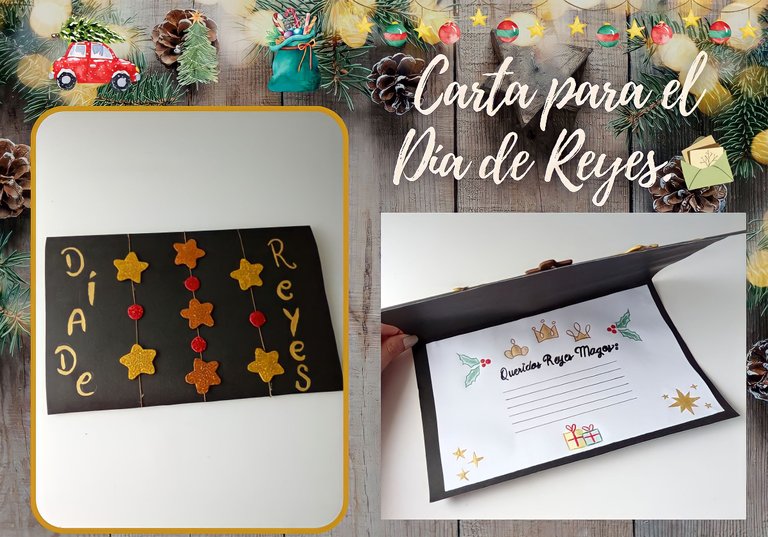
♥️ESPERO QUE TE GUSTE,
¡Empecemos!
♥️I HOPE YOU LIKE IT,
Let's start!

🎄 MATERIALES | 🎄 MATERIALS

- Cartulina negra.
- Cartulina u hoja blanca.
- Foami escarchado dorado.
- Marcadores o colores.
- Hilo grueso.
- Pegamento.
- Regla.
- Lápiz.
- Black cardboard.
- Cardboard or white sheet.
- Gold frosted foam.
- Markers or colors.
- Thick thread.
- Glue.
- Ruler.
- Pencil.

🎄 PROCEDIMIENTO | 🎄 PROCESS

- PASO 1:
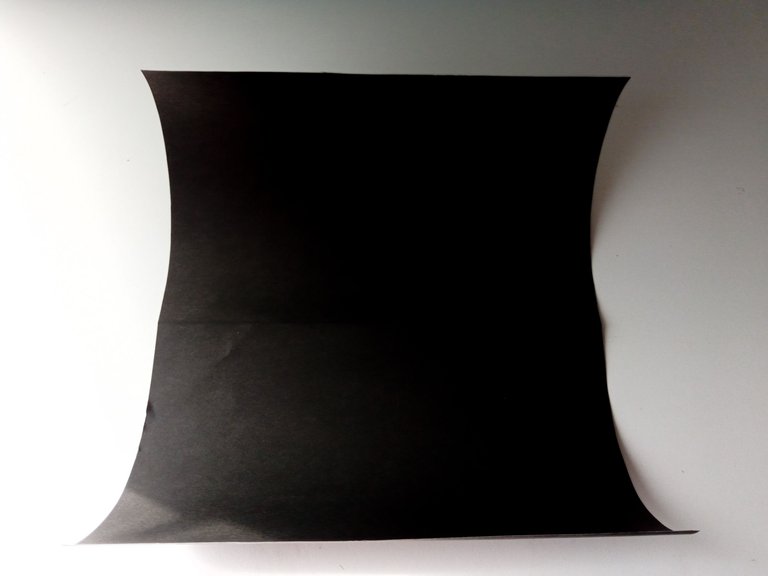
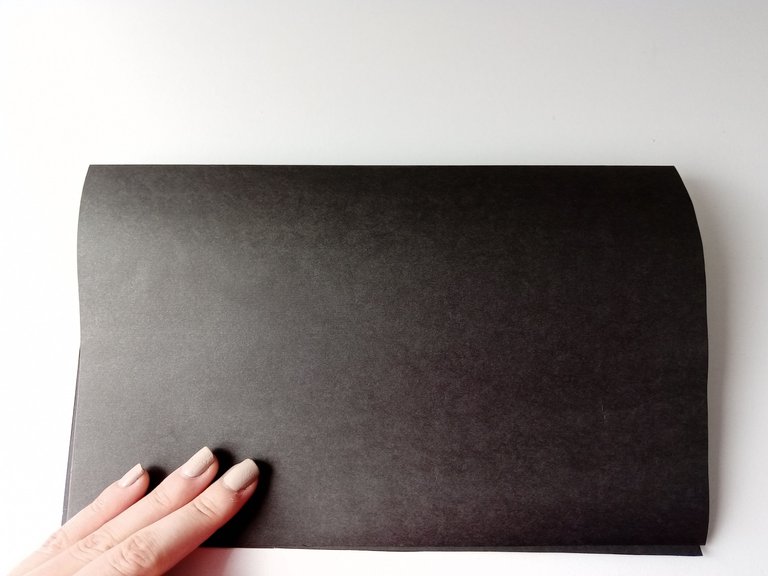
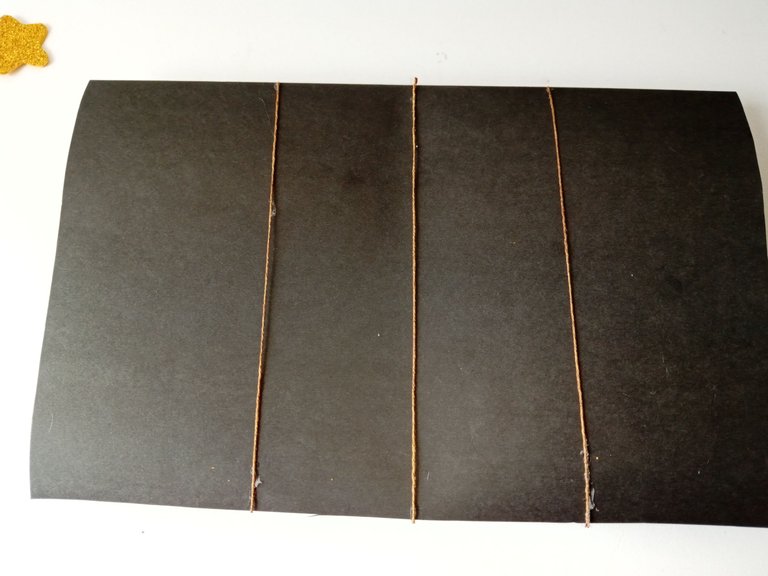
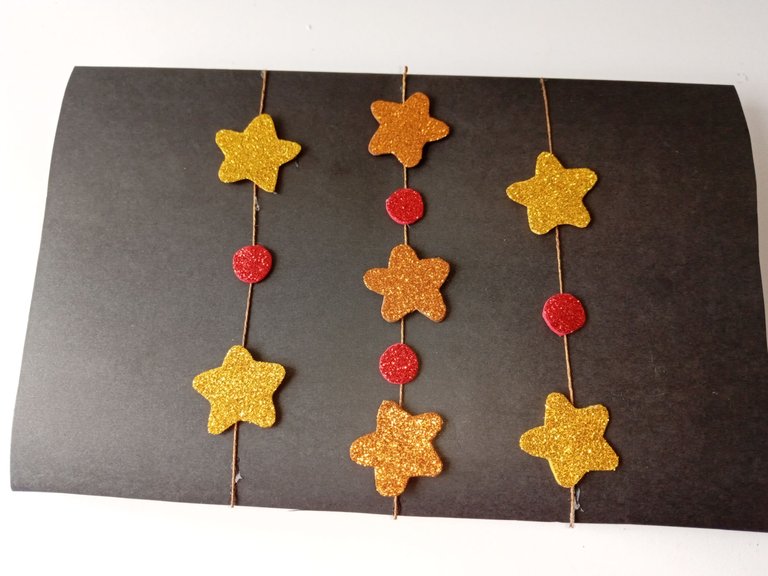
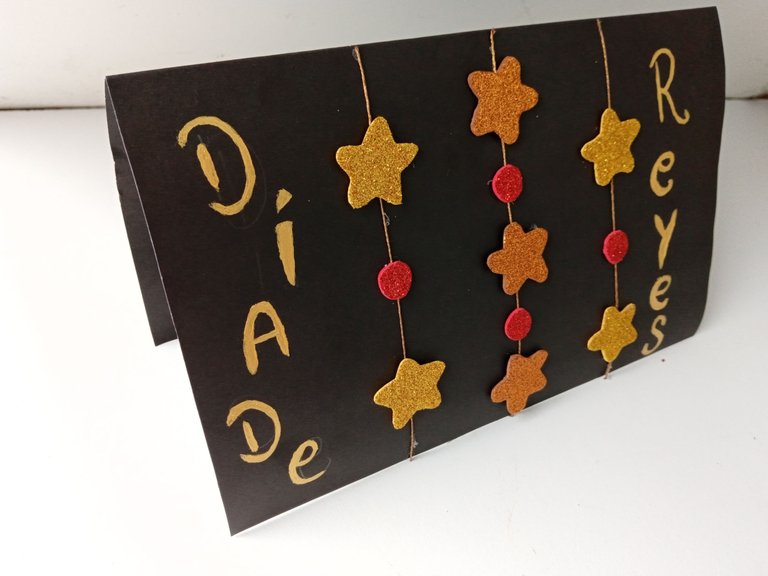
Lo primero que hice fue la tapa y parte trasera de la tarjeta. Comencé trazando las medidas que quería para la tarjeta y estas medidas fueron: 30 cm x 23 cm. Recorté y doble a la mitad la parte más larga de 30 cm, ya que esta carta es horizontal. Luego, pegué 3 tiras de hilo justo en medio de la tarjeta, dejando un espacio de separación entre cada una; primero pegué la de en medio y de ahí me guié para pegar las otras 2 tiras.
- STEP 1:
The first thing I did was the cover and back of the card. I started by tracing the measurements I wanted for the card and these measurements were: 30 cm x 23 cm. I cut and folded the longest part of 30 cm in half, since this card is horizontal. Then, I glued 3 strips of thread right in the middle of the card, leaving a space between each one; First I glued the middle one and from there I was guided to glue the other 2 strips.


- PASO 2:
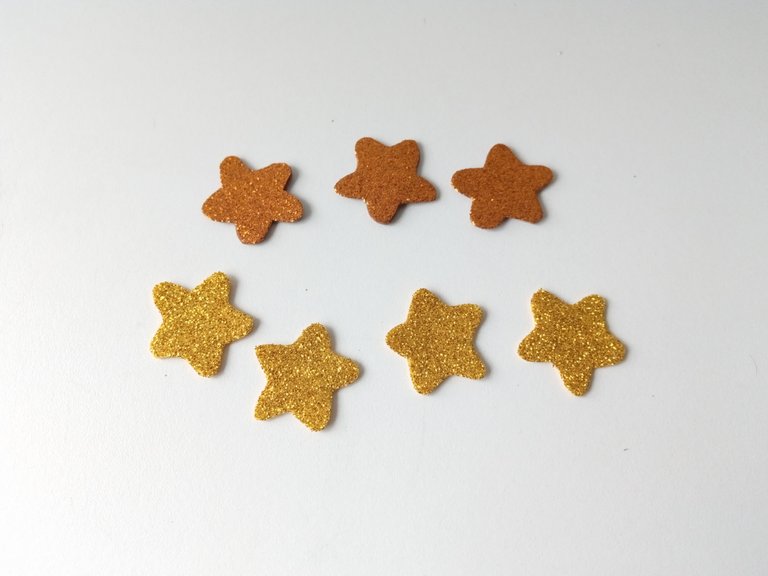
Después, dibujé y recorté, en foami dorado y cobrizo escarchado, 7 estrellas de unos 2.5 cm cada una (puedes elaborarlas de ambos colores o el color que desees). Una vez listas las estrellas, pegué de los hilos en el orden deseado. En mi caso, pegué 3 de un mismo color en medio y 2 en los hilos laterales, dejando espacio de separación entre todas las estrellas. También, recorté círculos rojos para pegarlos entre los espacios vacíos de las estrellas, pero puedes colocar perlas o lo que desees.
- STEP 2:
Then, I drew and cut out, in gold and frosty copper foam, 7 stars of about 2.5 cm each (you can make them in both colors or the color you want). Once the stars were ready, I glued the threads, in the desired order. In my case, I glued 3 of the same color in the middle and 2 on the side threads, leaving space between all the stars. Also, I cut out red circles to glue between the empty spaces of the stars, but you can put pearls or whatever you want.


- PASO 3:
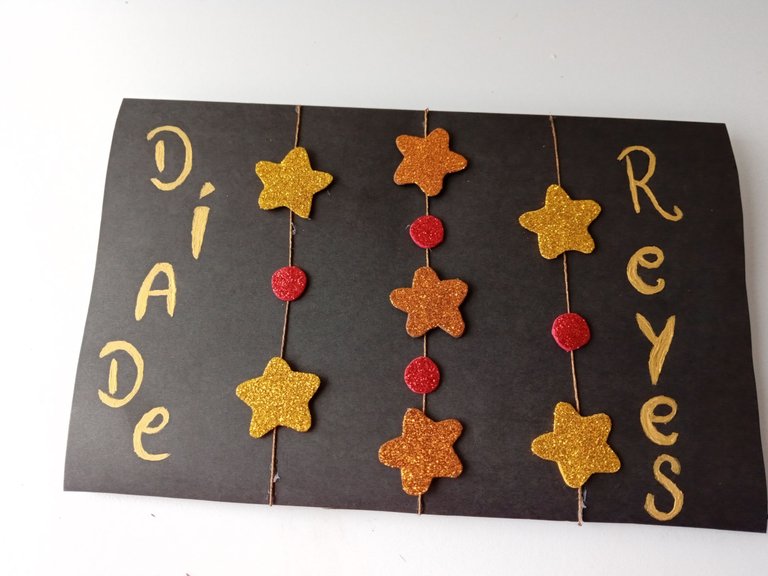
Para los laterales de la tarjeta que quedan vacíos, decidí escribir: ‘‘DÍA DE REYES’’ en lápiz y luego, con pintura dorada y un pincel delgado, remarqué cada letra, pero ustedes pueden utilizar colores o marcadores.
- STEP 3:
For the empty sides of the card, I decided to write: 'THE KINGS' DAY' in pencil and then, with gold paint and a thin brush, I highlighted each letter, but you can use colors or markers.


- PASO 4:
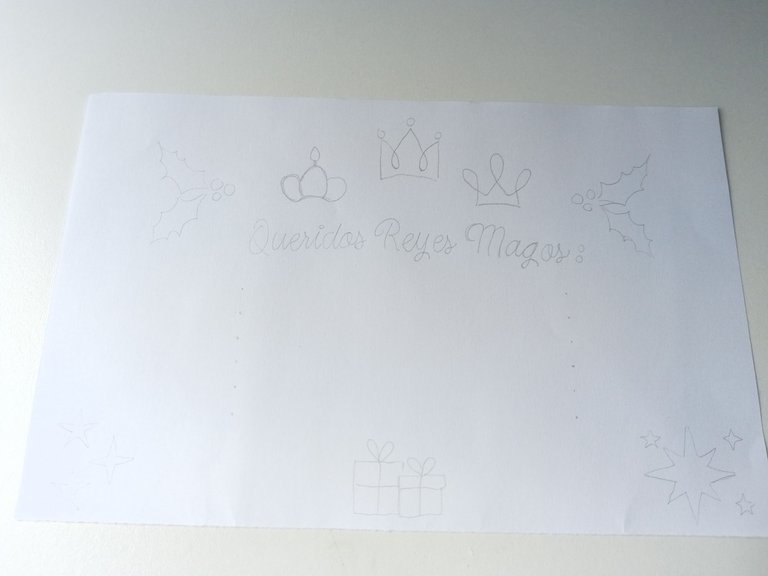
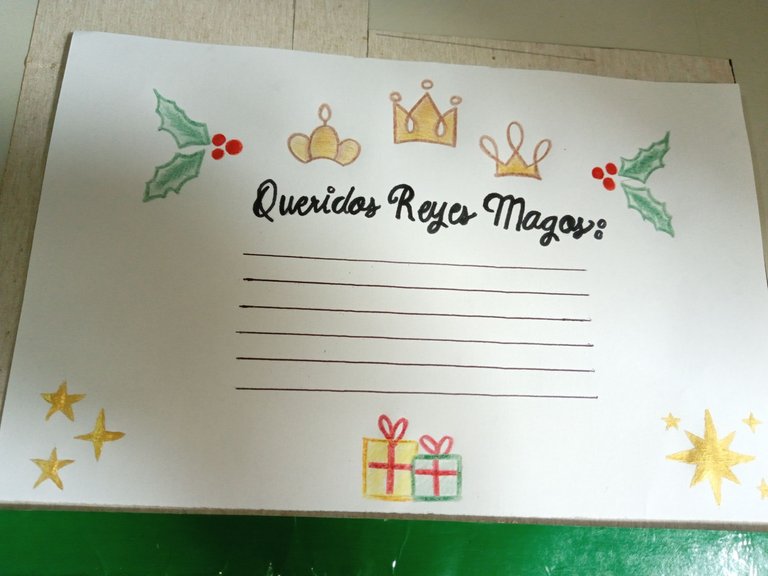
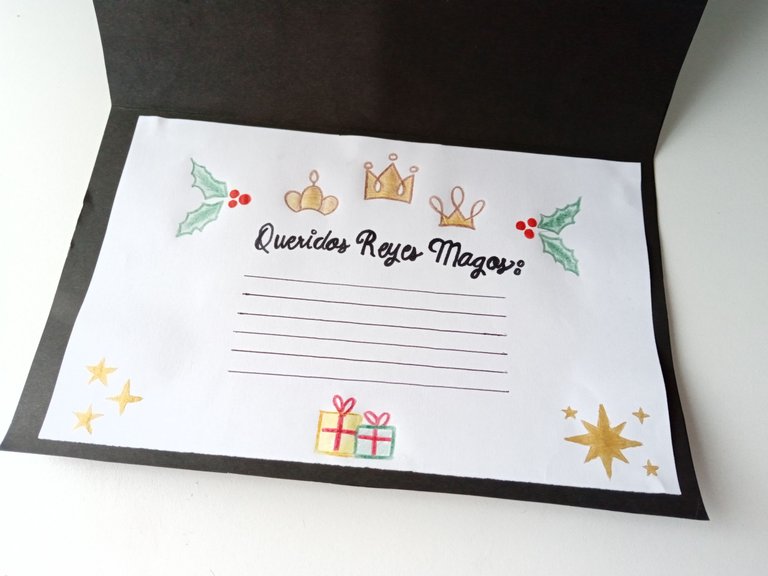
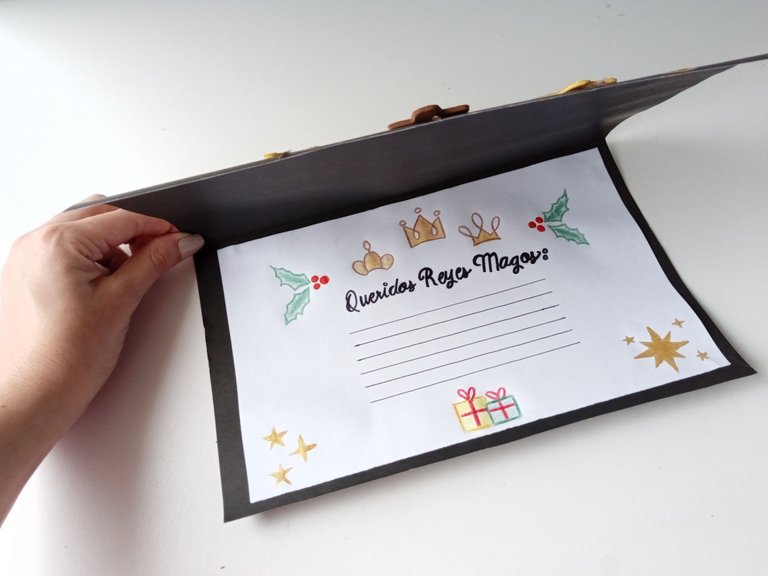
Ahora sí, vamos con la decoración del interior de la tarjeta. Tomé una hoja blanca y la recorté con las siguientes medidas: 21 cm x 14 cm. Luego, me puse creativa, así que coloqué mi hoja en horizontal y en la parte superior comencé a dibujar 3 coronas simples que se diferenciaran entre cada una. A los laterales dibujé plantas típicas navideñas y en la parte inferior, dibujé unos regalitos y a los laterales unas cuantas estrellas.
- STEP 4:
Now, let's go with the decoration of the inside of the card. I took a white sheet and cut it out to the following measurements: 21 cm x 14 cm. Then, I got creative, so I placed my sheet horizontally and on top I started to draw 3 simple crowns that differed from each other. On the sides I drew typical Christmas plants and at the bottom, I drew some gifts and on the sides a few stars.


- PASO 5:
En medio, escribí: ‘‘QUERIDOS REYES MAGOS’’ y tracé un par de líneas para que los niños puedan escribir en esa parte. Por último, coloreé y remarqué cada uno de los dibujos y palabras escritas. Para finalizar, Pegué la hoja en la parte interna de la carta.
- STEP 5:
In the middle, I wrote: ‘‘DEAR THINGS’’ and I drew a couple of lines so that the children could write in that part. Finally, I colored and highlighted each of the drawings and written words. To finish, I glued the sheet to the inside of the letter.


✨¡And ready!✨This way you can write whatever you want in this beautiful letter for the Three Wise Men, it could be a nice wish for this beautiful year that has just begun or some little detail that you want to receive. I hope you liked the step by step and are encouraged to make it with your little ones.
❤️Until the next post.

✨RESULTADO: | ✨RESULT:



Todas las fotografías son de mi propiedad.
Separador y Fotos editadas en Canva
All photographs are my property.
Photos edited in Canva
Que hermosa tarjeta con algo así los reyes deben detenerse a leerla imposible pasarlo por alto. Me encantó amiga. Saludos
Muchas gracias , amiga! Agradezco tus palabras y me alegra que ya haya gustado ☺️.
Saludos y bendiciones.
Te quedó demasiado hermosa mi Valen!!! Aquí en Colombia si se suele celebrar este día, sobre todo los más pequeños 🤗💕
Muchas gracias Ami!!! Pues aquí no es muy común, quizá a algunos niños les dan regalitos o detallitos. Que bonito que allá si lo hagan 🤭💕
Pero qué hermosa mi Valen 😍 me encantó la carta
Muchas gracias mi Eve 💗 Para que Olivia le pida algo a los reyes 🤭
Ayy que hermosa idea valen🥰🥰
Que bonita quedó me gustan las estrellitas
Tienes 20 puntos 💗🌈
Jaja muchas gracias Miri!!! Gran valoración le diste a mi carta 🤭
Me alegra que te haya gustado 💕
Yay! 🤗
Your content has been boosted with Ecency Points
Use Ecency daily to boost your growth on platform!
, by @valenpba.
Me encanta esta idea para el día de reyes. La tarjeta te quedó muy bonita ❤️
Muchas gracias, linda!! Me alegra mucho que te haya gustado.💕
Pero mi amiga cada vez crea unas preciosuras de lo más preciosa💗
Me encanta esta cartita, será que si escribo una, me traen lo que pido? Ajajaja
Muchas gracias amiga bella!!!!! Puede ser ami 🥺💕. Espero que si te lo traigan, bien merecido 😌
Congratulations, your post has been upvoted by @dsc-r2cornell, which is the curating account for @R2cornell's Discord Community. Enhorabuena, su "post" ha sido "up-voted" por @dsc-r2cornell, que es la "cuenta curating" de la Comunidad de la Discordia de @R2cornell.
Thank you very much friends 💗 Happy new year✨
Ami que belleza de carta 😍 Es verdad, aquí no se acostumbra a celebrar el día de reyes o a dar y recibir regalos ese día pero es una tradición muy bonita, esa carta es perfecta para mantener la ilusión en los niños, está hermosa ❤️
Omggg, pero que cuchitura mi valen. Me encantó. Honestamente nunca recibí un regalo de reyes jajaja. En mi casa no se celebraba. Pero amo todas esas festividades y costumbres.
Que preciosidad!
Muchas gracias, amiga !!
Esta bellísima ami, aquí no acostumbramos celebrar reyes en casa, pero hay países donde es hasta más importante que el 24 como España que ese día es que los niños reciben sus regalos, el 24 nanai jaja
Me encantó el detalle de las estrellas. Muy bello
¡Qué hermosa me encanta el resultado! Está perfecta para pedir mi regalo 🤭, saludos.✨