Hello and greetings to the entire Hive Diy community, I hope you are well. Today I bring you a repair and battery adaptation for some wireless headphones from the TG series-Mini brand, which I had not used for a long time. Below are the images and repair procedure.
Hola saludos a toda la comunidad de Hive Diy espero esten bien, hoy traigo para ustedes una reparación y adaptación de batería a unos audífonos inalámbricos de la marca TG series-Mini los cuales tenía mucho tiempo sin utilizar, a continuación las Imágenes y procedimiento de la reparación.
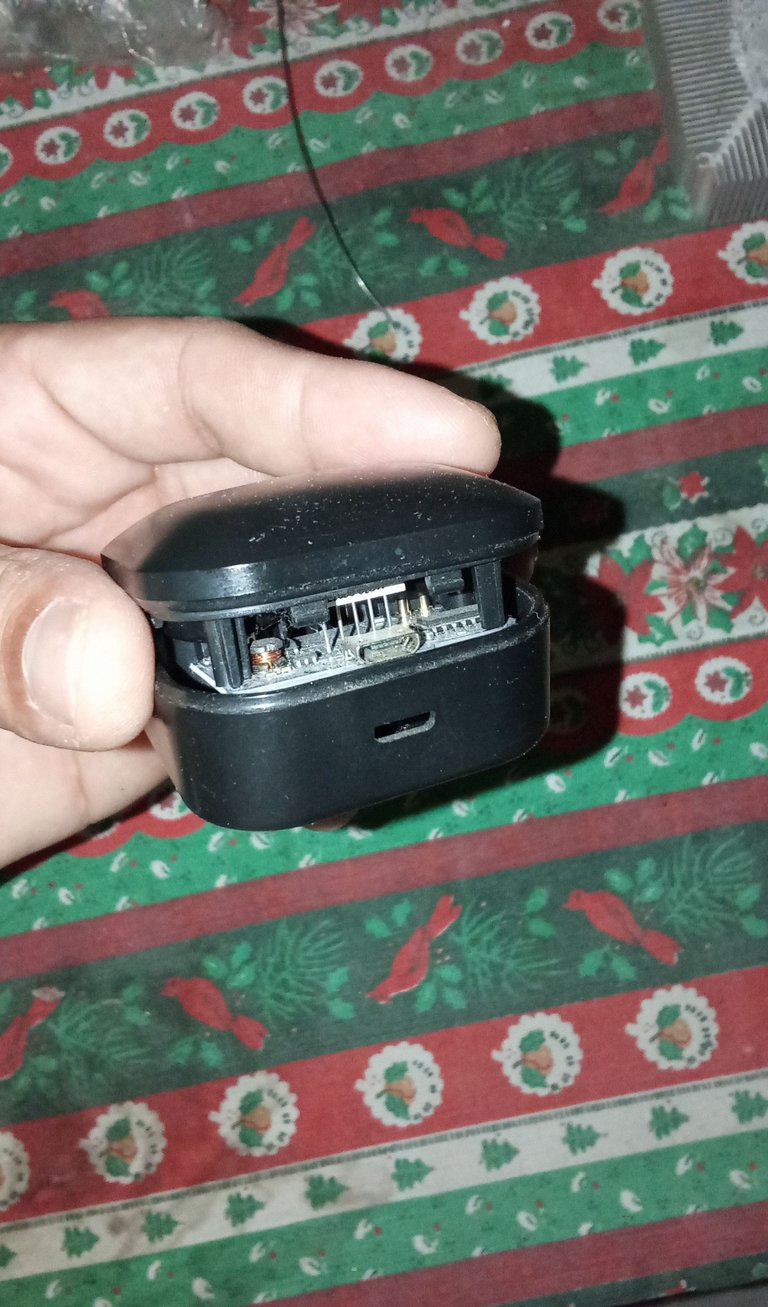
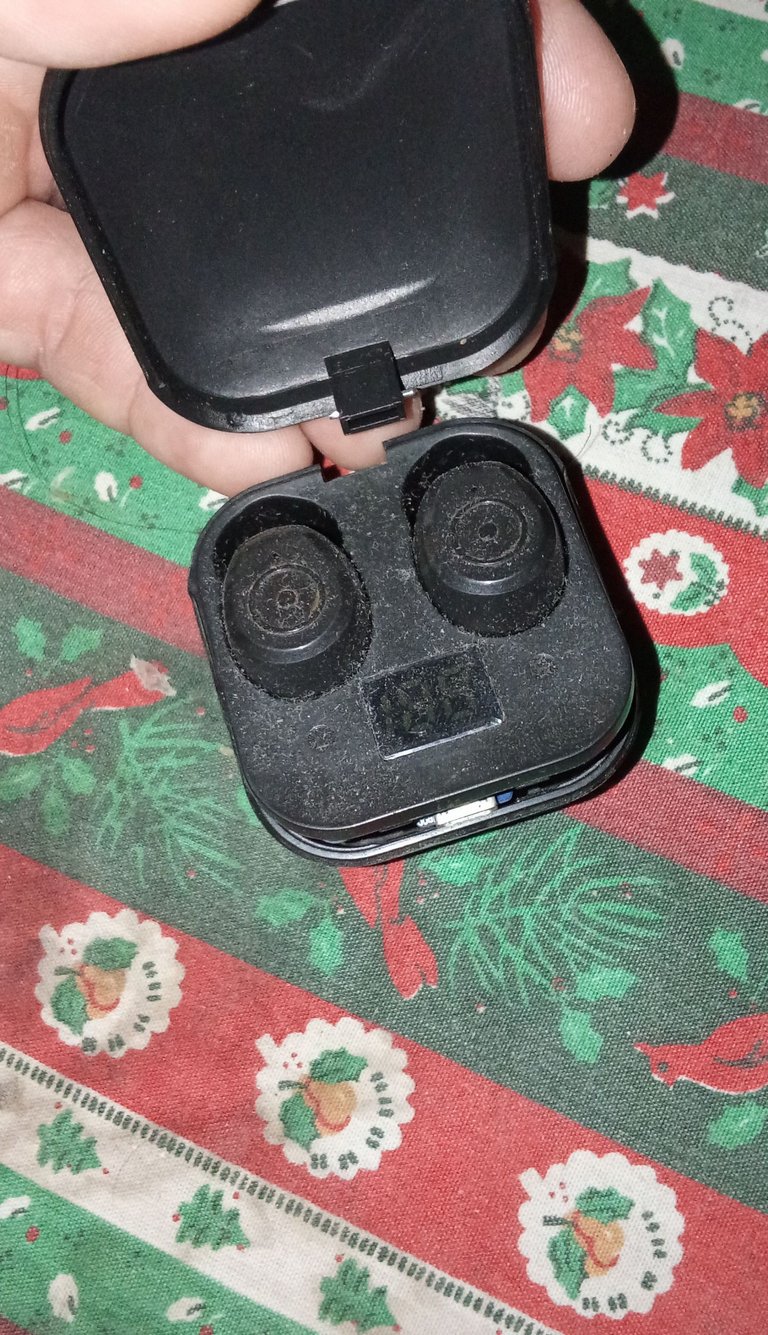
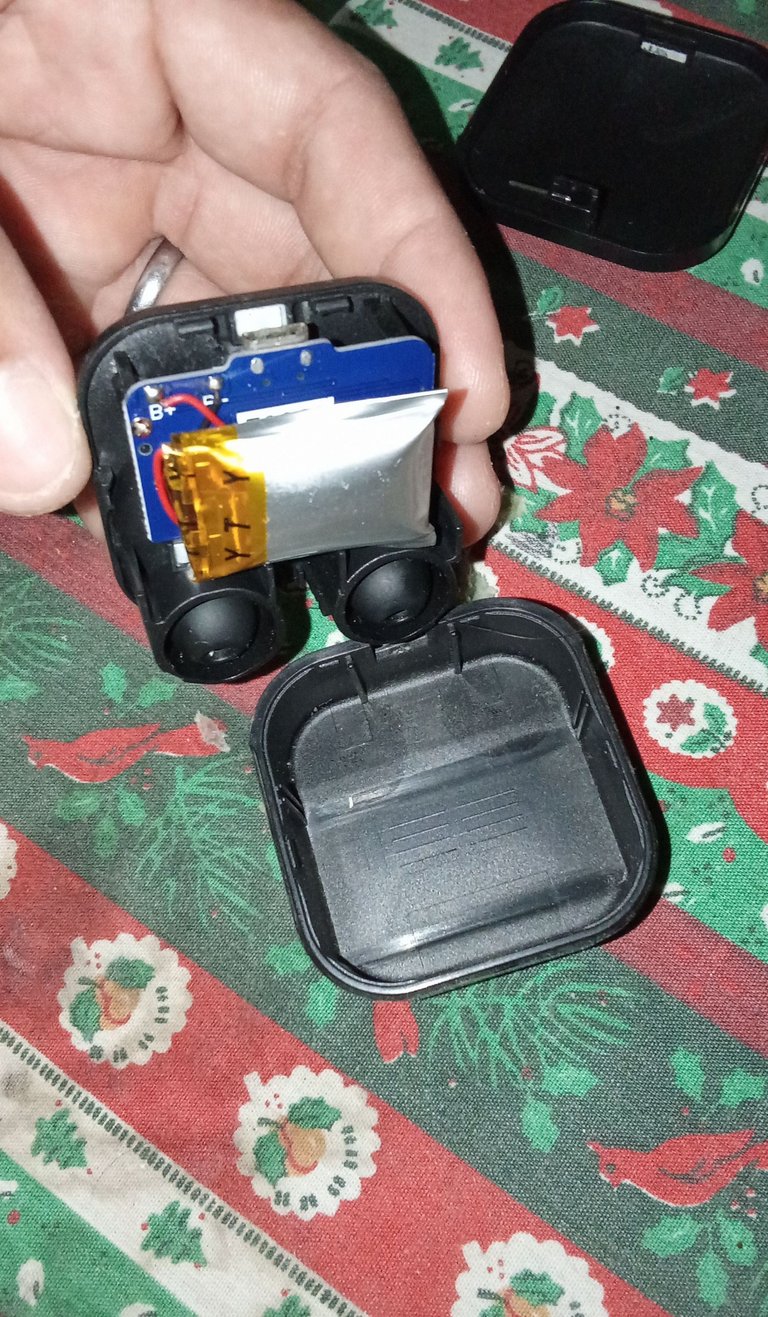
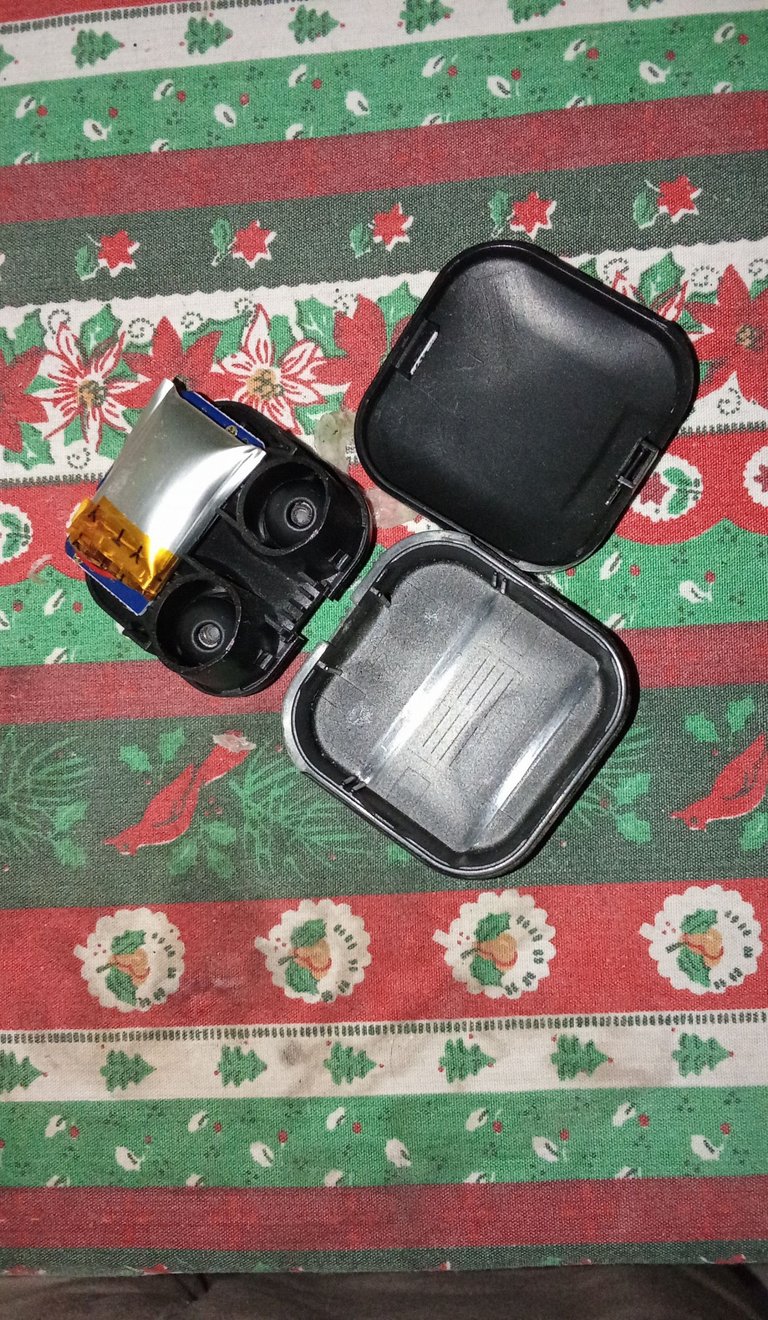
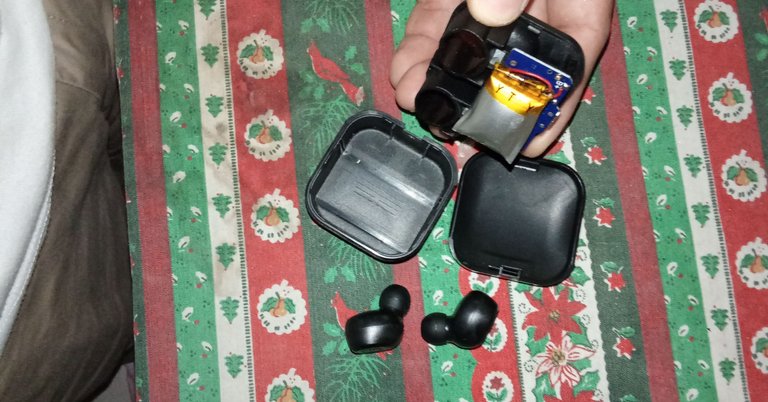
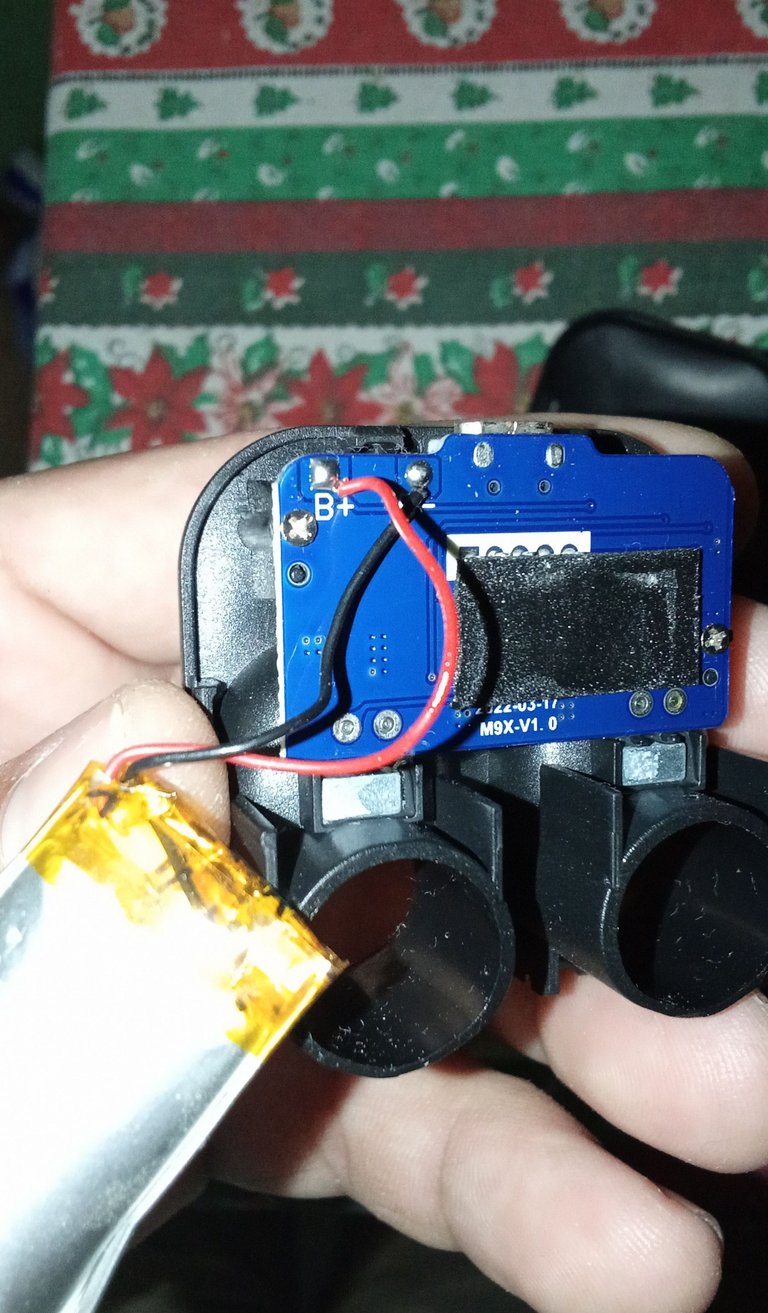
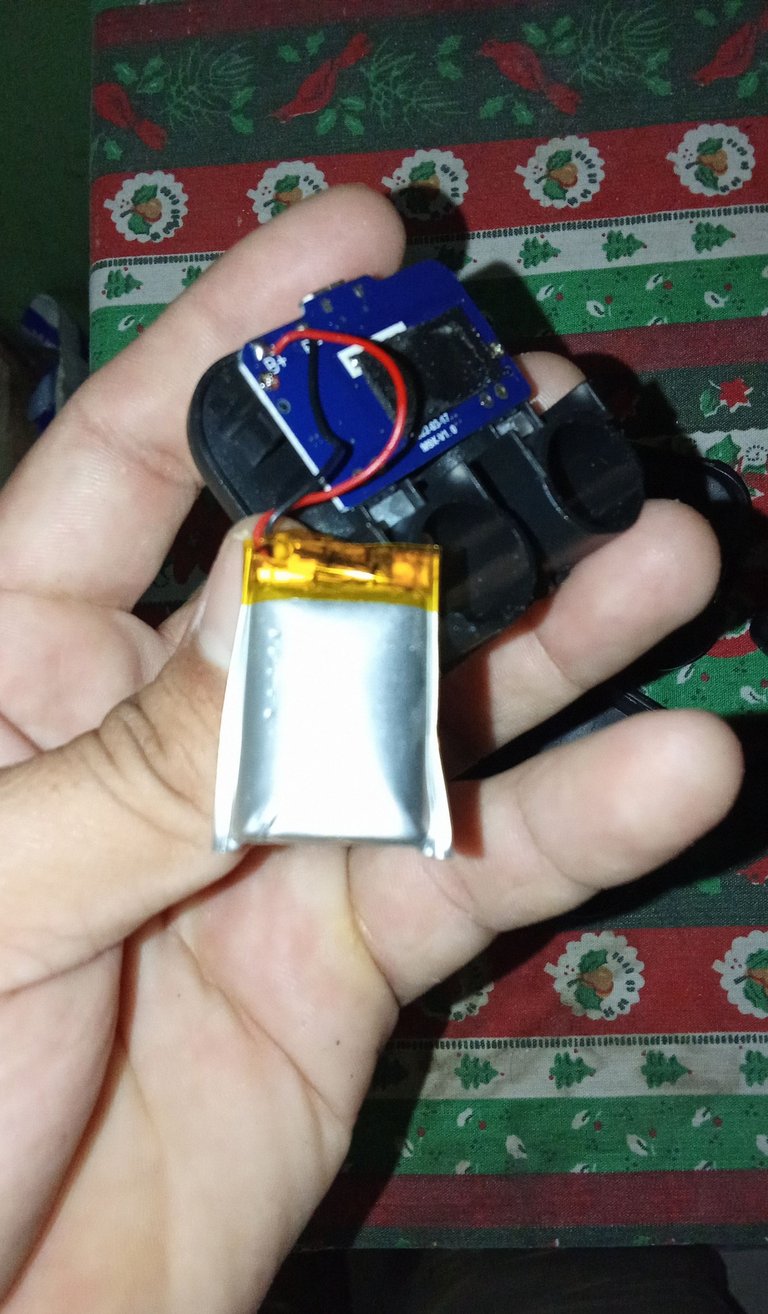

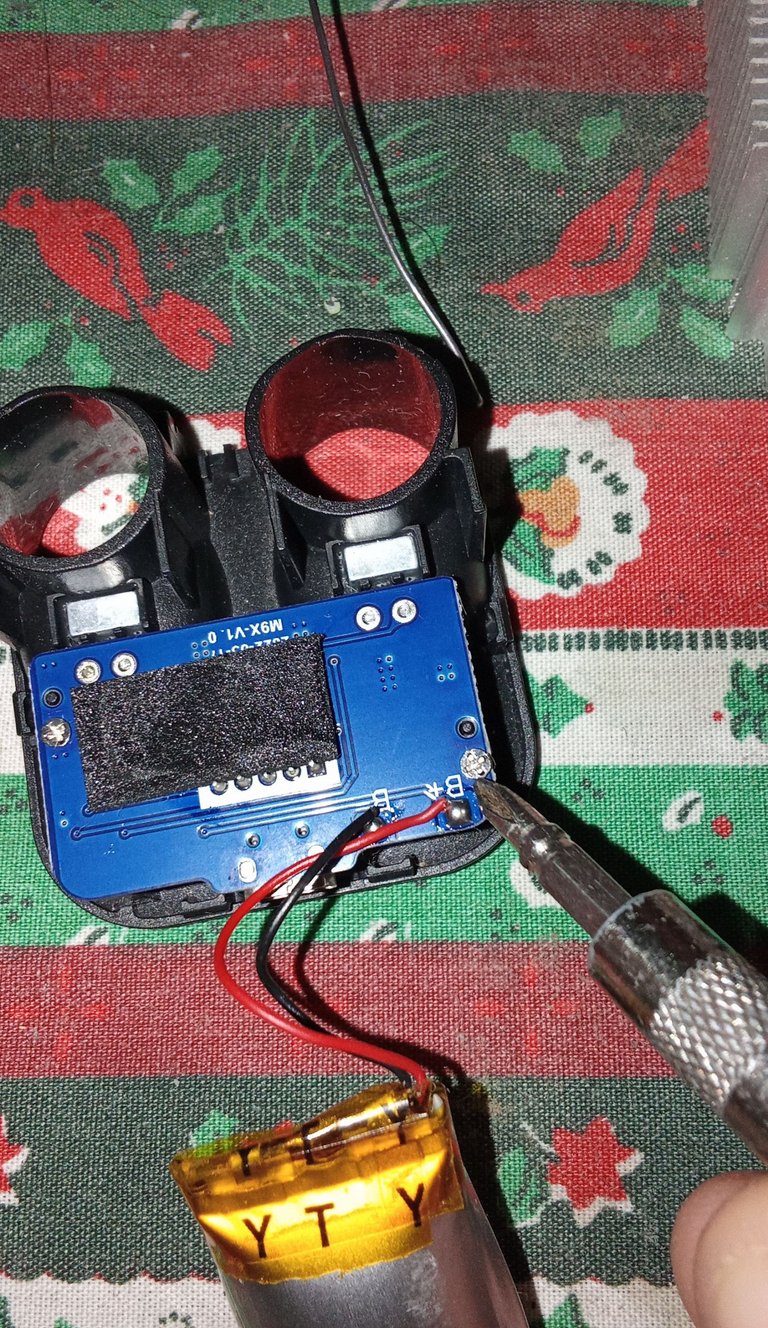
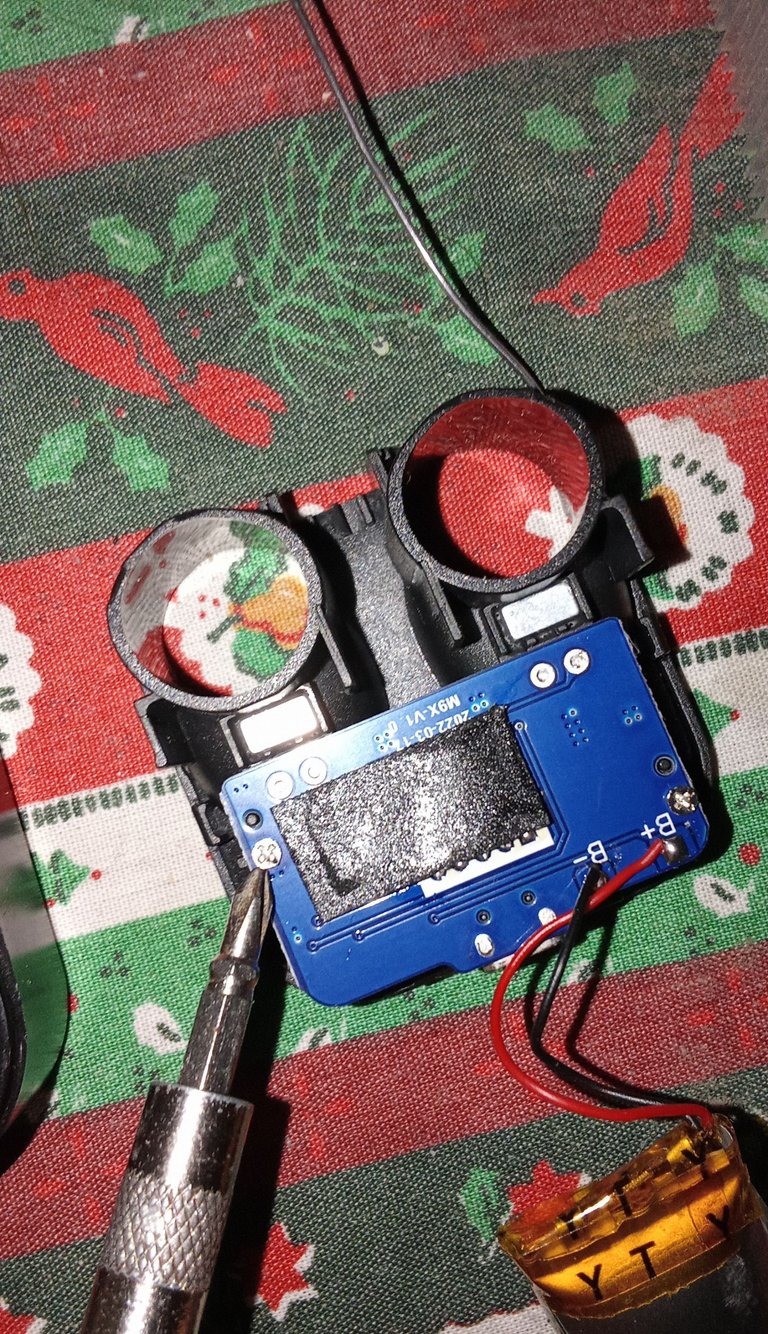
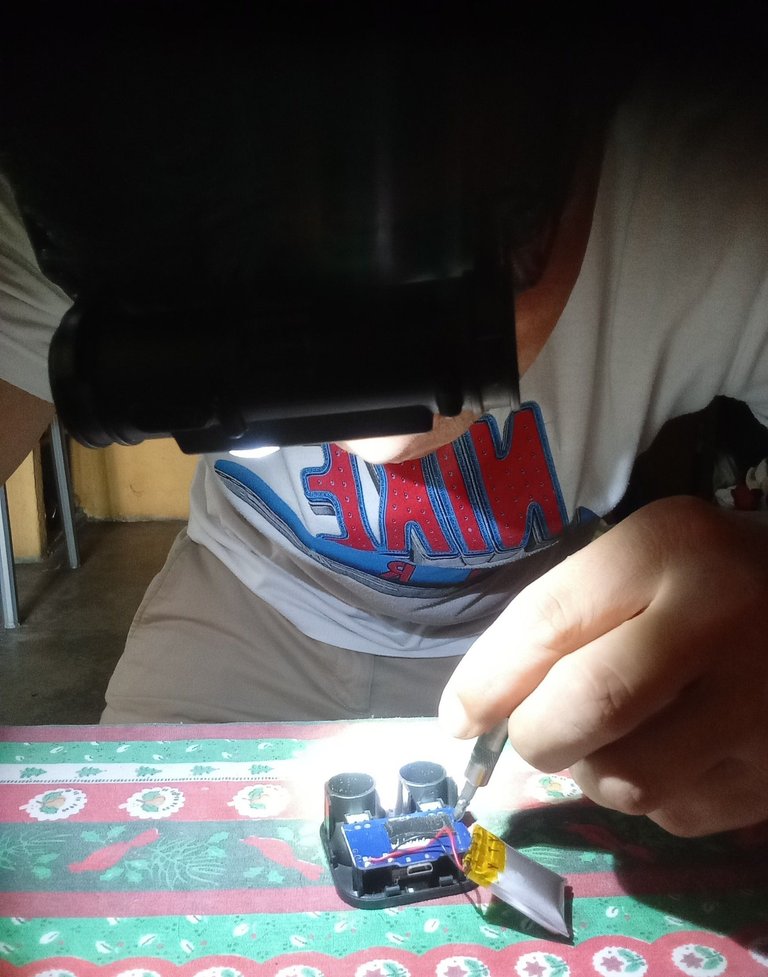
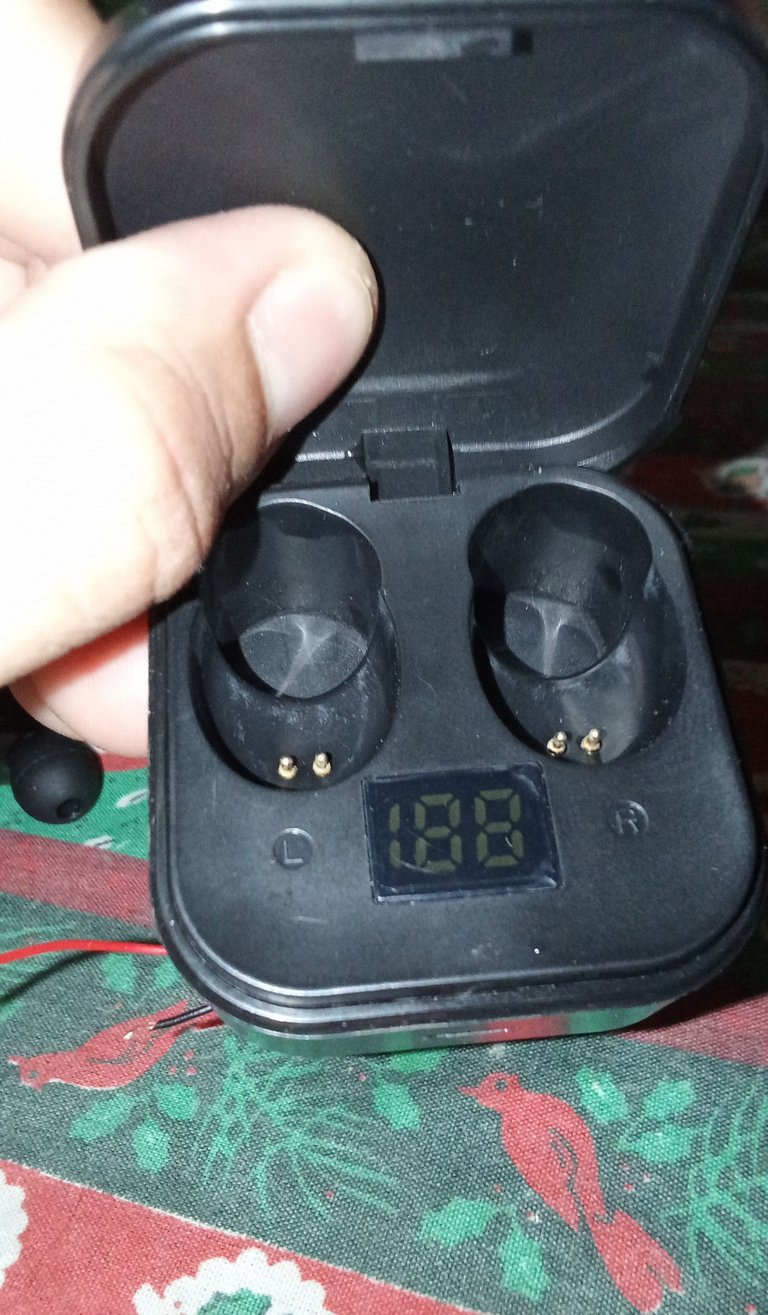
One of the first steps was to check if the headphones had screws on the outside, but they didn't have any screws, which made it easier for me to take them apart. What I did see was that the cover was already lifted because of the swollen battery, which was what was causing the headphones not to turn on. Because of the time I hadn't used them, I noticed that they were very dirty, then I checked the part where the battery is to see where the negative and positive cables are so I could adapt another battery.
Then I checked the part where the screws are to take them apart and remove the plate where all the components are.
Uno de los primeros paso fue revisar primero si los audífonos tenían tornillos por la parte de afuera, pero no tenían tornillos lo cual se me hizo más fácil para desarmar lo que sí vi fue que ya estaba como levantada la tapa era por la pila que estaba inflada, eso era lo que hacía que los audífonos no encendieran. Por el tiempo que tenía sin usarlos note que estaban muy sucios, luego reviso la parte donde esta la pila para ver dónde está el cable negativo y el positivo para poder hacer la adaptación de otra Batería.
Luego reviso la parte donde esta los tornillos para desarmar y sacar la placa donde están todos sus componentes.
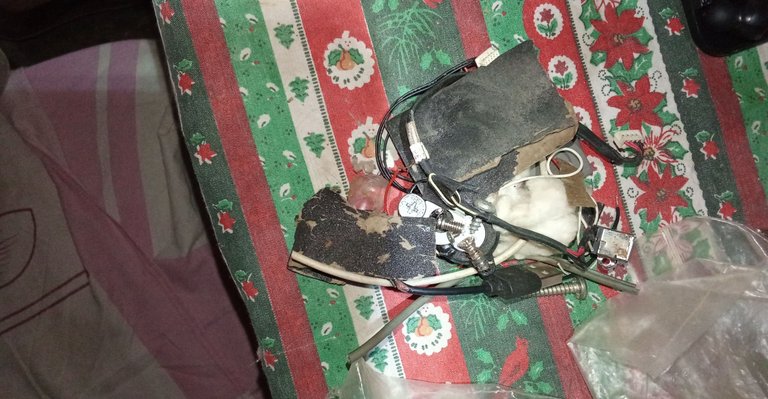
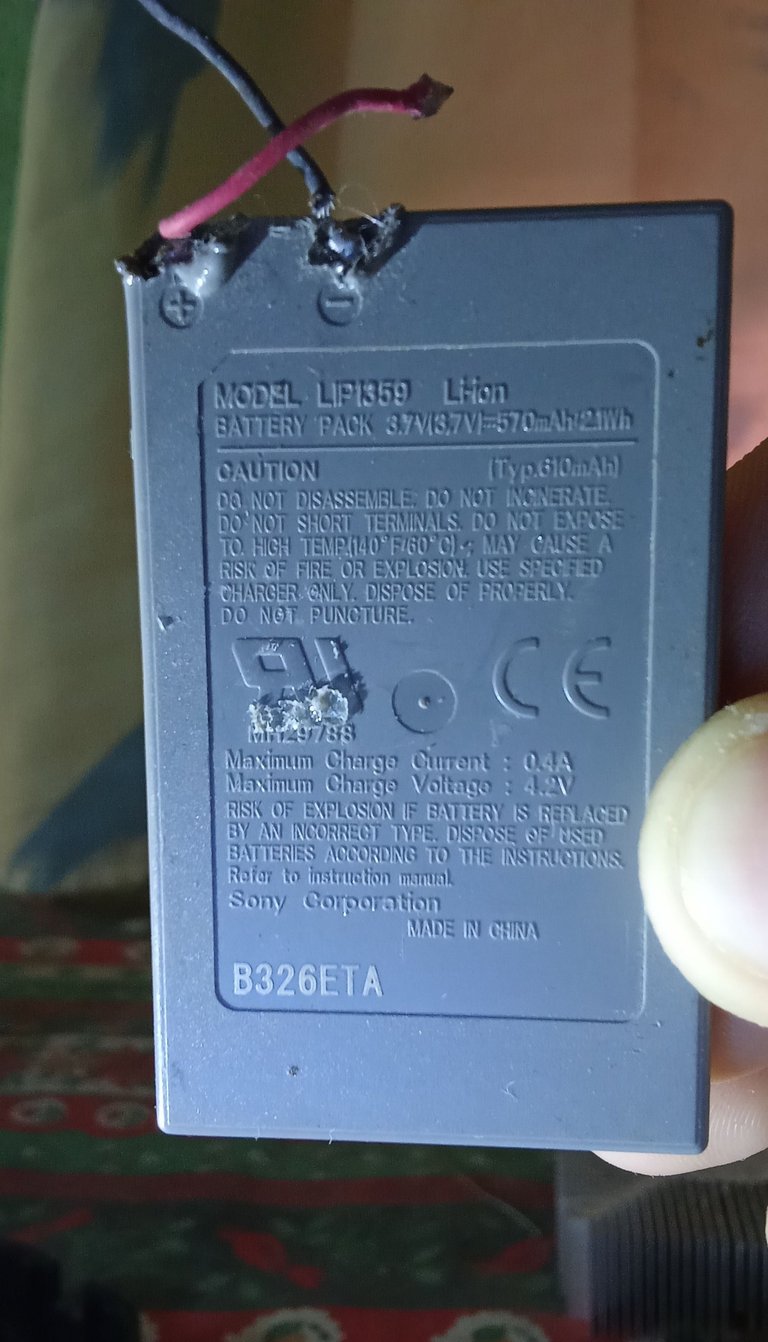

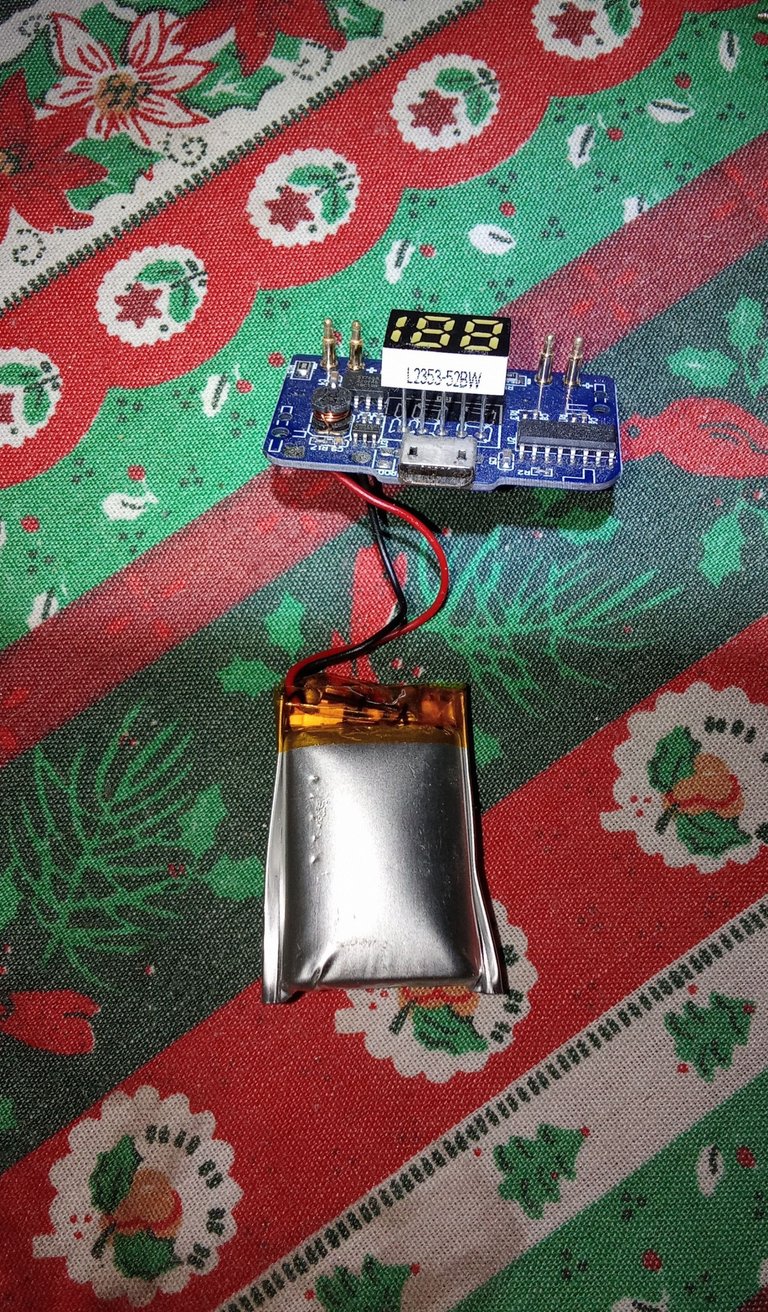
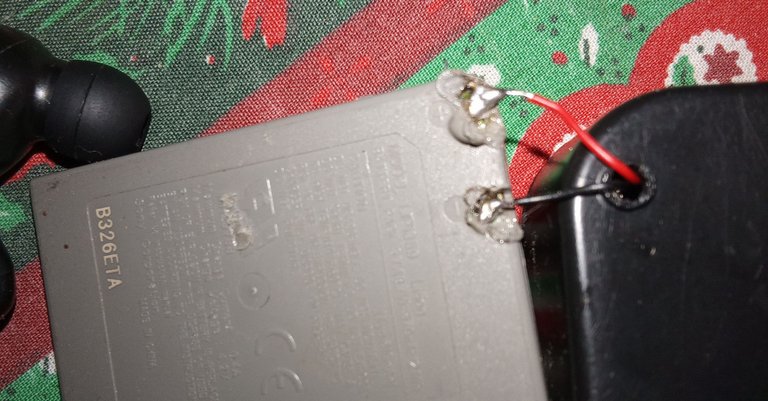
Once I had taken the battery apart, I started to look through a bag where I keep all my recycling stuff to find a battery in good condition to proceed with the battery adaptation. After searching, I found a 3.7 volt battery. This battery was from a PS3 controller. I thought it would be useful for the headphones. The only thing was that the battery is very large and I had to do the adaptation from the outside.
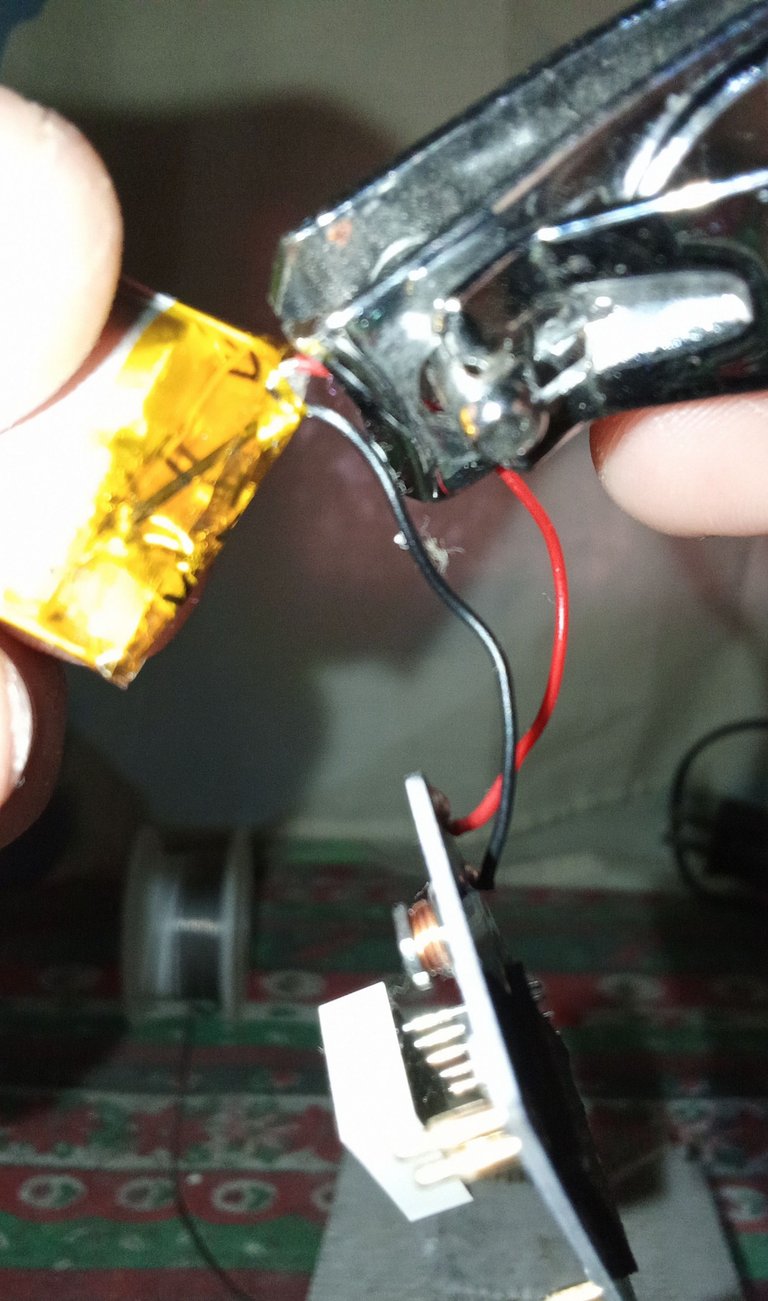
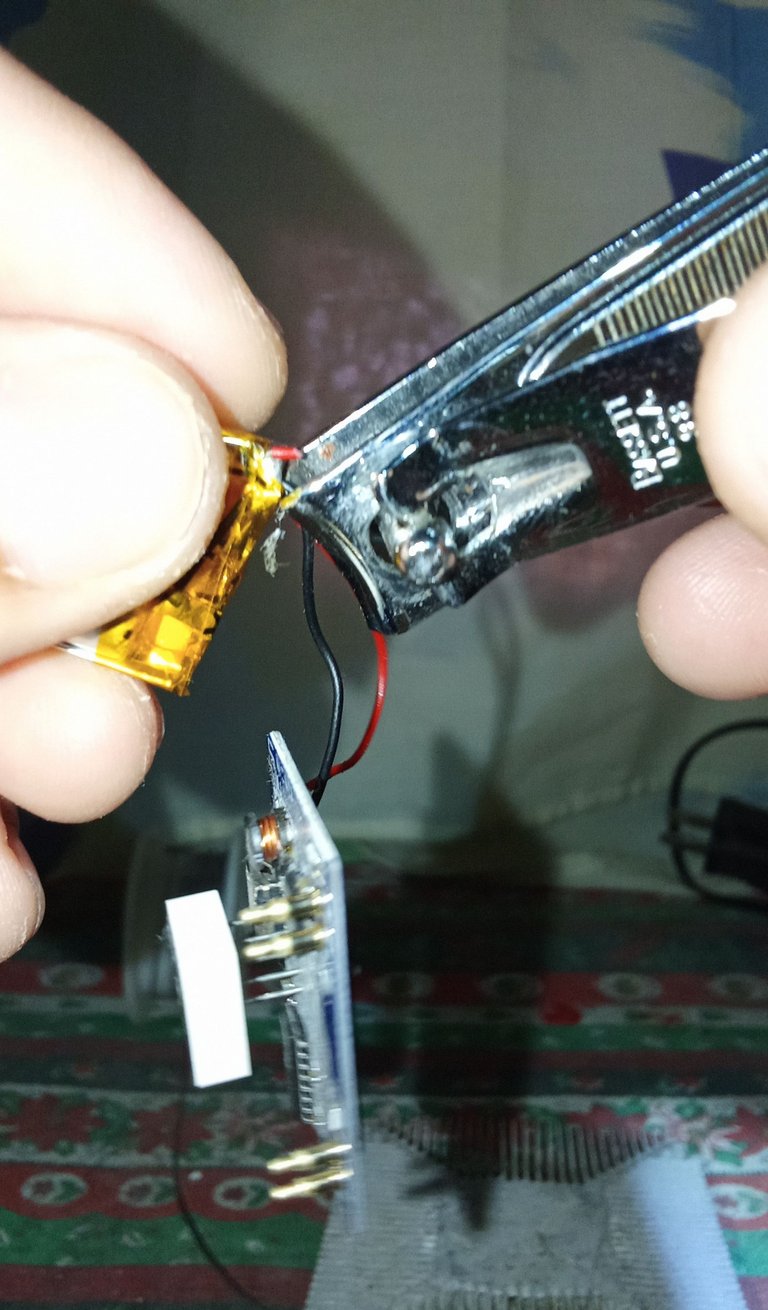
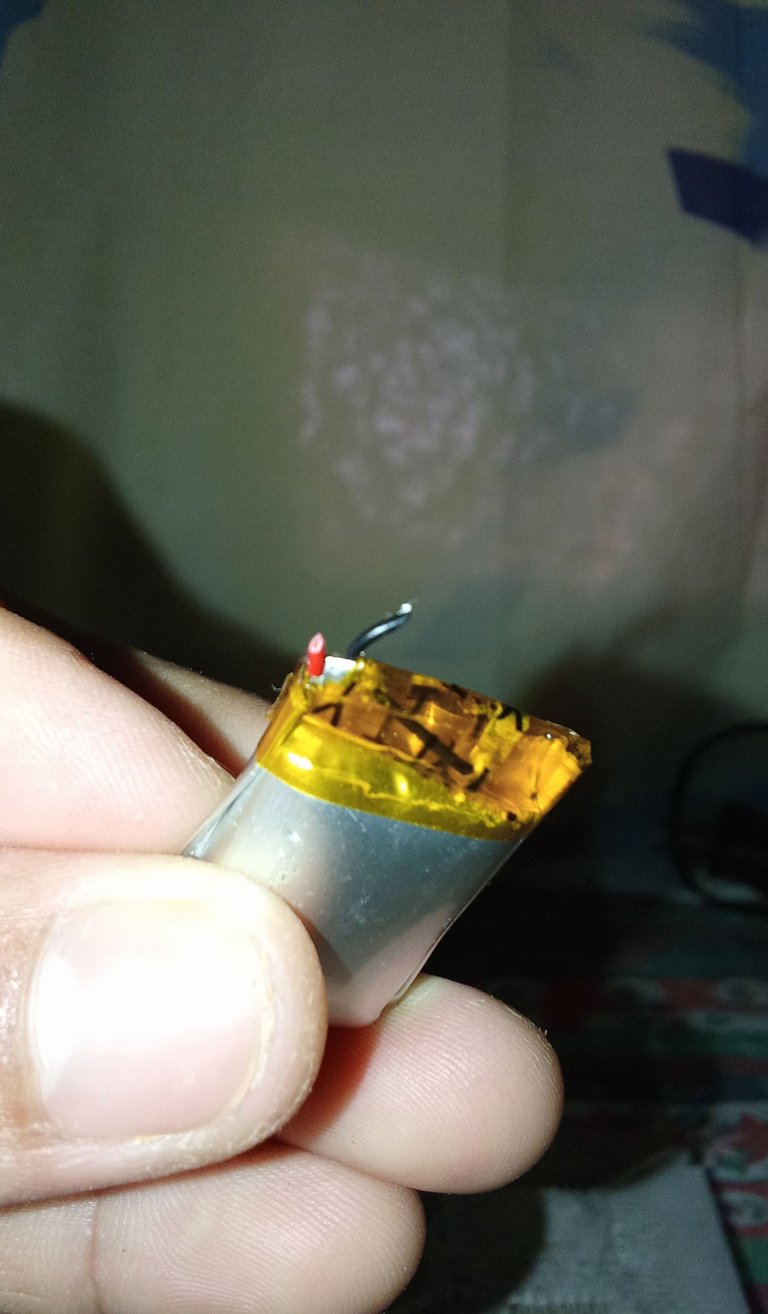
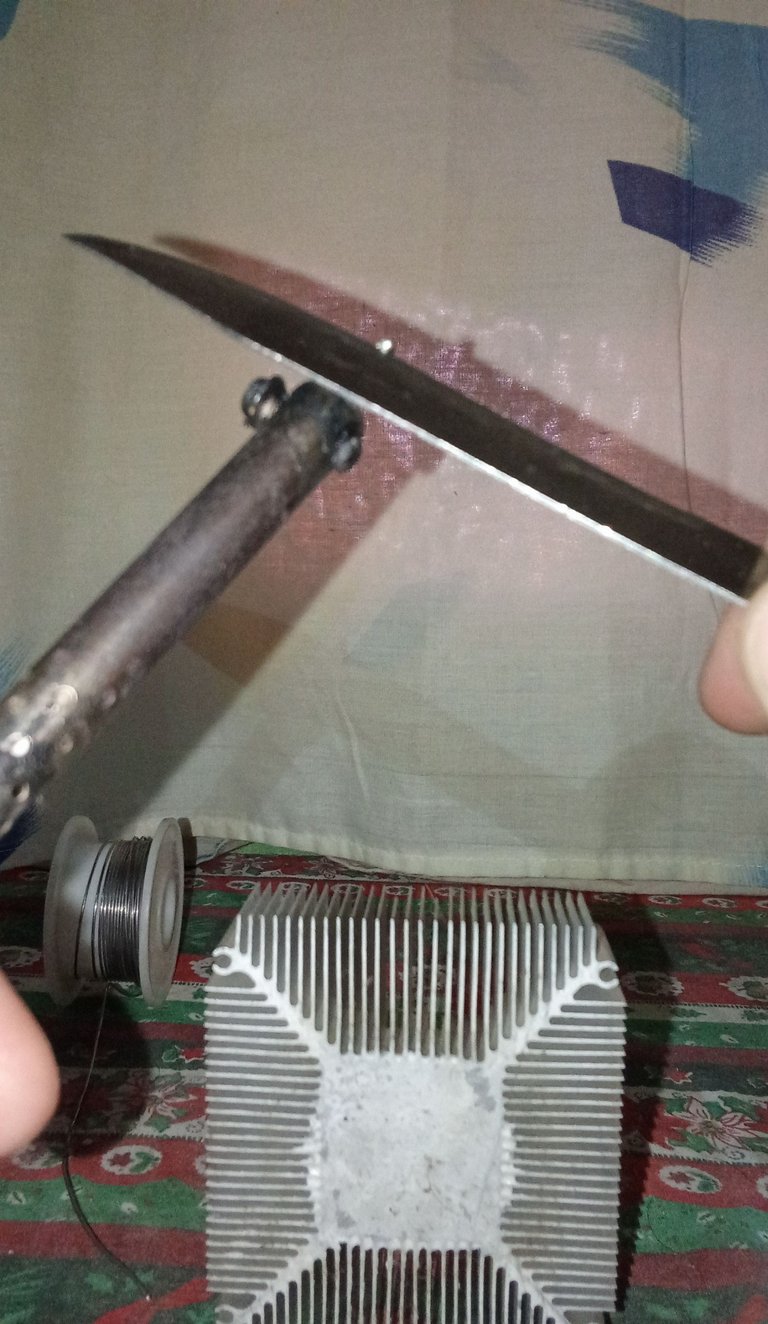
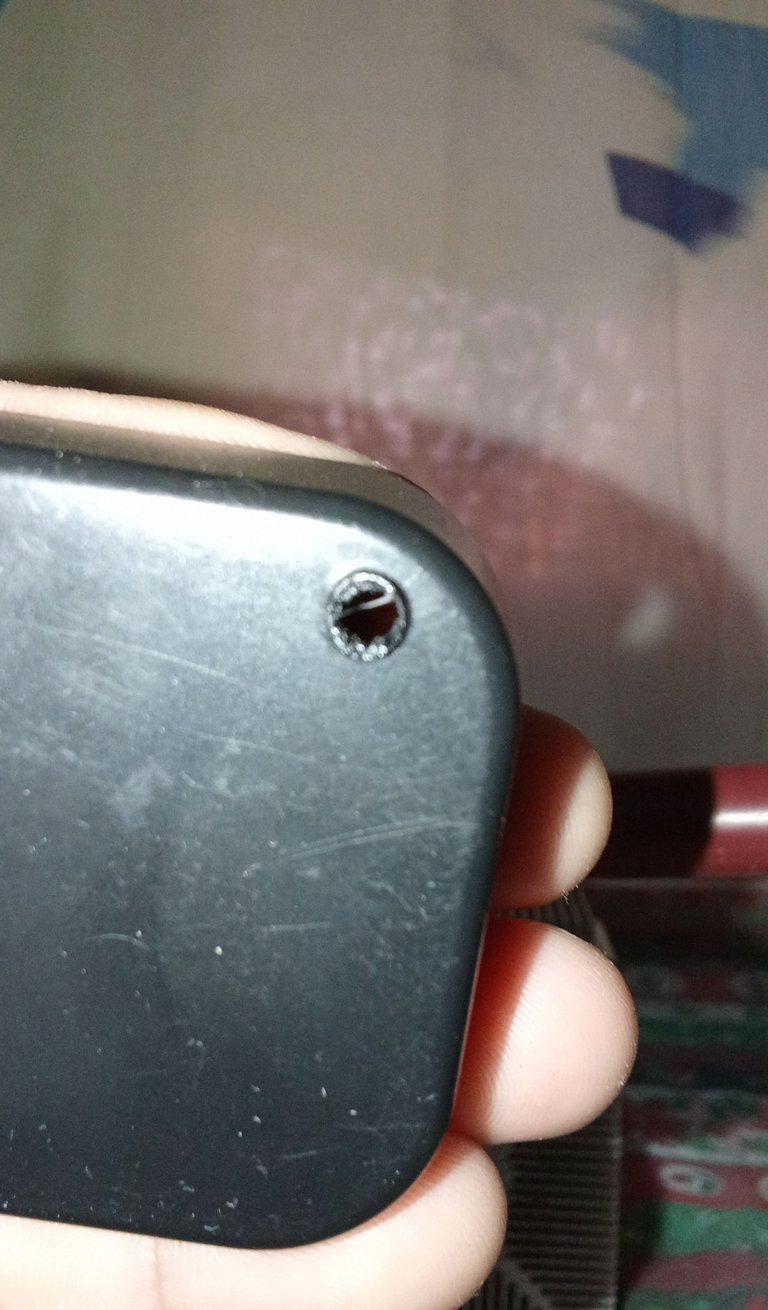
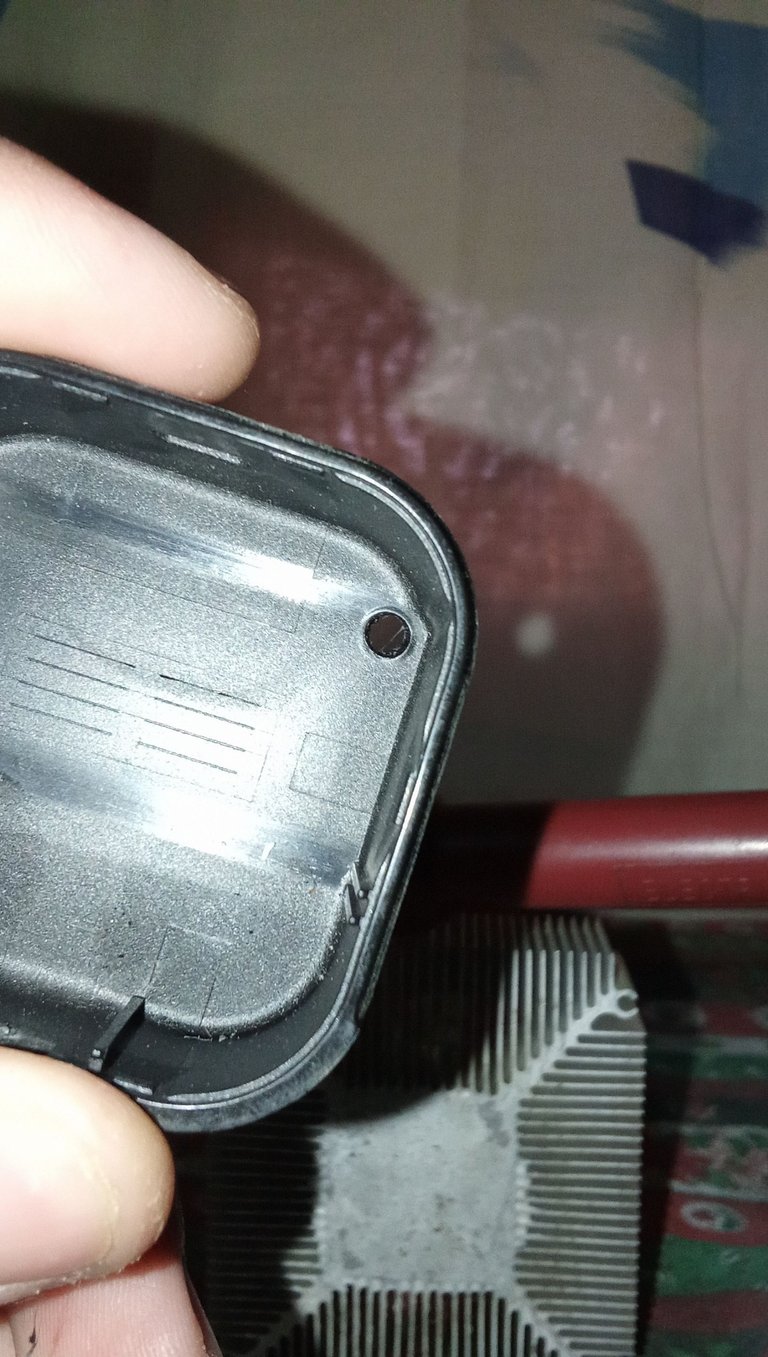
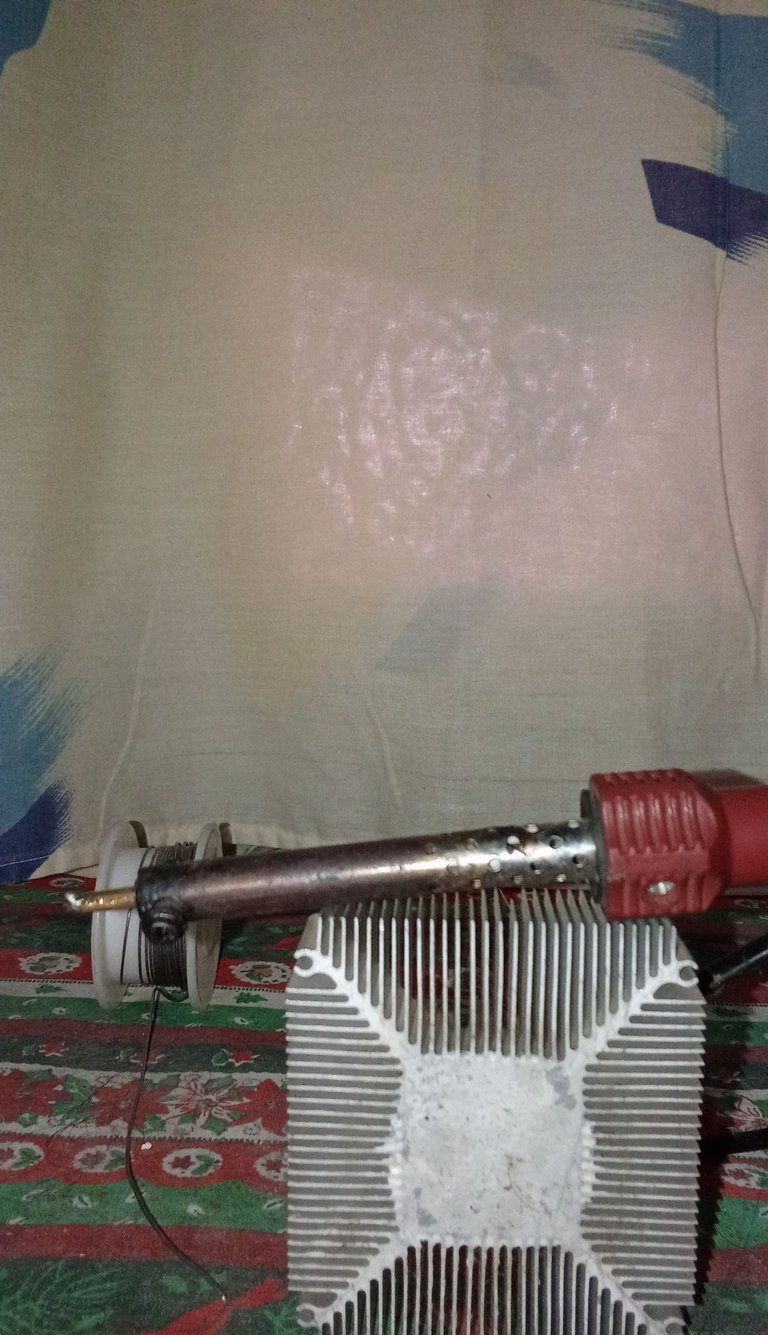
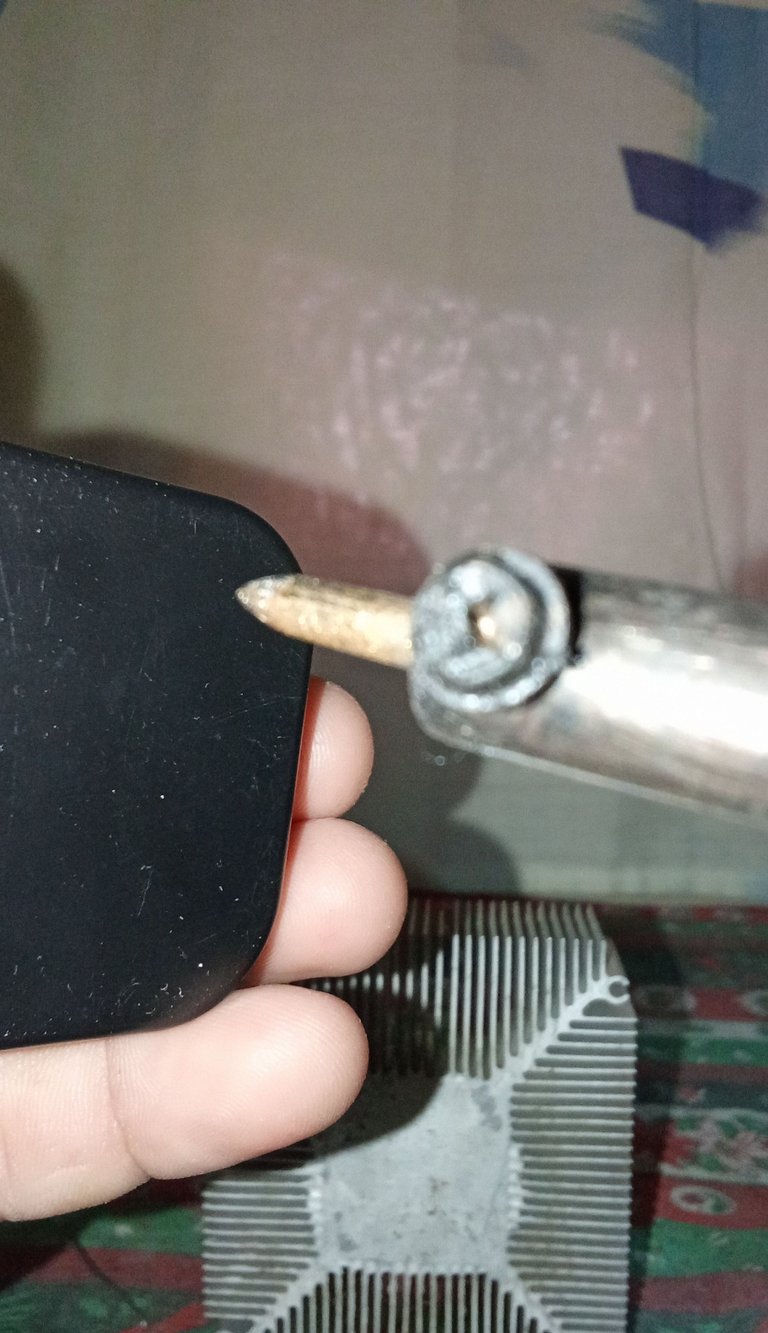
On the other hand, I got a nail clipper to take off the cables from the defective battery. I did it very carefully, always thinking that the battery would not explode because it was very inflated. Once I had taken it off, I moved it to one side to proceed with soldering the other battery, but thinking that I had to measure well to do the adaptation and not damage the headphone box. Once I had done the measurement, I heated the soldering iron to clean the tip with a knife. To make the hole in the box, I made one just to pass the cables to the outside and thus do the battery adaptation.
Una vez desarmada la plata me puse a revisar una bolsa donde guardo todo lo que es reciclaje para buscar una batería en buen estado para proceder a la adaptación de la batería. Luego de buscar consegui una de 3.7 voltios esa batería era de un control de Ps3 pensé que serviría para la reparación de los audifonos, lo unico fue que la batería es muy grande y tenía que hacer la adaptación por la parte de afuera.
Por otra parte conseguí un cortauñas para despegar los cables de la Batería defectuosa lo hice con mucho cuidado siempre pensado que no fuera a estallar la bateria porque estaba muy inflada. Ya una vez despegada la aparte para un lado para proceder a soldar la otra Batería, pero pensando que tenía que medir bien para hacer la adaptación y no dañar la caja de los audífonos. Una vez hecha la medición puse a calentar el cautín para limpiar la punta con un cuchillo, para hacer el orificio en la caja hice uno solo para pasar los cables para la parte de afuera y así hacer la adaptación de la batería.
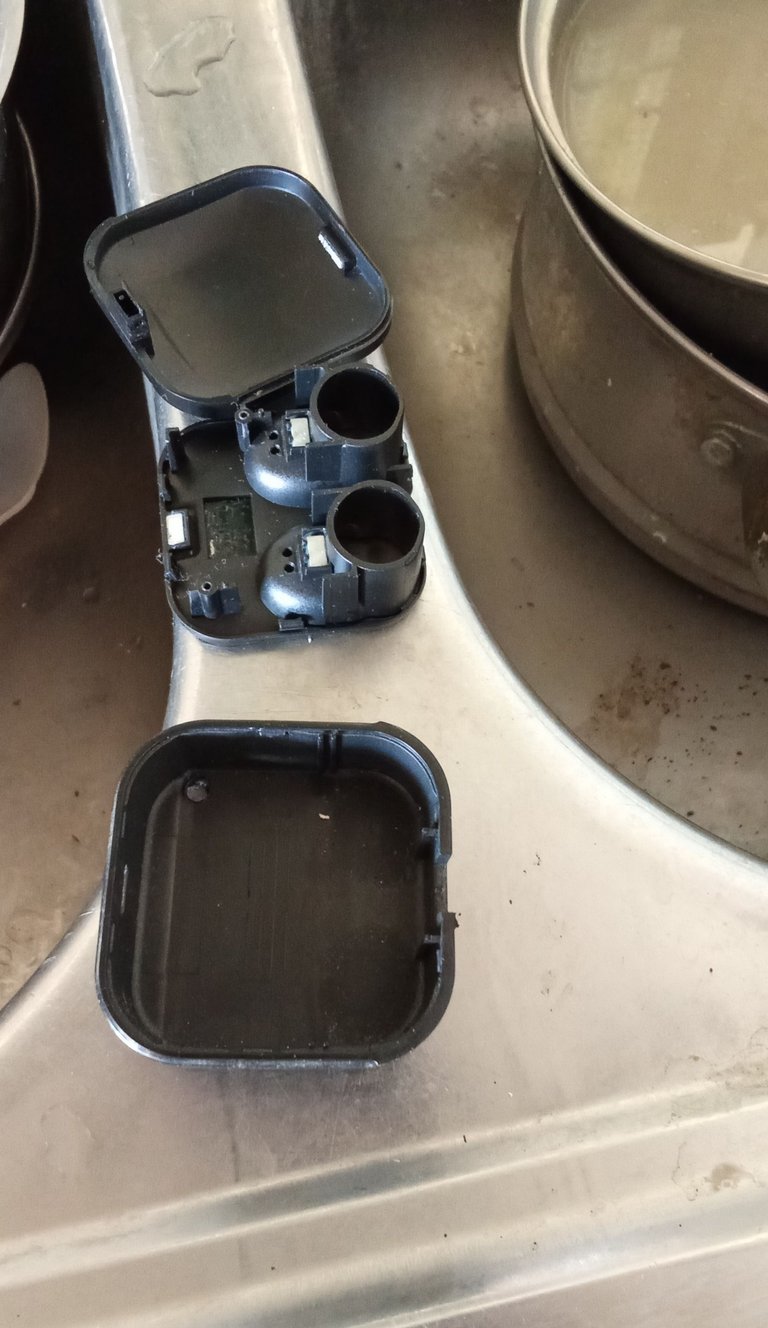

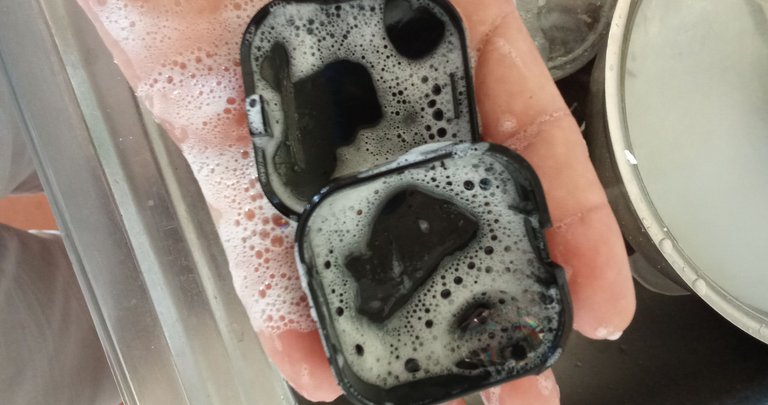
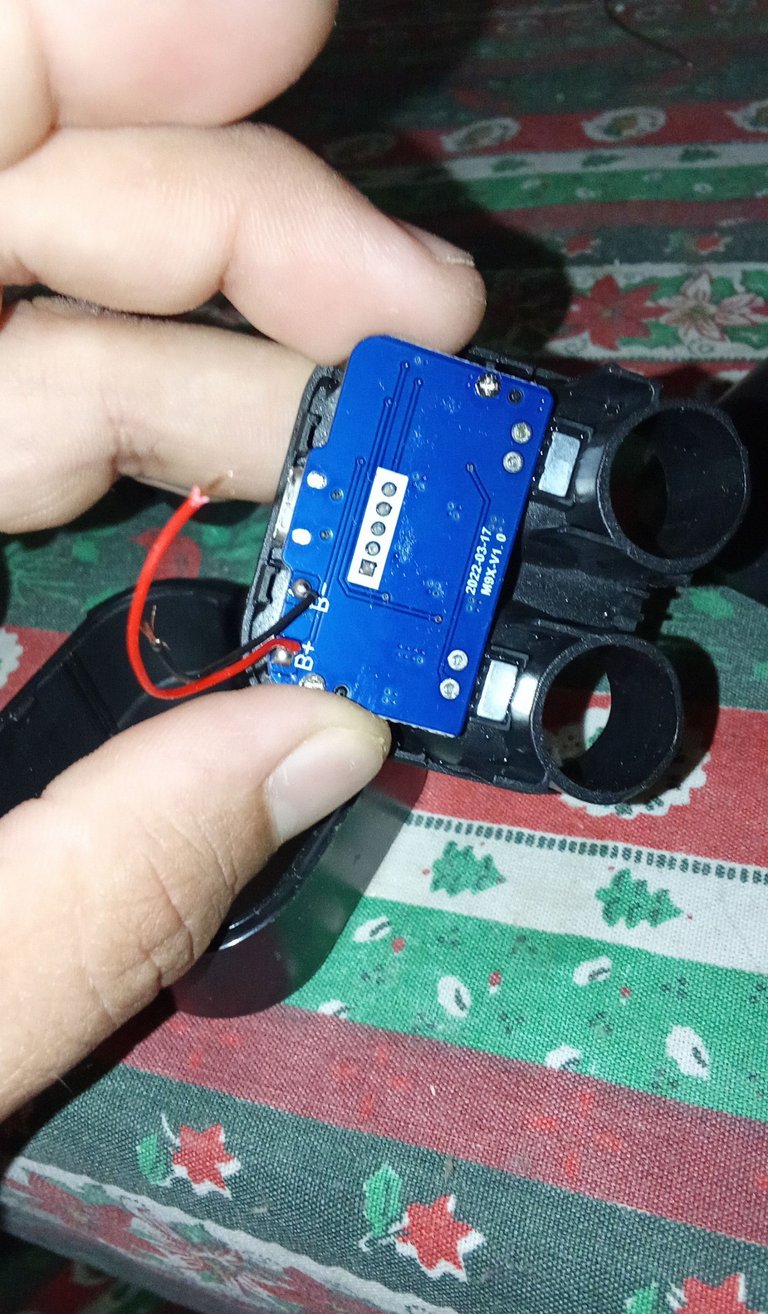
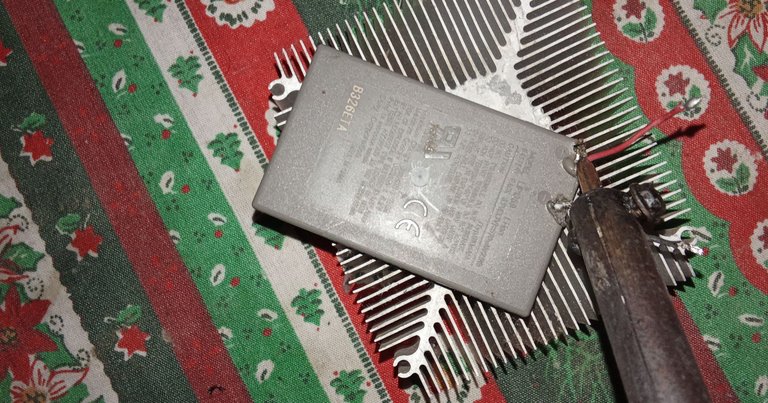
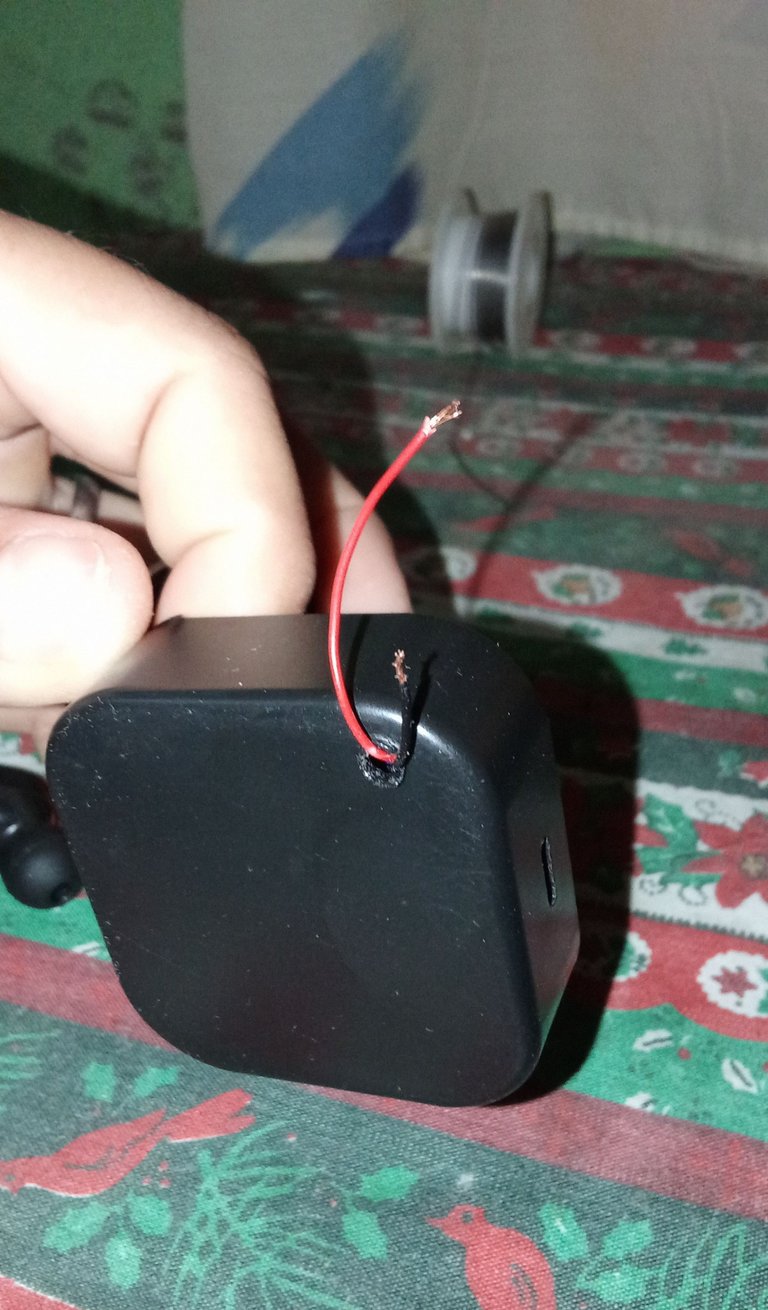
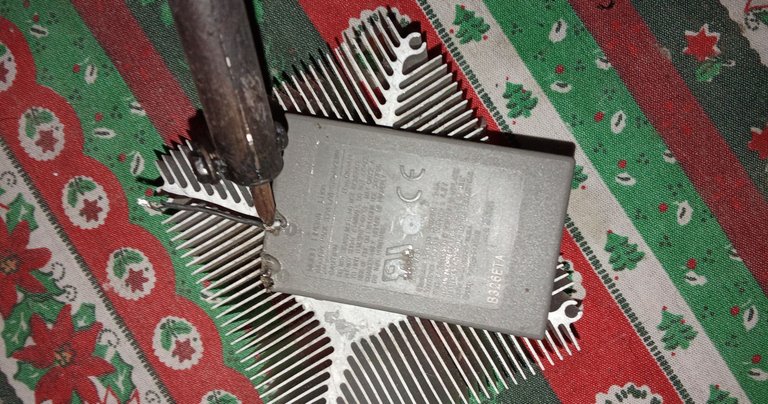
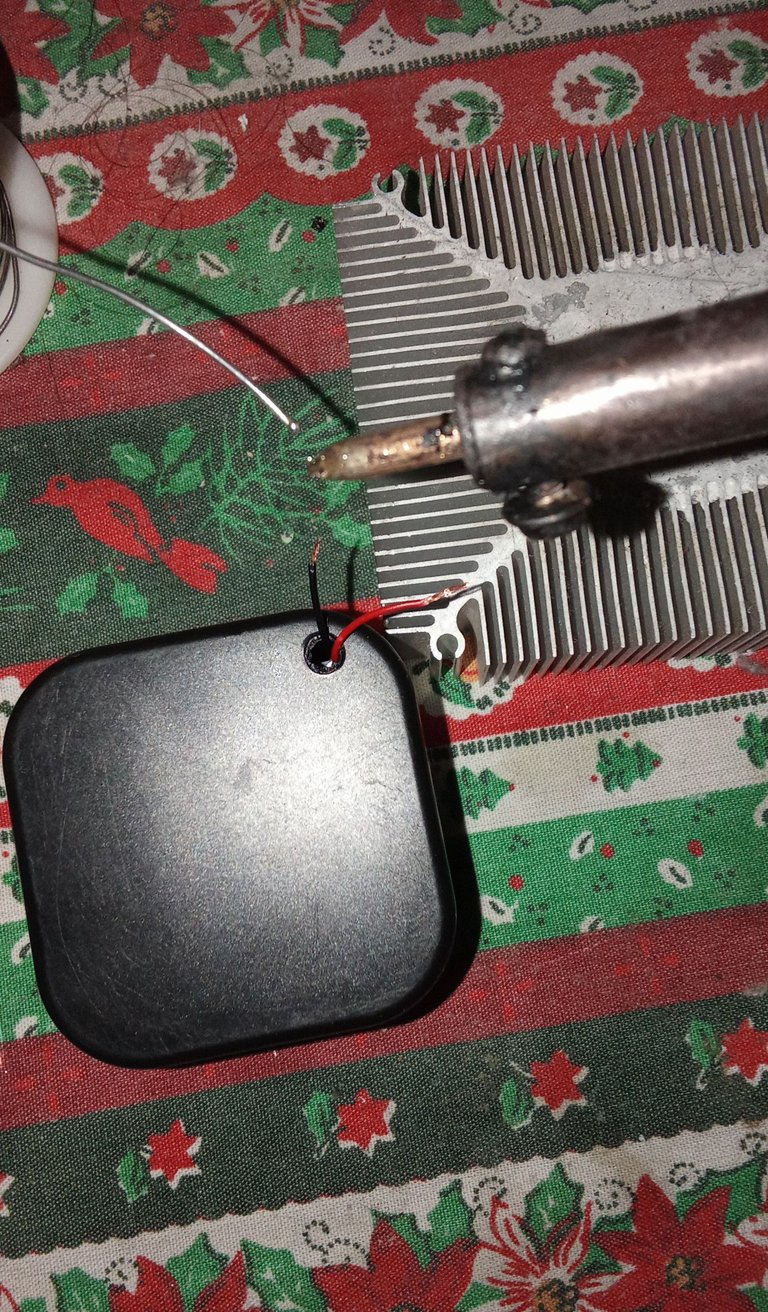
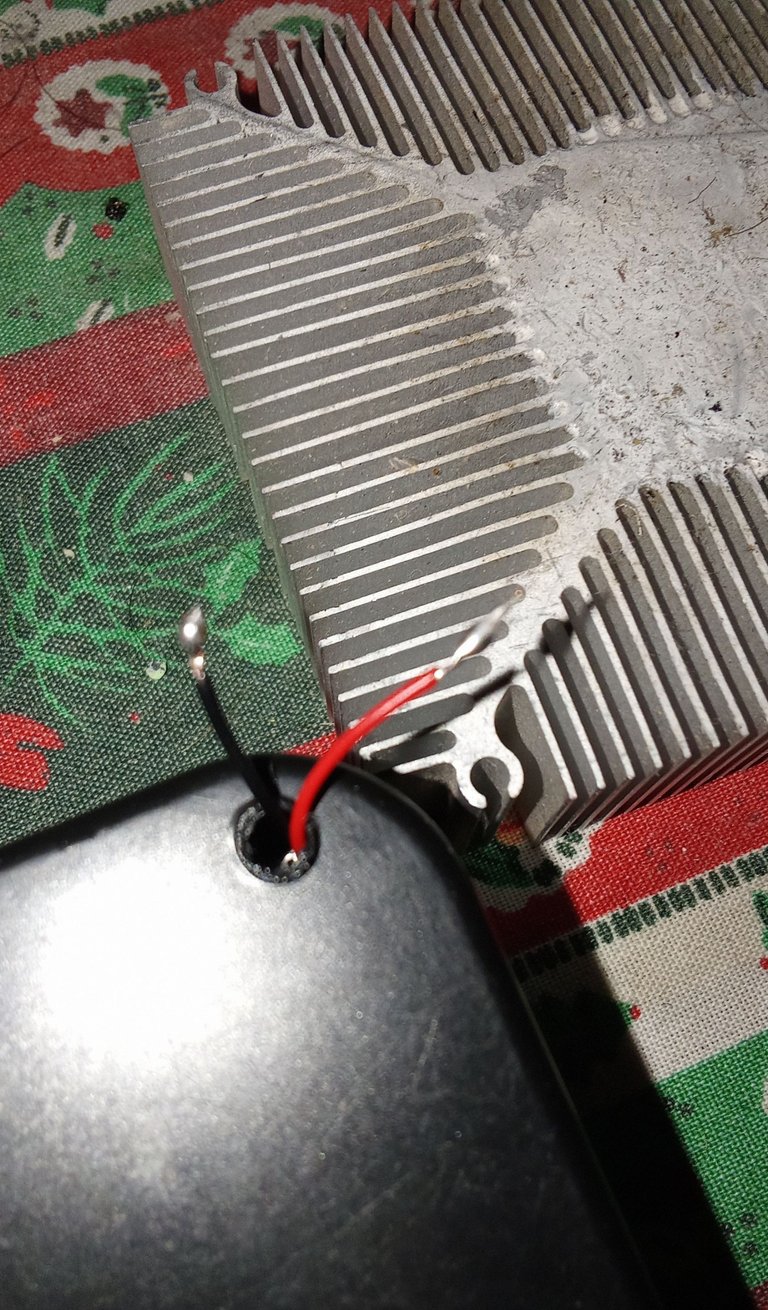
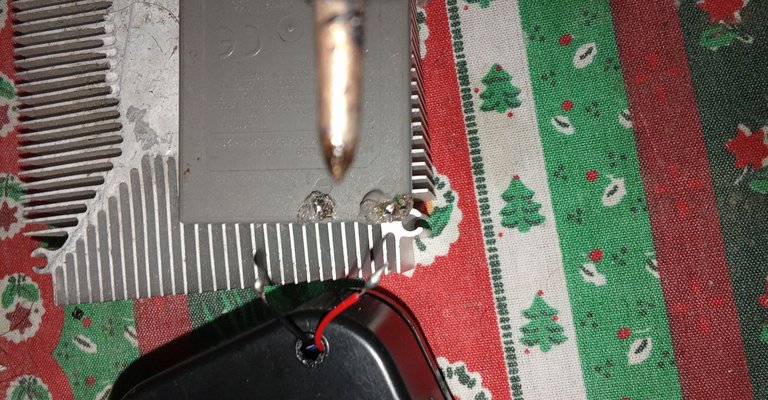
Once the hole was made I proceeded to wash the covers since they were very dirty for the next step which was to assemble everything to see how everything would look, from there I proceed with the assembly of the plate, I put the two screws that it has, then I placed the covers from there I went back to the good battery I put the soldering iron to heat up to remove some cables that it had that were very old. I pass the two negative and positive cables through the hole to tin the battery and thus finish with the adaptation of it.
Una vez hecho el orificio procedí a lavar las tapas ya que estaban muy sucias para el siguiente paso que era armar todo para ver cómo iba a quedar todo, de hay procedo con el armado de la placa, pongo los dos tornillos que lleva, luego colocó las tapas de hay paso otra vez a la batería buena pongo a calentar el cautin para quitarle unos cables que tenia que estaban muy viejos. Paso los dos cables negativo y positivo por el orificio para estañar la batería y así terminar con la adaptación de la misma.
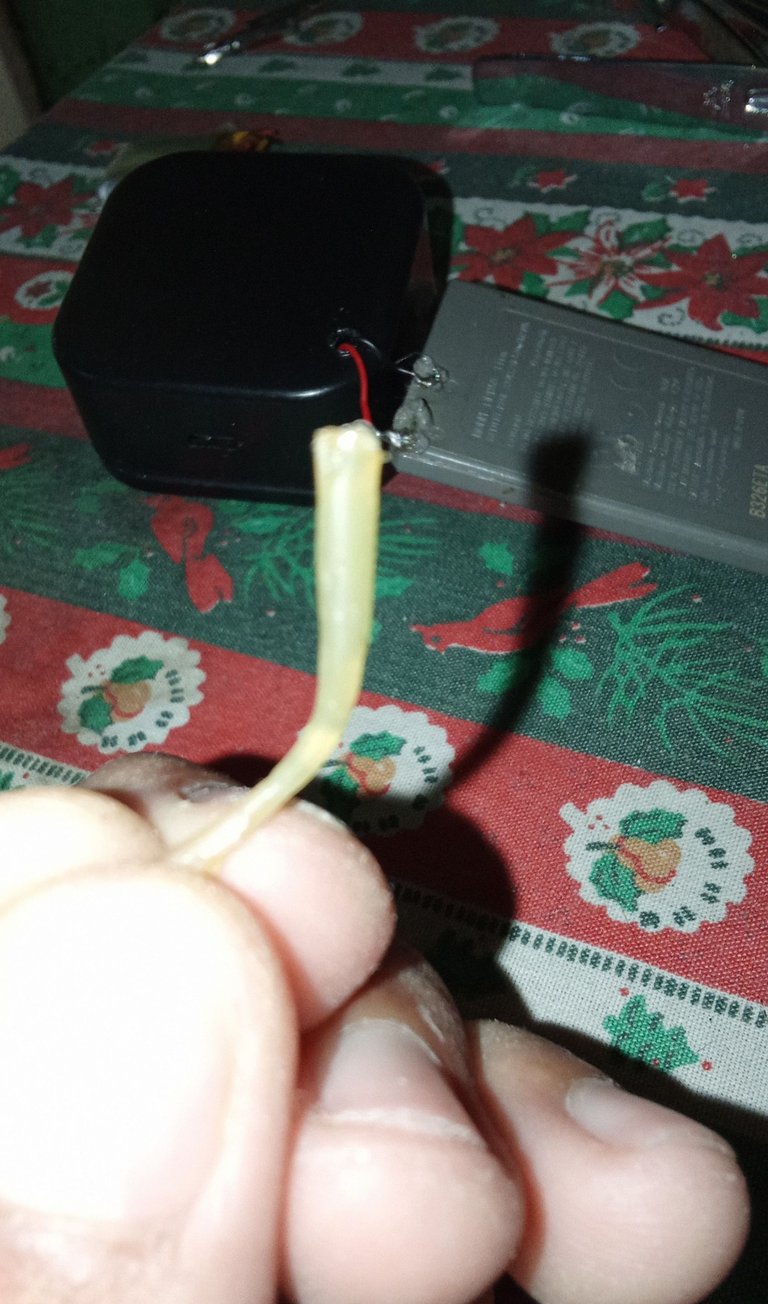
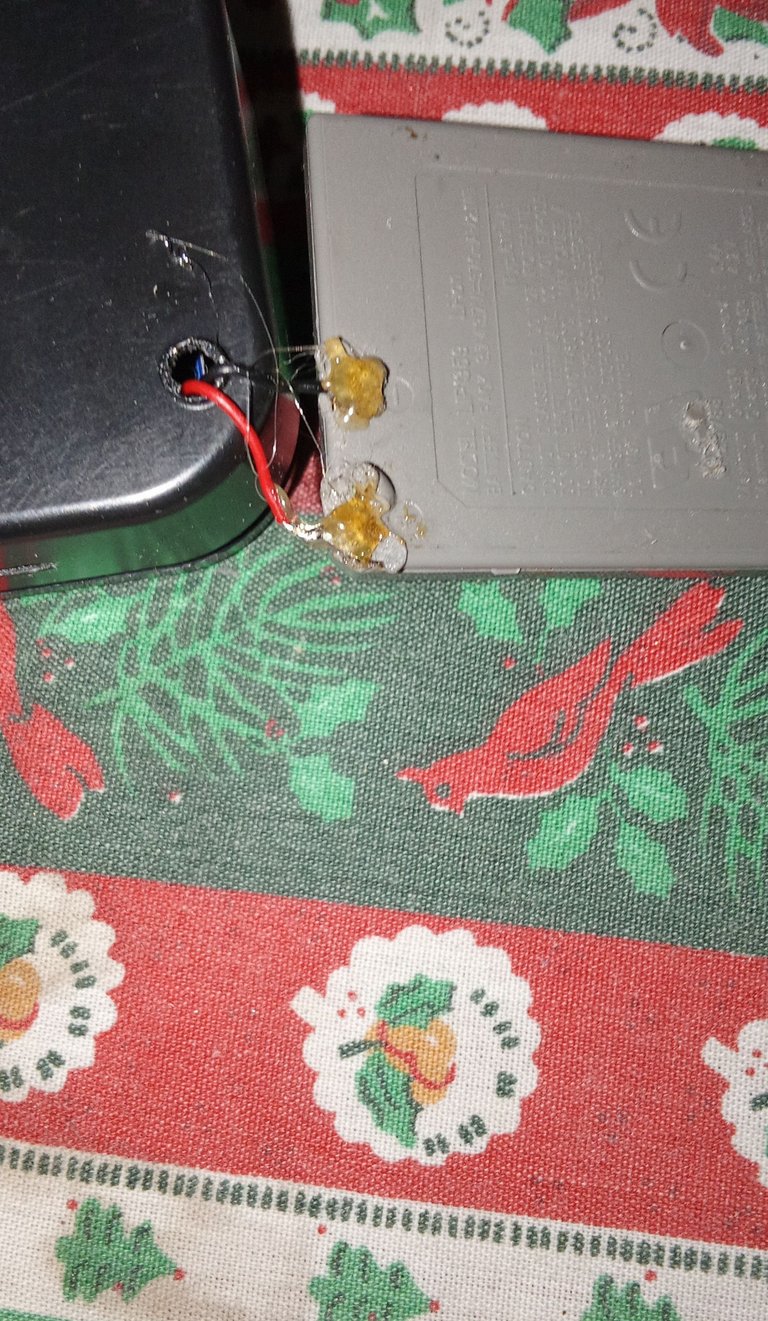
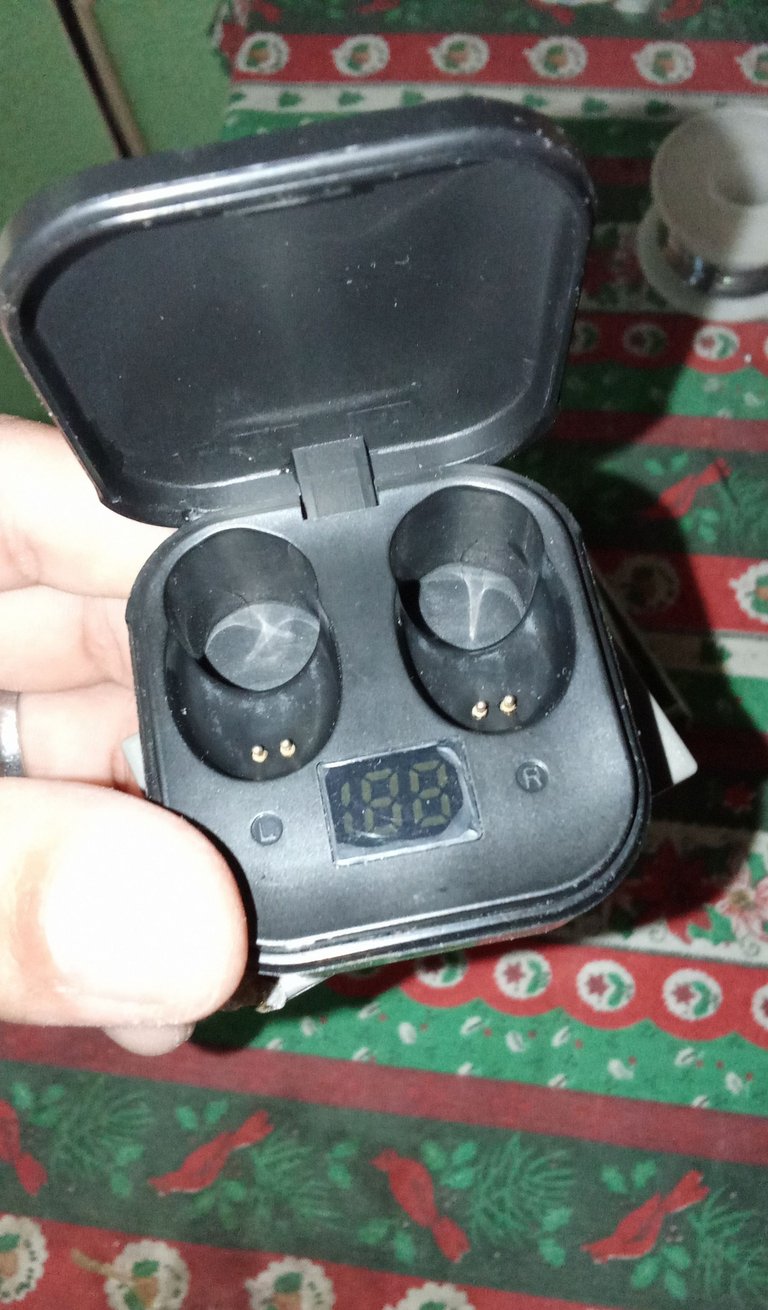
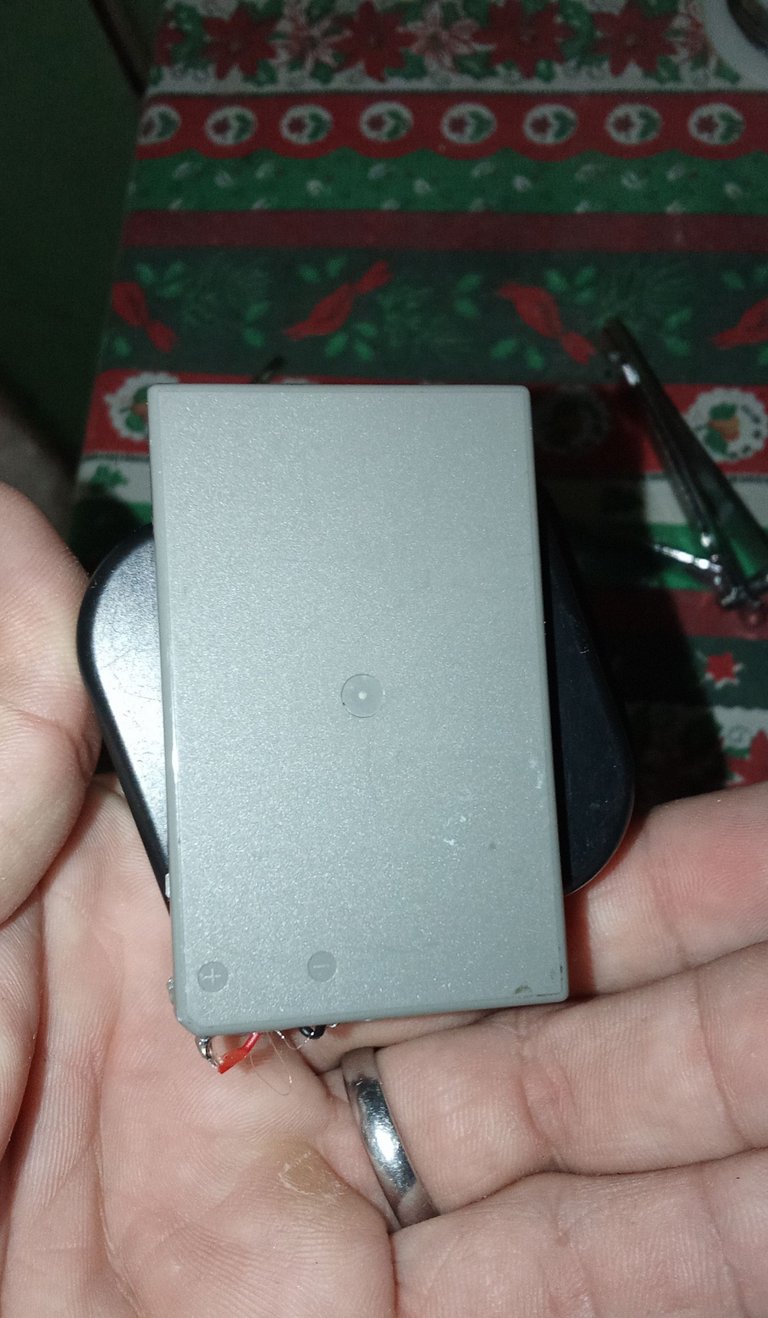
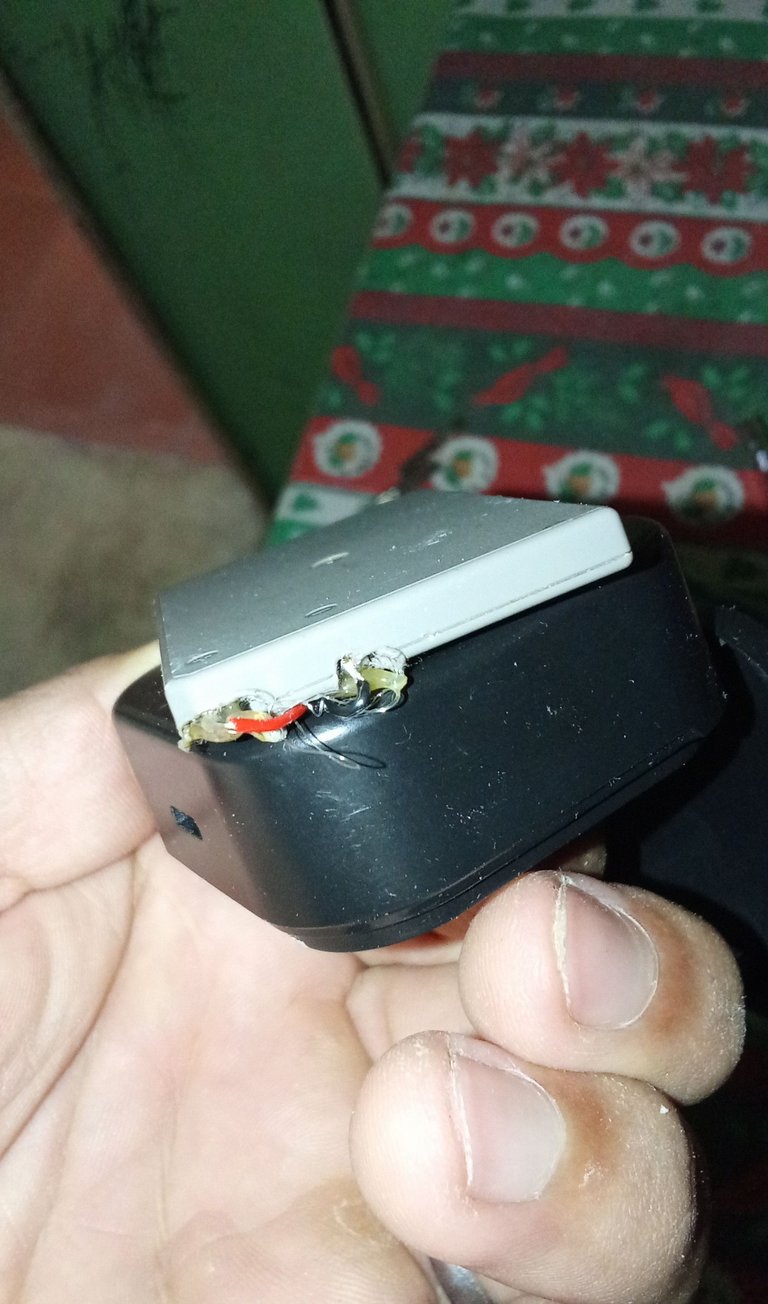
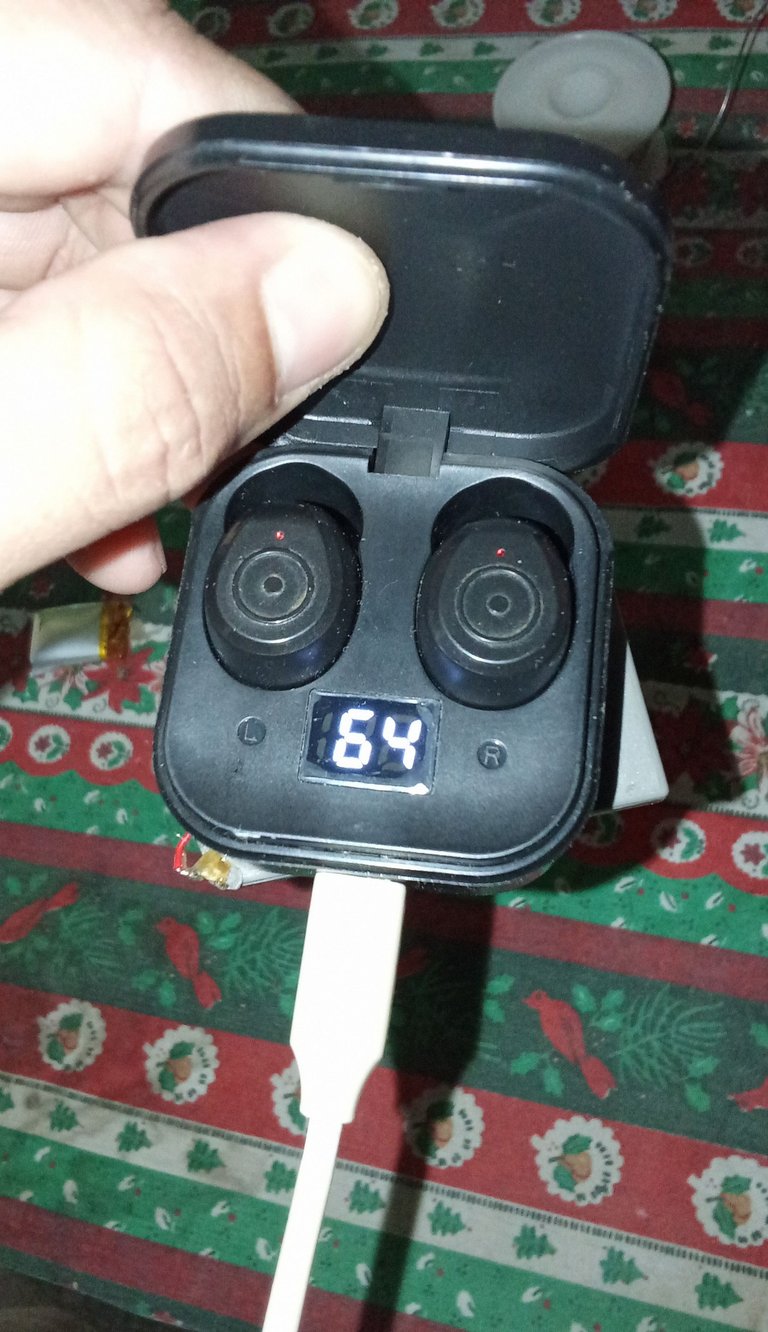
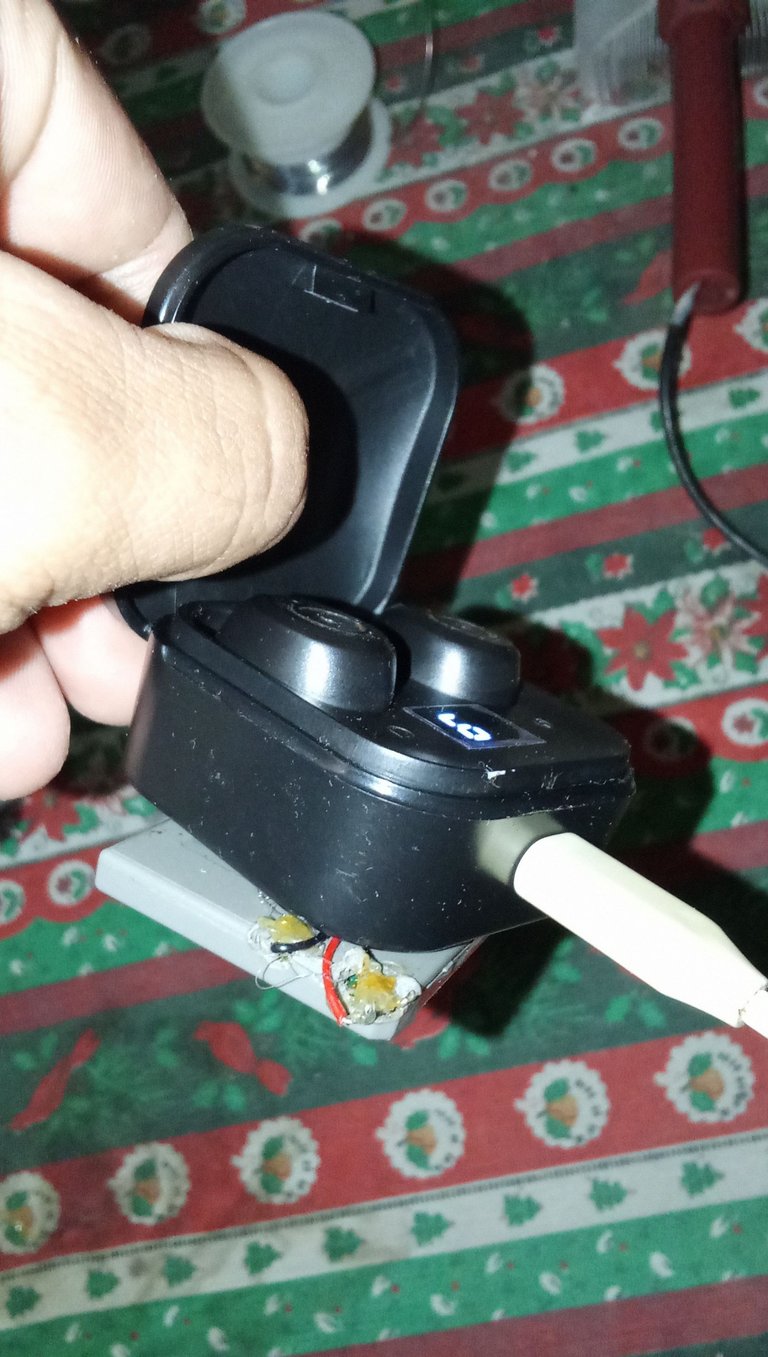
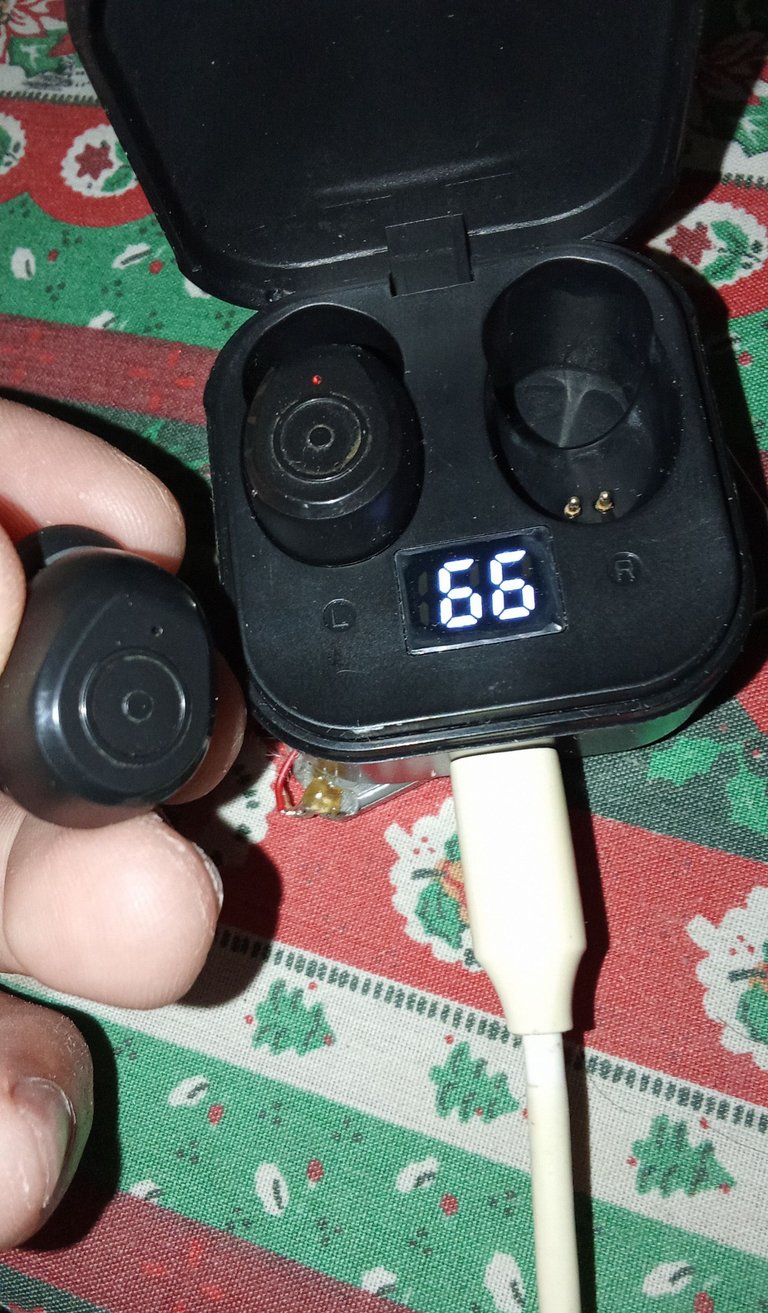
The next step was to look in the recycling bag for some silicone to put on the solder I had made. In the images you can see how it looked after the soldering, from there I put a little silicone on the back to stick the battery so it would fit and not come off. I was very happy when after 30 minutes I went to check, I had 66 percent battery and it turned on perfectly, thank God I was able to do it myself. Greetings to everyone.
El siguiente paso fue buscar en la bolsa de reciclaje un poco de silicon para colocarle a la soldadura que había hecho. En las imágenes pueden observar como quedo despues de la soldadura, de hay le puse un poco de silicón a la parte de atrás para pegar la batería para que quedara ajustada y no se despegara. Me alegro mucho cuando después de 30 minutos fui a revisar, tenía 66 porciento de bateria y prendieron perfectamente gracias a Dios pude hacerlo yo mismo Saludos para todos.
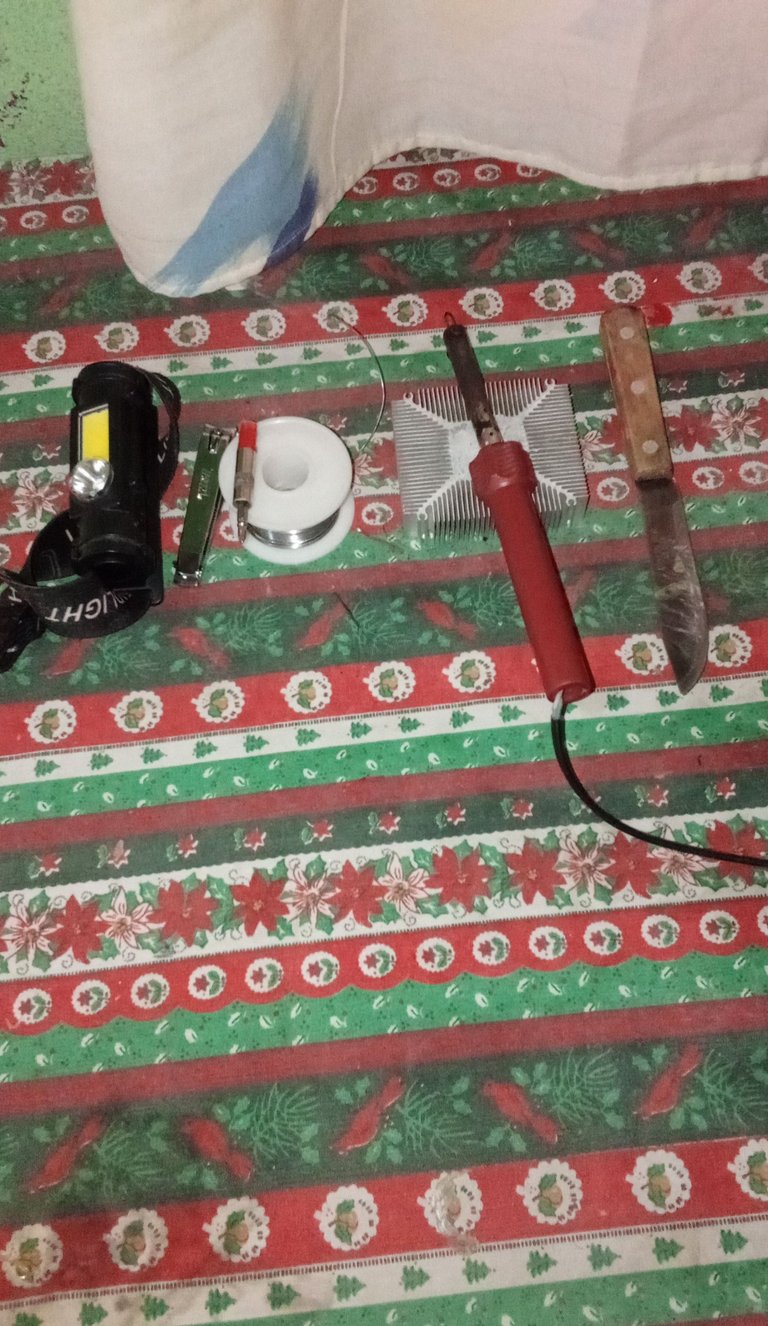
Materials used:
1).Soldering iron
2).Tin
3).Knife
4).A base for a cooler to support the soldering iron
5).Flashlight
6).Nail clippers
7).Slotted screwdriver
8).Silicon
9).Soap
Materiales utilizados:
1).Cautín
2).Estaño
3).Cuchillo
4).Una base de un cooler para el soporte del Cautín
5).Linterna
6).Cortauñas
7).Destornillador de estría
8).Silicon
9).Jabón
If you got this far, I want to thank you for your support. A big hug to all of you. Happy start to the week.
Author: @tecrreiro
Phone Used: Redmi A3
Translator Used: Google
Si llegaste hasta aquí quiero darte las gracias por el apoyo un fuerte abrazo para todos se les quiere Feliz inicio de semana.
Autor:@tecrreiro
Teléfono Utilizado: Redmi A3
Traductor Utilizado: Google
Hola bienvenido, en el siguiente enlace tienes unas serie de recomendaciones que puedes aplicar en tus siguientes publicaciones para que puedas conseguir mayor alcance en curación
https://peakd.com/hive-130560/@hive-130560/actualizacion-de-nuestras-reglas-en-la-comunidad-updating-our-community-rules-espeng
Genial! Muchas gracias, me siento muy contento de ser parte de esta gran comunidad tomare en cuenta sus recomendaciones.