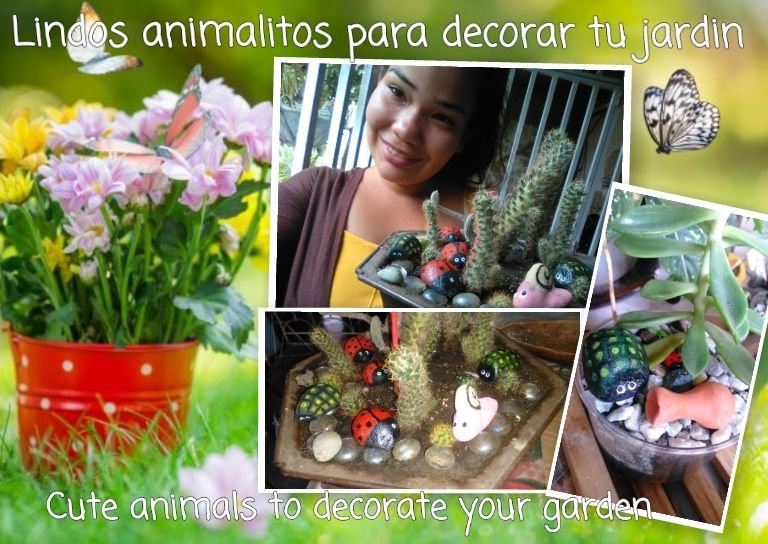
Hola queridos amigos. Espero se encuentren felices y muy sanos. Hoy les voy a enseñar como hice estos lindos animalitos para decorar sus plantas.
Hello dear friends. I hope you are happy and very healthy. Today I am going to show you how I made these cute little animals to decorate your plants.
Una de mis actividades favoritas cuando voy al río es buscar piedritas con formas de animales o con colores llamativos. Así se me ocurrió esta idea para decorar mis pequeñas plantas. Hoy les mostrare como hacer un morrocoy y una mariquita.
Para los que no saben, un morrocoy es un tipo de tortuga terrestre muy común como mascotas aquí en Venezuela.
One of my favorite activities when I go to the river is to look for pebbles with animal shapes or bright colors. So I came up with this idea to decorate my little plants. Today I will show you how to make a morrocoy and a ladybug.
For those who don't know, a morrocoy is a type of land turtle very common as pets here in Venezuela.
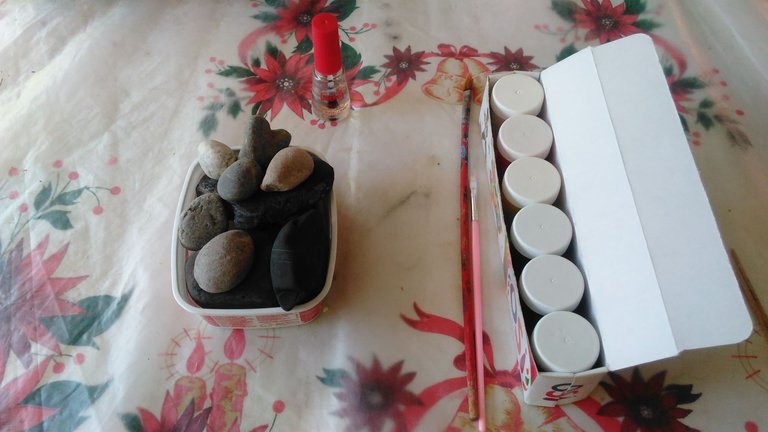
Materiales
Piedras con formas similares a los animalitos que quieras hacer.
Pinturas
Pinceles
Brillo de uñas
Materials
Stones with shapes similar to the animals you want to make.
Paints
Brushes
Nail polish
Para hacer él morrocoy /To make the morrocoy
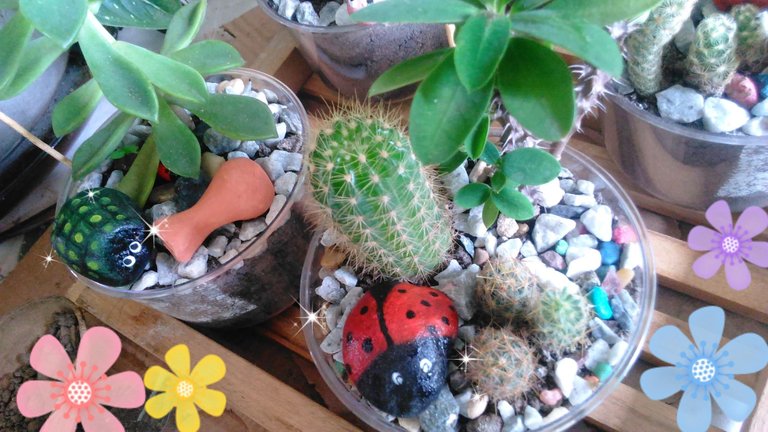
Tome mi piedra con forma de morrocoy y la pinte verde oscuro. Luego con pintura negra y un pincel fino, dibuje la parte delantera, las lineas horizontales y verticales carteristicas del caparazón de este animalito.
I took my morrocoy shaped stone and painted it dark green. Then with black paint and a fine brush, I drew the front part, the horizontal and vertical lines characteristic of the shell of this little animal.
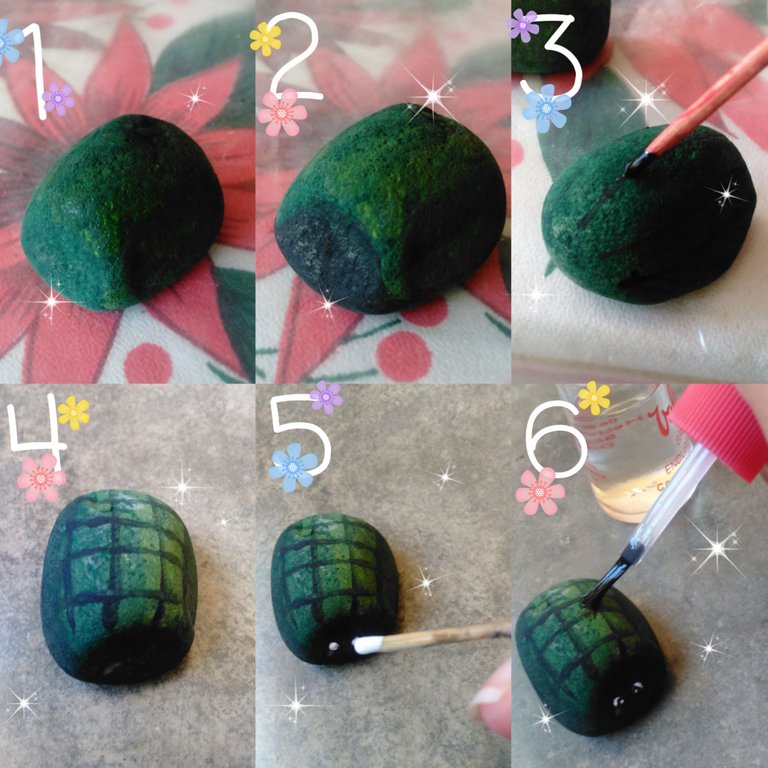
Con pintura amarilla dibuje un punto en cada cuadro del caparazón. Con pintura blanca hacemos 2 puntos para sus Ojos y en él centro de los puntos blancos un punto negro para sus pupilas.
With yellow paint draw a dot on each square of the shell. With white paint we make 2 dots for its Eyes and in the center of the white dots a black dot for its pupils.
Ya para finalizar cubrimos nuestro morrocoy con una capa de brillo de uñas, esto le ayudara a que mantenga la pintura y le dará un me mejor acabado.
Finally we cover our morrocoy with a coat of nail polish, this will help it to keep the paint and will give it a better finish.
Cabe destacar que estos serán morrocoys tímidos, por eso no salen de su caparazón 😂
- It should be noted that these morrocoys will be shy, so they do not come out of their shells. 😂
Para hacer la mariquita / To make the ladybug
Tome mi piedra con forma de mariquita y la pinte de negro. Luego pinte sus alas con pintura roja. Nuevamente con la pintura negra hice sus características motas y la linea de separación de sus alas.
Con la pintura blanca hice dos puntos para sus ojos y sus pupilas con la pintura negra.
I took my ladybug shaped stone and painted it black. Then I painted its wings with red paint. Again with the black paint I made her characteristic speckles and the line separating her wings.
With the white paint I made two dots for her eyes and her pupils with the black paint.
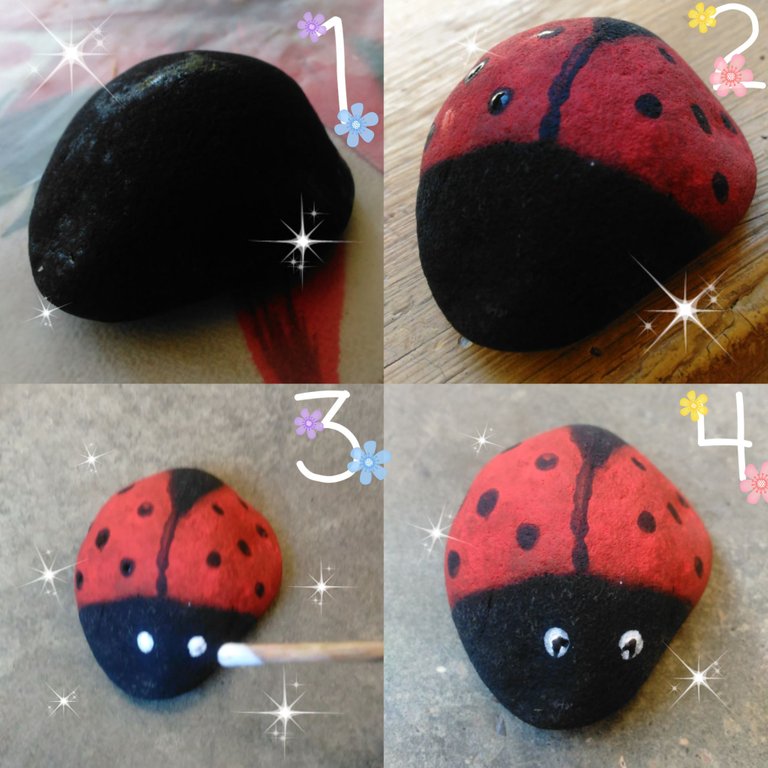
Ya para finalizar también le agregamos una capa de brillo de uñas al igual que con nuestro morrocoy.
Finally, we also add a coat of nail polish as we did with our morrocoy.
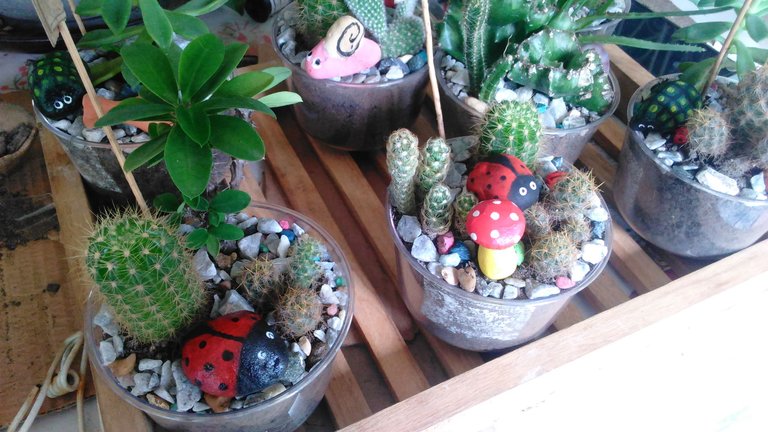
Como pueden ver en las fotos también hice un caracol. Ustedes pueden hacer los que quieran, todo depende de tu imaginación.
As you can see in the pictures I also made a snail. You can make as many as you want, it all depends on your imagination.
Espero les haya gustado esta idea para decorar y darle vida a nuestro jardín ♥ Se les quiere mucho!
I hope you liked this idea to decorate and give life to our garden ♥ You are very much loved!
Las fotos fueron tomadas con mi celular
Ediciones de imagen y banner fueron realizadas con Cymera y Canva
Traducido con Deepl
The photos were taken with my cell phone
Image and banner edits were made with Cymera and Canva.
Translated with Deepl

The rewards earned on this comment will go directly to the person sharing the post on Twitter as long as they are registered with @poshtoken. Sign up at https://hiveposh.com.
#posh @ocd @appreciator @neoxian @rocky1
Congratulations @stephyoung! You have completed the following achievement on the Hive blockchain and have been rewarded with new badge(s) :
Your next target is to reach 1500 upvotes.
You can view your badges on your board and compare yourself to others in the Ranking
If you no longer want to receive notifications, reply to this comment with the word
STOPCheck out the last post from @hivebuzz:
Beautiful Diy ❣️
Gracias amigo! ♥
Thank you for sharing this amazing post on HIVE!
Your content got selected by our fellow curator @stevenson7 & you just received a little thank you via an upvote from our non-profit curation initiative!
You will be featured in one of our recurring curation compilations and on our pinterest boards! Both are aiming to offer you a stage to widen your audience within and outside of the DIY scene of hive.
Join the official DIYHub community on HIVE and show us more of your amazing work and feel free to connect with us and other DIYers via our discord server: https://discord.gg/mY5uCfQ !
If you want to support our goal to motivate other DIY/art/music/homesteading/... creators just delegate to us and earn 100% of your curation rewards!
Stay creative & hive on!