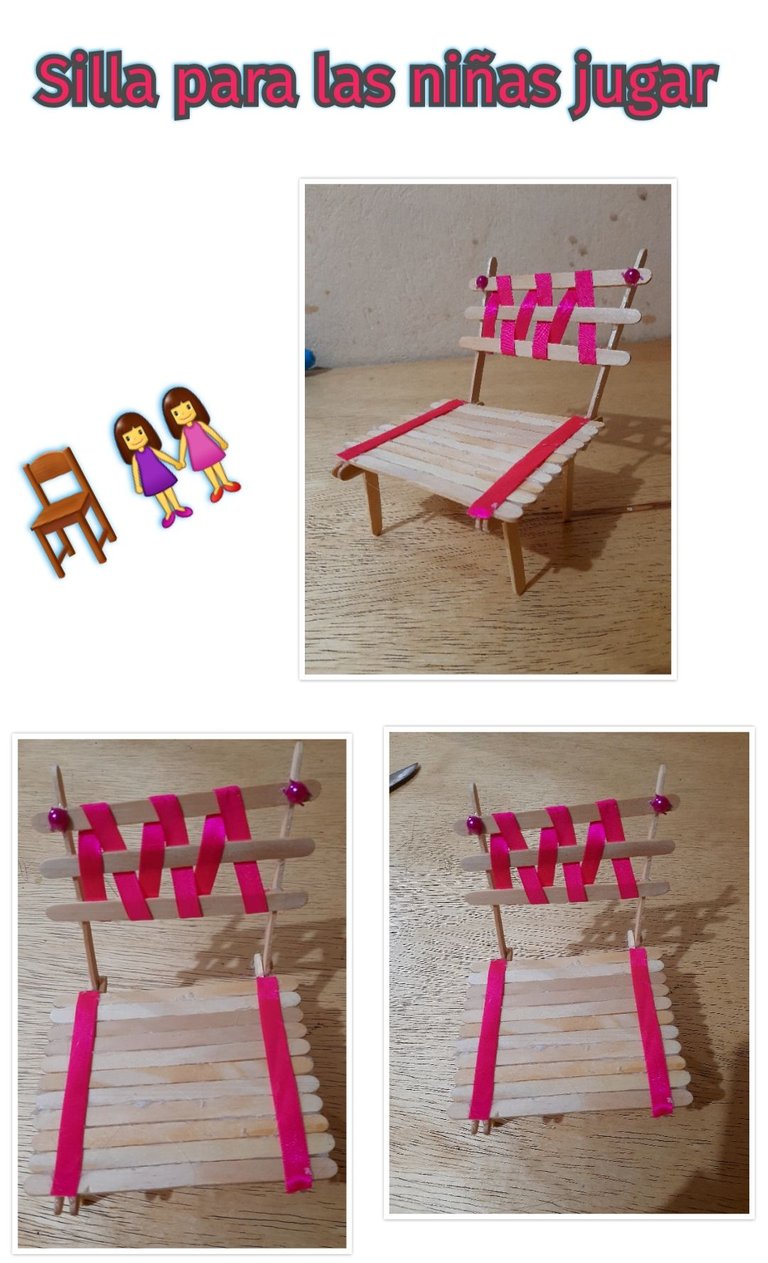
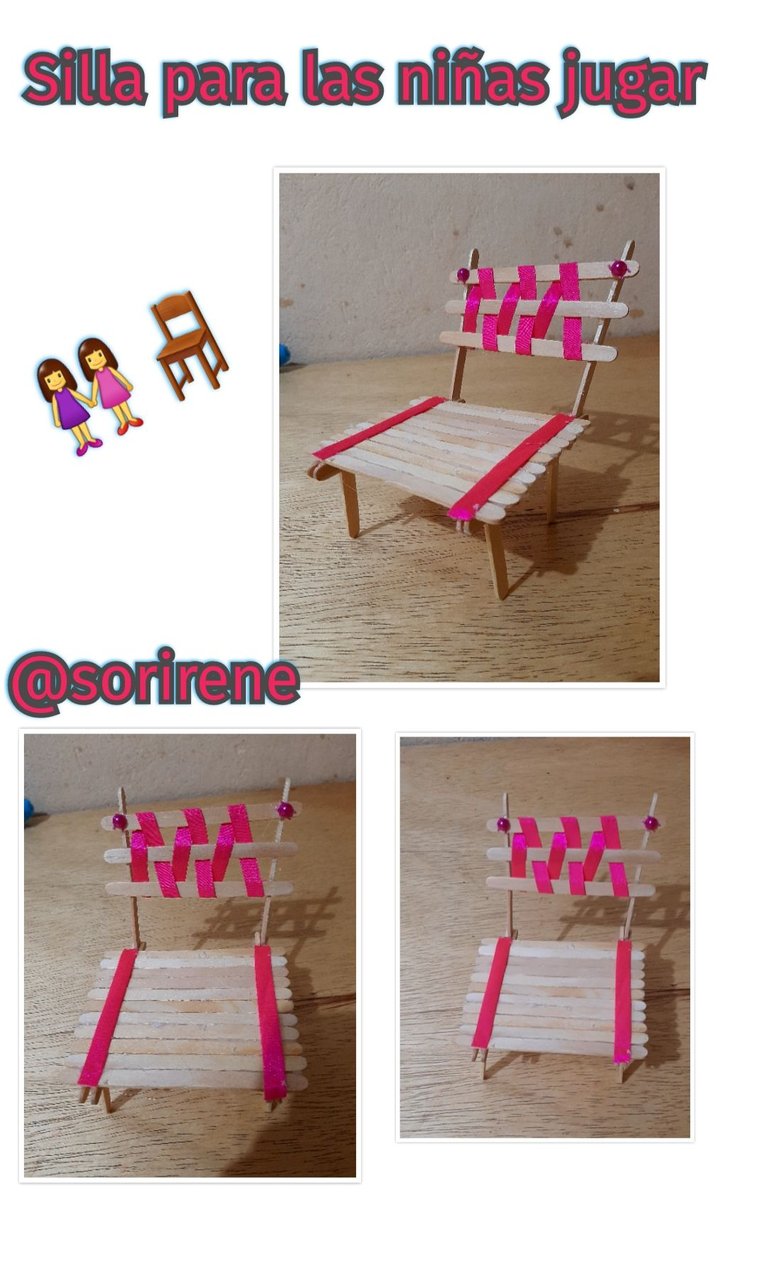
Good evening friend of this Hive one more day with you to show you how I made a chair to decorate or girls play doll Since one also participates the game of the girl that's why I like this platform.
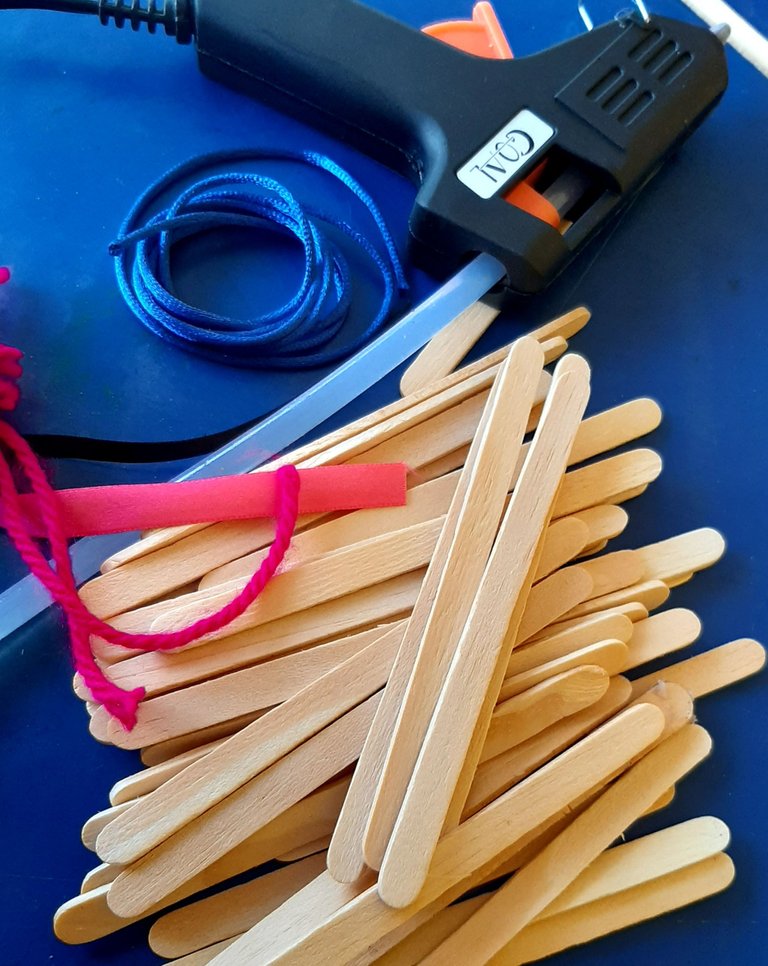
Materiales
- paletas
- silicon caliente
- sinta
Materials
- trowels
- hot silicone
- synta
Paso 1 / Step 1
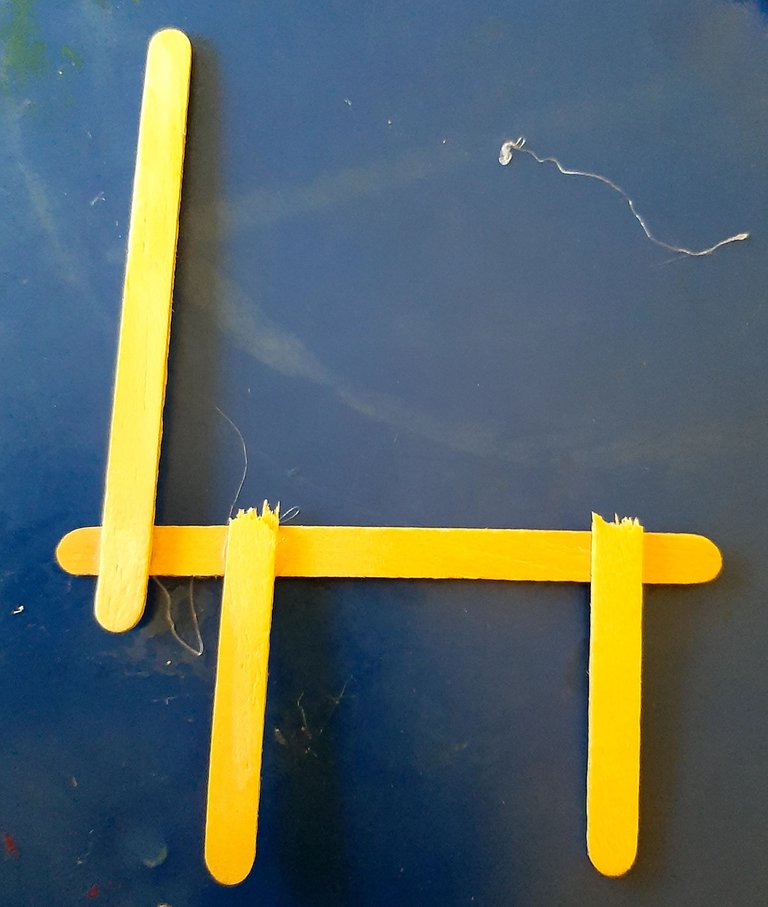
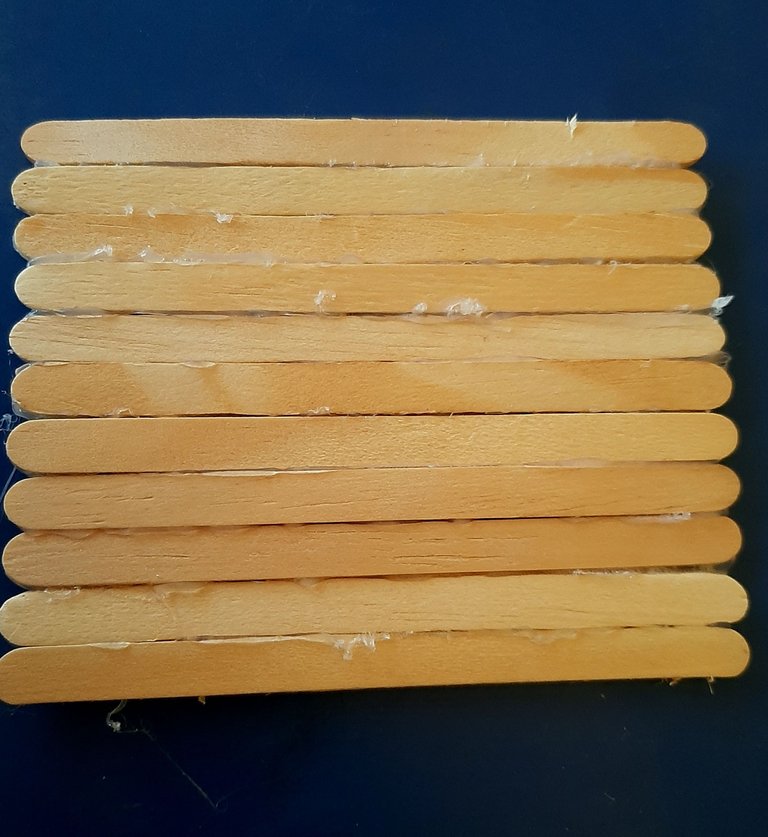
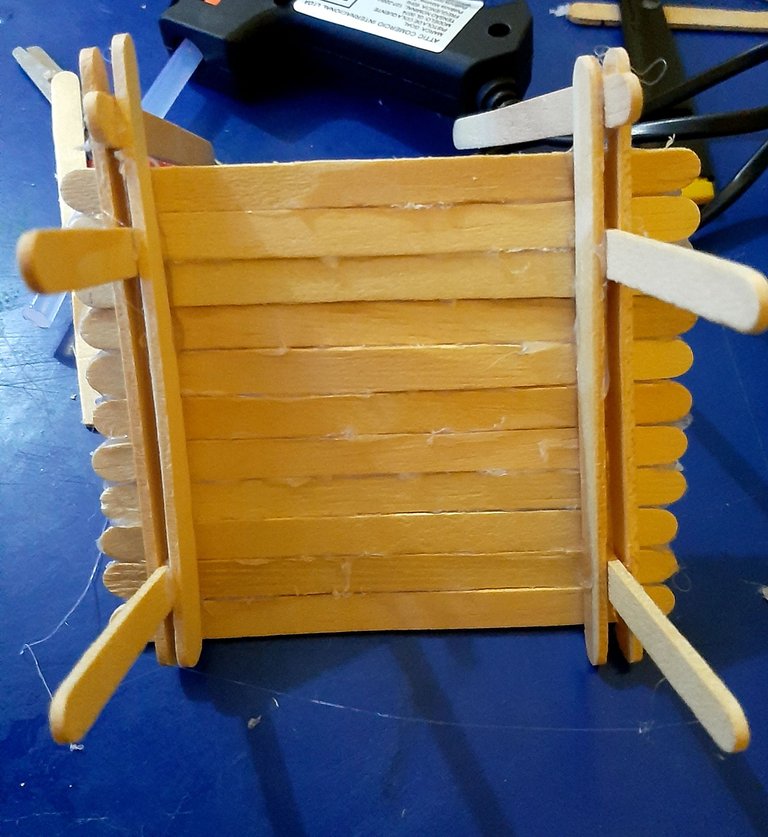
Tomamos 10 paletas y la pegamos unas a una formar el centro de la Silla continuamos tomando una paleta acostada y pegamos las dos patitas Qué son de media paletas 1 a un extremo y otra en el otro extremo y una de arriba para hacer el espaldar y luego pegamos otra paleta acostada encima de la otra que forma el cuadro de las patas hacemos dos partes iguales
We take 10 pallets and glue them one by one to form the center of the chair we continue taking a pallet lying down and glue the two little legs which are half pallets 1 at one end and one at the other end and one at the top to make the backrest and then glue another pallet lying on top of the other that forms the frame of the legs we make two equal parts.
Paso 2 / Step 2
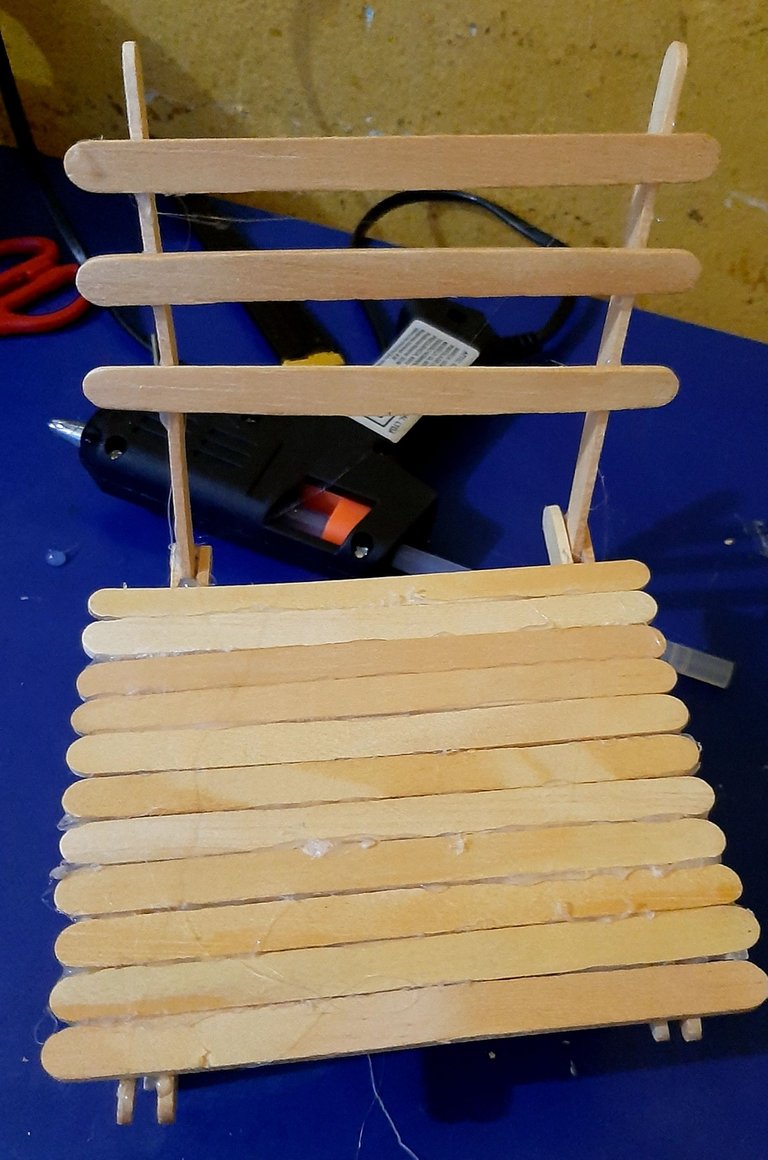
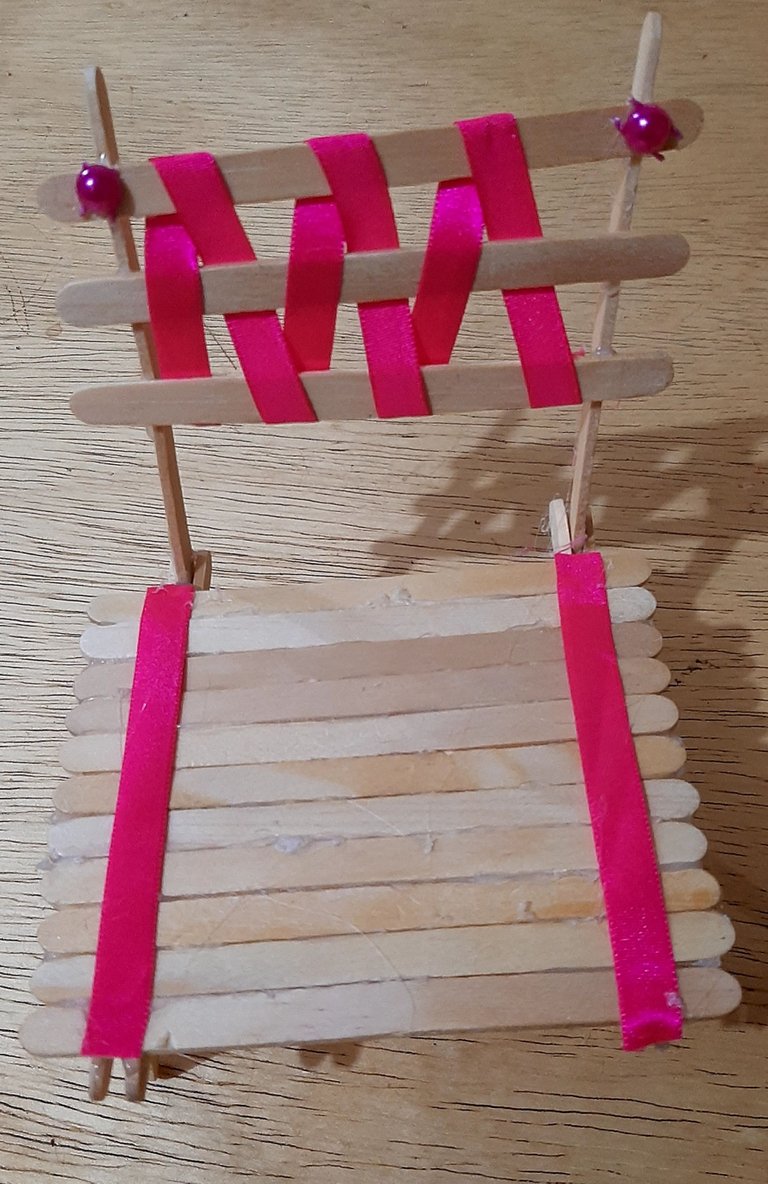
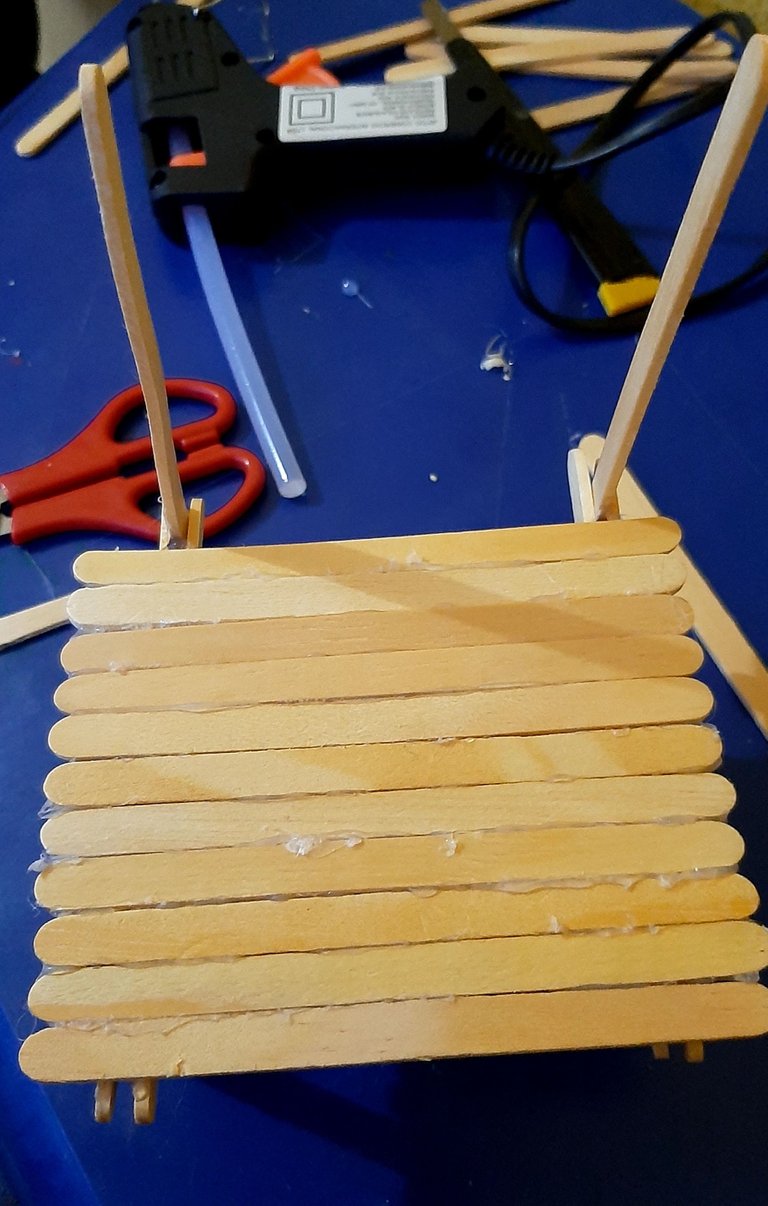
Seguidamente Ya teniendo esas tres partes formada vamos a pegar el centro de la Silla a una de las partes de la pata pegando la de lado a lado con las paletas que va hacia arriba pegamos el otro lado y así tenemos la Silla casi formada continuamos pegando tres paletas que forma la espalda de la Silla de lado a lado y así quedará lista la Silla decoramos a nuestra manera en el caso mío lo hice con cinta entrelazada en la espalda para darle vistosidad y 2 sinta a cada orilla de el asiento y así quedó lista nuestra silla
Next, having these three parts already formed, we are going to glue the center of the chair to one of the parts of the leg, gluing the one from side to side with the pallets that goes upwards, we glue the other side and thus we have the chair almost formed, we continue gluing three pallets that form the back of the chair from side to side and thus the chair will be ready, we decorate it in our way, in my case I did it with intertwined tape on the back to give it a showy look and two strips on each edge of the seat and thus our chair was ready.
Translated with www.DeepL.com/Translator (free version)
Esto fue mi creatividad del día de hoy espero les guste hasta una próxima oportunidad gracias por leer mi post
This was my creativity today, I hope you like it until next time, thanks for reading my post.
