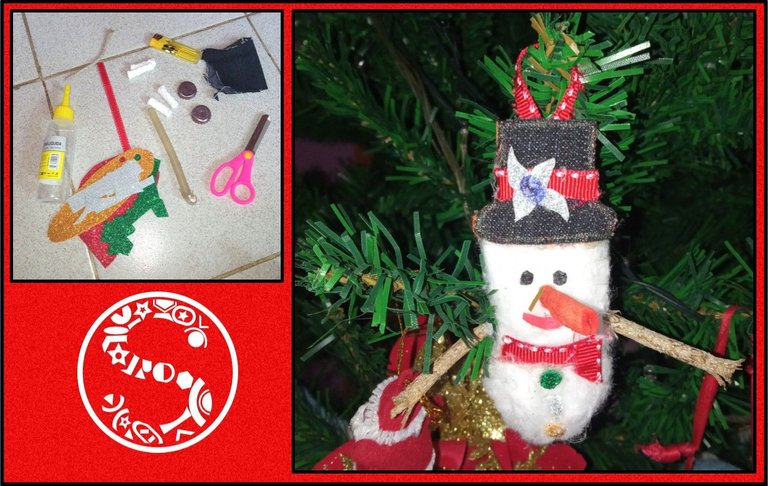
Hello reader friends, happy and blessed Thursday today I will be presenting a cute and charming snowman with reusable material because I wanted to make a craft related to Christmas and I remembered the snowman and I looked for what I would need and I got down to work, do not miss it and join me in the evolution.
Hola amigos lectores, feliz y bendecido jueves el día de hoy les estaré presentando un lindo y encantador muñeco de nieves con material reutilizable pues quería hacer una manualidad referente a las navidades y me acordé del muñeco de nieves y busque lo que necesitaría y me puse manos a la obra, no te lo pierdas y acompáñame en la evolución.
Christmas is a time of joy and sadness because there are many people far away and others who have left us, because they are already by the side of the Lord Jesus Christ, because life is so surprising and I always tell my family to live today as if it were their last time because in reality we do not know when we will leave this world. But as long as we exist let's dedicate time to our families because if we don't do it on time tomorrow it could be too late.
Las navidades son de alegrías y tristezas ya que hay muchas personas lejos y otras que nos han dejado, porque ya están al lado del señor Jesucristo pues la vida es así de sorprendente y siempre le digo a mi familia viva el hoy como si fuera su última vez porque en realidad no sabemos cuándo dejemos este mundo. Pero mientras existamos dediquemoles tiempo a nuestras familias porque si no lo hacemos a tiempo mañana podría ser muy tarde.

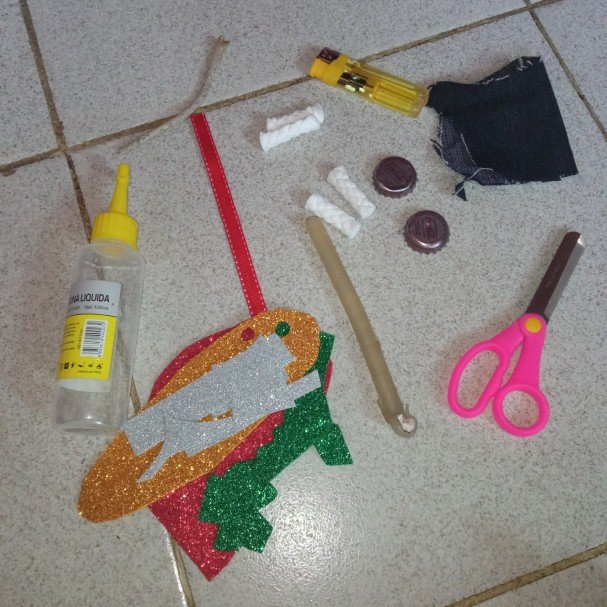
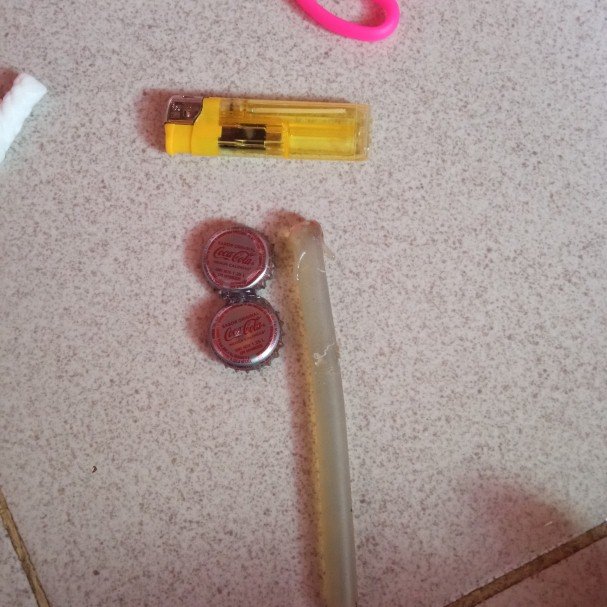
The materials to be used were the following: eva rubber, silicone sticks and liquid silicone, scissors, cotton, soda pop sheets, ribbon, wooden sticks, fabric, leather and lighter.
Los materiales a utilizar fueron los siguientes: goma eva, silicón en barra y líquido, tijera, algodón, chapas de refresco, cinta, palito de madera, tela, cuerina y encendedor.

Here we start the first step and the first thing to do is to put a little silicone on the plates along the edge of the lid and glue the other plate, as shown in the image.
Aquí comenzamos el primer paso y lo primero que se debe hacer es colocarle un poco de silicón a las chapas por el borde de la tapa y pegamos la otra chapa, así como muestro en la imagen.

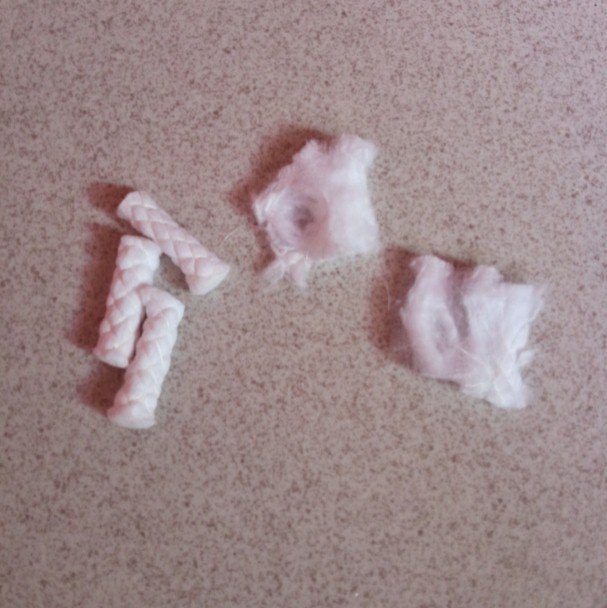
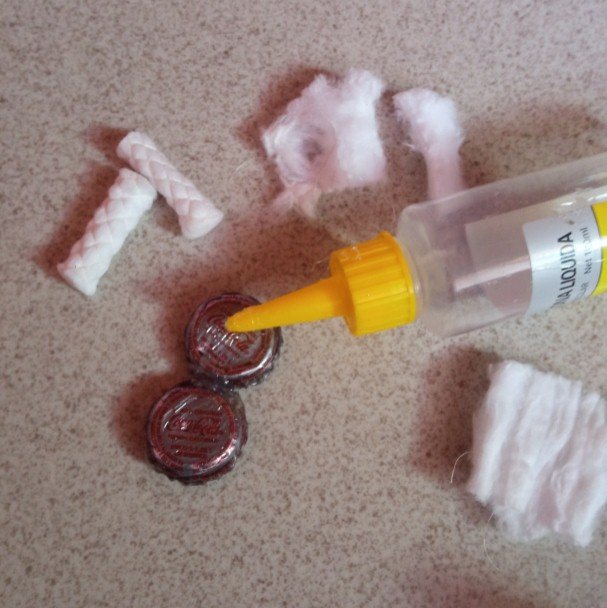
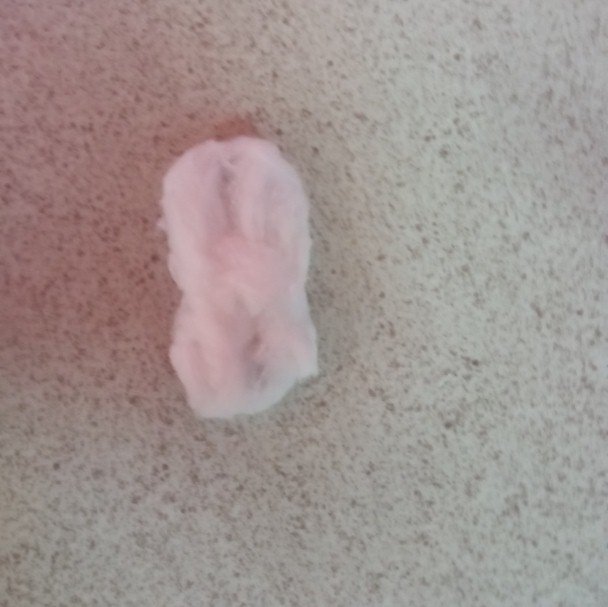
Once the sheets are ready, I take the cotton and unwrap it, leaving it loose, and I put some liquid silicone on the sheets, both on the top and on the edges, and I proceed to glue the cotton and mold it until I get what I want.
Luego de tener listas las chapas agarro el algodón y lo desenvuelvo dejándolo suelto y colocó en las chapas un poco de silicón líquido tanto por la parte de arriba como por sus bordes y procedo a pegar el algodón y voy moldeando hasta obtener lo que deseo.

Here I take the yellow eva rubber and take out the snowman's hat and after having the base, I take the shape of the hat we have in the eva rubber from a black fabric, we put silicone on the yellow part and glue the fabric, making it super cool.
Acá agarro la goma eva amarilla y saco el sombrero del muñeco de nieves y luego de tener la base, saco de una tela negra la forma del sombrero que tenemos en la goma eva, en la parte amarilla le colocamos silicón y pegamos la tela quedando super cool.
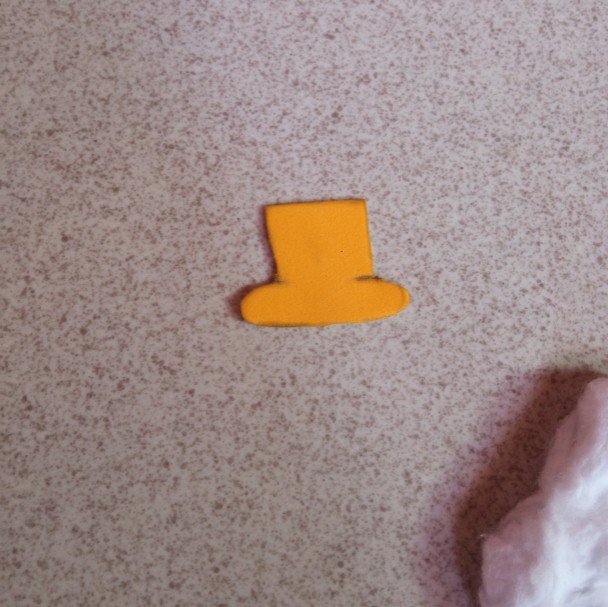
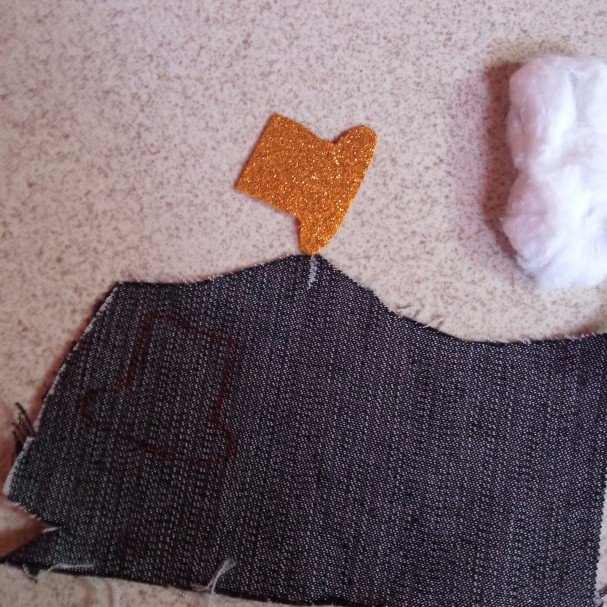
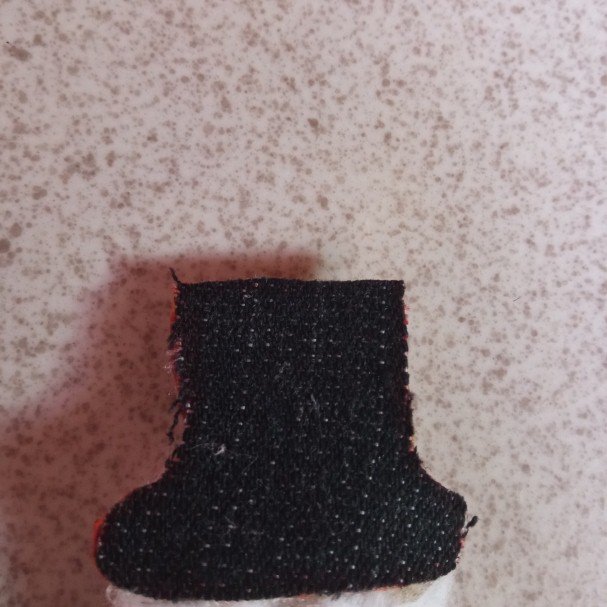
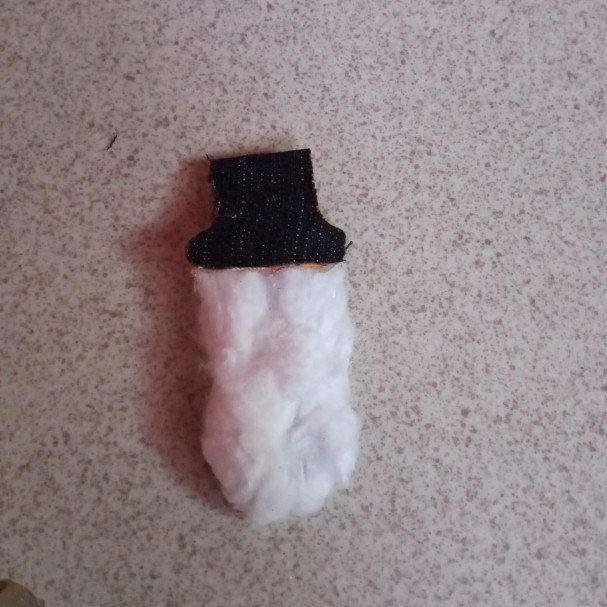

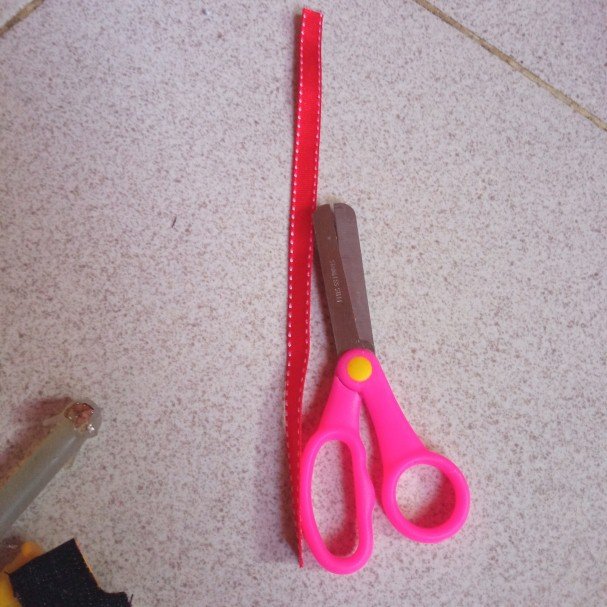
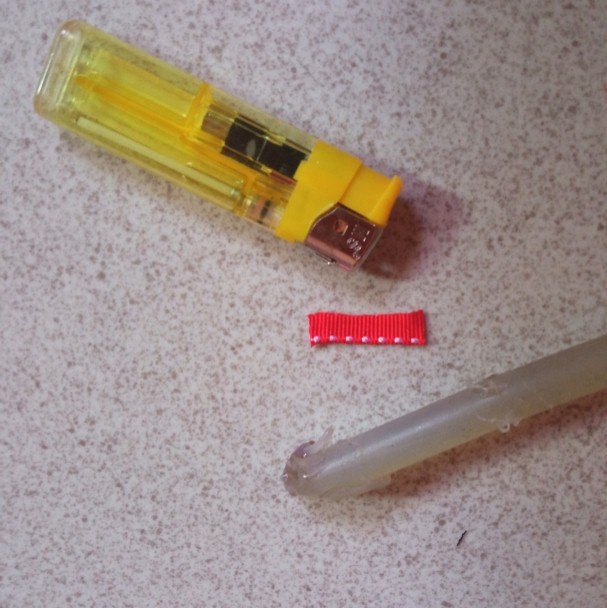
In this step I cut a piece of ribbon in half so as not to leave it so thick and cut it to the size of the hat and start embellishing.
En este paso recortó un pedazo de cinta por la mitad para no dejar tan gruesa y corto al tamaño del sombrero y comienzo adornar.
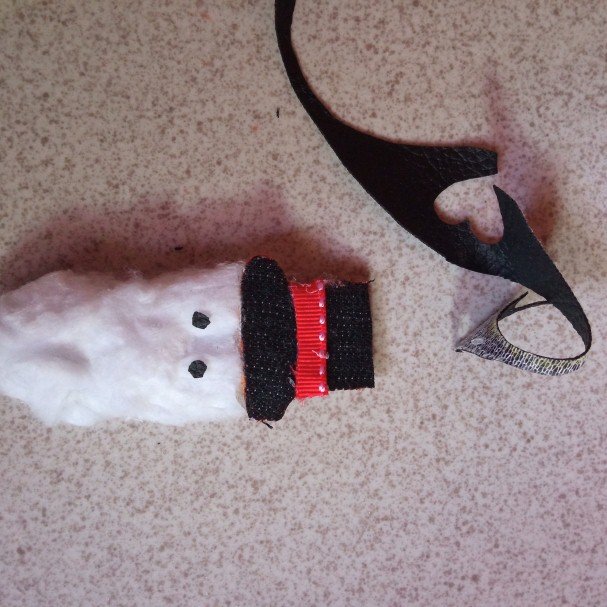

Once the ribbon is glued to the hat, two small eyes are made and glued to the snowman's face.
Ya pegada la cinta en el sombrero con la cuerina se hacen dos ojos pequeños y se pegan a la cara del muñeco de nieves.
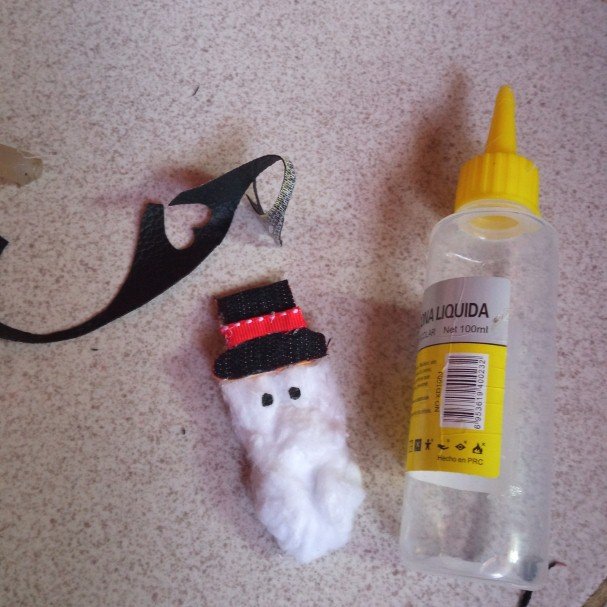

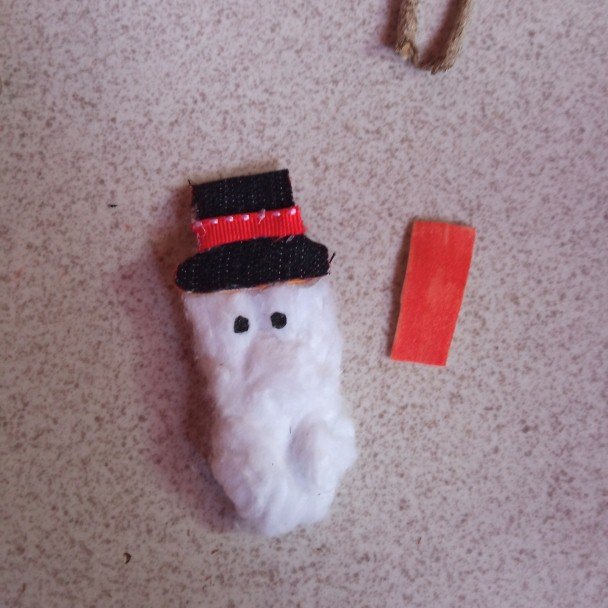
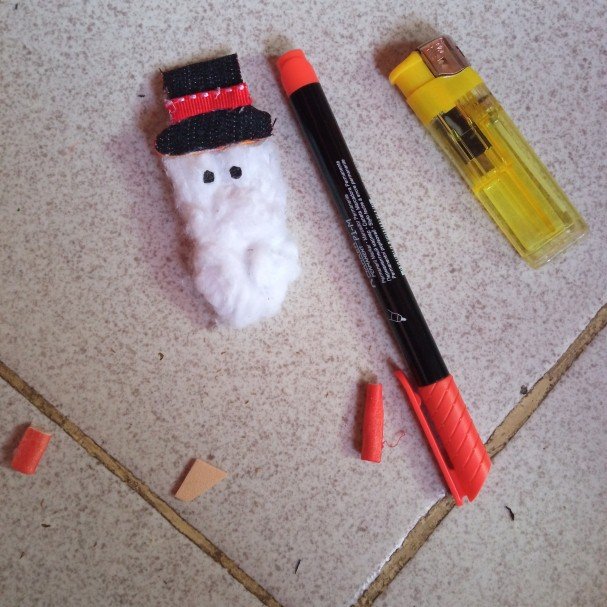
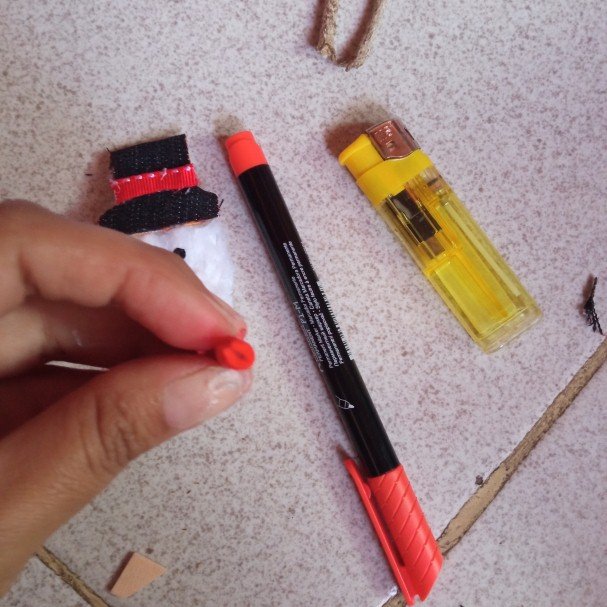
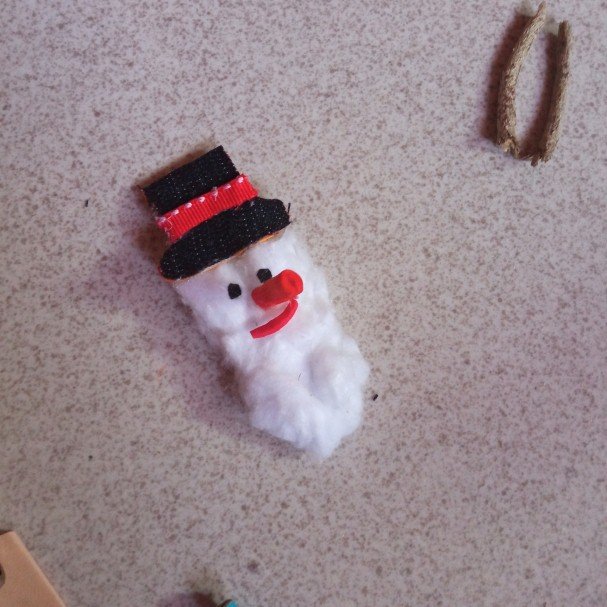
With a piece of flesh-colored eva rubber I make the nose of the snowman to simulate that it is a carrot I put orange marker, then proceed to place a little silicone to the nose and glue it as shown in the images. We also make a mouth with red eva rubber.
Con un retazo de goma eva color carne hago la nariz del muñeco de nieves para simular que es una zanahoria le coloque marcador anaranjado, luego se procede a colocarle un poco de silicón a la nariz y pegamos así como se observan en las imágenes. También se le hace una boca con la goma eva roja.
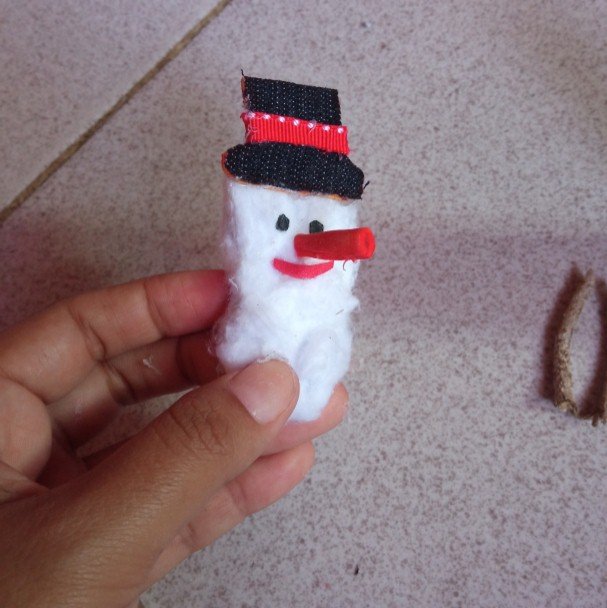

In this step the other half of the ribbon is placed around the center of the circle forming a kind of scarf.
En este paso se le coloca la otra mitad de cinta en todo el centro del círculo formando una especie de bufanda.
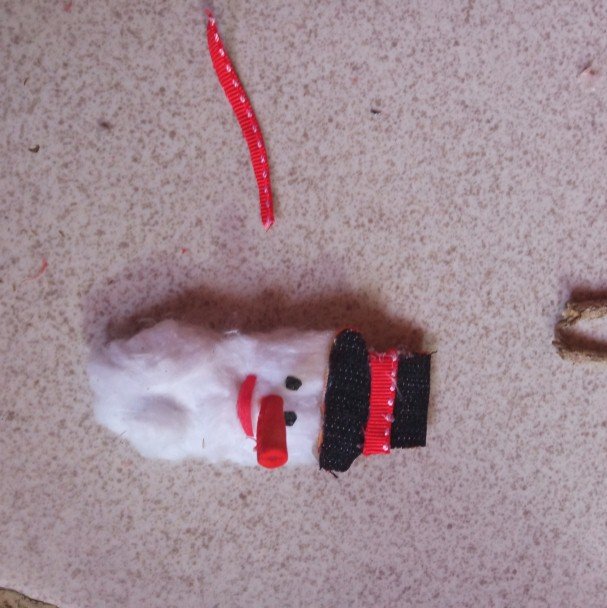
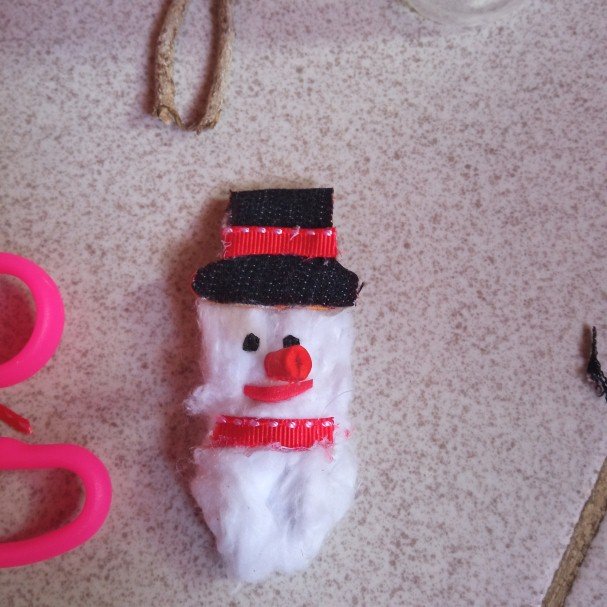
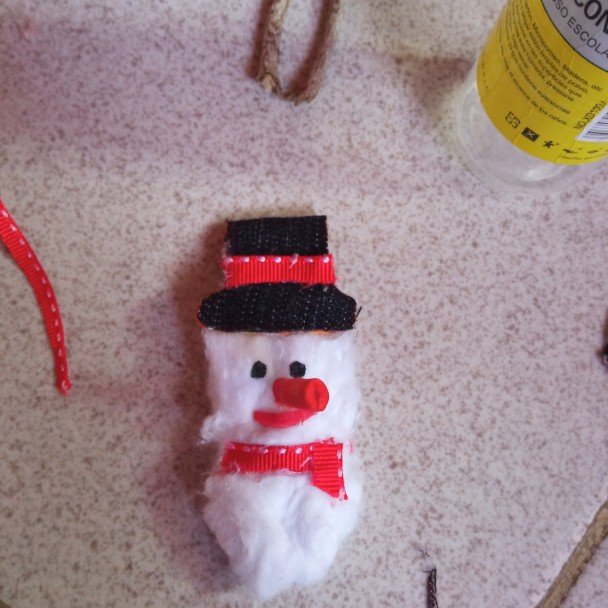

With the green, gold and silver colored eva rubber, make small circles and pay on the other white circle of the snowman.
Con la goma eva de color verde, dorada y plateada se hacen unos pequeños círculos y se pagan en el otro círculo blanco del muñeco de nieves.
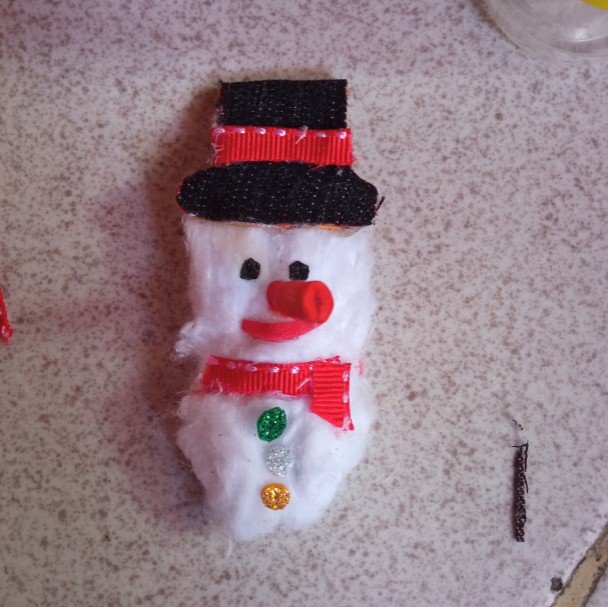
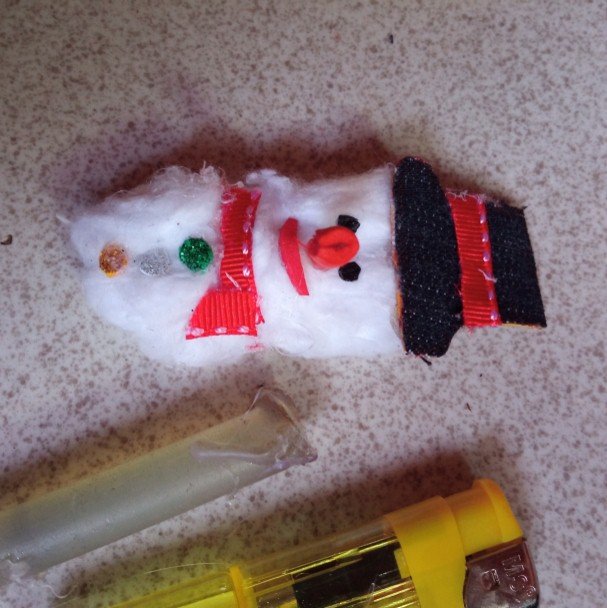

It is important to mention that the arms of the doll will be two dry twigs of wood, they are glued with silicone stick because it sticks instantly and does not require much drying time.
Es importante mencionar que los brazos del muñeco serán dos ramitas de madera secos, se pegan con silicón en barra ya que este pega al instante y no requiere tanto tiempo de secado.
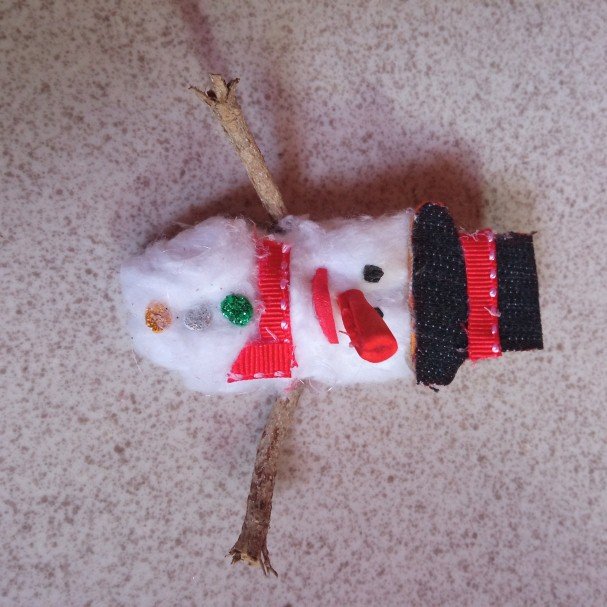

To decorate the hat, I make some leaves like drops and proceed to glue them.
Para adornar el sombrero hago unas hojas tipo gotas y las procedo a pegar.
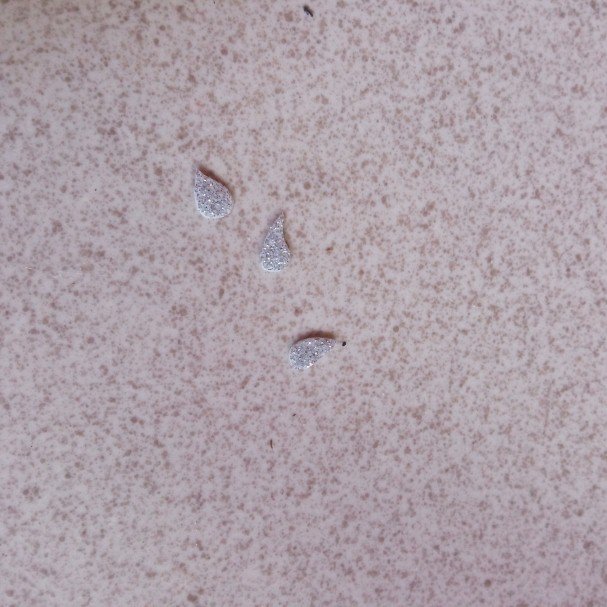
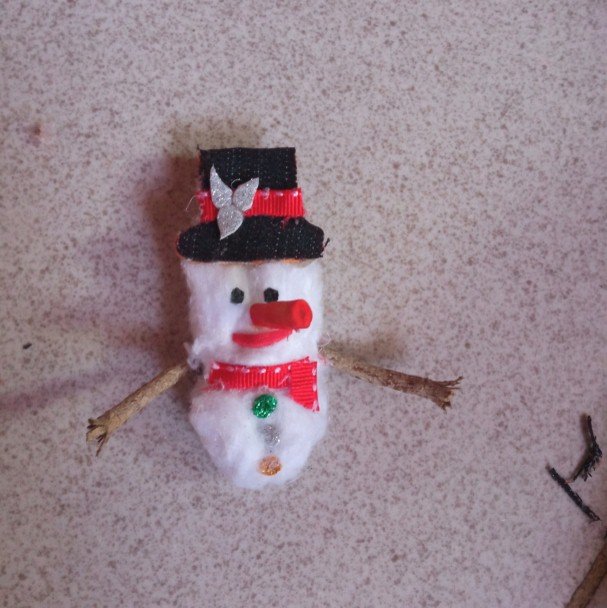

With a frosted pencil I make a blue dot all over the center of the leaves that are decorating the hat.
Con un lapicero escarchado le hago en todo el centro de las hojas que están decorando el sombrero un punto azul.
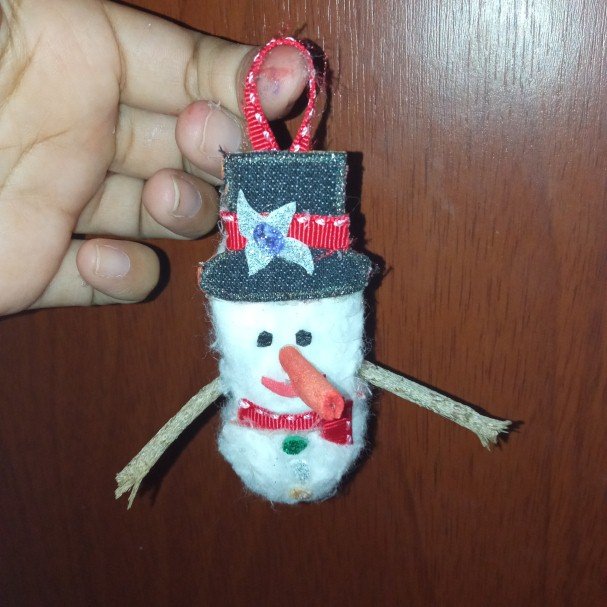

Finally, with a green frosting pencil I placed a line around the edge of the hat to give it a better view and that's how my snowman was finished. Here I leave several images for you to appreciate it.
Ya para finalizar colocó con lapicero escarchado verde por todo el borde del sombrero una líneas para dar más vista y así culminó mi muñeco de nieves. Acá le dejo varias imágenes para que la aprecien.
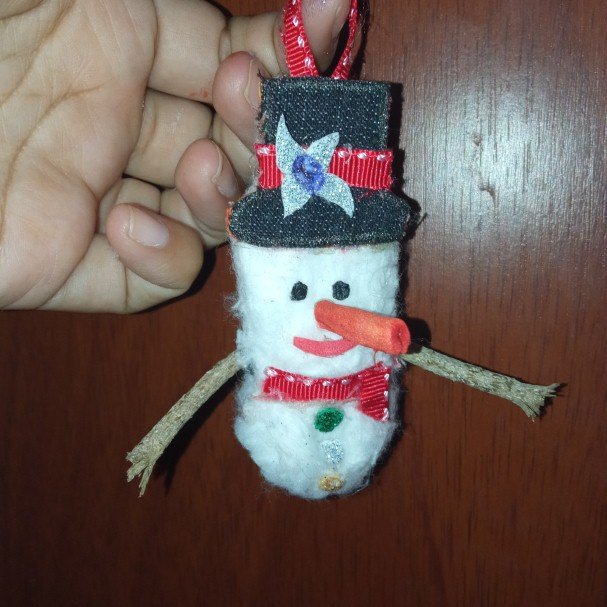
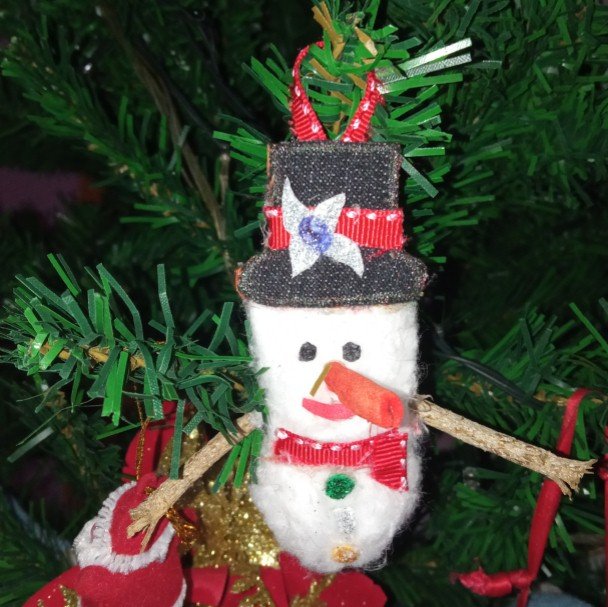
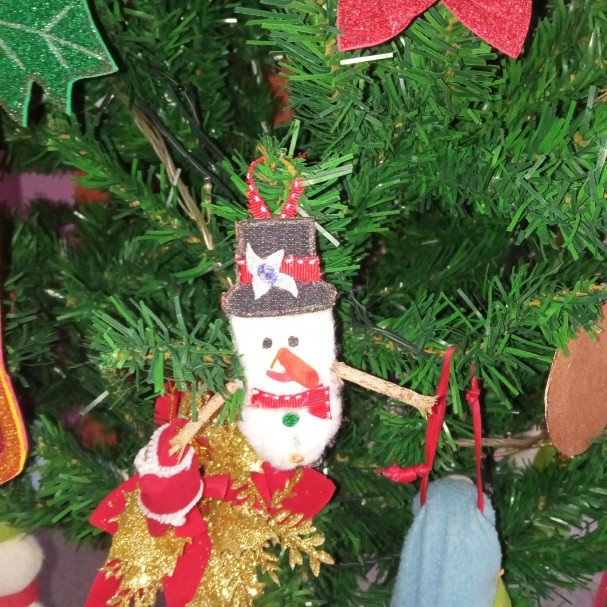
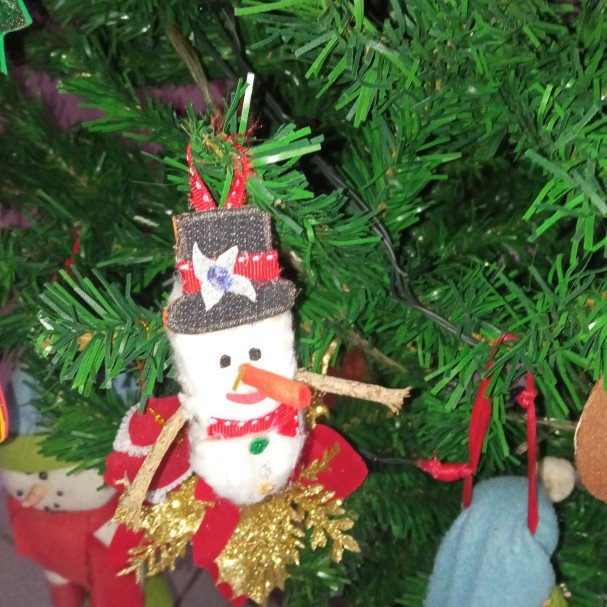

Without more to say and hoping that this craft post is to the liking of each reader I say goodbye with a big hug, love you @shirahoshi see you in a next opportunity.
Sin más que decir y esperando que este post de manualidad sea del agrado de cada lector me despido con un gran abrazo, los quiere @shirahoshi nos vemos en una próxima oportunidad.


The photographs are my own and were taken by me with a Redmi 9 and were edited in powerpoint.
The Step by Step Gif was made by me in AdobePhotoshop CC2014.
The logo was designed by me in Adobe Illustrator CC 2015 and its animated version was made in After Effects CC 2017.
Language corrector used Deepl.
Remember that you can purchase these beautiful pieces of art made and tokenized by me at Nftshowroom at an excellent price. Link to the gallery here


