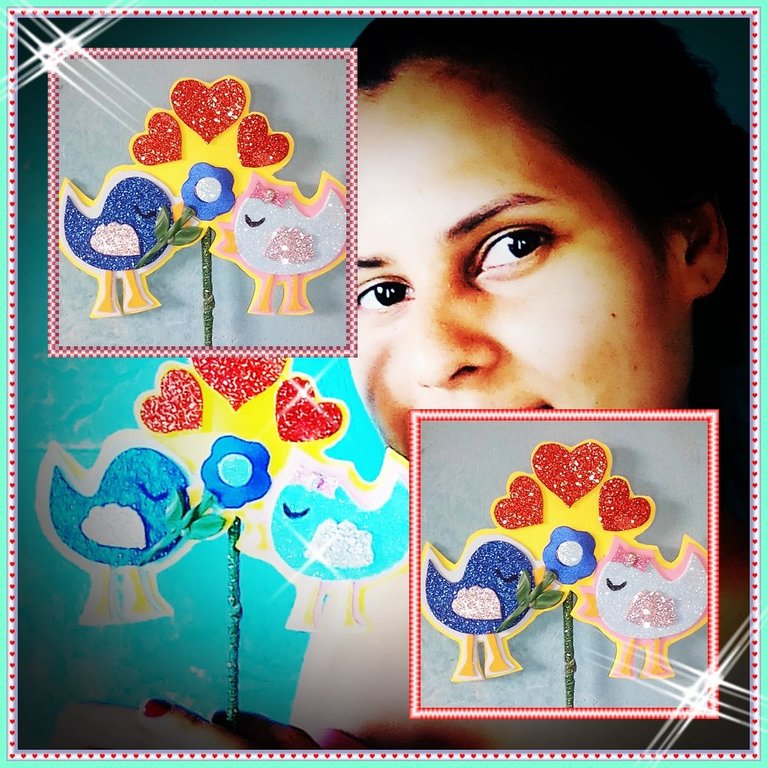
🌸Feliz inicio de semana queridos amigos de la comunidad colmena, espero que se encuentren muy bien. Bienvenidos una vez más a mi blog, como sabemos se acerca el mes del ♥️amor y la amistad♥️ y hoy quiero compartir con ustedes mi paso a paso para hacer una linda manualidad para regalar un lindo detalle y sorprender a esa persona especial. Espero que les guste este trabajo.
Happy start to the week dear friends of the hive community, I hope you are very well. Welcome once again to my blog, as we know the month of ♥️love and friendship♥️ is approaching and today I want to share with you my step by step to make a nice craft to give a nice detail and surprise that special person. I hope you like this work.
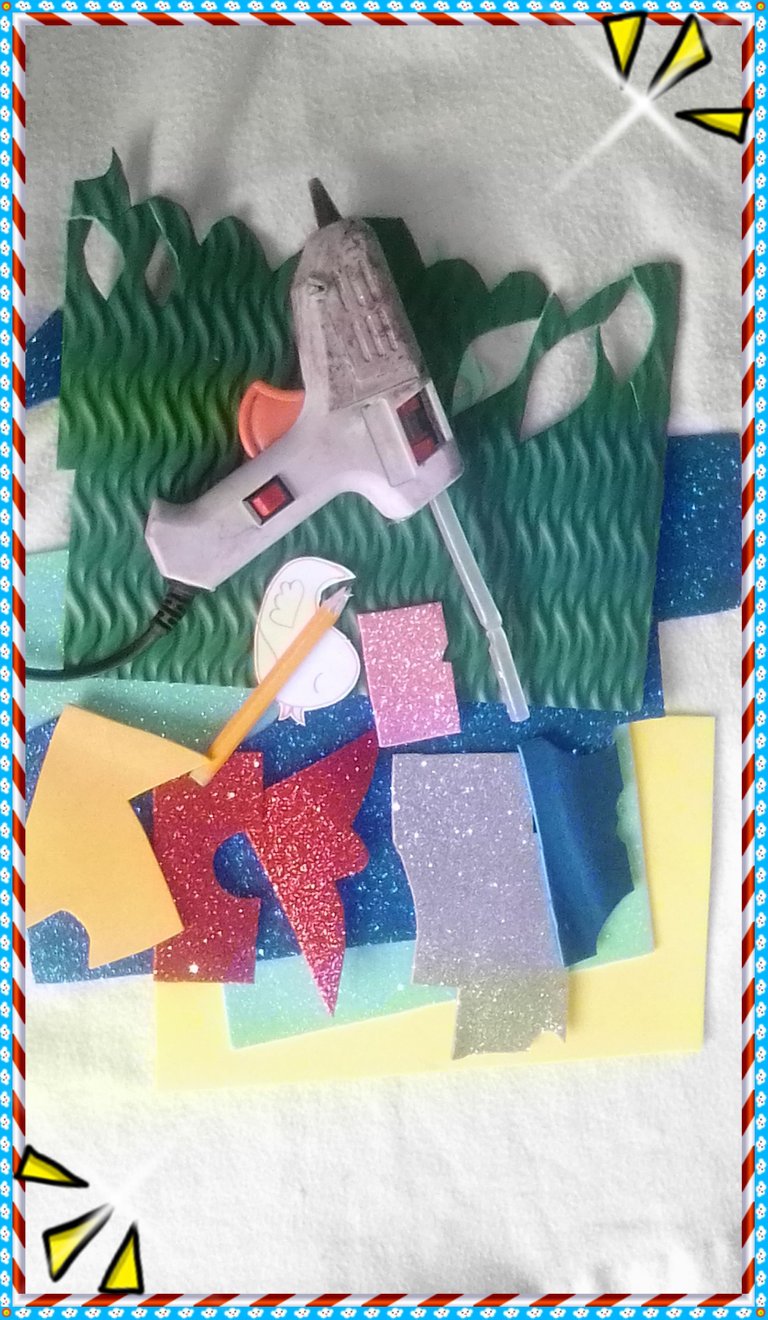
Estos son los materiales que necesitarás:
- Foami de los colores de tu preferencia.
- Lápiz.
- Tijera.
- 1 palo de altura.
- Pistola y barra de silicona.
- Los moldes del diseño de tu elección.
Here are the materials you will need:
- Foami of the colors of your preference.
- Pencil.
- Scissor.
- 1 height stick.
- Gun and silicone bar.
- The molds of the design of your choice.
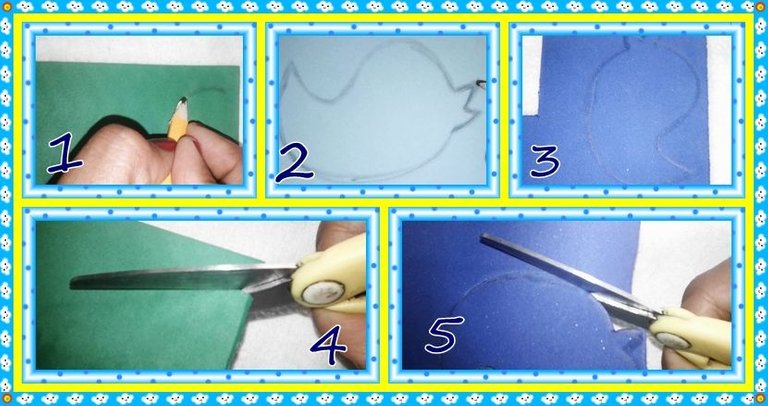
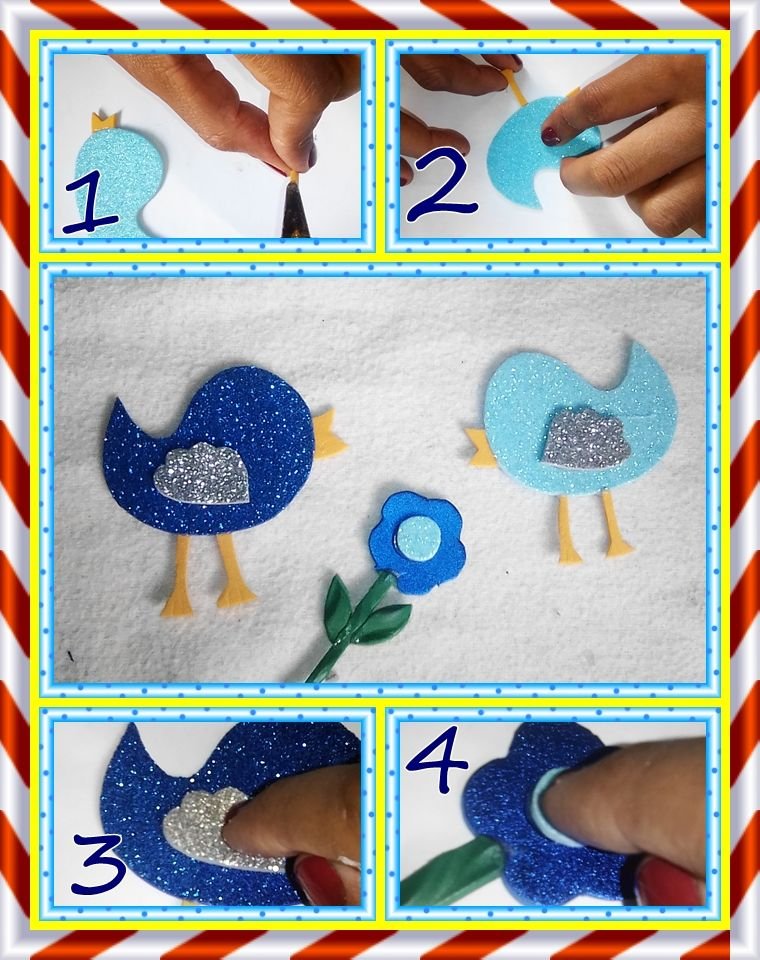
Primero: Marcar y cortar los patrones, en este caso opté por hacer lindos pajaritos.
First: Mark and cut the patterns in this case I chose to make cute little birds.
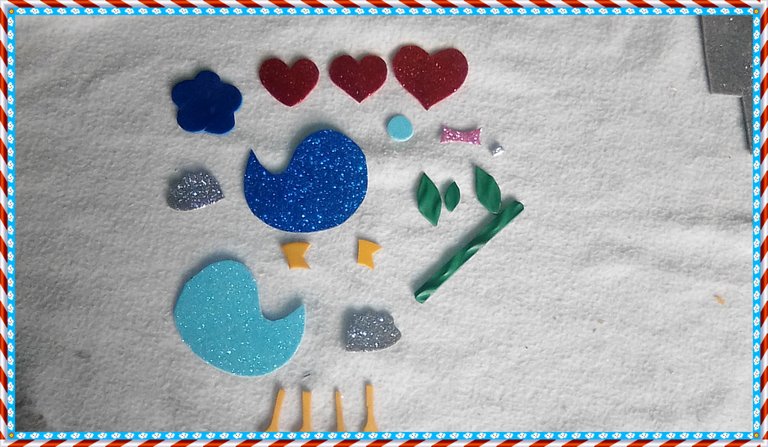
- Así quedan todas las piezas una vez cortadas.
This is what all the pieces look like once cut.
Segundo: Empezar pegando el pico, las alas, las patas de los pajaritos así como la flor.
Second: Start by gluing the beak, the wings, the legs of the little birds as well as the flower.
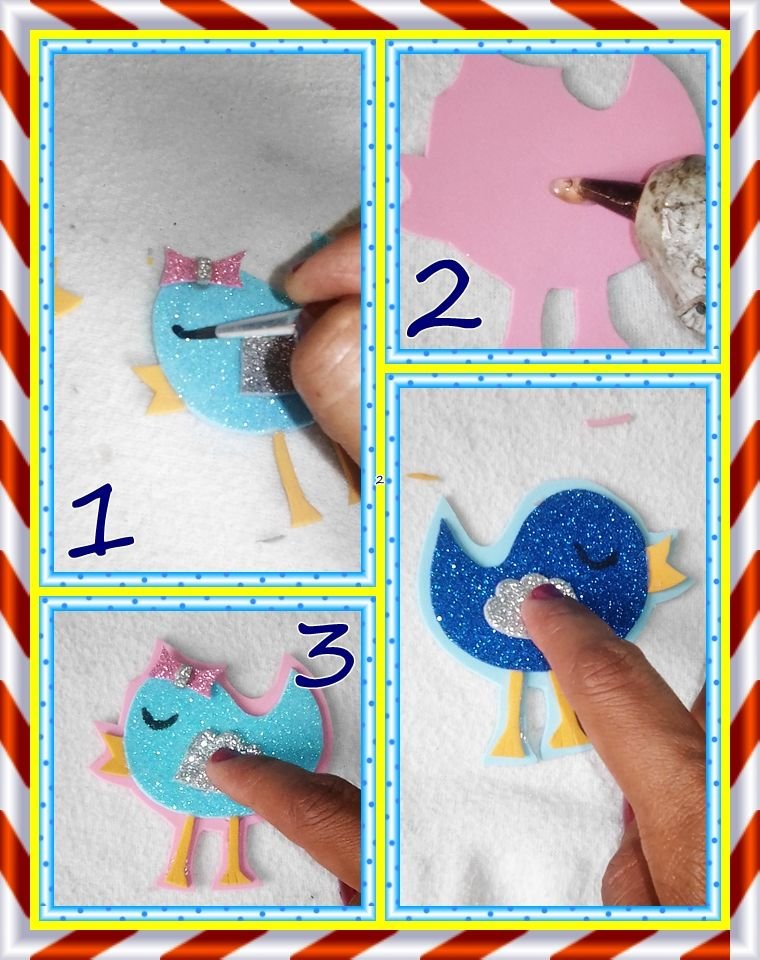
Tercero: Hacer los ojos y seguir pegando las piezas previamente hechas en un alto relieve dejando los bordes.
Third: Make the eyes and continue gluing the pieces previously made on a high relief leaving the edges.
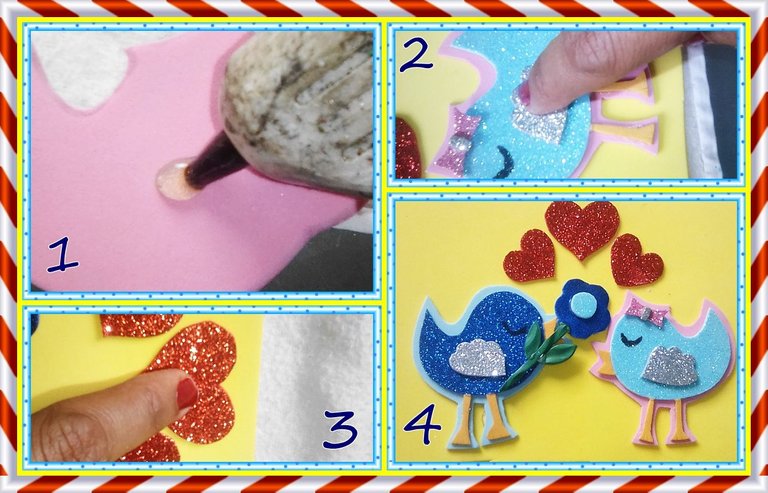
Cuarto: Da los ultimos detalles armando todas la piezas y agregando corazones brillantes.
Fourth: Give the last details by putting together all the pieces and adding bright hearts.
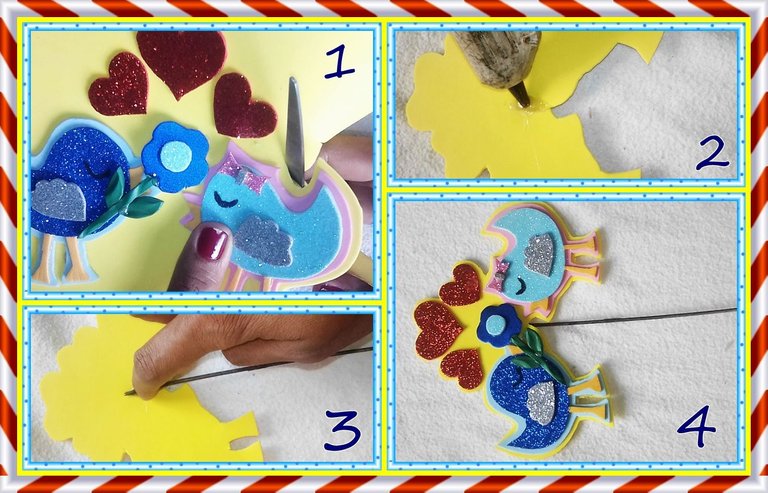
Quinto: Por ultimo pega el diseño en un foami amarillo este sera la base y luego corta los bordes y pega un palito de altura.
Fifth: Finally paste the design on a yellow foami this will be the base and then cut the edges and paste a height stick.
- Esto es todo por hoy, espero les haya gustado este material, nos vemos en una proxima idea.
This is all for today, I hope you liked this material, see you in a next idea.
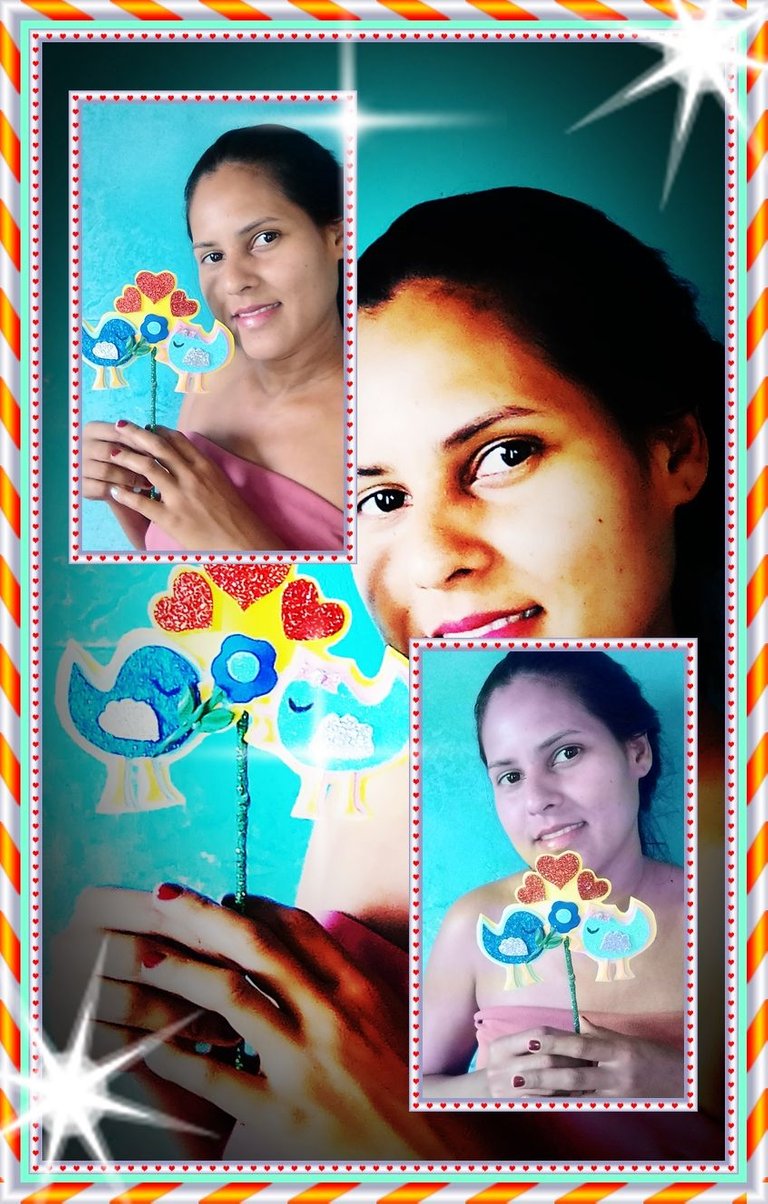
- Nota Importante: Las fotos fueron editadas por el programa Photo Scape.🌸
Thank you for your support, I'm glad you liked my work.